
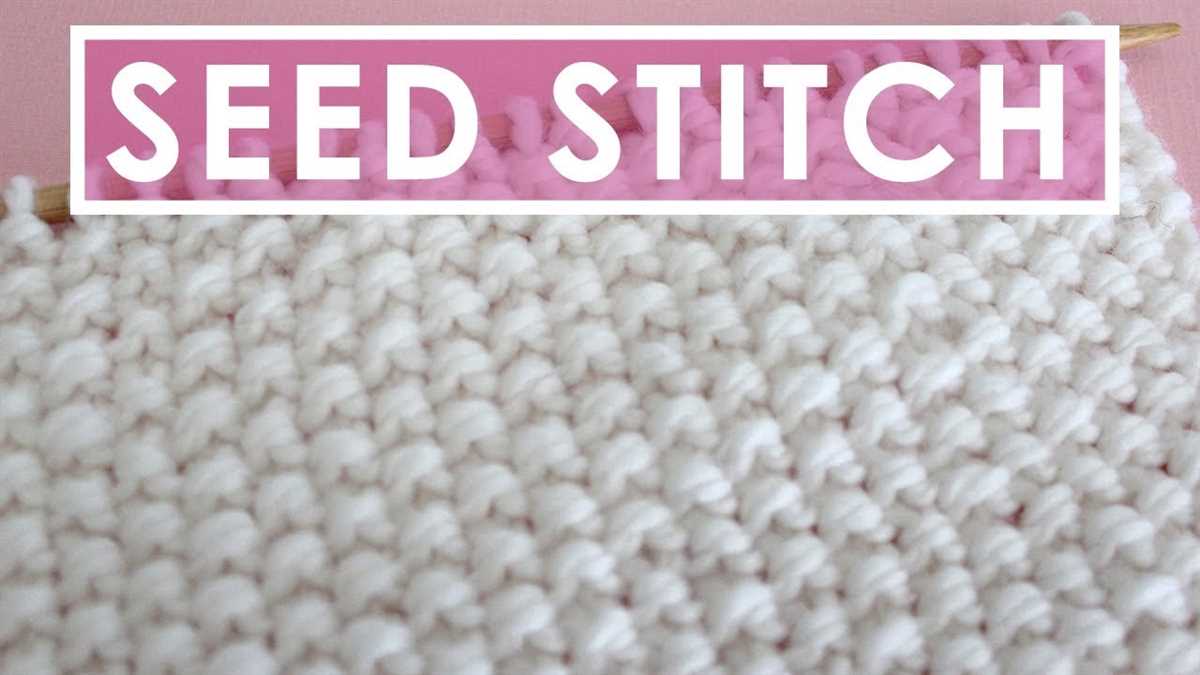
Knitting is a popular craft that offers endless opportunities for creativity and self-expression. Whether you’re a beginner or an expert, there are countless knitting patterns to explore. One such pattern is the seed stitch, also known as the moss stitch, which creates a beautiful texture that resembles scattered seeds. With its simplicity and versatility, the seed knitting pattern is a favorite among knitters of all skill levels.
The seed stitch is easy to learn and consists of alternating knit and purl stitches to create a raised, bumpy texture. This pattern is perfect for beginners who are looking to expand their skills beyond basic knit and purl stitches. Additionally, more experienced knitters can use the seed stitch to add texture and interest to their projects.
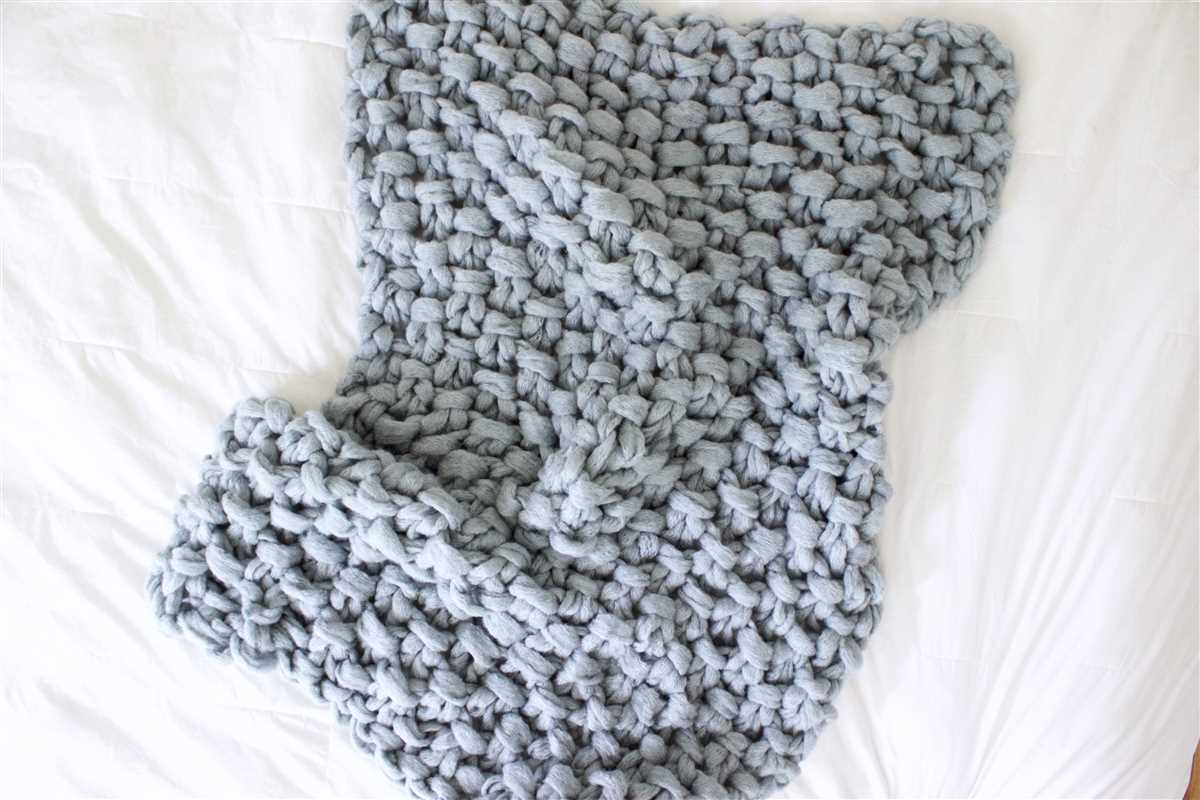
One of the great things about the seed knitting pattern is its versatility. It can be used in a variety of projects, from scarves and hats to blankets and sweaters. The texture and density of the stitch make it ideal for creating warm, cozy fabrics that are perfect for winter accessories or home decor. Additionally, the seed stitch works well with a variety of yarn weights, so you can easily customize the pattern to suit your preferences.
Seed Knitting Pattern: Add Texture to Your Projects

When it comes to knitting, there are countless stitch patterns to choose from to add texture to your projects. One versatile and popular option is the seed knitting pattern. The seed stitch creates a raised, bumpy texture that adds visual interest and dimension to your knitting.
The seed knitting pattern is created by alternating knit and purl stitches within a row, and then reversing the stitch pattern in the following row. This simple yet effective technique creates a pitted texture reminiscent of seed beads, hence the name. The resulting fabric has a pleasant drape and is perfect for a variety of projects, from scarves and hats to sweaters and blankets.
How to knit the seed stitch:
- On the right side of your work, knit the purl stitches and purl the knit stitches of the previous row.
- On the wrong side of your work, purl the knit stitches and knit the purl stitches of the previous row.
- Repeat these two rows for the desired length.
Tips for working with the seed knitting pattern:
- Pay attention to your tension to ensure an even texture throughout your project. The seed stitch tends to pull in slightly, so you may need to go up a needle size or adjust your tension accordingly.
- If you’re working with multiple colors, the seed stitch is a great way to incorporate colorwork into your project. Experiment with different color combinations to create stunning patterns and designs.
- The seed knitting pattern is reversible, meaning it looks the same on both sides. This makes it ideal for items like scarves and blankets that may be seen from both sides.
- Don’t be afraid to get creative with the seed stitch. You can combine it with other stitch patterns, such as cables or lace, to create unique and intricate designs.
Conclusion:
The seed knitting pattern is a versatile and easy-to-master technique that adds texture and interest to your projects. Whether you’re a beginner or an experienced knitter, the seed stitch is a great stitch pattern to have in your repertoire. Its raised, bumpy texture creates a visually appealing fabric that can be used for a wide range of items. Give the seed knitting pattern a try and see how it enhances your knitting projects!
What is a Seed Knitting Pattern?
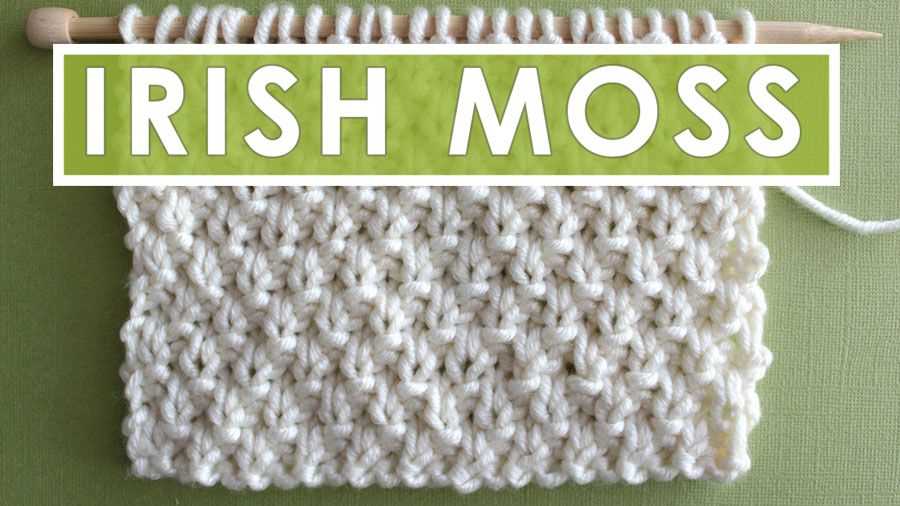
A seed knitting pattern is a classic stitch pattern that creates a textured fabric with a repeating combination of knit and purl stitches. This pattern is called “seed” because when knit up, it resembles a field of seeds or small bumps. It is also known as the moss stitch or the double moss stitch.
In a seed knitting pattern, the stitches are typically worked over an even number of stitches and rows. The pattern alternates between knit and purl stitches, creating a checkerboard-like effect. The knit stitches are usually worked on the purl stitches from the previous row, and vice versa.
This pattern is popular for a variety of reasons. First, it is relatively easy to learn and can be mastered by beginners as well as experienced knitters. Second, it creates a reversible fabric, meaning that both sides of the fabric look identical. This makes it ideal for scarves, blankets, or any other item where both sides will be visible. Finally, the seed knitting pattern has a great drape and elasticity, making it suitable for a range of garments and accessories.
To knit a project using a seed knitting pattern, all you need is a basic understanding of knit and purl stitches. The pattern is simple and easy to memorize, making it a great choice for knitting while watching TV or chatting with friends. Whether you’re a beginner or an experienced knitter, the seed knitting pattern is a versatile and timeless option to add texture and interest to your projects.
Benefits of Using Seed Stitch
The seed stitch is a versatile knitting pattern that offers numerous benefits for knitters of all skill levels. Whether you are a beginner or an experienced knitter, incorporating the seed stitch into your projects can enhance the texture and visual appeal of your finished piece.
One of the key benefits of using the seed stitch is its simplicity. The pattern consists of alternating knit and purl stitches, making it easy to memorize and follow along. This makes it an ideal choice for beginners who are looking to expand their knitting repertoire. Additionally, the seed stitch creates a dense, reversible fabric that does not curl, making it perfect for scarves, blankets, and other items where both sides of the fabric are visible.
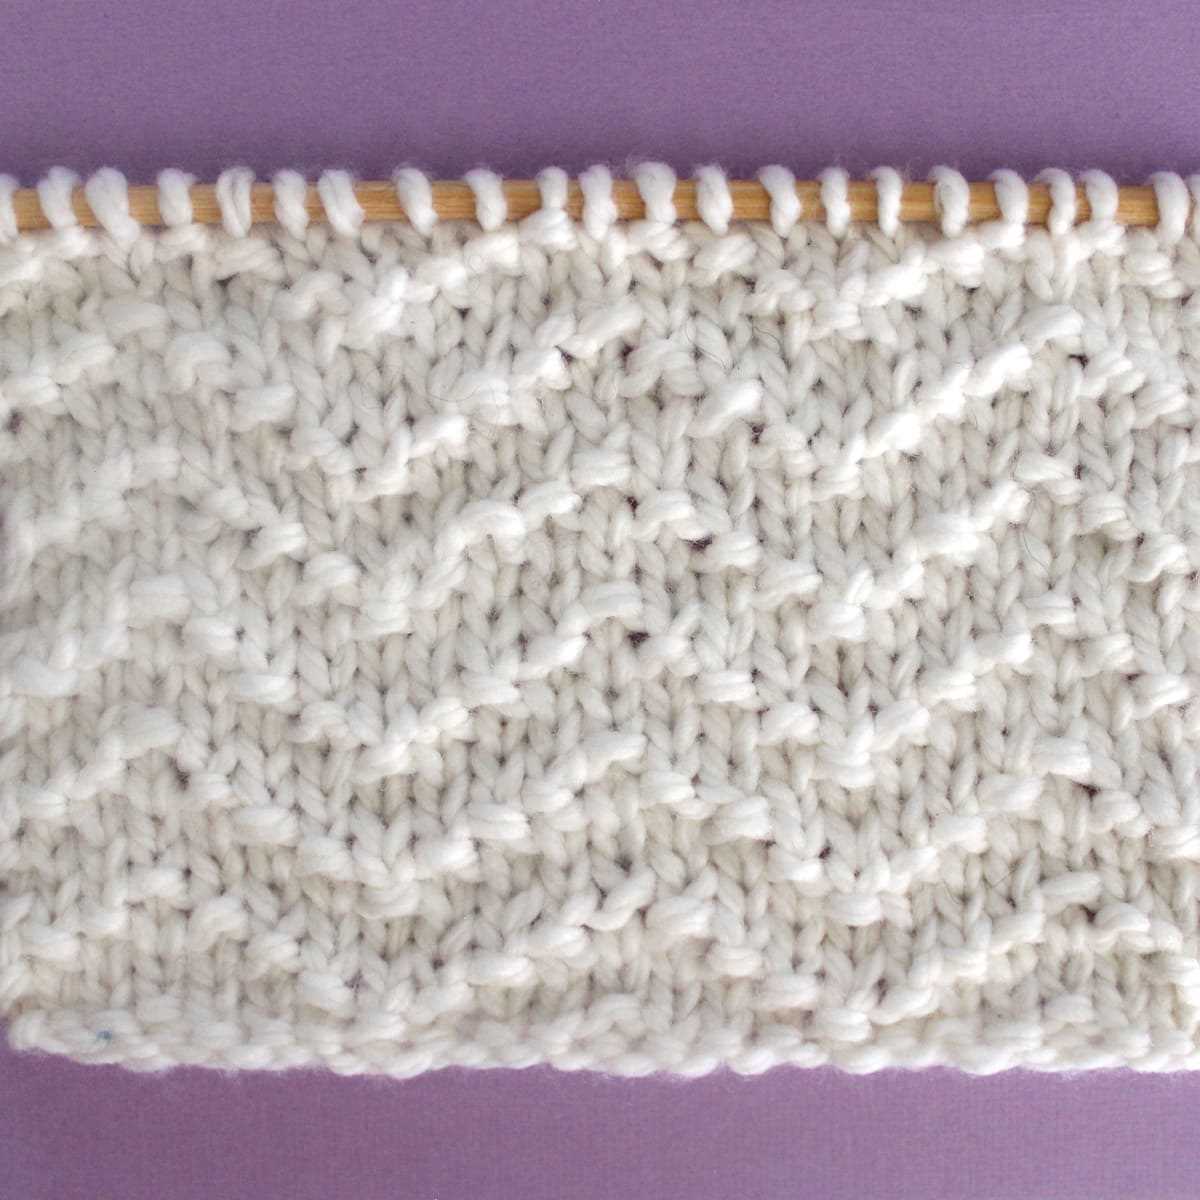
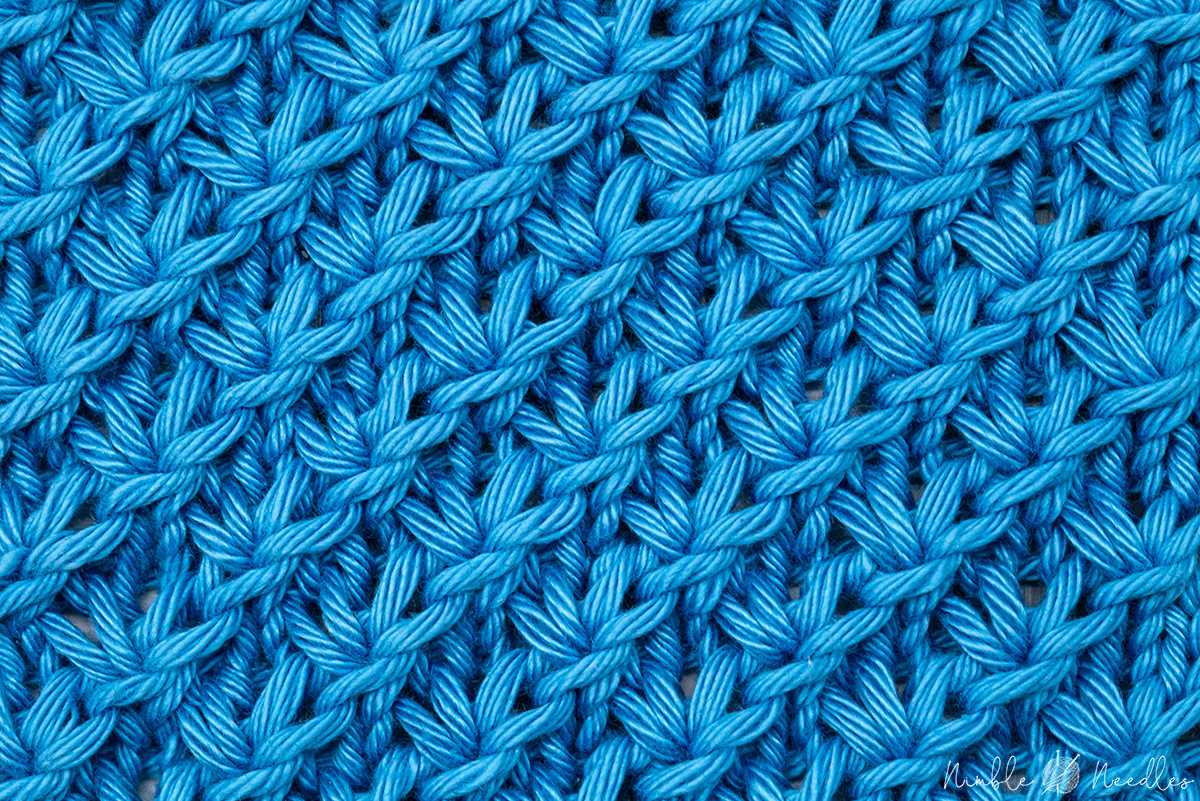
Textured appearance: The seed stitch creates a beautiful texture that adds interest to any knitted project. The alternating knit and purl stitches result in a bumpy pattern that resembles seeds, hence the name “seed stitch.” This texture is not only visually appealing but also adds depth and dimension to your knitted fabric.
Enhanced warmth: Due to its dense nature, the seed stitch creates a fabric that provides excellent insulation and warmth. The tight stitches help trap heat, making it an ideal choice for winter accessories such as hats, mittens, and scarves. When knitting with seed stitch, you can be confident that your finished piece will keep you cozy and comfortable in colder temperatures.
Versatility: The seed stitch is incredibly versatile and can be used in a wide range of projects. From sweaters and cardigans to baby blankets and shawls, the seed stitch can be adapted to suit various styles and designs. Whether you prefer a classic, timeless look or a more modern and trendy aesthetic, the seed stitch can be easily customized to match your preferences.
Relaxing and meditative knitting: Knitting the seed stitch can be a calming and meditative process. The repetitive nature of the pattern allows you to relax and focus on the rhythm of your stitches, which can help reduce stress and anxiety. Whether you are knitting to unwind after a long day or to practice mindfulness, the seed stitch can provide a soothing and therapeutic knitting experience.
In conclusion, the seed stitch offers a range of benefits that make it a popular choice among knitters. Whether you are looking to add texture to your projects, enhance warmth, create versatile designs, or enjoy a meditative knitting experience, the seed stitch is a versatile pattern that is worth exploring.
Choosing Yarn and Needles for Seed Knitting
When it comes to seed knitting, choosing the right yarn and needles is crucial to ensure the success of your project. The texture and weight of the yarn can greatly affect the outcome of your seed stitch pattern.
Yarn: When selecting yarn for seed knitting, it’s important to choose a yarn that has good stitch definition. Smooth, tightly twisted yarns with a plied construction are ideal for this stitch pattern. These types of yarns will help each individual seed stitch stand out and create a beautiful textured fabric. A yarn with a lighter to medium weight is typically preferred for seed knitting, as thicker yarns may result in a bulkier texture.
Needles: The size of your knitting needles will also impact the appearance of your seed stitch pattern. Generally, a needle size that is smaller than what is recommended for the chosen yarn is used to create a tighter gauge and enhance the definition of the seeds. You may need to experiment with different needle sizes to achieve the desired texture and gauge for your project. Circular needles are often preferred for seed knitting, as they can accommodate a larger number of stitches and provide a more comfortable knitting experience.
It’s also important to consider the type of needle material. Metal, wooden, or bamboo needles all have their own characteristics that can affect the way the yarn slides on the needles. Some knitters prefer the slickness of metal needles for faster knitting, while others enjoy the natural grip of wooden or bamboo needles. Ultimately, the choice of materials should be based on personal preference and the ease of working with the chosen yarn.
In conclusion, when embarking on a seed knitting project, carefully consider the texture and weight of the yarn, as well as the size and material of the needles. Finding the perfect combination will help you achieve a beautifully textured fabric that showcases the intricate seed stitch pattern.
Getting Started: Casting On
Before you can start knitting your seed pattern, you need to cast on your stitches. Casting on is the process of creating the foundation row of stitches on your knitting needle. There are several methods you can use to cast on, but for this pattern, we recommend using the long-tail cast-on method.
The Long-Tail Cast-On Method
The long-tail cast-on method is a versatile and popular method for casting on stitches. To start, you’ll need to estimate the length of yarn you’ll need for your cast-on stitches. A good rule of thumb is to allow one inch of yarn for every stitch you’ll be casting on, plus extra for the tail.
To begin, make a slipknot with the yarn, leaving a tail that is approximately three times the width of your knitting project. Place the slipknot on the knitting needle, holding the needle in your right hand. With your left hand, hold the tail of the yarn and the working yarn together.
Next, insert the point of the right needle into the slipknot and under the left needle. Use your right hand to loop the working yarn over the right needle to create a new stitch. Slide the new stitch onto the left needle, and repeat this process until you have cast on all of your stitches.
Once you have cast on all of your stitches, you are ready to begin knitting your seed pattern. Make sure to keep the tension of your stitches consistent throughout the cast-on row to ensure even and neat knitting.
Working the Seed Stitch
The seed stitch is a popular knitting pattern that creates a textured fabric. It is simple to knit and produces a reversible pattern, making it perfect for scarves, blankets, and other items where both sides will be visible. In this article, we will go over how to work the seed stitch and some tips for getting the best results.
To work the seed stitch, you will need an odd number of stitches. Start by casting on the desired number of stitches using your preferred cast-on method. Then, follow these steps:
- Row 1: Knit the first stitch, purl the second stitch, and continue alternating knit and purl stitches across the row.
- Row 2: Purl the first stitch, knit the second stitch, and continue alternating purl and knit stitches across the row.
- Repeat rows 1 and 2: Continue repeating rows 1 and 2 until your project reaches the desired length.
By alternating knit and purl stitches in each row, the seed stitch creates a pattern that resembles scattered seeds or little bumps. It is a great pattern for beginners as it only requires basic knitting skills and is easy to memorize.
Here are some tips for working the seed stitch:
- Tension: Keep an even tension while knitting and purling to maintain a consistent fabric. Pay attention to how tightly or loosely you are working each stitch to ensure an even result.
- Slipping the first stitch: Some knitters prefer to slip the first stitch of every row purlwise to create a neater edge. This is optional but can give a more polished look to your project.
- Using stitch markers: If you find it difficult to keep track of whether you should knit or purl each stitch, you can place stitch markers at the beginning and end of each row. This will help you stay organized and avoid making mistakes.
With these tips and a little practice, you will be able to work the seed stitch with confidence. Experiment with different yarns and needle sizes to achieve different results, and enjoy the beautiful texture of this timeless knitting pattern.
Adding Variation: Mixing Seed Stitch with Other Patterns

The seed stitch is a classic knitting pattern that adds texture and interest to any project. While it can be used on its own to create a beautiful fabric, mixing seed stitch with other patterns can take your knitting to the next level. By combining the simplicity of seed stitch with more complex patterns, you can create unique and visually appealing designs.
One way to incorporate variation into your knitting is to alternate rows of seed stitch with other stitch patterns. For example, you could knit one row in seed stitch, then switch to a different pattern for the next row. This can create an interesting contrast between the two patterns and add depth to your finished piece. Try pairing seed stitch with a simple garter stitch or a more intricate lace pattern for a stunning effect.
Another way to mix seed stitch with other patterns is to incorporate it as a border or accent. For example, you could use seed stitch at the edges of a blanket or scarf, or as a panel down the center of a sweater. This can create a visually pleasing contrast between the seed stitch and the main pattern, and draw attention to certain areas of your project.
Incorporating color can also enhance the variation in your knitting. Consider using different colored yarns for the seed stitch section and the main pattern, or experiment with color blocking to create bold and eye-catching designs. Mixing seed stitch with colorwork patterns, such as fair isle or intarsia, can create stunning and intricate designs that are sure to impress.
In conclusion, by mixing seed stitch with other patterns, you can add variation and visual interest to your knitting projects. Whether you alternate rows, incorporate seed stitch as a border, or experiment with color, the possibilities are endless. Get creative, have fun, and let your imagination run wild!
Creating Borders and Edges with Seed Stitch

The seed stitch is a simple knitting pattern that can add texture and interest to your knitting projects. One way to enhance your knitting with seed stitch is by using it to create borders and edges. Whether you’re knitting a blanket, scarf, or sweater, incorporating seed stitch into the edges can give your project a polished and finished look.
To create a border or edge with seed stitch, start by casting on the desired number of stitches. Knit the first row using the seed stitch pattern: *knit one, purl one* repeated across the row. On the next row, purl the knits and knit the purls. Continue alternating these two rows until you reach the desired length for your border. Finally, bind off the stitches using the seed stitch pattern.
Benefits of using seed stitch for borders and edges:
- Texture: The seed stitch creates a bumpy texture that adds visual interest and dimension to your project.
- Density: The seed stitch is denser than some other knitting patterns, making it ideal for creating sturdy and defined borders and edges.
- Versatility: Seed stitch borders and edges can be used in a wide range of knitting projects, from blankets and scarves to hats and mittens.
- Polished finish: Adding a seed stitch border or edge can give your project a more finished and professional look, elevating the overall design.
When planning your next knitting project, consider incorporating a seed stitch border or edge to add a touch of texture and refinement. Experiment with different yarns and color combinations to create unique and eye-catching designs. With the seed stitch, you can easily enhance the borders and edges of your knitting projects, turning them into beautiful, one-of-a-kind creations.
Seed Knitting Pattern Ideas
If you’re looking for some inspiration for your next knitting project, consider using a seed knitting pattern. This simple and versatile stitch pattern creates a textured fabric that is perfect for everything from scarves and hats to sweaters and blankets. Whether you’re a beginner or an experienced knitter, there are plenty of seed knitting pattern ideas to choose from.
Seed Stitch
One of the most popular seed knitting patterns is the seed stitch. This pattern is created by alternating knit and purl stitches to create a bumpy texture. The seed stitch is a great choice for beginners, as it’s easy to learn and creates a beautiful fabric. You can use the seed stitch for a variety of projects, from washcloths to afghans.
Seed Rib Stitch
If you’re looking to add a bit more complexity to your seed knitting pattern, consider trying the seed rib stitch. This stitch pattern combines the seed stitch with ribbing, creating a textured fabric with alternating columns of bumps and ribs. The seed rib stitch is a great choice for scarves and hats, as it adds visual interest to simple designs.
Seed Cable Stitch
If you’re feeling adventurous, why not try incorporating cables into your seed knitting pattern? The seed cable stitch combines the texture of the seed stitch with the intricate twists and turns of cables. This stitch pattern is perfect for creating cozy sweaters and blankets with a unique and eye-catching design.
Seed Chevron Stitch
If you’re looking for a seed knitting pattern with a bit of flair, consider trying the seed chevron stitch. This pattern creates a zigzag pattern using seed stitches, resulting in a textured fabric with a fun and playful look. The seed chevron stitch is a great choice for baby blankets and accessories, as it adds a touch of whimsy to any project.
These are just a few ideas to get you started with seed knitting patterns. The possibilities are endless, so don’t be afraid to get creative and experiment with different stitch patterns and designs. Whether you’re knitting for yourself or for someone else, a seed knitting pattern is a great way to create a unique and beautiful piece that will be cherished for years to come.
Troubleshooting Common Issues
When working on a seed knitting pattern, it is common to encounter certain issues that can affect the outcome of your project. Here are some common problems and their solutions:
Problem 1: Uneven tension
If you find that your seed knitting pattern is turning out with uneven tension, causing some stitches to be tighter or looser than others, there are a few things you can try to improve your tension:
- Make sure you are using the correct size needles for the pattern. Using needles that are too small can result in tight stitches, while needles that are too large can result in loose stitches.
- Practice consistent tension by paying attention to how tightly or loosely you hold the yarn in your hand as you work. Experiment with different techniques until you find one that works best for you.
- If you notice that your tension changes throughout the project, take breaks to relax your hands and avoid fatigue.
Problem 2: Mistakes in the pattern

Occasionally, you may come across mistakes in the seed knitting pattern you are working on. This can be frustrating, but there are a few steps you can take to correct the errors:
- First, double-check the pattern to make sure you haven’t misread any instructions or skipped any steps.
- If you are confident that the mistake is in the pattern, not in your interpretation, try searching online for errata or pattern corrections provided by the designer or other knitters who have encountered the same issue.
- If there are no available pattern corrections, you may need to adapt the pattern yourself by making notes of the changes you need to make in order to correct the error. This can involve modifying stitch counts, adjusting stitch patterns, or making other modifications as necessary.
By addressing these common issues that can arise when working on a seed knitting pattern, you can ensure a smoother knitting experience and a more successful finished project. Remember, knitting is a skill that improves with practice, so don’t be discouraged if you encounter challenges along the way.
Finishing Off: Binding Off and Weaving in Ends

Once you have completed your seed knitting pattern, it’s important to properly finish off your work to ensure that it stays in place and doesn’t come undone. This involves binding off your stitches and weaving in any loose ends.
To bind off, simply knit the first two stitches as normal. Then, using your left needle, lift the first stitch over the second stitch and off the needle. Knit the next stitch and repeat this process of lifting the previous stitch over the current stitch until you have one stitch left on your right needle. Cut the yarn, leaving a tail that is about six inches long, and pull it through the last stitch to secure it.
Next, you’ll need to weave in any loose ends to ensure that they are not visible and that they won’t unravel over time. Thread your yarn tail onto a tapestry needle and insert it into the back of your work, weaving it in and out of the stitches for a few inches. Trim any excess yarn so that it is flush with the fabric.
Remember to follow the specific instructions for your seed knitting pattern, as different patterns may require different finishing techniques. Once you have bound off and woven in your ends, your seed knitting project is complete! Take the time to admire your handiwork and enjoy the satisfaction of a beautifully finished piece.