
Knitting your own sweater is a rewarding and fulfilling project that allows you to create a one-of-a-kind garment to suit your style. One popular style of sweater to knit is the side to side sweater. This unique construction technique involves knitting the sweater from side to side, rather than from the bottom up or top down.
A side to side sweater is a versatile and flattering design that works well with a variety of yarns and stitch patterns. Knitting it horizontally creates a flattering drape and helps to create a flattering silhouette. This style of sweater is also great for customizing the fit, as you can easily try it on as you go and make adjustments to the length and width as needed.
In this article, we will provide a step-by-step guide to knitting a side to side sweater. We will cover selecting the right yarn and needles, choosing a stitch pattern, and provide detailed instructions for knitting the sweater. Whether you are a beginner knitter or an experienced knitter looking for a new challenge, this side to side sweater pattern is sure to become a staple in your wardrobe.
What is a side to side sweater knitting pattern?
A side to side sweater knitting pattern is a unique way of constructing a sweater where the garment is created horizontally from one side to the other, rather than vertically from the bottom up or top down. This technique results in a sweater with a distinct look and fit.
The side to side construction begins with casting on stitches for the width of the sweater, typically from one cuff to the other. The body of the sweater is then worked in rows across the width, adding shaping and details as necessary. This can include knitting sleeves separately and seaming them to the body, or incorporating them into the pattern as you go.
The side to side sweater knitting pattern offers a lot of flexibility and creativity. It allows for easy customization in terms of length, fit, and design elements. Additionally, it’s a great technique for showcasing interesting stitch patterns and colorwork, as the rows are worked horizontally.
One advantage of using a side to side construction is the ability to try on the sweater as you knit, making it easier to ensure a perfect fit. Additionally, the pattern can be easily adjusted for different body sizes and shapes by adding or subtracting stitches.
Overall, the side to side sweater knitting pattern provides a unique and customizable approach to creating a cozy and stylish garment.
Basic definition
A side to side sweater is a knitting pattern that is worked horizontally across the body instead of vertically from the bottom up or top down. The design typically starts at one cuff or hem, then stitches are picked up along the edge and worked across to the other cuff or hem. This unique construction creates a sweater with a different look and fit compared to traditional top-down or bottom-up sweaters.
One of the main advantages of knitting a side to side sweater is that it allows for easy customization and adjustment of fit. Since the sweater is worked in one continuous piece, it is easy to try on as you go and make adjustments to the length or width as needed. This makes side to side sweaters a popular choice for knitters who prefer a more personalized fit.
To create a side to side sweater, knitters typically need to have a good understanding of basic knitting techniques, such as casting on, knitting and purling, and decreasing. The pattern may also include specific instructions for picking up stitches along the edges, creating buttonholes, or adding decorative stitches or patterns.
When selecting a side to side sweater knitting pattern, it’s important to consider the desired style, yarn weight, and skill level. Some patterns may be more suitable for beginner knitters, while others may require more advanced skills. It’s also important to check the gauge (the number of stitches and rows per inch) to ensure the finished sweater will have the correct dimensions.
Whether you’re a seasoned knitter looking for a unique and versatile project or a beginner looking to learn new techniques, a side to side sweater knitting pattern can be a fun and rewarding project to tackle. With its customizable fit and stylish design, it’s no wonder why side to side sweaters are a popular choice among knitters of all skill levels.
Benefits of Using a Side to Side Sweater Knitting Pattern

Knitting a sweater using a side to side pattern offers several benefits that make it a popular choice among knitters. This unique approach to sweater construction offers versatility, customization options, and a comfortable fit. Whether you are a beginner or an experienced knitter, a side to side sweater knitting pattern can be a great choice that makes the process enjoyable and rewarding.
1. Versatility
A side to side sweater knitting pattern allows for versatility in terms of design and style. With this pattern, you have the flexibility to create different stitch patterns, add colorwork, or incorporate various textures. You can easily modify the length, width, and neckline to suit your preferences, making each sweater unique to your personal style. You can also experiment with different yarn weights and fibers to achieve the desired drape and warmth.
2. Customization Options
One of the key advantages of using a side to side sweater knitting pattern is the ability to customize the fit. Since you build the sweater horizontally, you can easily adjust the width and length as you go. This makes it easier to ensure the sweater fits your body shape and measurements accurately. Additionally, you have the flexibility to modify sleeve length, neckline depth, and other details to create a sweater that flatters your figure and suits your preferences.
3. Comfortable Fit
A side to side sweater knitting pattern often results in a comfortable fit due to the construction method. Knitting the sweater in one piece allows for seamless construction, eliminating the need for sewing or joining separate sections. This seamless design offers a smooth and comfortable finish, promoting ease of movement and reducing irritation from seams.
In conclusion, using a side to side sweater knitting pattern provides versatility, customization options, and a comfortable fit. This approach allows you to explore different designs and styles, adjust the fit to your measurements, and create a sweater that is both stylish and comfortable to wear. Whether you are a beginner or an experienced knitter, a side to side sweater pattern can be a fun and rewarding project.
More Versatile Fit

The side to side sweater knitting pattern offers a more versatile fit compared to traditional top-down or bottom-up patterns. With this pattern, the sweater is knitted in one piece from side to side, allowing for easy customization of the length, width, and neckline. This means you can easily adjust the sweater to fit your body shape and personal preferences.
To achieve a more versatile fit, you can make simple modifications to the pattern. For example, if you prefer a longer sweater, you can simply add more rows to the body section. If you want a wider sweater, you can increase the number of stitches in the body or sleeve sections. Likewise, you can easily modify the neckline by adjusting the number of stitches or rows in the collar section.
Customization possibilities:
- Lengthen or shorten the body and sleeves.
- Adjust the width of the sweater to create a slim-fit or oversized look.
- Modify the neckline to be higher or lower.
- Add shaping or darts for a more tailored fit.
In addition to the ability to customize the fit, the side to side sweater knitting pattern also offers versatility in terms of yarn choice. You can select different weights or fibers of yarn to create a lightweight or cozy sweater, depending on the season or your personal style. This flexibility makes the side to side sweater pattern a great option for knitters of all skill levels who desire a sweater that can be tailored to their individual preferences.
Unique Design Opportunities
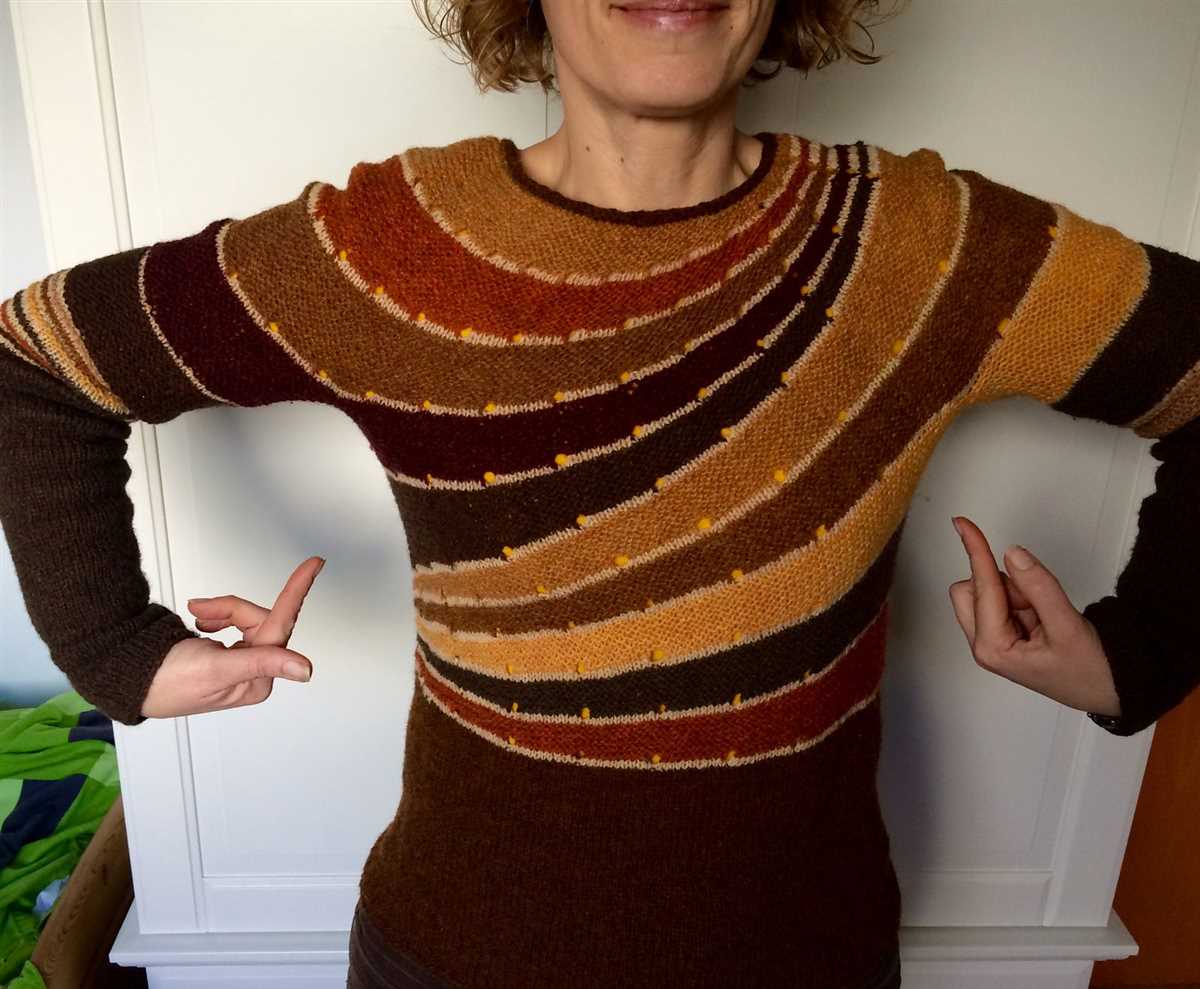
When it comes to knitting a side to side sweater, there are countless design opportunities that can make your garment truly unique. By choosing different yarns, stitch patterns, and decorative techniques, you can create a one-of-a-kind sweater that reflects your personal style and creativity.
Yarn Selection: The type of yarn you choose can drastically change the look and feel of your side to side sweater. Whether you opt for a cozy wool for a winter sweater or a lightweight cotton for a summer garment, the yarn you choose will influence the drape, warmth, and overall aesthetic of your project.
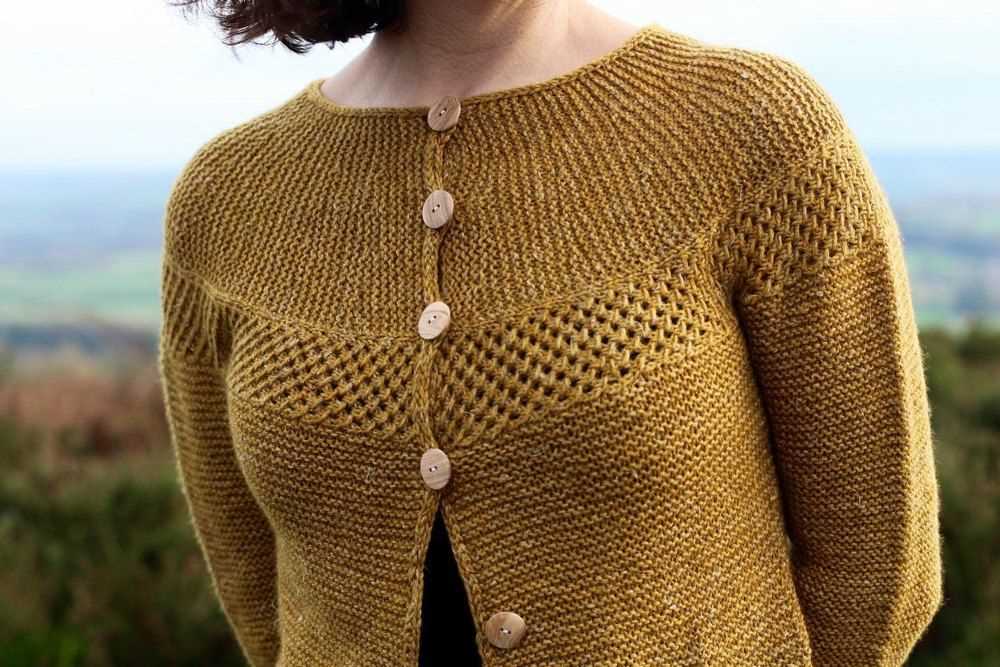
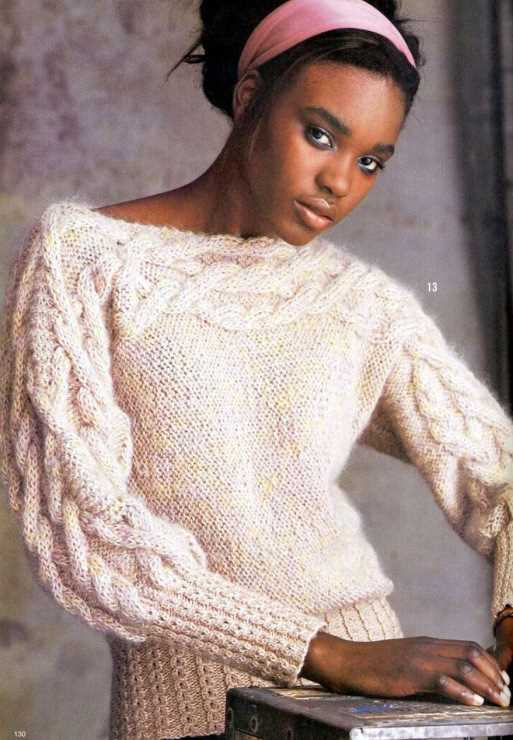
Stitch Patterns: Side to side sweaters offer the perfect canvas for experimenting with different stitch patterns. From simple garter stitch to intricate lace motifs, you can incorporate various textures and designs into your sweater to add visual interest and complexity. Consider using cables, colorwork, or even a unique stitch pattern of your own creation to make your sweater stand out.
Embellishments: Adding embellishments can take your side to side sweater to the next level. Consider incorporating details such as buttons, beads, or embroidery to enhance the overall look of your garment. You can use decorative stitches or techniques like duplicate stitch to add additional motifs or patterns to your sweater.
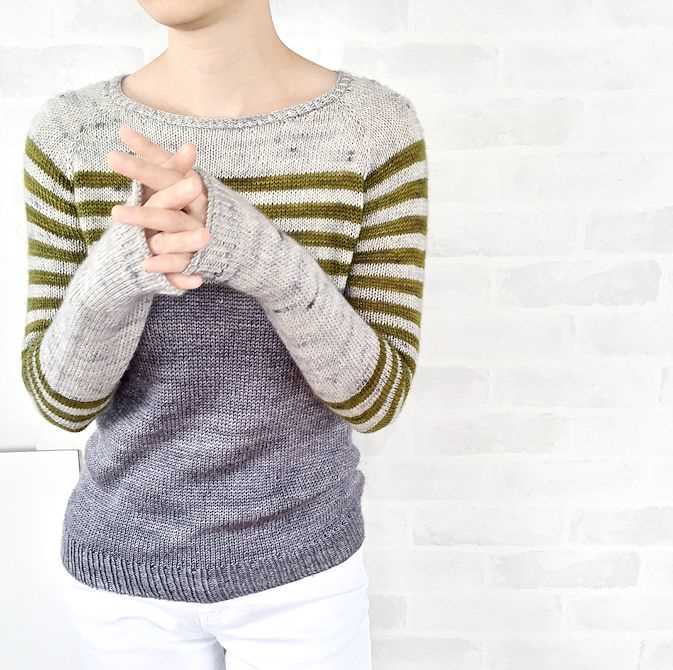
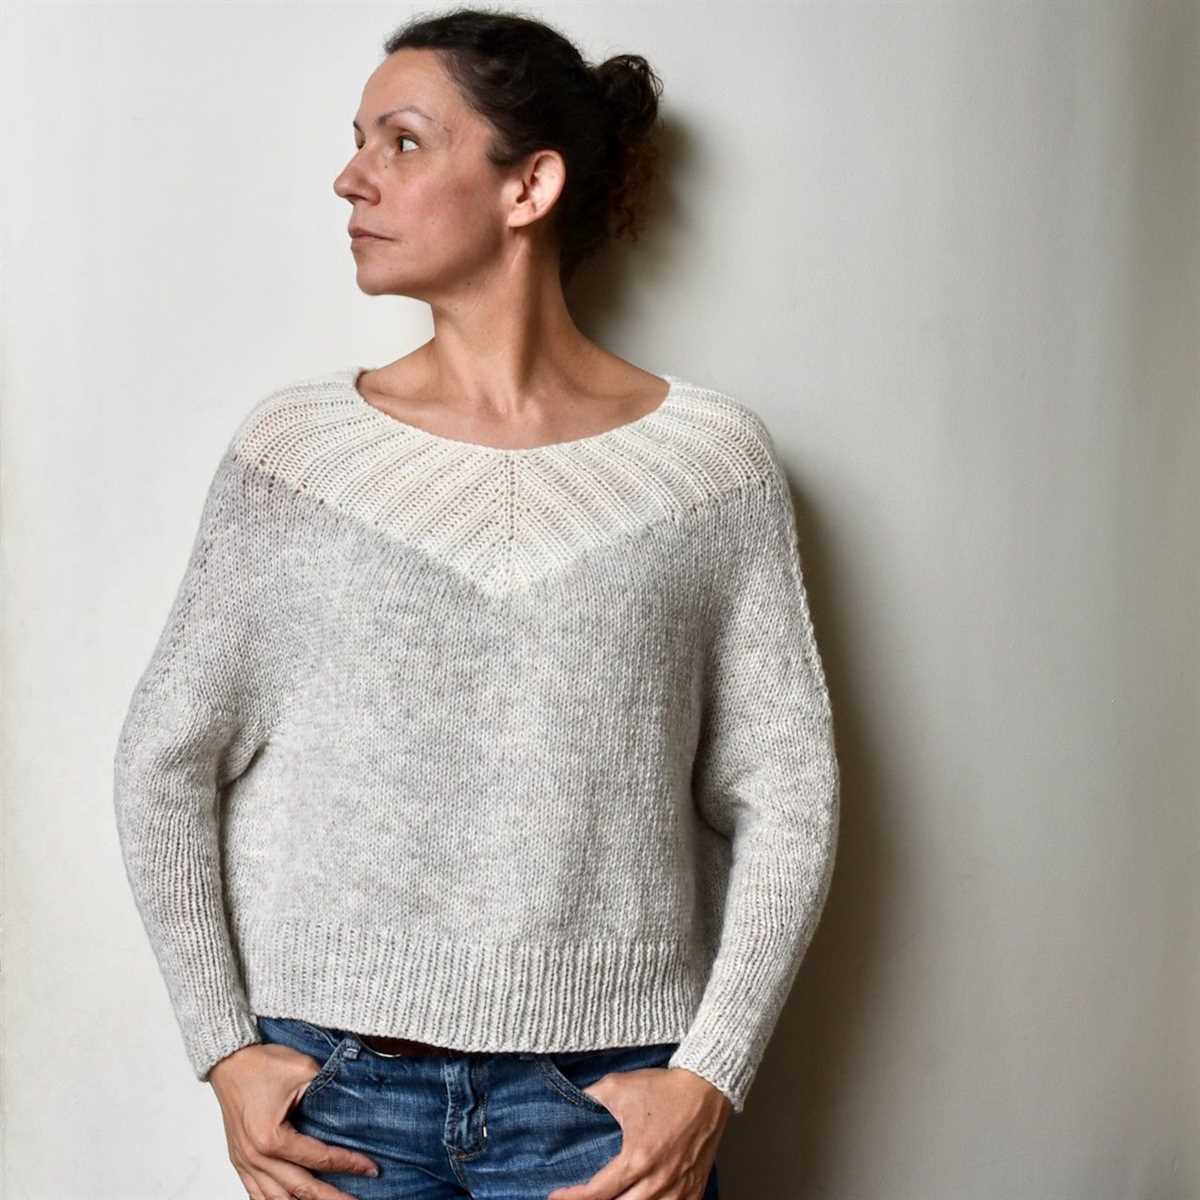
Color Choices: The color palette you choose can greatly impact the overall design of your side to side sweater. Whether you opt for bold and vibrant hues or more subtle and neutral tones, the colors you select will make a statement and set the mood of your garment. Experiment with color blocking, gradient shading, or even ombre effects to create a visually striking sweater.
Customization: One of the greatest advantages of knitting a side to side sweater is the ability to easily customize it to fit your body shape and size. You can easily adjust the length, width, and neckline to create a sweater that flatters your figure and fits perfectly. This allows for a truly unique and personalized garment that suits you perfectly.
Overall, knitting a side to side sweater provides a wonderful opportunity to explore your creativity and showcase your individual style. By considering different yarns, stitch patterns, embellishments, color choices, and customization options, you can create a truly unique and special garment that you will treasure for years to come.
Easier customization

One of the great advantages of knitting your own sweater is the ability to customize it to your exact measurements and preferences. With the side to side sweater knitting pattern, this customization becomes even easier. The pattern provides detailed instructions for adjusting the length, width, and neckline of the sweater to ensure a perfect fit. Whether you prefer a cropped style or a longer length, you can easily modify the pattern to accommodate your desired look.
In addition to customization in terms of fit, the side to side sweater knitting pattern also offers endless possibilities for personalization in terms of design. The pattern allows you to incorporate different stitch patterns, color combinations, and even add embellishments or cables if desired. This means you can truly make the sweater your own, reflecting your unique style and taste.
If you’re feeling adventurous, you can also experiment with different yarn weights and textures to create a completely different look and feel for your sweater. Whether you prefer a cozy oversized sweater or a lightweight summer top, the side to side sweater knitting pattern can be adapted to suit your needs. The possibilities are endless, and the only limit is your imagination.
Overall, the side to side sweater knitting pattern offers an incredible level of customization that allows you to create a sweater that fits you perfectly and reflects your individual style. So grab your knitting needles and get ready to create a one-of-a-kind garment that will be the envy of all your friends!
Choosing the right yarn for your side to side sweater
When knitting a side to side sweater, choosing the right yarn is crucial to ensure the final product turns out as desired. The yarn you choose will determine the drape, warmth, and overall look of the sweater. Here are some factors to consider when selecting yarn for your side to side sweater:
- Fiber content: The fiber content of the yarn will greatly impact the characteristics of your sweater. Wool yarns, such as merino or alpaca, will provide warmth and a cozy feel. Cotton or linen yarns, on the other hand, will result in a lighter and more breathable sweater. Consider the climate and desired comfort level when deciding on the fiber content.
- Weight: The weight of the yarn refers to its thickness. Different side to side sweater patterns will call for different weights of yarn. Bulkier yarns will create a heavier and warmer sweater, while lighter yarns will result in a more lightweight and breathable garment. Make sure to check the recommended yarn weight for your chosen pattern.
- Texture: The texture of the yarn can add visual interest to your side to side sweater. Smooth, plied yarns will create a more uniform and classic look, while yarns with a halo or slubs can add a unique and textured appearance. Consider how you want the finished sweater to look and feel when considering different yarn textures.
- Color: The color of the yarn is another important factor to consider. Neutral or solid-colored yarns will create a timeless and versatile sweater that can be easily paired with different outfits. On the other hand, variegated or self-striping yarns can add a pop of color and create a more playful and eye-catching garment.
Before starting your side to side sweater project, take the time to carefully consider these factors and choose a yarn that aligns with your desired outcome. Remember to swatch and check your gauge to ensure the chosen yarn will create the desired fit and size for your sweater. With the right yarn, you’ll be able to create a side to side sweater that not only looks beautiful but also feels comfortable to wear.
Understanding yarn weight and fiber

In the world of knitting, it is important to understand the weight and fiber of the yarn you are working with. Yarn weight refers to the thickness of the yarn, and it is typically classified into categories such as lace, fingering, sport, worsted, and bulky. Each weight category has its own characteristics and is best suited for specific types of projects.
The weight of the yarn will determine the final thickness and drape of your knitted garment. For example, lace weight yarn is very thin and delicate, making it ideal for creating delicate lace patterns or lightweight shawls. On the other hand, bulky weight yarn is thick and cozy, perfect for knitting warm sweaters or blankets.
Not only do you need to consider the weight of the yarn, but also the fiber content. Different fibers have different properties and will affect the look and feel of your finished project.
Natural fibers
Natural fibers such as wool, alpaca, and cotton are popular choices for knitting because of their versatility and natural beauty. Wool is known for its warmth and elasticity, making it great for winter sweaters and accessories. Alpaca, on the other hand, is known for its softness and drape, perfect for creating luxurious scarves and shawls.
Synthetic fibers

Synthetic fibers like acrylic and nylon are durable and often more affordable than natural fibers. Acrylic yarn is easy to care for and comes in a wide variety of colors and textures. It is great for knitting baby garments or items that require frequent washing. Nylon is often blended with other fibers to add strength and durability.
When choosing yarn for your project, take into consideration the weight and fiber that will best suit your desired outcome. Experimenting with different yarns and fibers can open up a world of possibilities for your knitting projects.
Considering the drape and texture
When knitting a side to side sweater, it is important to consider both the drape and texture of the fabric. The drape refers to how the knitted fabric hangs and falls on the body, while the texture refers to the overall feel and appearance of the fabric.
One factor that affects the drape of the fabric is the choice of yarn. Yarns with a higher percentage of natural fibers, such as wool or alpaca, tend to have more drape due to their inherent elasticity and ability to retain shape. On the other hand, yarns with a higher percentage of synthetic fibers, such as acrylic or nylon, may have less drape and appear stiffer.
When selecting a yarn for a side to side sweater, it is important to choose a yarn that will create the desired drape. This may depend on personal preference and the style of the sweater. For example, a loose and flowy sweater may require a yarn with more drape, while a structured and fitted sweater may benefit from a yarn with less drape.
In addition to drape, the texture of the fabric is also an important consideration. Texture can be created through a variety of knitting techniques, such as cables, lace, or textured stitch patterns. These techniques can add visual interest and dimension to the fabric, as well as affect the overall feel of the sweater.
When choosing a side to side sweater knitting pattern, it is important to consider both the drape and texture of the fabric. By selecting a yarn that creates the desired drape and incorporating texture through knitting techniques, you can create a sweater that not only looks beautiful but also feels comfortable to wear.
Color Selection Tips

When knitting a side to side sweater, choosing the right colors can make a big difference in the overall look of the garment. Here are some tips to help you select colors that will complement each other and enhance the design of the sweater.
Consider the Style and Design
First and foremost, consider the style and design of the sweater. Is it a classic, timeless design or a more modern and trendy one? The color palette should align with the overall aesthetic of the sweater. For example, if it’s a classic design, you might want to stick to neutral colors or traditional shades. On the other hand, for a more modern design, you can experiment with bold and vibrant hues.
Additionally, consider the stitch pattern and texture of the sweater. Different colors can highlight or downplay certain stitch patterns. For example, if the sweater has intricate cable details, choosing a solid color or a subtle variegated yarn can help showcase the stitches. On the other hand, if the sweater has a simpler, stockinette stitch, you might opt for a more variegated or self-striping yarn to add visual interest.
Play with Complementary Colors
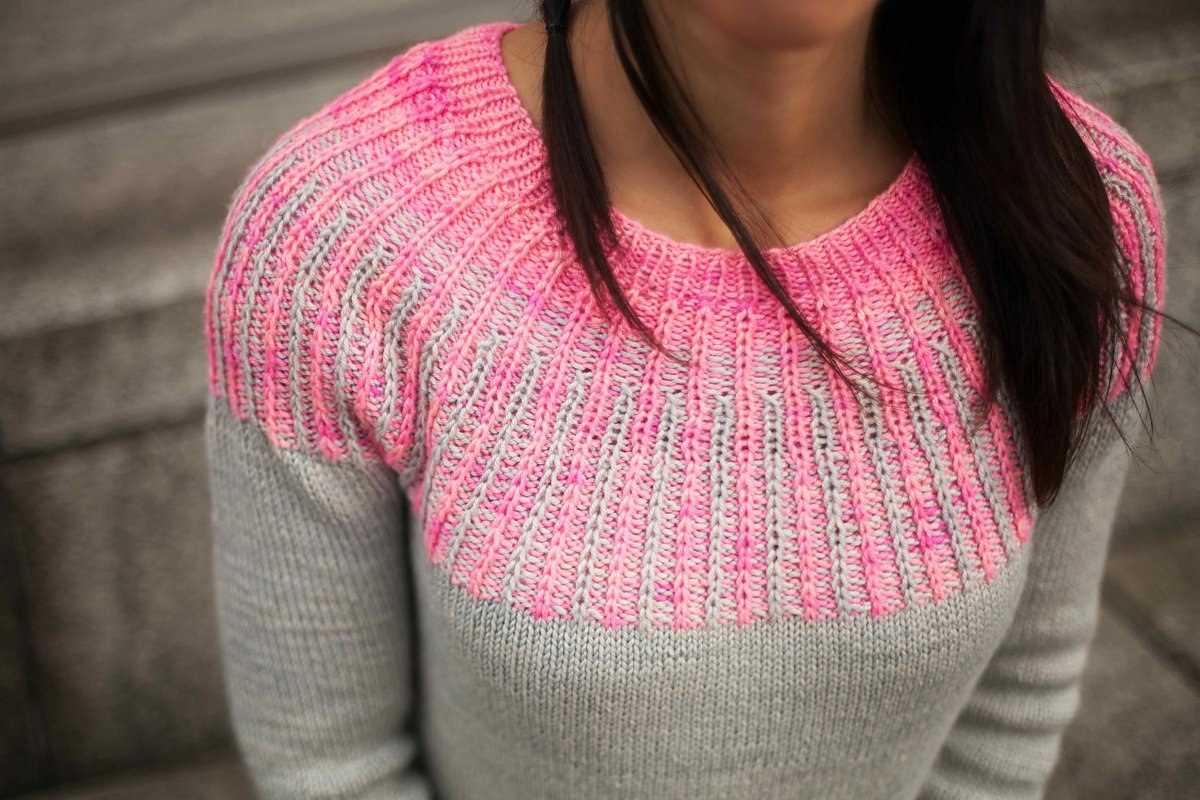
One effective way to choose colors for your side to side sweater is to play with complementary colors. Complementary colors are those that are opposite each other on the color wheel. For example, blue and orange, or purple and yellow. Using complementary colors can create a visually striking effect and make the different sections of the sweater stand out.
If you prefer a more subtle color scheme, you can choose analogous colors. Analogous colors are those that are next to each other on the color wheel. For example, shades of blue and green, or red and orange. This color scheme will create a harmonious and cohesive look for your sweater.
Remember to take into account your own personal preferences and the colors that flatter your complexion. Ultimately, the colors you choose for your side to side sweater should reflect your own style and make you feel confident and beautiful when wearing it.
Casting on and starting your side to side sweater
When beginning your side to side sweater knitting project, it is important to first cast on your stitches. The number of stitches you cast on will depend on the size of your sweater and the desired fit. You can refer to the pattern instructions for the specific number of stitches needed.
One popular method for casting on is the long-tail cast on. To do this, you will need a long tail of yarn. Make a slip knot, leaving a tail about four times the width of your sweater. Insert your knitting needle into the loop of the slip knot and tighten. Hold the working yarn in your right hand and the tail in your left hand. Stretch your thumb and index finger from your right hand between the two strands of yarn. Use your thumb to press down on the tail of the yarn while using your index finger to press up on the working yarn. Insert the needle under the yarn coming from your thumb, then over the yarn coming from your index finger. Pull the loop through the opening, creating a new stitch on your needle. Repeat this process until you have cast on the required number of stitches.
Once you have cast on your stitches, you can begin knitting your side to side sweater. Row 1 of the pattern will typically instruct you to knit across all of the stitches. You will continue to follow the pattern, knitting or purling the stitches as directed, until you have completed the sweater. Be sure to carefully read the pattern instructions and keep track of any shaping or stitch pattern changes.
As you work on your side to side sweater, it is helpful to use stitch markers to keep track of any increases or decreases. These markers can be placed in between stitches to easily identify where to make the necessary changes. Additionally, checking your gauge throughout the project will help ensure that your sweater fits correctly. Use a measuring tape to measure the number of stitches per inch and compare it to the gauge given in the pattern. If your gauge is off, you may need to adjust your needle size or tension to achieve the correct fit.
Determining gauge and measurements
In order to knit the side to side sweater pattern, it is important to determine the correct gauge and measurements. The gauge refers to the number of stitches and rows per inch, which can vary depending on the yarn and needle size used. To determine the gauge, it is recommended to knit a swatch using the recommended needle size and yarn.
Start by casting on a certain number of stitches, such as 20 or 30, and knit a few rows. Then, measure the width and height of the swatch using a ruler or tape measure. Count the number of stitches and rows within a 4×4 inch square on the swatch. This will give you the gauge measurement in terms of stitches and rows per inch.
Example:
- If the gauge is 20 stitches and 24 rows per 4×4 inch square, the gauge would be 5 stitches and 6 rows per inch.
- If the gauge is 18 stitches and 22 rows per 4×4 inch square, the gauge would be 4.5 stitches and 5.5 rows per inch.
Once the gauge is determined, it is important to measure the wearer’s bust, waist, and hip circumference, as well as the desired length of the sweater. This will help in determining the number of stitches to cast on and the overall measurements for the sweater.
Example:
- If the wearer’s bust measurement is 36 inches and the gauge is 5 stitches per inch, you would cast on 180 stitches for the body of the sweater.
- If the desired length of the sweater is 20 inches and the gauge is 6 rows per inch, you would need to knit 120 rows for the body of the sweater.
By determining the gauge and measurements accurately, you can ensure that the side to side sweater will fit properly and have the desired dimensions.
Casting on Stitches
Casting on stitches is the first step in starting your side to side sweater. It is the process of creating the foundation row of stitches that you will work with throughout the project. There are different methods of casting on, but for this pattern, we will be using the long-tail cast-on method.
To cast on using the long-tail method, follow these steps:
- Make a slipknot near the end of your yarn, leaving a long tail.
- Insert your right-hand needle into the slipknot from the front to the back, holding both the tail and working yarn in your hand.
- With your left index finger, position it under the working yarn so that it goes over the top of your finger and under the tail yarn.
- Use your right-hand needle to go over the back of your left index finger, under the working yarn, and then back over the top of your finger.
- Slide the loop off your index finger, keeping the tension firm but not too tight.
- Repeat steps 3-5 until you have cast on the desired number of stitches.
After you have cast on the stitches, you are ready to begin knitting the side to side sweater following the pattern instructions. Remember to keep track of your stitches and count them periodically to ensure accuracy in your work.
Summary
Casting on stitches is the first step in starting your side to side sweater. Using the long-tail method, you create the foundation row of stitches by making a slipknot and looping the yarn over the needle. Once you have cast on the desired number of stitches, you can begin working on the sweater according to the pattern instructions.