
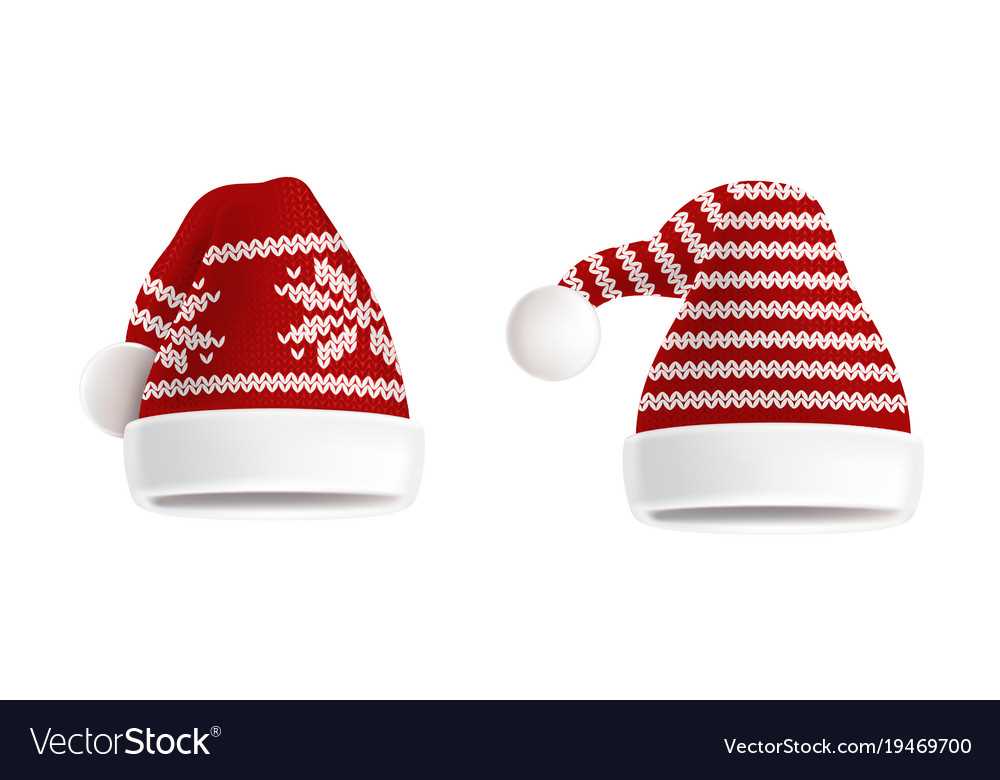
One of the best ways to spread holiday cheer is by donning a festive Santa hat. Whether you’re attending a Christmas party or just want to add a touch of whimsy to your winter wardrobe, knitting your own Santa hat is a fun and creative project. Plus, it’s a great way to use up any leftover yarn from previous projects.
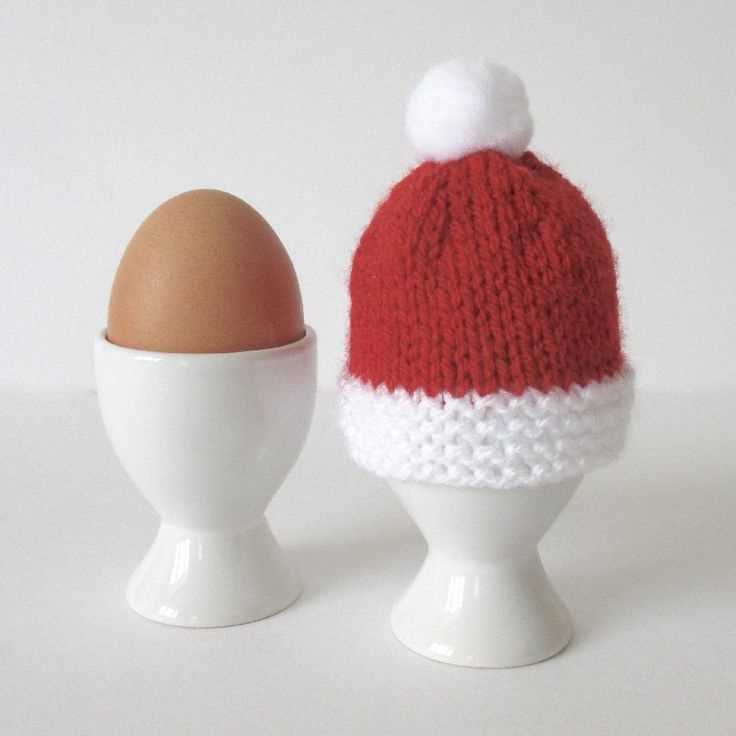
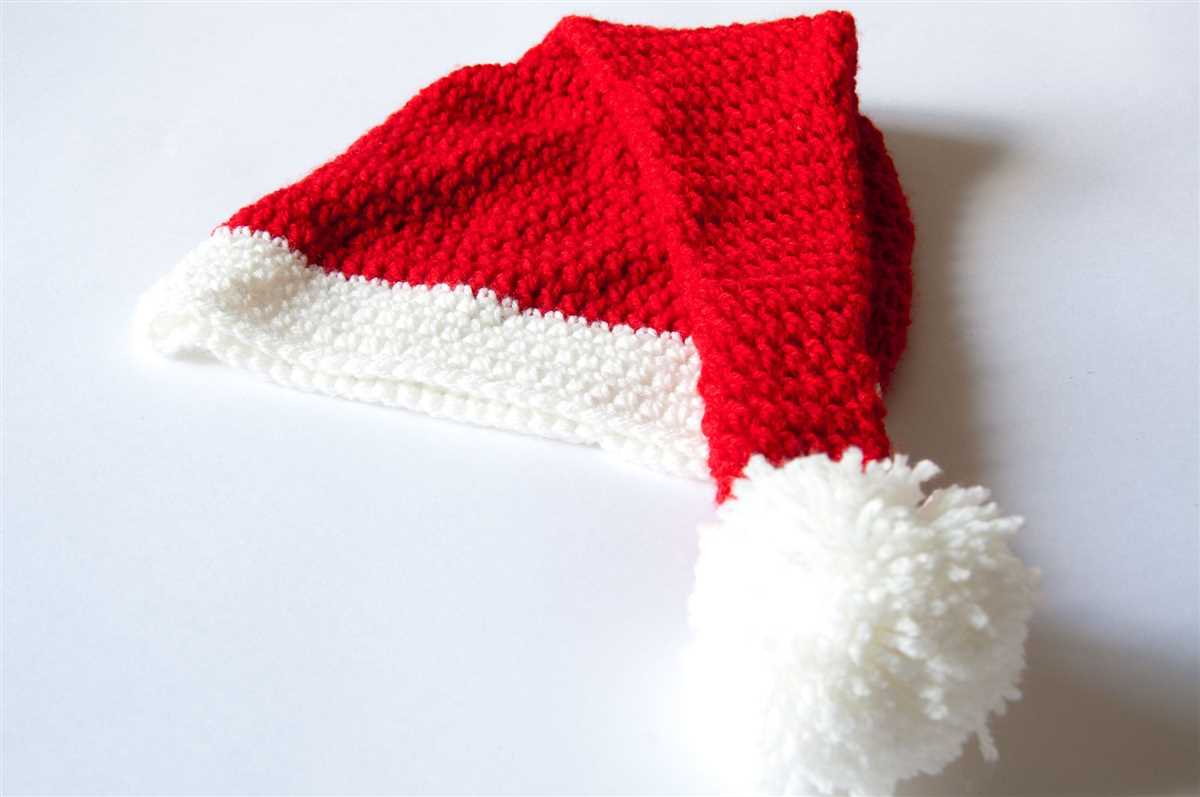
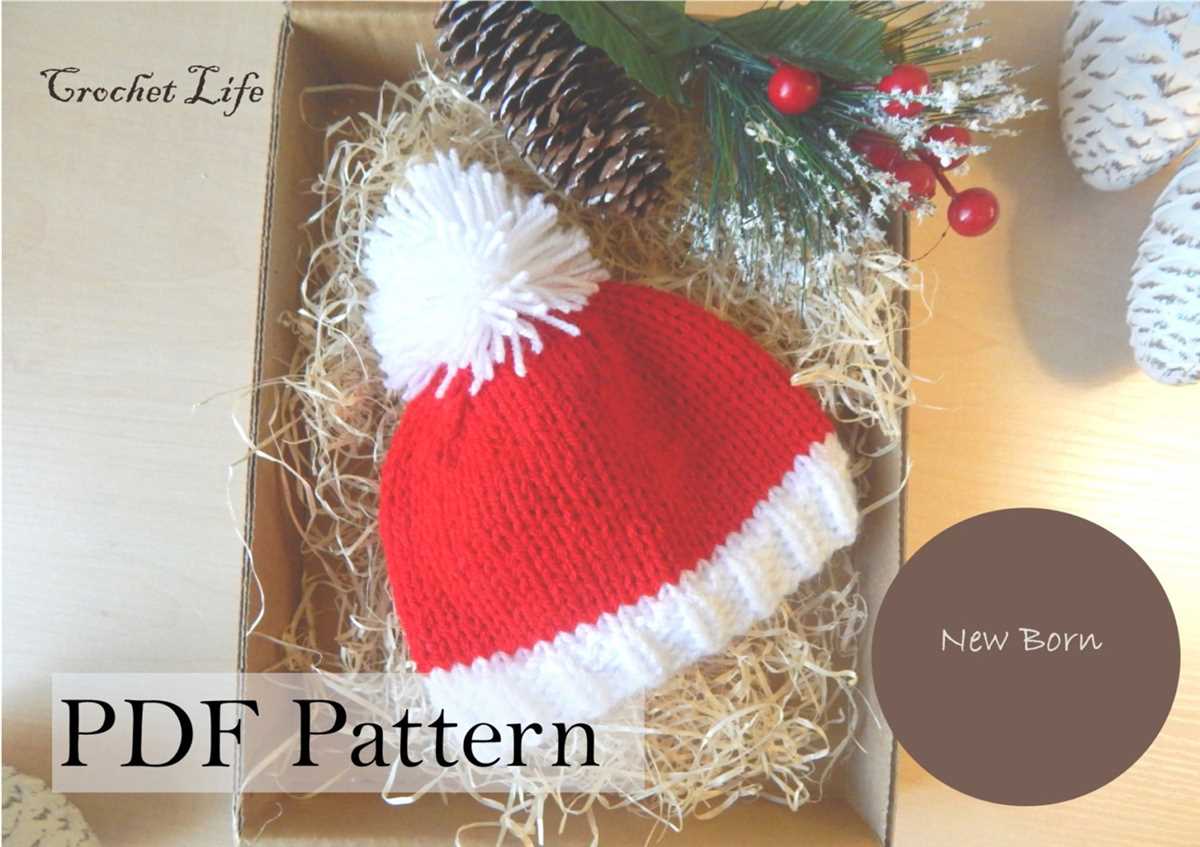
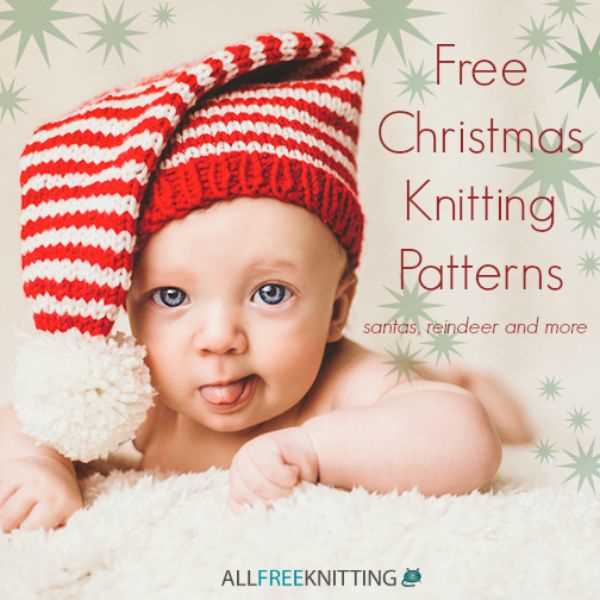
This free knit Santa hat pattern is perfect for knitters of all skill levels. The pattern includes instructions for both a child size and an adult size hat, so you can make one for yourself and one for a loved one. The hat features the classic Santa hat shape, complete with a fluffy white brim and a pompom on top.
To knit this Santa hat, you’ll need some basic knitting skills, including how to cast on, knit, purl, and decrease stitches. The pattern calls for worsted weight yarn and circular knitting needles, but you can easily adjust the size by using different yarn weights and needle sizes.
Whether you’re a seasoned knitter or just starting out, this free knit Santa hat pattern is a fun and festive project to try this holiday season. Get your knitting needles ready and spread some holiday cheer with your own handmade Santa hat!
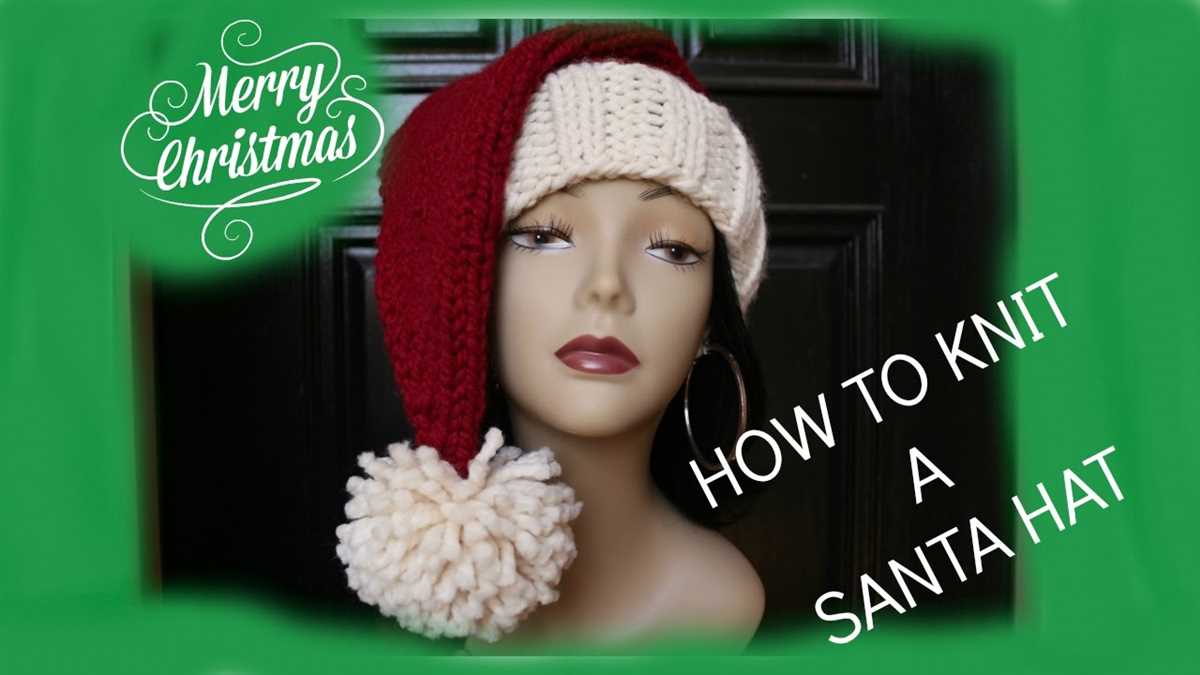
How to Knit a Santa Hat: A Free Pattern

If you’re looking for a fun and festive knitting project, look no further than knitting your very own Santa hat. This free pattern is perfect for both beginners and experienced knitters alike. With just a few supplies and some basic knitting stitches, you’ll have a cozy Santa hat to wear during the holiday season.
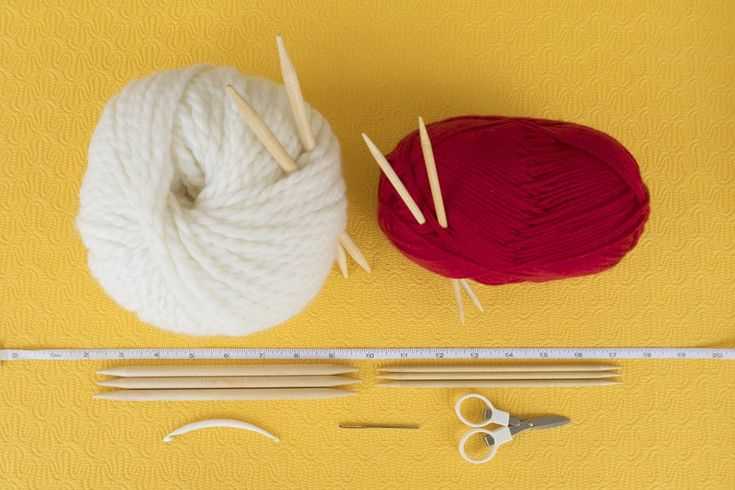
Materials:

- Size US 8 knitting needles
- Worsted weight yarn in red and white
- Tapestry needle
- Pom pom maker (optional)
Instructions:
- Cast on 88 stitches with red yarn.
- Begin knitting in the round in a 1×1 rib stitch for 2 inches.
- Switch to white yarn and continue knitting in the round in stockinette stitch for 5 inches.
- Decrease one stitch at the beginning and end of every knit round until you have 12 stitches remaining.
- Cut the yarn, leaving a long tail. Thread the tail through the tapestry needle and slip the needle through the remaining stitches, pulling tight to close the top of the hat.
- Add a pom pom to the top of the hat using the pom pom maker or by hand.
- Weave in any loose ends and your Santa hat is complete!
Once you’ve finished knitting your Santa hat, you can customize it by adding additional embellishments like sequins, beads, or a festive ribbon. This pattern allows for plenty of flexibility to make the hat your own. Whether you’re knitting for yourself or as a gift for a loved one, this Santa hat is sure to spread holiday cheer.
Materials Needed for the Santa Hat
Making a cute Santa hat is a fun and festive project to welcome the holiday season. To create your very own knit Santa hat, you will need a few materials. Here is a list of essential supplies to get started:
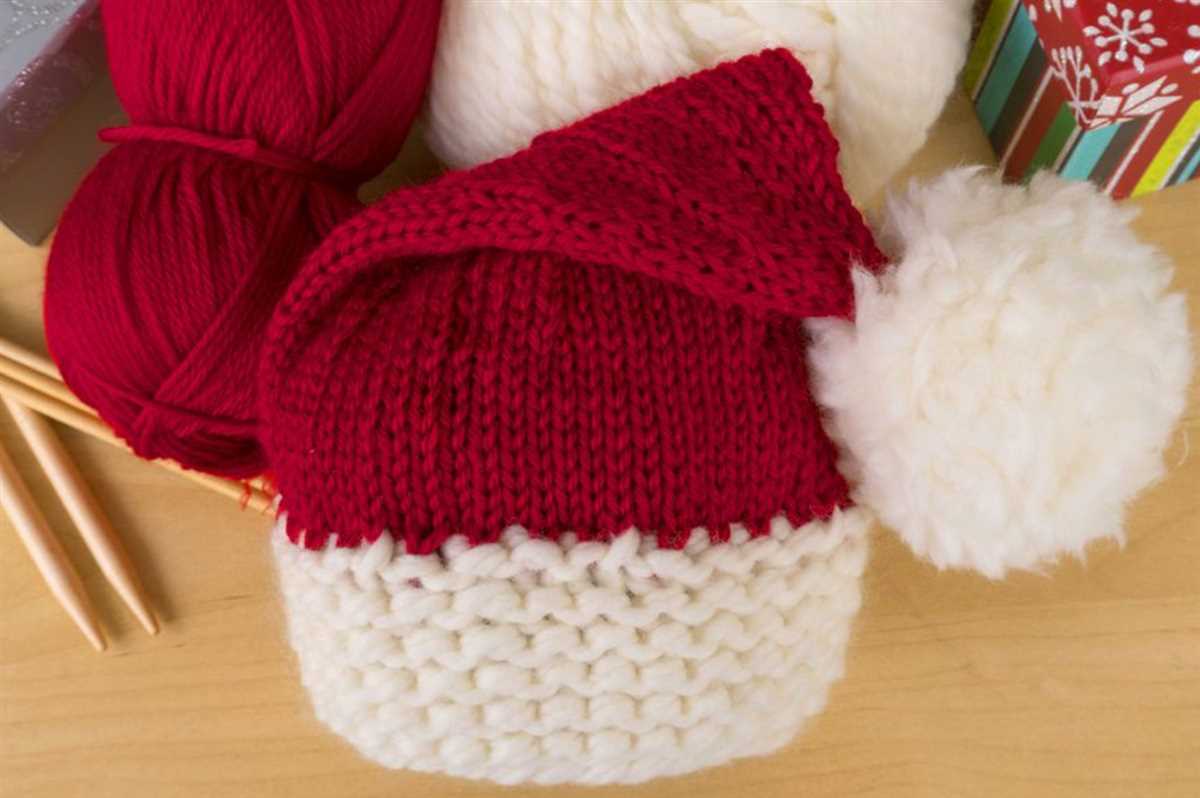
- Yarn: Choose a soft and cozy yarn in the colors red and white. This will give your Santa hat the classic festive look. You can use any type of yarn, but a medium weight yarn is recommended for this project.
- Knitting Needles: You will need a pair of knitting needles in a size appropriate for the yarn you have chosen. Check the label on your yarn for the recommended needle size.
- Tapestry Needle: A tapestry needle with a large eye will be useful for weaving in loose ends and finishing touches on your Santa hat.
- Scissors: A pair of sharp scissors will be handy for cutting the yarn and trimming any excess.
- Pom-pom Maker: If you want to add a fun and fluffy pom-pom to the top of your Santa hat, a pom-pom maker will be helpful. Alternatively, you can make a pom-pom using cardboard or your fingers.
With these materials in hand, you are ready to start knitting your very own Santa hat. Whether you are making it for yourself or as a gift, this project is sure to bring some holiday cheer!
Gauge and Sizing
It is important to pay attention to gauge when knitting a santa hat, as it determines the overall size of the hat. Gauge refers to the number of stitches and rows per inch that are needed to obtain the correct measurements. To ensure that your hat turns out the right size, it is recommended to make a gauge swatch before starting the project.
To make a gauge swatch, cast on a few more stitches than the pattern specifies, and knit a square of approximately 4×4 inches using the recommended yarn and needle size. Once the swatch is completed, measure the number of stitches and rows in the center of the square. Compare these measurements to the gauge specified in the pattern. If your gauge does not match, you may need to adjust your needle size or tension to achieve the correct gauge.
When it comes to sizing, most santa hat patterns will provide instructions for multiple sizes, such as adult and child sizes. These variations in size are typically achieved by adjusting the number of stitches cast on and the length of the hat. Before starting your project, determine which size you will be making and make note of any changes needed.
It is also important to consider the intended recipient of the hat when choosing a size. If the hat is a gift, it may be helpful to measure the recipient’s head circumference and compare it to the measurements given in the pattern. This will help ensure a proper fit. Additionally, consider the desired fit of the hat – a snug fit may be preferred for a child, while an adult may prefer a slightly looser fit.
Tips for Getting Started
If you’re interested in knitting your own Santa hat, here are a few tips to help you get started:
Gather Your Materials
Before you begin, make sure you have all the necessary materials on hand. This includes knitting needles, yarn, a tapestry needle, and any optional embellishments you may want to add to your hat.
Select the Right Yarn
Selecting the right yarn is crucial for a successful knitting project. When choosing yarn for your Santa hat, look for a soft and warm yarn that has a bit of stretch to it. A medium-weight yarn is usually a good option for this type of project.
Choose the Right Needle Size
The size of your knitting needles will determine the gauge and size of your stitches. For a Santa hat, you’ll want to use a needle size that matches the recommended gauge for your yarn. This information can usually be found on the yarn label.
Familiarize Yourself with Basic Knitting Stitches
If you’re new to knitting, it’s important to familiarize yourself with the basic knitting stitches before attempting a more complex project like a Santa hat. Practice knitting and purling stitches until you feel comfortable with them.
Follow a Pattern
Having a pattern to follow is essential for knitting a Santa hat. Look for a free knit Santa hat pattern online that suits your skill level. Make sure to read through the pattern instructions thoroughly before starting your project.
Take Your Time
Knitting can be a relaxing and enjoyable hobby, but it’s important to take your time and not rush the process. Knitting requires patience and precision, so take breaks when needed and enjoy the journey of creating your own Santa hat.
Casting On and Knitting the Brim
Before you can start knitting the brim of your santa hat, you’ll need to cast on the required number of stitches. The pattern you’re using should provide you with specific instructions on how many stitches to cast on. There are several methods for casting on, but the most common method for a santa hat is the long-tail cast on.
To begin the long-tail cast on, you’ll first need to measure out a length of yarn that is approximately three times the width of the brim you want to knit. Fold this length of yarn in half and create a slipknot at the midpoint. Place the slipknot on one of your knitting needles, leaving a tail of yarn that is about six inches long. Hold the needle with the slipknot in your right hand and the other needle in your left hand.
Insert the right-hand needle into the slipknot from front to back, and then bring the right-hand needle under the left-hand needle. Now you’re ready to start casting on. With your right thumb and index finger, reach through the loop on the right-hand needle and grab the long tail end of the yarn. Pull this yarn through the loop, creating a new loop. Slip this new loop onto the left-hand needle.
Continue repeating this process until you have cast on the required number of stitches. Make sure to keep your stitches loose and even, as a tightly cast on brim may be uncomfortable to wear. Once you’ve cast on all the stitches, you can begin knitting the brim of your santa hat. Use the specified stitch pattern in your pattern to create the desired brim design. Typically, the brim of a santa hat is knit in a ribbed pattern to provide stretch and flexibility.
Knitting the Body of the Hat
Once you have finished knitting the brim of the hat, it’s time to start working on the body. Take a look at the instructions below to learn how to continue knitting the Santa hat.
Step 1: Switch to a larger set of circular knitting needles to accommodate the growing circumference of the hat. The exact size of the needles will depend on your desired gauge and the yarn you are using. Refer to the pattern for specific needle size recommendations.
Step 2: Join a new color of yarn, if desired, for the body of the hat. You can continue with the same color as the brim or switch to a contrasting color to create a festive look. To join a new color, leave a long tail of the new yarn and hold it along with the old yarn as you start knitting the new round.
Step 3: Continuing in the round, knit every stitch for the next several rounds. The number of rounds will depend on the length you want your hat to be. It’s helpful to try it on occasionally to make sure it’s shaping up as you want it to.
Step 4: If you want to add any embellishments or designs to the body of the hat, this is the time to do it. You can create stripes, colorwork patterns, or even add pom-poms or tassels. Remember to consult the pattern for any specific instructions for adding embellishments.
Step 5: Once you have reached the desired length for the body of the hat, it’s time to start shaping the crown. Stay tuned for the next section, which will guide you through the process of decreasing stitches to achieve the classic Santa hat shape.
Creating the Hat’s Point
When knitting a Santa hat, the pointy tip is an essential element that gives the hat its iconic look. To create the point, you will need to follow a specific pattern and carefully shape the stitches.
Start by casting on the required number of stitches, usually around 80 to 100, depending on the size of the hat. Knit several rows in a rib stitch pattern to add elasticity and ensure a snug fit on the head. Once the rib stitch section is complete, it’s time to start shaping the point.
Begin decreasing stitches gradually by knitting two stitches together at regular intervals. This will narrow down the width of the hat and create a triangular shape. Continue decreasing the stitches until you have around 10 to 15 stitches left on your needles.
At this point, you will need to gather the remaining stitches tightly and sew them together to close the top of the hat. Make sure to secure the stitches properly to prevent any unraveling. Once the top is closed, you can then attach a pom-pom or tassel to the pointy tip for an added festive touch.
Remember to always use a soft and warm yarn for your Santa hat, as it will provide comfort and insulation during the winter months. Knitting a Santa hat with a well-shaped point will not only keep your head warm but also make you look like a jolly old Santa Claus. So grab your knitting needles and get ready to create a hat that will spread holiday cheer!
Adding the Fur Trim
When making a Santa hat, one of the most important decorative elements is the fur trim. This trim adds an extra touch of holiday spirit and makes the hat look more festive. Adding the fur trim is a relatively simple process that can be done with a few basic knitting techniques.
To add the fur trim, you will need a chunky or bulky weight yarn in a fluffy texture that resembles fur. It’s recommended to choose a yarn in a white or off-white color to mimic the look of snow. You will also need a pair of knitting needles in a size appropriate for your chosen yarn.
Instructions:
- Begin by casting on the desired number of stitches for the brim of the Santa hat. This will vary depending on the size of the hat and the gauge of your knitting.
- Knit the brim in a rib stitch pattern for a stretchy and snug fit. You can use a 2×2 rib stitch or a 1×1 rib stitch, depending on your preference.
- Once the brim is complete, switch to the fluffy yarn for the fur trim. Start knitting with the fur yarn using the same number of stitches as the brim.
- Continue knitting in stockinette stitch with the fur yarn until the fur trim is the desired length. You can make it as short or long as you like.
- Bind off the fur trim and cut the yarn, leaving a long tail for sewing.
- Using a yarn needle, sew the fur trim onto the bottom edge of the Santa hat, making sure it is evenly distributed and securely attached.
Adding the fur trim to your knit Santa hat will instantly transform it into a festive accessory that is perfect for the holiday season. Whether you’re wearing it for a Christmas party or giving it as a gift, the fur trim adds a touch of whimsy and elegance to the hat.
Finishing Touches: Sewing and Blocking
Once you have completed knitting your Santa hat, it is time to add the finishing touches to ensure it looks its best. This involves sewing any seams and blocking the hat to give it a professional and polished appearance.
Sewing
- Using a yarn needle and the same yarn you used for knitting the hat, carefully sew the seams together. Make sure to align the stitches properly to create a seamless finish.
- If your hat has a fold-up brim, you may need to sew it in place to keep it secure. This can be done by stitching around the edge of the brim, making sure to catch both layers of fabric.
- If you added any embellishments or decorations to your hat, such as a pom-pom or a festive button, make sure to securely attach them using the same yarn and needle.
Blocking
Blocking is an essential step in knitting as it helps to even out the stitches, improve the drape of the fabric, and give your project its final shape. Here’s how to block your Santa hat:
- Fill a basin or sink with lukewarm water and add a small amount of mild detergent. Gently submerge the hat in the water, making sure it is fully saturated.
- Allow the hat to soak for about 20 minutes. Fill another basin or sink with fresh water and rinse the hat to remove any excess detergent.
- Press the hat between your hands to remove excess water. Avoid wringing or twisting the fabric, as this can distort the shape of the hat.
- Lay a clean towel or blocking mat on a flat surface and place the hat on top. Gently reshape the hat to your desired shape, making sure the brim is even and any decreases or increases are properly aligned.
- Using rustproof pins, pin the hat to the towel or blocking mat, stretching it slightly if needed. This will help to maintain the shape of the hat as it dries.
- Leave the hat to dry completely, which may take up to 24 hours depending on the yarn and climate. Once dry, remove the pins and your Santa hat is ready to be worn or gifted!
Variation: Adding Pom-Poms
If you want to add an extra festive touch to your Santa hat, consider adding pom-poms! Pom-poms are fun and whimsical, and they can really make your hat stand out. Plus, they are easy to make and attach.
To make the pom-poms, you will need some yarn in a color of your choice. Simply wrap the yarn around your fingers or a pom-pom maker several times until you have a thick bundle. Then, carefully slip the bundle off your fingers or pom-pom maker and tie another piece of yarn tightly around the middle of the bundle. Next, cut through the loops of yarn on each end and fluff up the pom-pom until it looks round and even. Repeat this process to make as many pom-poms as you like.
Once you have your pom-poms ready, you can attach them to your Santa hat. The best way to do this is to thread a piece of yarn through a large needle and then sew the pom-poms onto the top of the hat. You can sew them on in a cluster or spread them out evenly, depending on the look you prefer. Make sure to secure the yarn tightly so that the pom-poms stay in place.
If you want to take it a step further, you can even add different colored pom-poms or mix and match sizes for a fun and eclectic look. The possibilities are endless when it comes to adding pom-poms to your Santa hat, so get creative and have fun with it!
Final Thoughts and Sharing Your Creations
Now that you have learned how to knit a Santa hat using this free pattern, it’s time to reflect on the process and share your creations with others. Knitting can be a relaxing and fulfilling hobby, and creating something as festive as a Santa hat can bring joy to both the maker and the wearer.
As you finish knitting your Santa hat, take a moment to admire your handiwork. The intricate stitches and attention to detail make each hat unique and special. Whether you choose to gift the hat to someone or wear it yourself, it’s sure to spread holiday cheer.
Don’t forget to share your creations with fellow knitters and enthusiasts. Take pictures of your finished hats and post them on social media using the hashtag #KnitSantaHat. You can also join online knitting communities and forums to connect with other enthusiasts and share your experiences. By sharing your creations, you can inspire others to try their hand at knitting a Santa hat and spread the holiday spirit.
Remember, knitting is a versatile craft that allows you to bring your creativity to life. Feel free to experiment with different colors, yarns, and patterns to make your Santa hat truly unique. Whether you prefer classic red and white or want to add some personal flair, the possibilities are endless.
So grab your knitting needles and get ready to create a festive Santa hat that will be cherished for years to come. Happy knitting and happy holidays!