
If you love knitting and you’re looking for a fun and unique project, then a spider knitting pattern might be just what you need. Knitting spiders is a popular trend among crafters, and it’s a great way to add a touch of Halloween or spooky charm to your home decor. Whether you’re an experienced knitter or new to the craft, spider knitting patterns are accessible for all skill levels.
This article will walk you through how to create your own spider knitting pattern, step by step. We’ll discuss the materials and tools you’ll need, as well as provide detailed instructions for each part of the spider. By the end of this article, you’ll have a cute and creepy spider friend to proudly display or give as a gift.
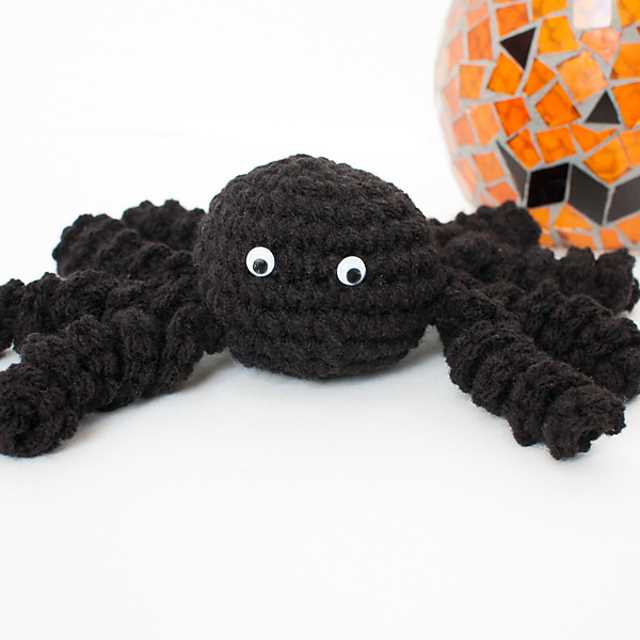
Spider knitting patterns can be adapted to suit your personal tastes and preferences. You can choose the colors and size of your spider, as well as experiment with different yarn weights and types. Additionally, you can customize your spider’s features, such as adding googly eyes or embroidered details.
Spider Knitting Pattern

If you are a fan of knitting and want to try something new and exciting, then the spider knitting pattern might be just what you need. This unique pattern allows you to create adorable spider-shaped knitted toys that can be used as decorations or given as gifts. Whether you are a beginner or an experienced knitter, this pattern is sure to provide you with a fun and rewarding knitting project.
One of the best things about the spider knitting pattern is that it allows you to unleash your creativity. You can choose different colors of yarn to create spiders in various shades and patterns. You can also experiment with different textures and stitches to add more detail and character to your knitted spiders. Whether you prefer a cute and colorful spider or a more realistic and spooky design, the possibilities are endless with this pattern.
What You Need
- Yarn in your choice of colors
- Knitting needles
- Yarn needle
- Stuffing material
- Black embroidery floss or thread
- Black safety eyes (optional)
Instructions
- Begin by casting on the required number of stitches to create the spider’s body. You can use any knitting stitch pattern you prefer.
- Continue knitting until the body reaches the desired length.
- Next, start decreasing stitches to shape the spider’s body. Follow the pattern instructions to create the desired shape.
- Once the body is complete, stuff it firmly with stuffing material.
- Using the yarn needle, sew up the bottom of the body to close it.
- For the legs, cast on the required number of stitches and knit them in a long strip. You can use a different color for the legs or stick with the same color as the body.
- Finish off the legs by binding off the stitches and sewing them onto the body of the spider.
- For the eyes, you can use black safety eyes or embroider them using the black embroidery floss or thread. Sew them onto the spider’s body.
- Your spider knitting pattern is complete! Feel free to add any additional details or decorations to make your spider unique and personalized.
What Is a Spider Knitting Pattern?
A spider knitting pattern refers to a specific design or set of instructions for knitting a spider-themed item. It typically includes step-by-step instructions on how to create a knitted spider using various knitting techniques and stitches. The pattern may also incorporate other elements, such as a spider web motif or additional details like legs, eyes, and a body.
Spider knitting patterns are often popular among knitting enthusiasts who enjoy creating unique and quirky designs. They can be used to make a variety of items, including toys, accessories, home decor, or even clothing. The patterns can range from simple and beginner-friendly to more complex and challenging, depending on the level of expertise required.
Elements of a Spider Knitting Pattern

A typical spider knitting pattern may include the following elements:
- Materials: A list of the materials required to complete the project, such as yarn, knitting needles, stuffing, and any additional embellishments or accessories.
- Gauge: The recommended gauge or tension to achieve the correct size and fit of the finished item.
- Instructions: Step-by-step instructions on how to knit each component of the spider, including any special techniques or stitches used.
- Diagram or Chart: A visual representation of the pattern, often in the form of a diagram or chart, to help visualize the placement of stitches.
- Finishing: Guidance on how to assemble and finish the knitted spider, including sewing any additional details like eyes or attaching legs.
With a spider knitting pattern, knitters can let their creativity soar and create their own unique and personalized spiders. They can choose different colors, sizes, and variations to make their spider design truly one-of-a-kind. Whether it’s a playful toy for a child or a spooky Halloween decoration, a spider knitting pattern offers endless possibilities for creative expression.
Choosing the Right Yarn for Your Spider Knitting Pattern
When knitting a spider pattern, one of the most important factors to consider is choosing the right yarn. The type of yarn you use can greatly impact the overall appearance and feel of your finished project. Here are some important things to consider when selecting yarn for your spider knitting pattern:
1. Weight and Thickness:
The weight and thickness of the yarn will determine the size and texture of your spider. If you want a larger, chunkier spider, opt for a bulkier weight yarn. For a smaller, more delicate spider, choose a fingering or lace weight yarn.
2. Fiber Content:
The fiber content of the yarn can also influence the look and feel of your spider. If you want a plush and cuddly spider, go for a yarn with a high percentage of animal fiber, such as wool or alpaca. For a more lightweight and airy spider, a yarn with a blend of cotton or bamboo may be a better choice.
3. Color:
The color of the yarn can add character and personality to your spider. You can go for a traditional black color to make a classic spider, or get creative and choose a bright and funky color to make a more whimsical spider. Consider the intended purpose of your spider and the environment it will be displayed in when selecting the color of your yarn.
4. Texture:
The texture of the yarn can also play a role in the overall appearance of your spider. A smooth yarn will give a sleek and polished look, while a textured yarn can add depth and interest. Consider the texture of the yarn and how it will complement or enhance the design of your spider pattern.
By considering these factors when choosing your yarn, you can create a spider knitting pattern that is unique and matches your vision. Experiment with different yarns to achieve the desired effect and have fun with the process of bringing your spider to life!
Essential Knitting Tools
Knitting is a popular craft that requires a few essential tools to get started. Whether you’re a beginner or an experienced knitter, having the right tools will make your knitting projects more enjoyable and successful.
1. Knitting Needles: The most important tool for knitting is a pair of knitting needles. They come in various sizes and materials, including bamboo, metal, and plastic. The size of the needles you choose will depend on the type of yarn and the desired gauge of your project.
2. Yarn: Yarn is another essential tool for knitting. It comes in different weights, colors, and fiber types. The type of yarn you choose will depend on the project you’re working on and your personal preferences. It’s important to consider the fiber content, as some yarns are more suitable for certain projects than others.
- Circular knitting needles
- Double-pointed knitting needles
- Cable needles
- Stitch markers
- Tapestry needles
- Scissors
3. Circular Knitting Needles: Circular knitting needles are long, flexible needles that are connected by a cable. They are ideal for knitting in the round, such as making hats, socks, or sweaters without seams. Circular needles are also great for knitting large projects, as they distribute the weight of the project more evenly.
4. Double-Pointed Knitting Needles: Double-pointed knitting needles are shorter needles with points on both ends. They are used for knitting small projects in the round, such as socks, gloves, or sleeves. Double-pointed needles are also great for creating intricate stitch patterns.
5. Cable Needles: Cable needles are used for creating cable patterns in knitting. They are usually short and have a U-shape or a notch in the middle to hold the stitches in place while you cross them over one another. Cable needles are essential for knitting cables and adding texture to your projects.
6. Stitch Markers: Stitch markers are small rings or clips that are used to mark specific stitches in your knitting. They help you keep track of your progress, especially when working on complex stitch patterns or shaping. Stitch markers are available in a variety of sizes and styles.
7. Tapestry Needles: Tapestry needles are large-eyed needles that are used for weaving in yarn ends and seaming knitted pieces together. They are essential for finishing your knitting projects neatly and securely.
8. Scissors: A pair of scissors is necessary for cutting yarn and trimming any excess. Choose scissors with sharp blades that are comfortable to hold.
Having these essential knitting tools will set you up for success and make your knitting projects more enjoyable. Remember to choose tools that are comfortable for you to work with and invest in quality materials that will last.
Getting Started: Casting On
When starting a knitting project, the first step is to cast on. Casting on creates the foundation row of stitches on the needle, allowing you to begin working the pattern. There are various methods of casting on, but for the spider knitting pattern, the long tail cast on is recommended for its stability and neat appearance.
To begin the long tail cast on, you will need to estimate the length of yarn you’ll need based on the number of stitches required for your spider. It’s better to have a slightly longer tail than to run out of yarn while casting on. You can use a ruler or your own finger to measure the tail length. Make sure to leave a tail that’s long enough to work comfortably with, usually around 6 inches.
To start casting on, hold the needle in your right hand and the tail end of the yarn (from the ball) in your left hand. Make a slipknot by twisting the tail end over the yarn end, creating a loop. Insert the needle through the loop and tighten it gently, making sure not to make it too tight or too loose. This slipknot will be the first stitch on your needle.
Next, hold the needle with your right hand and use your left hand to hold the yarn coming from the ball between your thumb and index finger. Cross the working yarn (from the ball) over the top of the needle, creating an X shape between the thumb and index finger. It’s important to always hold the yarn between your thumb and index finger for tension control.
With your right hand, insert the needle under the front loop of the yarn, coming from left to right. Then, with the same hand, bring the needle over the back loop of the yarn, going from right to left. At this point, you should have two loops on the needle.
Continue this process of inserting the needle under the front loop and over the back loop of the yarn until you have cast on the desired number of stitches for your spider. Make sure to keep the tension consistent and not too tight, as this can make it difficult to work the stitches on the next rows.
Once you have finished casting on, you are now ready to move on to the next step of the spider knitting pattern, which is usually the setup row or the first row of the pattern. Follow the instructions provided in the pattern to proceed with the knitting process and create your spider design.
Knitting the Body
When it comes to knitting the body of your spider, there are a few important steps to keep in mind. First, you’ll need to cast on the required number of stitches for the size of spider you are making. This will determine the width and circumference of the body. A common technique is to use a provisional cast on, which allows you to later join the body in a seamless manner.
Once you have cast on, you can begin working the body in the desired stitch pattern. This could be a basic stockinette stitch for a smooth surface, or you might want to add some texture with a ribbing or cable pattern. It’s important to follow the spider knitting pattern carefully to ensure that you are using the correct stitch pattern and repeat for the body.
Next, you’ll need to work the required number of rows to achieve the desired length of the body. Keep in mind that you may need to make adjustments based on your gauge and the thickness of your chosen yarn.
Once you have reached the desired length, you can begin shaping the body. This is typically done by decreasing stitches at regular intervals. The pattern will specify how many stitches to decrease and when to do so. This shaping will give the body a tapered look, similar to the shape of a spider.
- To finish the body, you will need to bind off all of the stitches. This can be done using a basic bind off method or a stretchy bind off technique if desired. This will create a clean edge and secure the stitches in place.
- After completing the body, you can set it aside and move on to knitting the other parts of the spider, such as the legs and head. Once all the pieces are knitted, you can then seam them together to assemble your finished spider.
Knitting the body of a spider requires attention to detail and following the pattern carefully. With the right techniques and patience, you can create a beautiful and realistic spider that will be a unique addition to your knitting collection.
Creating the Spider Legs
When it comes to knitting a spider, the legs are one of the most important and defining features. To create the spider legs, you will need to choose a suitable yarn and needle size. It’s recommended to use a thinner yarn and smaller needles to achieve a more delicate and realistic look.
Start by casting on the desired number of stitches for each leg. The number of stitches will depend on the thickness of the yarn and the desired length of the legs. It’s a good idea to cast on slightly more stitches than you think you will need, as you can always unravel the extra stitches later if necessary.
1. Knitting the legs
Once you have cast on the stitches, you can begin knitting the legs. The simplest way to create the spider legs is by using the stockinette stitch, which involves knitting one row and purling the next row. This creates a smooth and uniform texture.
Continue knitting rows in stockinette stitch until the leg reaches the desired length. You can make the legs as long or as short as you like, depending on the spider design you are aiming for. It’s a good idea to periodically check the length of the leg against the body of the spider to ensure they are proportionate.
2. Adding details
To add more realism to the spider legs, you can incorporate additional details. This can be done by using different stitch patterns or techniques, such as cables or ribbing. These details can give the legs more texture and make them appear more lifelike.
Another way to enhance the appearance of the spider legs is by using different colors of yarn. You can incorporate stripes or color blocks to create a visually interesting pattern. Experiment with different color combinations to achieve the desired effect.
3. Finishing and attaching the legs
Once you have finished knitting all the spider legs, you can cut the yarn and secure the ends. Weave in any loose ends to ensure a neat and tidy finish.
To attach the legs to the body of the spider, you can use a yarn needle or crochet hook. Thread the yarn through the body of the spider and stitch the legs in place. Make sure to evenly distribute the legs around the body to achieve a balanced and symmetrical appearance.
Adding Eyes and Other Details
Once you have finished knitting the body of your spider, it’s time to add some details to bring it to life. One of the most important features of a spider are its eyes, so let’s start there.
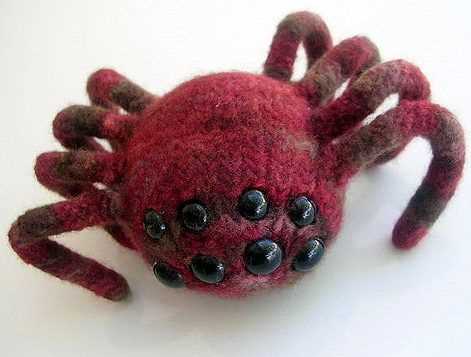
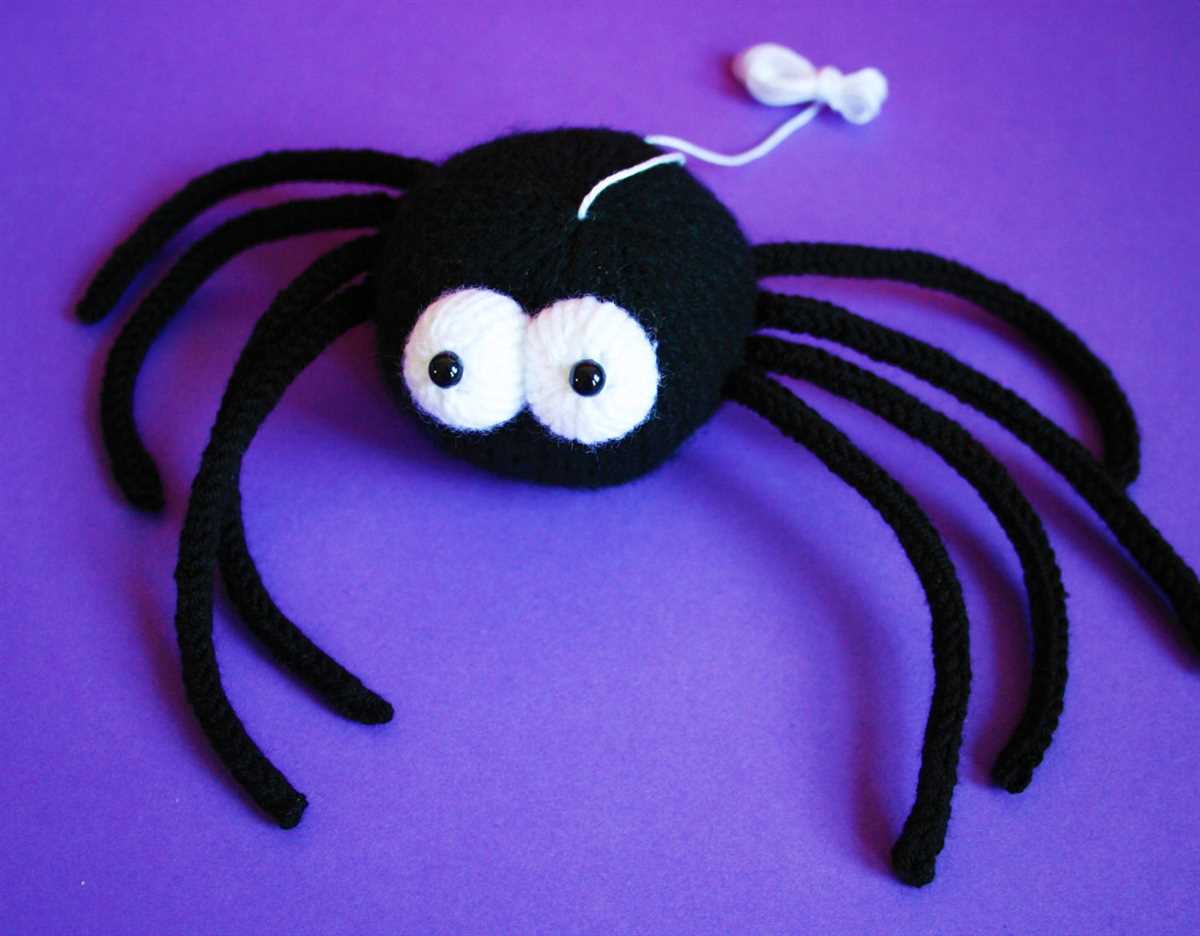
To make the eyes, you can use small beads or buttons. Sew them onto the spider’s head, spacing them evenly and positioning them towards the front. This will give your spider a cute and playful look. If you want a slightly creepier appearance, you can use small black beads for the eyes.
After adding the eyes, you can also add some other details to make your spider more realistic. For example, you can embroider a mouth using black or red yarn. Simply stitch a small line or a curved shape across the head to represent the spider’s mouth. This will add a touch of personality to your spider and make it look even more adorable.
In addition to the eyes and mouth, you can also add some texture to the spider’s body. Use a crochet hook or a knitting needle to create small loops or bumps on the surface of the body. This will mimic the hair-like structures that many spiders have and give your knitted spider a more lifelike appearance.
Finally, you can also attach some thread or yarn to the spider’s body to create the illusion of spider silk. Tie one end of the thread to the spider’s body and let it hang down to simulate a web. This will add an extra layer of detail to your knitted spider and make it even more interesting to look at.
Shaping the Spider’s Body
When knitting a spider, one of the most crucial steps is shaping the body. This is where you give your spider its distinctive round shape. To achieve this, you will need to increase and decrease stitches strategically.
Increasing stitches: To make the spider’s body larger, you will need to increase the number of stitches on your knitting needles. This can be done by using different techniques, such as yarn over or knit front and back. By adding stitches, you create more fabric and give the body a fuller shape.
Decreasing stitches: On the other hand, decreasing stitches is crucial for creating the pointed shape of the spider’s abdomen. This is typically done by knitting two stitches together or passing a stitch over. By reducing the number of stitches, you gather the fabric and create a tapering effect.
It’s important to follow the spider knitting pattern carefully when shaping the body, as the number and placement of increases and decreases will be specified. These instructions will ensure that your spider looks symmetrical and true to form.
Furthermore, it’s a good idea to use stitch markers to keep track of where you need to make increases or decreases. This will help you maintain an even distribution and achieve the desired shape. Remember to move the stitch markers as you progress in your knitting.
By skillfully shaping the spider’s body, you can create a finished product that not only looks like a spider but also has a realistic and visually appealing form. Paying attention to the details during this step will greatly enhance the overall look of your knitted spider.
Finishing Touches: Bind Off
Once you have completed knitting your spider pattern, it’s time to finish off your project with a bind off. Binding off is the process of creating a neat edge that prevents your stitches from unraveling. This final step is crucial in giving your spider a polished and professional look.
To bind off your spider knitting pattern, start by knitting two stitches. Then, using the left needle, lift the first stitch over the second stitch and off the right needle. Continue this process, knitting one stitch and lifting the previous stitch over it, until you have one stitch remaining. Finally, cut the yarn, leaving a tail of a few inches, and pull it through the last stitch to secure it.
Remember to bind off loosely, as a tight bind off can result in a constricted edge that doesn’t match the elasticity of the rest of your spider. Pay close attention to the tension of your yarn while binding off, making sure not to pull it too tightly. Test the elasticity of your bind off by gently stretching it. It should have a similar stretchiness to the body of your spider.
Finishing touches:
- After binding off, weave in any loose ends using a tapestry needle. This will ensure that your spider looks tidy and professional.
- If desired, you can block your finished spider knitting pattern to help shape it and even out any uneven stitches. This can be done by wetting your spider, gently reshaping it, and allowing it to air dry completely.
- Consider adding any additional embellishments to personalize your spider. You could sew on googly eyes, attach small beads for its body, or even knit a tiny hat or scarf to give it some extra character.
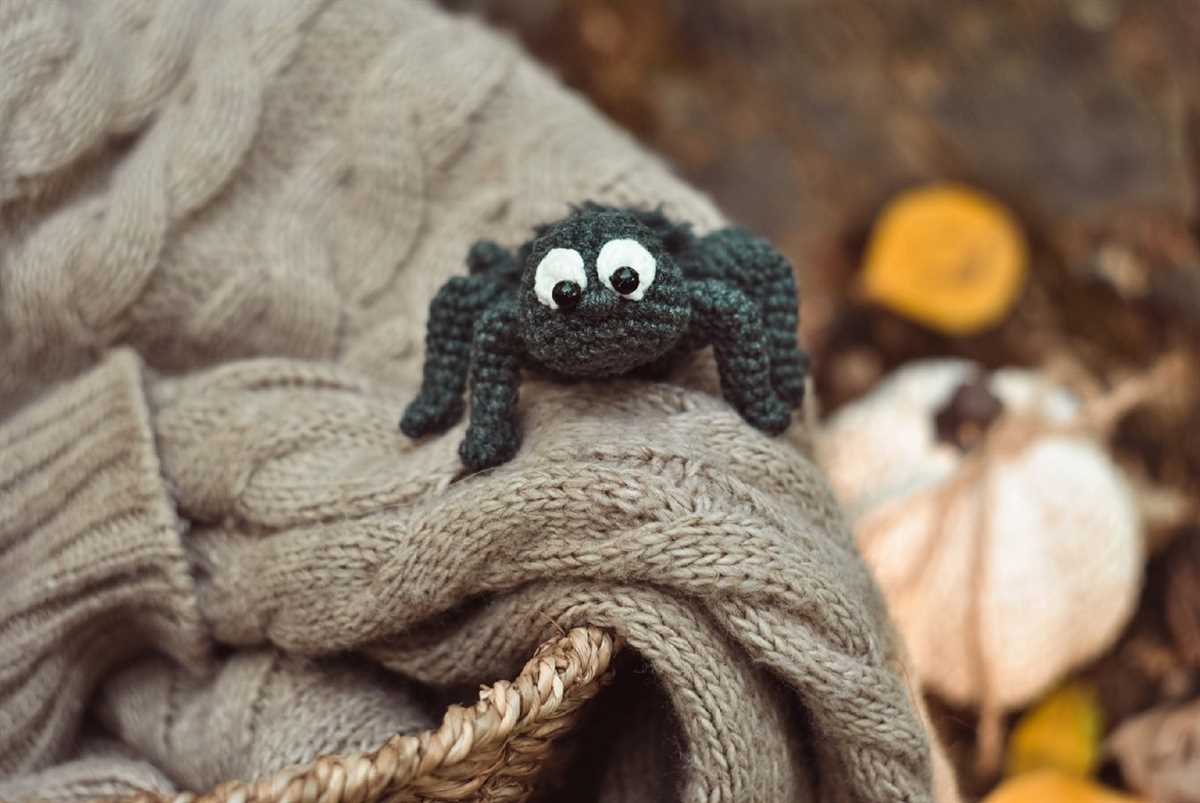
With the bind off complete and any finishing touches added, your spider knitting pattern is now ready to be displayed or gifted. Whether you choose to use it as a spooky Halloween decoration or a cute toy, your carefully crafted spider will surely be a unique and eye-catching addition to any setting.
Blocking and Care Instructions
Blocking is an essential step in finishing your spider knitting project. It helps to even out the stitches, open up lace patterns, and give the final piece a polished look. To block your spider knitting, follow these simple instructions:
Blocking Steps:
- Fill a clean sink or basin with lukewarm water and a mild detergent suitable for delicate fabrics.
- Place your spider knitting project into the water, gently pressing it down to fully submerge it. Let it soak for about 15-20 minutes.
- After soaking, carefully remove the knitting from the water and gently squeeze out excess moisture. Do not wring or twist the fabric, as this can damage the delicate fibers.
- Lay the knitting flat on a clean towel and roll it up, pressing gently to remove additional moisture.
- Unroll the towel and lay the knitting out on a clean, flat surface. Gently shape it into the desired dimensions, making sure to smooth out any wrinkles or uneven stitches.
- Pin the edges of the knitting to the surface using rustproof T-pins or blocking wires, making sure to maintain the desired shape and dimensions.
- Leave the knitting to dry completely, preferably in a well-ventilated area away from direct sunlight or heat sources.
- Once the knitting is dry, unpin it and admire your beautifully blocked spider design!
To keep your spider knitting in good condition, follow these care instructions:
Care Instructions:
- Hand wash your spider knitting using a mild detergent and lukewarm water. Avoid using harsh chemicals or bleach.
- Gently squeeze out excess water and lay the knitting flat to dry. Do not hang it, as this can cause the garment to stretch and lose its shape.
- Store your spider knitting in a dry, clean place, away from moisture and pests. Consider using a storage bag or container to protect it from dust.
- Avoid exposing your spider knitting to direct sunlight for extended periods, as this can cause fading or discoloration.
- If necessary, you can lightly iron your spider knitting using a low heat setting and a pressing cloth to protect the delicate fibers. Be careful not to apply too much pressure or stretch the fabric.
By following these blocking and care instructions, your spider knitting project will maintain its shape, beauty, and durability for years to come.
Variations of Spider Knitting Pattern

The spider knitting pattern is a popular choice for creating spooky and unique designs. While the basic spider knitting pattern involves creating a spider-shaped motif with yarn and knitting needles, there are several variations that can be explored to add different elements to your project.
1. Colorful Spiders
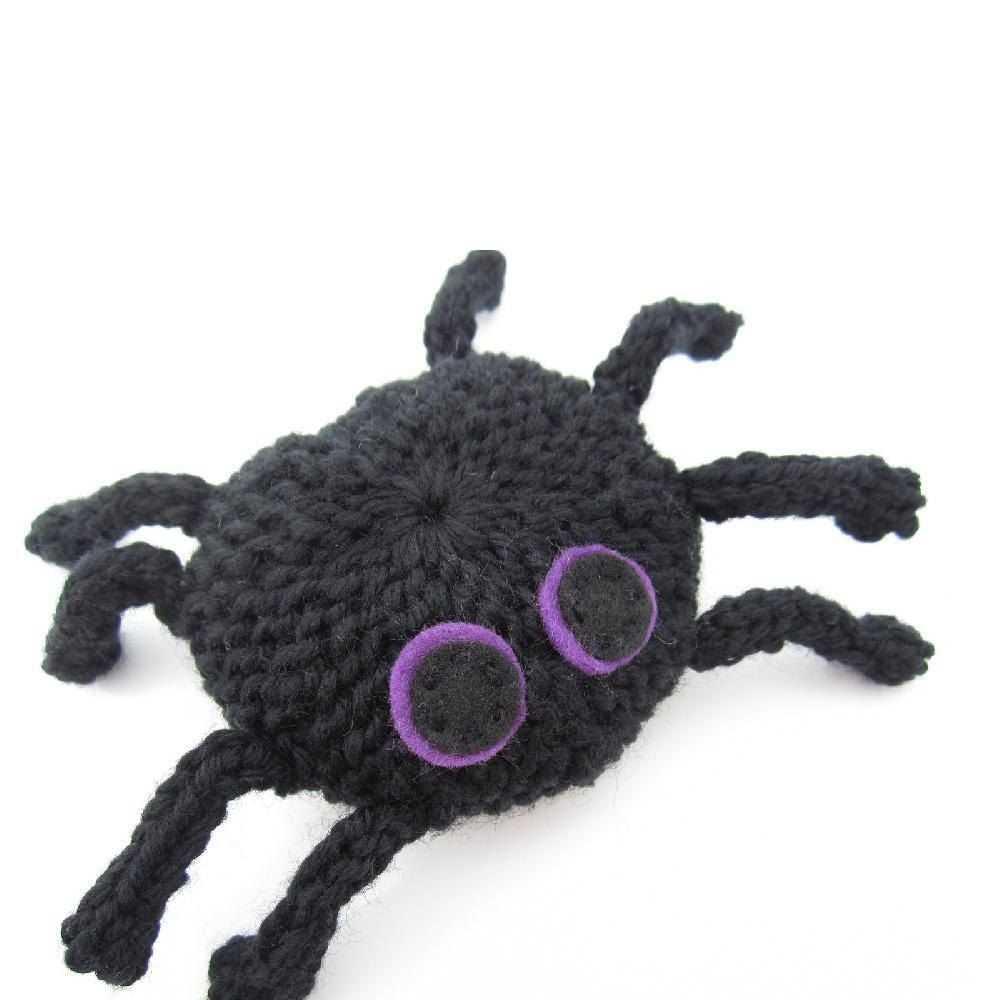
Add a pop of color to your spider knitting project by incorporating different shades of yarn. Instead of using just black or dark colors, experiment with vibrant hues like red, purple, or even neon green. This will make your spider motif stand out and create a visually striking effect.
2. Embellishments
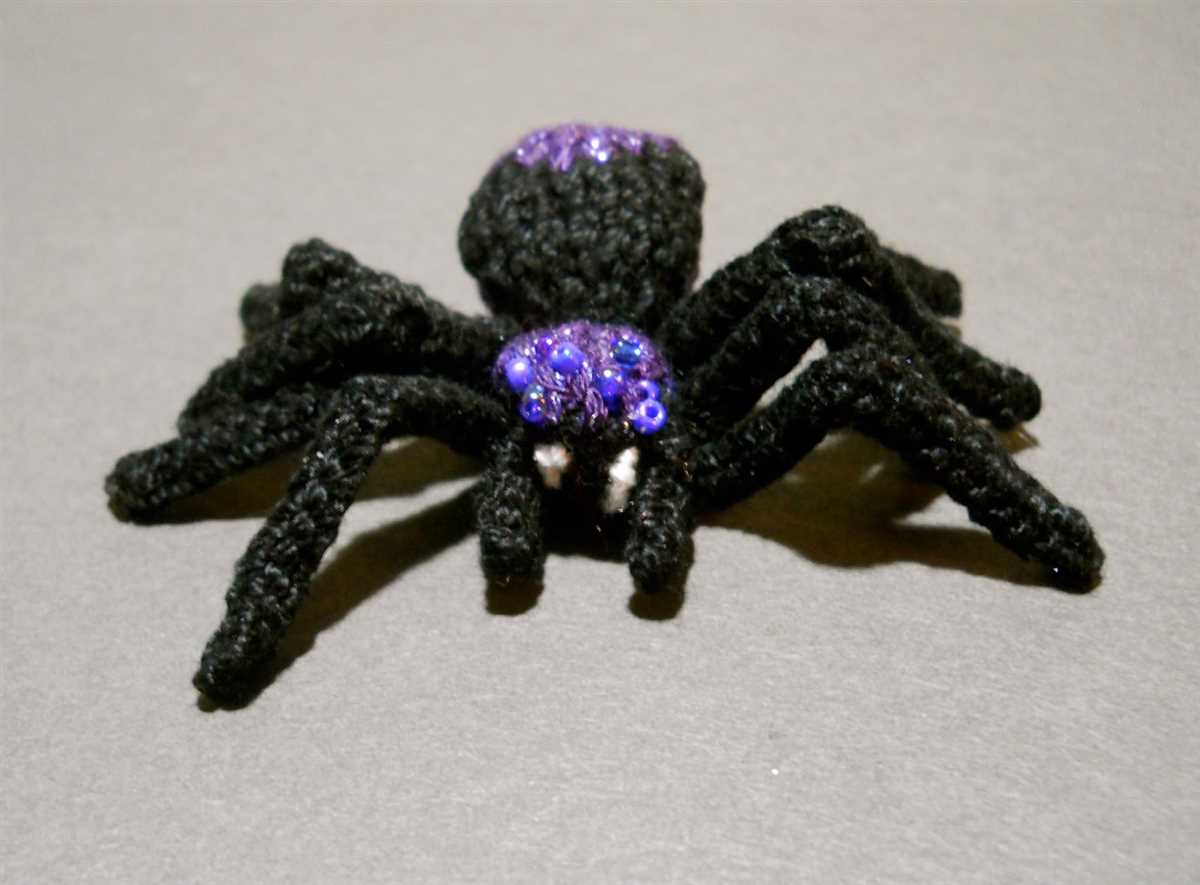
Take your spider knitting pattern to the next level by adding embellishments to your spider motif. You can use small buttons for the spider’s eyes or attach sequins or beads to give it a glamorous touch. These small details can make your spider knitting project more interesting and unique.
3. Multiple Spiders
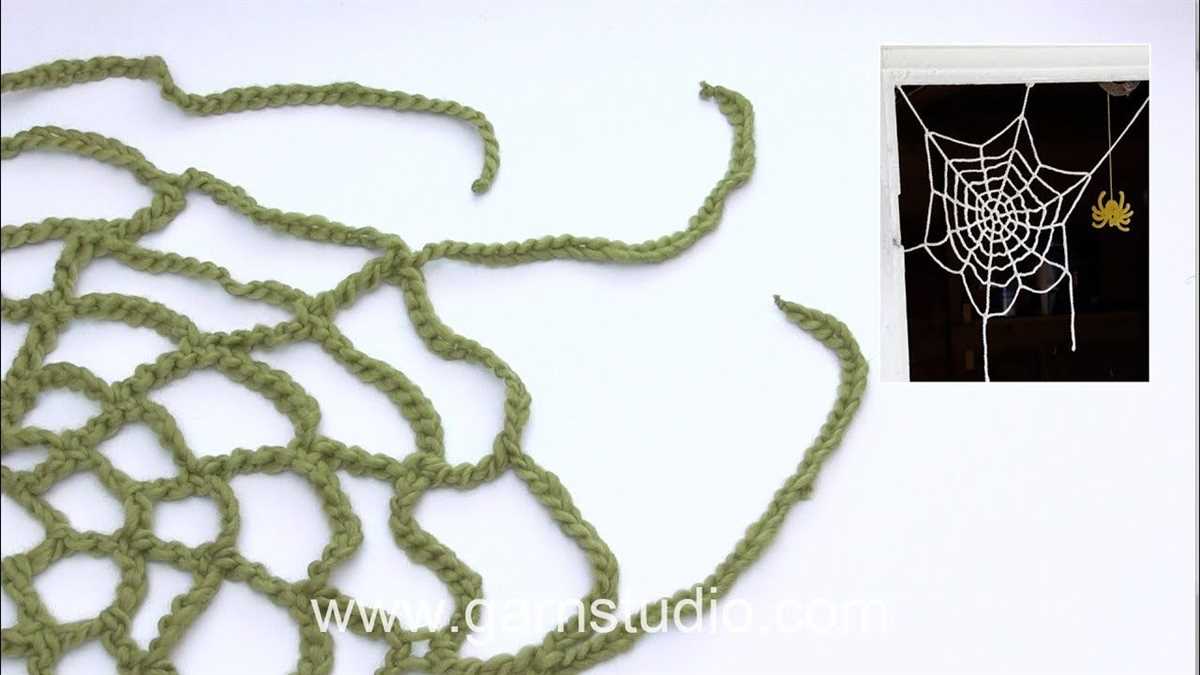
Instead of creating a single spider motif, consider knitting multiple spiders and arranging them in a pattern on your project. You can create a web-like design by strategically placing the spiders at different points. This variation adds complexity and depth to your knitting project.
4. Spider Lace

If you’re up for a challenge, try incorporating lace patterns into your spider design. By using lace knitting techniques, you can create a delicate and intricate spider motif that adds a touch of elegance to your project. This variation is perfect for those who want to combine their love for knitting and lacework.
5. Spider Intarsia
For a more advanced variation, try using the intarsia knitting technique to create a detailed spider design. Intarsia allows you to knit different color blocks within your project, resulting in a clean and defined spider motif. This technique requires some skill and precision, but the end result is worth the effort.
Spider Knitting Tips and Troubleshooting
Knitting spider patterns can be a fun and rewarding project, but it’s not without its challenges. Here are some tips and troubleshooting techniques to help you navigate the process and ensure your spider creation comes out just right.
Tips:
- Choose the right yarn: When knitting a spider, it’s important to choose a yarn that has some stretch to it. This will help the spider maintain its shape and make it easier to stuff and pose. Look for yarns that have a blend of acrylic or nylon for added elasticity.
- Use double-pointed needles: Double-pointed needles are ideal for knitting small, round objects like spiders. They allow you to easily manipulate the stitches and create the spider’s body and legs with precision.
- Practice your tension: Tension is crucial in knitting, especially when working on intricate patterns. Make sure to practice maintaining an even tension to ensure your spider has a consistent shape and size.
- Start with a gauge swatch: Before diving into the spider pattern, knit a gauge swatch to determine the correct needle size and stitch count. This will help you achieve the desired size and proportions for your spider.
- Keep track of your stitches: It’s easy to lose track of stitches when knitting small, repetitive patterns. Use stitch markers or keep a tally to help you stay on track and avoid mistakes.
Troubleshooting:
- Filling and shaping: If your spider is not holding its shape or appears lumpy, try adding more stuffing and shaping it with your hands. Smooth out any uneven areas and adjust the stuffing to achieve the desired look.
- Leg length and positioning: If your spider’s legs are too long or short, you can adjust their length by either knitting more rows or removing some rows. Take measurements as you go to ensure all the legs are the same length. Additionally, you can use a small amount of yarn to attach the legs in the desired position.
- Fixing mistakes: Mistakes happen, but they can be fixed. If you notice a mistake in your spider pattern, carefully unravel the stitches back to the error and re-knit them correctly. Use a crochet hook or needle to pick up dropped stitches and fix any loose ends.
- Blocking: If your spider looks a bit misshapen or uneven, consider blocking it. Blocking involves wetting the knitted piece, reshaping it, and then letting it dry. This can help even out stitches and give your spider a more polished look.
By following these tips and troubleshooting techniques, you’ll be well-equipped to knit your spider pattern with confidence. Remember to practice patience and enjoy the process, as knitting spiders can be a fun and rewarding craft project.