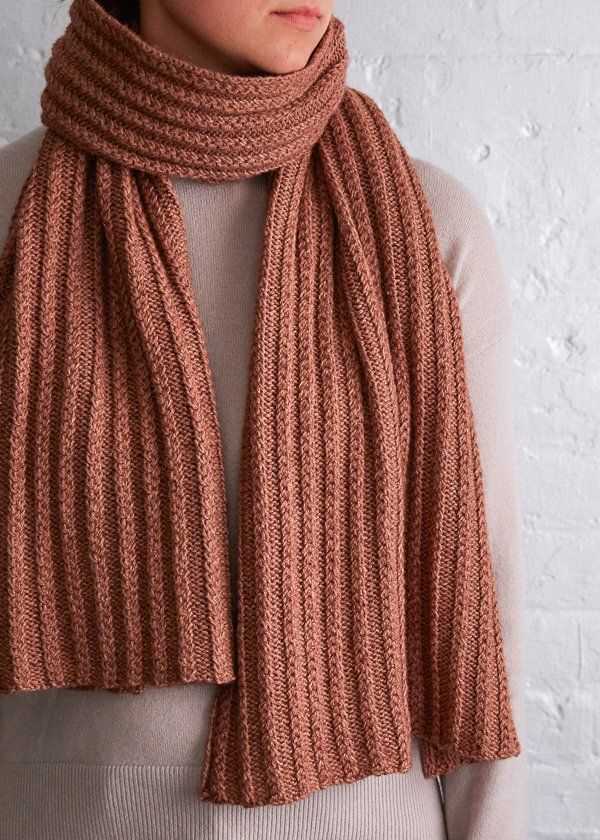
If you enjoy knitting and want to try a new project, a loop knit scarf is a perfect choice. Loop knit scarves are stylish, cozy, and versatile, making them a great addition to your winter wardrobe. Plus, they are quick and easy to make, even for beginners.
To start, you will need a soft and warm yarn of your choice. You can experiment with different colors and textures to create a unique look. Chunky yarn is recommended for a thicker and fuller scarf, while a finer yarn will result in a lighter and more delicate scarf.
The loop knit stitch itself is simple and repetitive, making it ideal for beginners. You will need circular knitting needles or straight needles long enough to accommodate the desired width of your scarf. Simply cast on the desired number of stitches, and then work the loop knit stitch in rows until you reach the desired length.
The loop knit stitch creates a looped pattern that resembles small, elongated loops. The resulting fabric is not only warm and soft but also has a beautiful texture. You can wear your loop knit scarf long or wrap it around your neck multiple times for added warmth. It’s also a great gift idea for your loved ones.
Loop Knit Scarf Pattern
The loop knit scarf pattern is a simple yet stylish design that is perfect for both beginners and experienced knitters. This pattern uses a loop stitch, which gives the scarf a unique texture and a cozy feel. The finished scarf is versatile and can be worn in multiple ways, making it a great accessory for any outfit.
To start knitting the loop knit scarf, you will need a pair of knitting needles and a skein of yarn. Choose a yarn color that complements your style and preferences. The loop stitch is created by wrapping the yarn around the needle multiple times, creating loops that are knitted into the design.
Here is a step-by-step guide to knitting the loop knit scarf:
- Cast on an odd number of stitches to create the foundation of the scarf.
- Knit the first row using the loop stitch. To create a loop stitch, insert your needle into the stitch as if to knit, but instead of wrapping the yarn around the needle once, wrap it several times to create loops. Then, pull the loops through the stitch and slide it off the needle.
- Continue knitting subsequent rows using the loop stitch until the scarf reaches your desired length.
- Bind off the stitches to finish the scarf. Cut the yarn, leaving a tail, and pull it through the last stitch to secure.
This loop knit scarf pattern is a great project for knitters looking to try something new and add a touch of texture to their wardrobe. The loop stitch creates an eye-catching design that is sure to impress. Whether you’re making this scarf for yourself or as a gift, it is sure to be a stylish and cozy accessory.
Loop Knit Scarf Pattern: Materials Needed
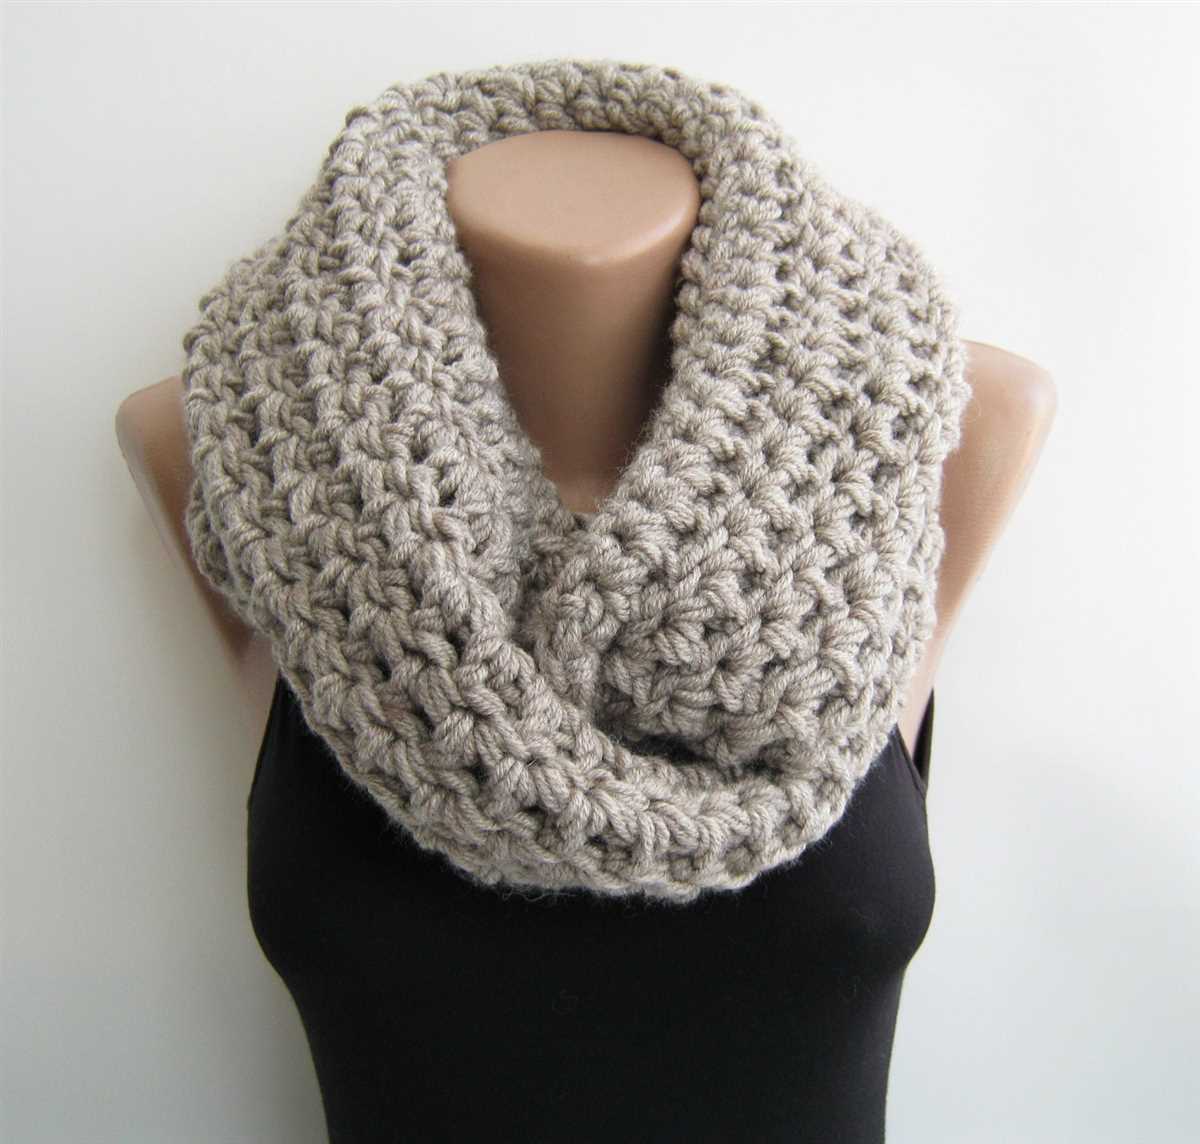
Before you get started on your loop knit scarf project, it’s important to gather all the necessary materials. Here is a list of items you will need:
- Yarn: Choose a soft and chunky yarn in your desired color. The thickness of the yarn will determine the thickness of your scarf.
- Knitting Needles: Make sure you have a pair of knitting needles that are suitable for the thickness of your chosen yarn. Circular needles are recommended for loop knitting.
- Darning Needle: This needle will be used for weaving in loose ends and finishing touches.
- Scissors: You will need a pair of scissors for cutting the yarn.
- Measuring Tape: A measuring tape will help you keep track of the length of your scarf as you go along.
These are the basic materials you will need to complete your loop knit scarf. Once you have gathered everything, you can start working on your project with ease. Remember to choose materials that you feel comfortable working with and that match your personal style!
Getting Started
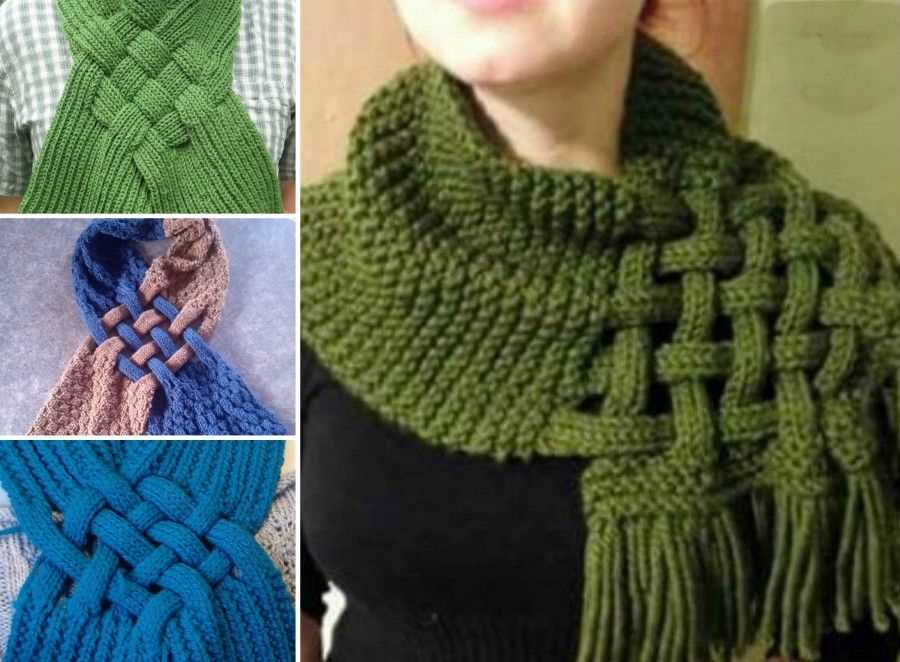
If you’re new to knitting and want to try your hand at making a loop knit scarf, this pattern is a great place to start. Loop knit scarves are trendy and stylish, and they’re also relatively easy to make. With this pattern, you’ll be able to create a beautiful scarf that you’ll be proud to wear or give as a gift.
To get started, you’ll need a few supplies. First, you’ll need a pair of knitting needles, preferably in the size recommended by the yarn you’re using. You’ll also need a skein of chunky yarn in your preferred color. Chunky yarn works well for loop knit scarves because it creates a thick, cozy fabric.
Once you have your supplies ready, you can begin casting on. To cast on, make a slipknot and then place the loop on one of your knitting needles. Hold the needle with the slipknot in your right hand, and use your left hand to hold the other needle.
Next, you’ll need to make a foundation row. This is done by knitting one stitch and purling the next stitch, and repeating this pattern until you have the desired number of stitches on your knitting needles. The foundation row is important because it sets the stage for the rest of the scarf.
Now that you have your foundation row, you can start knitting the body of the scarf using the loop stitch. The loop stitch is created by knitting into the back of the loop instead of the front, which gives the scarf its unique texture.
Casting On
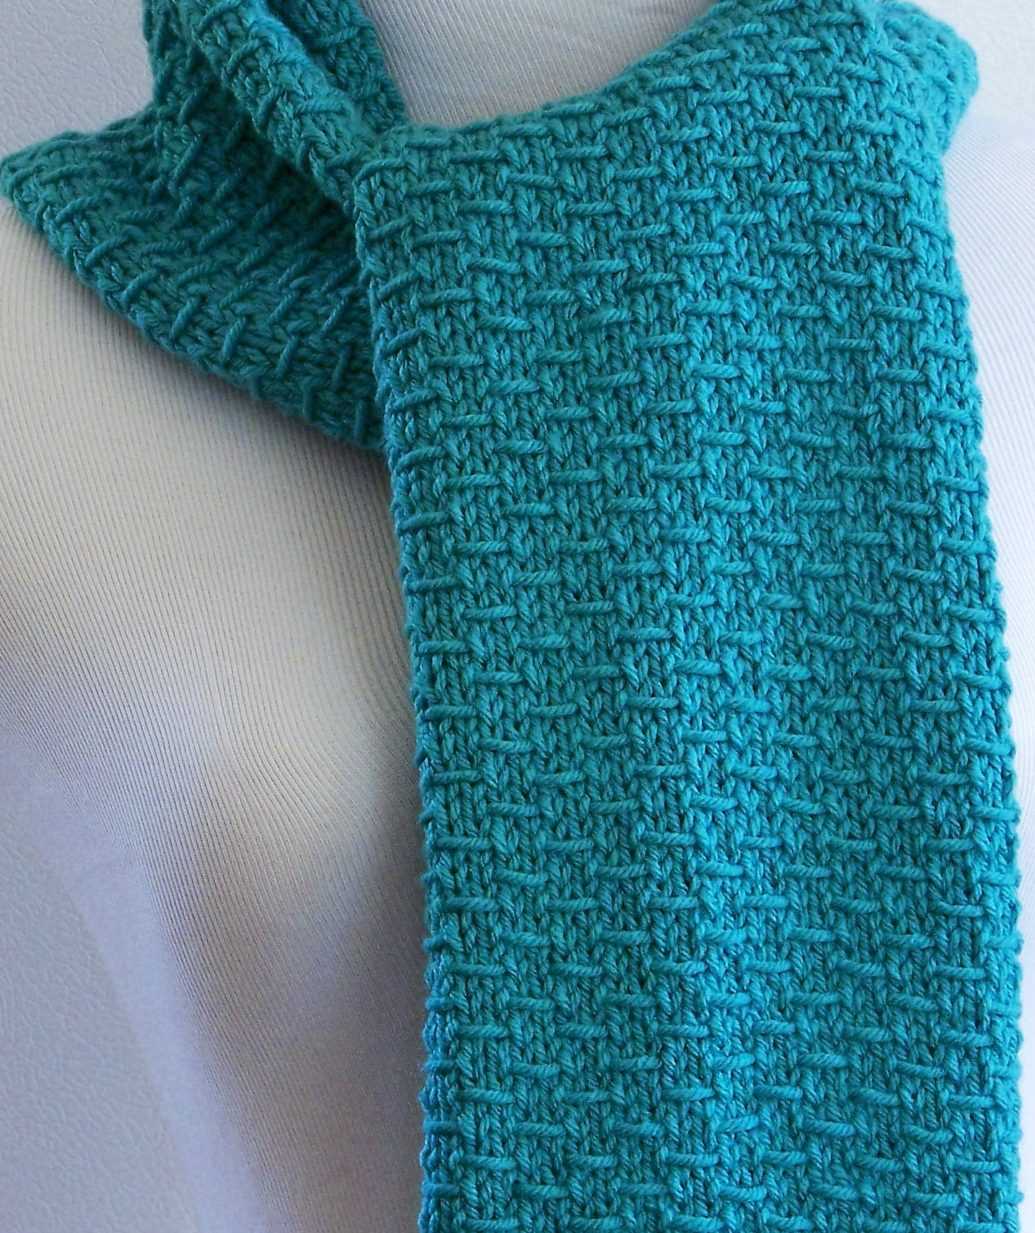
When starting a loop knit scarf, the first step is to cast on. Casting on is the process of creating the foundation row of stitches that will be used to start your scarf. There are various methods for casting on, but one common and basic method is called the knitted cast on.
To begin the knitted cast on, hold the yarn in your right hand and make a slip knot. Insert the needle into the slip knot, making sure the yarn is behind the needle. With your left hand, hold the needle and yarn together, forming a V shape. Using your right hand, bring the yarn over the needle from back to front, creating a loop. Slip the stitch off the left needle and onto the right needle, making sure to keep the tension loose.
Repeat this process for the desired number of stitches. It is important to keep the tension even throughout the cast on to ensure that the stitches are not too tight or too loose. Once you have cast on all the stitches, you are ready to begin knitting your loop knit scarf pattern.
Another method for casting on is the long-tail cast on, which creates a neat and elastic edge. To begin this cast on, estimate the length of yarn you will need by allowing approximately one inch per stitch. Make a slipknot at the estimated length, leaving a long tail. Hold the needle with the slip knot in your right hand and the long tail in your left hand. Place your right thumb and index finger between the strands of yarn, creating a “V” shape. Insert the needle under the strand of yarn that is closest to you, then over the strand that is farther away from you. Pull the yarn snugly, but not too tight, to create a stitch. Repeat this process for the desired number of stitches.
Knitting the Loop Stitch
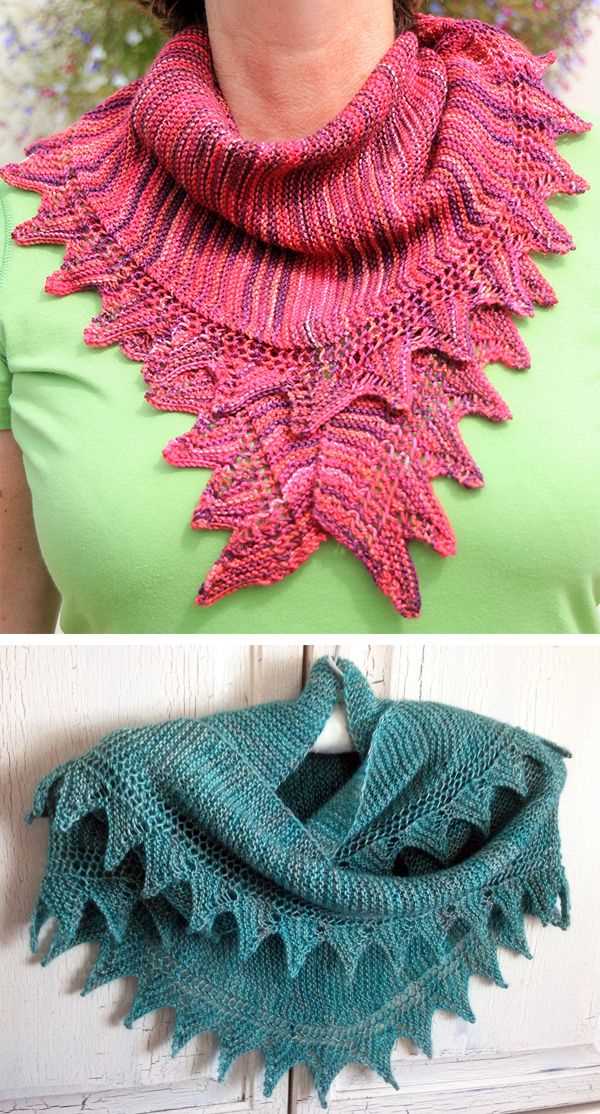
Knitting the loop stitch is a fun and unique technique that can add texture and interest to your projects. This stitch creates a looped surface, giving your knitted fabric a plush, fluffy appearance. It is often used to make scarves, blankets, and other cozy items.
To knit the loop stitch, you will need a pair of knitting needles and yarn in your chosen color. Start by casting on the desired number of stitches. To create a loop, insert your right-hand needle into the next stitch on the left-hand needle as if to knit, but instead of pulling the yarn through like in a regular knit stitch, wrap the yarn around the needle twice.
After wrapping the yarn, pull the second loop through the first loop, creating a new loop on your right-hand needle. Repeat this process for each stitch, making sure to pull the loops evenly and snugly to create a consistent appearance. You can also vary the height of the loops by pulling them tighter or looser. Once you have completed the row, turn your work and continue knitting the next row in the loop stitch pattern.
Tips for knitting the loop stitch:
- Use a smooth, medium-weight yarn for best results.
- Practice the loop stitch on a small swatch before starting a larger project to familiarize yourself with the technique.
- Pay attention to the tension of your loops to ensure an even and uniform texture.
- Experiment with different loop heights and spacing for various effects.
- If you make a mistake, it can be tricky to unravel the loops, so take your time and be patient.
- Once you have mastered the loop stitch, try incorporating it into your own designs and patterns for a unique touch.
Knitting the loop stitch can be a relaxing and rewarding way to add texture and character to your knitting projects. Whether you are knitting a cozy scarf or a plush blanket, this technique is sure to create a beautiful and eye-catching result.
Increasing and Decreasing
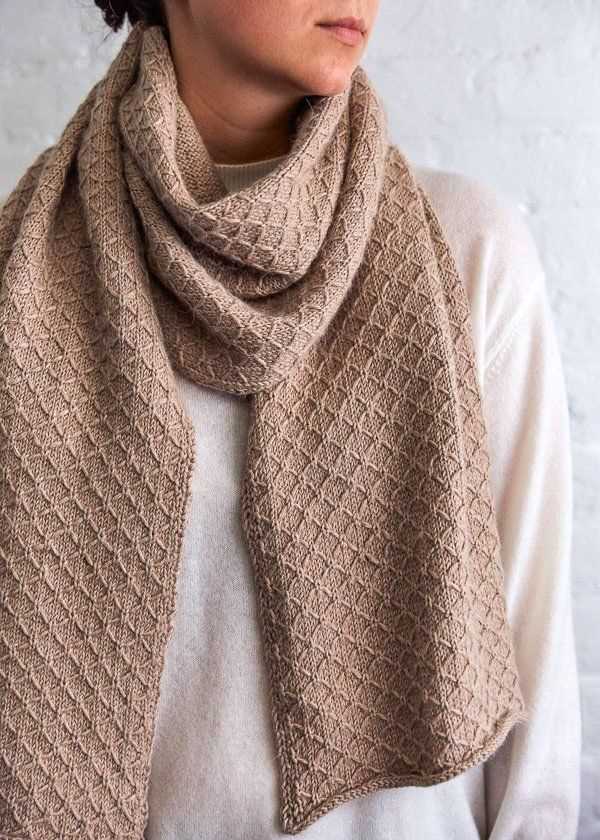
When knitting a loop knit scarf, it is important to know how to increase and decrease stitches. These techniques allow you to shape the scarf and create interesting patterns and designs.
Increasing stitches: To increase stitches, you can use various methods such as yarn overs, knit front and back (KFB), or make one (M1) stitches. Yarn overs create an eyelet or decorative hole in your knitting. KFB involves knitting a stitch through the front loop and then through the back loop, resulting in an increased stitch. M1 stitches involve picking up the horizontal bar between stitches and knitting it to create a new stitch.
Decreasing stitches: To decrease stitches, you can use techniques such as knit two together (K2tog), purl two together (P2tog), or slip, slip, knit (SSK). K2tog involves knitting two stitches together as one, resulting in a decreased stitch. P2tog is the same technique but used for purl stitches. SSK involves slipping two stitches knitwise, then inserting the left needle into the front loops of these slipped stitches and knitting them together.
By using these increasing and decreasing techniques, you can create shaping in your loop knit scarf pattern. For example, you can increase at the beginning and end of each row to create a triangular shape, or increase and decrease in a specific pattern to create a textured design. These techniques add dimension and interest to your knitting projects.
Changing Colors
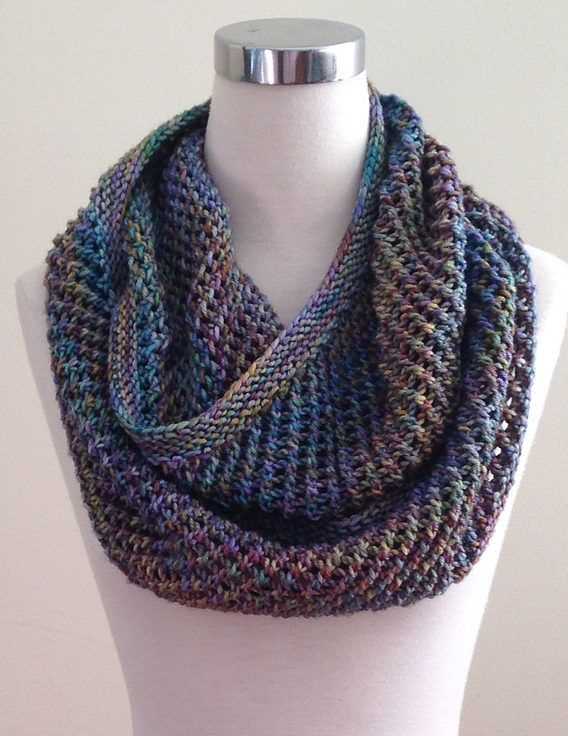
One of the most exciting aspects of knitting is the ability to change colors and create unique patterns within your project. With loop knit scarves, this is no different. By changing colors at specific points in your pattern, you can add visual interest and make your scarf truly one-of-a-kind.
Choosing the right color palette: Before you start knitting, take some time to plan out the color palette for your loop knit scarf. Consider the overall look you want to achieve and think about how different colors will complement each other. You can choose a monochromatic palette for a more subtle effect, or opt for contrasting colors to make a bold statement.
Changing colors within the pattern: Once you have decided on your color palette, you can start incorporating different colors into your loop knit scarf. This can be done by simply tying on a new color yarn when you reach a specific point in your pattern. For example, you can create stripes by knitting a certain number of rows in one color and then switching to a different color for the next set of rows.
Creating color blocks: Another way to change colors in your loop knit scarf is by creating color blocks. This can be done by knitting a set number of rows in one color and then switching to a different color for the next set of rows. This pattern can be repeated throughout the scarf to create a visually striking design.
Experimenting with color combinations: Don’t be afraid to experiment with different color combinations in your loop knit scarf. You can try using different shades of the same color to create a gradient effect, or mix bold and neutral colors for a more eclectic look. The possibilities are endless, so have fun and let your creativity guide you!
Adding a pop of color: If you want to add a pop of color to your loop knit scarf without completely changing the overall color scheme, you can use a contrasting color for a border or edge. This can help to frame the scarf and make the colors in the main body of the scarf stand out even more.
Finishing touches: Once you have finished knitting your loop knit scarf, make sure to securely weave in any loose ends of yarn. This will ensure that your color changes are secure and won’t unravel over time. You can also block your scarf to help it retain its shape and give it a professional finish.
By changing colors in your loop knit scarf, you can create a visually stunning accessory that showcases your knitting skills and personal style. Whether you choose subtle color changes or bold contrasting colors, embracing color is a great way to elevate your knitting projects to the next level.
Adding Fringe
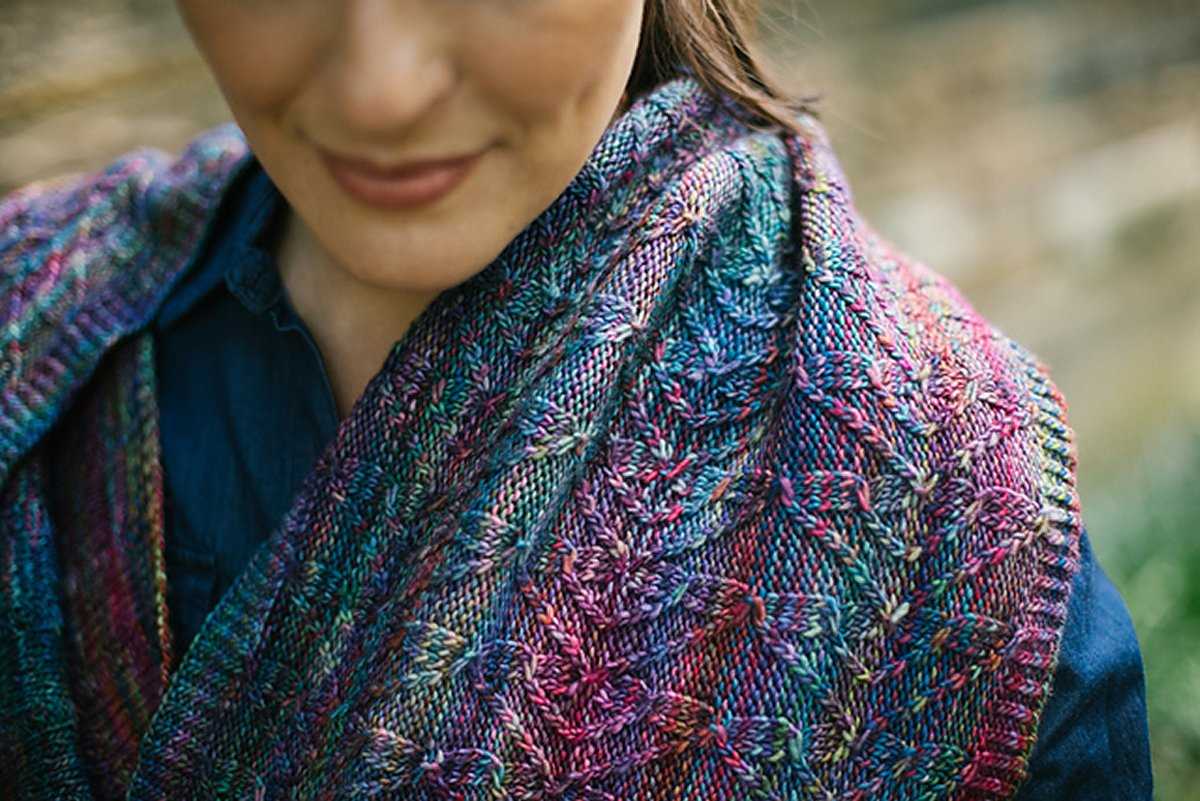
Adding fringe to your loop knit scarf is a simple way to add some extra style and flair to your finished project. Fringe can be added to both ends of the scarf, giving it a more finished and polished look.
To add fringe, you will need yarn in a contrasting color or the same color as your scarf. Cut several strands of yarn to the desired length for your fringe. The length can vary depending on your preference, but a common length is around 6 inches.
Steps to add fringe to your loop knit scarf:
- Using a crochet hook, poke a hole at one end of the scarf where you want to attach the fringe.
- Fold one strand of yarn in half to create a loop.
- Insert the loop through the hole in the scarf and bring the loose ends of the yarn through the loop.
- Pull the loose ends of the yarn to tighten the loop securely to the scarf.
- Repeat steps 2-4 with the remaining strands of yarn, spacing them evenly along the edge of the scarf.
- Once all the fringe strands are attached, trim them to the desired length to create an even, uniform look.
Adding fringe can give your loop knit scarf a fun and playful look, or add a touch of elegance depending on the yarn and color choices. It’s a great way to personalize your scarf and make it unique to your style. So go ahead and add some fringe to your loop knit scarf to take it to the next level!
Blocking Your Scarf
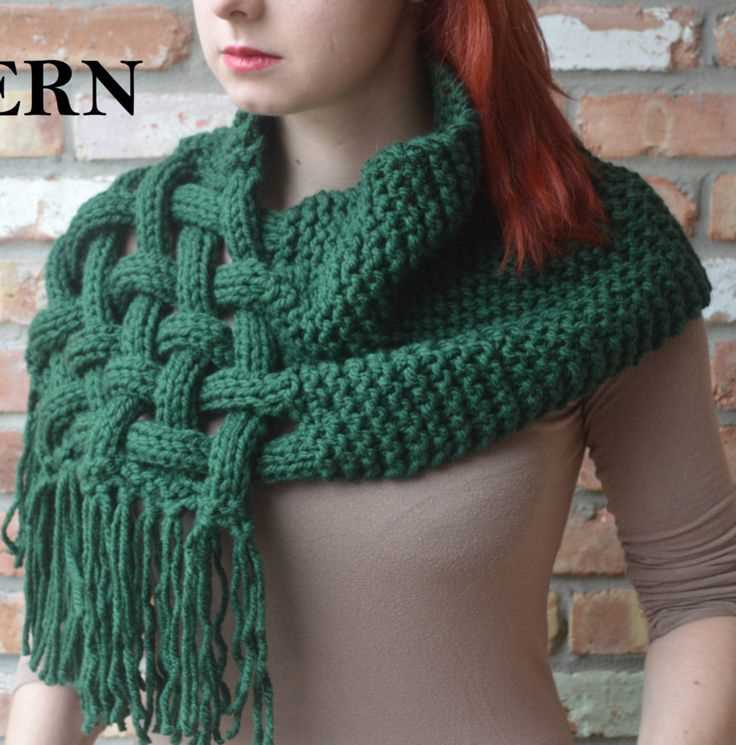
Blocking is an important step in the process of finishing your loop knit scarf. It helps to shape the scarf and give it a more polished look. This process involves wetting the scarf, stretching it to the desired size, and allowing it to dry in that shape. Blocking also helps to even out any uneven stitches or tension in the knitting.
To start blocking your scarf, you will need a clean, flat surface such as a blocking board or an old towel. Lay the scarf flat on the surface and soak it in lukewarm water with a gentle wool wash or mild detergent. Gently agitate the scarf in the water to ensure that it is fully saturated.
Next, carefully remove the scarf from the water and gently squeeze out any excess moisture. Do not twist or wring the scarf, as this can damage the fibers. Lay the damp scarf flat on the blocking board or towel, and use your hands to gently stretch it to the desired size and shape.
Then, use rustproof blocking pins to secure the edges and corners of the scarf to the blocking board or towel. This will help the scarf maintain its shape as it dries. You can also use a tape measure or ruler to ensure that the scarf is evenly stretched and squared off.
After that, allow the scarf to dry completely in a well-ventilated area. This can take several hours or overnight, depending on the thickness and fiber content of the yarn. Once the scarf is fully dry, remove the blocking pins and admire your beautifully blocked scarf!
In conclusion, blocking your loop knit scarf is an essential step in the finishing process. It helps to shape the scarf, even out stitches, and give it a more polished appearance. Follow the steps above to properly block your scarf and achieve the desired result for your knitting project.
Finishing Touches
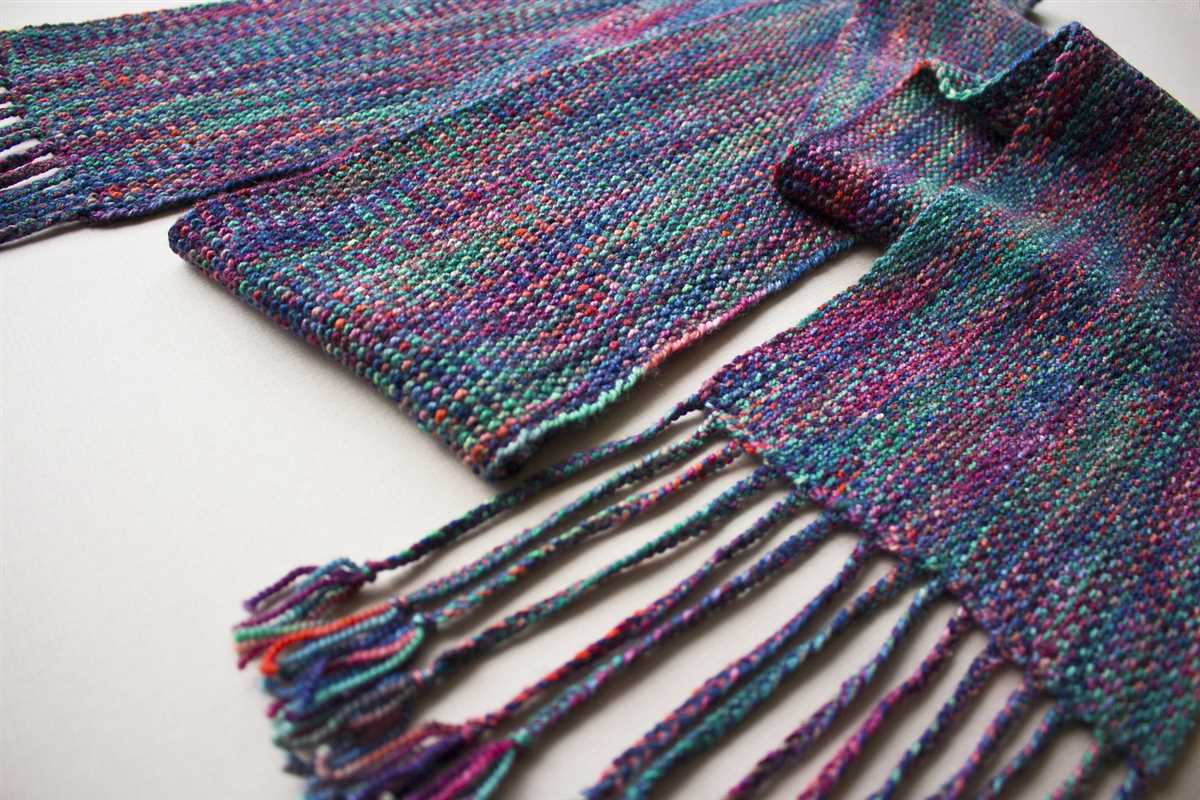
Once you have completed knitting your loop scarf, it’s time to add some finishing touches to make it truly unique and special. These final details will give your scarf a polished look and add a personal touch that reflects your style.
1. Block and shape
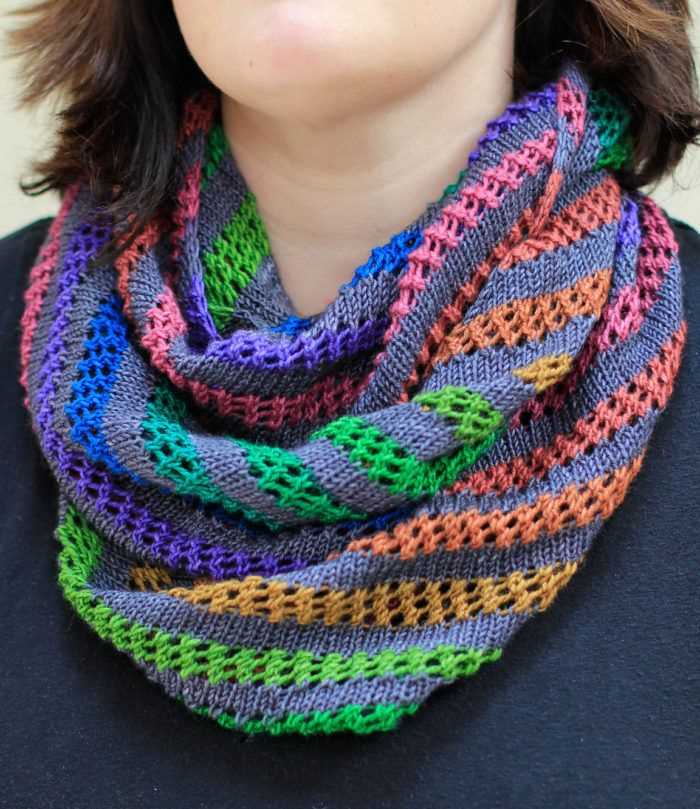
Before adding any additional embellishments, it’s important to block and shape your scarf. This will ensure that the stitches are even and the fabric lays flat. Start by gently washing your scarf in cold water with a mild detergent. Rinse thoroughly and gently squeeze out any excess water. Lay the scarf flat on a clean towel and shape it into the desired dimensions. Pin the edges to hold them in place and leave it to air dry completely.
2. Add fringe or tassels

A popular way to finish off a loop knit scarf is by adding fringe or tassels. This adds movement and texture to the scarf and can be customized to your liking. To make fringe, cut several strands of yarn double the desired length, fold them in half, and insert the looped end through the edge of the scarf. Pull the loose ends of the yarn through the loop and tighten. Repeat this process evenly along both edges of the scarf. For tassels, wrap yarn around a cardboard or book several times, cut one end, and tie a separate piece of yarn tightly around the top. Cut the loops at the bottom to create the tassel and attach it to the corners of the scarf.
3. Embroider or applique
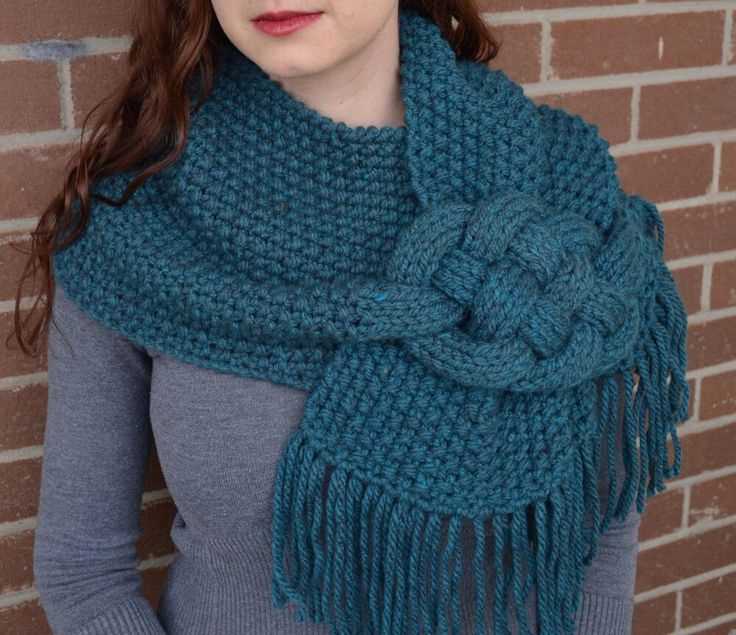
Another way to add a personalized touch to your loop knit scarf is by embroidering or appliqueing designs onto the fabric. You can create intricate patterns or simple motifs using different colored yarns or fabric pieces. Embroidery can be done using a tapestry needle and yarn, while applique involves sewing fabric shapes onto the scarf. This allows you to showcase your creativity and make your scarf truly one of a kind.
4. Attach buttons or brooches
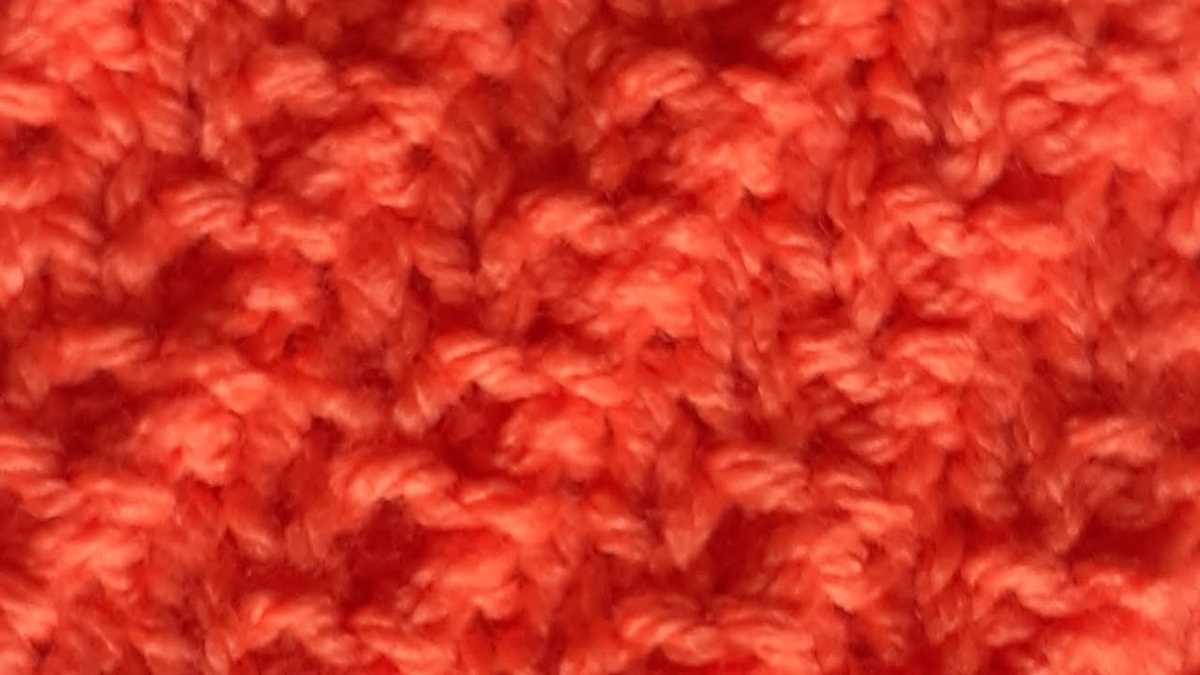
If you want to add some extra flair to your loop knit scarf, consider attaching buttons or brooches. Buttons can be sewn onto the fabric at regular intervals, creating a decorative element while also serving a functional purpose to keep the scarf in place. Brooches can be pinned onto the scarf, adding a beautiful accent that can be easily changed or removed. Choose buttons or brooches in different shapes and designs to match your personal style and make a statement.
By incorporating these finishing touches, you will take your loop knit scarf to the next level. Experiment with different techniques and materials to create a scarf that is truly one of a kind and reflects your unique personality and style.
Styling and Wearing Your Loop Knit Scarf
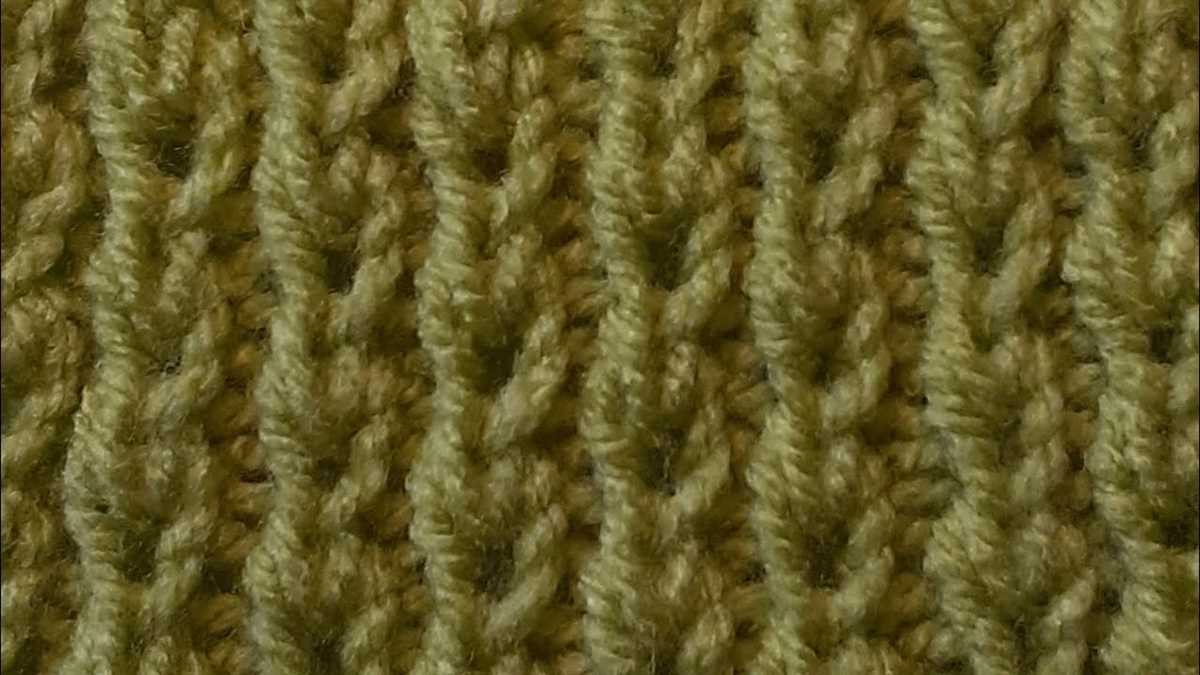
Loop knit scarves are not only cozy and warm, but they also add a stylish touch to any outfit. Whether you’re dressing up for a formal occasion or going for a casual look, there are several ways you can style and wear your loop knit scarf to make a fashion statement.
1. Classic Loop: One of the simplest and most popular ways to wear a loop knit scarf is by looping it around your neck once and letting it hang down. This classic style is versatile and can be worn with both formal and casual outfits. It adds a touch of elegance to any look.
2. Double Loop: For an extra cozy and stylish look, try doubling up your loop knit scarf. To achieve this, simply fold the scarf in half and loop it around your neck twice. This style not only keeps you warm but also adds volume and style to your outfit.
3. Side Knot: Make a fashion statement by tying a side knot with your loop knit scarf. Place the scarf around your neck, leaving one end shorter than the other. Take the longer end and wrap it around the shorter end, then tuck it through the loop and adjust it accordingly. This playful and chic style adds an interesting twist to your look.
4. Belted Scarf: Transform your loop knit scarf into a unique accessory by belting it around your waist. This style adds a touch of sophistication and can be worn over a dress or a long knit sweater. Simply loop the scarf around your waist and secure it with a belt, allowing the ends to hang down for a stylish and trendy look.
5. Hooded Scarf: Stay warm and cozy during colder days by turning your loop knit scarf into a hood. Place the scarf around your neck, leaving one end longer than the other. Take the longer end and loop it over your head, covering your ears, and letting the ends hang down. This practical and stylish style is perfect for those chilly winter days.
With these styling options, you can showcase your personal style and wear your loop knit scarf in a variety of ways. Experiment with different looks to find the one that suits your outfit and mood perfectly.
Tips and Troubleshooting
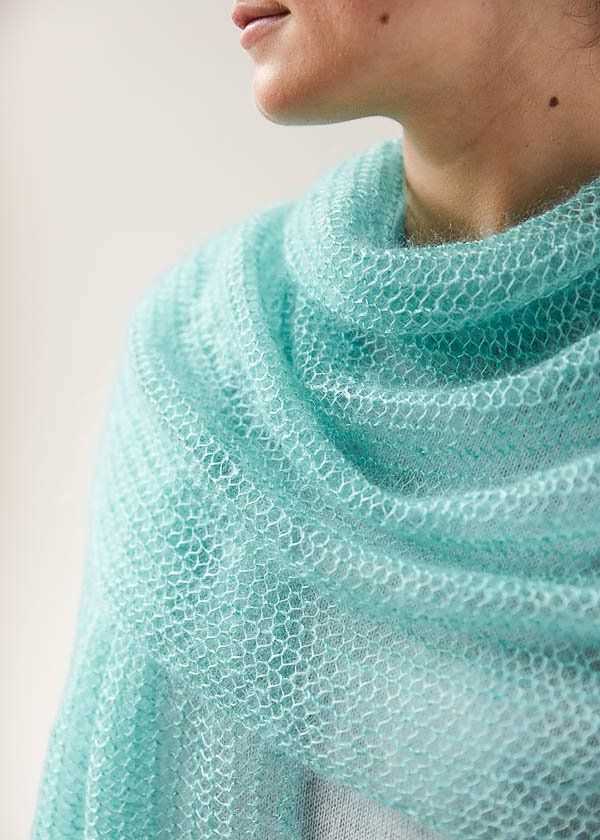
Here are some tips and troubleshooting solutions to help you with your loop knit scarf:
Tips:

- Use a chunky or bulky yarn to create a warm and cozy scarf.
- Make sure to use the correct size of knitting needles to achieve the desired gauge for your scarf.
- Take breaks and stretch your hands and fingers to prevent fatigue or strain.
- Experiment with different stitch patterns or color combinations to create unique designs.
- Follow a stitch marker or row counter to keep track of your progress and minimize mistakes.
Troubleshooting:
- If your scarf is turning out too loose or baggy, try using smaller knitting needles or tightening your tension.
- If your scarf is turning out too tight or compact, try using larger knitting needles or adjusting your tension to be looser.
- If you make a mistake in your knitting, you can use a crochet hook or knitting needle to carefully unravel and fix the error.
- If you are struggling with a particular stitch or technique, seek out online tutorials or consult a knitting book for clarification.
With these tips and troubleshooting solutions, you should be well-prepared to tackle your loop knit scarf project. Remember to have patience and enjoy the process as you create a cozy and stylish accessory for yourself or a loved one.