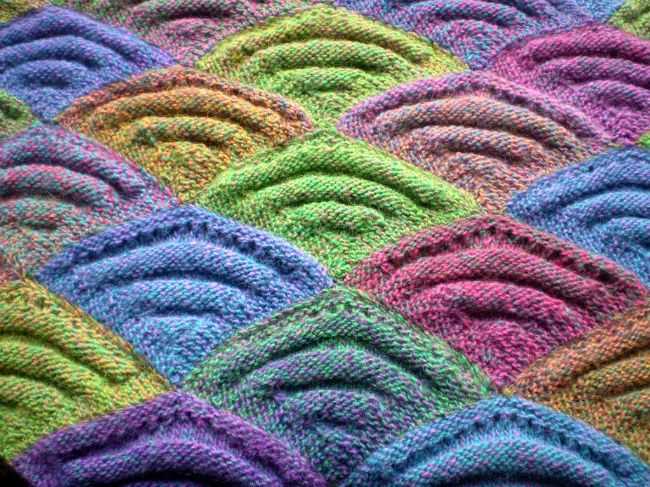
Winter is the perfect time to cozy up with a warm scarf, and what better way to do that than with a handmade patchwork scarf? This versatile and stylish accessory will not only keep you warm, but it will also add a touch of charm and uniqueness to any outfit.
Knitting a patchwork scarf allows you to explore your creativity and experiment with different colors and patterns. Whether you’re a beginner or an experienced knitter, this pattern is suitable for all skill levels. The combination of different stitches and textures creates a beautiful patchwork effect that is sure to impress.
One of the best things about this patchwork scarf knitting pattern is that it’s a great project for using up leftover yarn. Instead of letting those small scraps go to waste, you can incorporate them into your scarf and create a one-of-a-kind piece. The possibilities are endless when it comes to color combinations, allowing you to customize your scarf to suit your personal style.
Not only is knitting a patchwork scarf a fun and creative project, but it also makes for a thoughtful and meaningful gift. Whether you’re making one for yourself or for a loved one, the time and effort put into creating a handmade item will always be appreciated. So grab your knitting needles and get ready to embark on a knitting adventure with this patchwork scarf pattern!
Patchwork Scarf Knitting Pattern
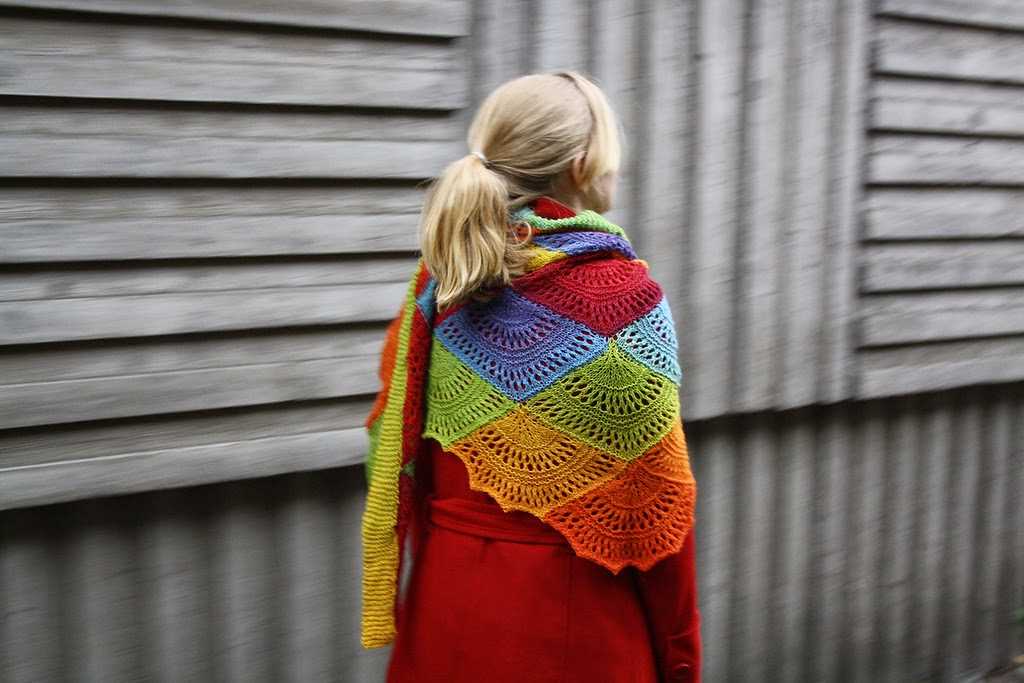
If you’re looking for a fun and unique knitting project, a patchwork scarf may be just what you need. This pattern allows you to use up leftover yarn or create a beautiful color combination of your choice. With its different textured squares, this scarf is sure to catch everyone’s attention.
To begin, gather your materials. You will need various colors of yarn, knitting needles, and a pair of scissors. The great thing about this pattern is that you can use any yarn weight you prefer. Just make sure to adjust your needle size accordingly.
Once you have your materials, start by knitting a gauge swatch to determine the number of stitches and rows you will need for each square. This will ensure that all your squares are the same size. You can then cast on the desired number of stitches and knit each square according to the stitch pattern you have chosen.
To create the patchwork effect, alternate between different stitch patterns for each square. You can use simple garter stitch, ribbing, or even lace patterns to add texture and visual interest to your scarf. The key is to have fun and experiment with different combinations.
Once you have completed all your squares, you can sew them together using a tapestry needle and the same yarn color or a contrasting one. Alternatively, you can crochet them together if you prefer. Remember to sew or crochet the squares in the desired pattern to create a visually appealing patchwork design.
Finally, finish off your scarf by adding fringe, tassels, or any other decorative elements of your choice. You can even embroider or add buttons to further personalize your creation. The possibilities are endless – let your creativity shine!
In conclusion, the patchwork scarf knitting pattern allows you to create a unique and eye-catching accessory. Whether you choose to use leftover yarn or carefully select a color scheme, this project is a great way to showcase your knitting skills and create a one-of-a-kind scarf.
Materials Needed
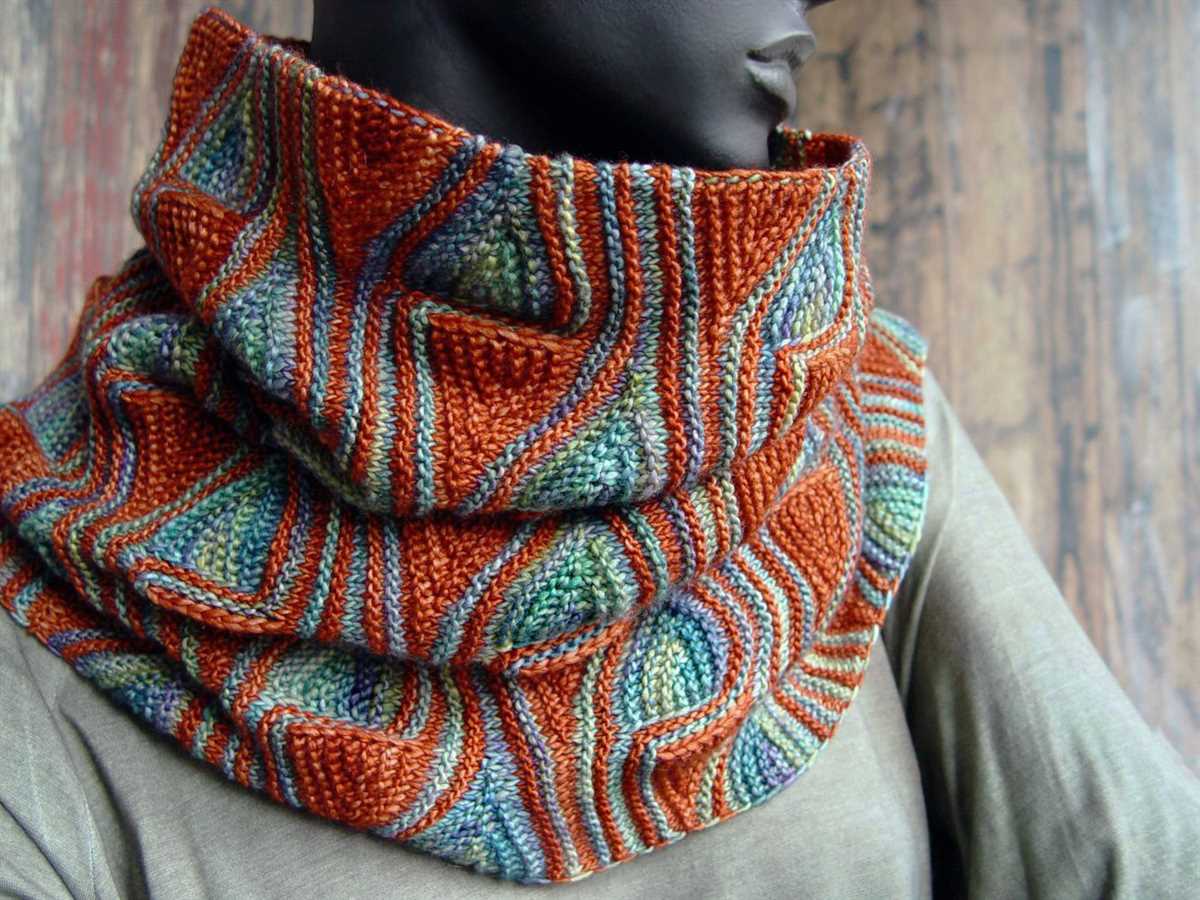
In order to create the patchwork scarf, you will need the following materials:
- Yarn: Different colors of worsted weight yarn, preferably in various shades that complement each other. The exact amount of yarn needed will depend on the size of the scarf you want to make.
- Knitting Needles: You will need a pair of knitting needles, preferably in a size that corresponds with the suggested gauge on the yarn label. This will ensure that your stitches are even and the scarf turns out as desired.
- Tapestry Needle: A tapestry needle will be used for weaving in loose ends and seaming the different sections of the scarf together.
- Scissors: A pair of scissors will come in handy for cutting the yarn and trimming any excess.
- Stitch Markers: Stitch markers can be used to keep track of specific stitches or sections in the pattern, especially if there are color changes or stitch variations.
- Measuring Tape: A measuring tape will be helpful for checking the length and width of the scarf as you work on it, ensuring that it meets your desired measurements.
Once you have gathered all of these materials, you will be ready to start knitting your patchwork scarf. Make sure to choose yarn colors that you love and enjoy the process of creating a unique and personalized accessory.
Choosing Yarn Colors

When it comes to knitting a patchwork scarf, choosing the right yarn colors is an important decision. The colors you choose will determine the overall look and feel of the finished scarf, so it’s worth taking some time to consider your options. There are a few key factors to keep in mind when selecting your yarn colors.
1. Contrast: One important consideration is the contrast between the different colors. For a patchwork effect, you’ll want to choose colors that have a noticeable contrast, so that the different sections of the scarf stand out. For example, you might choose a dark navy blue for one section and a bright red for another, creating a bold and vibrant contrast.
2. Coordinating Colors: While contrast is important, it’s also essential to choose colors that coordinate well with each other. You want the different sections of the scarf to blend together harmoniously, creating a cohesive overall design. Consider using a color palette with shades that are related or complementary to each other, such as different shades of blue or a mix of warm and cool tones.
- 3. Texture: Beyond just the colors themselves, you might also consider the texture of the yarn. Knitting with different textures can add an additional dimension to your scarf and make it even more visually interesting. For example, you could use a chunky yarn for one section and a smooth, silky yarn for another, creating a contrast in both texture and color.
- 4. Personal Style: Ultimately, the choice of yarn colors should reflect your personal style and taste. Consider the colors that you are drawn to and that you enjoy wearing. Whether you prefer bold, vibrant colors or subtle, muted tones, choose yarn colors that make you excited to work on your patchwork scarf.
Overall, choosing yarn colors for your patchwork scarf is a creative process that involves considering factors such as contrast, coordination, texture, and personal style. By carefully selecting your colors, you can create a one-of-a-kind scarf that showcases your knitting skills and reflects your unique aesthetic.
Gauge and Needle Size
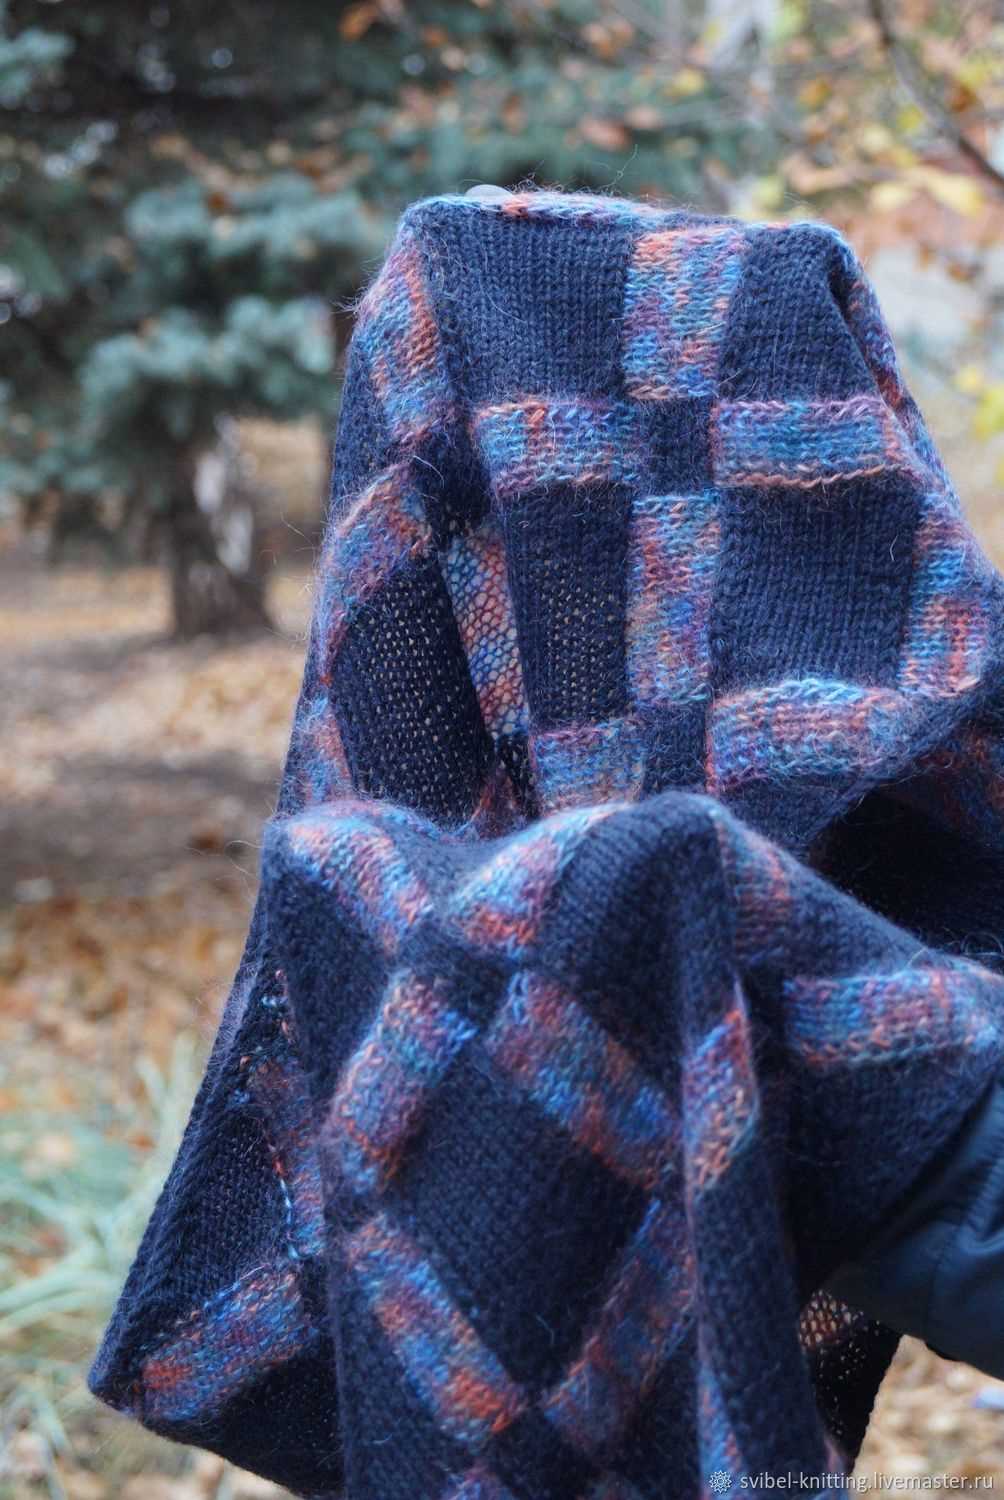
When knitting a patchwork scarf, it is important to pay attention to the gauge and needle size in order to achieve the desired finished product. The gauge refers to the number of stitches and rows per inch in your knitting. This measurement determines the size of the final piece and how it will fit when worn.
Before starting your patchwork scarf, it is recommended to knit a gauge swatch. This is a small sample of knitting that allows you to check if your stitches and rows match the pattern’s gauge. By using the specified yarn and needle size, you can compare your swatch to the gauge given in the knitting pattern to ensure accuracy.
Needle Size
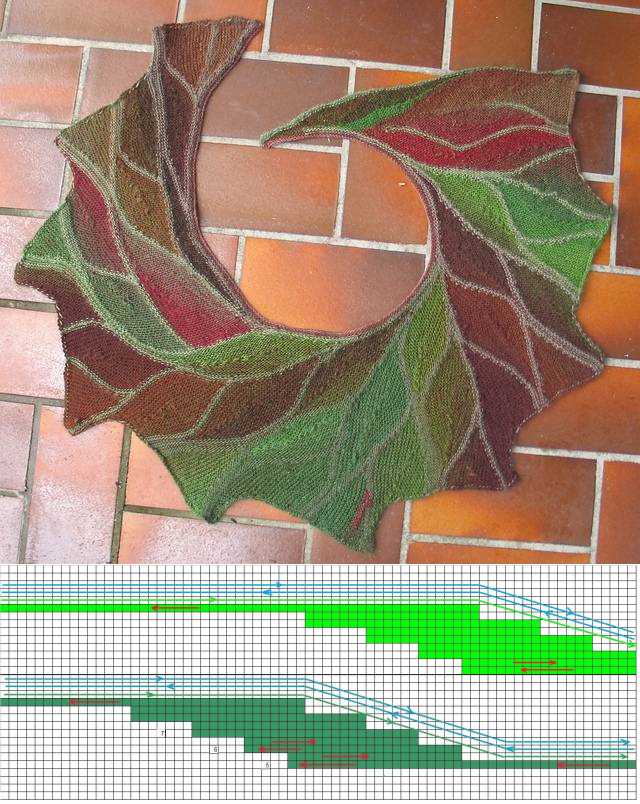
Choosing the right needle size is crucial to achieving the correct gauge. The needle size indicated in the pattern may vary depending on the desired outcome and the yarn being used. It is important to use the needle size recommended in the pattern to ensure both accurate sizing and proper drape of the scarf.
If your gauge swatch does not match the pattern’s gauge, you may need to adjust your needle size. If your stitches are too loose and your gauge is too large, try using a smaller needle size. Conversely, if your stitches are too tight and your gauge is too small, use a larger needle size. Remember to knit another swatch after adjusting the needle size to confirm that the gauge is now correct.
Importance of Gauge
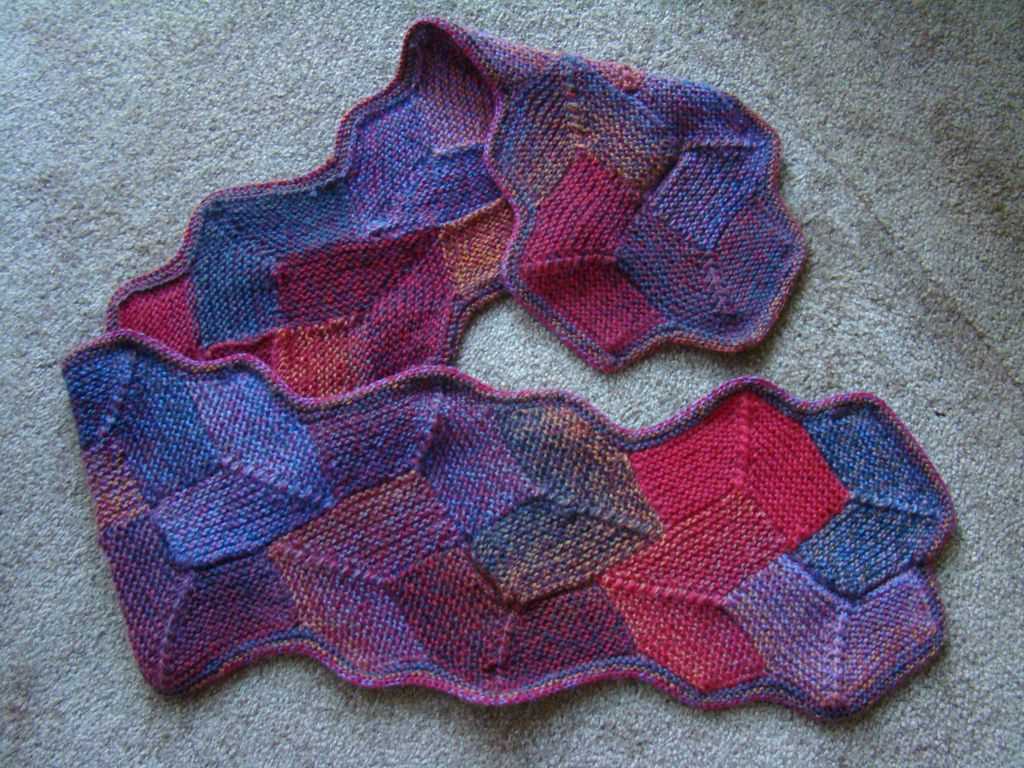
Following the recommended gauge is crucial when knitting a patchwork scarf, especially if you want the finished product to fit properly. Even a small difference in gauge can lead to significant differences in the size and fit of the scarf. Therefore, taking the time to knit a gauge swatch and adjusting your needle size accordingly is essential for achieving the desired results.
Basic Knitting Stitches

When it comes to knitting, understanding the basic stitches is crucial. These stitches form the foundation of any knitting project, whether it’s a simple scarf or a complex sweater. By mastering the basic stitches, you can create beautiful and intricate designs.
Knit stitch: The knit stitch is the most basic stitch in knitting. It forms a smooth and flat surface on the right side of the fabric, while producing a bumpy texture on the wrong side. This stitch is created by inserting the right-hand needle through the front of the loop on the left-hand needle, wrapping the yarn around the right-hand needle, and pulling the loop through.
Purl stitch: The purl stitch is the counterpart to the knit stitch. It creates a reverse texture, with bumps on the right side and a smooth surface on the wrong side. To create a purl stitch, insert the right-hand needle through the back of the loop on the left-hand needle, wrap the yarn around the right-hand needle, and pull the loop through.
Once you have mastered these two basic stitches, you can create a wide variety of patterns and textures by combining them in different ways. For example, the stockinette stitch is created by alternating rows of knit and purl stitches, resulting in a smooth fabric. The garter stitch is made by knitting every row, creating a bumpy texture on both sides. The rib stitch is formed by alternating knit and purl stitches in the same row, creating a stretchy and ribbed fabric.
These are just a few examples of the endless possibilities that can be achieved with the basic knitting stitches. With practice and experimentation, you can create intricate lace patterns, intricate cable designs, and more. So grab your knitting needles and start exploring the world of knitting stitches!
Casting On
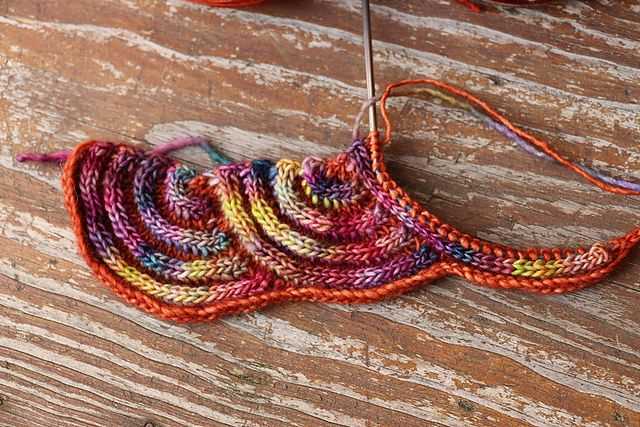
When starting a knitting project, the first step is to cast on. Casting on is the process of creating the first row of stitches on the knitting needle. There are different methods to cast on, but for the patchwork scarf knitting pattern, the long tail cast on method is commonly used.
To begin the long tail cast on, you will need to measure a length of yarn that is approximately three times the width of your finished project. This will ensure that you have enough yarn to create the necessary stitches. Make a slipknot at the end of the yarn, leaving a long tail.
Next, insert the needle through the slipknot, bringing the working yarn up and over the needle. Hold the needle in your right hand and the tail of the yarn in your left hand. With your right thumb and index finger, hold the yarn that is connected to the ball of yarn, while your left thumb and index finger hold the tail of the yarn.
Tension is an important factor to consider when casting on. Make sure that the working yarn is not too tight or too loose, as this can affect the overall appearance of the finished project. Practice finding the tension that works best for you before beginning the cast on.
To cast on, take the needle and slide it under the yarn that is held between your right thumb and index finger. Bring the needle up and over this yarn, creating a loop. Slip this loop onto the needle, and repeat the process until you have cast on the required number of stitches for your project.
Once all the stitches are cast on, you are ready to begin knitting the pattern. Remember to keep the tension consistent throughout the project to ensure even stitches and a polished finished scarf.
- Measure three times the width of the finished project for the yarn length
- Create a slipknot at the end of the yarn
- Bring the working yarn up and over the needle
- Hold the needle in your right hand and the tail of the yarn in your left hand
- Find the tension that works best for you
- Slide the needle under the yarn and create a loop
- Repeat until you have cast on the required number of stitches
Knitting the Sections
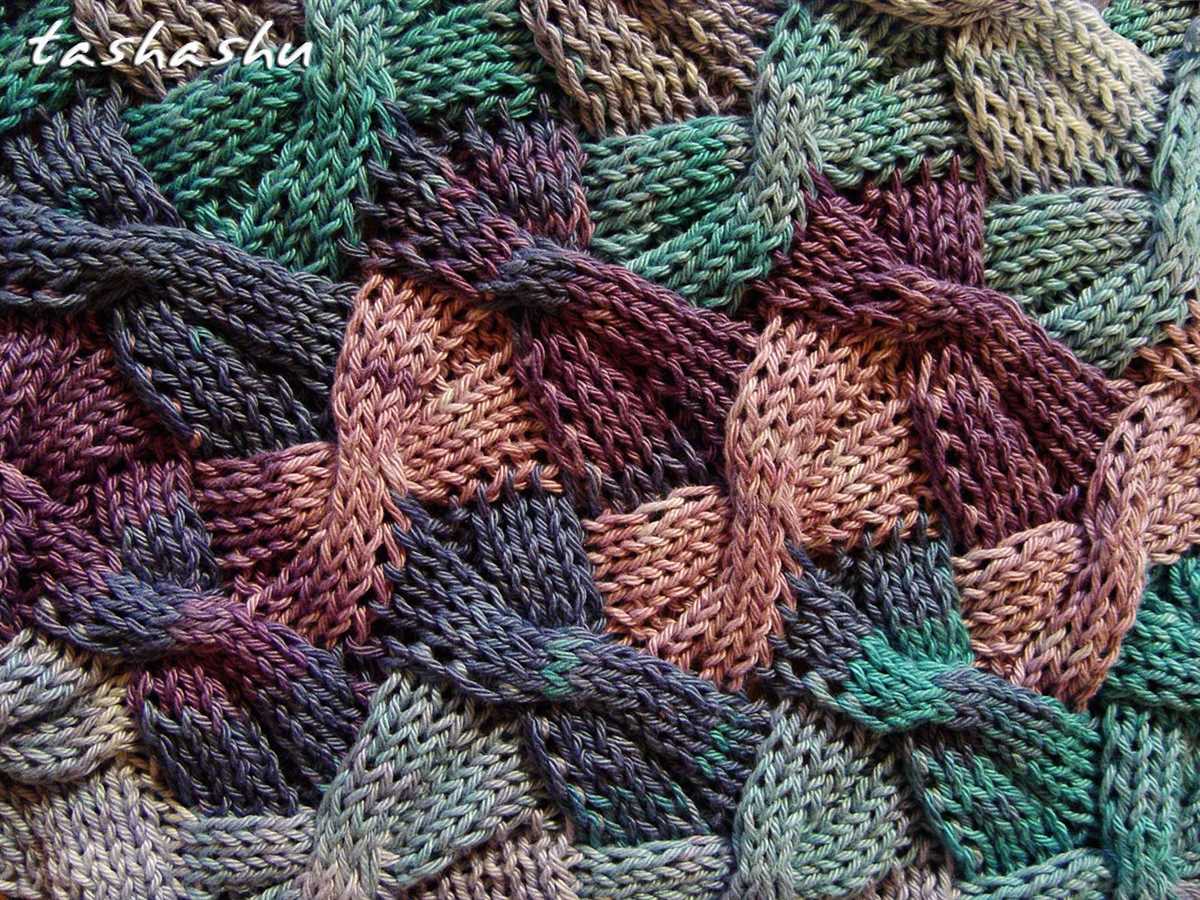
Once you have gathered all the necessary materials for your patchwork scarf knitting project, it’s time to start knitting the different sections. First, you will need to decide on the size and number of sections you want to include in your scarf. You can choose to have equal-sized sections or mix different sizes for a more eclectic look.
Step 1: Casting on
To begin, cast on the required number of stitches for each section. You can use a long-tail cast-on or any other method you prefer. Make sure to leave a long tail of yarn to weave in later.
Note: It’s a good idea to keep track of the number of stitches you cast on for each section to ensure consistency throughout the scarf.
Step 2: Knitting the sections
Now it’s time to start knitting each section. You can choose to knit each section in a different stitch pattern or keep them all the same. This is where you can get creative and experiment with different textures and designs.
Tip: If you’re new to knitting or want a simple pattern, you can stick to basic stitches like garter stitch or stockinette stitch for each section.
Step 3: Finishing each section
Once you have reached the desired length for each section, it’s time to bind off. Make sure to bind off loosely to avoid a tight edge. Cut the yarn, leaving a tail for weaving in later.
Tip: If you want to create a more seamless look, you can use a provisional cast-on and graft the ends of each section together using the Kitchener stitch.
Step 4: Joining the sections
Once all the sections are finished, you can join them together using the mattress stitch or any other preferred method. Make sure to align the stitches and edges of each section for a neat and professional finish. Weave in any remaining yarn tails to secure the sections together.
Tip: If you want to add a decorative element, you can use a contrasting yarn color to seam the sections together or add a fringe along the edges.
By following these steps, you’ll be able to knit the sections of your patchwork scarf and create a unique and stylish accessory to keep you warm during the colder months.
Changing Yarn Colors
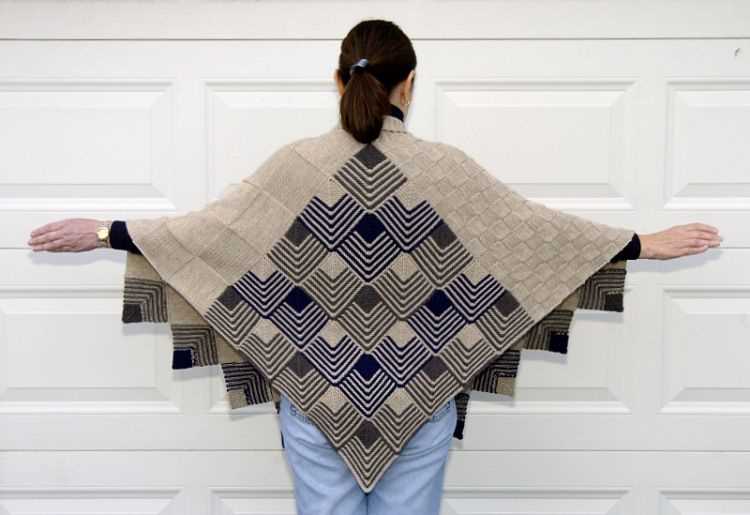
When knitting a patchwork scarf, one of the most exciting aspects is the opportunity to play with different colors of yarn. Changing yarn colors can create beautiful effects and add visual interest to your scarf. Here are some tips for successfully changing yarn colors and creating stunning designs.
How to Change Yarn Colors:
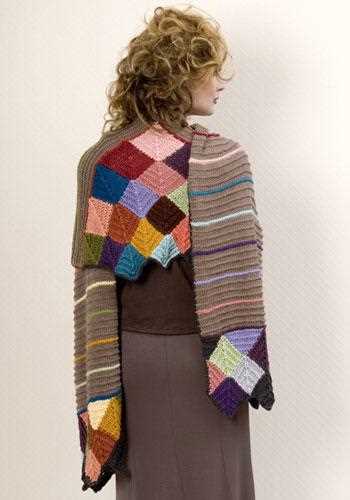
1. Start by knitting until you reach the point where you want to change colors. It is recommended to change colors at the beginning of a new row for a cleaner transition.
- 2. To change colors, simply introduce the new color by knitting the first stitch of the new color with the old color still attached. This will secure the two colors together.
- 3. Continue knitting with the new color, leaving a tail of the old color that can be woven in later.
By following these steps, you can easily transition from one color to another and create a seamless design. Remember to keep track of which colors you are using and the order in which you are changing them, especially if you have a specific pattern in mind.
Some knitters like to create a more dramatic effect by incorporating different color techniques, such as striping or color blocking. Striping involves alternating between two or more colors in a regular pattern, creating a striped effect on the scarf. Color blocking, on the other hand, involves knitting sections of the scarf in solid blocks of different colors. These techniques can be used in combination with changing yarn colors to create unique and eye-catching designs.
When changing yarn colors, it is crucial to consider the texture and weight of the yarns you are using. Ideally, the yarns should have a similar weight and fiber content to ensure that the finished scarf has an even drape and appearance. Experimenting with different color combinations and yarn textures can yield interesting results, so don’t be afraid to get creative!
Binding Off
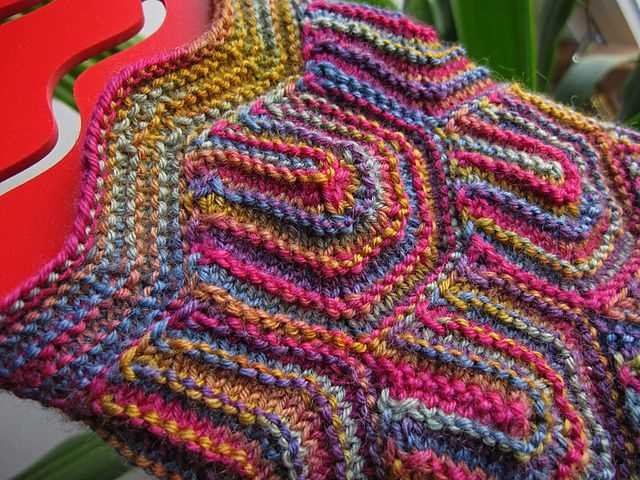
When you have finished knitting your patchwork scarf, it’s time to bind off. Binding off is the process of closing the stitches at the end of your work to create a finished edge. This is an important step to ensure that your scarf doesn’t unravel and that it has a clean and polished look.
To bind off, start by knitting two stitches. Then, using your left-hand needle, lift the first stitch over the second stitch and off the right-hand needle. This creates one bound off stitch. Continue knitting one stitch and binding it off until you reach the end of your row.
You can bind off your scarf using a basic binding off method, or you can choose a decorative bind off to add an extra touch to your scarf. Some popular decorative bind offs include the picot bind off, the lace bind off, and the tubular bind off. These techniques create a more intricate and decorative edge, perfect for adding a unique touch to your patchwork scarf.
Once you have bound off all the stitches, cut the yarn, leaving a long tail. Thread the tail through the last stitch and pull it tight to secure the end. You can then weave in any remaining yarn tails to ensure that your scarf looks neat and tidy.
Binding off is the final step in your knitting project and is essential for creating a professional finish. Take your time and pay attention to each stitch to ensure that your patchwork scarf looks beautiful and is ready to be worn or gifted to someone special.
Blocking the Scarf
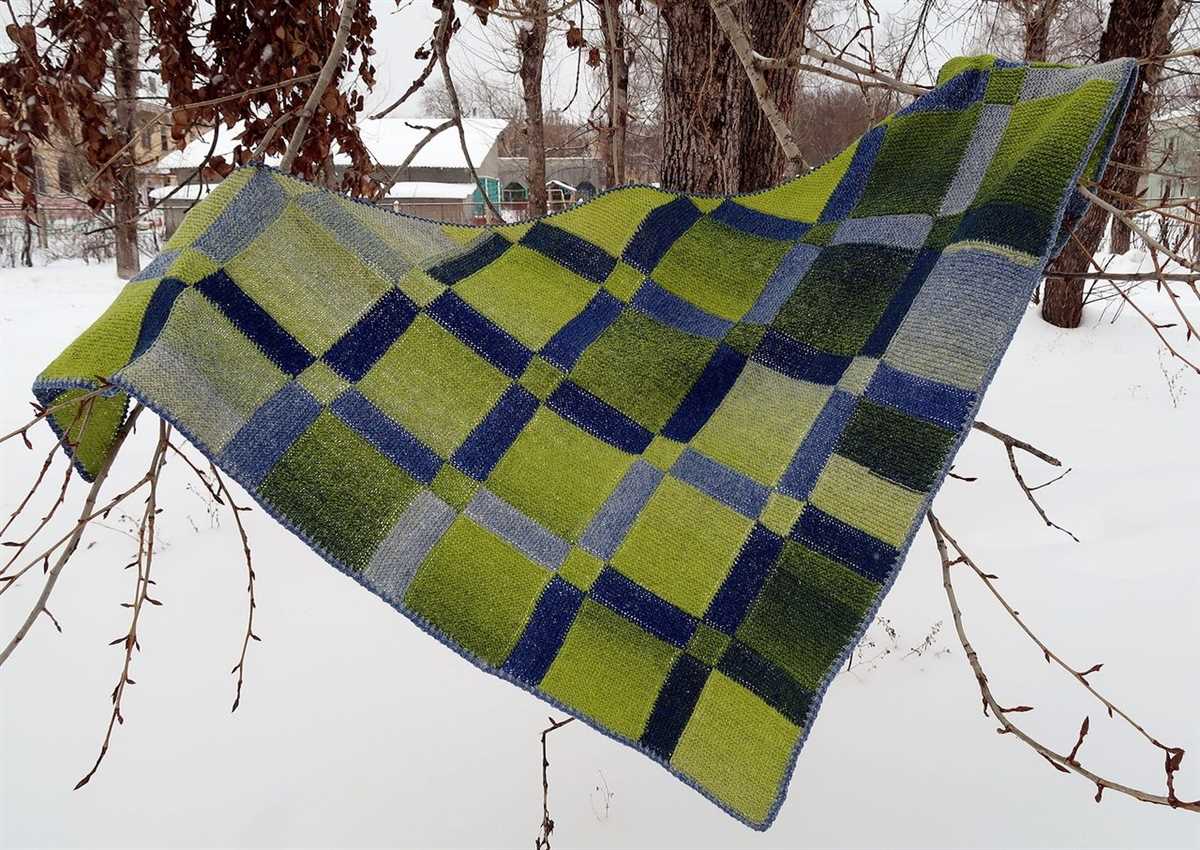
Blocking is an essential step in finishing your patchwork scarf. It helps to even out the stitches, relax the fabric, and give the scarf its final shape. To block your scarf, you will need a blocking board or mat, rust-proof pins, and a spray bottle filled with water.
First, lay your scarf flat on the blocking board or mat. Gently stretch the scarf to its desired dimensions, making sure the edges are straight and even. Use rust-proof pins to secure the edges of the scarf to the blocking board, placing them about an inch apart.
Next, lightly mist the scarf with water using the spray bottle. Be careful not to oversaturate the fabric; you just want to dampen it slightly to help set the shape. Allow the scarf to dry completely before removing the pins.
Once the scarf is dry, carefully remove the pins from the blocking board. The scarf should now retain its shape and have a smooth, polished appearance. You can now enjoy your beautifully blocked patchwork scarf, ready to keep you cozy and stylish during the colder months.
Adding Fringe (Optional)

Once you have finished knitting your patchwork scarf, you may choose to add fringe to give it a decorative and stylish touch. Adding fringe is optional, but it can add a nice finishing touch to your scarf.
To add fringe, you will need yarn in a coordinating color. Cut the yarn into pieces that are twice as long as you want the fringe to be. For example, if you want the fringe to be 4 inches long, cut the yarn into 8-inch pieces. You will need enough pieces to attach to each end of the scarf.
Next, fold each piece of yarn in half and insert the folded end through the edge of the scarf, creating a loop. Then, thread the loose ends of the yarn through the loop and pull tight to secure. Repeat this process with each piece of yarn, spacing them evenly along the edge of the scarf.
To create a more polished look, you can trim the ends of the fringe so that they are all the same length. This will give your scarf a neat and professional finish. Alternatively, you can leave the fringe untrimmed for a more bohemian look.
Adding fringe to your patchwork scarf is a simple and fun way to personalize your project and add a touch of flair. Whether you choose to trim the fringe or leave it untrimmed, it will add an extra element of style to your scarf. Enjoy wearing your cozy and fashionable creation!
Finishing Touches

Once you have completed knitting your patchwork scarf, it’s time to add the finishing touches that will give it that extra special touch. One option is to add fringes to the ends of the scarf. This can be done by cutting strands of yarn that are twice the desired length for the fringe and attaching them to the ends of the scarf using a crochet hook. The fringe can be left as is for a casual look, or it can be brushed out to create a softer, more textured effect.
Another way to add some flair to your patchwork scarf is to embellish it with buttons. You can sew buttons onto the scarf in a random pattern, or you can use them to create a specific design, such as a flower or a heart. This can be a great way to use up any leftover buttons you may have from other projects, and it adds a unique touch to your scarf.
If you want to add some warmth and comfort to your scarf, consider lining it with a soft fabric. This can be done by sewing a fabric lining to the back of the scarf, using a slip stitch or a whip stitch. The lining can be made from a fabric that matches or complements the colors in your patchwork scarf, adding an extra layer of insulation and making it even more cozy to wear.
Finally, don’t forget to block your patchwork scarf to give it a polished, professional finish. Blocking involves wetting the scarf, shaping it to the desired dimensions, and letting it dry flat. This helps to even out any uneven stitches and creates a more uniform look. It’s an important step that can make a big difference in the overall appearance of your finished scarf.
Final Thoughts

In conclusion, the patchwork scarf knitting pattern is a great project for knitters of all skill levels. It allows for creativity and personalization, as you can mix and match different yarn colors and stitch patterns to create a unique scarf. Additionally, the patchwork design adds visual interest and texture to the finished product.
Not only is the patchwork scarf a fun and rewarding project to knit, but it also makes for a stylish and versatile accessory. The scarf can be worn in various ways, making it suitable for different outfits and occasions. It also makes a thoughtful handmade gift for friends and loved ones.
When knitting the patchwork scarf, remember to experiment with different yarn weights and textures to achieve the desired look and feel. Keep in mind that the patchwork design requires basic knitting skills and some patience, but the end result is definitely worth it.
So why not give the patchwork scarf knitting pattern a try? You’ll have a cozy and fashionable accessory to wear or share in no time!