
Knitting is a time-honored craft that has been passed down through generations. It is not only a relaxing hobby, but also a way to create unique and personalized items. One such item is a wool cap, which is not only stylish but also practical, especially during the colder months. If you are interested in knitting your own wool cap, this article will provide you with a simple knitting pattern to get you started.
Before you begin, it is important to gather all the necessary materials. This includes a set of knitting needles, a ball of wool yarn, and a pair of scissors. It is also helpful to have a tape measure and a yarn needle on hand.
This knitting pattern is suitable for beginners and involves basic knitting stitches. It begins with casting on stitches and then progresses to knitting in the round. The pattern includes instructions for different sizes, so you can easily adjust it to fit your head circumference. It also includes instructions for creating a ribbed brim and a classic stockinette stitch for the main body of the cap.
Overview of Wool Cap Knitting Patterns

Wool cap knitting patterns are an excellent way to create warm and stylish hats for the colder months. Whether you’re a beginner or an experienced knitter, there are plenty of options to choose from to suit your skill level and personal style.
Types of Wool Cap Knitting Patterns:
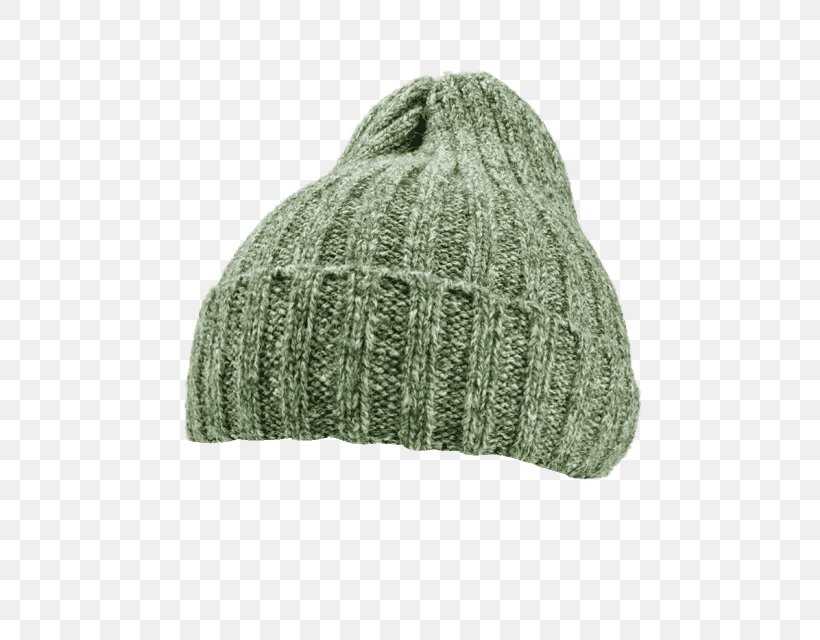
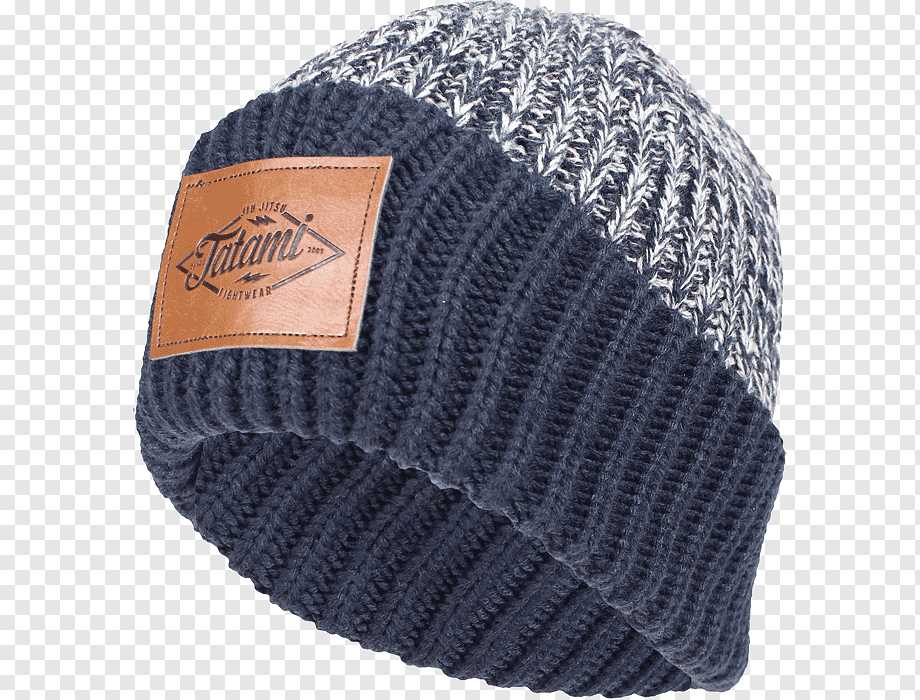
1. Basic Ribbed Hat: This classic style is perfect for beginners. It typically features a simple rib stitch pattern that creates a stretchy, snug-fit cap.
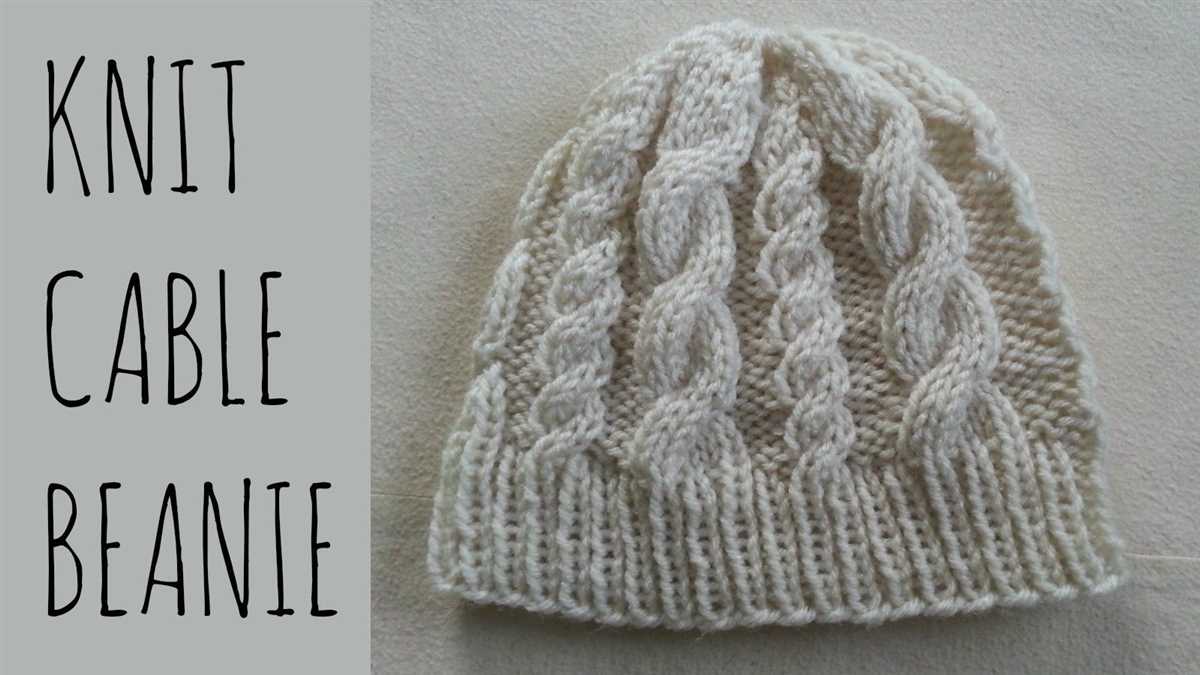
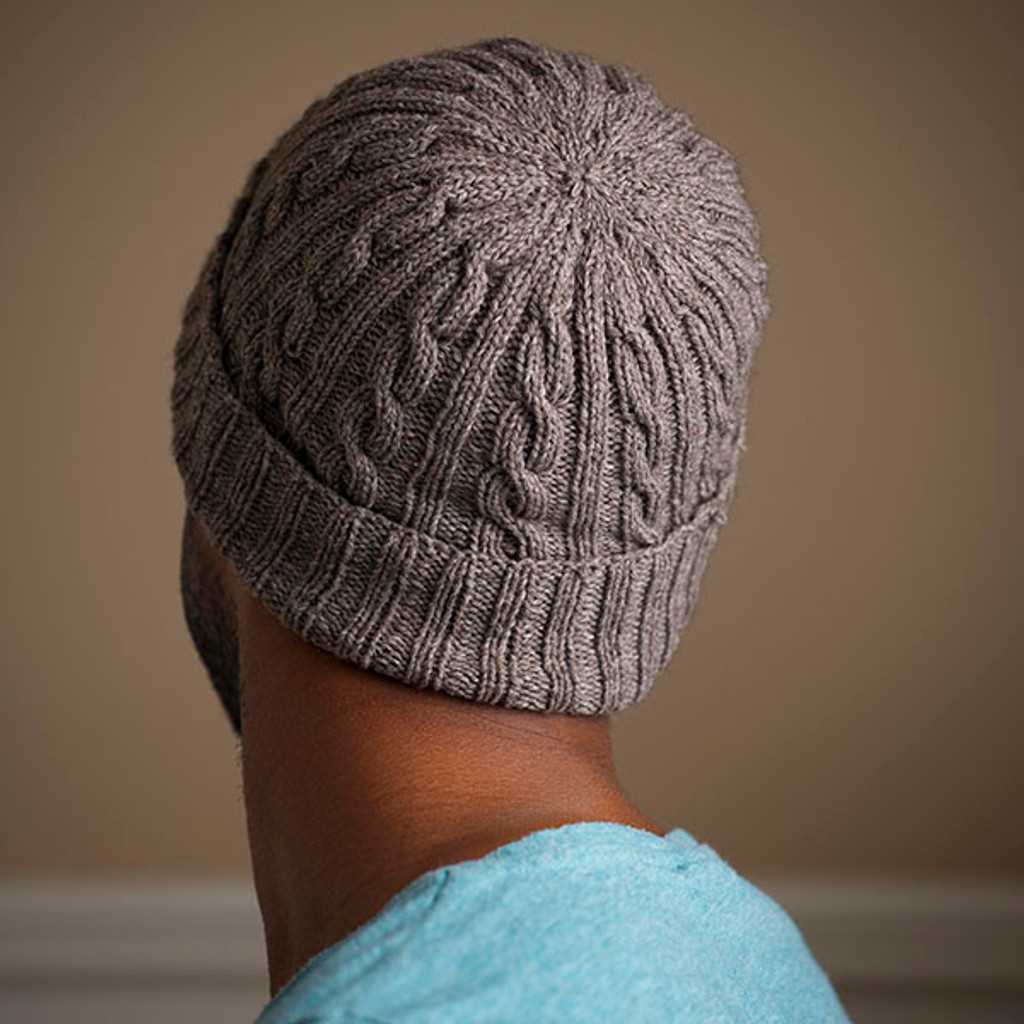
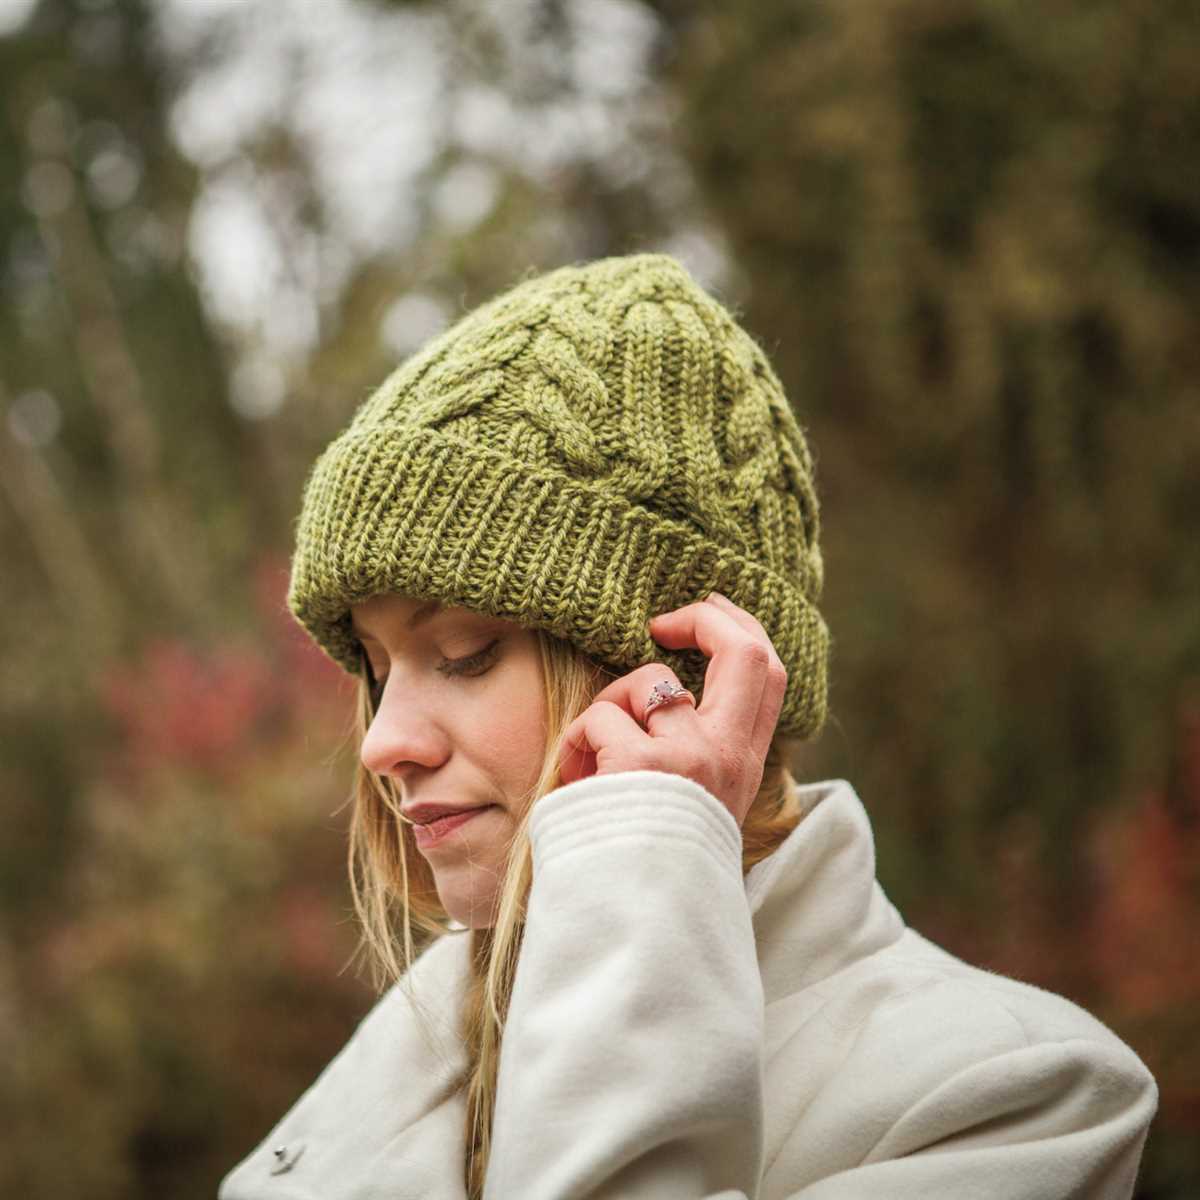
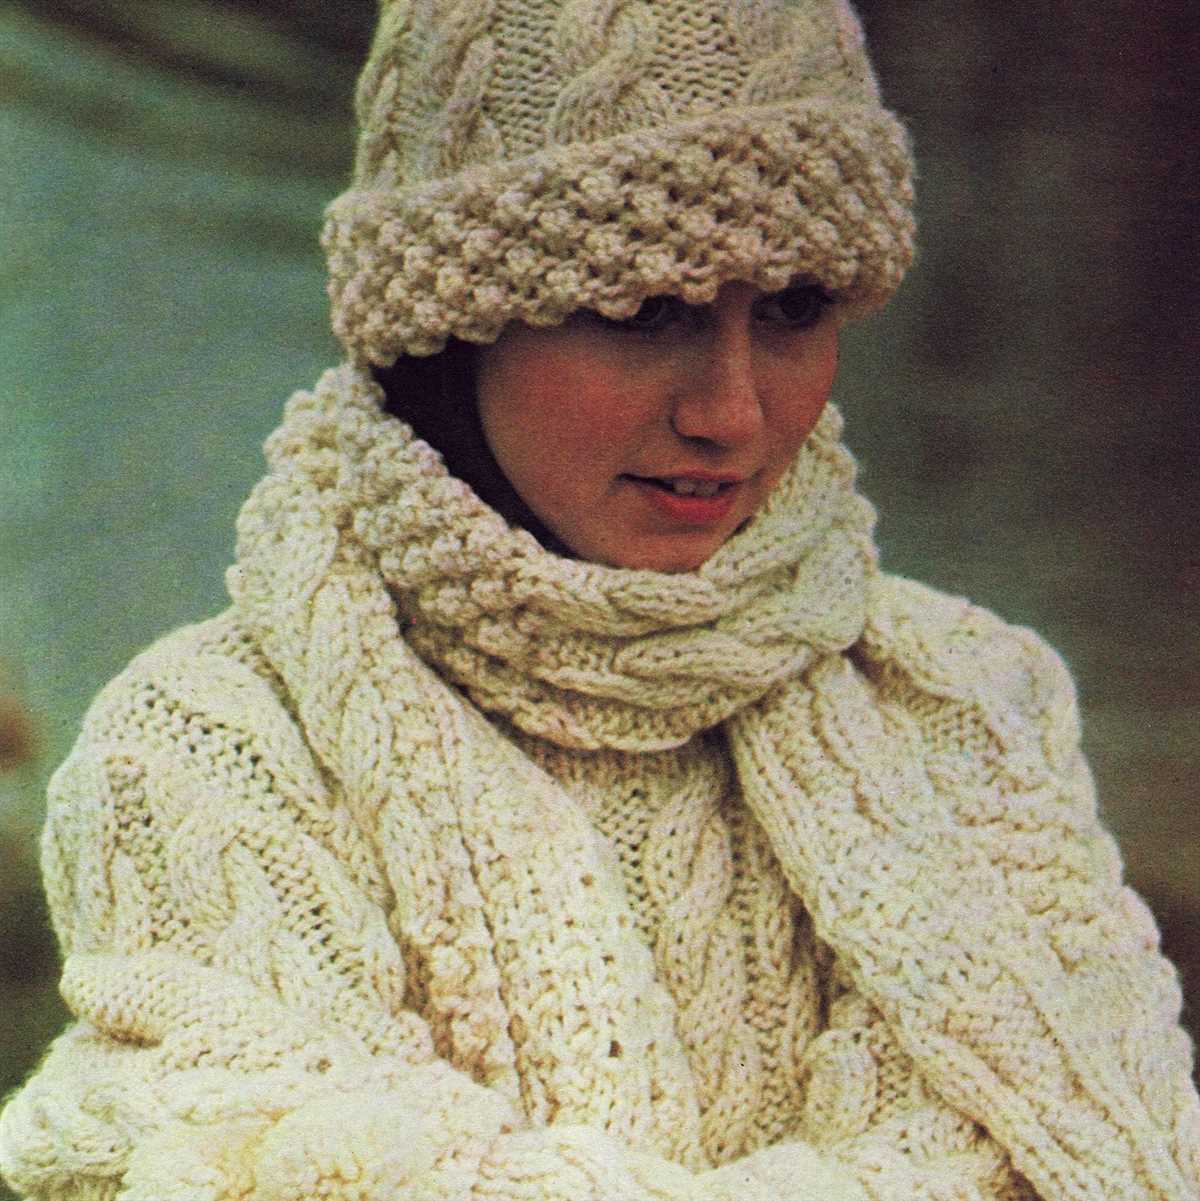
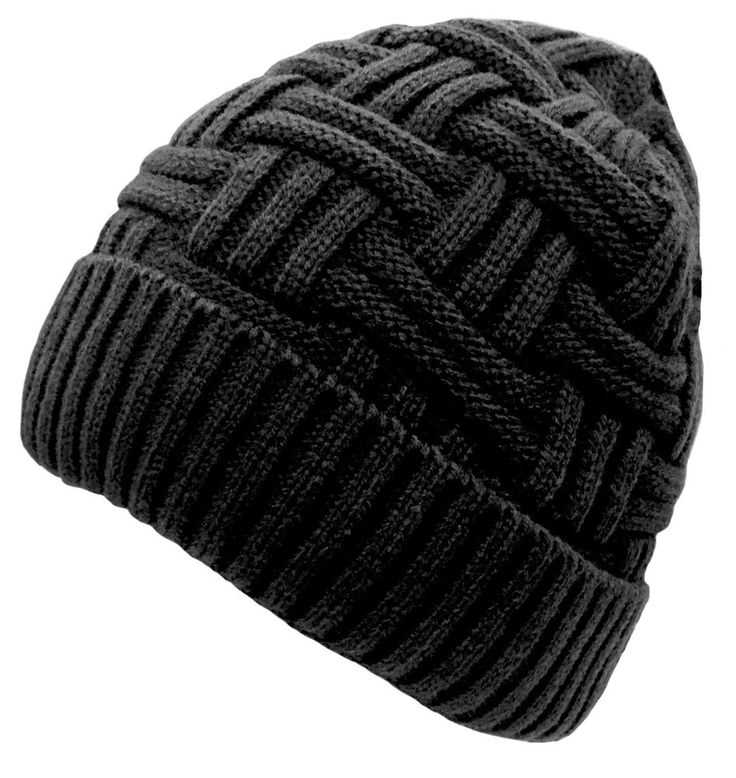
2. Cable-Knit Hat: If you’re looking for a more advanced project, a cable-knit hat is a great option. This pattern incorporates intricate twists and turns, creating a beautiful texture.
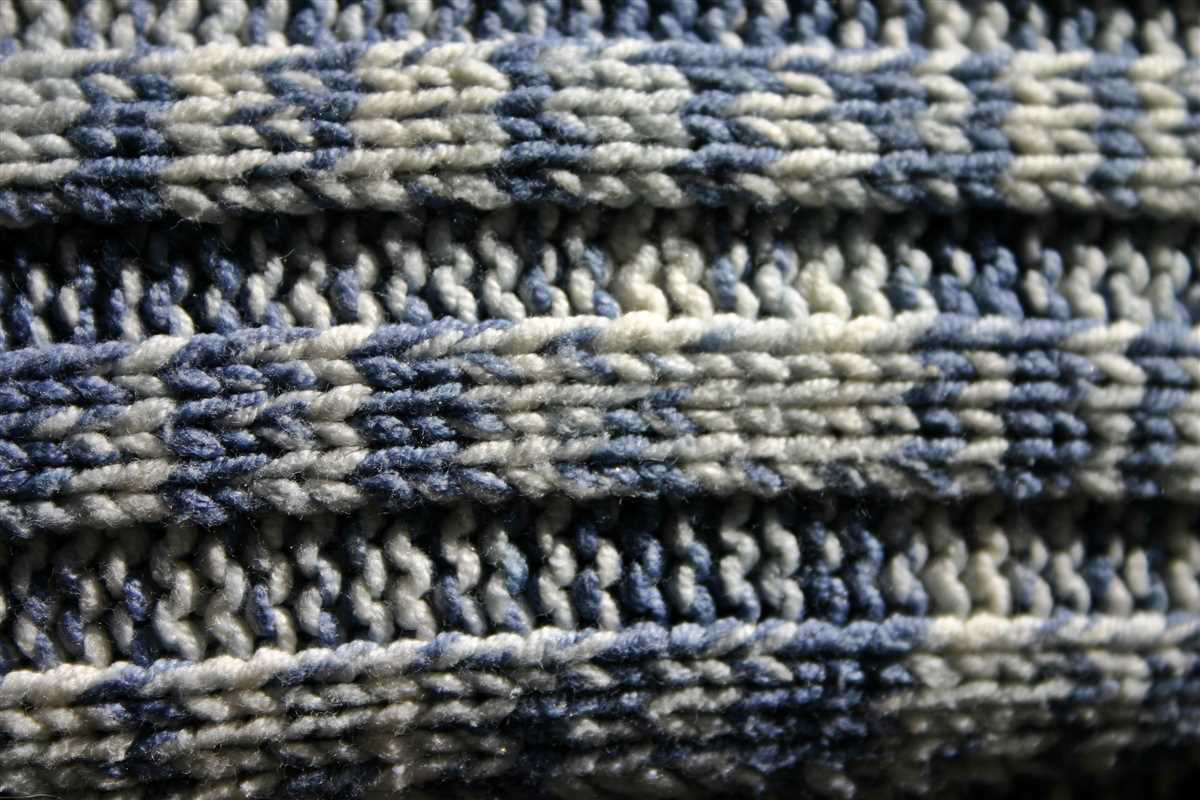
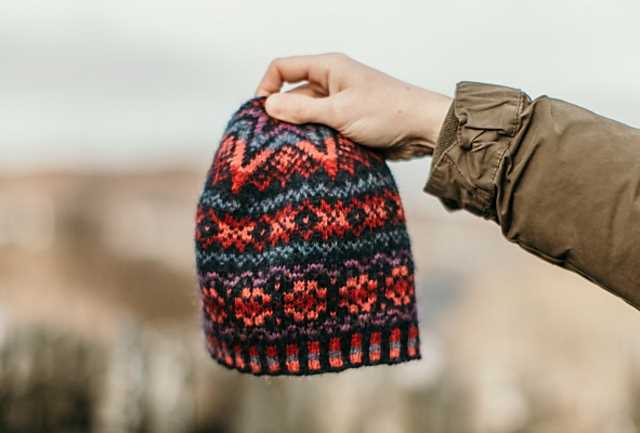
3. Fair Isle Hat: Fair Isle knitting involves using multiple colors to create intricate patterns. A Fair Isle hat is a great project for intermediate knitters who are looking to challenge themselves.
Tips for Knitting Wool Caps:
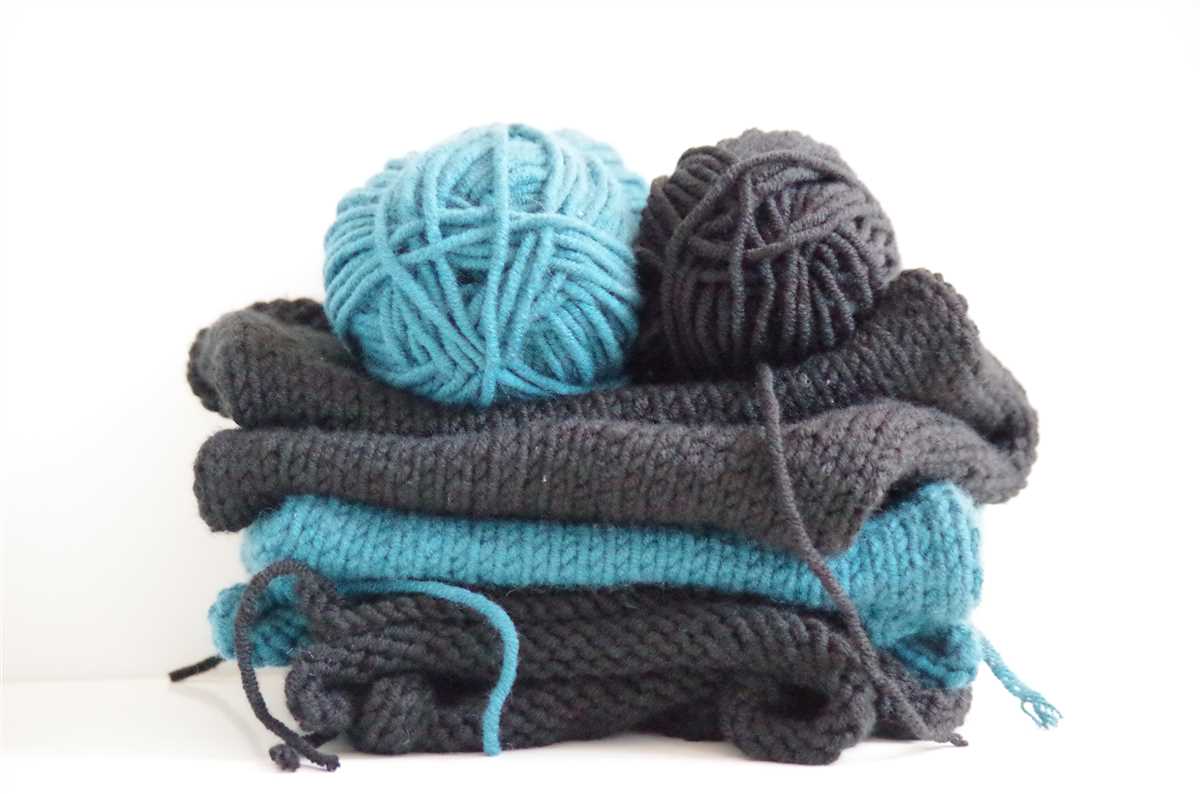
1. Choose the Right Yarn: When selecting yarn for your wool cap, opt for a type that is soft, warm, and durable. Wool or wool-blend yarns are often the best choice for winter hats.
2. Gauge Swatch: Be sure to make a gauge swatch before starting your project to ensure that your hat will fit properly. Adjust yarn weight, needle size, or stitch count as needed.
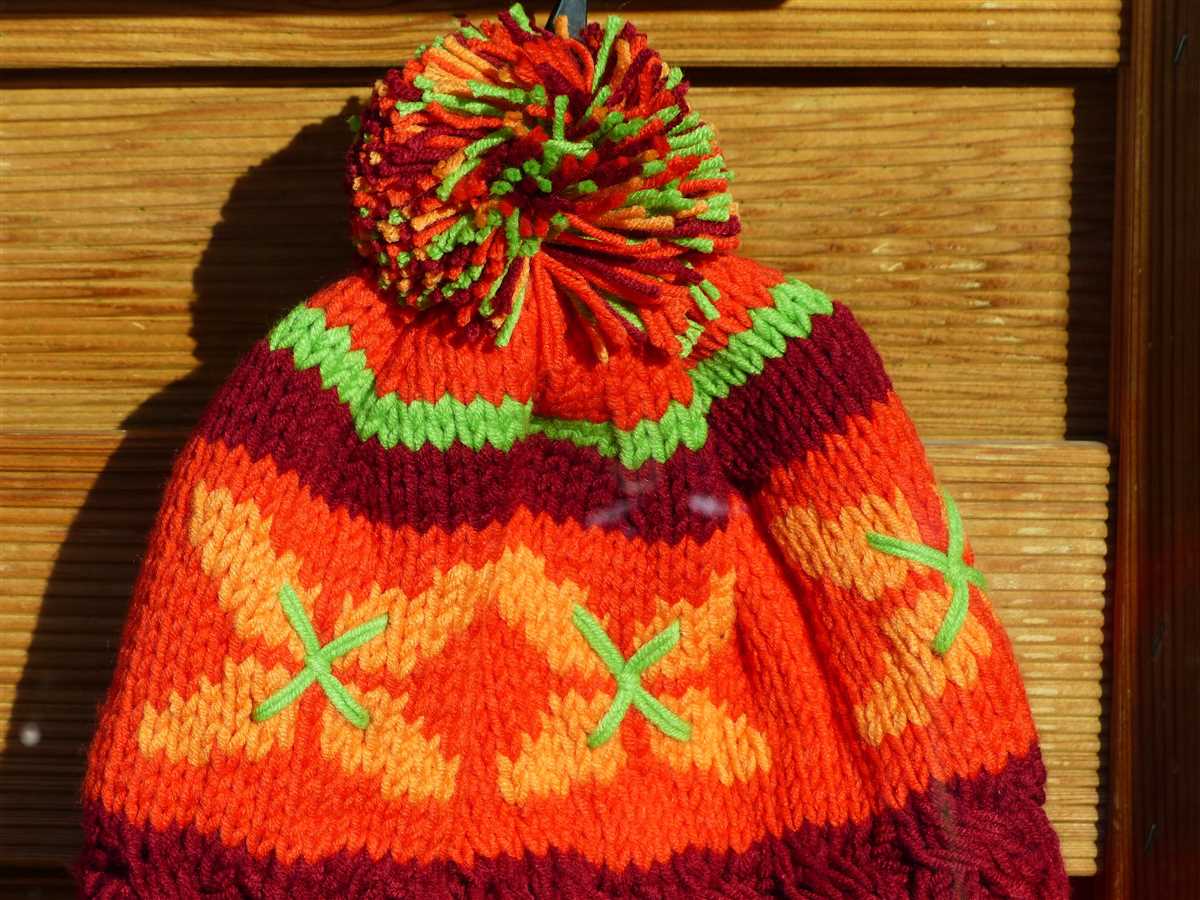
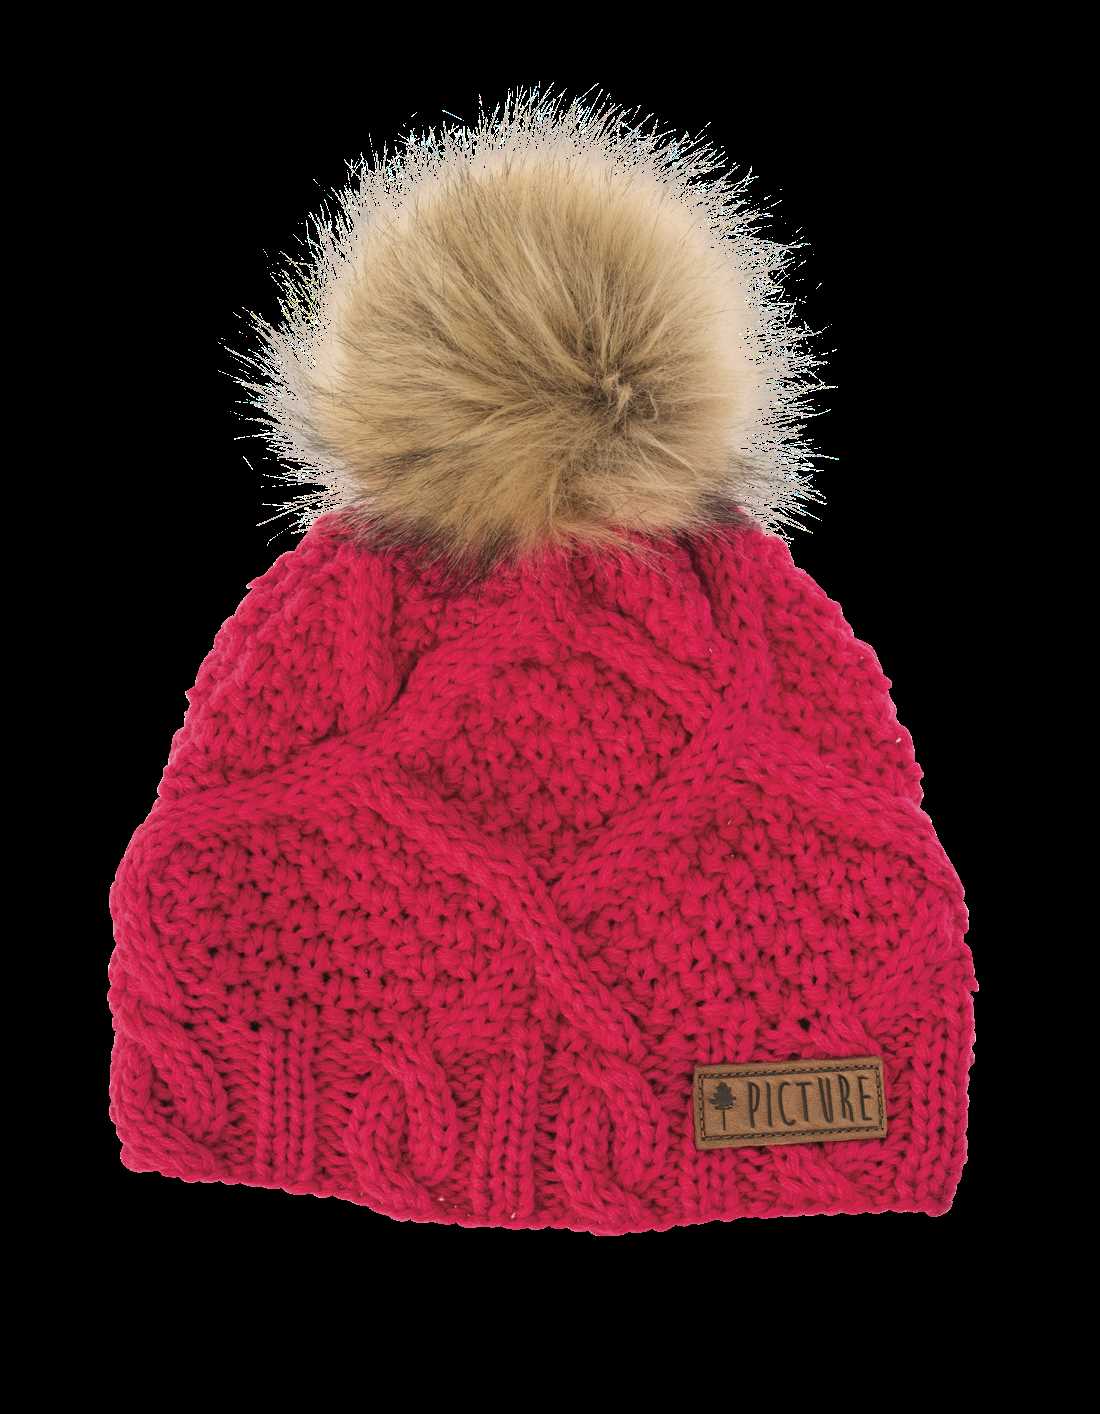
3. Finishing Touches: After completing your cap, consider adding a decorative pom pom or a ribbed brim for added style. You can also experiment with different colors or stitch patterns to make your hat unique.
In conclusion, knitting a wool cap can be a rewarding and enjoyable project. With various patterns to choose from, you can create hats that are not only warm but also reflect your personal style and knitting skills. So grab your knitting needles and get started on your next wool cap today!
Choosing the Right Yarn for Your Wool Cap
When it comes to knitting a wool cap, choosing the right yarn is essential for creating a hat that is both comfortable and stylish. There are several factors to consider when selecting the perfect yarn for your project.
Fiber Content: First and foremost, consider the fiber content of the yarn. Wool is a popular choice for caps because it is warm, soft, and breathable. Look for yarns that are made from 100% wool or wool blends with other natural fibers such as alpaca or cashmere. These fibers will ensure that your cap is cozy and insulating.
Yarn Weight: The weight of the yarn is another important factor to consider. The weight will determine the thickness and warmth of your cap. For a winter wool cap, choose a bulky or super bulky yarn for maximum warmth. If you prefer a lighter weight cap for milder weather, opt for a DK or worsted weight yarn.
Color and Texture: The color and texture of the yarn can also influence the overall look of your wool cap. Consider whether you want a solid color or a variegated yarn with multiple colors. Additionally, think about the texture of the yarn and how it will affect the appearance of your stitches. Smooth, plied yarns will give your cap a more polished look, while yarns with texture and halo will create a more cozy and rustic hat.
Care Instructions: Lastly, don’t forget to check the care instructions of the yarn. Some yarns may require special care, such as hand washing or dry cleaning. If you prefer a low maintenance cap, look for yarns that can be machine washed and dried.
In conclusion, choosing the right yarn for your wool cap is key to creating a hat that is both comfortable and visually appealing. Consider the fiber content, yarn weight, color and texture, as well as the care instructions when making your selection. By taking these factors into account, you can ensure that your wool cap will be the perfect accessory for keeping warm and stylish in colder weather.
Essential Knitting Tools and Techniques
Knitting is a popular craft that allows you to create beautiful and cozy items like wool caps. To successfully complete your knitting projects, it’s important to have the right tools and understand key techniques. Here are some essential tools and techniques you should know:
Knitting Needles
A good pair of knitting needles is essential for any knitting project. They come in different sizes and materials, such as metal, wood, or plastic. The size of your knitting needles will depend on the thickness of the yarn you’re using. It’s a good idea to have a variety of needle sizes to accommodate different projects.
Yarn
Choosing the right yarn is crucial for achieving the desired look and feel of your knitted item. Yarns come in different weights, which determine their thickness. The weight of the yarn you choose should match the recommended weight in your knitting pattern. Additionally, consider the fiber content of the yarn, as it can affect the final product’s warmth, softness, and drape.
Casting On
Casting on is the first step in starting your knitting project. There are several casting on techniques, such as the long-tail cast on and the knitted cast on. The method you choose will depend on the desired edge and the specific pattern instructions. Take your time to practice different casting on techniques to find the one that works best for you.
Knit Stitch
The knit stitch is the most basic stitch in knitting. It creates a smooth, V-shaped pattern on the right side of the fabric. To knit a stitch, insert the needle into the loop on the left needle, bring the yarn forward, and pull it through the loop. Practice your tension and stitch consistency to create an even and professional-looking fabric.
Purl Stitch
The purl stitch is the reverse of the knit stitch and creates a bumpy texture on the right side of the fabric. To purl a stitch, insert the needle into the loop on the left needle from right to left, bring the yarn to the front, and pull it through the loop. Combining knit and purl stitches allows you to create various stitch patterns and textures.
Pattern Reading
Understanding knitting patterns is essential for successfully completing your projects. Knitting patterns use specific abbreviations and symbols to indicate stitches, increases, decreases, and any other instructions. Take the time to familiarize yourself with common knitting abbreviations and symbols to accurately interpret and follow the pattern instructions.
With the right tools and knowledge of essential techniques, you’ll be well-equipped to take on any knitting project and create beautiful items like wool caps.
Basic Wool Cap Knitting Pattern for Beginners
If you are new to knitting and looking for a simple project to start with, a basic wool cap is a great choice. With just a few essential knitting techniques, you can create a cozy and stylish accessory to keep you warm during the colder months.
To begin, you will need a pair of knitting needles, a skein of wool yarn, and a tape measure. It’s important to choose a wool yarn that is suitable for knitting hats, as it will provide warmth and durability. You can also experiment with different colors and textures to personalize your cap.
Instructions:
- Start by casting on the desired number of stitches, typically around 80-100 stitches, depending on the size of the cap.
- Next, work in a rib stitch pattern for the brim of the cap. This can be done by knitting one stitch, then purling one stitch, and repeating this pattern until the desired length is achieved.
- Once the brim is complete, switch to a stockinette stitch for the body of the cap. This is done by knitting one row, then purling the next row, and repeating this pattern until the cap reaches the desired length.
- Continue knitting in stockinette stitch until you reach the crown of the cap.
- To shape the crown, you will need to start decreasing stitches. This can be done by knitting two stitches together, then knitting the next stitch, and repeating this pattern until the end of the row. Repeat this decrease row every few rows until you have a small enough number of stitches to complete the crown.
- Once you have a small number of stitches left, cut the yarn leaving a long tail. Thread the tail through a yarn needle, then thread the needle through the remaining stitches, and pull tight to close the top of the cap.
- Finally, weave in any loose ends and block the cap by gently washing and shaping it to the desired size. Allow it to dry completely before wearing.
This basic wool cap knitting pattern is a great introduction to knitting hats and can be easily customized to suit your style. Don’t be afraid to experiment with different stitches, yarns, and embellishments to create a unique and cozy accessory.
Intermediate Wool Cap Knitting Pattern with Cable Stitches
Knitting a wool cap with cable stitches can be a fun and rewarding project for intermediate knitters. Cable stitches create beautiful textured patterns, adding sophistication and warmth to the finished cap. This knitting pattern is designed for those who have some experience with cables and are ready to take on a slightly more challenging project.
To start this pattern, you will need a set of double-pointed knitting needles, a cable needle, and approximately 200 yards of worsted weight wool yarn. The pattern is written for one size, but can easily be adjusted by changing the needle size or adding more stitches.
Materials:
- Size US 8 (5mm) double-pointed knitting needles
- Cable needle
- Approximately 200 yards of worsted weight wool yarn
Instructions:
- Cast on 80 stitches using the long-tail cast-on method.
- Distribute the stitches evenly onto three double-pointed needles, with 27 stitches on each needle.
- Join in the round, making sure not to twist the stitches.
- Knit 6 rounds in a 2×2 ribbing (knit 2 stitches, purl 2 stitches).
- Switch to the cable stitch pattern. Begin by knitting 4 stitches, then place the next 4 stitches to the cable needle and hold them in front of your work. Knit the next 4 stitches from the left-hand needle, then knit the 4 stitches from the cable needle.
- Continue in the cable stitch pattern for the next 10 rounds.
- Switch back to the 2×2 ribbing and knit 6 rounds.
- Bind off all stitches loosely
This intermediate wool cap knitting pattern with cable stitches is a great way to challenge yourself and create a stylish accessory. With a little practice, you’ll be able to master cable stitches and create unique designs for your own wool caps. Happy knitting!
Advanced Wool Cap Knitting Pattern with Fair Isle Designs
If you’re an experienced knitter looking for a challenge, this advanced wool cap knitting pattern is perfect for you. Not only will you be able to create a functional and stylish accessory, but you’ll also have the opportunity to showcase your skills with intricate Fair Isle designs. This pattern is sure to impress and delight both knitters and recipients alike.
Materials:
- Worsted weight wool yarn in two contrasting colors
- Size 8 (5mm) circular knitting needles
- Size 8 (5mm) double-pointed needles
- Stitch markers
- Tapestry needle
- Scissors
Instructions:
- Cast on 100 stitches using the circular needles.
- Join in the round, being careful not to twist the stitches.
- Begin knitting in a 2×2 ribbing pattern for 2 inches.
- Transition to the Fair Isle design by following the chart provided with the pattern. Carry the contrasting color along the back of the work, catching it every few stitches to prevent long floats.
- Continue knitting in the Fair Isle pattern until the cap measures 7 inches from the cast-on edge.
- Begin decreasing rounds as follows:
- Round 1: *K2, k2tog; repeat from * to end of round.
- Rounds 2-5: Knit all stitches.
- Round 6: *K1, k2tog; repeat from * to end of round.
- Rounds 7-10: Knit all stitches.
- Round 11: *K2tog; repeat from * to end of round.
- Rounds 12-14: Knit all stitches.
This advanced wool cap knitting pattern with Fair Isle designs is a great way to challenge yourself and create a unique and eye-catching accessory. The intricate colorwork adds a touch of sophistication to the cap, making it a perfect gift for yourself or a loved one. So grab your needles and get ready to impress with your knitting skills!
Customizing Your Wool Cap with Embellishments
Once you have finished knitting your wool cap using the pattern, you have the opportunity to make it truly unique by adding embellishments. Whether you prefer a simple and classic look or enjoy more intricate designs, there are endless possibilities for customizing your wool cap to reflect your personal style.
1. Embroidery
Consider adding embroidered details to your wool cap to create a personalized touch. You can use different colored yarns to create unique patterns or add your initials or favorite symbols. Embroidery can be done by hand or with the help of a sewing machine, depending on your skill level and preference.
2. Pompoms
Pompoms are a fun and playful way to add flair to your wool cap. You can make pompoms using the same yarn you used for knitting the cap or opt for a contrasting color to create a bold statement. Attach the pompoms at the top of the cap using a yarn needle, or sew them securely on the brim for a whimsical touch.
3. Buttons
Buttons can add a touch of elegance or uniqueness to your wool cap. Choose buttons in different sizes, shapes, and colors to create a visually appealing design. You can sew them onto the brim, create a row of buttons along the side, or even use them to secure straps or accessories to the cap.
4. Patchwork
If you have leftover yarn from other knitting projects, consider creating a patchwork design on your wool cap. Knit small squares or rectangles in different colors and stitch them together to create a visually striking pattern or image. Patchwork can be a great way to use up yarn scraps and add a unique touch to your cap.
5. Embellished Edge
For a subtle yet stylish touch, consider adding a decorative edge to your wool cap. You can use a contrasting color yarn to knit a picot, ribbed, or scalloped edge. This simple embellishment can make your cap stand out and give it a polished finish.
Whatever embellishments you choose, make sure they complement the overall style and design of your wool cap. Have fun experimenting with different ideas and make your cap truly one-of-a-kind.
Tips for Properly Blocking and Finishing Your Wool Cap
Blocking and finishing your wool cap is a crucial step in creating a professional-looking and well-fitting hat. Whether you are a beginner or an experienced knitter, these tips will help you achieve the best results for your project.
Clean and Prepare: Before blocking your wool cap, make sure it is clean and free from any dirt or debris. Gently hand wash the cap using a mild detergent and cool water, following the care instructions on the yarn label. Avoid wringing or twisting the cap to prevent stretching or misshaping.
Choose the Right Blocking Method: There are several blocking methods you can use for your wool cap, including wet blocking, steam blocking, or mist blocking. Wet blocking involves soaking the cap in water and then shaping it to the desired dimensions. Steam blocking involves using a steam iron or steamer to gently reshape the cap. Mist blocking involves spraying the cap with water and then shaping it. Choose the method that works best for your yarn type and personal preference.
Shape and Pin: To block your wool cap, first, gently shape it to the desired dimensions. Ensure that the ribbing is even and the crown is smooth. Use blocking pins or T-pins to secure the cap to a blocking board or a towel-covered surface. Start by pinning the ribbing and then move to the body of the cap, adjusting it to your preferred fit. Make sure to smooth out any wrinkles or uneven areas as you pin.
Allow Ample Drying Time: After pinning the wool cap, allow it to dry completely before removing the pins. This may take at least 24 hours or longer, depending on the yarn type and the climate. Avoid speeding up the drying process with direct heat, as it may cause the wool to shrink or become misshapen.
Finishing Touches: Once your wool cap is dry, gently remove the pins and admire your beautifully blocked hat. If desired, you can add additional finishing touches such as attaching a pom pom, weaving in any remaining loose ends, or adding a decorative edging. These final touches will give your cap a polished and professional look.
Repeat when Necessary: Depending on the wear and care of your wool cap, you may need to block it again in the future to maintain its shape and fit. Follow the same steps outlined above to ensure that your cap stays in optimal condition for years to come.
By following these tips, you can confidently block and finish your wool cap, resulting in a well-fitting, cozy, and stylish accessory.
Frequently Asked Questions about Wool Cap Knitting
Knitting a wool cap can be a fun and rewarding project, but it can also raise some questions along the way. Here are some frequently asked questions about wool cap knitting, along with their answers:
1. What materials do I need to knit a wool cap?
To knit a wool cap, you will need a set of knitting needles, wool yarn, a tapestry needle, and a pair of scissors. The size of the knitting needles will depend on the gauge you want to achieve, and the wool yarn can vary depending on your preference for thickness and color.
2. What is the best type of stitch to use for knitting a wool cap?
There are several stitch patterns that you can use to knit a wool cap, but one of the most commonly used is the rib stitch. The rib stitch creates a stretchy fabric that snugly fits the head, making it an ideal choice for caps. You can also experiment with other stitch patterns, such as garter stitch or seed stitch, to create different textures and designs.
3. How many stitches do I need to cast on for a wool cap?
The number of stitches you need to cast on for a wool cap will depend on the size of the cap and the gauge you are trying to achieve. To determine the number of stitches, you can measure the circumference of the head and multiply it by the number of stitches per inch. Additionally, you may need to consider adding a few extra stitches for the ribbing or any other decorative elements.
4. How long does it take to knit a wool cap?
The time it takes to knit a wool cap can vary depending on your knitting skills, the complexity of the pattern, and the amount of time you dedicate to knitting each day. Generally, a simple wool cap can be completed within a few days to a week, while more intricate designs may take longer. It is important to set aside enough time and be patient when knitting a cap to ensure the best results.
5. How do I care for a knitted wool cap?
To care for a knitted wool cap, it is recommended to hand wash it in cool water with a gentle detergent. Gently squeeze out any excess water and reshape the cap while it is still damp. Avoid wringing or twisting the cap, as this can cause it to lose its shape. Lay the cap flat to dry, away from direct sunlight or heat sources. With proper care, your knitted wool cap can last for many seasons to come.
These are just a few of the frequently asked questions about wool cap knitting. Remember, knitting is a creative and versatile craft, so don’t be afraid to experiment and find what works best for you. Happy knitting!
Where to Find Inspiration and More Wool Cap Knitting Patterns
Now that you have learned how to knit a wool cap and have mastered the basic pattern, you may be looking for more inspiration and patterns to try. Luckily, there are many resources available to help you find new ideas and expand your knitting repertoire.
1. Online Knitting Communities: Joining online knitting communities such as Ravelry or Knitting Paradise can be a great way to connect with fellow knitters. These platforms have vast pattern databases where you can search for wool cap knitting patterns. You can also participate in forums and ask other members for recommendations.
2. Knitting Magazines and Books: There are numerous knitting magazines and books available that feature a wide variety of knitting patterns. Check out your local library or bookstore for a selection of knitting publications. They often have dedicated sections for accessories like wool caps.
3. Yarn Stores: Visit your local yarn store and browse through their pattern books and leaflets. Yarn stores often offer free or inexpensive knitting patterns, and they may have specific patterns for wool caps. The staff at the store can also provide guidance and recommend patterns that match your skill level.
4. Online Pattern Repositories: Many websites offer a vast collection of knitting patterns, both free and for purchase. Some popular websites to find wool cap knitting patterns include LoveCrafts, AllFreeKnitting, and Etsy. These platforms enable you to search for specific patterns or browse through different categories.
5. Social Media: Follow knitting bloggers, designers, and knitting-related hashtags on social media platforms like Instagram or Pinterest. Knitters often share their finished projects along with the patterns they used. By following these accounts, you can discover new patterns and get inspired by other knitters’ creations.
Conclusion:
With the abundance of resources available, finding inspiration and more wool cap knitting patterns is easier than ever. Whether you prefer online communities, knitting publications, yarn stores, online repositories, or social media, you are sure to find a pattern that suits your style and skill level. So, grab your knitting needles and start exploring new patterns to create beautiful wool caps for yourself and your loved ones!
Q&A:
What materials do I need to knit a wool cap?
You will need a pair of knitting needles, a ball of wool yarn, a darning needle, and a pom-pom maker (if desired).
Do I need to know how to knit in order to make a wool cap?
Yes, basic knitting knowledge is required to knit a wool cap. You should know how to cast on, knit, purl, and knit in the round.
What size needles should I use for knitting a wool cap?
The size of your needles will depend on the yarn weight you choose. Most wool cap patterns recommend using size 7 (4.5mm) or size 8 (5mm) knitting needles.
Can I customize the pattern to make a larger or smaller wool cap?
Yes, you can adjust the size of the wool cap by changing the number of stitches you cast on and the length of the hat. You may also need to adjust the number of decreases when shaping the crown of the cap.
Are there any specific knitting techniques I need to know for this pattern?
This pattern may include techniques such as ribbing, knitting in the round, and decreasing stitches. Make sure to read the pattern instructions carefully and familiarize yourself with any new techniques before starting.