
Knitting patterns are a set of written instructions that guide knitters in creating a particular item, such as a sweater, hat, or scarf. These patterns typically include a combination of abbreviations, symbols, and written instructions, which can sometimes be confusing for beginners or those who prefer visual representations. A knitting chart is a graphical representation of a pattern, using symbols or colored squares to represent each stitch. Converting a knitting pattern to a chart can make it easier to follow and visualize the pattern.
In order to convert a knitting pattern to a chart, you’ll need to understand the symbols and abbreviations used in knitting charts and be familiar with the stitch pattern in the original pattern. The first step is to create a grid, with each square representing a stitch or row in the pattern. Then, you’ll need to assign a symbol to each stitch or instruction in the pattern. This can be done using established knitting chart symbol guides or creating your own symbols based on what makes the most sense to you.
Once you have your grid and symbols ready, you can begin transferring the written instructions onto the chart. Start by mapping out the pattern row by row, translating each stitch and instruction into its corresponding symbol on the chart. Pay attention to the placement of each stitch and any repeats or variations in the pattern. It can be helpful to color code or label different sections of the chart to easily distinguish between different stitch patterns or variations.
Converting a knitting pattern to a chart can be a useful skill for knitters of all levels. It can help to simplify complex patterns, make it easier to keep track of stitch counts and repeats, and provide a visual representation of the finished product. Whether you’re a visual learner or simply prefer working from charts, converting a knitting pattern can enhance your knitting experience and make the process more enjoyable. So grab your needles, chart, and yarn, and get ready to create something beautiful!
How to Convert a Knitting Pattern to a Chart
Converting a knitting pattern to a chart can be a helpful tool for visualizing the pattern and making it easier to follow. Charts are especially useful for complex or intricate patterns, as they provide a concise and clear representation of the stitches. Here are the steps to convert a knitting pattern to a chart:
1. Understand the pattern: Read through the knitting pattern carefully to fully understand the stitches, symbols, and instructions. Take note of any repeats or special stitch combinations that may need additional attention.
2. Create a grid: Draw a grid on paper or use specialized knitting chart software. Each square in the grid will represent one stitch or row. The size of the grid will depend on the complexity and size of the pattern. Use graph paper or a digital charting tool to help accurately align the stitches.
3. Assign symbols: Choose symbols to represent each stitch or technique in the pattern. Common symbols include squares for knit stitches, circles for purl stitches, and diagonal lines for decreases or increases. Be consistent with your symbol choices throughout the chart.
4. Transfer the pattern: Begin transferring the knitting pattern to the chart, working row by row. Start with the first row and record each stitch or technique in the appropriate square using the assigned symbols. For more complex stitches or repeats, use additional notation or annotations to indicate the specific instructions.
5. Check for accuracy: Once the pattern is fully transferred to the chart, double-check for accuracy and clarity. Ensure that all the stitches and instructions are correctly represented in the chart. Make any necessary adjustments or clarifications before using the chart to knit.
6. Use the chart: The chart can now be used as a visual guide while knitting the pattern. Follow the symbols and instructions in the chart row by row to create the desired design. Refer back to the original written pattern if any additional information is needed.
By converting a knitting pattern to a chart, you can simplify and streamline the knitting process. With a clear visualization of the stitches, you can more easily keep track of your progress and achieve the desired outcome.
Gather the Necessary Materials
Before you can convert a knitting pattern to a chart, you will need to gather a few essential materials to make the process easier and more efficient. Here are the items you will need:
1. Knitting pattern

Start by finding a knitting pattern that you want to convert to a chart. Make sure it is a pattern that you are familiar with and comfortable working with. The pattern should include instructions for each row and stitch, as well as any necessary measurements.
2. Graph paper
Invest in some good quality graph paper, preferably with small squares. This will serve as your charting template, allowing you to accurately plot and visualize each stitch and row of the pattern. Make sure the graph paper has enough sheets for your entire pattern.
3. Pencil and eraser

Use a soft lead pencil to mark your stitches and rows on the graph paper. This will allow you to easily make changes or corrections as you go along. Have an eraser handy to fix any mistakes or adjust the chart as needed.
4. Highlighter pens
Using different colors of highlighter pens, mark off the different sections or parts of the pattern. This will make it easier to follow the chart and keep track of your progress as you work through the knitting pattern.
5. Ruler or straight edge
A ruler or straight edge will help you create straight and even lines on your graph paper. This is essential for accurately representing each stitch and row in your chart.
6. Knitting needles and yarn
Have your knitting needles and yarn ready so you can refer to them as you convert the pattern to the chart. This will help you visualize how the stitches and rows will look when knitted up.
By gathering these necessary materials, you will be well-prepared to convert your knitting pattern to a chart. This will make it easier to follow the pattern and visualize the final result of your knitting project.
Understanding the Basics of Chart Knitting
Chart knitting is a popular technique in which complex knitting patterns are represented visually through symbols and charts. Rather than relying solely on written instructions, chart knitting provides a clear and concise way to follow a pattern, making it easier to create intricate designs. Whether you are a beginner or an experienced knitter, understanding the basics of chart knitting can greatly enhance your knitting skills and allow you to tackle more challenging projects.
Reading the Symbols: The first step in chart knitting is to familiarize yourself with the symbols used in the chart. Each symbol represents a specific stitch or action, such as knit, purl, yarn over, or decrease. It is important to carefully study the legend or key provided with the chart to understand the meaning of each symbol. Paying attention to details and practicing reading the symbols can help you avoid mistakes and ensure that your knitting project turns out as intended.
Following Rows and Rounds: Chart knitting typically includes both rows and rounds, depending on the project. It is important to understand the difference and how to follow them correctly. In rows, each symbol represents a stitch on the right side of the work. On the wrong side, you may need to read the symbols differently, such as knitting where there was a purl symbol in the previous row. Rounds, on the other hand, are worked in a continuous spiral and the symbols represent the stitches on each round. Paying attention to the starting point of each round and following the chart accordingly is crucial to achieving the desired pattern.
Tracking Progress: One of the advantages of chart knitting is the ability to visually track your progress. As you work through the chart, crossing off completed rows or rounds can help you stay organized and avoid making mistakes. Using a row counter tool or highlighting your progress on the chart can be helpful in keeping track of where you are and what you have completed. This way, if you need to take a break or put the project down for a while, you can easily pick up where you left off.
Practice and Patience: Like any new skill, chart knitting requires practice and patience. It may take some time to become comfortable with reading and following charts, especially if you are used to written instructions. Start with simpler patterns and gradually challenge yourself with more complex designs. Don’t get discouraged if you make mistakes along the way – learning from them will only improve your skills. With practice and patience, you will soon be able to convert any knitting pattern into a chart and confidently create beautiful projects.
Choose a Suitable Knitting Pattern
When it comes to knitting, choosing the right pattern is essential. Whether you are a beginner or an experienced knitter, finding a pattern that suits your skill level and meets your preferences is important. Here are some factors to consider when selecting a knitting pattern:
1. Skill Level
Consider your knitting experience and skill level before choosing a pattern. If you are a beginner, look for patterns labeled as “easy” or “beginner-friendly.” These patterns typically consist of basic stitches and simple techniques. If you have more advanced skills, you can opt for patterns that challenge you and help you learn new techniques.
2. Project Type
Determine the type of project you want to knit, such as a sweater, scarf, hat, or blanket. Each type of project requires different knitting techniques and materials. Look for patterns specifically designed for the type of project you have in mind.
3. Design and Style
Consider your personal style and the design you prefer. Knitting patterns come in various styles, from classic and timeless to modern and trendy. Browse through different patterns and find one that matches your taste and the look you want to achieve.
4. Gauge and Yarn Weight
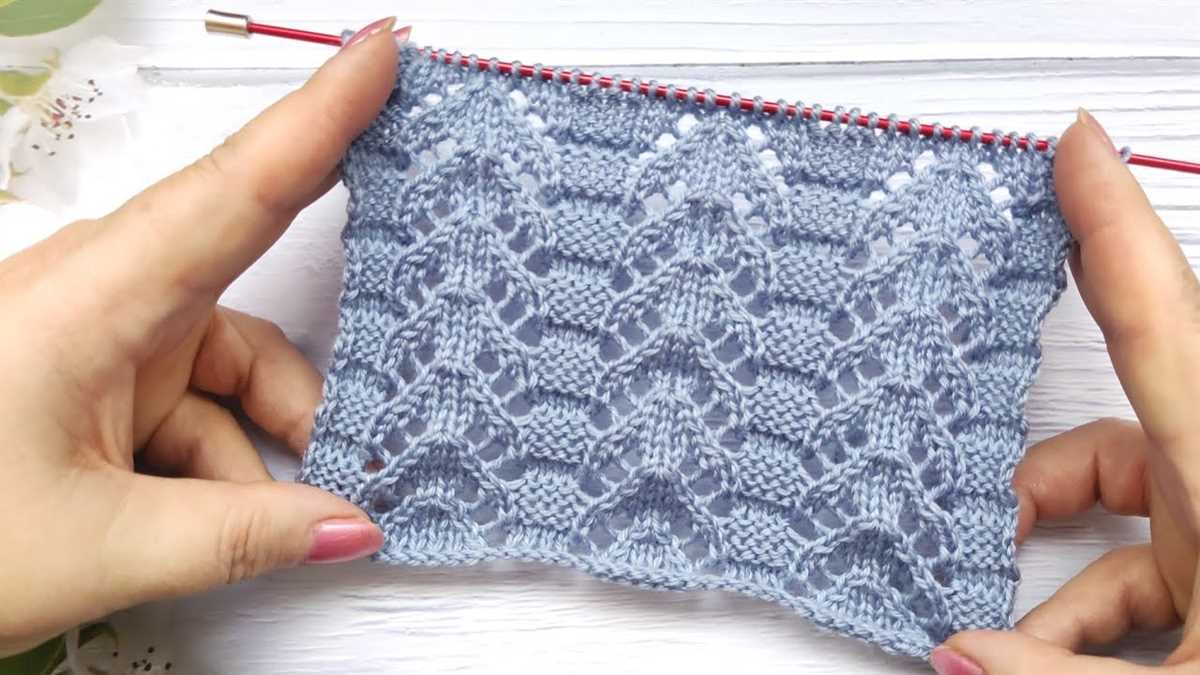
Pay attention to the recommended gauge and yarn weight in the pattern. The gauge refers to the number of stitches and rows per inch. Choosing the right yarn weight and achieving the correct gauge are crucial for the finished project to fit properly. Make sure you have the appropriate yarn and needles for the pattern you choose.
5. Reviews and Ratings
Before finalizing your decision, read reviews and ratings of the pattern from other knitters. This can give you insights into other people’s experiences with the pattern and help you determine if it is well-written and easy to follow. Online knitting communities and forums are excellent resources for finding pattern reviews and recommendations.
By considering these factors and doing thorough research, you can choose a knitting pattern that is suitable for your skill level, project type, style, and materials. Happy knitting!
Break Down the Pattern into Sections

When converting a knitting pattern to a chart, it is helpful to break down the pattern into smaller sections. This allows you to focus on one part of the pattern at a time, making it easier to create an accurate chart.
Start by identifying the different stitch patterns in the original pattern. Look for any repeating motifs or patterns that are used throughout the design. These will be the building blocks of your chart. Highlight or make a note of each different stitch pattern so you can easily reference them later.
1. Cast On and Set-Up Rows

The first section to tackle is usually the cast on and set-up rows. These are the initial rows of the pattern that create the foundation for the rest of the design. Pay close attention to any special instructions or stitch patterns used in these rows, as they will set the tone for the rest of the project.
Write out the cast on and set-up rows step by step, noting any increases, decreases, or other shaping techniques used. This will help you visualize the pattern and translate it into a chart format.
2. Stitch Pattern Repeat
Once you have the cast on and set-up rows charted, move on to the main stitch pattern repeat. This could be a simple ribbing, a lace pattern, or a combination of different stitches. Identify the repeat and write it out row by row, noting any changes in stitch count or special instructions as you go.
As you work on this section, it is helpful to reference the original pattern and compare it to your chart to ensure accuracy. Take note of any pattern repeats or motifs within the larger stitch pattern repeat, as these will need to be charted separately.
3. Shaping and Finishing
The final section to tackle is any shaping or finishing instructions in the pattern. This includes things like decreases, increases, shaping for armholes or necklines, and any bind off or finishing techniques. Write out these instructions step by step, noting any stitch pattern changes or modifications.
Referencing the original pattern, compare your chart to ensure that all shaping and finishing instructions are accurately represented. Pay close attention to stitch counts and any changes in stitch patterns to ensure a smooth transition.
By breaking down the pattern into smaller sections and charting each part separately, you can create an accurate knitting chart that is easy to follow and understand. This methodical approach allows you to focus on the details of the pattern and ensure that your chart accurately reflects the original design.
Create a Grid for the Chart
Once you have the knitting pattern and have determined the symbols to use for each stitch, the next step is to create a grid for the chart. The chart is a visual representation of the knitting pattern, with each square on the grid representing one stitch. This grid will serve as a guide for knitting the pattern.
To create the grid, you can use a pencil and graph paper or a computer program specifically designed for creating knitting charts. If you are using graph paper, make sure each square is large enough to comfortably fit the symbol for each stitch. You may also want to add numbers along the sides of the grid to indicate the row and stitch numbers.
Start by drawing a horizontal line at the top of the grid to represent the first row of the pattern. Then, determine the number of stitches in the row and draw that many squares below the horizontal line. Use the symbols you have chosen to represent each stitch and place one symbol in each square, following the pattern instructions.
Continue to draw horizontal lines and add squares for each row of the pattern, working from top to bottom. It can be helpful to mark off every 10 rows with a thicker line to make it easier to keep track of your progress. As you go along, refer back to the knitting pattern to ensure you are correctly interpreting the instructions and placing the symbols in the corresponding squares.
As you create the grid, it’s important to keep the chart organized and easy to read. Be mindful of the size of the symbols and make sure they are consistent throughout the chart. You may also want to add additional information such as stitch repeats or color changes to the chart to make it more comprehensive.
Assign Symbols to Each Stitch
When converting a knitting pattern to a chart, one important step is to assign symbols to each stitch. This helps to visually represent the stitches in the chart and makes it easier to follow along. It is important to choose symbols that accurately represent each stitch and are easy to read.
In order to assign symbols to each stitch, it is recommended to create a key or legend. This key will list all the different stitches used in the pattern along with their corresponding symbols. It is best to use clear and concise descriptions for each stitch so that the chart is easy to understand.
Some commonly used symbols for knitting charts include a filled square for knit stitches, an empty square for purl stitches, a dot or circle for yarn overs, and a diagonal line for decreases. These symbols can be combined in various ways to represent different stitch patterns and techniques.
It is important to keep in mind that symbols may vary depending on the individual pattern or charting system being used. Therefore, it is always a good idea to consult the pattern instructions or reference guides to ensure that the correct symbols are used for each stitch.
Creating a clear and accurate chart with assigned symbols for each stitch is an essential part of converting a knitting pattern. It allows for easier visualization and understanding of the pattern, making it easier for knitters to follow along and create beautiful projects.
Read and Interpret the Written Pattern

When working with a written knitting pattern, it is important to accurately read and interpret the instructions in order to successfully complete the project. Here are some steps to help you understand and follow a written pattern:
1. Familiarize yourself with the abbreviations: Knitting patterns often use abbreviations to save space and make the instructions easier to follow. Before starting the pattern, familiarize yourself with the common knitting abbreviations, such as “k” for knit, “p” for purl, “YO” for yarn over, and so on. This will help you understand the instructions more easily.
2. Read the pattern introduction: Most knitting patterns begin with an introduction that provides important information about the project. This may include the skill level required, the materials needed, gauge requirements, and any special stitches or techniques used. Take the time to read this introduction carefully to ensure you have all the necessary information.
3. Break down the pattern into sections: Knitting patterns are typically divided into sections, such as the cast on, the main body, the decreases, and the finishing instructions. Break down the pattern into these sections to make it easier to follow. Focus on one section at a time and check off each step as you go along.
4. Visualize the finished project: As you read the pattern, try to visualize how the finished project will look. This will help you understand how the different instructions come together and how the stitches create the desired design or shape.
5. Take note of any repeats: Many knitting patterns include repeated sections or stitch patterns. Pay attention to any repeat instructions and mark them in the pattern or make a note on a separate piece of paper. This will help you keep track of where you are in the pattern and avoid mistakes.
6. Reference the key or legend: If the pattern includes a key or legend for any specific stitches or symbols used, make sure to reference it as you work through the pattern. This will ensure you understand the meaning of each symbol and can follow the instructions accurately.
By following these steps and taking your time to understand the written pattern, you will be able to confidently knit any project and create beautiful, handcrafted items.
Begin Translating the Pattern to the Chart

To start translating the knitting pattern to the chart, you will need to familiarize yourself with the symbols and abbreviations used in chart knitting. These symbols will represent the different stitches and techniques used in the pattern. You can refer to the key or legend provided with the pattern to understand the meaning of each symbol.
Once you have a good understanding of the symbols, you can begin creating the chart. Start by drawing a grid on a piece of graph paper or using a charting software. Each square on the grid will represent one stitch or stitch combination. Use different symbols or colors to represent the different stitches and techniques as indicated in the pattern key.
As you go through the pattern, read each row or round and translate it to the chart by placing the appropriate symbols in the corresponding squares on the grid. Pay attention to any repeats or special instructions provided in the pattern. Use different colors or shading to indicate different stitch patterns if necessary.
If the pattern includes shaping or increases and decreases, you will need to represent these in the chart as well. Use symbols or arrows to indicate the direction of the shaping or the type of increase or decrease used. Refer to the pattern instructions to determine the appropriate symbols or notations for these techniques.
- Design the chart according to the size and complexity of the pattern
- Make sure to include any border or edge stitches in the chart
- Use additional rows or columns to indicate repeats or pattern sections
- Double-check your chart against the written pattern to ensure accuracy
By carefully translating the knitting pattern to the chart, you will have a visual representation of the pattern that can be easier to follow and refer to while working on your project. This can be especially helpful for complex stitch patterns or when working with multiple colors. Happy chart knitting!
Double-Check the Accuracy of the Chart

When converting a knitting pattern to a chart, it is essential to double-check the accuracy of the chart before starting your project. Mistakes or inaccuracies in the chart can lead to errors in your finished knitting piece, which can be disappointing and time-consuming to fix.
One way to ensure the accuracy of the chart is by comparing it to the written pattern. Carefully go through each line of the chart and compare it to the corresponding line in the written pattern. Make sure that the symbols and stitches match up correctly and that there are no missing or extra stitches.
- Pay special attention to any decreases or increases in the pattern. Make sure that these are accurately represented in the chart.
- Check the stitch count at the end of each row or round to ensure that it matches the written pattern. This will help you identify any mistakes in the chart.
- Look for any inconsistencies in the chart. For example, if the written pattern states that a certain cable should twist to the right, make sure that the corresponding symbol in the chart also indicates a right twist.
Additionally, it can be helpful to consult knitting resources or guides that provide symbols and abbreviations for various knitting stitches. This can help you verify that the symbols used in your chart accurately represent the stitches described in the written pattern.
By taking the time to double-check the accuracy of the chart, you can ensure that your knitting project progresses smoothly and that the final result matches your expectations.
Start Knitting from the Chart
When converting a knitting pattern to a chart, it’s essential to understand how to read and interpret the symbols and instructions on the chart. Once you have familiarized yourself with the chart and its symbols, you can start knitting from it. Following the chart enables you to create intricate and detailed patterns, as it provides a visual representation of each stitch and its placement.
To begin knitting from a chart, it’s helpful to have the written instructions for the pattern as a reference. The written instructions will provide additional information about the pattern, such as gauge, yarn weight, and any special techniques or stitches that might be involved. Use the written instructions alongside the chart to ensure accuracy and clarity.
When starting a row from the chart, locate the symbol that corresponds to the stitch you need to knit. Each symbol represents a different stitch, such as knit, purl, or yarn over. The chart will typically include a legend that explains the meaning of each symbol. Once you have identified the symbol, refer to the key or legend to determine the corresponding action or stitch.
To read the chart, start at the bottom right corner and work your way from right to left for right-side rows and from left to right for wrong-side rows. Follow the symbols and their placement on the chart, knitting or purling each stitch as indicated. Pay close attention to any repeats or pattern instructions specified in the chart, as these will guide you in creating the desired design.
As you work through the chart, consider using stitch markers to help identify specific sections or pattern repeats. Stitch markers can be placed between stitches or rows to mark a specific point or pattern repeat, making it easier to keep track of your progress and ensure accuracy. Additionally, it is essential to keep an accurate count of your rows and stitches to maintain consistency throughout the knitting project.
Troubleshoot and Make Adjustments as Needed
While converting a knitting pattern to a chart, you may encounter some challenges or discrepancies that need to be addressed. Here are some common troubleshooting tips and adjustments you can make:
1. Verify stitch count

Make sure the stitch count of your chart matches the original pattern. If there is a mismatch, review your chart to identify any errors or missing stitches.
2. Check for pattern repeats
Some knitting patterns have repeating sections. Ensure that your chart accurately represents these repeats. If you notice any inconsistencies, adjust the chart accordingly.
3. Clarify symbols and abbreviations
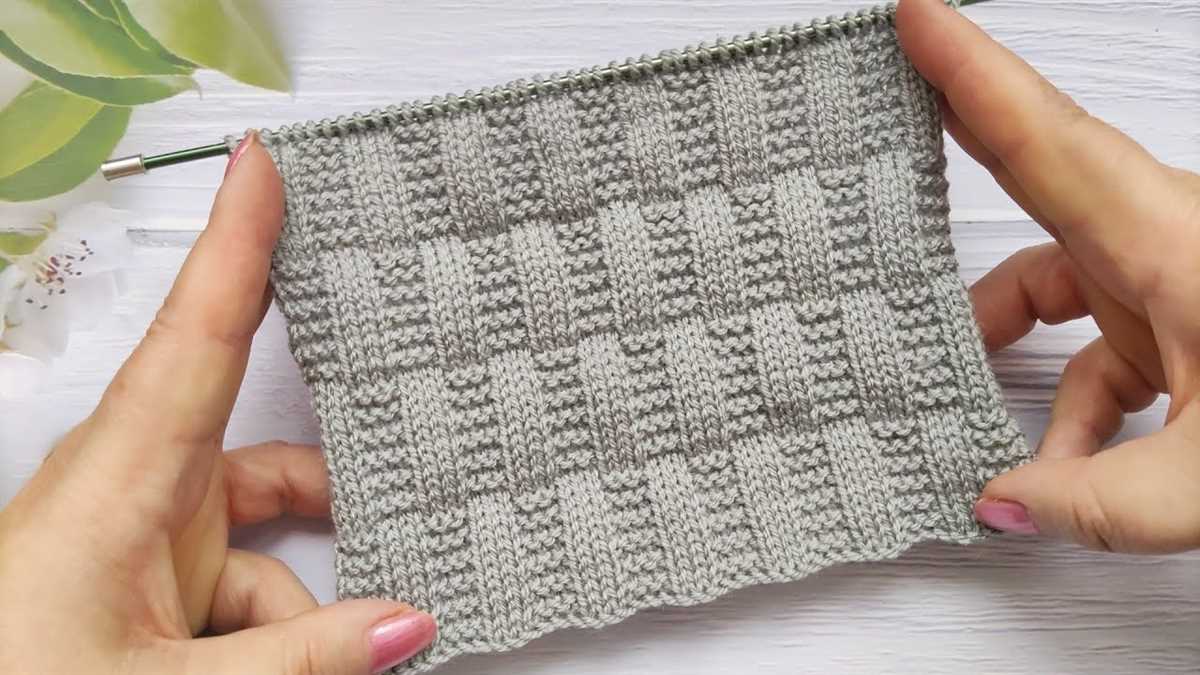
If you come across unfamiliar symbols or abbreviations in the original pattern, consult the knitting glossary or the pattern’s designer for clarification. It’s important to accurately represent these in your chart to ensure consistent knitting.
4. Adjust for different sizes
If you’re converting a knitting pattern to a chart for different sizes, you may need to make adjustments to the stitch count. Calculate the required stitch count based on the pattern’s gauge and adjust your chart accordingly.
5. Test the chart
Before starting your project, it’s recommended to knit a small swatch using your chart to ensure it matches the original pattern. This will help you identify any potential issues or discrepancies early on.
In summary, converting a knitting pattern to a chart requires attention to detail and troubleshooting skills. By verifying stitch counts, checking for pattern repeats, clarifying symbols, adjusting for different sizes, and testing the chart, you can ensure a successful conversion process and enjoy knitting projects with ease.