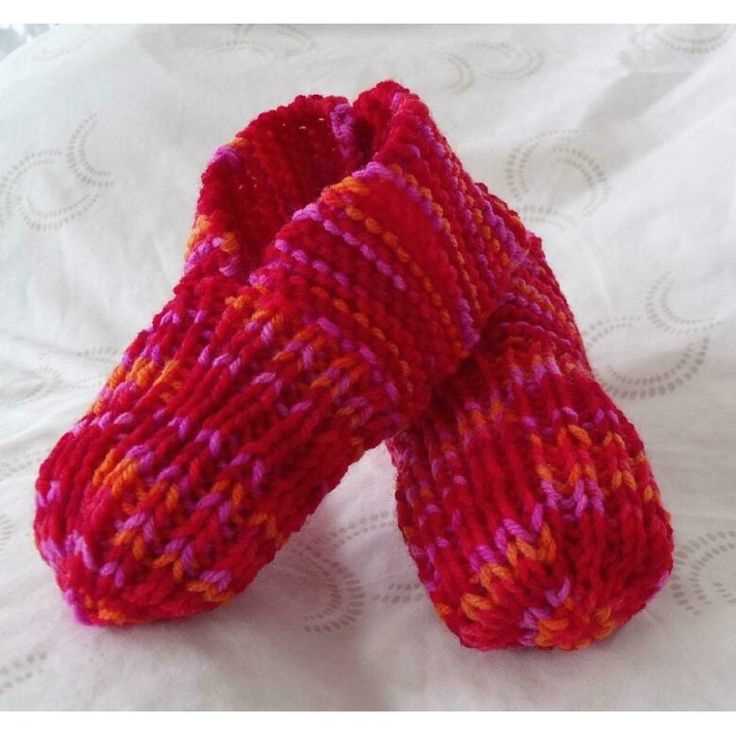
Keeping your little ones’ feet warm and cozy is essential during the colder months, and what better way to do it than with a pair of knitted slippers? Knitting is not only a relaxing and enjoyable pastime, but it also allows you to create personalized and unique items for those you love. In this article, we will guide you through a simple and easy-to-follow pattern for knitting children’s slippers.
Knitted slippers are a wonderful project for knitters of all skill levels. Whether you are a beginner or an experienced knitter, this pattern will be a breeze for you. You can choose from a wide range of colors and yarns to create slippers that match your child’s style and preferences. Plus, they make great gifts for birthdays, holidays, or any other special occasions.
Our pattern features a classic design with a ribbed cuff, textured sole, and a cozy fit to keep your child’s feet comfortably warm. The slippers are worked in the round, making them seamless and easy to knit. The pattern includes step-by-step instructions and clear stitch counts, so you can confidently knit a pair of slippers from start to finish.
So, grab your knitting needles and get ready to create a pair of adorable and cozy slippers for your little ones. Follow our pattern, and soon enough, their feet will be happily snug in your handmade creation.
Making Slippers for Children
Making slippers for children can be a fun and rewarding project. Not only will your little ones have warm and cozy feet, but they will also have a unique pair of slippers that you made with love.
Choosing the Right Pattern: When it comes to making slippers for children, it’s important to choose a pattern that is suitable for their size and skill level. There are many free and paid patterns available online, ranging from simple designs for beginners to more intricate patterns for experienced knitters. Take the time to read through the pattern and make sure you understand the instructions before starting.
Gathering Supplies: To make children’s slippers, you will need knitting needles, yarn, a tape measure, and a darning needle. Choose a soft and comfortable yarn in a color that your child will love. The needle size will depend on the pattern you choose, so be sure to check the gauge recommended in the pattern instructions.
Following the Instructions: Once you have chosen a pattern and gathered your supplies, it’s time to start knitting. Follow the instructions carefully, taking note of any specific techniques or stitches required. Pay attention to the sizing information and make any necessary adjustments to ensure a proper fit.
Adding Personalized Touches: While the pattern will provide the basic instructions, you can also add personalized touches to the slippers. Consider adding a fun pom-pom or embroidery to make the slippers even more special.
Finishing and Caring for the Slippers: Once you have completed knitting the slippers, it’s time to finish them off. Use a darning needle to weave in any loose ends, ensuring that the slippers are secure and won’t unravel. To care for the slippers, follow the yarn manufacturer’s washing instructions and store them in a safe place when not in use.
Making slippers for children is not only a practical project but also a great way to show your love and creativity. Whether you are an experienced knitter or just starting out, there is a pattern out there for you. So grab your knitting needles and get started on making cozy and adorable slippers for the little ones in your life!
Choosing the right yarn
When it comes to knitting children’s slippers, choosing the right yarn is essential. The yarn you select will greatly impact the comfort, durability, and overall look of the slippers. There are a few important factors to consider when choosing the yarn for your project.
Type of yarn:
There are various types of yarn available, and each type has its own qualities. For children’s slippers, it is recommended to use a soft and comfortable yarn that is gentle on the skin. Merino wool or a blend of wool and acrylic are popular choices as they are warm, soft, and durable. Cotton yarn can also be a good option for lightweight and breathable slippers, especially for warmer climates.
Yarn weight:
The weight of the yarn will determine the thickness and warmth of the slippers. For children’s slippers, it is usually best to choose a medium-weight yarn (also known as worsted weight or aran weight) as it provides a good balance between warmth and comfort. However, the specific yarn weight can also depend on the desired thickness and pattern of the slippers.
Color and pattern:
The color and pattern of the yarn can greatly enhance the design of the slippers. For children’s slippers, bright and vibrant colors are often preferred as they add a playful and fun element to the final product. Additionally, choosing a variegated or self-striping yarn can create interesting patterns and designs without the need for complex colorwork techniques.
Additional considerations:
Before finalizing your yarn choice, consider any specific requirements or preferences of the child who will be wearing the slippers. For example, if they have sensitive skin or allergies, it is important to choose a hypoallergenic yarn that is gentle on the skin. It is also worth considering the care instructions for the yarn, as some yarns may require special care or be more prone to shrinking.
In conclusion, selecting the right yarn for your children’s slippers is crucial for a successful knitting project. By considering the type of yarn, yarn weight, color and pattern, and any additional considerations, you can ensure that the slippers are comfortable, durable, and visually appealing.
Essential knitting tools
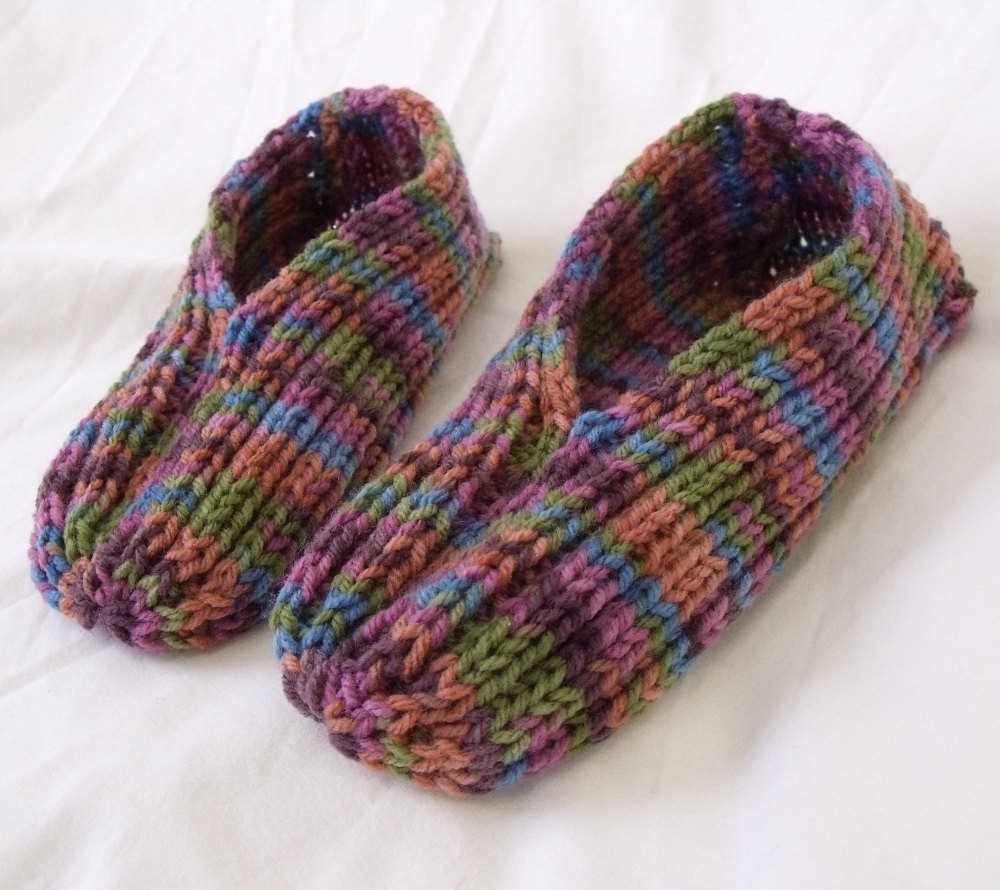
When it comes to knitting, having the right tools is essential for a successful project. Here are some of the must-have knitting tools that every knitter should have in their toolkit:
1. Knitting needles
Knitting needles are the most basic and important tool for any knitter. They come in a variety of sizes, lengths, and materials such as wood, bamboo, metal, or plastic. It’s important to have a good selection of needle sizes to accommodate different yarn weights and stitch patterns.
2. Yarn
Of course, yarn is an obvious essential tool for knitting. It comes in various colors, textures, and weights. Choosing the right type of yarn for your project is crucial as it determines the final outcome and feel of the knitted item. Different projects require different types of yarn, so it’s important to have a diverse selection in your stash.
3. Stitch markers
Stitch markers are small rings or clips that help to mark specific stitches in a knitting pattern. They are especially useful for complex patterns or when knitting in the round. Stitch markers help to keep track of stitch counts and make it easier to follow the pattern without getting lost.
4. Tapestry needle
A tapestry needle, also known as a yarn needle, is a long, blunt needle with a large eye. It is used for sewing seams, weaving in loose ends, and finishing details in knitting projects. A tapestry needle is an essential tool for any knitter to give the final polished look to their knitted items.
5. Scissors
A good pair of scissors is necessary for cutting yarn and trimming excess ends. It’s important to have a dedicated pair of scissors for knitting to avoid damaging the yarn or fabric. A small and sharp pair of scissors that easily fits in a knitting bag is ideal.
6. Row counter
A row counter is a small handheld tool or accessory that helps to keep track of the number of rows or repeats in a knitting pattern. It saves time and effort by eliminating the need to manually count rows or use pen and paper. A row counter is especially beneficial when working on projects with intricate stitch patterns or designs.
In conclusion, having the right knitting tools can greatly enhance your knitting experience and help you create beautiful and professional-looking knitted items. Investing in high-quality tools will not only make your knitting more enjoyable but also ensure that your finished projects are of the highest quality.
Basic knitting techniques
Knitting is a popular craft that involves creating fabric by looping yarn through a set of needles. Whether you’re a beginner or an experienced knitter, there are some basic techniques that you should be familiar with.
Casting on: The first step in any knitting project is casting on, which is the process of creating the initial row of stitches. There are several methods for casting on, including the long-tail cast on and the knit cast on. The method you choose will depend on your personal preference and the specific project you’re working on.
Knit stitch:
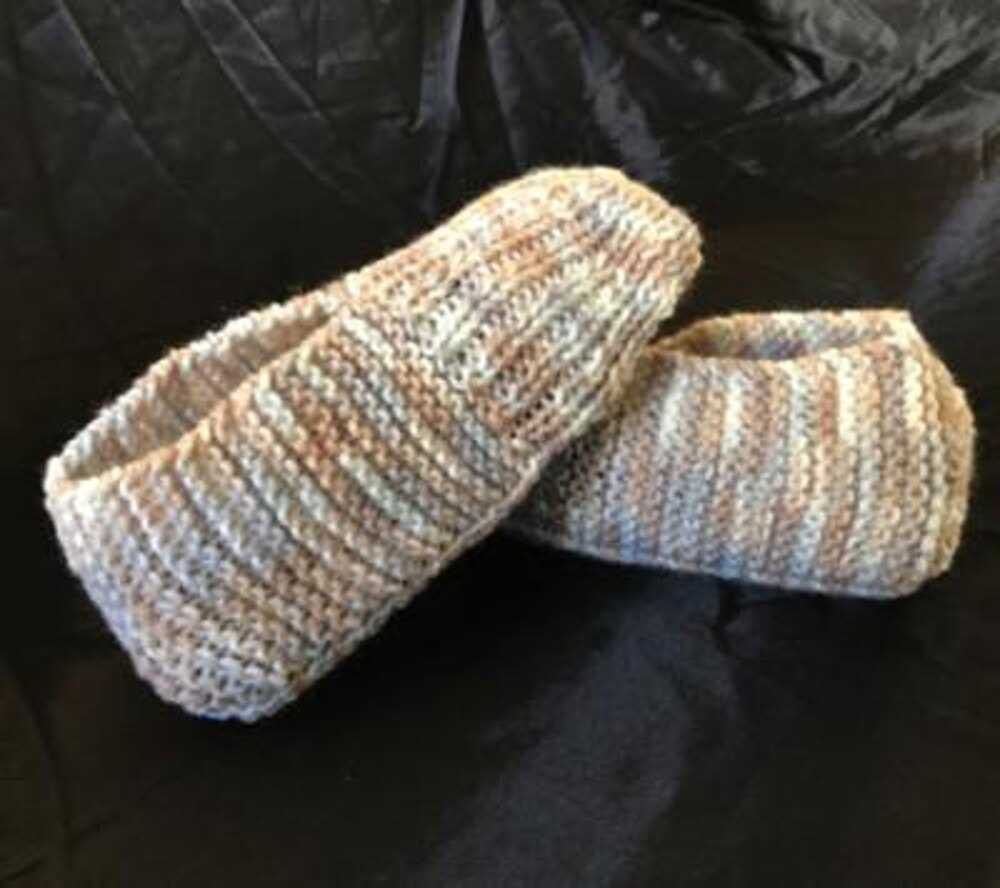
The knit stitch is one of the most basic and commonly used stitches in knitting. To knit, you insert the right-hand needle into the loop on the left-hand needle, wrap the yarn around the right-hand needle, and pull the new loop through the old loop. This creates a new stitch on the right-hand needle and transfers the old stitch from the left-hand needle to the right-hand needle.
Purl stitch:
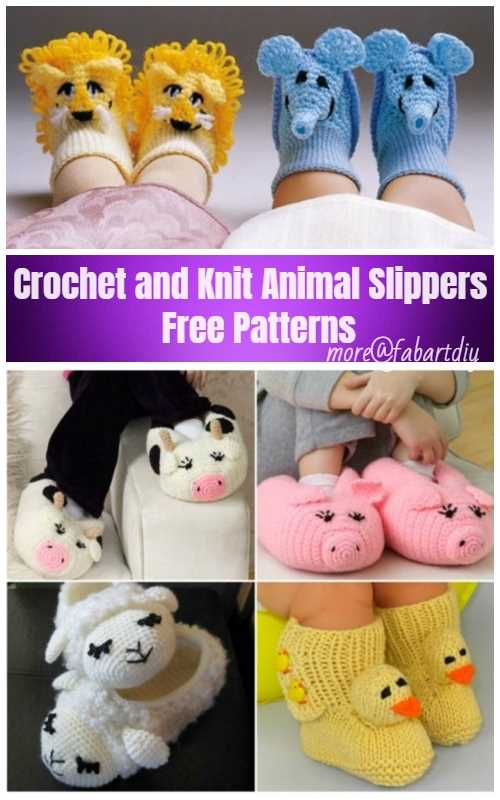
The purl stitch is another basic stitch in knitting. It is the opposite of the knit stitch and creates a different texture on the fabric. To purl, you insert the right-hand needle into the loop on the left-hand needle from right to left, wrap the yarn around the right-hand needle, and pull the new loop through the old loop. This transfers the old stitch from the left-hand needle to the right-hand needle and creates a new stitch.
Increasing and decreasing:
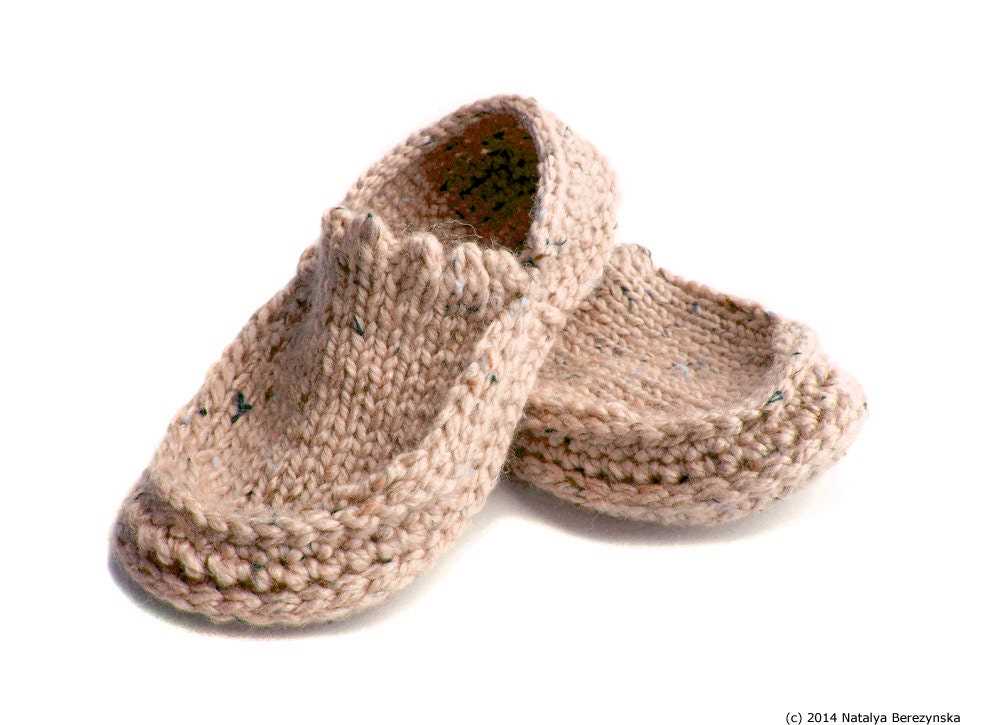
In knitting, you may need to increase or decrease the number of stitches to shape your project or create decorative patterns. There are various ways to do this, such as yarn overs, knit or purl two stitches together, or slip slip knit. Each method creates a different effect and is used for different purposes.
Finishing: Once you’ve completed your knitting project, you’ll need to finish it off by binding off. This involves knitting two stitches, then passing the first stitch over the second stitch and off the needle. Repeat this process until you have one stitch left, then cut the yarn and pull it through the final stitch to secure it.
These are just a few basic knitting techniques, but they are the foundation for many more advanced stitches and patterns. With practice and patience, you can create beautiful knitted items and enjoy the art of knitting.
Selecting a knitting pattern
When it comes to knitting, selecting the right pattern is crucial. Whether you’re a beginner or an experienced knitter, finding a pattern that suits your skill level and style is essential to ensure a successful knitting project.
Consider your skill level: Before choosing a knitting pattern, it’s important to assess your skill level. If you’re a beginner, opt for simple patterns with basic stitches and minimal shaping. Intermediate knitters can try more complex patterns with additional techniques, while advanced knitters can challenge themselves with intricate designs and advanced stitch patterns.
Determine the type of project: Think about what you want to create – a sweater, hat, scarf, or perhaps a pair of slippers. Knowing the type of project you want to undertake will narrow down your pattern options. It’s also essential to consider the size and fit of the finished project, especially when knitting for children or adults.
Explore different styles: Knitting patterns come in a variety of styles, from traditional and classic to modern and trendy. Take some time to browse different patterns and consider what appeals to you aesthetically. Some knitters prefer intricate lacework, while others may prefer bold colorwork or textured stitch patterns.
Read reviews and feedback: Before committing to a knitting pattern, it can be helpful to read reviews and feedback from other knitters who have already completed the project. This can provide valuable insights into the pattern’s clarity, accuracy, and overall satisfaction. Online knitting communities and forums are excellent resources for finding pattern reviews.
Take note of yarn and needle requirements: When selecting a knitting pattern, pay attention to the recommended yarn weight and needle size. Using the correct materials will ensure that your project turns out as intended and will save you from any potential frustrations or inconsistencies. Additionally, consider the cost and availability of the recommended yarn.
Casting on and creating the sole
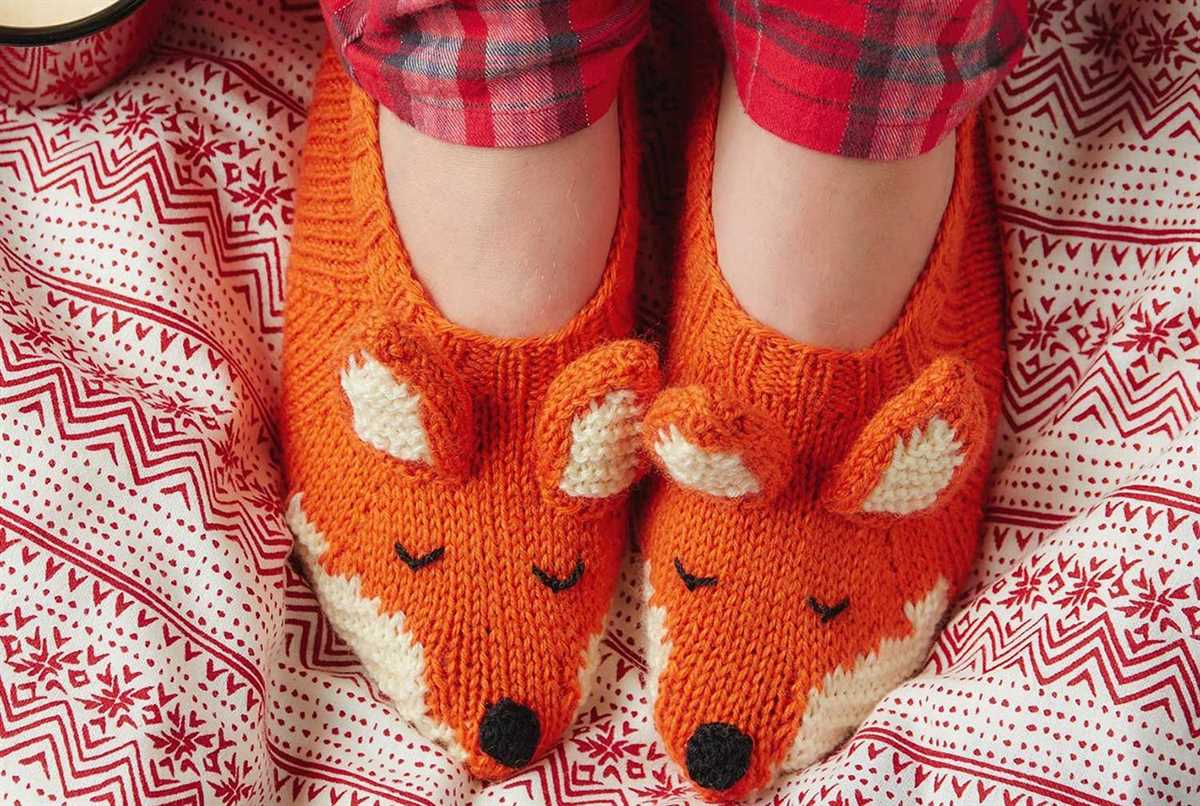
Before starting, gather all the necessary materials for knitting the children’s slippers. You will need a pair of knitting needles, yarn in the color of your choice, and a tapestry needle for sewing up stitches. Make sure to choose a yarn that is soft and comfortable for children’s feet.
To begin, cast on the required number of stitches for the size of slippers you want to make. You can find the specific instructions for casting on in the pattern you are following. Typically, you will cast on using the long-tail cast on method, which provides a neat and stretchy edge for the sole of the slipper.
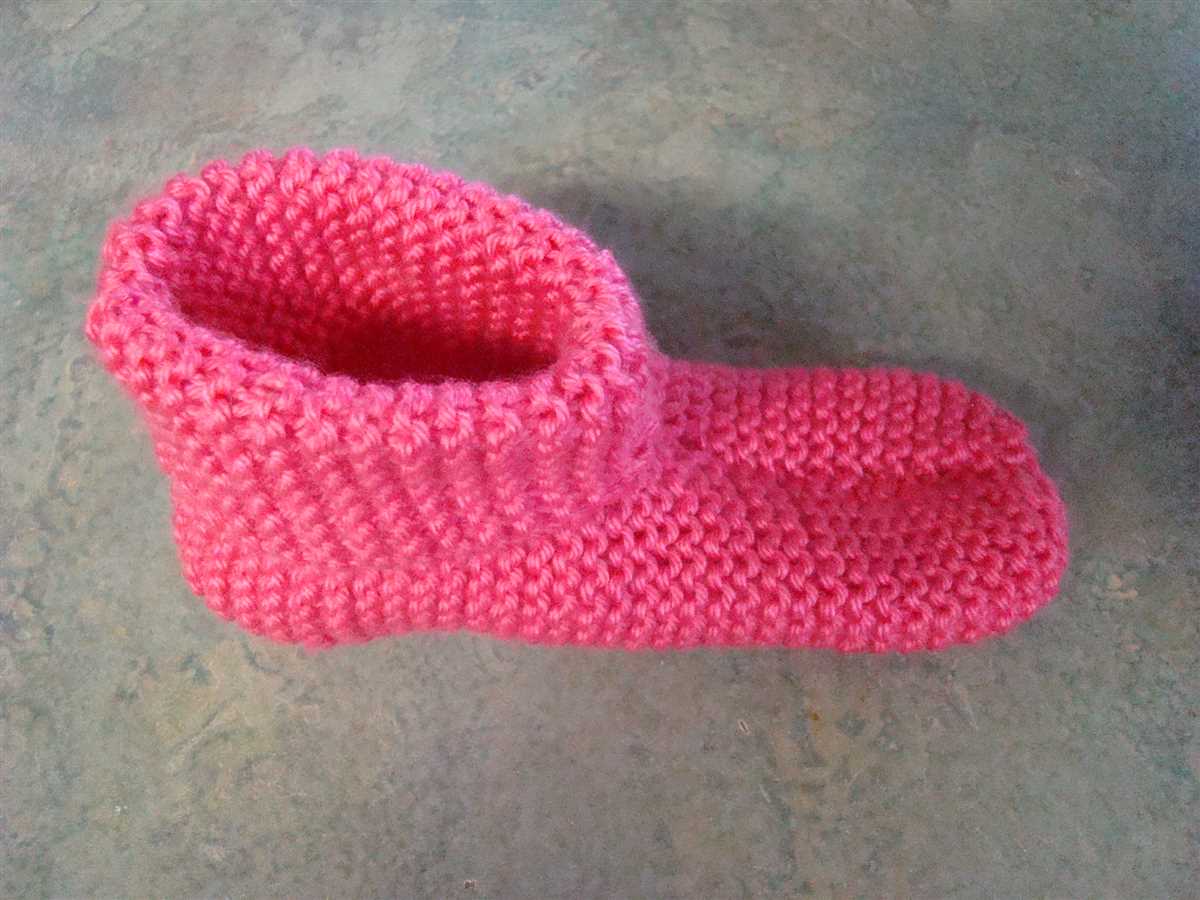
Once the stitches are cast on, you will start creating the sole of the slippers. This involves working rows of knit stitches back and forth on the needle. The sole is usually knitted in a garter stitch pattern, which means knitting every row. This creates a thick and cozy fabric that is perfect for keeping little feet warm.
Follow the pattern instructions to knit the required number of rows for the size of slipper you are making. Pay attention to any shaping instructions, such as decreasing stitches at the beginning or end of a row to shape the toe or heel. These shaping techniques will help create a comfortable fit for the slippers.
Once the sole is complete, you can move on to knitting the upper part of the slipper and finishing the project. Enjoy the process of knitting these adorable slippers for children and be sure to check the pattern for any additional instructions or details specific to the design you are following.
Knitting the Upper Part
To create the upper part of the knitted children’s slippers, you will start by casting on the required number of stitches using the chosen yarn and needle size. It is important to follow the pattern instructions carefully to ensure that the correct number of stitches is achieved.
Once the stitches have been cast on, you will begin knitting the upper part of the slippers. This typically involves working in a specific stitch pattern, such as garter stitch or a combination of knits and purls. The pattern will specify how many rows or rounds to knit in this stitch pattern.
For example:
- If the pattern calls for garter stitch, you will knit every row (or round) until the desired length is reached.
- If the pattern calls for a combination of knits and purls, you will follow the specified stitch pattern, repeating the required sequence of knits and purls on each row (or round).
Throughout the knitting process, it is important to maintain an even tension and check your work regularly to ensure that the gauge is correct. This will help ensure that the slippers fit properly once they are completed.
Adding decorative elements
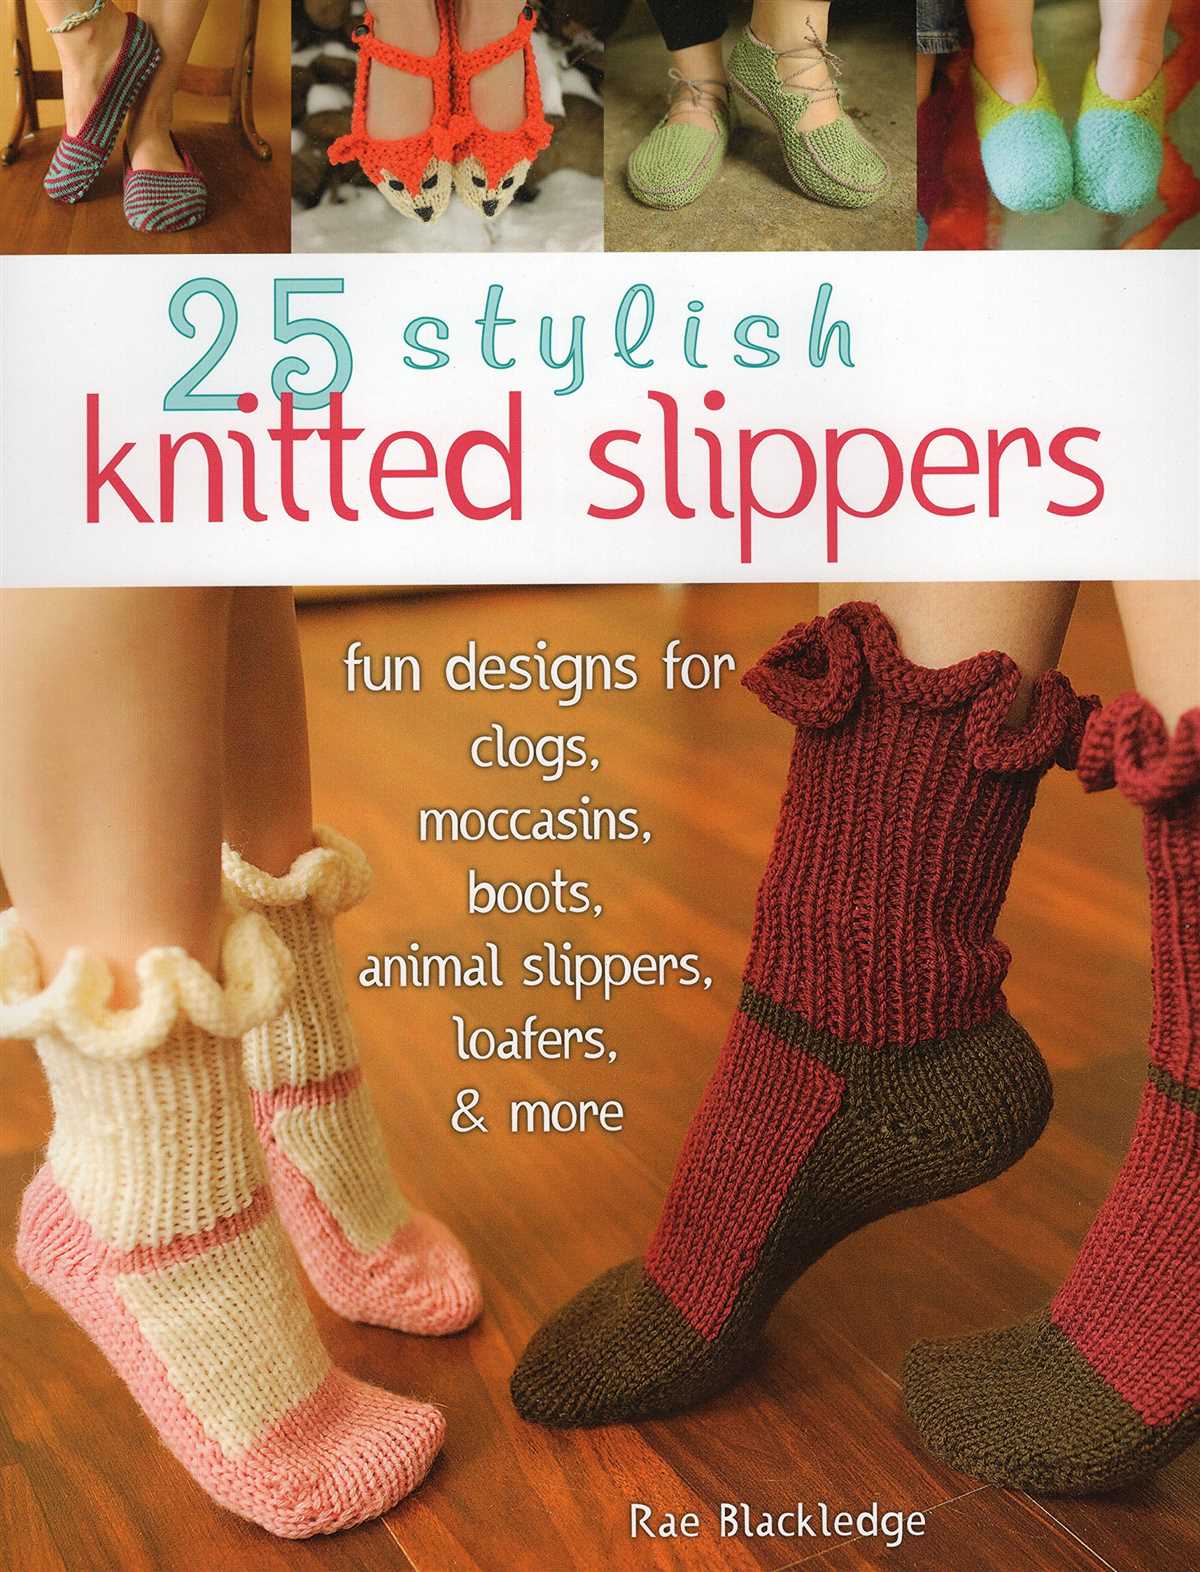
Adding decorative elements to knitted children’s slippers can help make them more visually appealing and personalized. There are various ways to incorporate decorative elements into your slippers, including using different colors, texture stitches, appliques, and embroidery.
Color: One simple way to add decorative elements to your slippers is by using different colors of yarn. You can use contrasting colors for ribbing, cuff, and sole, or create stripes or color blocks to add visual interest. Experiment with different color combinations to find the ones that suit your style and the design of the slippers.
Texture stitches: Another way to add decorative elements is by using texture stitches. Consider using cable stitches, seed stitch, or lace patterns to create interesting textures on your slippers. These stitches not only add visual appeal but can also create a comfortable and snug fit for the slippers.
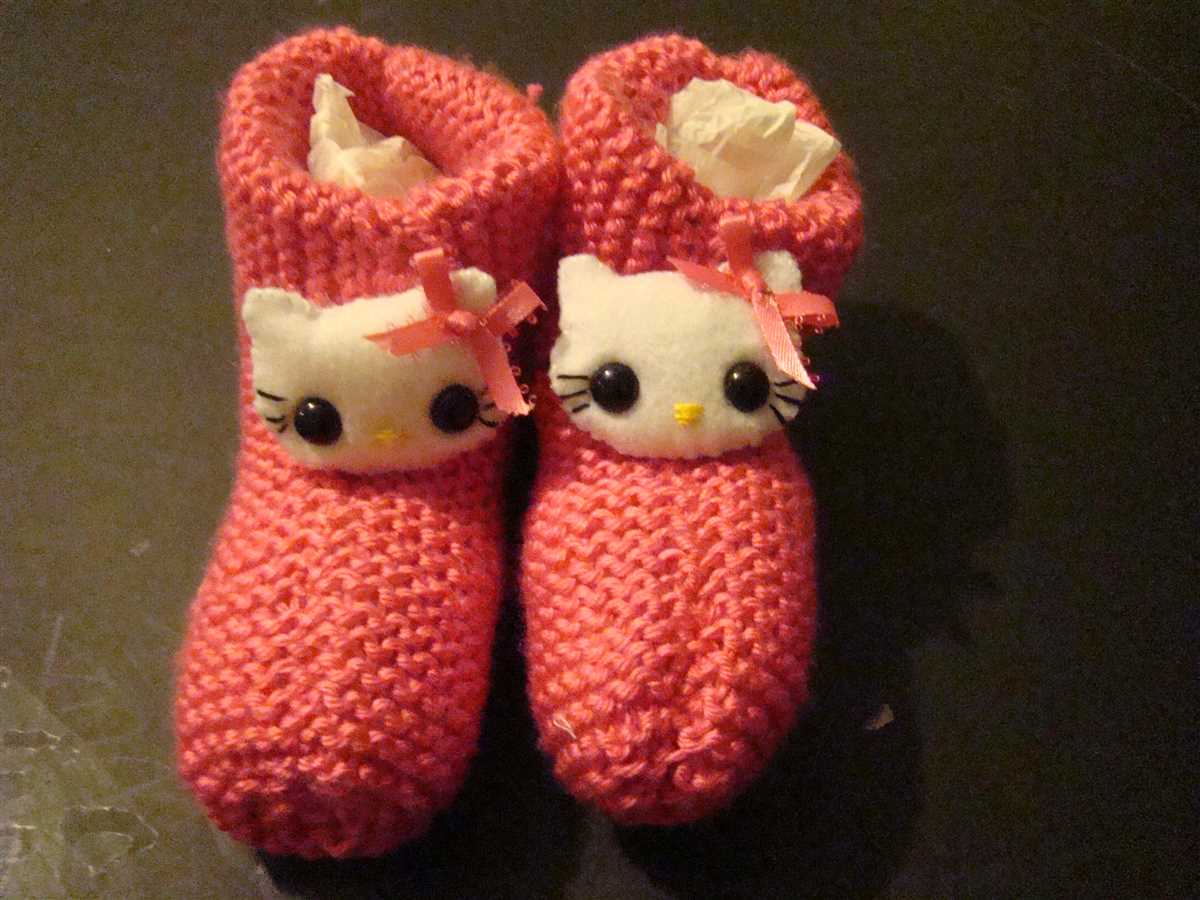
Appliques: Appliques are small knitted or crocheted motifs that can be attached to the slippers to give them a unique and playful touch. You can make appliques in the shape of animals, flowers, or any other design that appeals to you or the child who will be wearing the slippers. Attach the appliques using yarn or stitch them on with a needle and thread.
Embroidery: Embroidery is another way to add decorative elements to your slippers. You can use embroidery floss or yarn to create intricate designs, names, or patterns on the slippers. Embroidery allows for a lot of creativity and customization, and you can make the designs as simple or elaborate as you like.
- Experiment with different decorative elements to find the ones you enjoy using the most and that match the style of your slippers.
- Consider the age and preferences of the child who will be wearing the slippers when choosing decorative elements.
- Don’t be afraid to get creative and have fun with adding decorative elements to your knitted children’s slippers!
Finishing touches
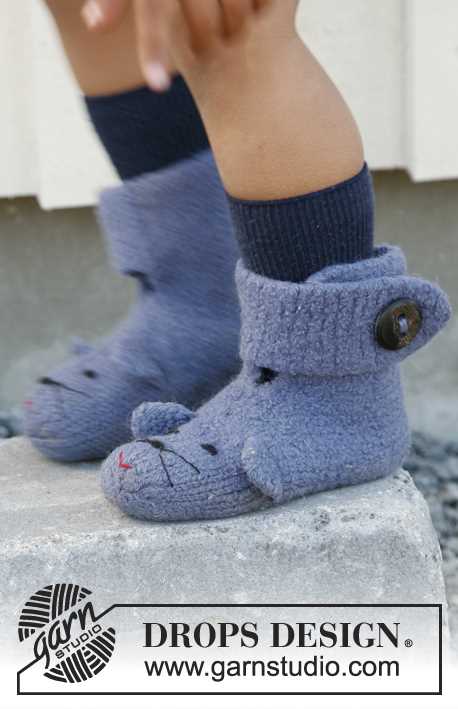
After completing the knitting of the slippers, there are a few final touches to add to make them look even more adorable. These finishing touches will add personality and charm to the slippers, making them perfect for children.
1. Embellishments: You can add embellishments like buttons, bows, or pompoms to the slippers. Sew them onto the surface of the slippers using a needle and thread. These little details will make the slippers more attractive and fun for children.
2. Non-slip soles: To ensure that the slippers are safe for children to wear, you can attach non-slip soles to the bottom. You can use felt or rubber soling material and cut it to the shape of the sole. Glue or sew the soles onto the slippers, providing extra grip and preventing slips and falls.
3. Personalization: Make the slippers even more special by personalizing them. You can embroider the child’s name or initials onto the slippers, adding a personal touch and making them unique to the child. This will make the slippers feel even more special and cherished.
With these finishing touches, your knitted children’s slippers will be complete and ready to be worn by the little ones. They will not only keep their feet warm but also be a source of joy and comfort. Whether you’re making these slippers as a gift or for your own child, these finishing touches will make them even more special.
