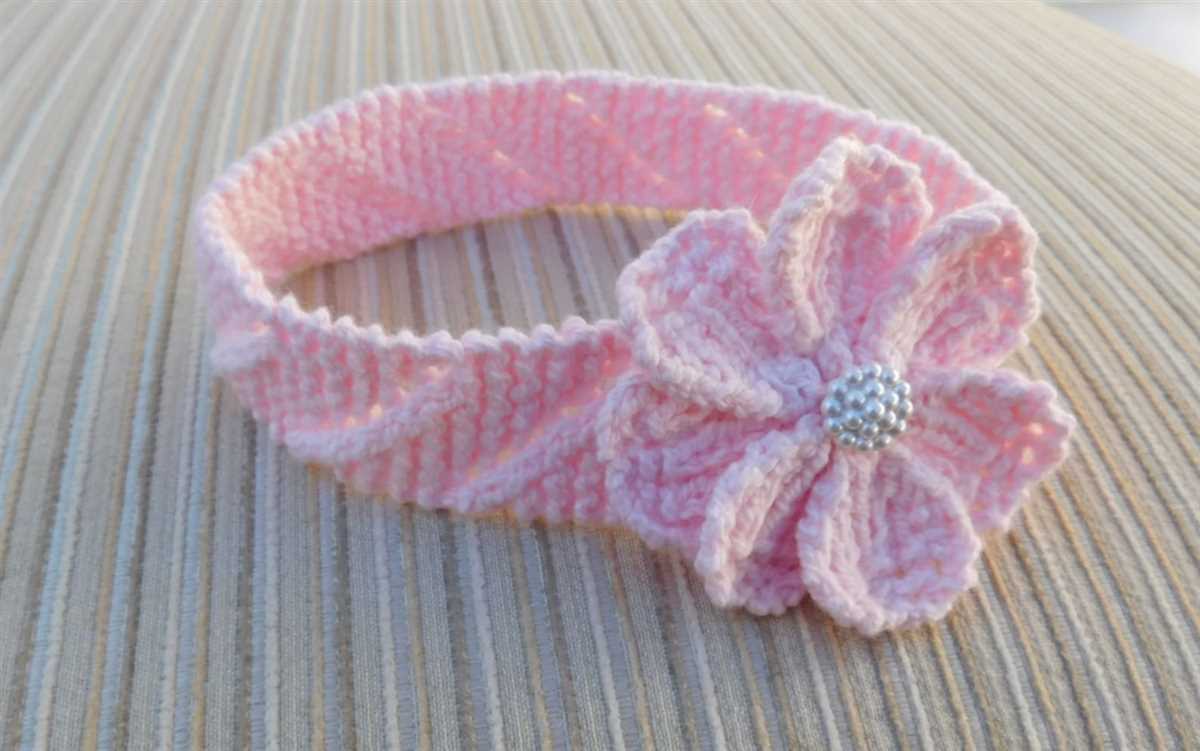
A knitted headband is a cute and practical accessory for children during the colder months. Whether they’re playing in the snow or just walking to school on a frosty morning, a headband can keep their ears warm and cozy. Plus, with this free knitting pattern, you can make one yourself!
This child’s knitted headband pattern is perfect for beginners or experienced knitters looking for a quick and easy project. The pattern uses basic knitting stitches and only requires a small amount of yarn, making it an ideal project for using up leftover yarn from previous projects.
The headband is designed to fit children ages 3 to 8 years old, but it can be easily adjusted for larger or smaller sizes by changing the number of stitches cast on. The final result is a stylish and comfortable headband that children will love to wear.
Child’s Knitted Headband Free Pattern
Knitting a headband for your child is not only a fun and creative project, but it also provides warmth and style during the colder months. With this child’s knitted headband free pattern, you can easily create a beautiful accessory that your child will love.
To start, gather your materials. You will need a pair of knitting needles (size 6-8), a skein of yarn in your desired color, and a tapestry needle for weaving in ends. It is important to choose a soft and warm yarn that is suitable for your child’s sensitive skin.
Begin by casting on 16 stitches. Use a slip or cable cast on method for a neat and stretchy edge. Once you have cast on, you will begin the ribbing pattern. Knit 2 stitches, then purl 2 stitches, repeating this pattern until the end of the row. Continue this ribbing pattern for about 2 inches.
Once you have completed the ribbing, you can move on to the main body of the headband. Switch to a stockinette stitch pattern (knit one row, purl one row) and continue knitting until the headband is the desired length. Typically, a child’s headband measures around 18-20 inches, but you can adjust the length based on your child’s head size.
Once the headband is the desired length, switch back to the ribbing pattern for another 2 inches. This will create a nice finished edge and ensure a snug fit around your child’s head. Finally, bind off all stitches and weave in any loose ends using a tapestry needle.
This child’s knitted headband free pattern is perfect for beginners and experienced knitters alike. It is a quick and enjoyable project that can be completed in just a few hours. Your child will love wearing this cozy and stylish accessory, and you will feel proud of your knitting skills!
Materials Needed for the Knitted Headband
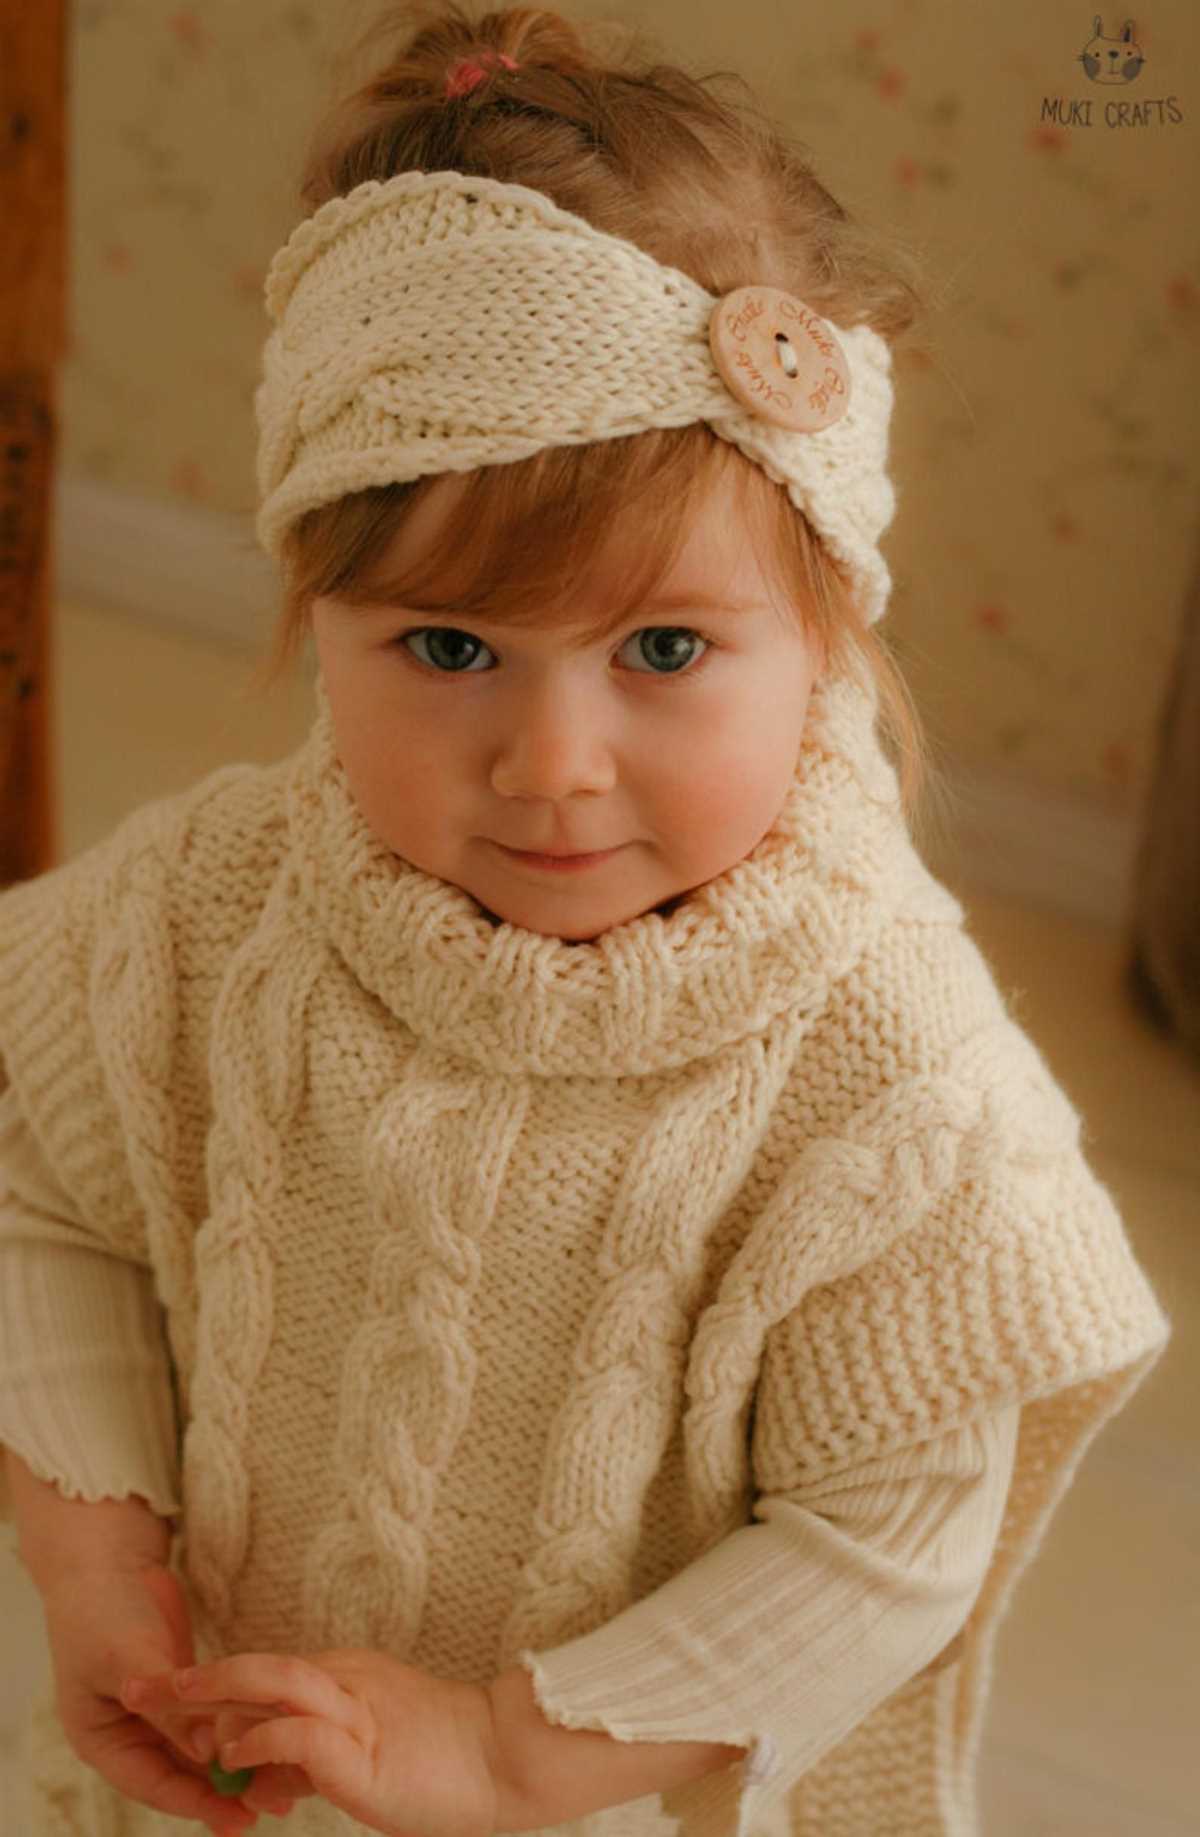
When embarking on your knitting project for a child’s headband, it’s important to have all the necessary materials on hand. Here is a list of items you will need to gather before starting:
- Yarn: Choose a soft and comfortable yarn suitable for a child’s delicate skin. Worsted weight or DK weight yarn in your preferred color will work well for this project.
- Knitting Needles: Select a pair of knitting needles in the appropriate size to achieve the gauge required for the pattern. A size 7 or 8 (4.5mm-5mm) needle is generally a good choice for worsted or DK weight yarn.
- Tape Measure: This will come in handy for measuring the child’s head circumference and ensuring the headband fits properly.
- Yarn Needle: A yarn needle with a large eye is necessary for weaving in ends and seaming the headband.
- Scissors: A sharp pair of scissors will be needed for cutting the yarn and trimming any excess.
By gathering these materials before starting your knitting project, you’ll be prepared and able to follow the child’s knitted headband pattern smoothly. Once you have everything ready, you’ll be able to enjoy the process of creating a beautiful and cozy headband for a special little one.
Step-by-Step Instructions for Casting On
If you want to create a child’s knitted headband, the first step is to cast on your stitches. Casting on is the process of creating the foundation row of stitches on your knitting needles. There are several different methods for casting on, but we will be using the long-tail cast on method for this pattern.
Step 1: Start with a slip knot
Begin by making a slip knot at the end of your yarn. To do this, create a loop with your yarn, and then pull the end of the yarn through the loop to tighten it. Leave a tail of yarn about 10-12 inches long.
Step 2: Hold your needles
Hold one knitting needle in your right hand and the other in your left hand. The slip knot should be on the right needle.
Step 3: Wrap the yarn
Hold the tail of the yarn with your right hand, and use your left hand to wrap the yarn around the left needle from back to front. This creates a loop of yarn on your left needle.
Step 4: Insert the right needle
Insert the right needle into the loop from the front to the back. Your needles should now be crossed, with the right needle behind the left needle.
Step 5: Slide the loop off
Slide the loop of yarn off the left needle, and pull gently on the tail of the yarn to tighten the stitch. This creates your first cast on stitch.
Step 6: Repeat
Repeat steps 3 to 5 until you have cast on the required number of stitches for your headband. For a child’s headband, you might need about 80 stitches, but check your pattern to be sure.
Now that you have cast on your stitches, you are ready to start knitting your child’s headband!
Knitting the Ribbing Section
The ribbing section is an important part of the knitted headband, as it provides a snug fit around the wearer’s head. To begin knitting the ribbing section, cast on the required number of stitches using the long-tail cast-on method. This will create a stretchy and clean edge for the headband.
Once the stitches are cast on, start working in the specified ribbing pattern. This typically involves alternating between knitting and purling stitches to create a textured design. The ribbing pattern helps the headband to stay in place and adds an extra layer of warmth to the wearer.
Tip: It’s useful to place stitch markers at regular intervals along the row to keep track of the pattern and ensure that it is maintained consistently throughout the ribbing section.
Continue working in the ribbing pattern for the specified number of rows. The number of rows can vary depending on the desired width of the ribbing section. Remember to keep tension consistent to achieve an even appearance. At the end of the ribbing section, the piece is ready for the main section of the headband, which will be worked in a different stitch pattern.
Note: The ribbing section is crucial for the overall fit and comfort of the knitted headband. It creates a stretchy and snug band that helps keep the headband securely in place while adding a touch of style and warmth.
Switching to the Main Stitch Pattern
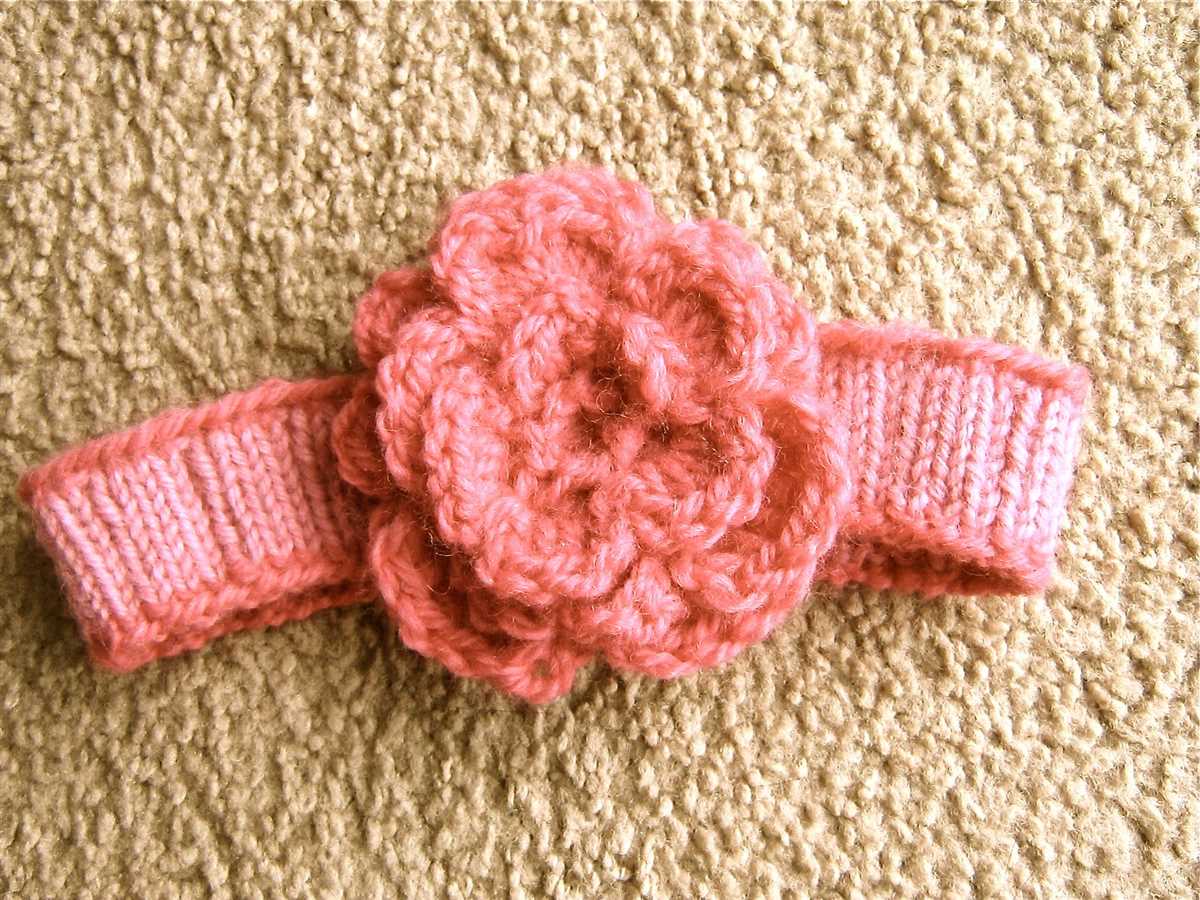
Once you have completed the ribbed section of the headband, it’s time to switch to the main stitch pattern. This will give your headband the desired texture and design. Follow these steps to transition smoothly:
- First, make sure you are starting with the right side of the work facing you. This will ensure that the pattern looks correct once completed.
- Next, you will need to switch your knitting needles. If you were using smaller needles for the ribbing, switch to larger needles for the main stitch pattern. This will create a looser fabric and allow the stitches to stand out more.
- Begin the main stitch pattern according to the instructions provided. This may involve repeating a specific sequence of stitches or working a specific stitch pattern for a certain number of rows.
- Pay close attention to the pattern’s instructions regarding stitch count and any special instructions for maintaining the pattern. This will ensure that your headband turns out as intended.
- Continue working the main stitch pattern until the headband reaches the desired length, as specified in the pattern.
By following these steps, you will successfully switch to the main stitch pattern and create a beautiful knitted headband. Enjoy the process and happy knitting!
Creating the Shaping for the Headband
Once you have gathered all the necessary materials and tools, it’s time to start creating the shaping for the headband. This process will involve increasing and decreasing stitches to achieve the desired width and shape.
To begin, cast on the required number of stitches using the size of knitting needles recommended in the pattern. Make sure to create a firm, even cast on to ensure the headband has a stable foundation. You can use the long-tail cast-on method or any other preferred method.
Next, follow the pattern instructions to work the first row. This may involve knitting or purling stitches, or a combination of both. Pay close attention to any special stitch patterns or techniques mentioned in the pattern, as these may add decorative elements to the headband.
As you work through the subsequent rows, be mindful of any indicated increases or decreases. These will be used to shape the headband and create a fitted, comfortable design. Common shaping techniques include knitting or purling two stitches together (k2tog or p2tog), yarn overs (yo), and increasing stitches by knitting into the front and back of the same stitch (kfb).
Repeat the pattern instructions, incorporating the shaping techniques as directed, until you have reached the desired length for the headband. Keep in mind that the pattern may include instructions for an adjustable size, allowing you to customize the fit. If necessary, make any necessary adjustments based on the recipient’s head circumference.
Once you have completed the final row, secure the stitches by binding off as indicated in the pattern. This will ensure that the headband retains its shape and structure. Some patterns may also include instructions for adding a button closure or other fastening method.
After binding off, weave in any loose ends of yarn using a tapestry needle. This will give the headband a polished and finished appearance. Finally, block the headband according to the pattern instructions, if specified. Blocking can help even out the stitches and improve the drape of the fabric.
Binding Off and Finishing the Edges
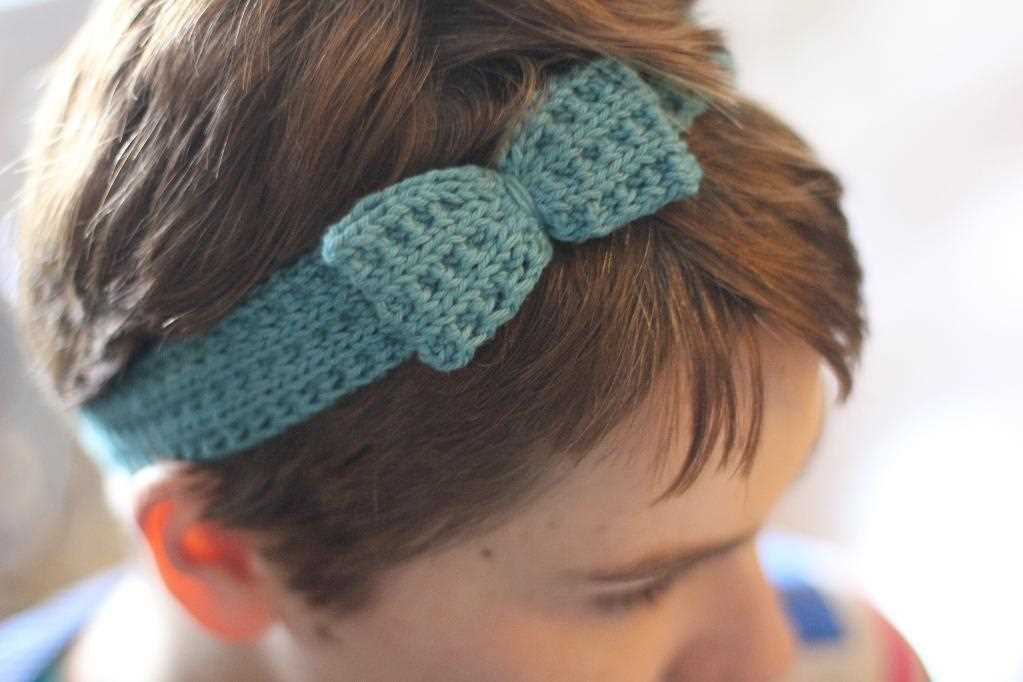
Once you have completed knitting the headband, it’s time to bind off and finish the edges. Binding off is the process of securing the stitches and creating a neat finished edge. To bind off, you will need a crochet hook or a tapestry needle.
To bind off, start by knitting the first two stitches as usual. Then, using your crochet hook or needle, slip the first stitch over the second stitch and off the needle. Continue knitting one stitch and then slipping the previous stitch over it until you have only one stitch remaining. Cut the yarn, leaving a long tail, and pull it through the last stitch to secure it.
Once you have bound off all the stitches, you can finish the edges of the headband to prevent them from unraveling. One way to do this is by using a whip stitch. Thread a tapestry needle with the same yarn used for knitting the headband and insert it from the back to the front through the first stitch on the edge. Then, insert the needle from the front to the back through the next stitch, creating a diagonal stitch. Repeat this process along the entire edge of the headband.
Another option for finishing the edges is to add a crochet border. You can use a single crochet stitch or any other decorative stitch you prefer. Starting from one end of the headband, insert your crochet hook into the edge stitches and work the desired stitch. Continue working along the edge, making sure to evenly space the stitches. Once you have completed the border, cut the yarn and secure it by pulling it through the last stitch.
By binding off and finishing the edges, you will give your knitted headband a polished and professional look. Experiment with different techniques to find the one that suits your style best.
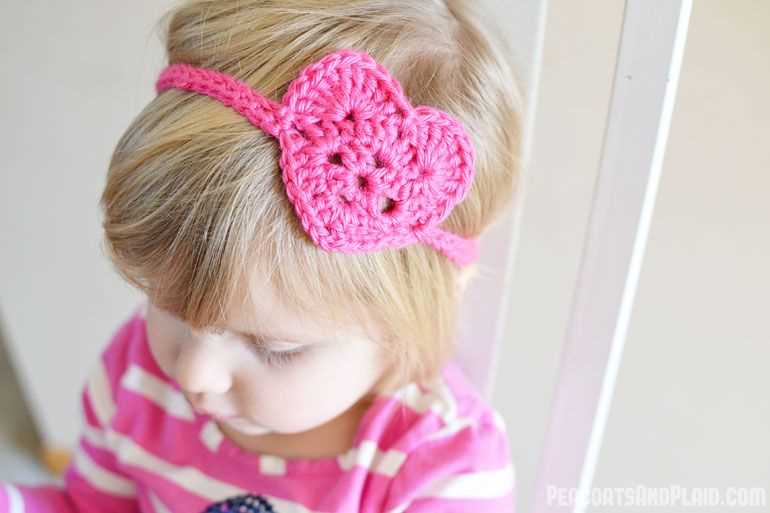
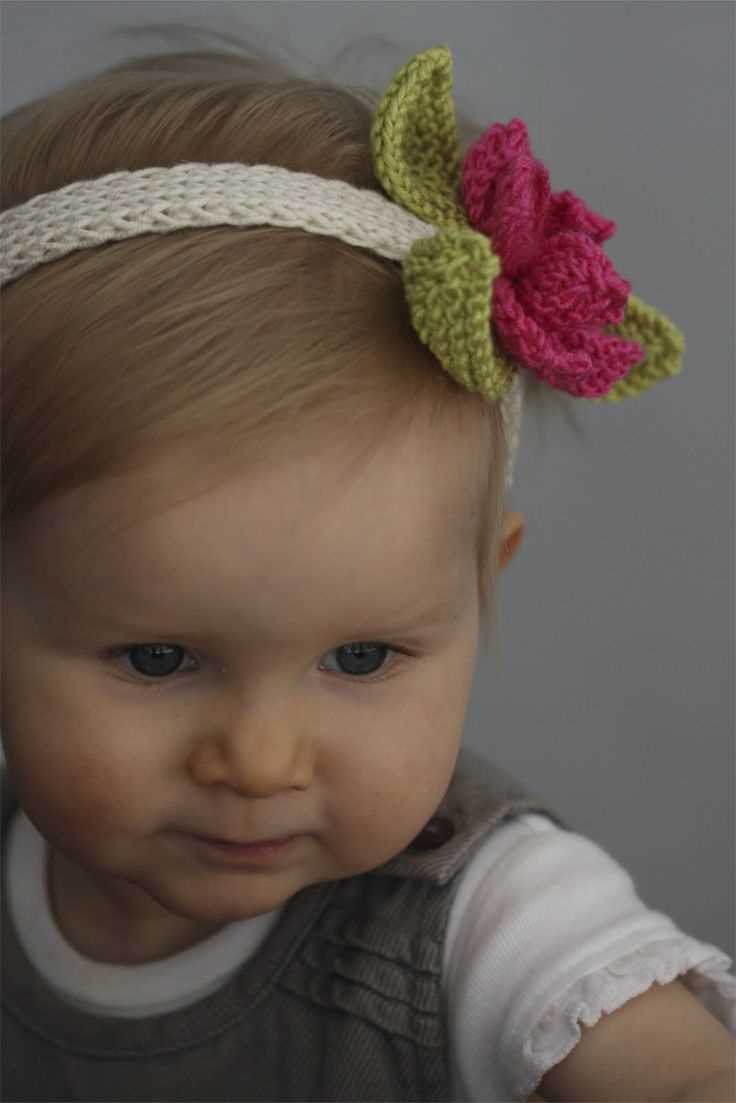
Adding Decorative Elements to the Headband

Adding decorative elements to a knitted headband is a great way to personalize the accessory and make it more visually appealing. There are several techniques and embellishments that can be used to add a unique touch to the headband.
1. Embroidery
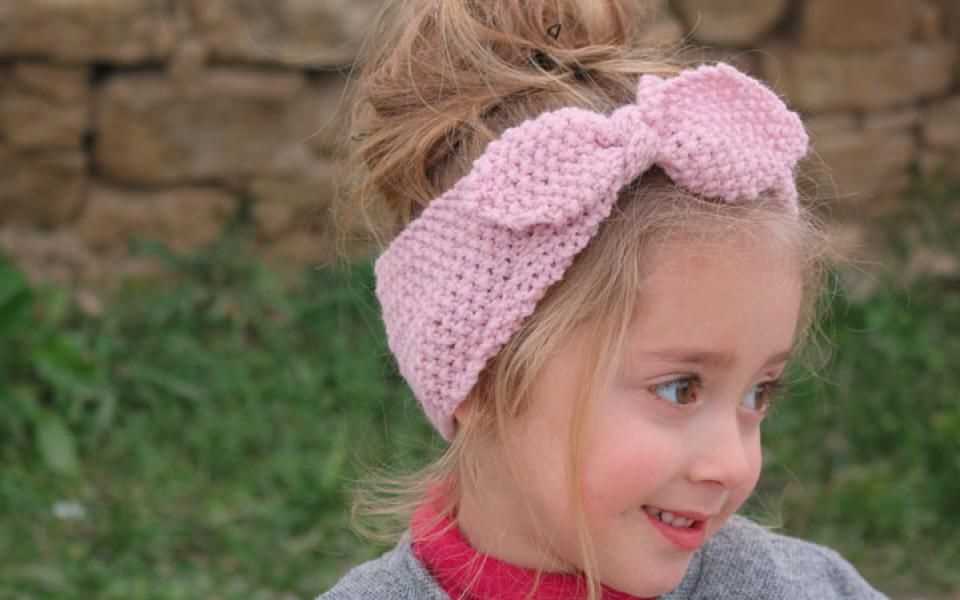
Embroidery is one of the easiest ways to add decorative elements to a knitted headband. You can use different types of embroidery stitches to create intricate designs, patterns, or even simple motifs. Whether you prefer floral patterns, geometric shapes, or personalized initials, embroidery allows for endless possibilities.
2. Appliques
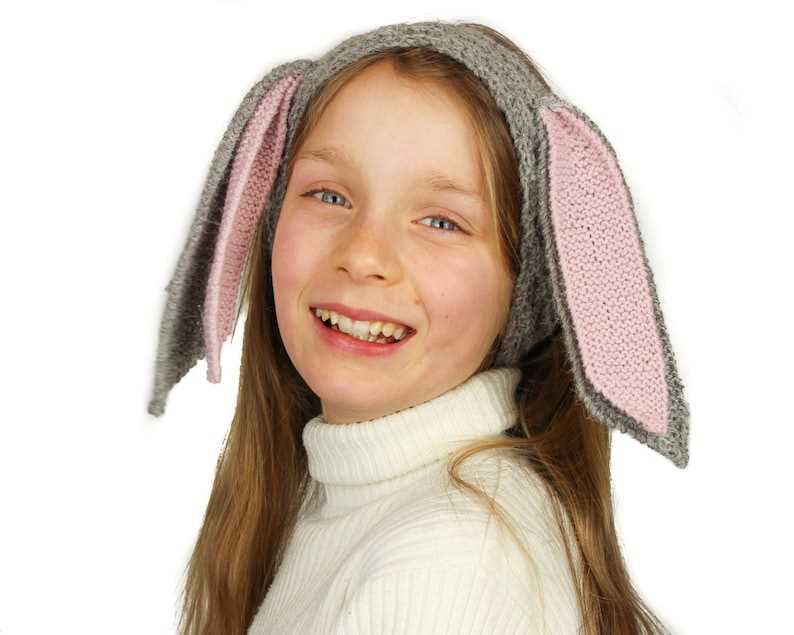
Appliques are another popular option for adding decorative elements to a knitted headband. You can use fabric scraps or pre-made appliques to create interesting shapes or designs. These can be sewn or glued onto the headband, offering a quick and easy way to add some flair.
3. Beads and Sequins
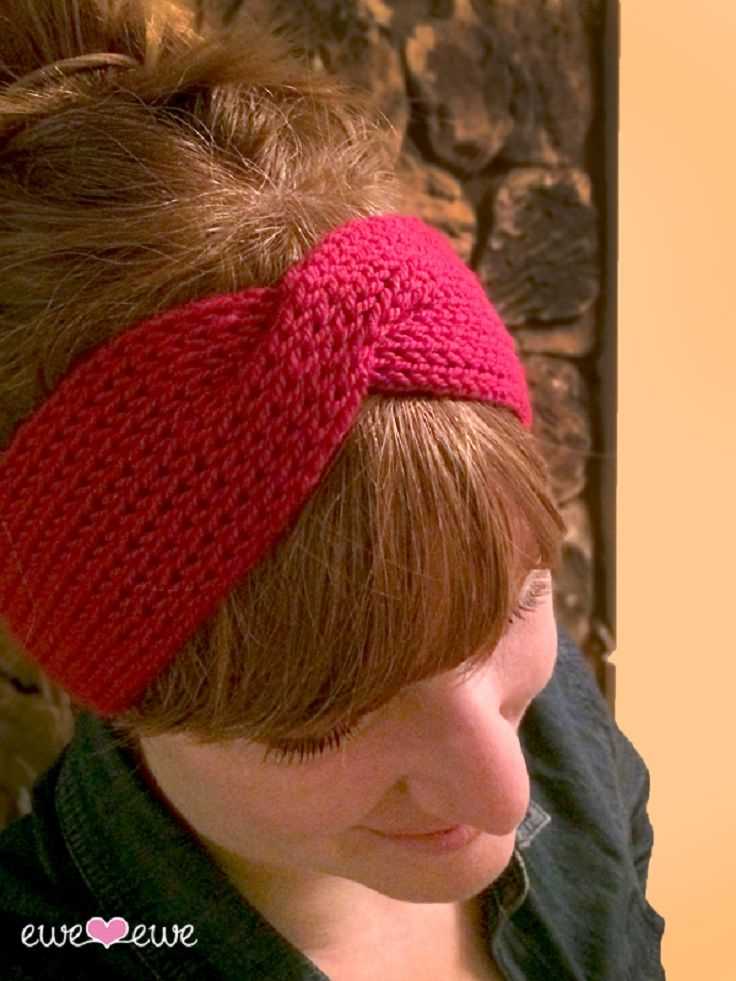
Adding beads or sequins to the headband can instantly transform it into a glamorous accessory. These embellishments can be sewn onto the headband individually, or you can create intricate beadwork patterns. They can be arranged in different shapes, sizes, or colors to create a unique and eye-catching design.
4. Ribbons and Bows
A simple ribbon or bow can add a touch of elegance to a knitted headband. You can choose a ribbon that complements the color of the headband or opt for a contrasting color for a bold look. Ribbons can be tied into bows, knotted, or simply wrapped around the headband to create different effects.
In conclusion, adding decorative elements to a knitted headband allows for creativity and personalization. Whether it’s through embroidery, appliques, beads, sequins, or ribbons, these embellishments can take a simple headband to the next level.
Tips for Proper Fit and Sizing
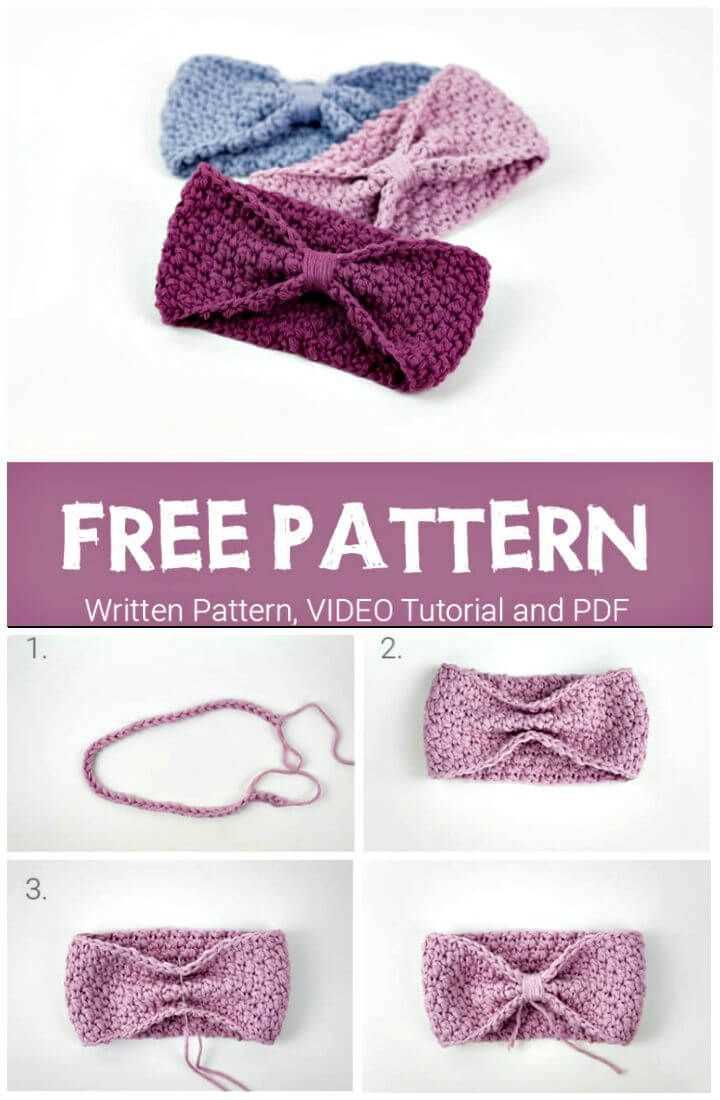
When knitting a child’s headband, it’s important to ensure that it fits properly and is the right size for their head. Here are some tips to help you achieve the perfect fit:
1. Measure the child’s head
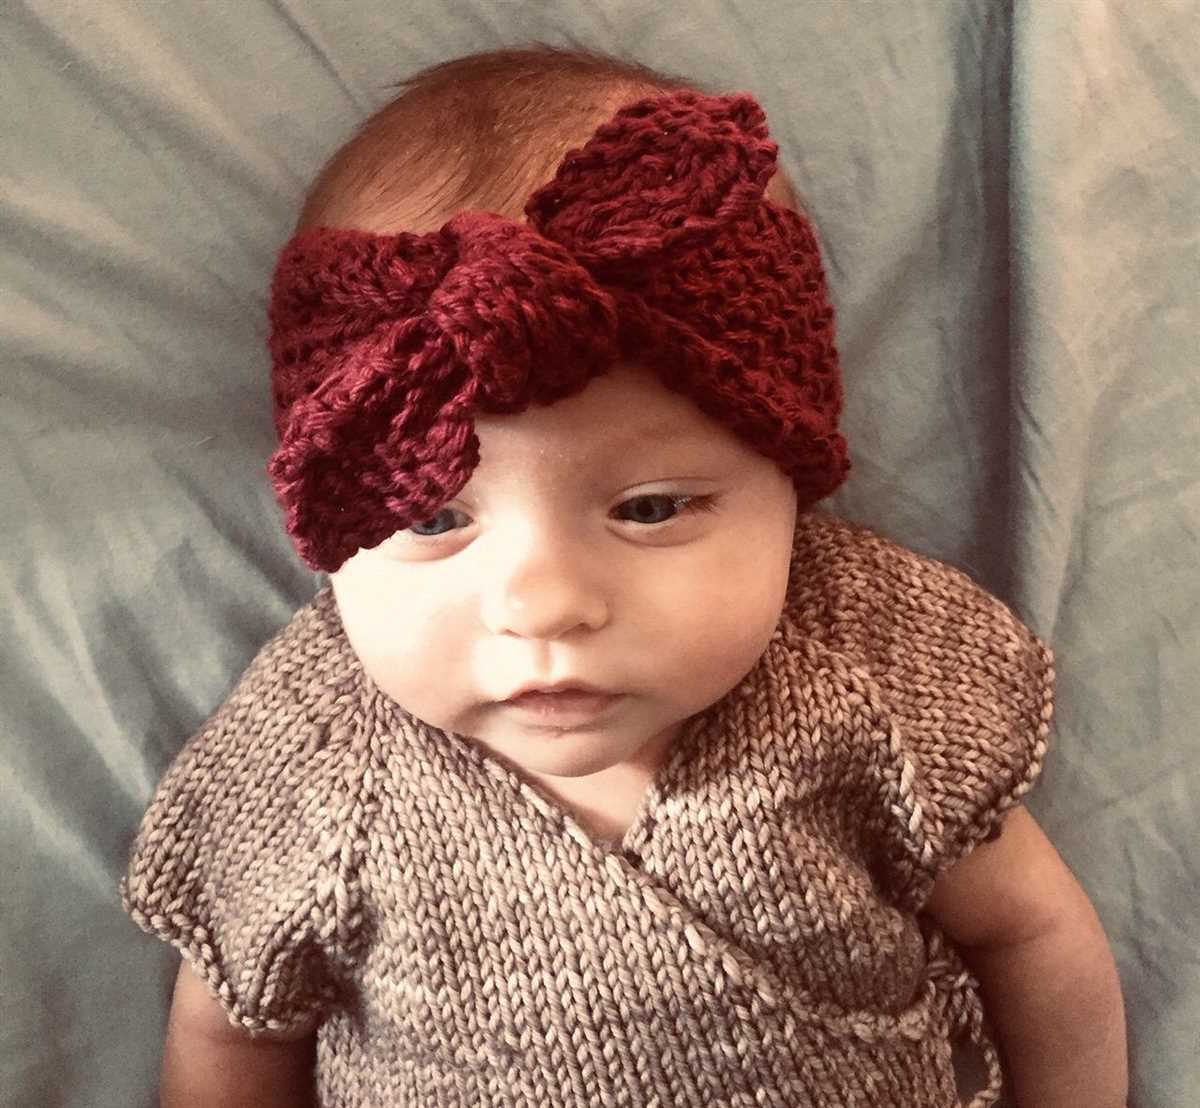
To determine the correct size for the headband, measure the child’s head circumference using a flexible tape measure. Make sure the tape measure is snug but not too tight around the head.
2. Consider the child’s age
Age can be used as a general guideline for determining headband size. For example, for infants, a smaller size would be suitable, while for older children, a larger size may be needed.
3. Account for stretch
Keep in mind that knitted headbands can stretch over time, so it’s a good idea to make the headband slightly smaller than the child’s actual head circumference. This will allow for a snug fit without being too tight.
4. Use a stretchy stitch pattern
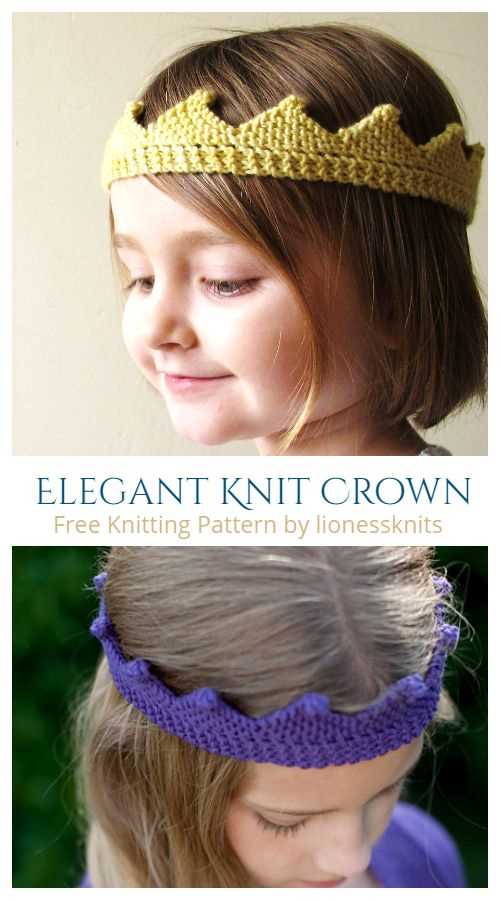
Choose a stitch pattern that has some natural stretch to it, such as ribbing or a stretchy lace pattern. This will ensure that the headband can accommodate the child’s head and provide a comfortable fit.
5. Try it on as you go
While knitting the headband, periodically try it on the child’s head to check for fit. This will allow you to make any necessary adjustments, such as adding or removing rows, to achieve the desired fit.
By following these tips, you can ensure that the child’s knitted headband fits properly and is comfortable to wear. Remember to always consider the child’s measurements and preferences when selecting the size and style of the headband.
Blocking the Finished Headband

Blocking is an important step in finishing your knitted headband. It helps to shape and smooth the fabric, ensuring that it lays flat and has a professional finish. Here’s a step-by-step guide on how to block your finished headband:
1. Prepare your blocking materials
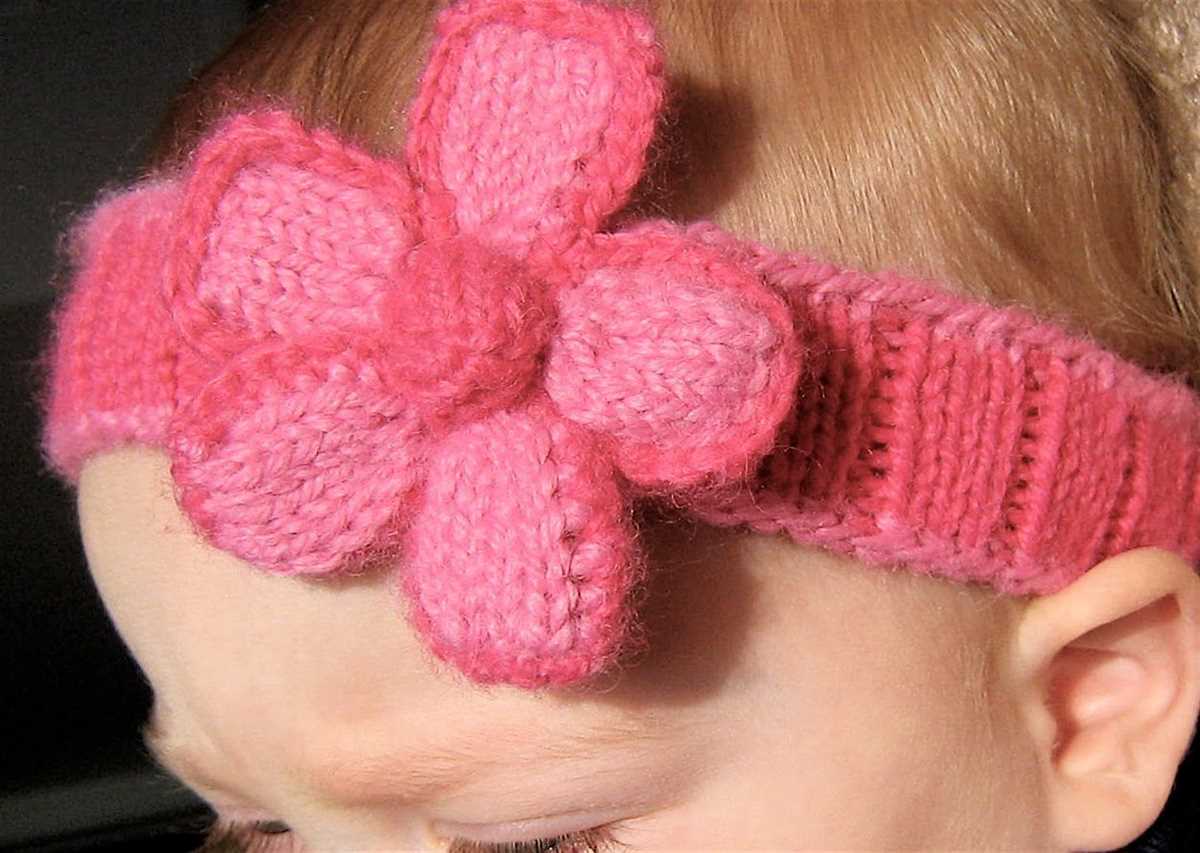
Before you start blocking, make sure you have all the necessary materials. You’ll need a blocking board or mat, rustproof pins or blocking wires, and a spray bottle filled with water. You may also want to have a towel handy to absorb any excess water.
2. Wet the headband
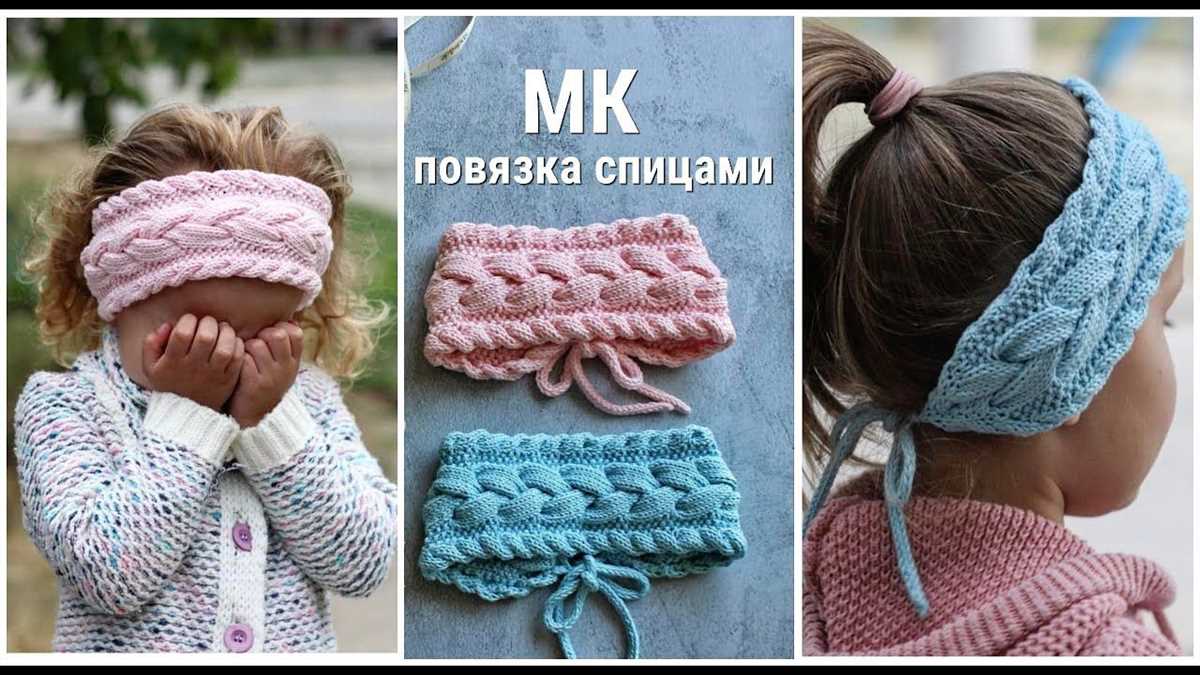
Gently wet the headband with water using the spray bottle. Make sure the entire headband is evenly damp, but not soaking wet. This step will help relax the fibers and make it easier to shape the headband.
3. Shape the headband
Next, lay the wet headband on the blocking board or mat. Use your hands to gently stretch and shape the headband to your desired dimensions. Pay attention to the edges and any lace or cable patterns to ensure they are evenly spaced and defined.
4. Secure the headband
Once you’re happy with the shape, use rustproof pins or blocking wires to secure the headband in place. Start in the center and work your way outwards, pinning or threading the wires through the fabric to hold it in shape. Make sure to evenly space the pins or wires to maintain the desired shape.
5. Let it dry
Once the headband is secured, leave it to dry completely. This may take several hours or even overnight, depending on the thickness of the yarn and the humidity in your environment. Avoid moving or touching the headband until it is fully dry to prevent any distortion.
6. Remove the pins or wires
Once the headband is completely dry, carefully remove the pins or blocking wires. Take your time and be gentle to avoid snagging or damaging the fabric. The headband should now be beautifully shaped and ready to wear or gift.
By following this blocking process, you’ll ensure that your knitted headband looks its best and maintains its shape over time.
Variation: Adding a Button Closure
If you want to add a button closure to your child’s knitted headband, here’s how you can do it:
- After casting on and knitting the desired length of the headband, cut your yarn, leaving a tail.
- Thread the tail through a yarn needle and weave it through the stitches at one end of the headband.
- Overlap the ends of the headband to determine where you want the button closure to be.
- Make a mark on the inside of the headband at the desired button placement.
- Thread the yarn needle with the tail and sew the button onto the inside of the headband at the marked spot.
- To create the buttonhole, make a small slit in the headband where the button will go.
- Secure the edges of the buttonhole by weaving the yarn through the stitches around the hole.
- Trim any excess yarn and weave in the ends to finish.
Adding a button closure is a great way to personalize your child’s knitted headband and make it adjustable for different head sizes. It also adds a decorative touch to the headband and can be a fun way to use up extra buttons from your craft stash. Whether you choose a simple button or a decorative one, this variation will add functionality and style to your child’s knitted headband.
Variation: Using Different Yarns and Colors
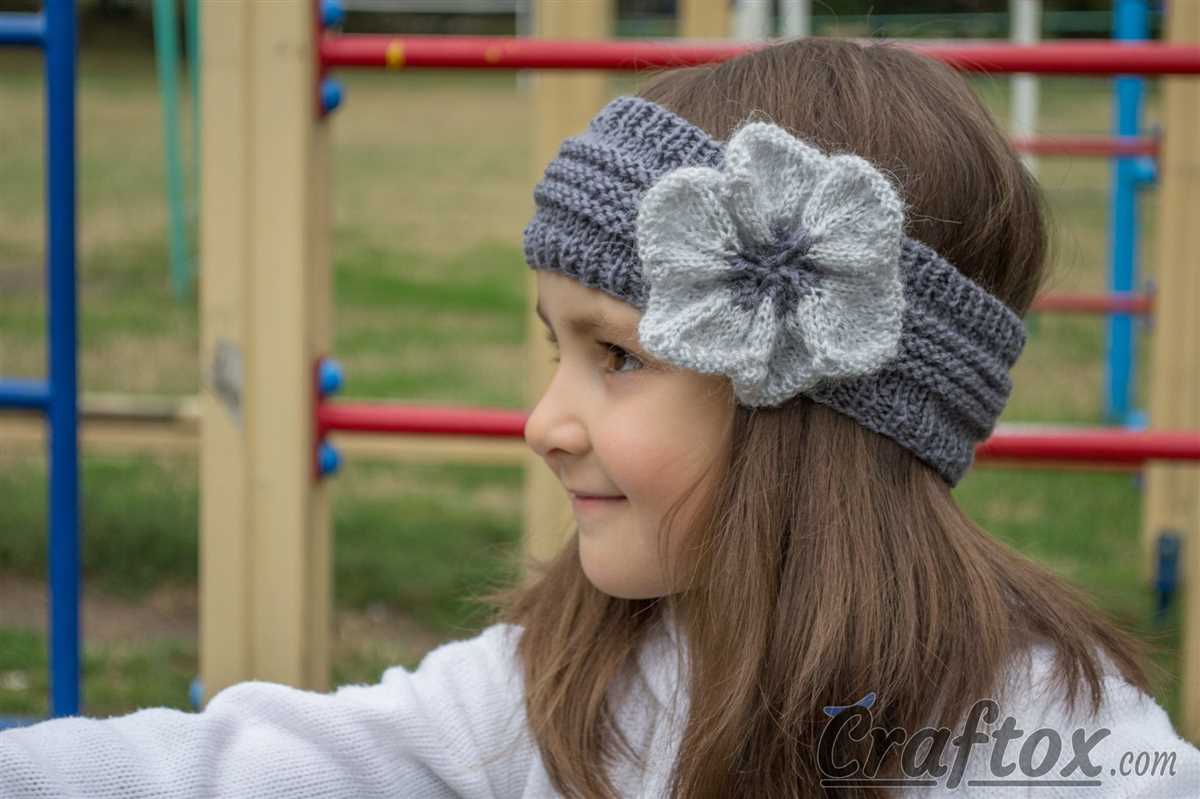
One of the best things about knitting is the endless possibilities for customization. This headband pattern can be easily adapted to fit your personal style by using different yarns and colors.
When choosing yarn for this project, consider both the weight and the fiber content. For a cozy and warm headband, you might opt for a bulky or chunky weight yarn. If you prefer a lighter and more delicate headband, go for a fingering or sport weight yarn.
Color Options
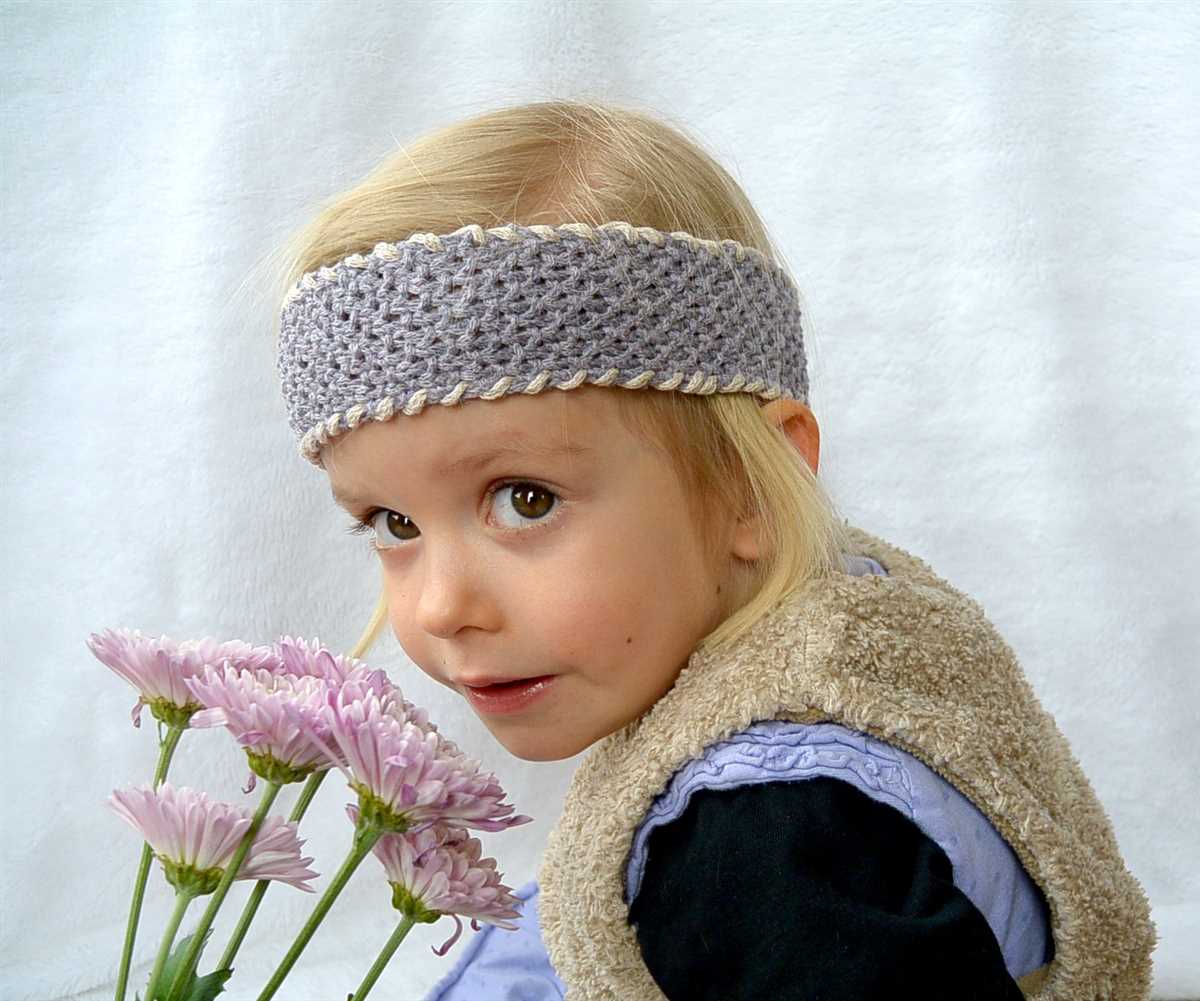
Experimenting with different colors can completely change the look of the headband. Here are a few color ideas to inspire you:
- Monochrome: Choose different shades of the same color for a subtle and sophisticated look.
- Contrasting Colors: Pick two complementary colors to create a vibrant and eye-catching headband.
- Gradient: Use a yarn that features a gradient or ombre effect for a stunning fade from one color to another.
- Stripes: Alternate between two or more colors to create stripes that add visual interest to the headband.
Pattern Adjustments
Keep in mind that the choice of yarn and colors may require adjustments to the pattern. Thinner yarns will require additional stitches or pattern repeats to achieve the desired width. Similarly, thicker yarns may require fewer stitches or pattern repeats to accommodate the bulkier fabric.
Be sure to make a gauge swatch before starting your project to ensure that the headband will fit properly. Adjust your needle size as necessary to achieve the recommended gauge.
Conclusion
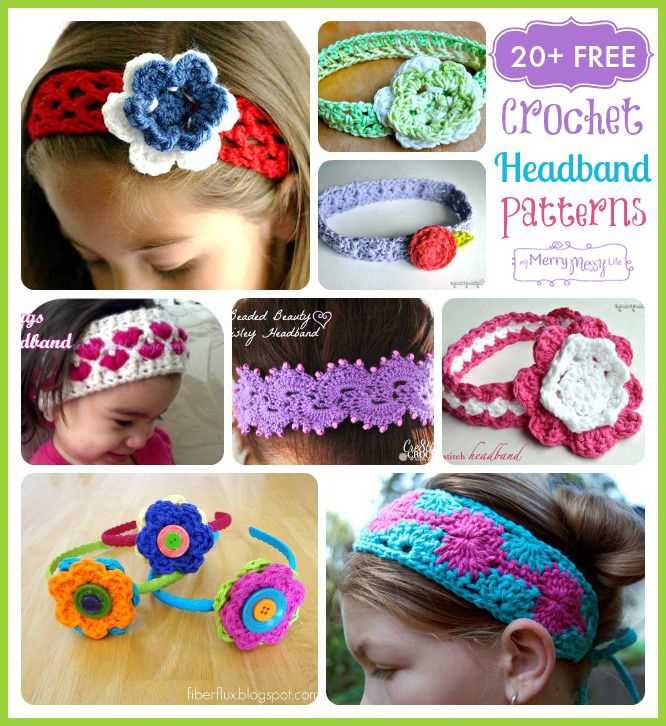
By using different yarns and colors, you can create a unique and personalized version of the child’s knitted headband. With endless possibilities for customization, this pattern can be adapted to suit your style and preferences. Experiment with different yarn weights and fiber compositions, and have fun playing with various color combinations. Enjoy the process of knitting and creating a beautiful headband that your child will love to wear.
