
Are you looking for a trendy accessory to keep your ears warm during the colder months? Look no further than a ribbed headband! Ribbing not only adds a stylish texture to your headband, but it also makes it stretchy and comfortable to wear.
In this article, we will provide you with a simple and beginner-friendly ribbed headband knitting pattern. Even if you are new to knitting, you can easily create your own fashionable headband in no time!
To start, you will need a set of knitting needles and some yarn in the color and thickness of your choice. We recommend using a medium-weight yarn and a pair of US size 8 or 9 knitting needles, as they work well for most headband patterns.
Ribbed Headband Knitting Pattern
A ribbed headband is a versatile accessory that can keep your ears warm and add a stylish touch to your outfit. Knitting your own headband allows you to customize the color, size, and pattern to suit your personal style and preferences. With this simple ribbed headband knitting pattern, you can create a cozy and fashionable accessory in no time.
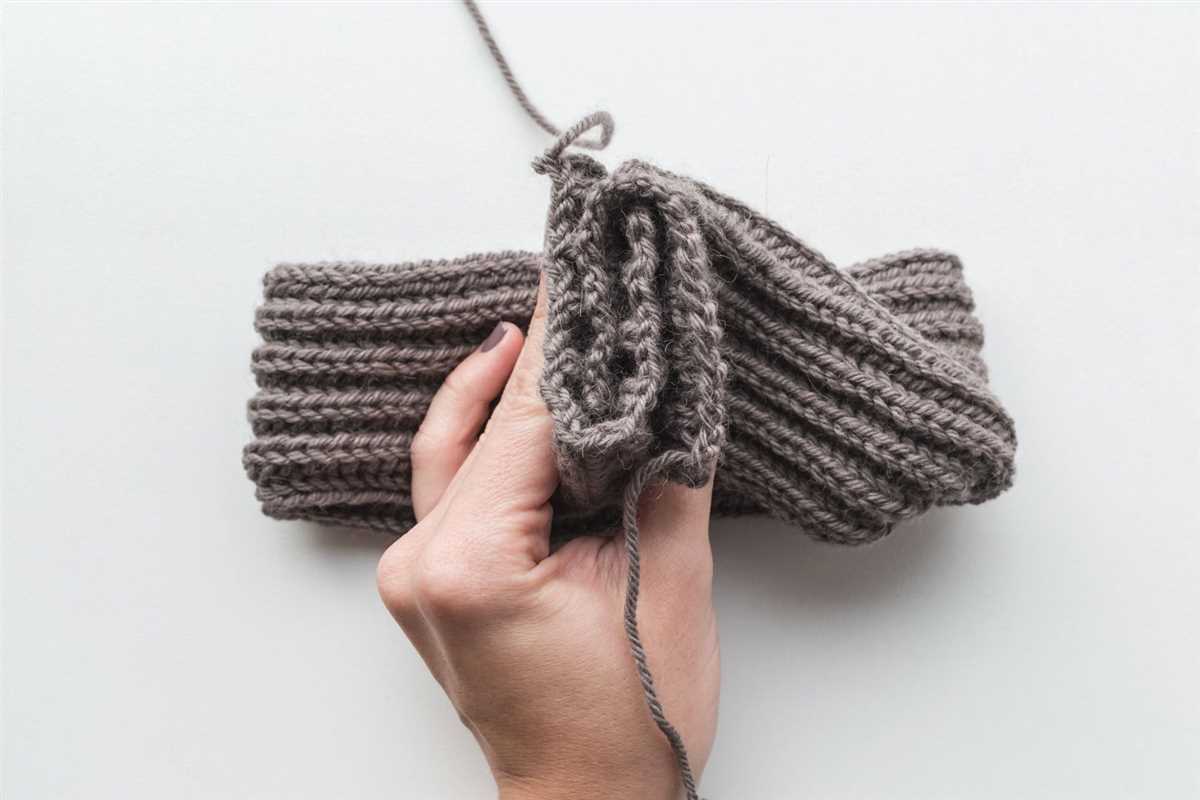
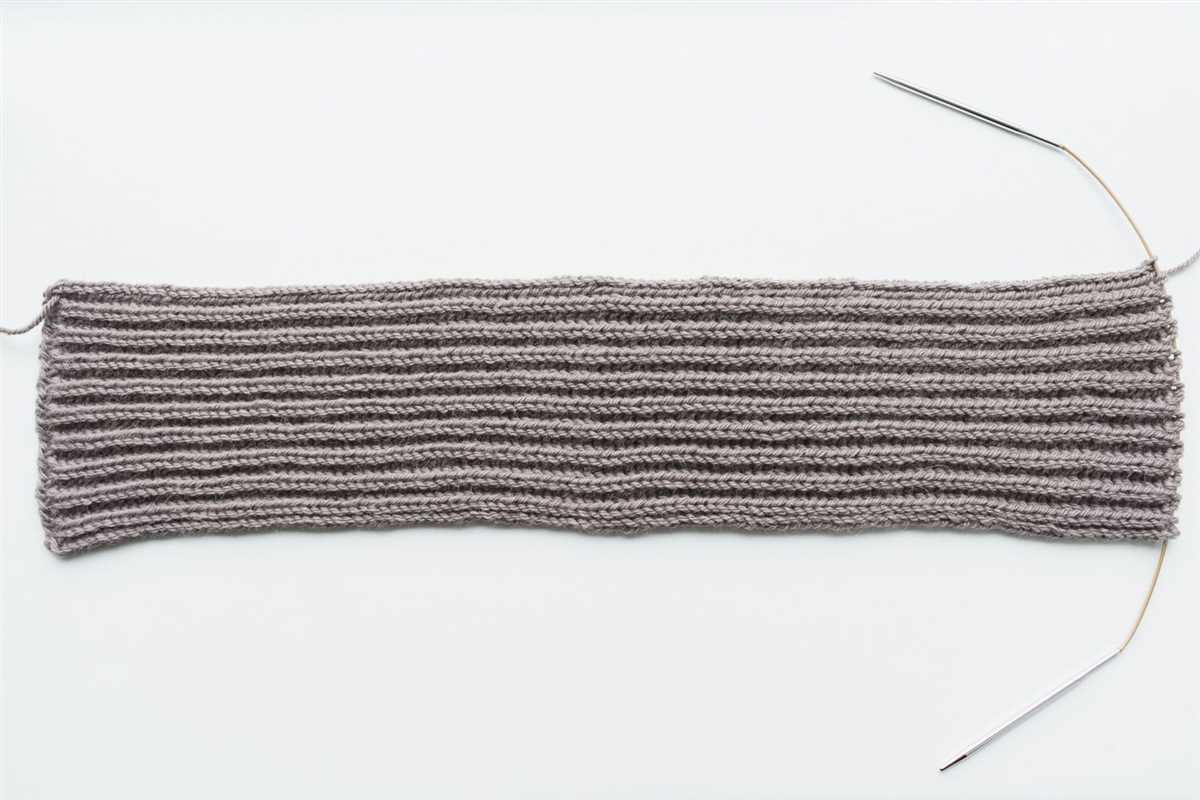
To begin, you will need a pair of knitting needles and a skein of yarn in your chosen color. The pattern utilizes a basic rib stitch, which creates a stretchy and textured fabric. The rib stitch consists of alternating knit and purl stitches, which gives the headband its distinctive look. If you’re new to knitting, don’t worry! The rib stitch is easy to learn and perfect for beginners.
To start knitting the headband, cast on the desired number of stitches. The number of stitches will depend on the width you want for your headband. You can experiment with different widths to find the perfect fit for your head. Once you have cast on the stitches, begin the rib stitch pattern by knitting the first stitch, followed by purling the next stitch. Continue this pattern until the end of the row.
For the subsequent rows, you will continue to alternate between knitting and purling stitches. This creates the ribbed texture that gives the headband its stretch and keeps it snug on your head. Continue knitting in the rib stitch pattern until you reach the desired length for your headband.
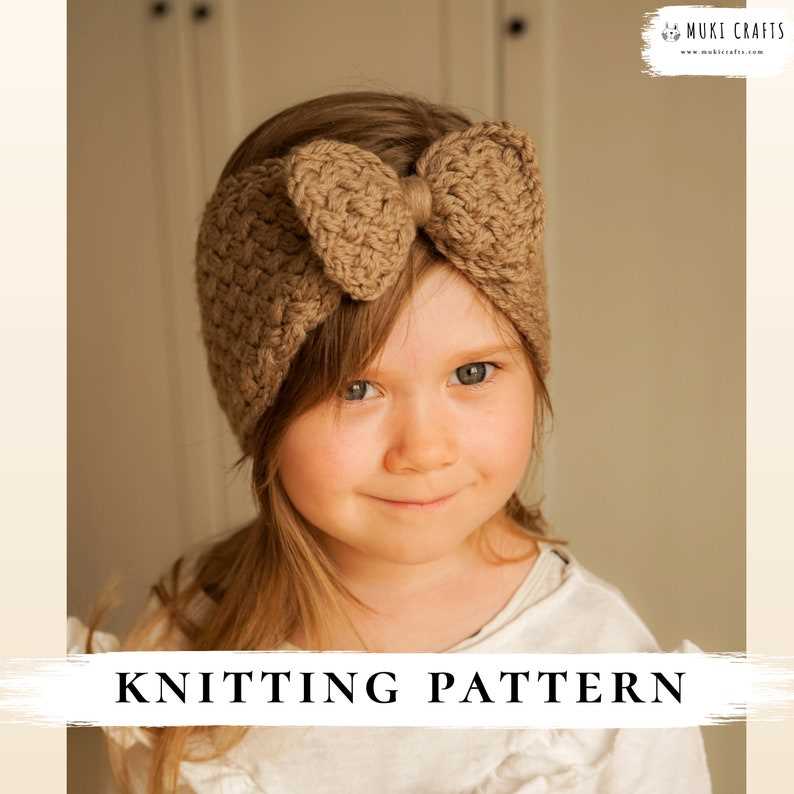
Once you have finished knitting, bind off the stitches to secure the edges of the headband. You can then sew the ends together to create a seamless loop, or leave the ends open for a wrap-around style. Add any additional embellishments, such as buttons or a decorative bow, to personalize your headband.
The ribbed headband knitting pattern is a versatile and beginner-friendly project that allows you to create a cozy accessory that is both functional and stylish. Whether you’re knitting one for yourself or as a gift for a loved one, this pattern is sure to be a hit.
Quick and Easy Ribbed Headband Pattern
A ribbed headband is a stylish and practical accessory that can be knit up quickly and easily. Whether you’re a beginner or an experienced knitter, this pattern is perfect for you. With just a few simple stitches, you can create a cozy and fashionable headband that will keep you warm all winter long.
To start, you’ll need some yarn in your favorite color and a pair of knitting needles. The recommended needle size is typically included on the yarn label, but a size 8 or 9 needle is a good place to start. You’ll also need a tapestry needle to weave in the ends when you’re finished.
Begin by casting on a multiple of 4 stitches. For example, you could cast on 16 stitches for a smaller headband and 20 stitches for a larger one. Once you have your stitches cast on, you’ll begin the ribbing pattern. The most common ribbing pattern is knit 2, purl 2, but you can customize your headband by using a different ribbing pattern if you prefer.
Continue knitting in your chosen ribbing pattern until your headband is the desired length. A typical headband length is around 18-20 inches, but you can adjust it to fit your head comfortably. Once you reach the desired length, bind off your stitches and use a tapestry needle to weave in any loose ends.
And that’s it! You’ve successfully completed your quick and easy ribbed headband. Wear it with pride and enjoy the warmth and style it adds to your winter wardrobe.
If you’re looking for additional ways to customize your headband, you can add buttons, bows, or even a knitted flower. Let your creativity shine and make this pattern your own. Happy knitting!
Materials You Will Need
In order to knit the ribbed headband, you will need a few materials. Here is a list of the items you will need:
- Yarn: Choose a medium-weight yarn in the color of your choice. The yarn should be soft and comfortable to wear.
- Knitting Needles: You will need a pair of knitting needles. The size of the needles will depend on the yarn you choose, so make sure to check the label for the recommended needle size.
- Tapestry Needle: A tapestry needle will be used to weave in the loose ends of the yarn and finish off the headband.
- Scissors: You will need a pair of scissors to cut the yarn and trim any excess.
- Measuring Tape: A measuring tape will come in handy to measure the width and length of the headband.
Make sure you have all of these materials on hand before you start knitting. Once you have everything you need, you can begin working on your ribbed headband.
Choosing the Right Yarn and Needles
When it comes to knitting a ribbed headband, choosing the right yarn and needles is crucial. The yarn you choose will determine the overall look and feel of the headband, while the size and type of needles will affect the tension and gauge.
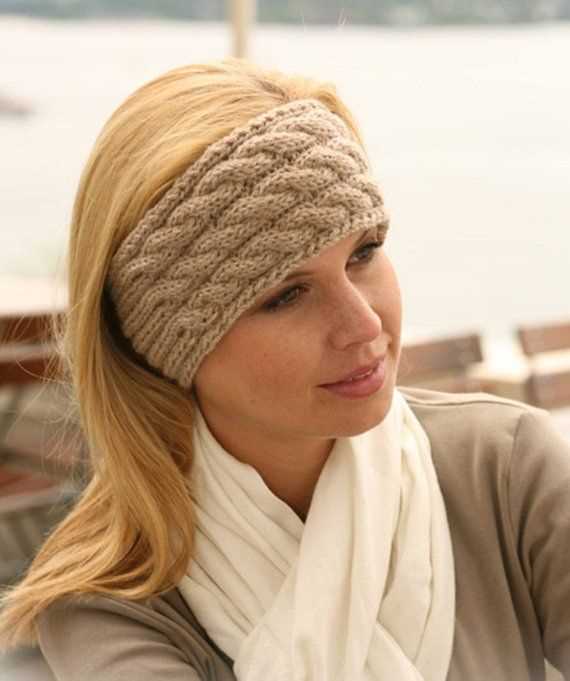
Firstly, consider the thickness and texture of the yarn. A ribbed headband requires a yarn that has good stitch definition and elasticity. A medium weight or bulky yarn is ideal for creating a chunky ribbed pattern that will keep your ears warm and cozy. Look for yarns that are made from wool or acrylic blend, as they will provide both softness and warmth.
Next, consider the needle size. The size of the needles will determine the size of the stitches, and therefore the overall size of the headband. For a ribbed headband, it’s best to use needles that are slightly smaller than the recommended size for the yarn. This will help create a tighter fabric and ensure that the headband fits snugly on your head.
It’s also important to consider the type of needles you prefer. Some knitters prefer straight needles, while others prefer circular needles. Straight needles are good for beginners as they are easier to handle, but circular needles allow you to knit in the round, which can be helpful for creating a seamless headband.
Overall, choosing the right yarn and needles for your ribbed headband is a matter of personal preference and desired outcome. Take your time to explore different options and experiment with different yarns and needle sizes to find the perfect combination that will result in a beautiful, comfortable, and stylish headband.
Gauge and Tension
When knitting a ribbed headband, it’s important to check your gauge and tension to ensure that your finished project turns out the way you want it to. Gauge refers to the number of stitches and rows per inch that you knit, while tension refers to the overall tightness or looseness of your knitting.
To achieve the correct gauge and tension for your ribbed headband, it’s recommended to use the needle size indicated in the knitting pattern. However, everyone knits differently, so it’s a good idea to make a gauge swatch before starting your project. A gauge swatch is a small sample of knitting that allows you to measure your stitch and row count.
When making your gauge swatch, use the same yarn and needles that you plan to use for your ribbed headband. Cast on a few more stitches than the pattern indicates and knit a few rows. Then, measure your gauge by counting the number of stitches and rows in a 1-inch square. If your stitch and row count doesn’t match the gauge specified in the pattern, you can adjust your needle size until you achieve the correct gauge.
Remember, achieving the correct gauge is crucial for the fit and size of your ribbed headband. If your gauge is too tight, your headband may end up too small. If your gauge is too loose, your headband may end up too big or floppy. Taking the time to check your gauge and tension will ensure that your finished headband fits properly and looks just as you intended.
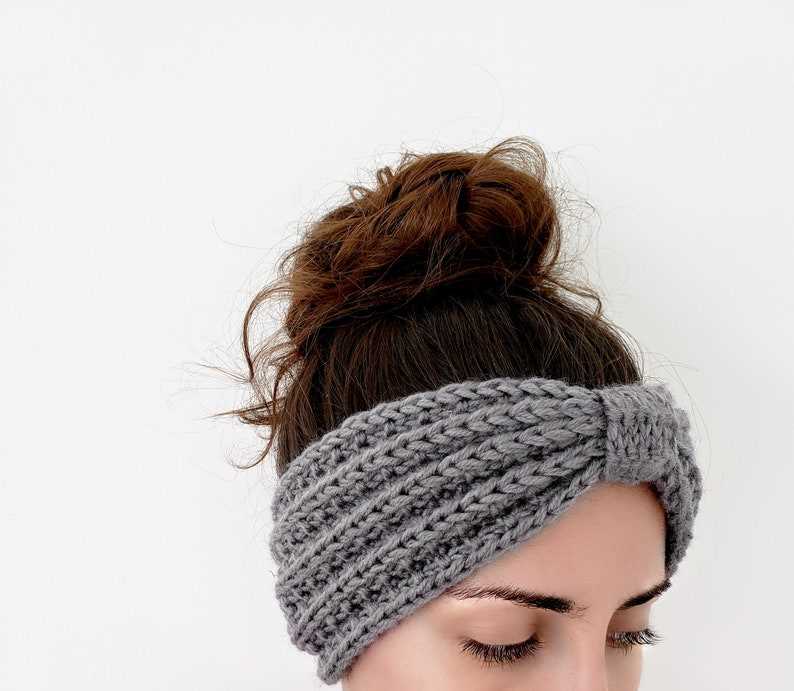
Ribbed Headband Pattern
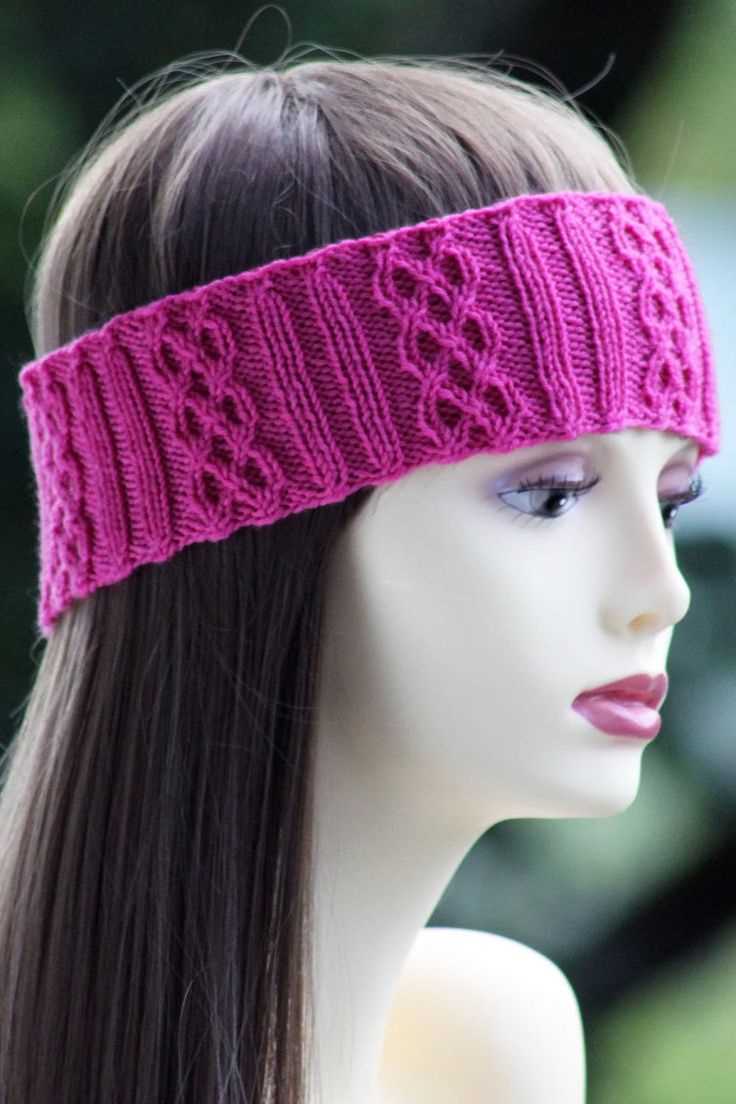
If you’re looking for a stylish and practical accessory to keep your ears warm in colder weather, a ribbed headband is the perfect choice. With its stretchy and snug fit, it’s both comfortable and trendy. Whether you’re a beginner knitter or an experienced one, this ribbed headband pattern is easy to follow and can be completed in no time.
To start, you’ll need to gather the necessary materials: a pair of knitting needles, yarn of your choice (preferably a soft and warm material), and a tapestry needle. Make sure to choose the appropriate needle size for your yarn to achieve the desired gauge.
Pattern Instructions:
- Cast on the desired number of stitches, usually between 20-30 stitches, depending on your head size and desired width of the headband.
- Row 1: *Knit 2, purl 2* – repeat this pattern until the end of the row.
- Row 2: Repeat row 1.
- Continue repeating rows 1 and 2 until the headband reaches your desired length. You can measure it against your head to ensure a perfect fit.
- Bind off all stitches. Cut the yarn, leaving a long tail.
- Using a tapestry needle, sew the two ends of the headband together to form a loop.
- Weave in any loose ends and trim excess yarn.
Voila! Your ribbed headband is now ready to be worn. You can style it with any outfit – whether it’s a casual or more formal look – and it will add a touch of warmth and elegance. Feel free to experiment with different yarn colors and textures to create your own unique headbands!
Cast On
When starting your ribbed headband, the first step is to cast on your stitches. The cast on is the foundation of your project and will determine the width of your headband. For this pattern, you will need to cast on an even number of stitches.
There are different methods you can use to cast on stitches, but the long-tail cast on is a popular choice for ribbing. To do the long-tail cast on, you will need to estimate the amount of yarn you will need for your cast on. It’s better to have too much yarn than too little, as you can always trim the excess later.
Hold the yarn in your left hand with the tail end hanging down. With your right hand, make a slipknot by creating a loop with the working yarn over your fingers. Place the slipknot on the left-hand needle and tighten it slightly.
- Step 1: Insert the right-hand needle into the slipknot from left to right.
- Step 2: Bring the right-hand needle over the left-hand needle and catch the yarn from underneath, forming a new stitch.
- Step 3: Slip the new stitch onto the left-hand needle and tighten the stitch.
- Repeat steps 1-3 until you have cast on the desired number of stitches.
Once you have completed the cast on, your stitches will be ready for the ribbing pattern. Make sure to count your stitches to ensure you have the correct number before moving on to the next step.
Knitting the Body of the Headband
Once you have finished casting on and knitting the ribbed portion of the headband, it is time to move on to knitting the body. This is where you will create the main section of the headband that will cover your ears.
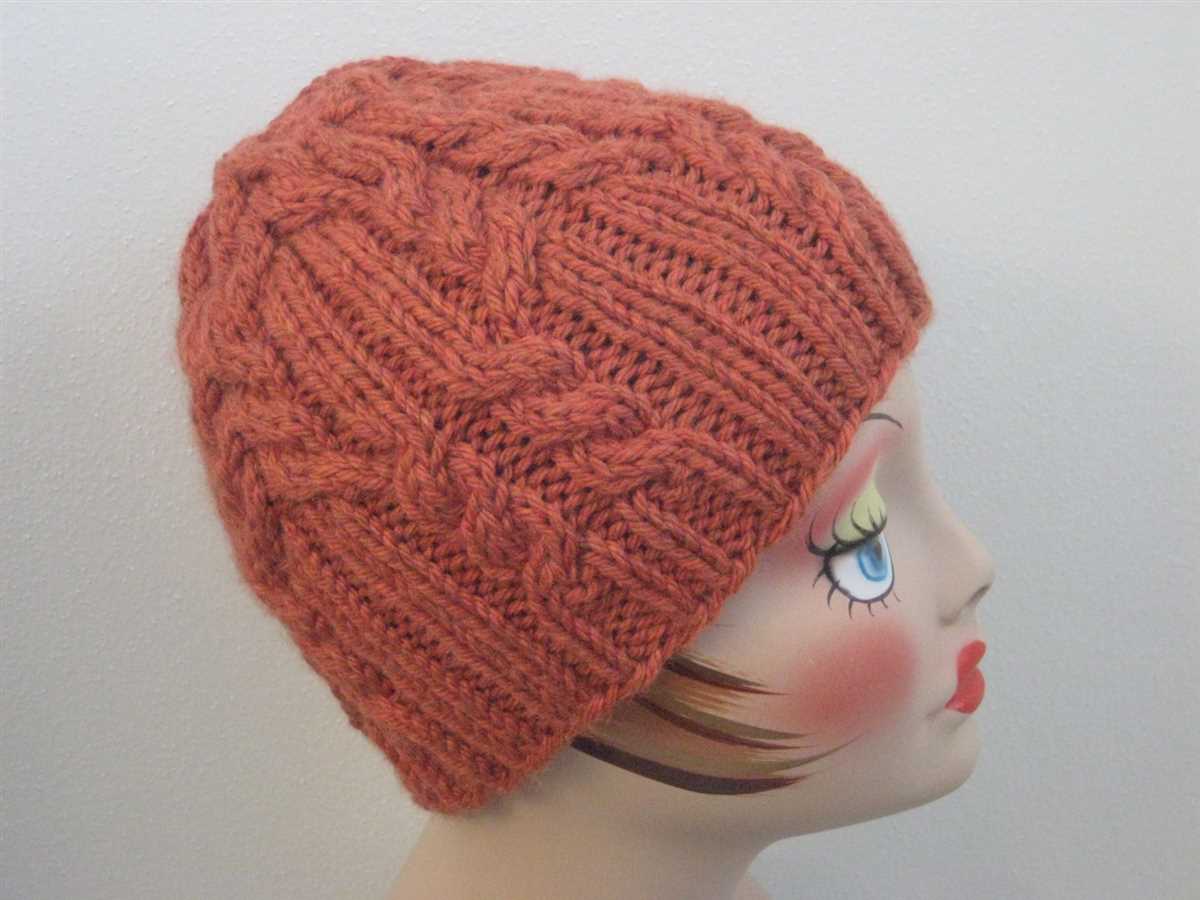
To begin, you will switch to your larger knitting needles. These will create a looser and more comfortable fit for the body of the headband. Insert the larger needles into the first stitch of the ribbing and begin knitting in your desired stitch pattern. You can continue with the ribbing if you prefer, or switch to a different stitch pattern such as stockinette stitch or a cable pattern.
As you knit the body of the headband, make sure to keep an eye on your tension. Try to maintain an even tension throughout to ensure that the headband has a consistent and professional finish. You may also want to periodically measure the width of the headband to make sure it is the desired size.
When you reach the desired length for your headband, you can begin the process of casting off. This is done in the same way as casting off the ribbed portion, using the larger needles. Once you have cast off all stitches, you can weave in any loose ends and block the headband to shape.
Overall, knitting the body of the headband is an opportunity to get creative and experiment with different stitch patterns. Whether you prefer a simple and classic look or want to incorporate more intricate designs, the body of the headband is your chance to showcase your knitting skills. Have fun and enjoy the process!
Shaping the Headband
Creating the ribbed headband requires shaping to ensure a snug and comfortable fit. The shaping begins by decreasing stitches gradually to form a tapered end. This provides a better fit around the forehead. The pattern usually specifies the number of stitches to decrease per row and the intervals at which the decreases should be made.
To decrease, the knitter can use techniques such as knitting two stitches together (k2tog), slipping a stitch knitwise, knitting the next stitch, and passing the slipped stitch over (ssk), or any other decrease method specified in the pattern. The decreases are usually worked on the right side of the headband, while the wrong side remains in the standard rib pattern.
The decreases are continued until the desired number of stitches is reached for the tapered end. At this point, the knitter can either bind off the stitches or continue knitting a few rows to create a band that can be folded over for added thickness and warmth. The number of rows to knit after the decreases will depend on the desired width of the folded band.
After shaping the tapered end, the knitter can then move on to finishing the headband by securing any loose ends, blocking the piece if necessary, or attaching any decorative elements such as buttons or bows. With careful attention to detail during the shaping process, the ribbed headband will provide both warmth and style for the wearer.
Binding Off
In knitting, binding off is the final step in completing a project. It is the process of closing off the live stitches on the knitting needle, creating a finished edge. Binding off is important because it prevents the stitches from unraveling and gives the knitted piece a clean and polished look.
There are different techniques for binding off, depending on the desired outcome and the type of project. One common method is the basic bind off, where stitches are worked in a specific pattern and then lifted over each other until all stitches are bound off. Another popular method is the stretchy bind off, which is useful for projects that require a more flexible edge, such as socks or hats.
To bind off, start by knitting the first two stitches as usual. Then, using the left needle, lift the first stitch over the second stitch and off the right needle. Continue this process, knitting one stitch and binding it off, until only one stitch remains. Cut the yarn, leaving a long tail, and pull the tail through the last stitch to secure it.
It is important to bind off with a tension that matches the rest of the knitting to ensure an even edge. If the bind off is too tight, it can cause the edge to pucker, while if it is too loose, it can result in a floppy or loose edge. Practice and experimenting with different techniques will help achieve the desired result.
Finishing Touches
A ribbed headband is a stylish and practical accessory that can add a touch of warmth and elegance to any outfit. To give your headband a polished and professional look, here are a few finishing touches you can consider:
1. Bind off neatly: When you reach the desired length of your headband, it’s important to bind off the stitches neatly to prevent any unraveling or loose ends. Use a standard bind off method, making sure your tension is even and the edge is not too tight or too loose.
2. Seam the ends: To form a loop and join the ends of your headband together, you can use the mattress stitch or whipstitch. The mattress stitch creates an invisible seam, while the whipstitch adds a decorative touch. Take care to align the ribbing pattern before stitching to maintain the consistency of the design.
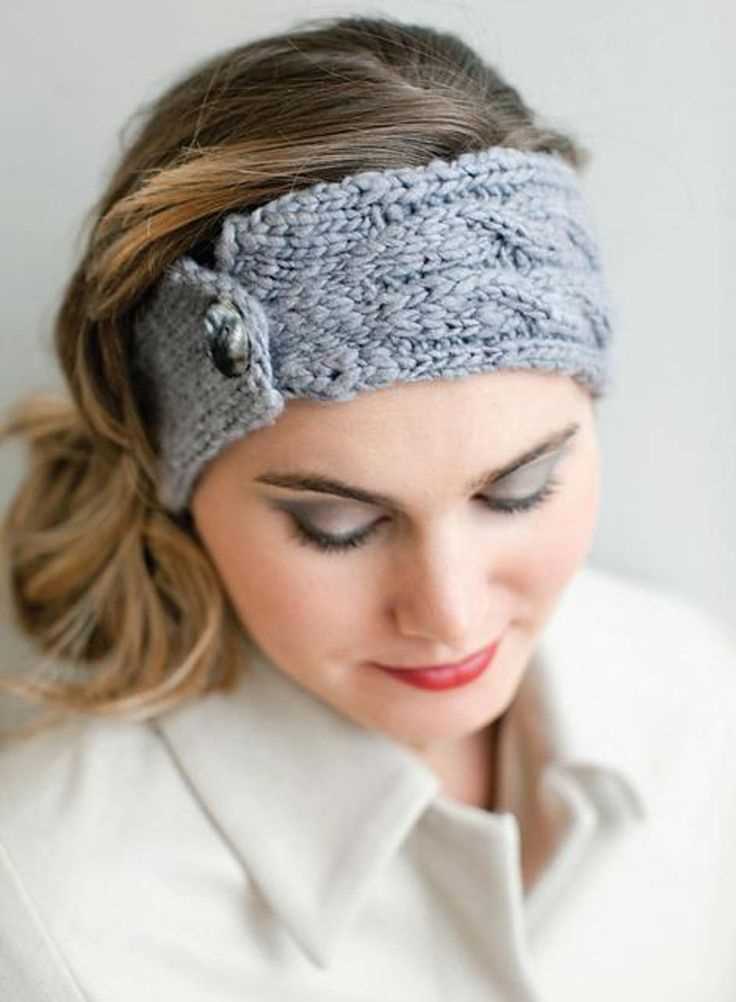
3. Embellish with a button: Adding a button to your headband can be a fun and functional way to secure it in place. Choose a button that complements the color and style of your headband, and attach it securely at the seam. This small detail can make a big difference in the overall look of your headband.
4. Block and shape: To give your headband a polished finish and ensure it retains its shape, you may want to consider blocking it. Wet blocking or steam blocking can help smooth out any uneven stitches or edges and give your headband a professional, finished look.
5. Personalize with embellishments: If you want to add a personal touch to your headband, consider embellishing it with buttons, beads, or embroidery. These small touches can make your headband truly unique and reflect your individual style.
By paying attention to these finishing touches, you can elevate your ribbed headband from a simple knitting project to a stylish and sophisticated accessory.
Styling and Wearing Your New Headband
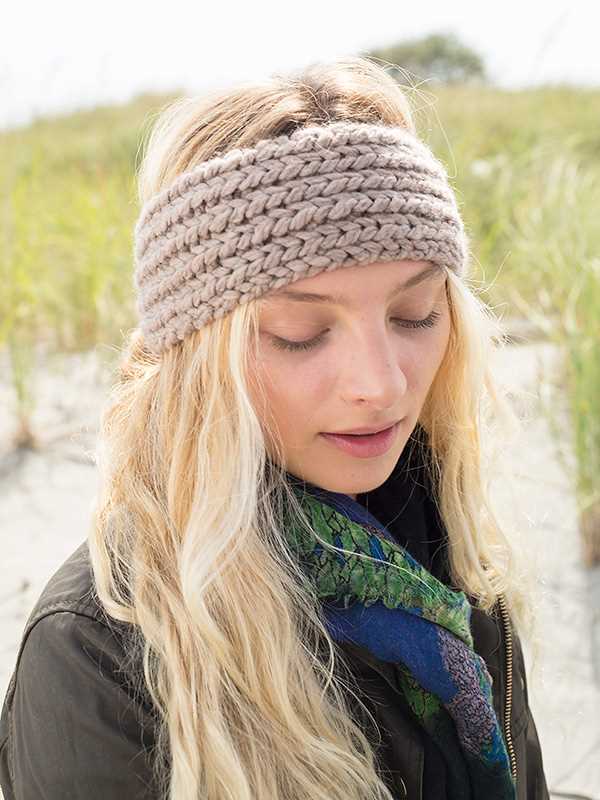
Now that you have finished knitting your ribbed headband, it’s time to think about how you can style and wear it to complement your outfits. This headband is versatile and can be worn in many different ways, so let’s explore some options.
1. Classic and Simple: For a clean and understated look, simply place the headband around your head, covering your ears, and let the ribbed pattern add some texture to your hairstyle. This style works well with both casual and more formal outfits.
2. Boho Chic: To add a bohemian flair to your outfit, try wearing the headband as a forehead band. By placing it across your forehead and tying it at the back of your head, you can achieve a stylish and whimsical look. Pair it with flowy dresses or loose waves for the complete boho vibe.
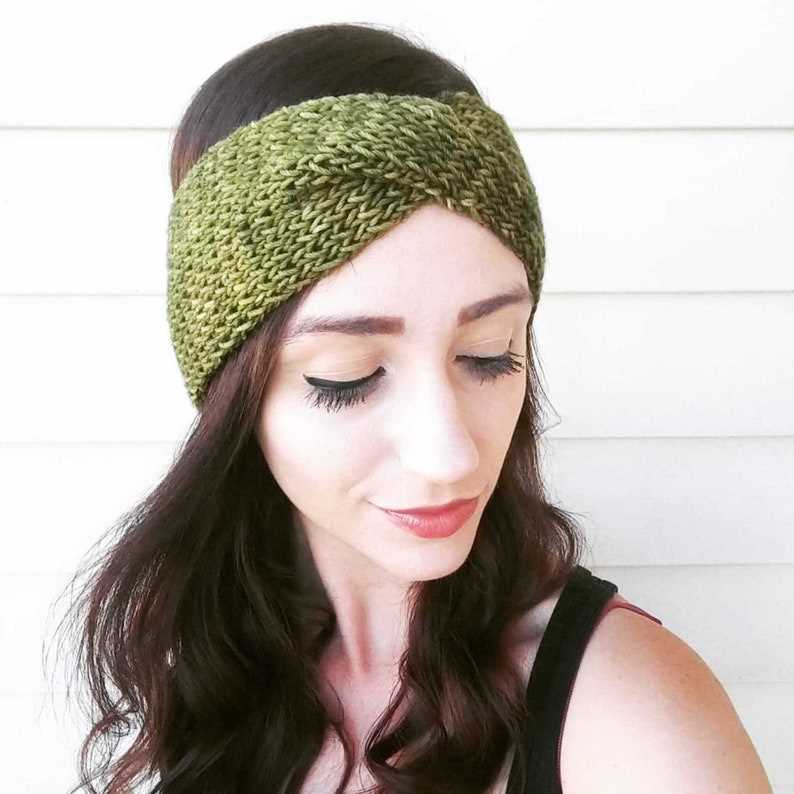
3. Retro Twist: Give your headband a retro twist by twisting it multiple times before wearing it. This will create a wider band on your head and give a nod to vintage fashion. It works especially well with hairstyles like ponytails or updos, adding a touch of elegance and nostalgia to your look.
4. Layered Look: If you want to make a bold statement, try layering your headband with other accessories. You can pair it with a beanie or a hat for extra warmth and style during colder months, or even wear it over a headscarf for a unique and eclectic look.
5. Pop of Color: Lastly, don’t be afraid to experiment with different colors to add a pop of color to your outfit. Whether you choose a vibrant hue that complements your skin tone or a contrasting color that makes a statement, the ribbed texture of the headband will add depth and interest to your overall look.
With these styling options, you can make the most out of your new ribbed headband and create a variety of looks to suit any occasion or personal style. Have fun experimenting and showcasing your creativity!
Additional Tips and Variations
Here are some additional tips and variations to consider when knitting a ribbed headband:
1. Adjusting the Width:
You can easily adjust the width of the headband by casting on more or fewer stitches. Keep in mind that adding or subtracting stitches may affect the overall look of the ribbing pattern, so make sure to choose a multiple of the ribbing pattern you are using.
2. Adding a Button:
If you want to add a button to your headband, you can create a buttonhole by knitting or purling two stitches together where you want the button to be placed. Make sure to choose a button that fits through the buttonhole comfortably.
3. Experimenting with Yarns:
The ribbed headband pattern can be knit with various types of yarn, ranging from lightweight to bulky. Depending on the yarn weight, the headband will have a different texture and look. You can also experiment with different colors and textures to create unique and personalized headbands.
4. Embellishments:
Once your headband is complete, you can add embellishments like buttons, bows, or flowers to customize it further. Be creative and have fun with your designs!
5. Matching Sets:
If you enjoy knitting accessories, you can create matching sets by making coordinating scarves, gloves, or even sweaters using similar ribbing patterns and yarns. This will give your outfit a cohesive and stylish look.
With these additional tips and variations, you can create unique and personalized ribbed headbands that suit your style and preferences. So grab your knitting needles and start crafting your own stylish headbands!