
If you’re looking for a stylish and cozy addition to your wardrobe, knitting a cape could be the perfect project for you. With their timeless elegance and versatility, capes are a wonderful way to add warmth and flair to any outfit. Whether you’re a beginner knitter or an experienced one, there are endless patterns and styles to choose from.
One of the advantages of knitting a cape is that it can be made in a variety of weights and fibers. You can choose a soft and warm wool for those chilly winter days, or opt for a lightweight cotton or linen for a breezy summer look. Additionally, capes can be made in a range of lengths, from short and cropped styles to longer, flowing designs.
When it comes to patterns, the options are endless. From simple and classic stockinette stitches to intricate lace or cable designs, there’s a cape pattern to suit every skill level and personal taste. Whether you prefer a sleek and modern look or a more vintage-inspired style, you’ll find a pattern that matches your aesthetic.
How to Knit a Cape: A Beginner’s Guide
If you’re new to knitting and want to try your hand at making a cape, you’re in the right place. Knitting a cape can be a fun and rewarding project, and with the right instructions, even a beginner can create a beautiful and cozy garment. In this guide, we’ll walk you through the basic steps of knitting a cape, from choosing the right yarn and needles to finishing and blocking your finished piece.
Choose the Right Yarn and Needles: When knitting a cape, it’s important to choose a yarn that’s appropriate for the size and style of the garment you want to create. A bulky or chunky yarn will result in a thicker and warmer cape, while a lighter weight yarn will create a more delicate and lightweight cape. Consider the season and intended use of the cape when selecting your yarn. You’ll also need the appropriate size needles for your chosen yarn, so be sure to check the yarn label for recommended needle sizes.
Cast On and Begin Knitting: Once you have your yarn and needles ready, it’s time to cast on and start knitting. The number of stitches you cast on will depend on the size and style of the cape you want to make. Follow the instructions provided in your chosen cape pattern for the correct number of cast-on stitches. Once you’ve cast on, you can start knitting the body of the cape in the desired stitch pattern. If you’re new to knitting, a simple garter stitch or stockinette stitch can create a beautiful and classic look.
Continue Knitting and Shaping the Cape: As you continue knitting the body of the cape, you may need to shape it to create the desired fit and style. This typically involves increasing or decreasing stitches at specific points to create curves or angles. Follow the instructions in your pattern for shaping the cape, or experiment with your own modifications if you feel confident. Remember to keep track of your stitches and rows to ensure an even and symmetrical piece.
Finish and Block Your Cape: Once you’ve completed the main body of the cape, it’s time to finish off your work. This may involve binding off stitches, seaming any necessary seams, and adding any finishing touches like edging or buttons. Take your time and ensure your finished piece looks neat and professional. After finishing, consider blocking your cape to give it a more polished and even appearance. Blocking involves wetting your knitted piece, shaping it to the desired dimensions, and allowing it to dry flat. Consult online tutorials or knitting resources for detailed instructions on how to block knitted garments.
Enjoy Your Hand-Knit Cape: Once your cape is finished and dry, it’s time to show off your new creation! Try it on, admire your handiwork, and enjoy the warmth and comfort it provides. A hand-knit cape is not only a practical garment but also a symbol of your knitting skills and creativity. Whether you keep it for yourself or give it as a thoughtful gift, your hand-knit cape will surely be cherished for years to come.
5 Beautiful and Free Cape Knitting Patterns

Knitting capes can be a fun and rewarding project for knitters of all skill levels. Whether you’re an experienced knitter looking for a new challenge or a beginner looking to expand your skills, these free cape knitting patterns are a great place to start.
1. Lace Cape

The Lace Cape pattern is perfect for those who love delicate and intricate designs. This pattern features a stunning lace pattern that adds an elegant touch to any outfit. Knit with soft and lightweight yarn, this cape is perfect for adding a layer of warmth without feeling too heavy.
2. Cable Cape
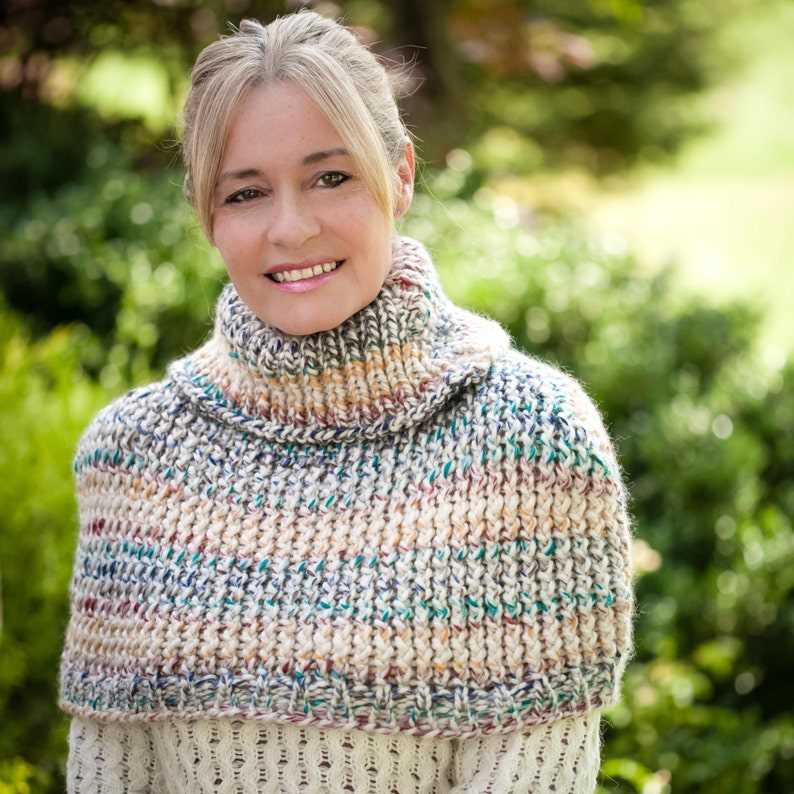
If you’re a fan of cables and texture, the Cable Cape pattern is for you. This pattern features a bold cable design that creates a stunning and eye-catching look. Knit with medium-weight yarn, this cape is perfect for keeping you cozy on chilly days.
3. Hooded Cape
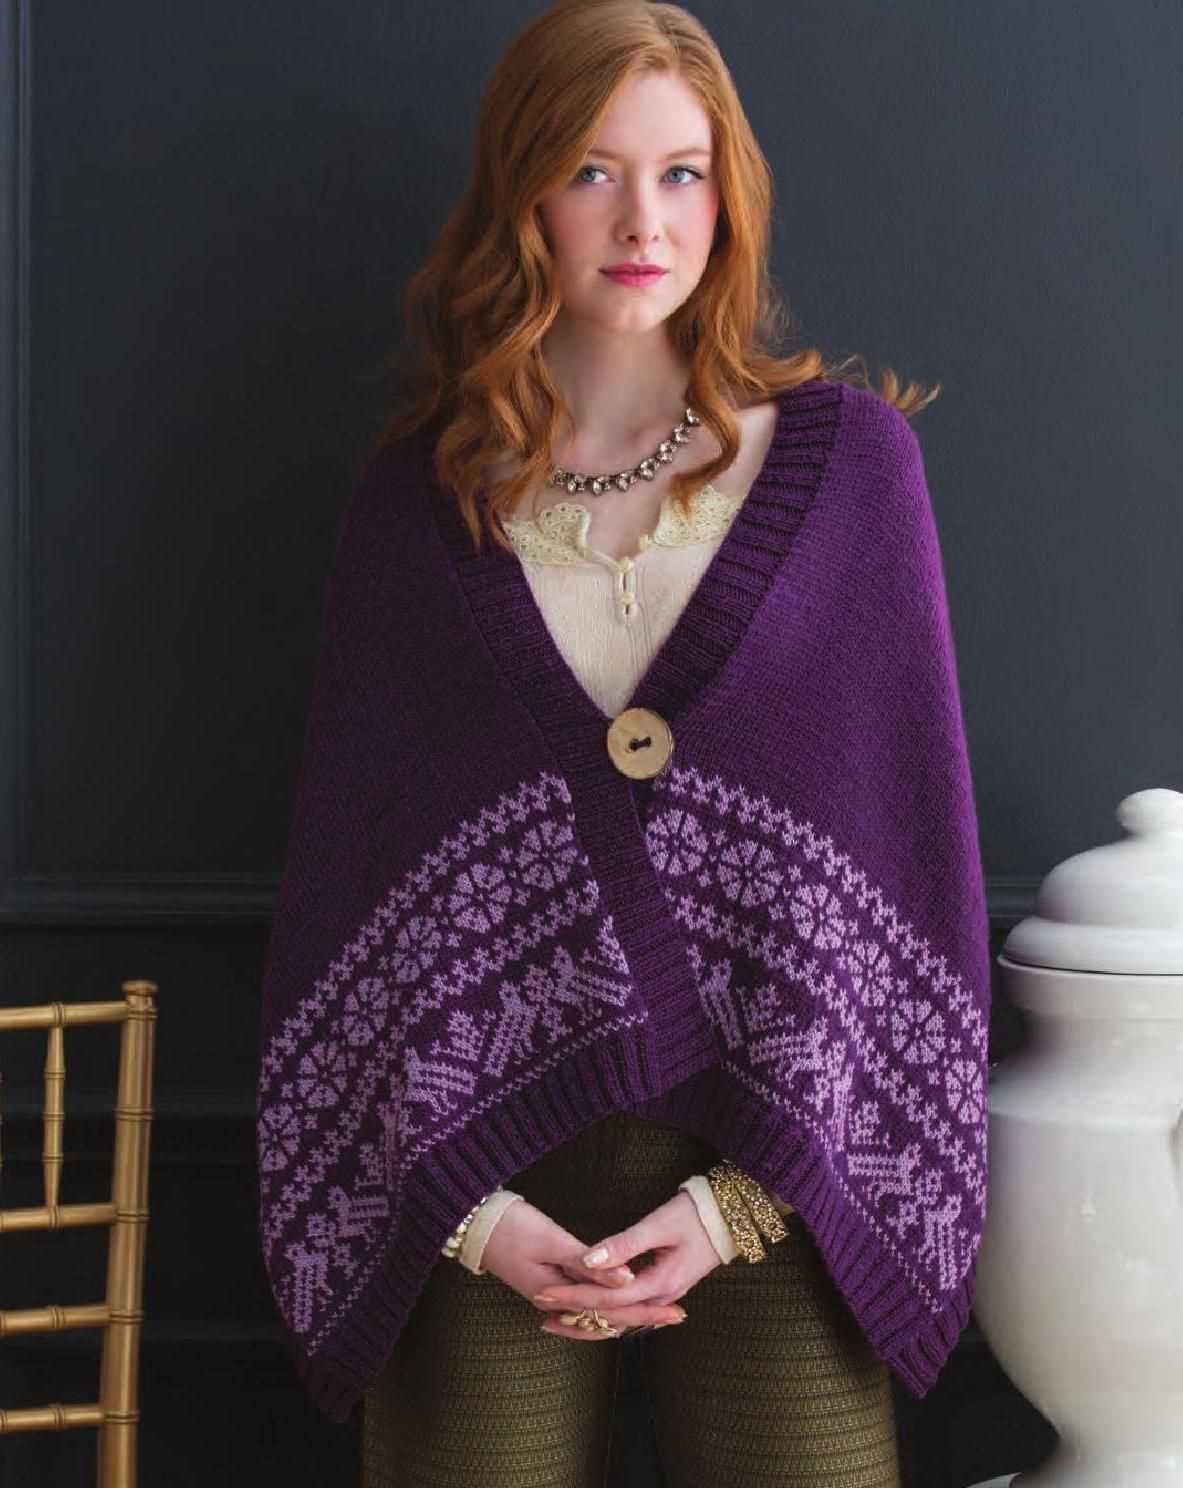
The Hooded Cape pattern is a versatile and functional option for those who want a little extra warmth. This pattern features a cozy hood that adds an extra layer of protection against the elements. Knit with bulky yarn, this cape is perfect for staying warm on cold winter days.
4. Colorful Striped Cape
If you’re looking to add some color to your wardrobe, the Colorful Striped Cape pattern is the perfect choice. This pattern features bold and vibrant stripes that add a playful and fun touch to any outfit. Knit with worsted weight yarn, this cape is perfect for adding a pop of color to your winter wardrobe.
5. Classic Cape
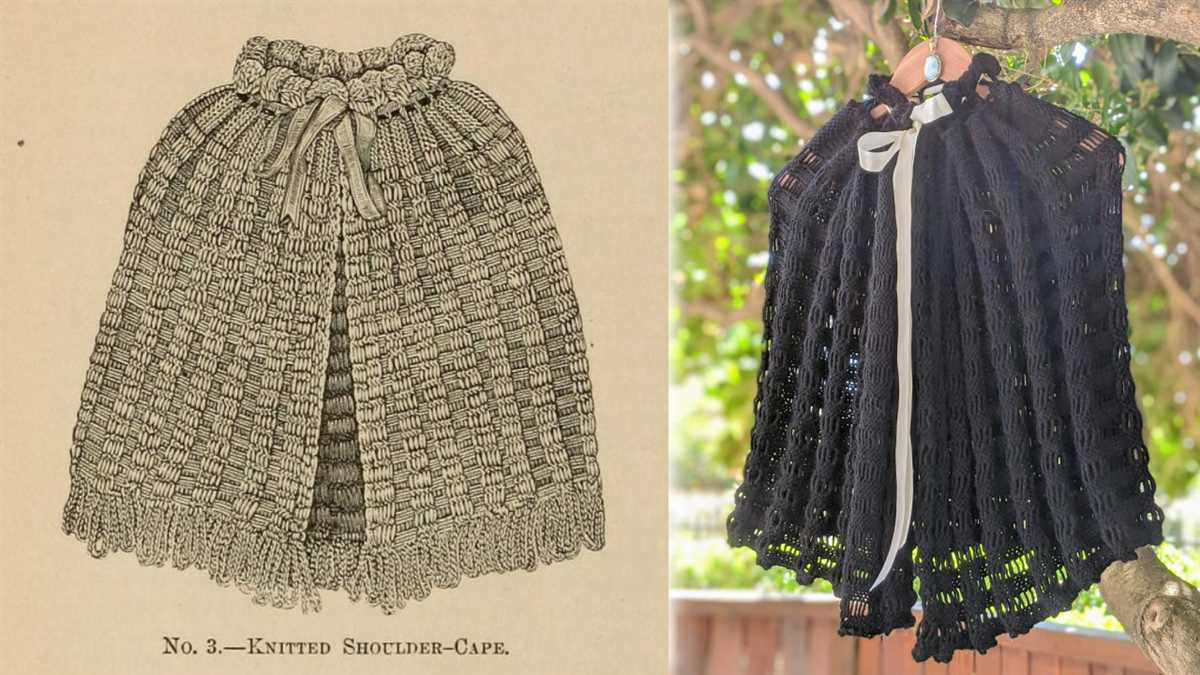
The Classic Cape pattern is a timeless and elegant option for those who prefer a more traditional look. This pattern features a simple and clean design that can be dressed up or down depending on the occasion. Knit with medium-weight yarn, this cape is perfect for adding a touch of sophistication to any outfit.
Whether you’re looking for a delicate lace design, bold cables, a cozy hood, vibrant stripes, or a classic look, these free cape knitting patterns have something for everyone. Grab your needles and yarn and get started on your next knitting project today!
The Benefits of Knitting a Cape: Style and Warmth Combined
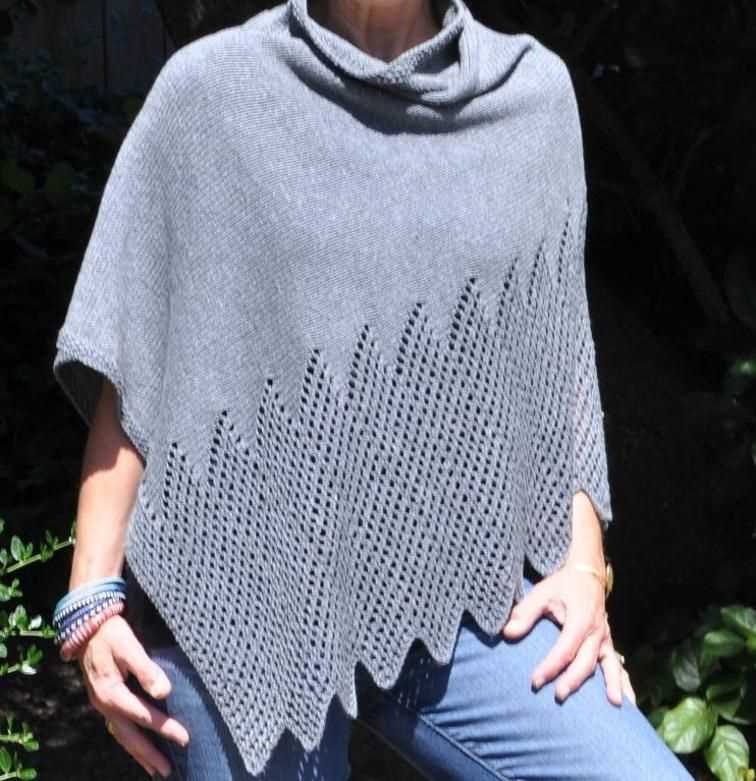
A cape is a versatile and fashionable accessory that can add style and warmth to any outfit. Knitting your own cape allows you to customize the design, color, and texture to suit your personal taste. Whether you prefer a cozy, chunky knit or a delicate lace pattern, there are countless knitting cape patterns available to choose from.
One of the main benefits of knitting a cape is the ability to stay warm while looking stylish. Capes provide an extra layer of insulation, making them perfect for chilly weather or for adding an extra touch of warmth to your outfit. They can be worn over sweaters, dresses, or even a simple t-shirt and jeans, instantly elevating your look.
Why knit a cape instead of buying one?
- Customization: When you knit your own cape, you have complete control over the design, color, and size. You can choose specific yarns and stitch patterns to create a unique piece that perfectly matches your style.
- Quality: Hand-knit capes are often of higher quality than mass-produced ones. By knitting your own, you can ensure that the materials and craftsmanship are of the highest standard.
- Satisfaction: There is a sense of accomplishment and satisfaction that comes with completing a knitting project. Seeing your hard work result in a beautiful, functional cape is incredibly rewarding.
How to choose the right knitting cape pattern?
When choosing a knitting cape pattern, consider your skill level and the type of yarn you want to use. If you’re a beginner, opt for a simpler pattern with clear instructions. If you’re more experienced, challenge yourself with a complex lace or cable pattern.
Additionally, consider the style and length of the cape. Some patterns may include hoods, collars, or other decorative elements. Take into account your personal preferences and the intended use of the cape when making your decision.
Step-by-Step Tutorial: Knitting a Cape for Beginners

Knitting a cape can be a rewarding project for beginners, as it allows you to practice basic knitting techniques while creating a stylish and versatile accessory. Whether you’re looking to add a cozy layer to your outfit or want to showcase your knitting skills, this step-by-step tutorial will guide you through the process of knitting a cape from start to finish.
Materials You Will Need
- Knitting needles
- Yarn of your choice (preferably a medium-weight yarn)
- Scissors
- Tape measure
- Yarn needle
Before you begin knitting, make sure to gather all the necessary materials. Choose a yarn that you feel comfortable working with and select knitting needles that are suitable for the yarn weight. It’s also a good idea to have a tape measure on hand to ensure your cape will fit properly.
Choosing the Right Pattern

Once you have your materials ready, it’s time to choose a knitting pattern for your cape. Look for patterns specifically designed for beginners, as they will typically use basic stitches and techniques. Opt for a pattern that matches your skill level and desired style, whether it’s a classic cable knit or a more modern lace design.
Knitting the Cape

- Start by casting on the required number of stitches as indicated in the pattern. This will determine the width of your cape.
- Begin knitting the first row, following the instructions in the pattern for the specific stitch pattern.
- Continue knitting each row according to the pattern until you reach the desired length for your cape.
- Once you’ve reached the desired length, you can begin binding off your stitches. Follow the pattern instructions for binding off.
- When you’ve finished binding off, weave in any loose ends using a yarn needle.
As you work through the pattern, be sure to keep track of your progress and regularly measure your cape to ensure it’s the desired size. Don’t be afraid to ask for help or consult online tutorials if you run into any difficulties along the way.
With these step-by-step instructions, you’ll be able to successfully knit a cape as a beginner. Remember to take your time, practice your stitches, and enjoy the process of creating a beautiful and functional accessory.
Cape vs. Sweater: Which is the Better Knitting Project?
When it comes to choosing a knitting project, both capes and sweaters offer unique advantages and challenges. While capes can be a stylish and versatile addition to any wardrobe, sweaters provide warmth and coziness. Ultimately, the better knitting project depends on personal preferences and the desired outcome.
Design and Style

When it comes to design and style, capes often offer more opportunities for creativity. With their flowy and draping silhouette, capes can be designed in various lengths, shapes, and patterns. Knitters can experiment with different stitches, textures, and color combinations to create unique and eye-catching designs.
Sweaters, on the other hand, are traditionally more fitted and structured. While there is still room for creativity in selecting stitch patterns and color schemes, the overall shape and style of a sweater are often more defined. Sweaters can range from classic pullovers to cardigans, allowing knitters to choose a style that suits their preference.
Difficulty and Time Commitment
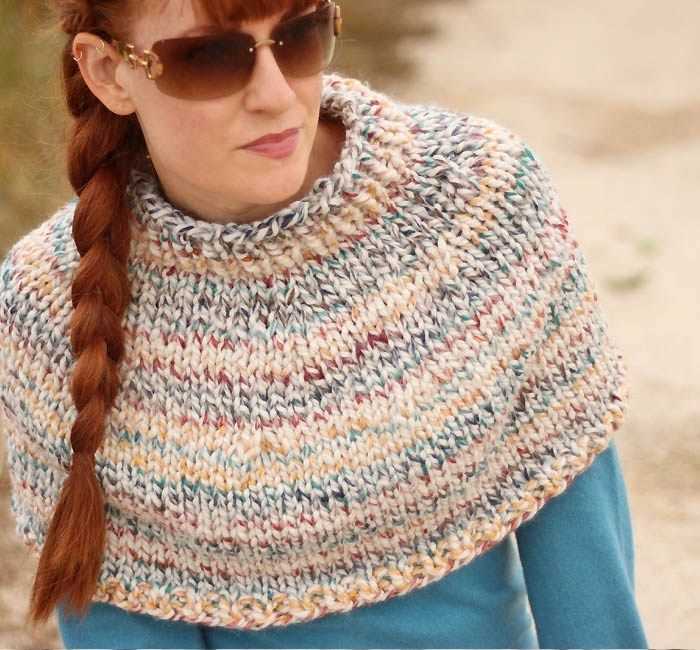
When it comes to difficulty, capes are generally considered easier to knit than sweaters. The larger size and simpler construction of capes make them suitable for beginner knitters or those looking for a relatively quick project. However, intricate stitch patterns or lacework can still provide challenges for more experienced knitters.
Sweaters, on the other hand, require more advanced knitting skills and attention to detail. The construction of a sweater involves shaping, seaming, and often sleeve knitting, which can be more time-consuming and require more precision. Sweaters are often a long-term commitment, but the end result is a versatile and practical garment.
Versatility and Functionality
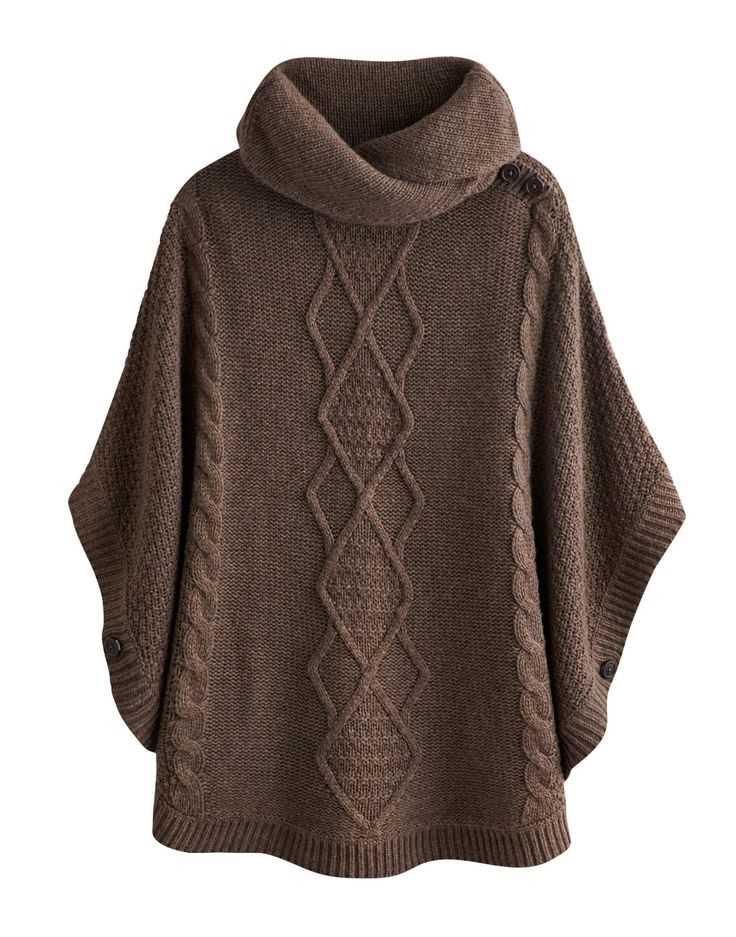
One of the advantages of capes is their versatility. Capes can be worn as stylish outerwear or dressed up for a special occasion. They can be layered over other garments or worn as a statement piece on their own. Capes can also be easily adjusted for different body types and sizes, making them a popular choice for gift knitting.
Sweaters, on the other hand, are known for their functionality and warmth. They are a staple in colder months and can be worn as standalone garments or layered for added insulation. Sweaters can be customized with different necklines, sleeve lengths, and weights of yarn to suit individual preferences.
- In conclusion, capes offer greater design flexibility, while sweaters provide warmth and coziness.
- The choice between the two depends on personal preferences, knitting skill level, and the desired outcome.
Knitting Cape Patterns: Trendy Designs for Fashionable Knitters
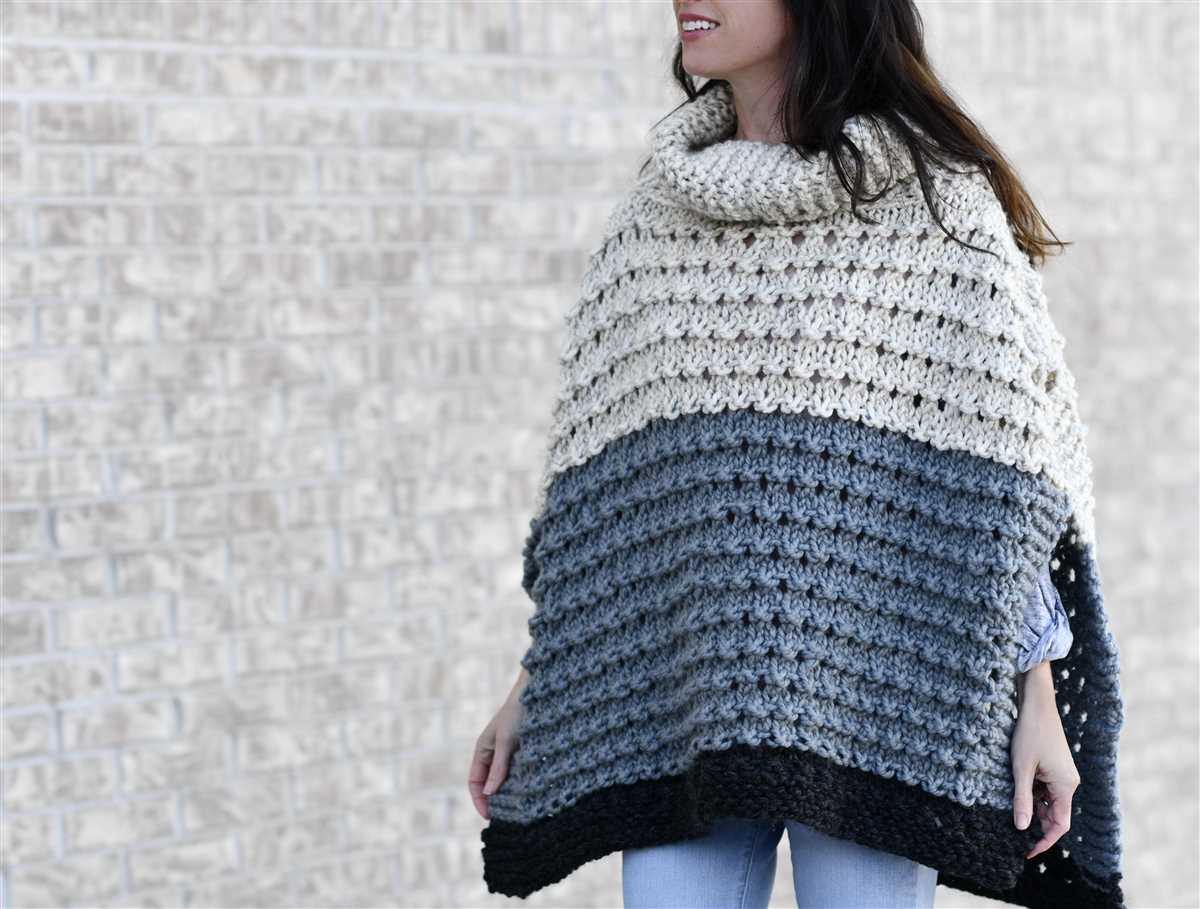
Knitting cape patterns are a great way for fashionable knitters to stay on trend while showcasing their knitting skills. Capes have made a comeback in recent years, becoming a popular choice for fashion-forward individuals looking to add a touch of elegance to their outfits.
With a wide range of knitting cape patterns available, knitters can find designs that suit their personal style and skill level. Whether you’re a beginner or an experienced knitter, there are patterns available that will allow you to create stunning capes that are both stylish and practical.
One popular knitting cape pattern is the oversized cape, which features a large, flowing silhouette that drapes beautifully over the shoulders. This design is perfect for creating a dramatic, statement-making piece that can be worn with both casual and formal outfits.
For those who prefer a more fitted look, there are knitting cape patterns available that feature tailored shapes and intricate stitch patterns. These patterns allow knitters to create capes that are both stylish and flattering to the figure.
In addition to the design of the cape, knitters can also experiment with different yarns and colors to create unique and eye-catching pieces. From chunky wool for a cozy winter cape to lightweight cotton for a breezy summer cape, the choice of yarn can greatly impact the overall look and feel of the finished garment.
Whether you’re looking to add a touch of elegance to your wardrobe or simply want to try your hand at a new knitting project, knitting cape patterns offer endless possibilities for fashion-forward knitters. With a wide range of designs and styles to choose from, you’re sure to find the perfect pattern to create a trendy and fashionable cape that reflects your personal style.
Classic vs. Modern Cape Styles: Which One Should You Choose?
When it comes to knitting cape patterns, there are two main styles to choose from: classic and modern. Each style has its own unique features and aesthetic, making it important to consider which one suits your personal style and preferences.
Classic Cape Style:
The classic cape style is timeless and sophisticated. This style typically features a longer length that falls below the waist, fully covering the shoulders and draping over the arms. Classic capes often have a traditional silhouette with a rounded or square neckline and a simple, tailored shape. The design may include details such as buttons or a belt for added elegance. This style is perfect for those who appreciate a polished and elegant look, reminiscent of vintage fashion.
Modern Cape Style:
The modern cape style, on the other hand, embraces contemporary trends and a more relaxed vibe. This style usually has a shorter length that falls at or above the waist, offering a more casual and versatile look. Modern capes often feature a looser and more oversized silhouette, allowing for layering over thicker garments. The design may include unique shapes and asymmetrical details, giving it a modern and edgy twist. This style is ideal for those who prefer a fashion-forward and effortlessly chic appearance.
Choosing the right style for you:
When deciding between these two cape styles, it’s important to consider your personal style, the occasion, and the overall look you want to achieve. The classic cape style is perfect for more formal and elegant events or for those who prefer a sophisticated and timeless look. On the other hand, the modern cape style is great for everyday wear, casual outings, and for those who want to showcase their sense of fashion and individuality. Ultimately, the choice between classic and modern cape styles boils down to personal preference and how you want to express yourself through your knitting creations.
Tips for Choosing the Right Yarn for Your Knitting Cape Project
When embarking on a knitting cape project, selecting the right yarn is crucial to ensure the final result meets your expectations in terms of both appearance and functionality. Here are some tips to help you choose the perfect yarn for your knitting cape:
Consider the Fiber: The fiber content of the yarn will determine the characteristics of the finished cape. If you want a warm and cozy cape, opt for natural fibers such as wool or alpaca. For a lighter weight and more breathable cape, consider cotton or linen. Each fiber has its own qualities, so choose the one that best suits your needs.
Take the Gauge into Account: Before selecting a yarn, it’s important to determine the gauge of your knitting pattern. The gauge refers to the number of stitches and rows per inch. Make sure to choose a yarn that matches the gauge specified in the pattern to achieve the correct size and fit for your cape.
Consider the Texture: The texture of the yarn can add an extra dimension to your knitting cape. Smooth and sleek yarns create a polished look, while yarns with a halo or fuzziness bring a softer and more cozy feel to the cape. Additionally, textured yarns with twists or boucle effects can create interesting patterns and designs.
Think about the Drape: The drape of the yarn refers to how it falls and hangs when knitted. For a flowing and elegant cape, opt for yarns with good drape, such as silk or bamboo. Yarns with less drape may work well for structured designs or capes that require more shape and definition.
Consider the Care Instructions: It’s important to consider the care instructions of the yarn you choose. Some yarns require special care, such as handwashing or dry cleaning, while others can be machine washed. Consider your lifestyle and the amount of care you are willing to invest in maintaining your knitting cape.
By considering these factors and experimenting with different yarns, you can find the perfect yarn to bring your knitting cape project to life. Remember to swatch and test your chosen yarn before committing to a large project to ensure you are happy with the results.
How to Customize Your Knitting Cape Pattern for a Perfect Fit

When it comes to knitting a cape, finding a pattern that fits perfectly can be a challenge. However, with a few customization techniques, you can ensure that your knitting cape will fit you like a glove. Here are some tips to help you customize your knitting cape pattern for a perfect fit.
1. Gauge Swatch
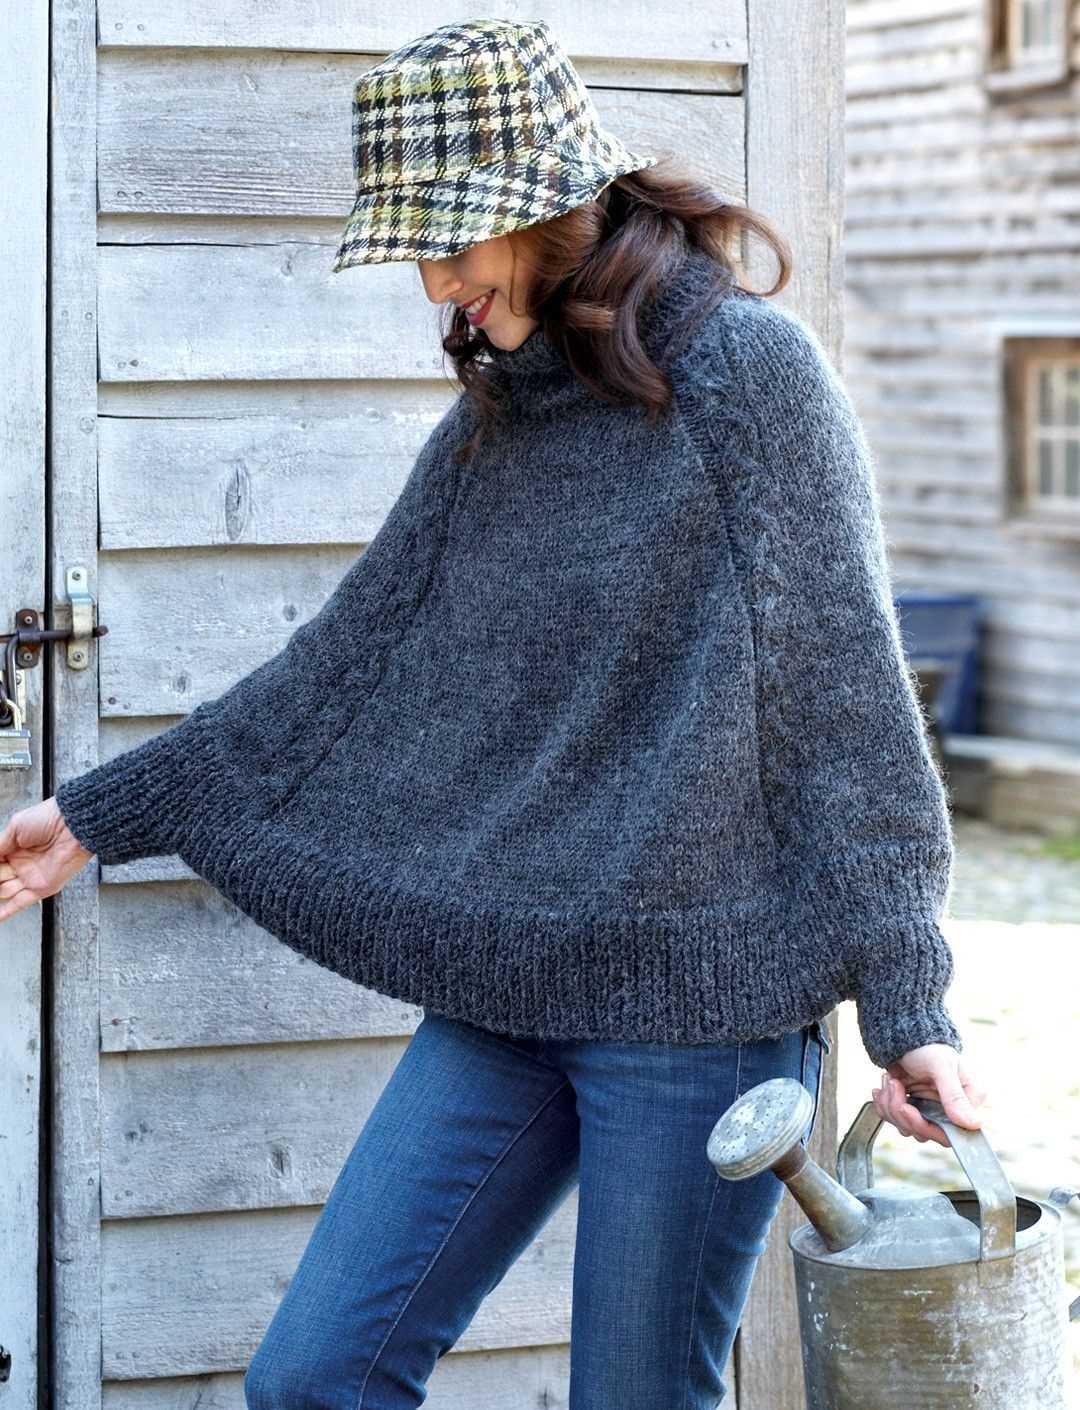
Before you start knitting your cape, it’s essential to make a gauge swatch. Follow the instructions provided in the pattern to create a small sample using the recommended needle size and yarn. Measure the number of stitches and rows per inch to determine if your gauge matches the pattern.
If your gauge is different, adjust your needle size accordingly. If you have fewer stitches per inch, try using a smaller needle. Conversely, if you have more stitches per inch, use a larger needle. This will ensure that your cape turns out the correct size.
2. Measurements
Take accurate measurements of your body to determine the size of cape that will fit you best. Measure your bust, waist, and hips, as well as the desired length of the cape. Compare these measurements to the sizing chart provided in the pattern, and choose the size that is closest to your measurements.
If you fall between sizes, consider making adjustments to the pattern. For example, if your bust measurement is in-between two sizes, you can add or remove stitches to the pattern to accommodate your size. This can be done by increasing or decreasing the number of stitches in the cast-on row.
3. Adjustments
If you need to make further adjustments to the fit of the cape, make note of where the adjustments need to be made. For example, if the cape is too tight around the shoulders, you can add additional stitches to the shoulder section. If the cape is too long, you can remove some rows or stitches from the bottom edge.
Make these adjustments by carefully reading the pattern and identifying the sections that need to be altered. Keep track of your changes and make sure to adjust any shaping or increases/decreases accordingly.
By following these tips, you can customize your knitting cape pattern to fit your body perfectly. Remember to always take accurate measurements, make a gauge swatch, and make any necessary adjustments to ensure a perfect fit. Happy knitting!
Advanced Techniques: Adding Embellishments to Your Knitting Cape
Once you have mastered the basic knitting techniques and created a beautiful cape, you may want to take it to the next level by adding embellishments. Embellishments can add a touch of elegance or whimsy to your cape, making it truly unique. Here are some advanced techniques to consider:
1. Lace and Cable Patterns

One way to embellish your knitting cape is by incorporating lace or cable patterns. Lace patterns create delicate, openwork designs that give your cape an airy and feminine look. Cable patterns, on the other hand, add texture and depth to your cape. You can use lace or cable patterns to create borders, panels, or even motifs on your cape.
2. Beading
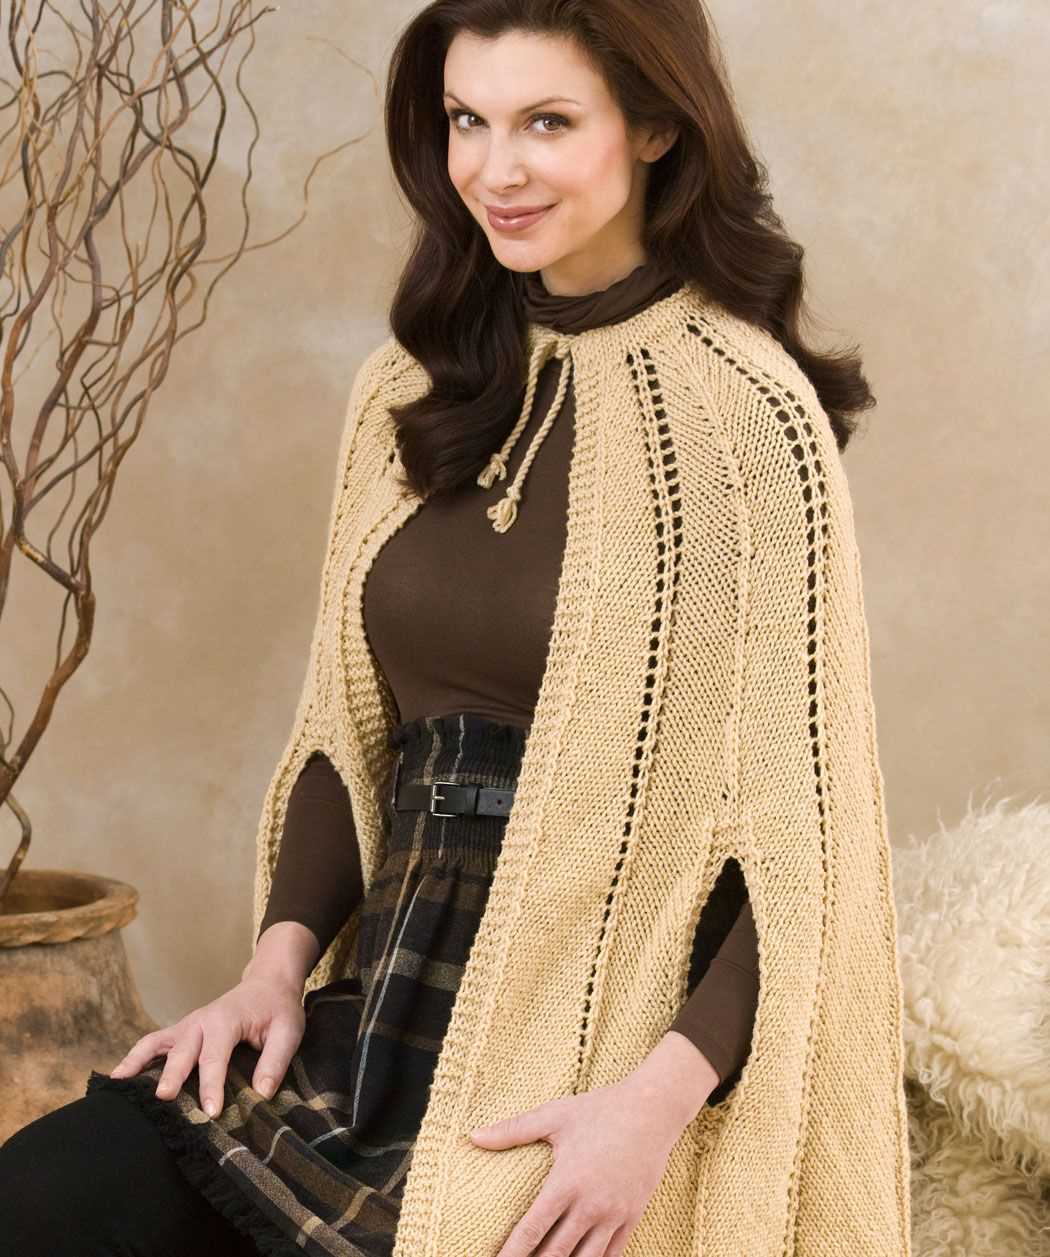
Adding beads to your knitting cape can give it an extra touch of glamour. You can incorporate beads into your knitting by stringing them onto the yarn before you start knitting or by adding them with a crochet hook as you work. Beads can be used to create a border or to highlight certain parts of your cape, such as the neckline or cuffs.
3. Embroidery
Embroidery is another technique that can be used to embellish your knitting cape. You can use embroidery stitches to add decorative motifs or patterns to your cape. This can be done by stitching directly onto the knitted fabric or by creating separate embroidered pieces that you then sew onto the cape. Embroidery allows you to add intricate designs and play with different colors and textures.
4. Appliqué
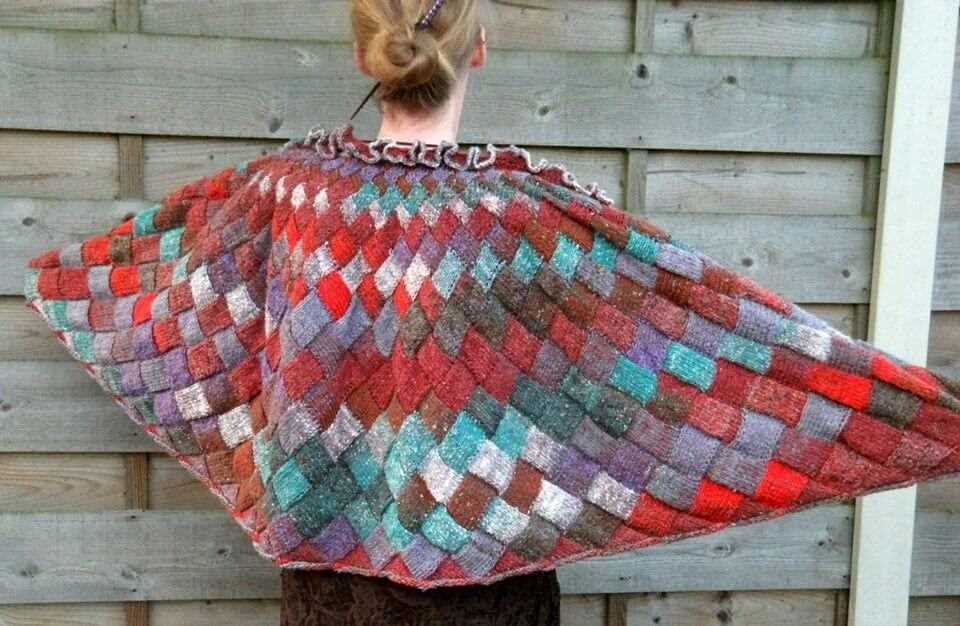
If you have a knack for sewing, you can try adding appliqué to your knitting cape. Appliqué involves attaching small pieces of fabric or other materials, such as lace or sequins, onto the knitted fabric. This can create interesting patterns, shapes, or pictures on your cape. You can sew the appliqué pieces by hand or by machine, depending on your preference and skill level.
Adding embellishments to your knitting cape can be a fun and creative way to showcase your knitting skills. Whether you choose lace patterns, beading, embroidery, or appliqué, these advanced techniques will add a unique touch to your cape and make it a one-of-a-kind piece.