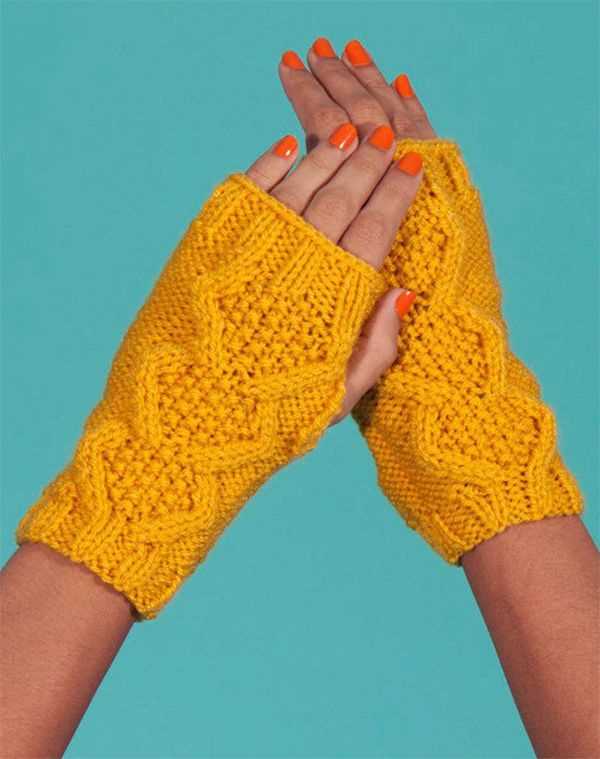
Knitting gloves can seem like a daunting task, but with this easy glove knitting pattern, you’ll be able to whip up a pair of gloves in no time. Whether you’re a beginner knitter or have been knitting for years, this pattern is perfect for anyone looking to create cozy and stylish gloves.
One of the great things about this pattern is that it only requires basic knitting skills. You’ll need to know how to cast on, knit, purl, and bind off, and that’s it! There are no fancy stitches or complicated techniques involved. This makes it the perfect project for a beginner knitter who wants to challenge themselves with a slightly more advanced project.
The pattern is also customizable, so you can adjust it to fit any hand size. Whether you’re knitting gloves for yourself or as a gift for a loved one, you can be sure they’ll fit perfectly. And because they’re knit in the round, there’s no need to sew any seams!
If you’re ready to take your knitting skills to the next level and create a cozy pair of gloves, this easy glove knitting pattern is the perfect project for you. So grab your knitting needles, choose your favorite yarn, and get ready to create a beautiful and practical accessory!
Why knit your own gloves?
Knitting your own gloves can be a rewarding and practical project. It allows you to create a pair of gloves that fit your hands perfectly and match your personal style. The process of knitting gloves can also be a relaxing and fulfilling hobby, providing a sense of accomplishment as you watch your project come together.
One of the greatest advantages of knitting your own gloves is the ability to customize them to your exact needs. You can choose the yarn type and color that you prefer, ensuring that your gloves are not only functional but also visually appealing. Additionally, you can adjust the pattern to fit your hand size and desired level of warmth.
Unique fit:
Ready-made gloves may not always fit properly, as they are designed to match average hand sizes. By knitting your own gloves, you can tailor the fit to your hands, ensuring maximum comfort and flexibility. You can also adjust the length of the fingers and the snugness around the wrist, allowing for a customized fit that is not often found in store-bought gloves.
Quality craftsmanship:
When you knit your own gloves, you have full control over the quality of materials and the level of craftsmanship. By choosing high-quality yarns and employing proper knitting techniques, you can create gloves that are durable, long-lasting, and able to withstand the rigors of everyday use. This level of customization and attention to detail can result in gloves that are not only functional but also beautiful and unique.
Personalized style:
Knitting your own gloves allows you to infuse your personal style and creativity into the design. Whether you prefer bold and vibrant colors, intricate patterns, or simple and elegant designs, you have the freedom to create gloves that reflect your individual taste. With endless options for customization, knitting your own gloves gives you the opportunity to showcase your unique sense of style and stand out from the crowd.
Sense of accomplishment:
Completing a knitting project, such as gloves, can be incredibly satisfying and provide a sense of accomplishment. As you work through each stitch and watch your gloves take shape, you can experience a feeling of pride and mastery. Additionally, knitting can be a meditative and calming activity, allowing you to unwind and relax while creating something useful and beautiful.
Materials needed for knitting gloves
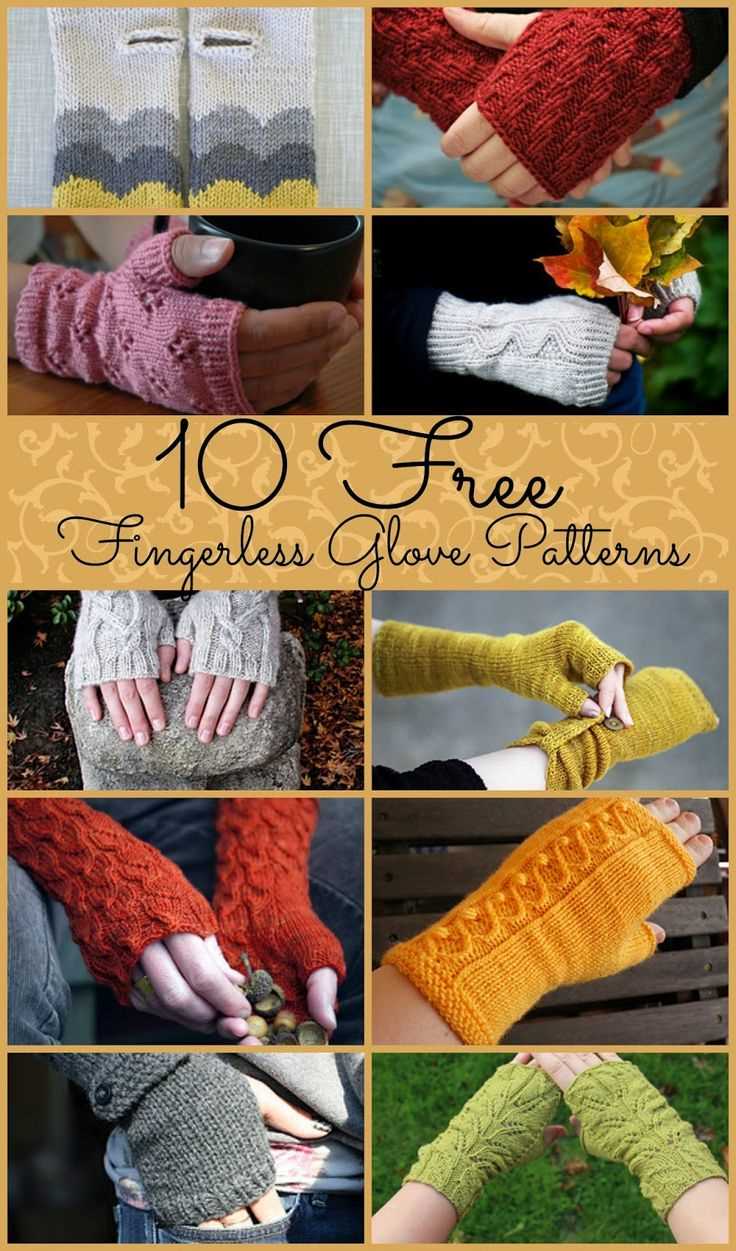
Knitting gloves can be a fun and rewarding project, whether you are a beginner or an experienced knitter. To get started, you will need a few essential materials. Here is a list of what you will need:
1. Yarn:
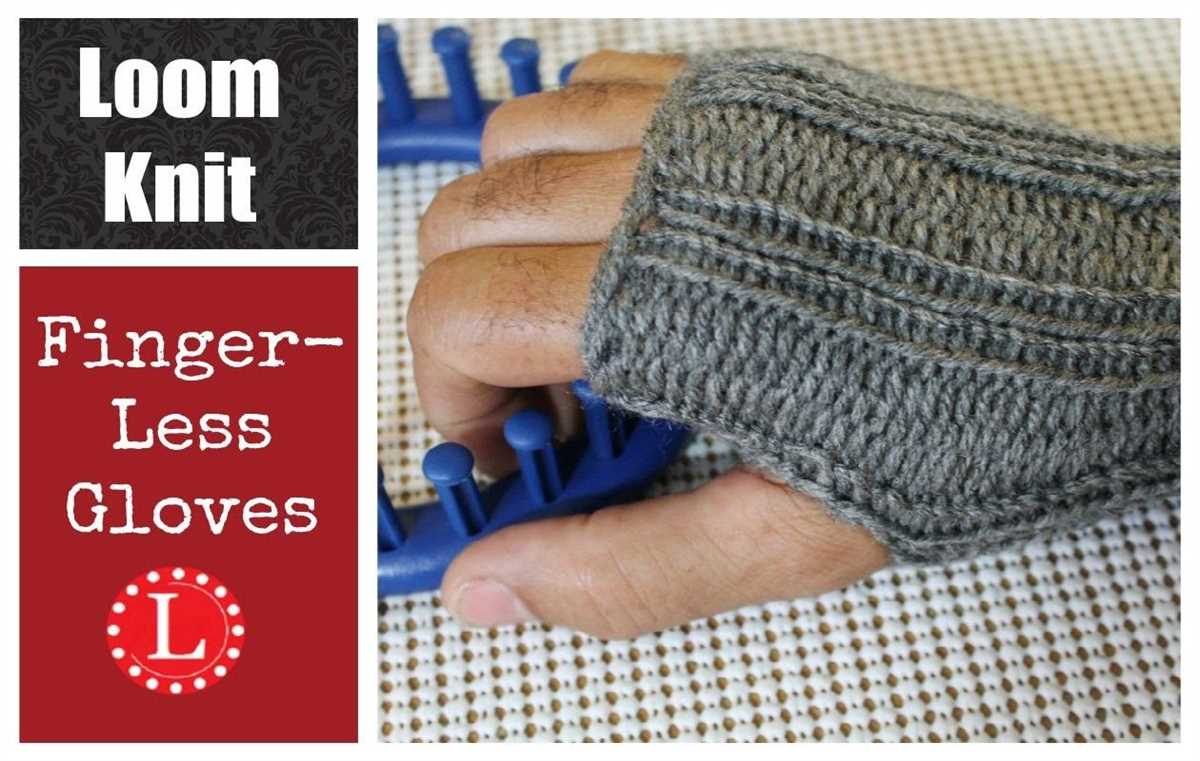
Choose a yarn that is suitable for gloves. Worsted weight or sport weight yarn is recommended for most glove patterns. You can choose any color or fiber content that you prefer. Make sure to have enough yarn to complete the project.
2. Knitting Needles:
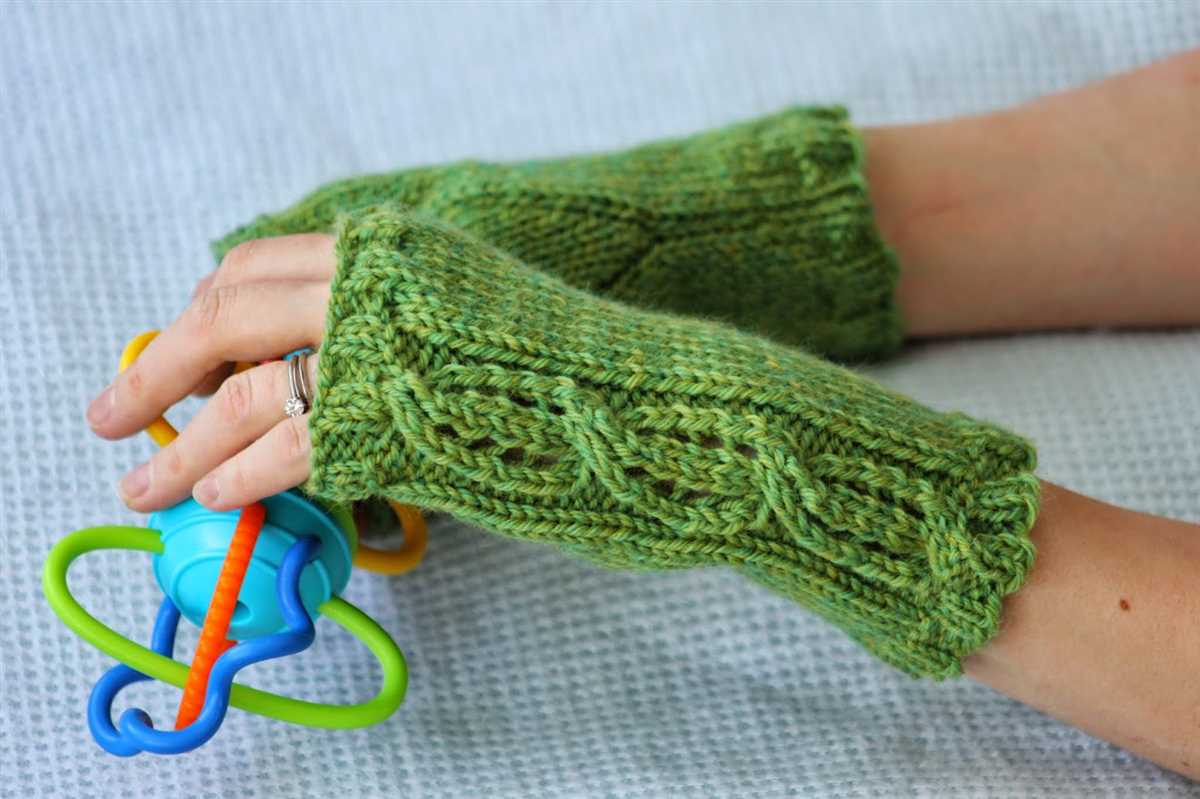
You will need a set of double-pointed knitting needles in the appropriate size for your chosen yarn. Most glove patterns will specify the needle size needed. It is important to have the right size needles to achieve the correct gauge.
3. Stitch Markers:
Stitch markers are used to mark important points in your knitting, such as the beginning of a round or thumb placement. These markers can be simple rings or clips and will help you keep track of your progress.
4. Tapestry Needle:
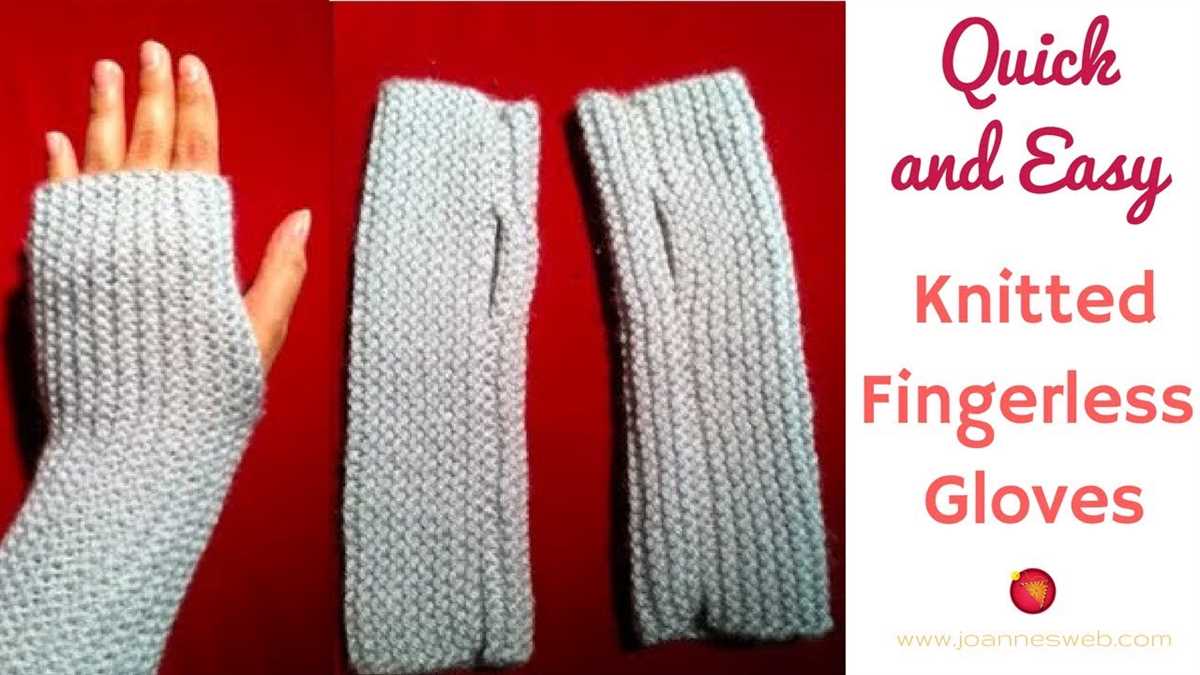
A tapestry needle is used for weaving in ends and sewing the glove fingers and thumb. Choose a needle with a large eye that can easily accommodate the yarn you are using.
5. Scissors:
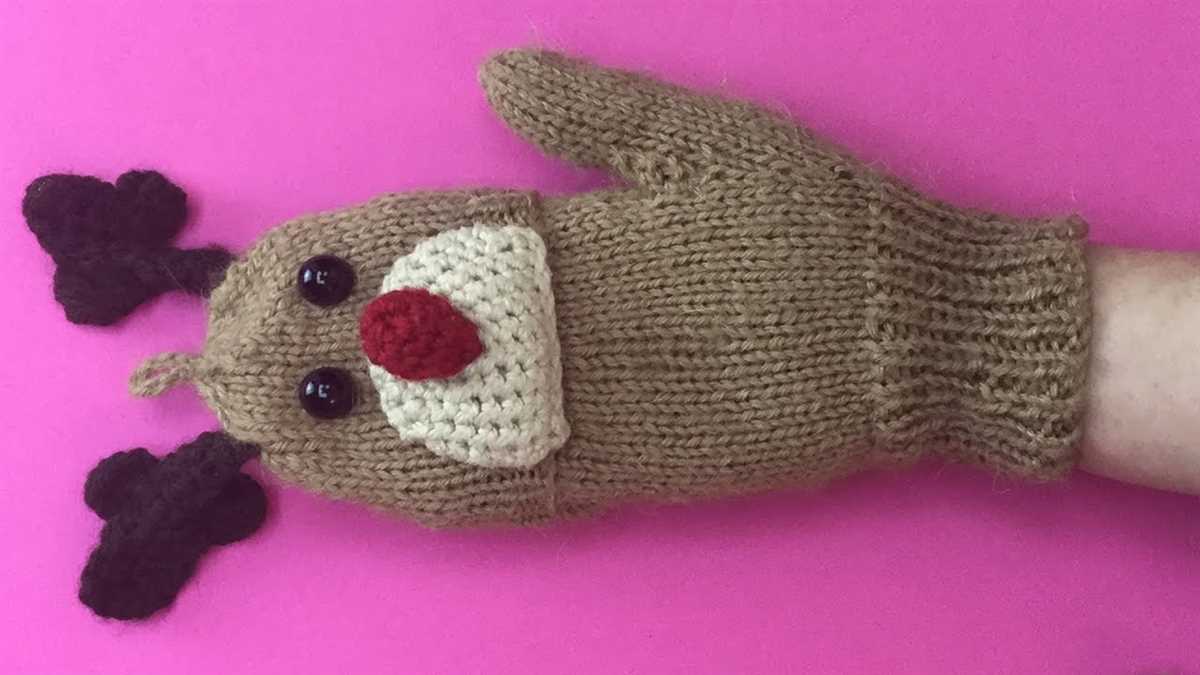
A pair of small, sharp scissors is essential for cutting yarn and trimming any excess. Make sure to have them handy while knitting to easily cut yarn when needed.
With these basic materials, you will be well-equipped to start knitting your own gloves. Happy knitting!
Choosing the right yarn for your gloves
When it comes to knitting gloves, choosing the right yarn plays a crucial role in the final outcome of the project. The yarn you select can determine the overall comfort, durability, and appearance of the gloves. Here are some important factors to consider when choosing yarn for your glove knitting project.
Fiber content:
The fiber content of the yarn is an important consideration. Natural fibers such as wool, alpaca, and cashmere are popular choices for gloves as they provide warmth and insulation. These fibers have excellent thermal properties and can keep your hands cozy even in cold weather. Synthetic fibers like acrylic, nylon, and polyester can also be used as they offer durability, easy care, and sometimes added stretch for a better fit.
Weight and thickness:
The weight and thickness of the yarn have a direct impact on the flexibility and drape of the gloves. For lightweight and delicate gloves, choose a finer weight yarn such as fingering or sport weight. These yarns will create fine and delicate stitches, resulting in gloves that feel light and breathable. For thicker and more substantial gloves, opt for a worsted or bulky weight yarn. These yarns will create thicker stitches that provide more insulation and warmth.
Color and texture:
The color and texture of the yarn are important factors to consider, especially if you want to add visual interest to your gloves. Solid-colored yarns can create a classic and timeless look, while variegated or self-striping yarns can add a touch of excitement and uniqueness. Additionally, yarns with texture, such as boucle or tweed, can create interesting patterns or add dimension to the gloves.
Ease of care:
Lastly, consider the ease of care when selecting yarn for your gloves. Some yarns require special care, such as hand washing or dry cleaning, while others can be machine washed and dried. Consider your lifestyle and how often you plan to wear the gloves. If you prefer low-maintenance options, choose yarn that can handle regular machine washing.
By considering these factors and choosing the right yarn for your gloves, you can create a pair of gloves that not only look great but also provide comfort and durability.
Getting the right gauge for your gloves
When knitting gloves, one of the most important aspects to consider is achieving the right gauge. Gauge refers to the number of stitches and rows per inch in your knitting, and it plays a crucial role in determining the size and fit of your finished gloves. Having the correct gauge ensures that the gloves will be the right size for the intended recipient and will fit comfortably on their hands.
To achieve the proper gauge for your gloves, it is essential to follow the pattern instructions and use the recommended yarn and needle size. The pattern should specify the desired gauge, usually in terms of stitches and rows over a 4-inch square. Start by knitting a swatch using the recommended yarn and needles, and measure the number of stitches and rows in the swatch.
To adjust the gauge, you may need to change the size of your needles. If your swatch has more stitches and rows than the gauge specified, use larger needles to create a looser knit. Conversely, if your swatch has fewer stitches and rows than the gauge, switch to smaller needles for a tighter knit. Remember to always make a new swatch when changing needle sizes, as it can significantly impact the final size and fit of the gloves.
Additionally, the tension of your knitting can also affect the gauge. If you tend to knit tightly, you may need to consciously loosen your tension when knitting the gloves to achieve the desired gauge. On the other hand, if you have a loose knitting tension, you may need to knit more tightly to match the gauge. It is essential to be mindful of your knitting tension throughout the project to ensure consistent results.
In conclusion, getting the right gauge for your gloves is crucial for achieving the desired size and fit. By following the pattern instructions, using the recommended yarn and needle size, and adjusting your knitting tension if necessary, you can ensure that your gloves turn out perfectly and are a pleasure to wear.
Essential Glove Knitting Techniques
When it comes to knitting gloves, there are a few essential techniques that every knitter should know. Whether you’re a beginner or an experienced knitter, mastering these techniques will help you create beautiful gloves that fit well and keep your hands warm.
1. Casting on: The first step in knitting gloves is to cast on your stitches. There are several methods you can use, including the long tail cast on and the knitted cast on. Make sure to cast on the appropriate number of stitches for the size of your hands.
2. Ribbing: Ribbing is often used at the cuff of gloves to provide stretch and a snug fit. It is typically worked in a combination of knit and purl stitches, such as a 2×2 rib or a 1×1 rib. Ribbing can also be used on other parts of the glove, such as the fingers or the palm.
3. Shaping: To create gloves that fit well, shaping is necessary. This involves increasing or decreasing stitches to create a tapered or shaped section. For example, you may need to increase stitches for the thumb gusset or decrease stitches for the fingertips.
4. Thumb construction: The thumb of a glove is a unique feature that requires its own set of techniques. There are different methods for creating the thumb, such as knitting it separately and then attaching it to the glove, or knitting it as part of the glove by leaving a gap in the knitting and then picking up stitches.
5. Finishing techniques: Once the main part of the glove is complete, it’s time for finishing touches. This can include weaving in any loose ends, blocking the gloves to improve their shape, or adding decorative elements such as buttons or embroidery.
6. Gauge swatching: Before you begin knitting your gloves, it’s important to knit a gauge swatch to ensure that your stitches and rows match the recommended gauge. This will help ensure that your gloves fit properly and are the correct size.
7. Choosing the right yarn and needles: The type of yarn and needles you use can greatly impact the final look and feel of your gloves. Consider the warmth, durability, and stretchiness of the yarn, as well as the size and material of the needles, to create gloves that are comfortable and functional.
By mastering these essential glove knitting techniques, you’ll be well on your way to creating cozy and stylish gloves that you’ll love to wear.
Knitting the glove body
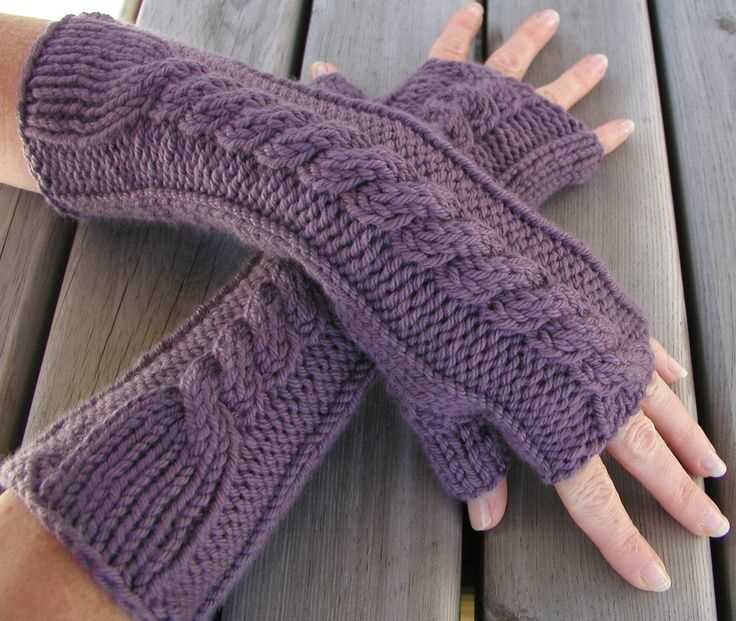
Once you have cast on and completed the cuff of your glove, it’s time to start knitting the body. The body of the glove is the main part that will cover your hand and fingers.
For the glove body, you will continue knitting in the round using your chosen stitch pattern. This could be stockinette stitch, ribbing, or any other pattern of your choice. Remember to follow the instructions given in the knitting pattern and make any necessary adjustments for your hand size.
When knitting the body, it is important to keep track of the placement of the thumb gusset if your glove includes one. The thumb gusset usually increases the number of stitches on one side of the glove to accommodate the thumb. This is typically achieved by increasing stitches at regular intervals. Make sure to follow the pattern instructions carefully to ensure the proper placement and sizing of the thumb gusset.
To ensure a snug fit, you may need to measure your hand and compare it to the pattern measurements as you work on the glove body. This will help ensure that the glove fits comfortably and is not too loose or too tight. You can use a flexible measuring tape to measure around your hand at the widest point and compare it to the pattern’s sizing chart.
Continue knitting the body of the glove until you reach the desired length or according to the pattern instructions. Once the body is complete, you will move on to knitting the fingers or finishing the glove depending on the pattern. Stay focused and take your time to create a beautiful and functional pair of gloves.
Shaping the fingers of your gloves
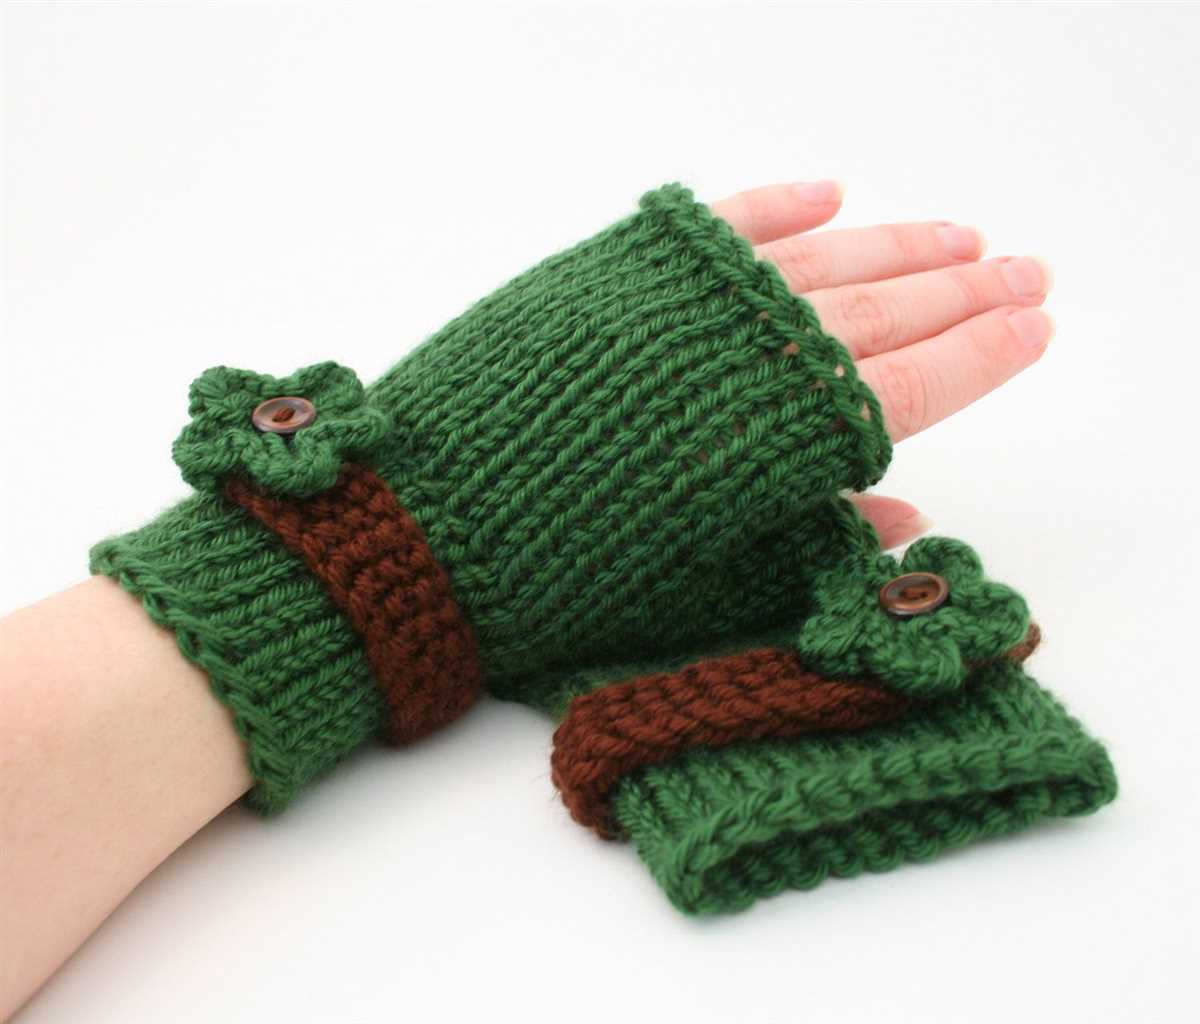
When knitting gloves, one of the most important steps is shaping the fingers. This is where the gloves really start to take shape and become functional. There are several methods for shaping the fingers, depending on the pattern you are using and your personal preference. One common technique is to use decreases to gradually taper the finger width and create a rounded shape.
To shape the fingers, you will typically start by knitting a certain number of rounds or rows even, and then begin the decreases. You can use techniques such as k2tog (knit two stitches together) or ssk (slip, slip, knit) to decrease stitches. The decreases are usually worked evenly spaced around the finger, often starting at the sides and moving towards the center. The number of decreases and the frequency will depend on the desired finger shape and the number of stitches you have.
Another method for shaping the fingers is to use short rows. Short rows involve knitting only partway across the stitches, then turning the work and knitting back in the other direction. This creates extra fabric that is then folded or gathered to shape the finger. Short rows can be used to add extra length or width to specific areas of the finger, making them ideal for customizing the fit of gloves to your hand.
In addition to decreases and short rows, you can also experiment with different stitch patterns and textures to add a unique touch to your gloves. For example, you could incorporate cables, lace, or colorwork into the finger sections. Just be sure to take into account how the chosen stitch pattern will affect the stretch and fit of the gloves.
Remember, shaping the fingers of your gloves is an important step that requires attention to detail and precision. Take the time to read and understand the pattern instructions, and make any necessary adjustments to ensure a proper fit. With practice and experience, you’ll be able to confidently shape the fingers of your gloves and create beautifully crafted accessories.
Knitting the thumb of your gloves
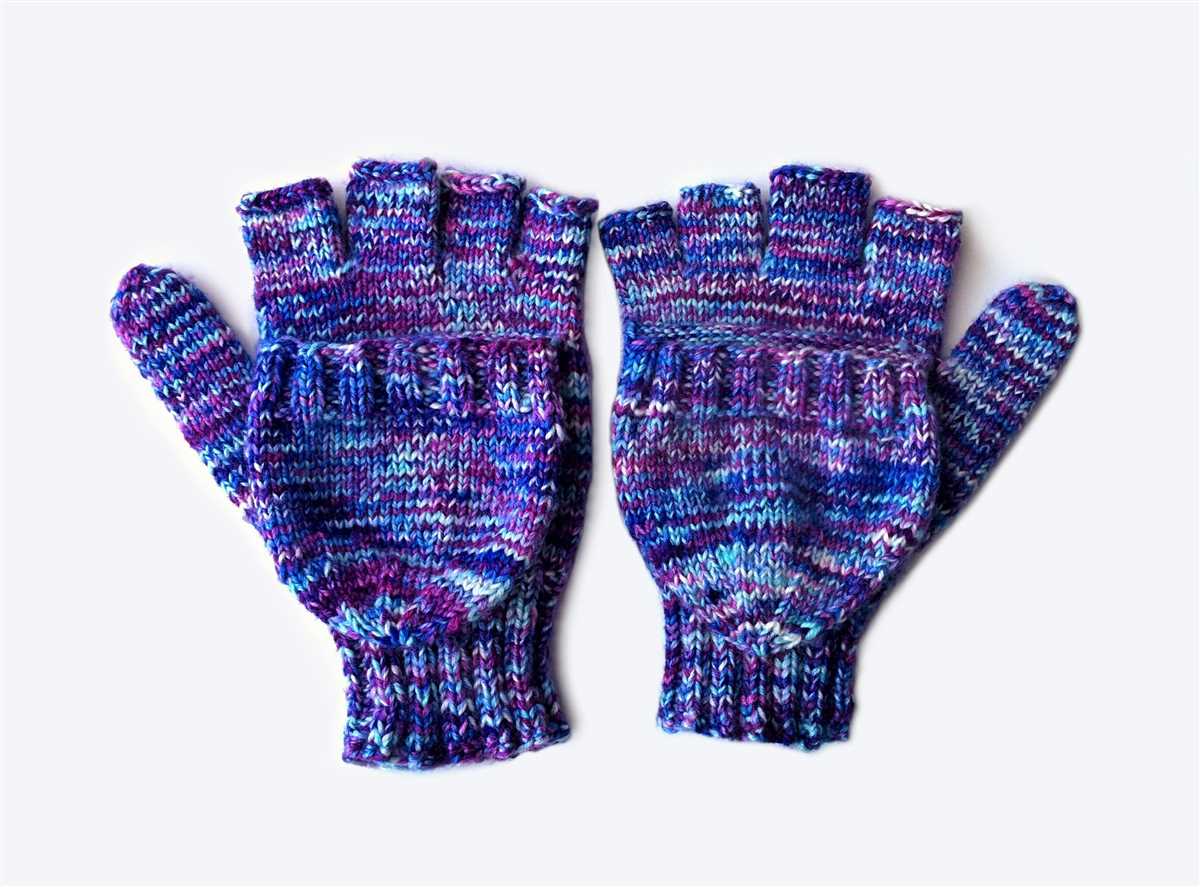
When knitting gloves, one of the most important parts to focus on is the thumb. The thumb is not only an essential feature for functionality but can also add a stylish touch to your gloves. By following a few simple steps, you can easily knit a thumb that fits comfortably and complements the overall design of your gloves.
Step 1: Provisional cast on
Before starting to knit the thumb, you will need to create a provisional cast on. This technique allows for easy removal of waste yarn later on, resulting in a seamless and neat thumb. To accomplish this, cast on the desired number of stitches for your thumb using waste yarn of a contrasting color. After completing the thumb, you will remove this waste yarn and pick up the live stitches to continue knitting.
Step 2: Knitting the thumb
Start knitting the thumb by picking up the live stitches from the provisional cast on using your main working yarn. Distribute the stitches evenly on double-pointed needles or a small circular needle, depending on your preferred method. Knit in the round until the desired length for the thumb is reached. Keep in mind that the thumb should be long enough to cover the whole thumb comfortably, but not too long to interfere with dexterity.
Step 3: Shaping the thumb
To shape the thumb, you will need to decrease the number of stitches gradually. This can be done by evenly distributing decrease rounds throughout the length of the thumb. Common decrease techniques include k2tog (knit two stitches together) or ssk (slip, slip, knit). Follow the pattern instructions or create your own decrease pattern to shape the thumb according to your preference.
Step 4: Finishing the thumb
Once the desired number of stitches remains, cut the yarn, leaving a tail long enough for weaving in later. Thread the tail through the remaining stitches, remove the waste yarn, and pull tight to close the top of the thumb. Weave in any remaining loose ends to secure the thumb and ensure a clean finish. Admire your completed thumb, and repeat the process for the second glove, creating a matching set of cozy and stylish gloves.
Joining the fingers and thumb to the glove body
Once you have finished knitting the fingers and thumb separately, it’s time to join them to the glove body. This is an important step in completing your glove knitting project and will give your gloves a professional and seamless finish.
To join the fingers and thumb to the glove body, start by positioning them in the desired locations on the glove. Make sure to align the fingers and thumb with the corresponding stitch markers or placeholders that you made earlier. This will help you maintain the correct size and shape of the gloves.
For the fingers: Using a tapestry needle, thread the yarn through the live stitches of the finger and the corresponding stitches on the glove body. Take care to sew the stitches neatly and securely, ensuring that there are no gaps or loose threads. Repeat this process for each finger, working your way from one side of the glove to the other.
For the thumb: Similar to the fingers, thread the yarn through the live stitches of the thumb and the corresponding stitches on the glove body. Make sure to secure the stitches tightly and evenly, maintaining the shape and fit of the thumb. Take care to sew the top part of the thumb to the main body of the glove, creating a seamless transition.
Once you have finished joining the fingers and thumb to the glove body, weave in any remaining loose ends of yarn and trim off any excess. This will give your gloves a clean and polished look. Don’t forget to try on the gloves to ensure a comfortable fit and make any necessary adjustments before fully finishing off the gloves.
By following these steps, you can successfully join the fingers and thumb to the glove body, completing your glove knitting project and creating a pair of cozy and stylish gloves that you can enjoy wearing.
Adding finishing touches to your gloves
Once you have completed knitting your gloves, there are a few finishing touches you can add to make them look even more polished and professional. These small details can make a big difference in the overall appearance of your gloves.
1. Thumb shaping: One detail that can greatly improve the fit and comfort of your gloves is properly shaping the thumb. You can do this by decreasing the stitches gradually along the thumb section, following the pattern’s instructions. This will create a more ergonomic shape and ensure a better fit on your hand.
2. Ribbed cuffs: To give your gloves a classic and stylish look, you can add ribbed cuffs at the wrist. This can be done by knitting a few rows in a rib stitch pattern, such as K1, P1 or K2, P2. This will not only add visual interest but also help to keep the gloves in place on your wrists.
3. Embellishments: If you want to add a personal touch to your gloves, you can consider adding embellishments such as buttons, bows, or embroidery. This can be done by sewing the desired embellishments onto the cuffs or other areas of the gloves. Just make sure to choose embellishments that are secure and will not easily come off during use or washing.
4. Blocking: After you have finished knitting your gloves, it is important to block them to ensure they have a smooth and even appearance. This can be done by wetting the gloves, shaping them to the desired size and shape, and allowing them to dry flat. Blocking will help to even out any uneven stitches and give the gloves a more professional finish.
5. Weaving in ends: Lastly, don’t forget to weave in any loose ends of yarn to give your gloves a neat and tidy appearance. You can use a yarn needle to weave the ends of the yarn into the back of the stitches, ensuring they are secure and won’t unravel.
Troubleshooting common glove knitting issues

If you’re encountering problems while knitting gloves, don’t despair! Many common issues have simple solutions that can help you achieve the perfect fit and finish for your gloves. Here are some troubleshooting tips to address common glove knitting issues:
Tight fit
If your gloves seem too tight and are uncomfortable to wear, you may need to adjust your knitting tension. Try using larger needles or looser tension when knitting the gloves. Additionally, you can consider modifying the pattern by increasing the number of stitches to create a slightly larger size. Remember to always check your gauge before starting a project to ensure an accurate fit.
Loose or baggy fit
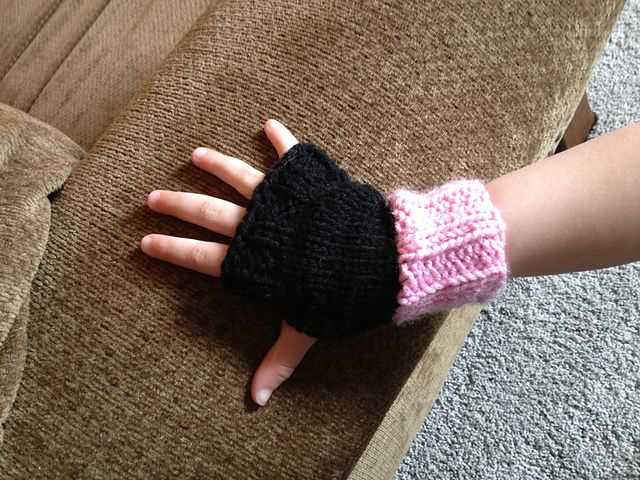
Alternatively, if your gloves have a loose or baggy fit, you may need to tighten your knitting tension. Switching to smaller needles or knitting with a tighter tension can help achieve a snugger fit. You can also consider decreasing the number of stitches in the pattern to create a smaller size. Remember to always check your gauge and adjust accordingly to ensure a proper fit.
Uneven stitch tension
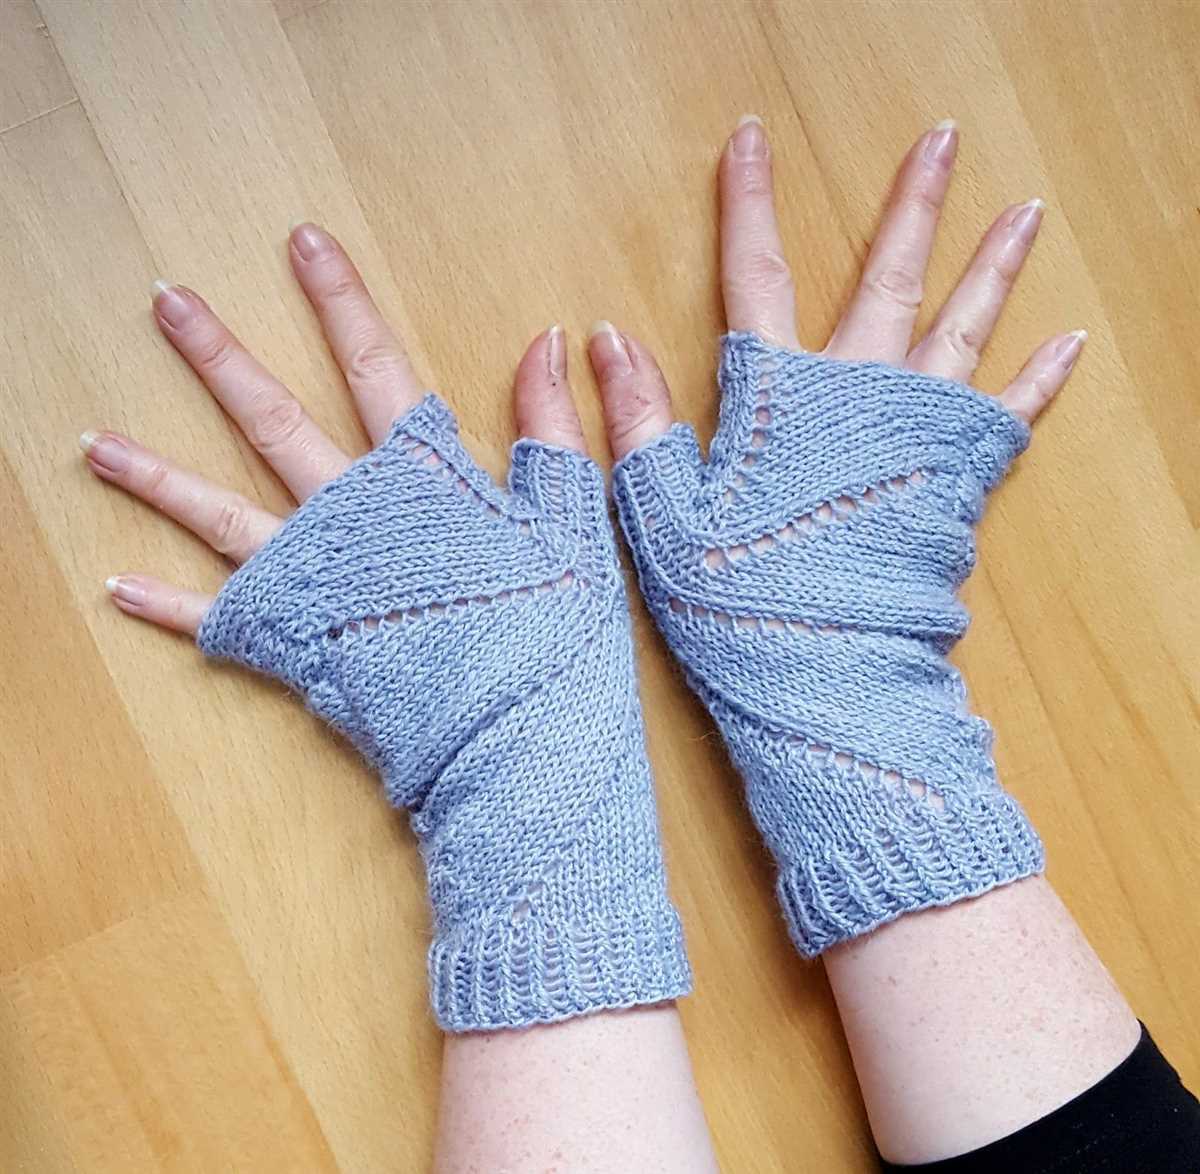
If you notice that your glove has uneven stitch tension, resulting in an uneven appearance, it’s important to pay attention to your knitting technique. Make sure you’re consistently maintaining the same tension throughout the project. Practice can help improve your technique and create more even stitches. You can also try blocking the finished gloves to help even out the stitches.
Mismatched glove sizes

If you find that one glove is significantly larger or smaller than the other, it’s crucial to double-check your pattern instructions. Ensure that you’re following the pattern correctly and haven’t missed any instructions or made any mistakes. If the pattern appears to be correct, review your gauge for each glove to ensure consistency. Adjustments may be needed to match the size of both gloves.
By troubleshooting these common glove knitting issues, you’ll be able to overcome any challenges and create beautiful, well-fitting gloves. Remember to take your time, practice your knitting technique, and have fun with your glove knitting project!
Ways to customize your knitted gloves
Knitting your own gloves gives you the opportunity to tailor them to your specific needs and preferences. There are several ways you can customize your knitted gloves to make them unique and personalized. Here are some ideas:
- Color and yarn choice: Play around with different colors and yarn types to create gloves that match your style. You can experiment with variegated or self-striping yarns for a fun and colorful look.
- Adding embroidery: Embroidery is a great way to add intricate designs or personal touches to your gloves. You can use embroidery thread or yarn to create beautiful patterns or monogram your gloves.
- Buttons and embellishments: Sewing buttons, beads, or other small embellishments onto your gloves can add a touch of glamour or whimsy. Just make sure the added decorations don’t interfere with the functionality of the gloves.
- Fingerless gloves: If you prefer fingerless gloves or want to use your smartphone while wearing them, you can modify the pattern to create fingerless gloves instead. Simply stop knitting the fingers at the desired length.
- Lace or cable patterns: Incorporating lace or cable patterns into your gloves can give them an intricate and sophisticated look. There are many patterns available that you can use or modify to suit your taste.
With these customization options, you can create gloves that are not only functional but also reflect your personal style and creativity. Don’t be afraid to experiment and try out different techniques to make your knitted gloves truly one-of-a-kind.