
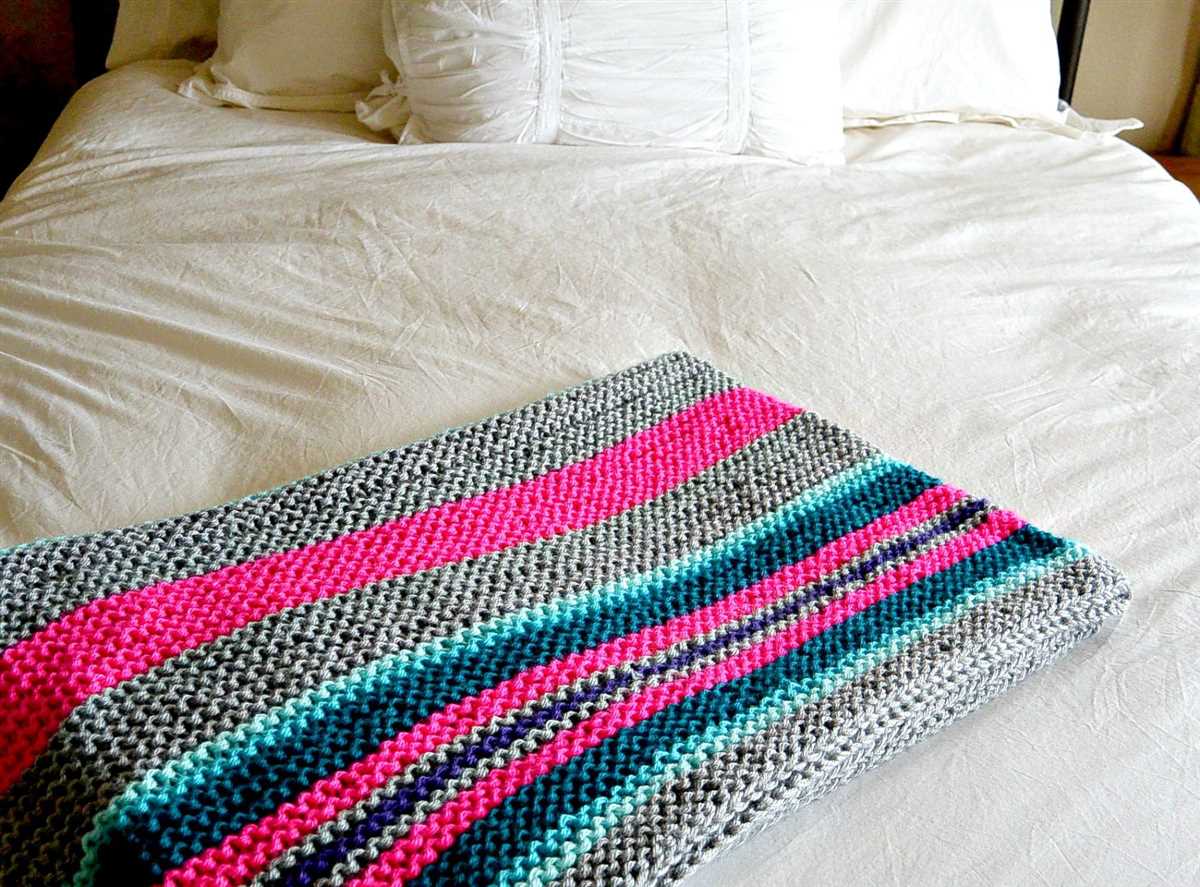
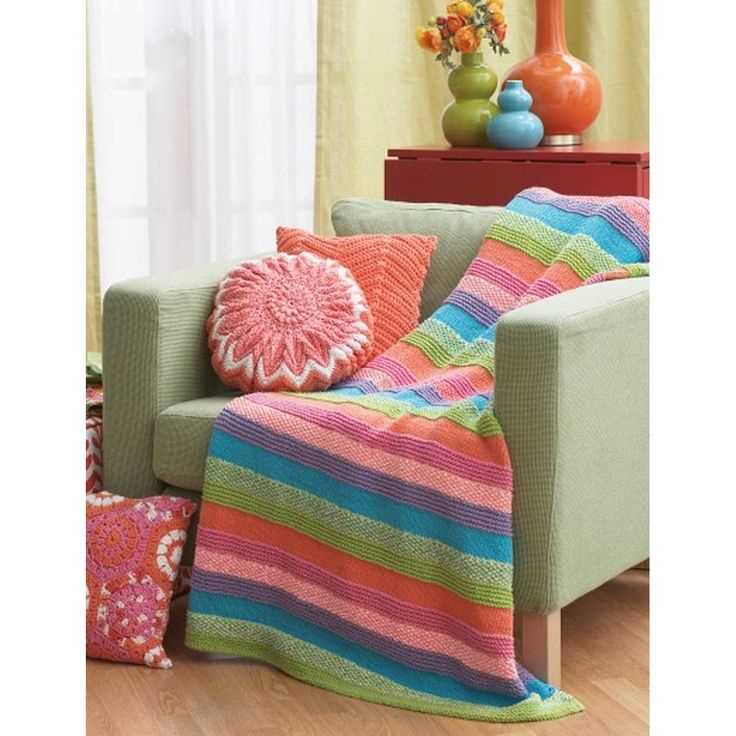
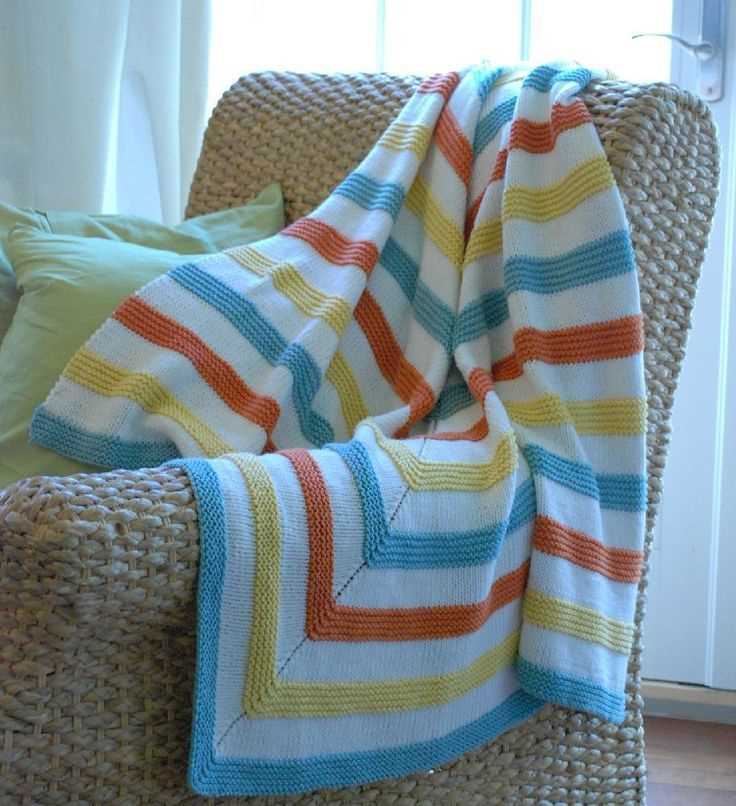
A cozy and stylish striped blanket is the perfect addition to any home. Whether you are a beginner knitter or an experienced pro, this knitting pattern is great for all skill levels. The combination of different colors creates a stunning visual effect, while the simple pattern makes it easy to follow along.
To get started with this striped blanket knitting pattern, you will need a few essential materials. Grab your favorite yarn colors, knitting needles, and a pair of scissors. You can choose any color combination that you like – from bold and vibrant shades to soft pastels. The possibilities are endless!
This pattern uses basic knitting stitches such as knit and purl, so it’s a great project for beginners who want to practice their skills. Even if you have never picked up knitting needles before, you can still create a beautiful blanket with this pattern. And for the more advanced knitters, feel free to experiment with different stitch patterns to add a unique touch to your creation.
Striped Blanket Knitting Pattern

Are you looking to make a cozy and stylish blanket for your home? Look no further than the Striped Blanket Knitting Pattern. This pattern is perfect for both beginner and experienced knitters, as it is easy to follow and allows for customization.
The Striped Blanket Knitting Pattern features a simple yet eye-catching design that can be adapted to match any color scheme or decor. The pattern includes instructions for creating stripes of different widths and colors, allowing you to create a unique and personalized blanket.
To begin knitting the Striped Blanket, you will need a selection of yarn in your chosen colors. It is recommended to use a medium-weight yarn for this project, as it provides a good balance between warmth and durability. You will also need knitting needles in the appropriate size for your chosen yarn.
Once you have gathered your supplies, you can begin following the pattern instructions. The pattern will guide you through casting on stitches, knitting the blanket in the desired stripe pattern, and finishing off the blanket with a border. The pattern also includes tips for weaving in ends and blocking the finished blanket to ensure a professional and polished look.
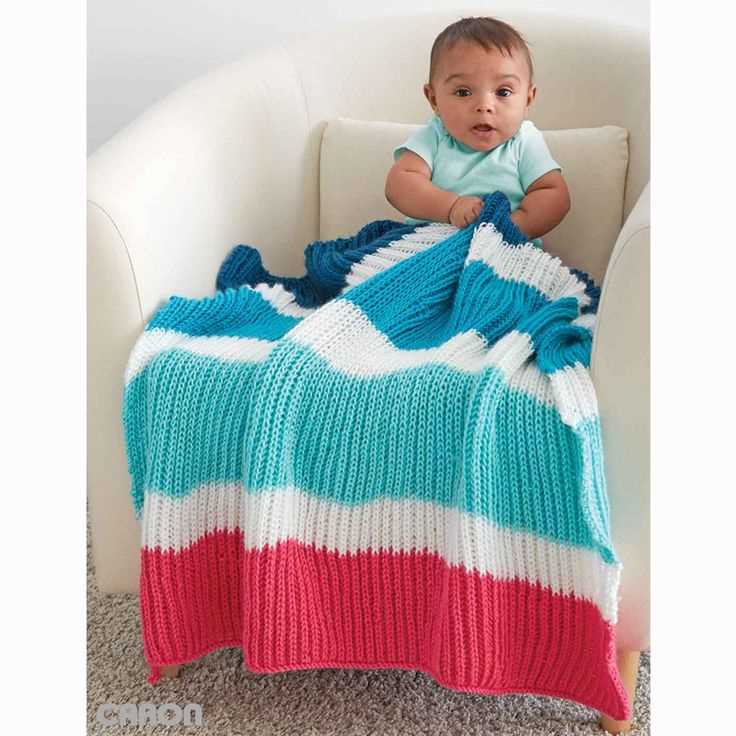
Once you have completed your Striped Blanket, you can proudly display it in your home or give it as a thoughtful handmade gift. The blanket will not only provide warmth and comfort, but also add a touch of style to any room. So, grab your knitting needles and get started on this fun and rewarding project!
Materials needed
Before you begin knitting your striped blanket, you will need to gather a few materials to ensure that you have everything you need to complete the project.
Yarn
One of the most important materials for knitting a striped blanket is yarn. You will need multiple colors of yarn, depending on the design and number of stripes you want to include. Choose soft and durable yarn that is suitable for blankets, such as acrylic or cotton.
Knitting Needles
You will also need a set of knitting needles to work on your blanket. The size of the needles will depend on the gauge you want to achieve and the type of yarn you are using. Make sure to choose needles that are comfortable to hold and suitable for the thickness of your yarn.
Scissors

Having a pair of scissors nearby is essential for any knitting project. You will need them to cut the yarn after each stripe or to fix any mistakes. Choose a pair of sharp scissors that are easy to handle but make sure to keep them away from children.
Tapestry Needle
A tapestry needle is necessary for weaving in ends and finishing off your blanket. With this needle, you can neatly hide any loose yarn tails from changing colors or joining new balls of yarn. Look for a needle with a large eye that can easily accommodate yarn.
Stitch Markers
If you are planning to make a more complex pattern or want to mark specific stitches, having stitch markers can be very helpful. They can help you keep track of your progress and ensure that your stitches are in the right place. You can use ready-made stitch markers or make your own with safety pins or small rings.
- Yarn
- Knitting Needles
- Scissors
- Tapestry Needle
- Stitch Markers
Choosing the right yarn
When it comes to knitting a striped blanket, choosing the right yarn is essential to achieve the desired outcome. The yarn you choose will not only determine the overall look and feel of the blanket, but it will also affect the ease of knitting and the durability of the finished product.
Fiber Content: The first aspect to consider when selecting yarn for your striped blanket is the fiber content. Different fibers have different properties, which will impact the warmth, softness, and drape of the blanket. Wool is a popular choice for blankets as it is warm and durable, while cotton is great for lightweight and breathable blankets. Acrylic yarn can be a more affordable option, but it may not have the same level of softness and warmth as natural fibers.
Weight:
Another important factor to consider is the weight of the yarn. The weight of the yarn will determine how thick or thin the blanket will be, as well as how long it will take to knit. For a cozy and warm blanket, you may want to choose a bulky or super bulky yarn. If you prefer a lighter weight blanket, a sport or worsted weight yarn would be a better choice.
Color:
The color of the yarn is also an important consideration, especially for a striped blanket. You’ll want to choose colors that complement each other and create a visually pleasing pattern. Consider the color palette you want to achieve and whether you prefer bold, contrasting stripes or more subtle, tonal variations. It can be helpful to create a color swatch or use a color inspiration tool to help you visualize how the colors will work together in the finished blanket.
Before purchasing your yarn, it’s a good idea to read reviews and yarn descriptions to ensure it is suitable for your project. Consider factors such as the recommended needle size, gauge, and care instructions. By taking the time to choose the right yarn, you’ll be setting yourself up for success in creating a beautiful and cozy striped blanket.
Selecting the perfect colors
When it comes to knitting a striped blanket, selecting the perfect colors can be an exciting and creative process. The colors you choose can greatly impact the overall look and feel of the blanket, so it’s important to consider your options carefully.
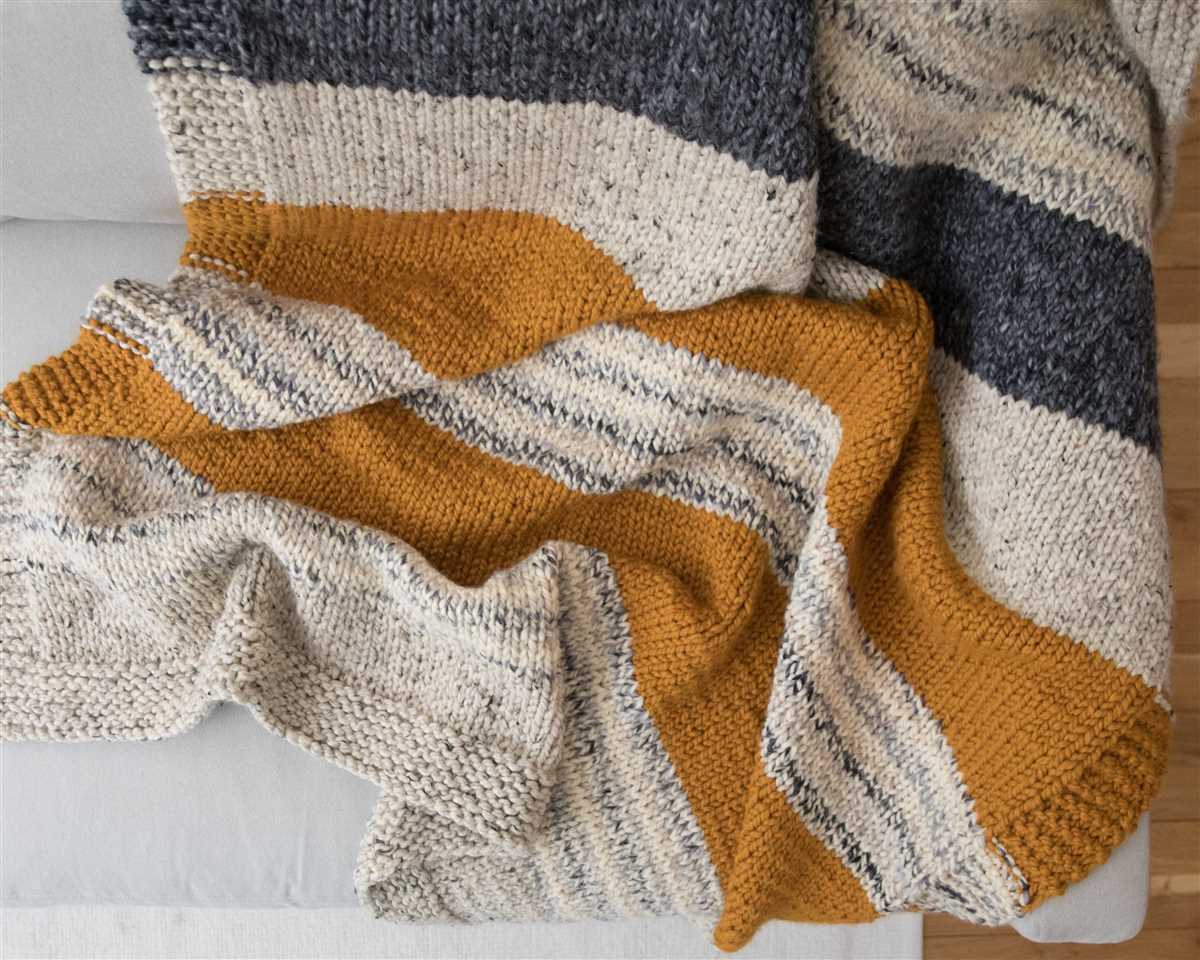
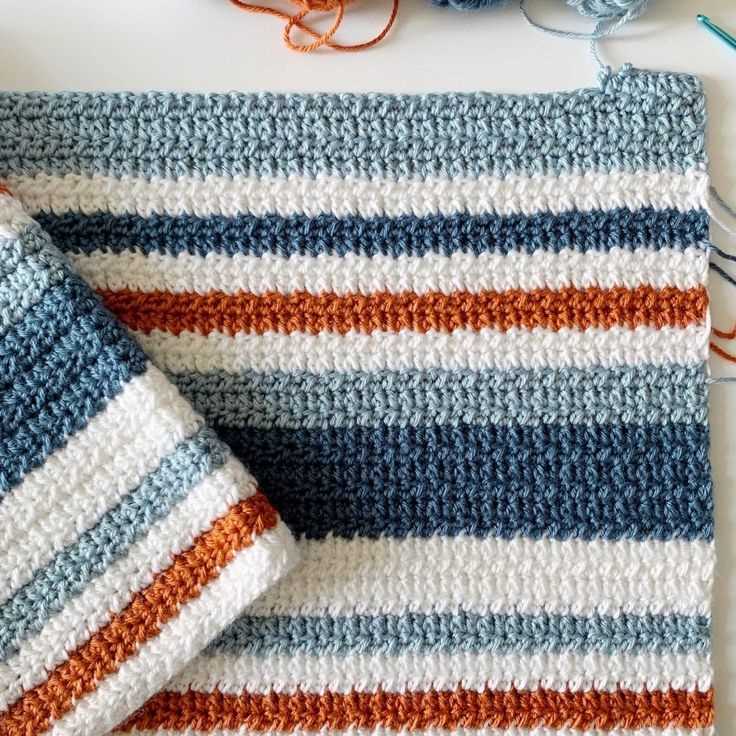
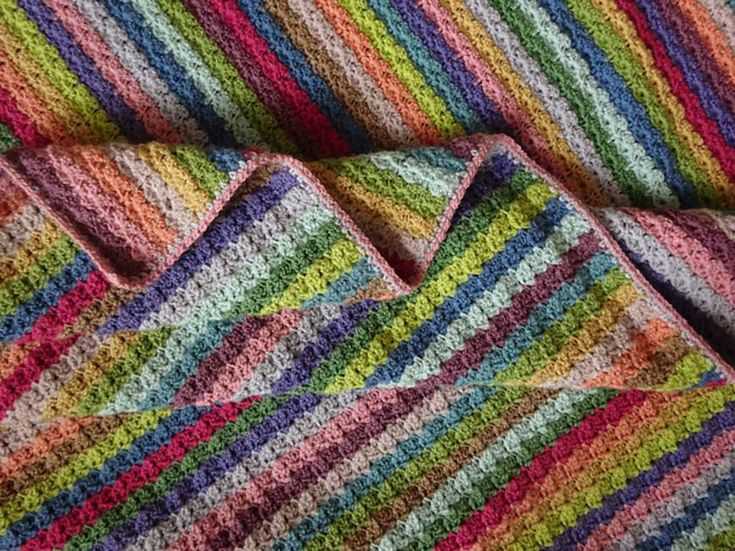
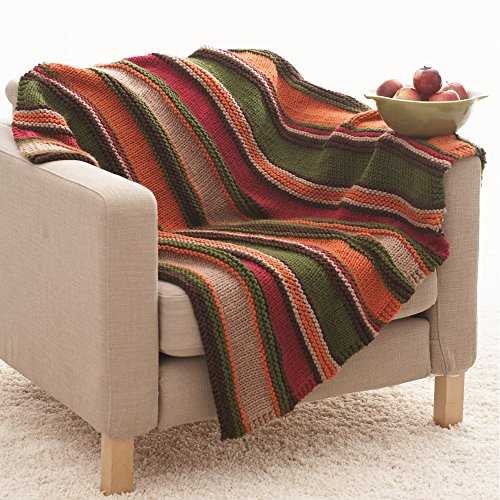
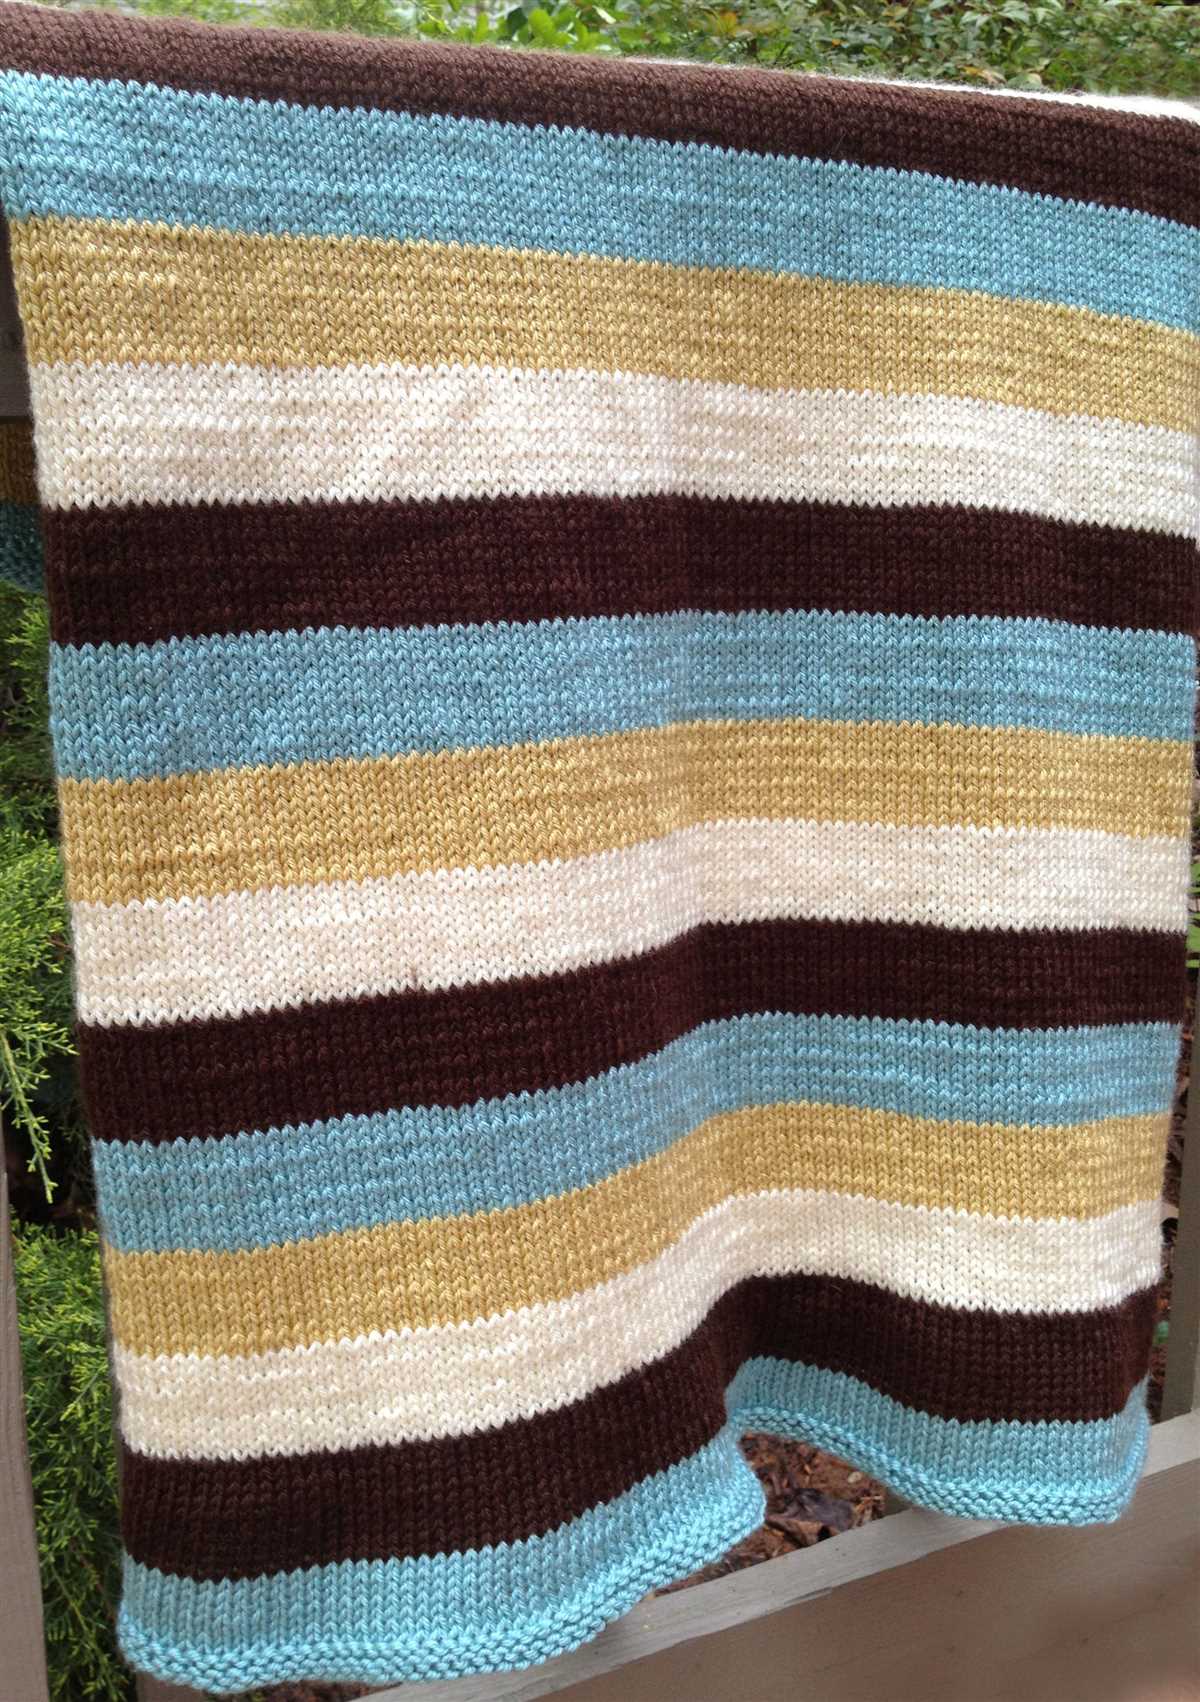
One approach to selecting colors is to choose a color scheme based on a specific theme or mood. For example, if you want to create a cozy and warm blanket, you might opt for earthy tones such as browns, greens, and oranges. On the other hand, if you’re looking for a more vibrant and playful blanket, you might consider using bold and bright colors like reds, blues, and yellows.
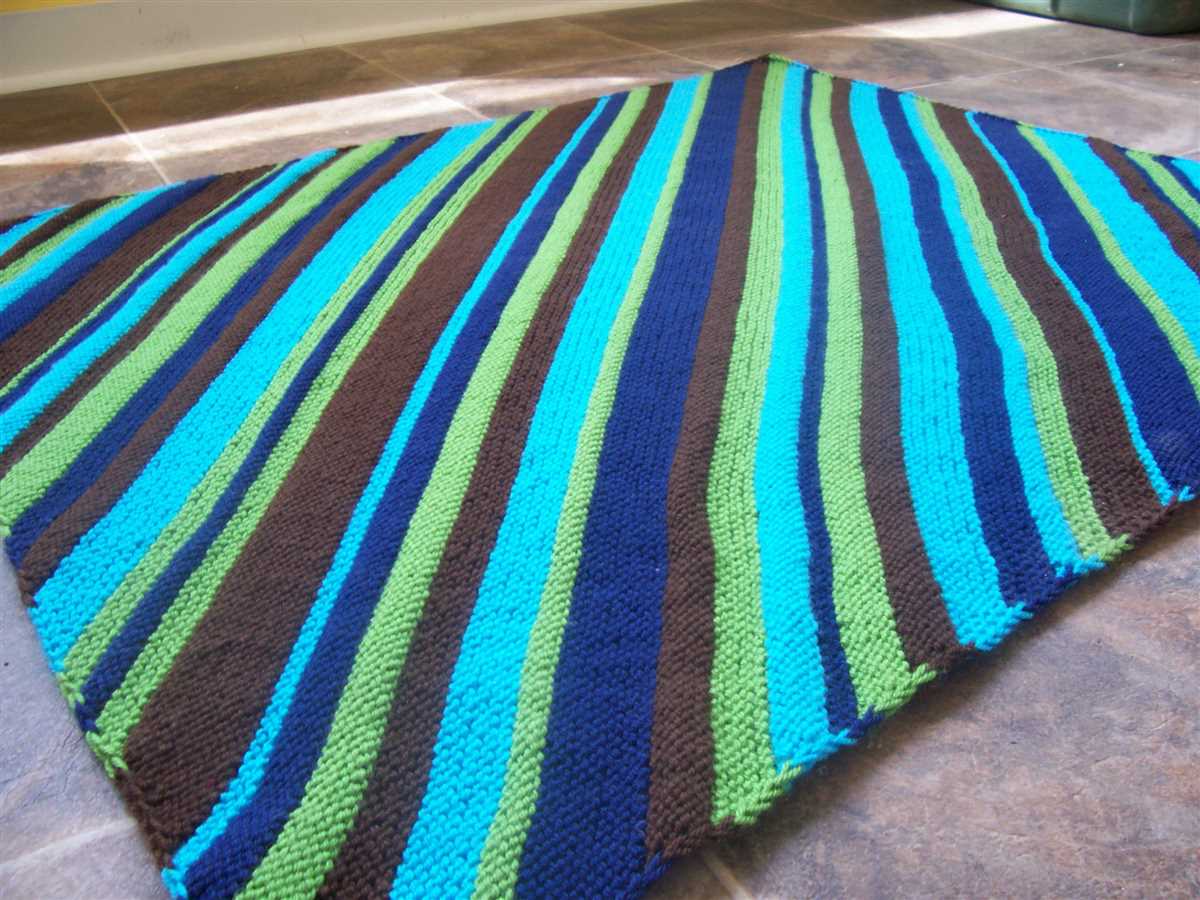
- Contrast: One key factor to keep in mind when selecting colors is contrast. It’s important to choose colors that have enough contrast with each other to create distinct stripes. For example, if you choose two colors that are too similar in shade or tone, the stripes may not stand out as well. Contrast can be achieved through using light and dark colors, as well as colors that are complementary or opposite on the color wheel.
- Pattern: Another factor to consider is the pattern or design you plan to use for your blanket. Certain patterns may require specific colors to create the desired effect. For example, if you’re planning to knit a chevron pattern, you might choose colors that will create a more pronounced zigzag effect. Alternatively, if you’re working with a simpler pattern, you may have more flexibility in your color choices.
- Personal Preference: Ultimately, the most important factor in selecting colors is your own personal preference. Choose colors that you love and that you feel reflect your own style and taste. When you’re knitting a blanket, it’s a big project that requires time and dedication, so it’s important to choose colors that you’ll enjoy working with and that will bring you joy every time you see the finished product.
Selecting the perfect colors for your striped blanket can be an enjoyable and creative process. Consider factors such as contrast, pattern, and personal preference when making your color choices. With the right colors, you can create a stunning and unique blanket that you’ll cherish for years to come.
Getting started with the striped blanket knitting pattern
Welcome to the world of knitting!
Knitting is a wonderful hobby that allows you to create beautiful and functional items with just a pair of needles and some yarn. One of the most popular knitting projects is a striped blanket, which can be a fun and rewarding project for both beginners and experienced knitters.
Choosing the right yarn and needles
Before you start knitting your striped blanket, it’s important to choose the right yarn and needles for your project. The yarn you choose will determine the overall look and feel of your blanket, so take some time to consider the color, weight, and texture that you want. For a striped design, you’ll need at least two different colors of yarn.
When it comes to needles, it’s best to use a size that is appropriate for the yarn you’ve chosen. This information can usually be found on the yarn label. If you’re not sure, a good rule of thumb is to use a needle size that is slightly larger than what is recommended for the yarn. This will help create a more relaxed and drapey fabric.
Understanding the pattern
Every knitting pattern is like a roadmap that guides you through the process of creating your project. Before you begin knitting, take a few moments to read through the entire pattern and make sure you understand the instructions.
In the case of a striped blanket knitting pattern, you’ll likely have instructions for casting on, knitting the main body of the blanket, switching colors, and binding off. The pattern may also include variations for different stripe widths or pattern repeats.
Casting on and getting started
Once you have your yarn, needles, and pattern ready, it’s time to cast on and begin knitting your striped blanket. Casting on is the process of creating the stitches on your needle, and it’s the first step in any knitting project.
Follow the pattern instructions for the cast-on method. There are several different methods you can use, such as the long-tail cast-on or the knitted cast-on. The pattern will usually specify which method to use.
After you’ve cast on, you can start knitting according to the pattern instructions. Take your time, be patient, and enjoy the process of creating something beautiful with your own two hands.
Casting on and knitting the first few rows
Before you can start knitting the striped blanket, you need to cast on your stitches. The number of stitches you cast on will depend on the desired width of your blanket and your gauge. To ensure the blanket is wide enough, it’s a good idea to make a gauge swatch and calculate the number of stitches needed per inch.
Once you have your stitches cast on, you can begin knitting the first few rows. The pattern for the striped blanket usually starts with a few rows of garter stitch, which is achieved by knitting every stitch on every row. This creates a textured pattern that adds dimension to the finished blanket.
After completing the garter stitch section, you can begin the stripes. To create the stripes, you will need to change colors at the beginning of each row. You can either cut the yarn at the end of each stripe and weave in the ends later, or carry the yarn up the side of the work, twisting it with the working yarn to prevent long floats.
As you work your way through the first few rows, make sure to keep a consistent tension and check your work frequently to ensure you’re on track. Following the pattern instructions for the stripe sequence will help you create a visually pleasing design.
Creating the Stripe Pattern
When it comes to creating a striped blanket using a knitting pattern, there are a few different methods you can follow. One popular option is to use multiple colors of yarn and alternate between them to create the stripes. This can be done by knitting a certain number of rows with one color, then switching to the next color and continuing in the same manner.
Another approach is to use self-striping yarn, which is yarn that is already dyed in a way that creates stripes as you knit. This can save you the trouble of switching between different colors and can create a more seamless and uniform look. Simply choose a self-striping yarn that you like and follow the pattern instructions to create your blanket.
If you prefer more control over the stripe pattern, you can also create your own design by using different stitch patterns or techniques to create the stripes. For example, you could use a garter stitch for one color and a stockinette stitch for another color, or you could add colorwork patterns like fair isle or intarsia to create more intricate designs. The possibilities are endless!
When following a knitting pattern for a striped blanket, it’s important to pay attention to the instructions and make sure you understand how the stripes are created. Some patterns may have specific instructions for changing colors or may include a color chart that you can follow. Take your time to read through the pattern and make sure you have all the necessary supplies and skills before starting your project.
Adding texture to the blanket
When knitting a striped blanket, adding texture can make it even more beautiful and interesting. Texture can be achieved by using various stitch patterns and techniques. Here are some ideas to add texture to your blanket:
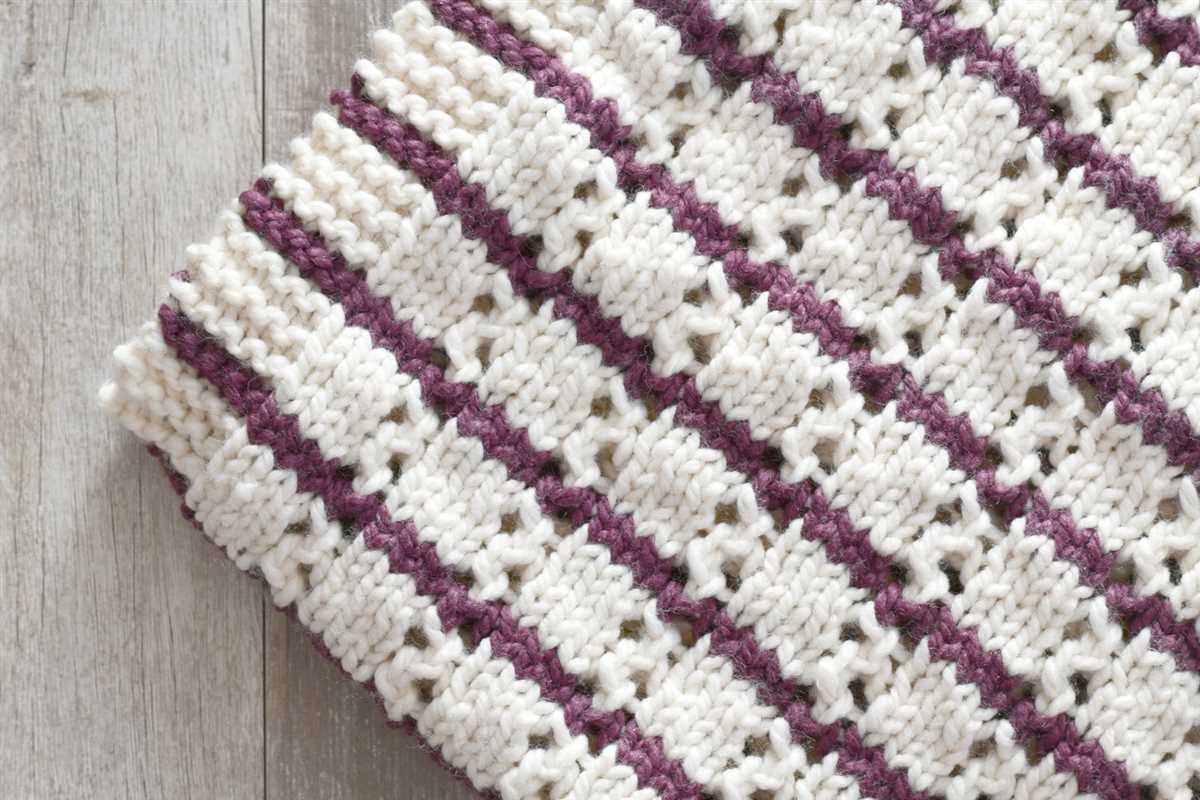
- Garter stitch: This is a simple and classic stitch pattern that creates a bumpy texture. Knitting every row in garter stitch will give your blanket a cozy and textured look.
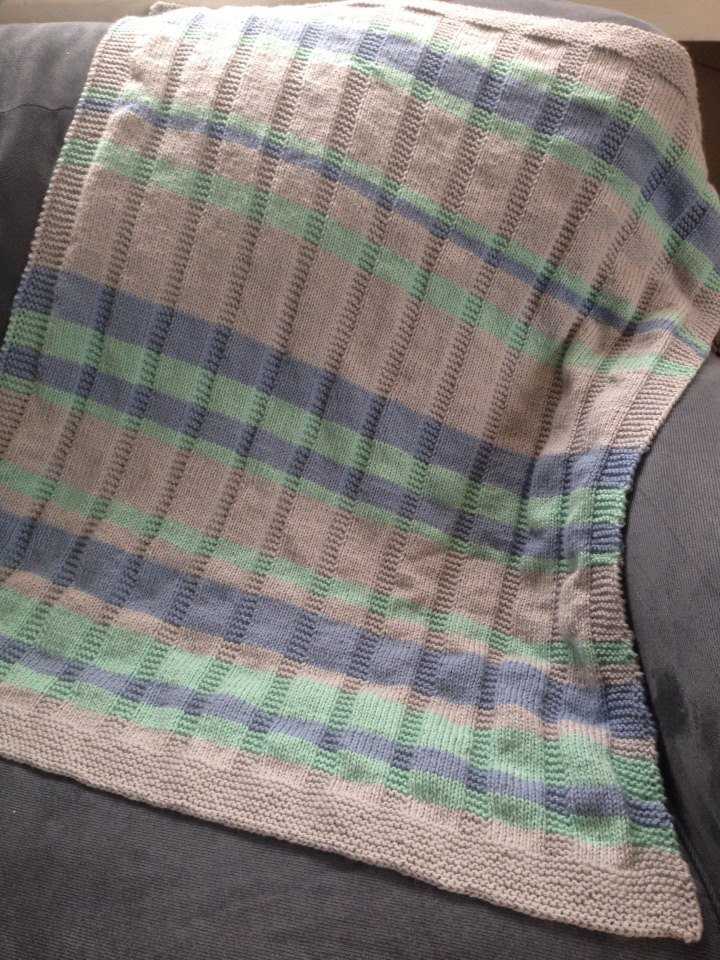
- Ribbing: Incorporating ribbing into your blanket can add a lot of texture. You can use a combination of knit and purl stitches to create ribbing, which will create vertical lines of texture.
- Cable knitting: Cables are a great way to add texture to your blanket. By crossing stitches over each other, you can create beautiful cable patterns that will make your blanket stand out.
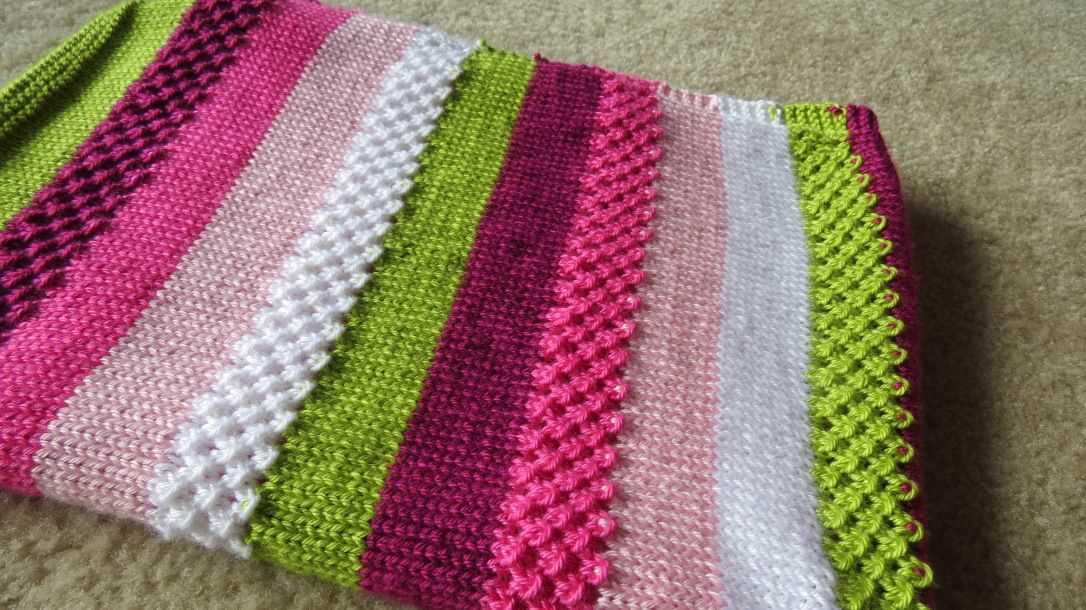
- Seed stitch: Seed stitch is another popular stitch pattern that adds texture. By alternating knit and purl stitches within rows and between rows, you can create a bumpy and textured surface for your blanket.
- Lace knitting: If you want to add a delicate and lacy texture to your blanket, lace knitting is the way to go. By creating openwork patterns using yarn overs and decreases, you can achieve a light and airy texture.
By incorporating these different stitch patterns, you can create a striped blanket that not only has vibrant colors but also an interesting and textured surface. Experiment with different combinations and find the stitch patterns that you love the most!
Finishing touches and binding off
Once you have completed the main body of your striped blanket knitting pattern, it’s time to add the finishing touches. This includes binding off your stitches to create a neat edge and securing any loose ends.
To bind off, work the first two stitches as normal, then slip the first stitch over the second stitch and off the needle. Continue knitting the next stitch and then pass the previous stitch over the new stitch and off the needle. Repeat this process until you have bound off all stitches except the last one. Cut the yarn, leaving a long tail, and pull it through the last stitch to secure it.
After binding off, you may have a few loose ends from changing colors or joining new balls of yarn. To secure these, use a tapestry needle to weave the ends into the fabric of the blanket. Thread the needle, then insert it under a few stitches on the wrong side of the blanket. Pull the yarn through, then weave it back in the opposite direction for a few stitches. Trim off any excess yarn, making sure to leave a small tail for added security.
Final tips for a polished finish
- When weaving in ends, make sure to do so on the wrong side of the blanket to keep the front side clean and seamless.
- If you’re using different balls of yarn for your stripes, try to switch colors at the beginning or end of a row to minimize the chance of a noticeable color jog.
- If desired, you can add a border or edging to your finished blanket to give it a more polished look. This could be a simple garter stitch border or a more intricate lace pattern.
- Consider blocking your finished blanket to even out any tension and to enhance the stitch definition. This can be done by soaking the blanket in lukewarm water, gently squeezing out excess moisture, and then stretching and pinning it into shape on a blocking board or towel.
With these finishing touches, your striped blanket knitting pattern will be complete and ready to snuggle up with!
Blocking the finished blanket
Blocking is an essential step in the process of finishing your knitted blanket. It helps to shape the fabric, even out the stitches, and give the blanket a professional and polished look. Although it may seem like an extra step, blocking can make a big difference in the final appearance of your project.
Before starting the blocking process, make sure to read the care instructions for the yarn you used to make your blanket. Some yarns may require a specific blocking method or have limitations on the amount of water they can absorb. It’s important to follow these instructions to prevent any damage to your blanket.
To begin blocking, you will need a flat surface that is large enough to accommodate your blanket. A blocking board or a clean towel laid out on a table or the floor can work well. Start by gently soaking your blanket in lukewarm water, making sure to fully saturate the fabric.
Once your blanket is wet, carefully remove any excess water by gently squeezing or rolling it in a clean towel. Avoid twisting or wringing the fabric, as this can distort the stitches. Lay the damp blanket on your blocking surface, gently reshaping it to the desired measurements.
Using rustproof pins, secure the edges of the blanket to the blocking surface, making sure to evenly distribute the tension. This will help to stretch the fabric and create a smooth and flat surface. If your blanket has a striped pattern, pay extra attention to aligning the stripes evenly during the blocking process.
Allow the blanket to dry completely before removing the pins. This may take several hours or even overnight, depending on the thickness of the fabric and the humidity of the room. Once dry, your blocked blanket will have a beautiful drape and the stitches will be more defined.
In summary, blocking your finished knit blanket is a crucial step that can greatly enhance the overall appearance of your project. By following the appropriate care instructions and taking the time to properly shape and dry your blanket, you will be rewarded with a professional and polished finished piece.
Final Thoughts
Knitting a striped blanket can be a fun and rewarding project. It allows you to showcase your creativity by choosing different color combinations and patterns. Whether you are a beginner or an experienced knitter, this pattern offers a simple and enjoyable way to create a beautiful and cozy blanket.
By following the steps outlined in this pattern, you can create a striped blanket that will be a wonderful addition to your home decor or a thoughtful gift for a loved one. The versatility of this design also means that you can customize it to match any room or personal style.
Care Instructions
Proper care and maintenance can help your striped blanket last for years to come. Here are some care instructions to ensure its longevity:
- Machine wash on a gentle cycle with cold water. Use a mild detergent.
- Avoid using bleach or harsh chemicals, as they can damage the fibers.
- When drying, lay the blanket flat or hang it to air dry. Avoid using a dryer, as it can cause shrinkage or distortion.
- If ironing is necessary, use a low heat setting and place a cloth between the iron and the blanket to prevent direct contact.
- Regularly check for any loose threads or snags and fix them promptly to prevent further damage.
Following these care instructions will help preserve the beauty and quality of your striped blanket, allowing you to enjoy its warmth and comfort for years to come.