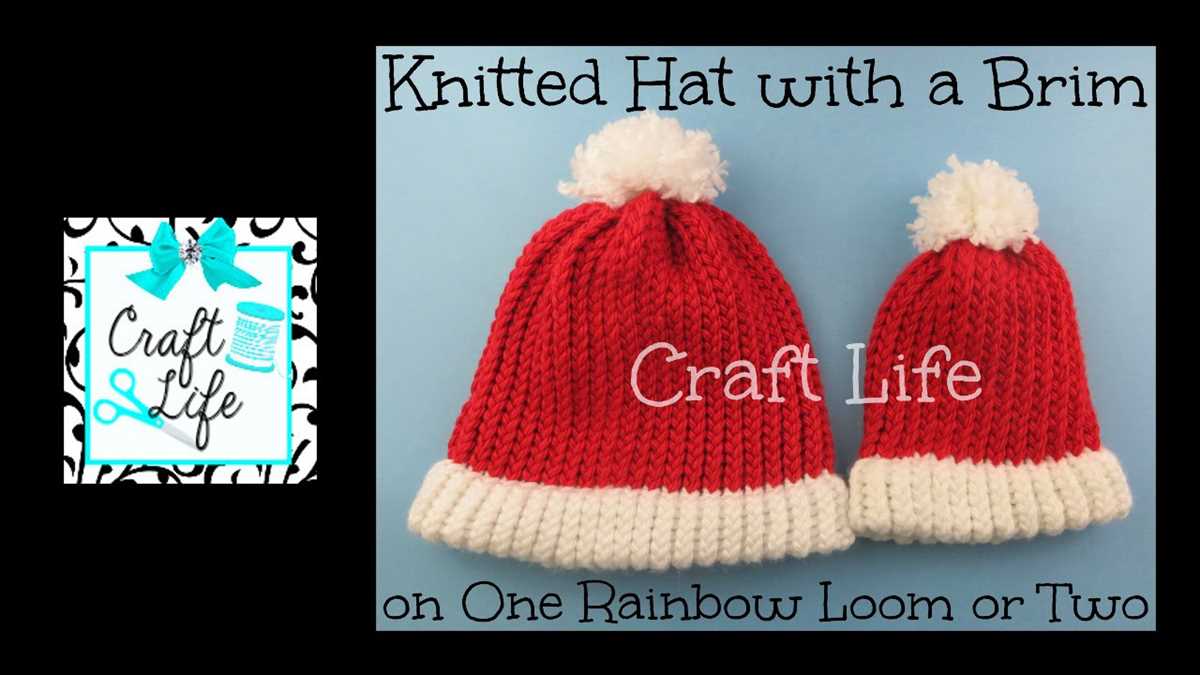
Looking for a cozy and stylish hat to keep you warm during the chilly winter months? Look no further than this ribbed brim knit hat pattern! With its classic ribbed design and snug fit, this hat is sure to become a favorite in your winter wardrobe.
Knitting a hat with a ribbed brim adds an extra layer of warmth and comfort, making it perfect for those extra cold days. The ribbed brim also adds a touch of texture and style to the hat, giving it a unique and fashionable look.
This pattern is suitable for knitters of all skill levels, from beginners to advanced. It uses basic knitting stitches, such as knit and purl, to create the ribbed brim. The main body of the hat is worked in a simple stockinette stitch, making it an easy and relaxing project to knit.
Whether you’re knitting this hat for yourself or as a gift for a loved one, you can customize it with your favorite colors and yarn types. Try different color combinations and yarn weights to create a hat that’s truly unique to you.
Ribbed Brim Knit Hat Pattern
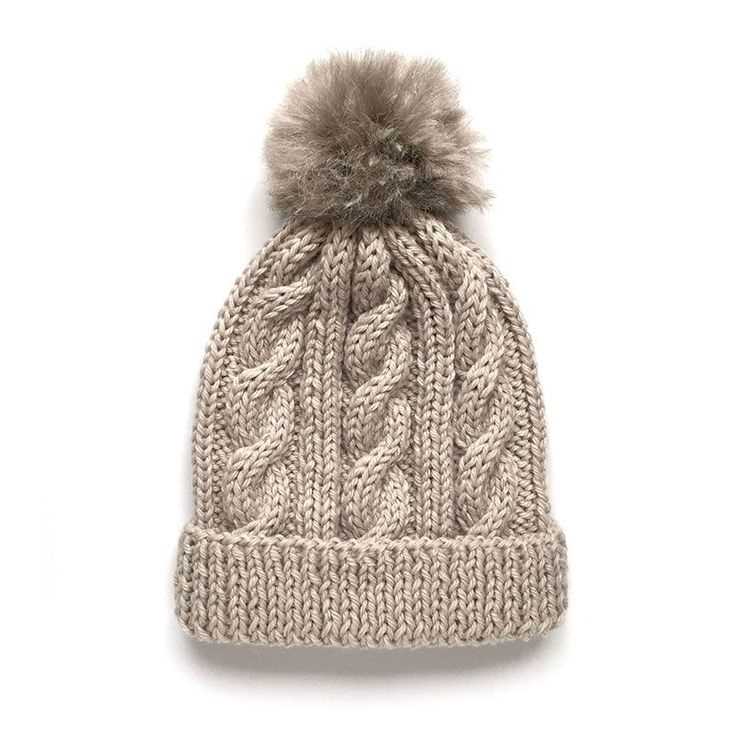
If you’re looking for a stylish and practical hat to keep you warm during the colder months, a ribbed brim knit hat is the perfect choice. This pattern will guide you through the steps to create a comfortable and snug-fitting hat that is both fashionable and functional.
To start, you will need to gather the necessary materials. You’ll need a set of knitting needles appropriate for the yarn you choose, as well as a skein of yarn in the color of your choice. It’s important to choose a yarn that is soft and warm, such as a wool or acrylic blend, to ensure maximum comfort.
Once you have your materials, you can begin casting on. The ribbed brim is created by alternating between knit and purl stitches. This creates a stretchy and elastic edge that will fit snugly around your head. The pattern will specify the number of stitches to cast on, depending on the size of hat you want to create.
After casting on, you will continue working in the ribbing pattern for the desired length of the brim. This can vary depending on personal preference, but a typical length is around 2-3 inches. Once the brim is complete, you will then transition to the main body of the hat, which can be worked in stockinette stitch or any other pattern of your choosing.
As you work through the main body, you can customize the hat to your liking by adding stripes, colorwork, or other decorative touches. Once the hat reaches the desired length, you can then begin decreasing stitches to shape the crown. The pattern will guide you through the specific decreases to create a neat and seamless finish.
Finally, when you have completed the crown shaping, you will bind off the remaining stitches and weave in any loose ends. You can then block the hat to shape it and give it a polished appearance. The finished hat can be worn with pride or gifted to a loved one as a handmade and thoughtful present.
Overview
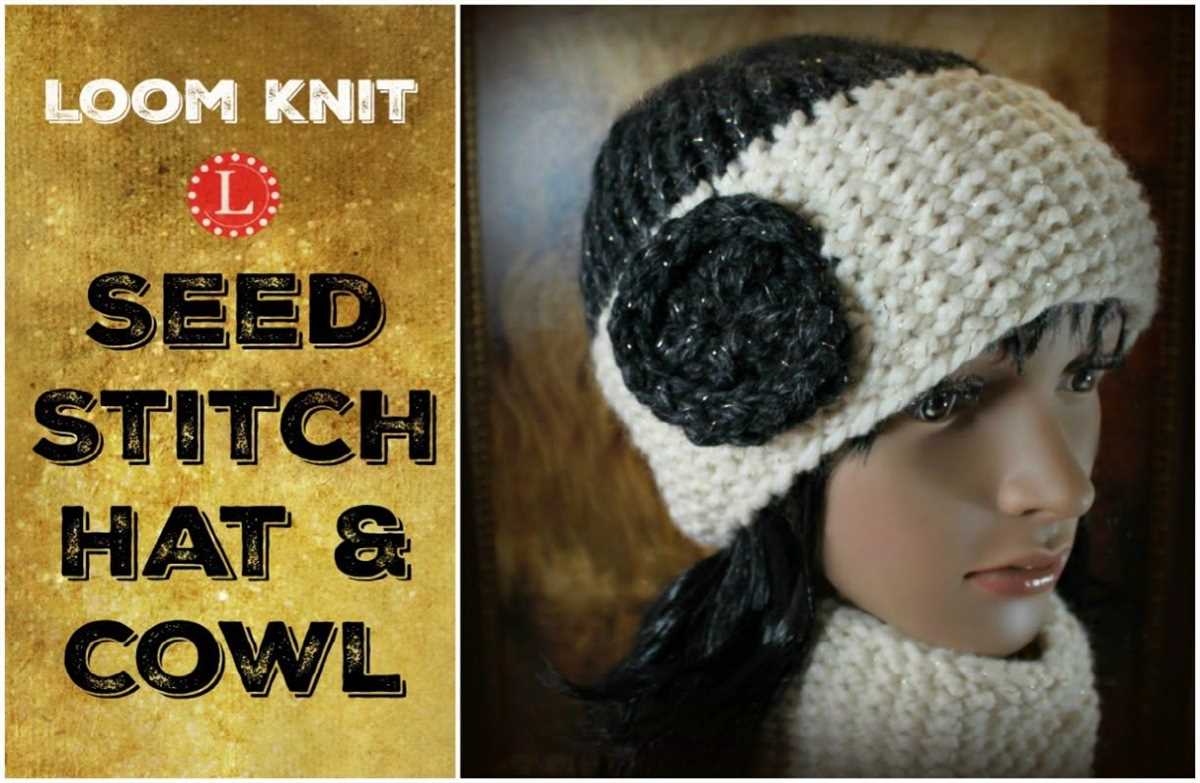
The ribbed brim knit hat pattern is a popular and versatile design that is perfect for both beginners and experienced knitters. The hat features a ribbed brim, which adds stretch and comfort, and can be customized to fit any head size or style preference. This pattern is ideal for making cozy and stylish hats for yourself or as gifts for friends and family.
To create the ribbed brim knit hat, you will need basic knitting skills and knowledge of common knitting techniques, such as casting on, knitting, purling, and decreasing stitches. The pattern typically uses medium-weight yarn and requires knitting needles of an appropriate size to achieve the desired gauge.
Key Features and Variations
- Ribbed Brim: The ribbed brim is created by alternating knit and purl stitches, resulting in a stretchy and comfortable band that hugs the head.
- Customizable Size: The pattern provides instructions for customizing the hat size to fit any head circumference. This allows you to create hats for adults, children, and even babies.
- Various Stitch Patterns: While the ribbed brim is a common feature, you can experiment with different stitch patterns for the main body of the hat, such as stockinette, seed stitch, or cable patterns, to create unique and interesting designs.
- Color and Yarn Choices: The pattern can be adapted to suit your color and yarn preferences. You can choose different hues to match your outfits or opt for variegated yarns to add visual interest to the hat.
Materials Needed
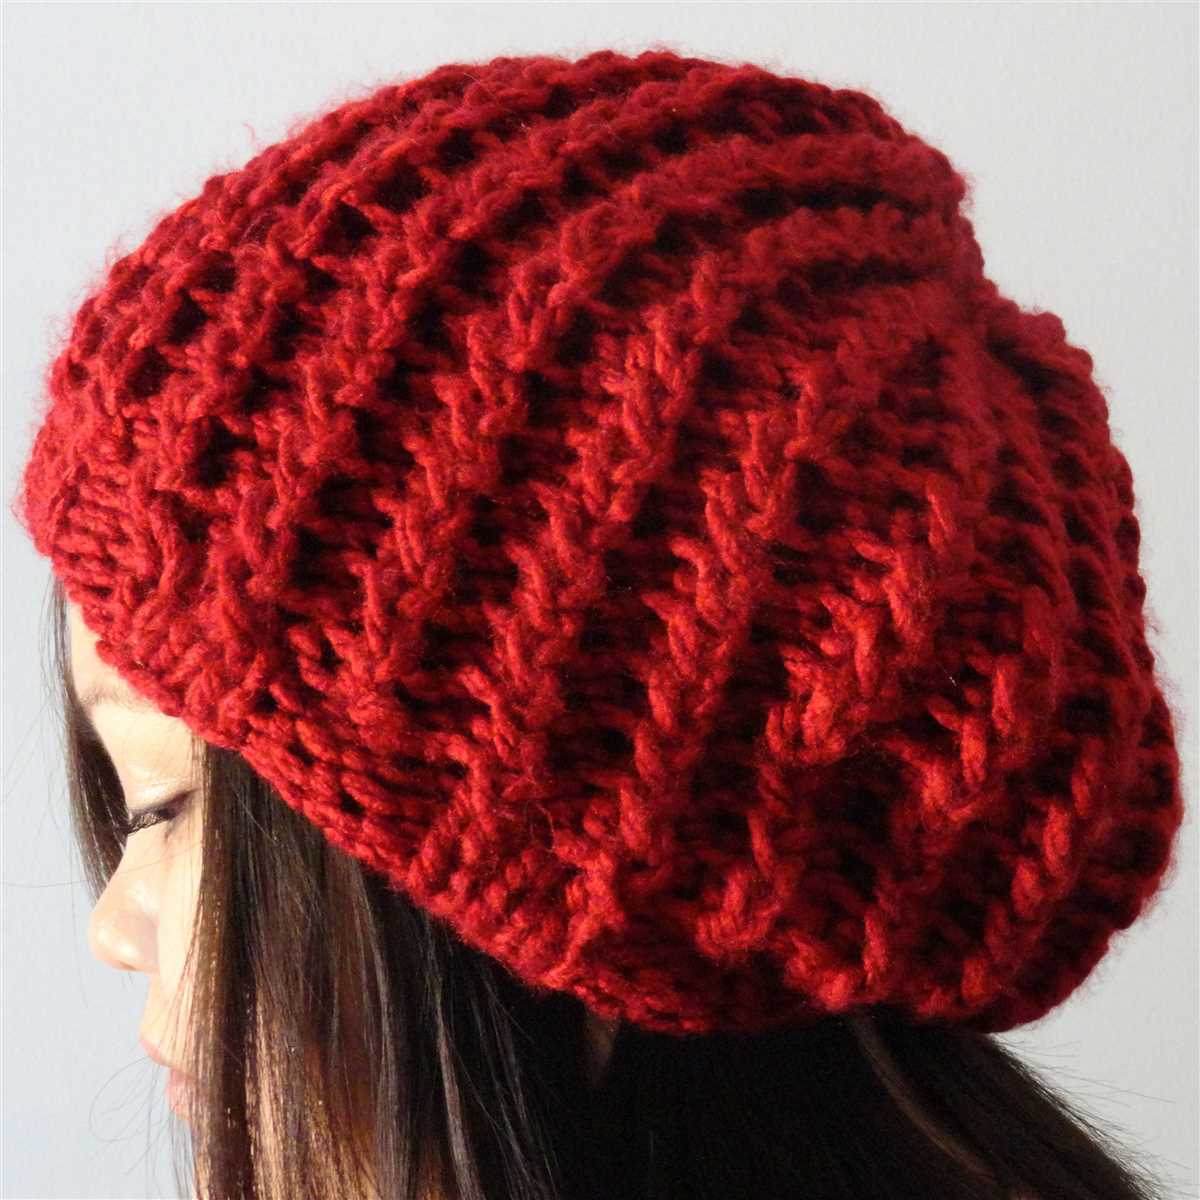
Before we get started, make sure you have all the necessary materials on hand to complete this ribbed brim knit hat pattern. Here’s what you’ll need:
- Yarn: Choose a chunky weight yarn in your preferred color. Approximately 200-250 yards are required for an adult-sized hat.
- Knitting Needles: You’ll need a set of US size 10.5 (6.5 mm) circular needles with a 16-inch cable, as well as a set of US size 10.5 (6.5 mm) double-pointed needles.
- Stitch Markers: These are essential for marking the beginning and end of each round.
- Tapestry Needle: You’ll need a yarn needle for weaving in ends and seaming.
- Scissors: A pair of sharp scissors will come in handy for cutting yarn.
- Measuring Tape: It’s important to have a measuring tape to check gauge and determine the correct size of the hat.
Once you have gathered all these materials, you’re ready to start knitting your ribbed brim hat. Make sure to follow the pattern instructions carefully to achieve the desired result. Happy knitting!
Getting Started
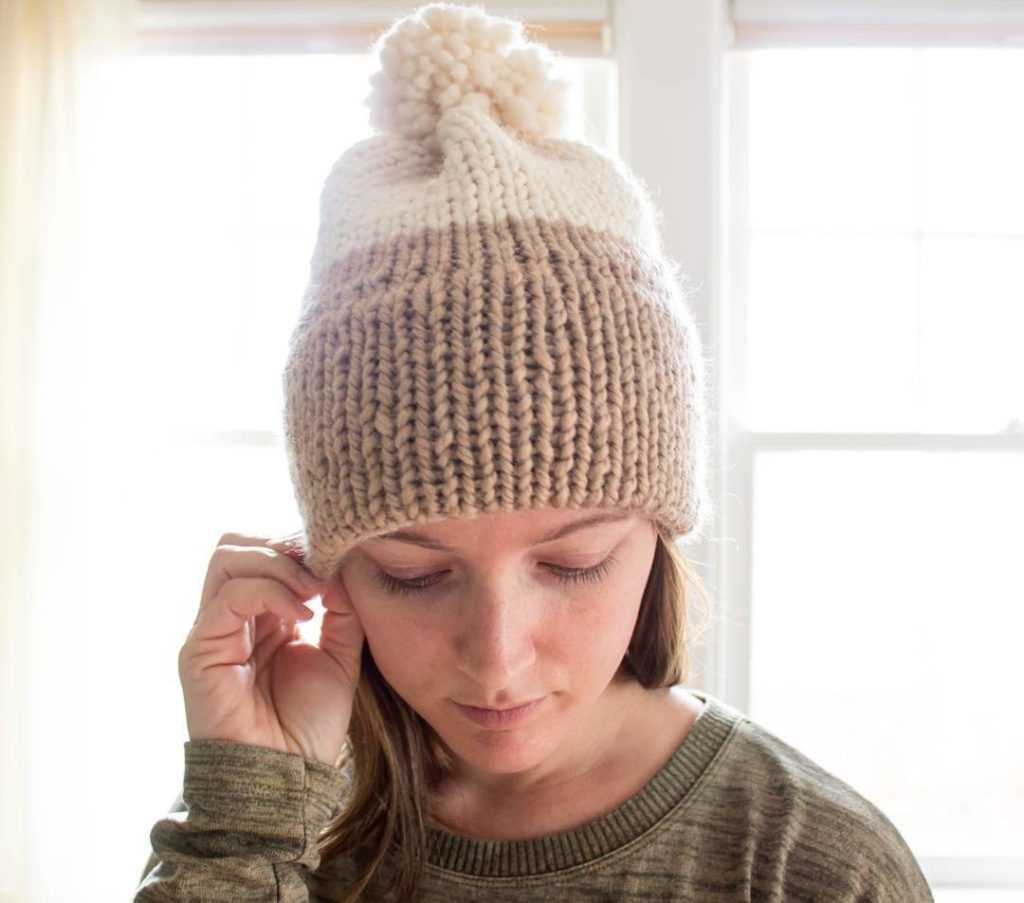
Welcome to the world of knitting! Whether you’re a beginner or an experienced knitter, this ribbed brim knit hat pattern is a great project to get started with. In this tutorial, we will guide you through the process of creating a cozy and stylish hat that will keep you warm during the colder months.
Materials: Before we begin, let’s gather all the materials you’ll need for this project. You will need:
- Worsted weight yarn in your preferred color
- Size 8 knitting needles
- A set of double-pointed needles or circular needles (optional)
- A yarn needle
- A stitch marker
Pattern: The pattern we will be using is a ribbed brim knit hat pattern, which means the hat will have a stretchy and comfortable ribbed brim. The main body of the hat will be knit in stockinette stitch, giving it a smooth and polished look. The pattern is suitable for both men and women, and can be customized to fit any head size.
Ribbed Brim Pattern
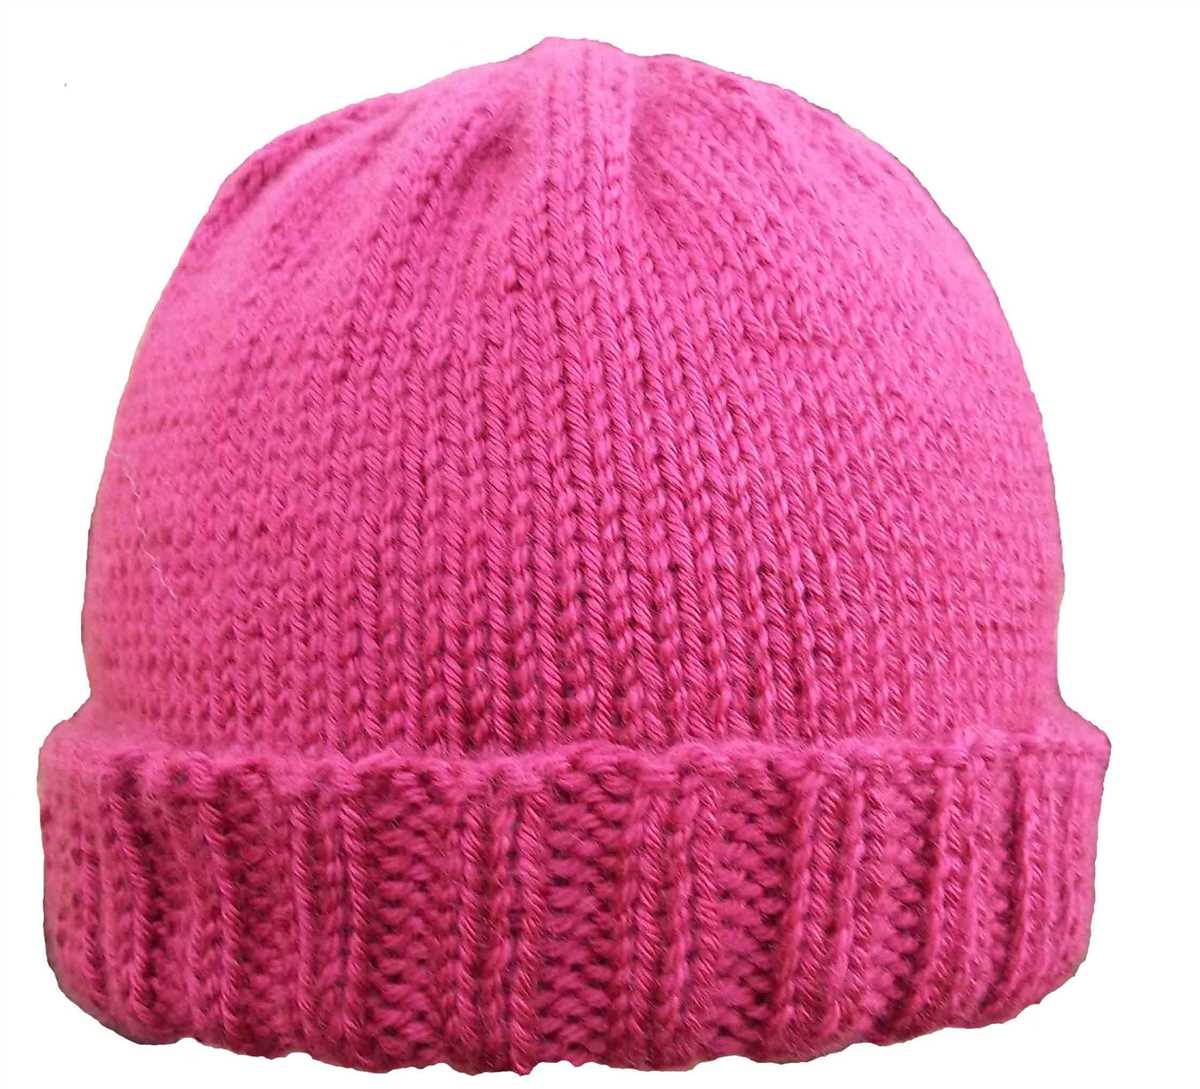
A ribbed brim pattern is a popular choice for knit hats because it adds stretch and helps to keep the hat snugly in place on the head. The ribbed brim is typically knit in a rib stitch, which alternates knit stitches and purl stitches to create a stretchy and textured fabric. This pattern is great for both beginner and experienced knitters, as it is easy to memorize and can be customized to fit any head size or style preference.
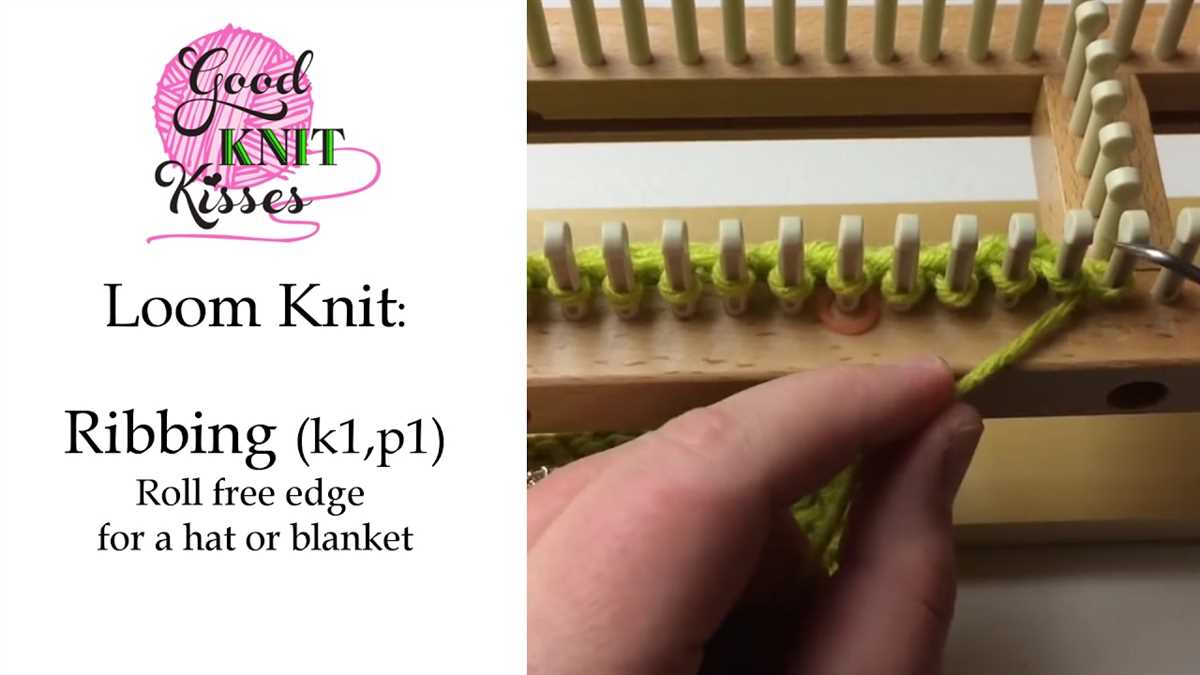
To create a ribbed brim, you will need to cast on an even number of stitches, usually around 80-100 stitches for an adult-sized hat. You will then work in a rib stitch pattern for the desired length of the brim. A common rib stitch pattern is *K1, P1* which means you knit 1 stitch, then purl 1 stitch, and repeat this sequence across the row. This creates a ribbed fabric with alternating knit and purl stitches.
Step-by-Step Instructions:
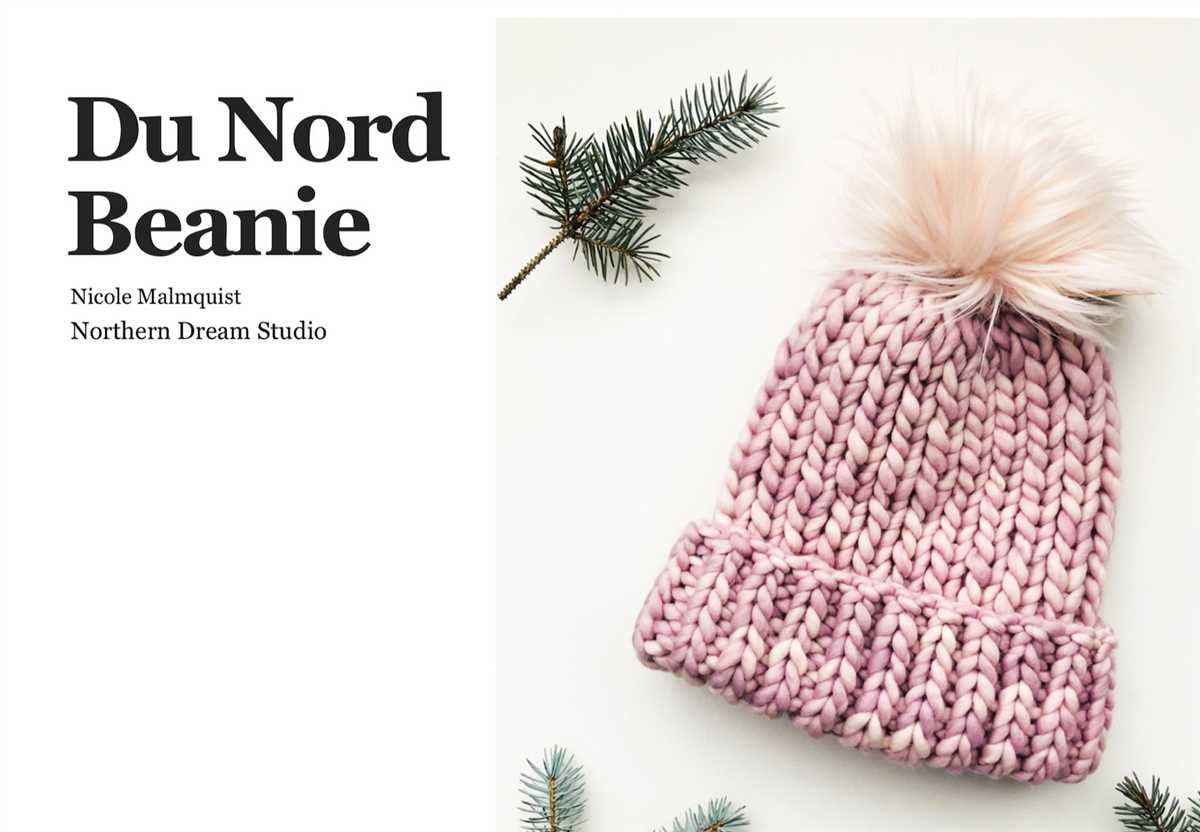
- Cast on an even number of stitches, such as 80 stitches.
- Row 1: *K1, P1* repeat across the entire row.
- Row 2: Repeat Row 1.
- Continue repeating Row 1 and Row 2 until the brim reaches the desired length, typically around 1-2 inches.
- After completing the ribbed brim, you can continue knitting the body of the hat in a different stitch pattern or simply continue in the rib stitch for the entire hat.
- Once the hat is complete, you can bind off the stitches and weave in any loose ends.
With this ribbed brim pattern, you can create a cozy and stylish knit hat that is perfect for keeping warm during the colder months. Whether you are knitting for yourself or as a gift, the ribbed brim adds a professional touch to your finished hat. Experiment with different yarn colors and textures to create unique and personalized hats that are both fashionable and functional.
Knitting the Body of the Hat
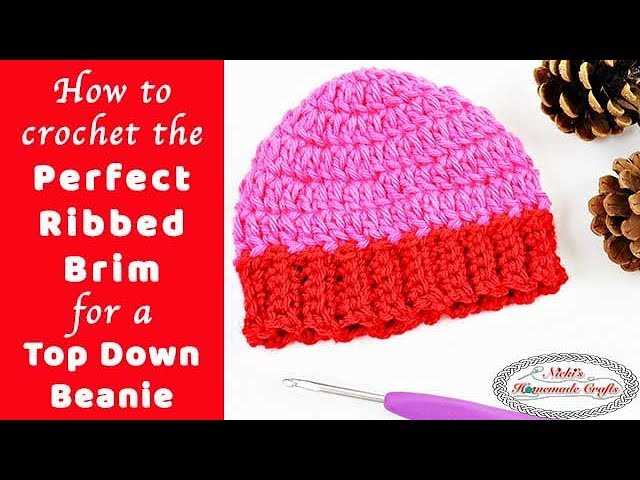
After completing the ribbed brim of your knit hat, it’s time to move on to knitting the body. This is where the hat really starts to take shape and you can experiment with different stitch patterns and colors.
Step 1: First, decide on the stitch pattern you want to use for the body of the hat. You can continue with the same ribbing pattern as the brim or switch to a different stitch pattern like stockinette or a cable pattern. This is your chance to get creative and make the hat uniquely yours.
Step 2: Once you have chosen your stitch pattern, continue knitting in the round using your preferred method (double-pointed needles, circular needles, or magic loop). If you switched to a different stitch pattern, make sure to follow the instructions or chart for that specific pattern.
It’s important to keep track of your stitch count and rows as you knit the body of the hat to ensure it is the correct size. You can use stitch markers to mark the beginning of each round or repeat, making it easier to keep track of your progress.
Step 3: Continue knitting the body of the hat until it reaches your desired length. For a traditional beanie-style hat, this is typically around 7-8 inches. However, you can make it shorter or longer depending on your preferences.
TIP: If you want to add colorwork or stripes to your hat, now is the perfect time to do so. You can easily incorporate different colors into your stitch pattern or switch between colors every few rounds for a fun and unique look.
Step 4: Once you have reached the desired length, it’s time to start decreasing for the crown of the hat. This is where the hat tapers off and creates a snug fit. Follow the instructions or chart for the decreasing pattern and continue knitting until you have only a few stitches left.
TIP: If you’re new to decreasing, don’t worry! There are many resources available online that can guide you through the process step by step.
Congratulations! You have successfully knitted the body of your hat. Now it’s time to finish off the crown and weave in any loose ends before enjoying your cozy new accessory.
Decreasing for Crown Shaping
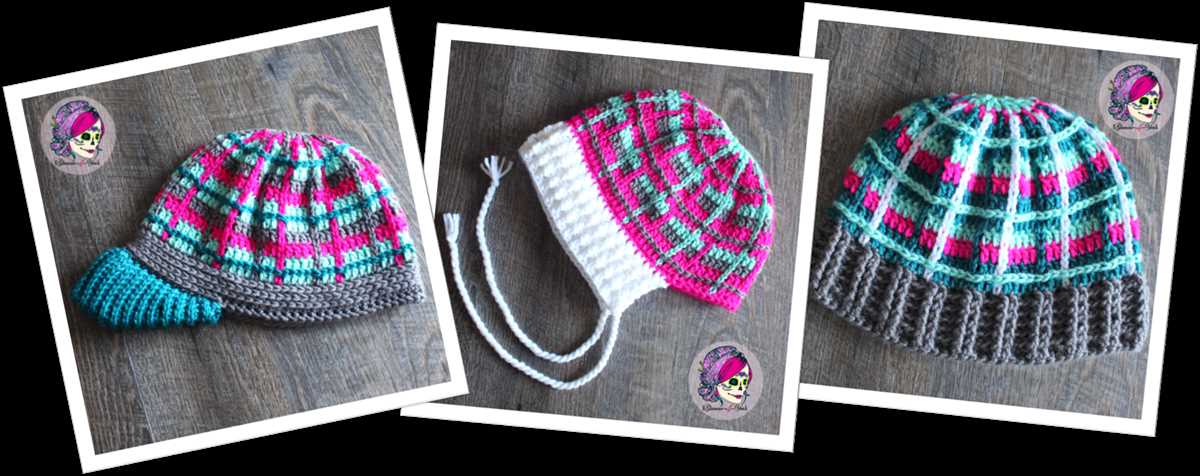
Once you have completed the ribbed brim of your knit hat pattern, it’s time to start decreasing for crown shaping. This is the section where you will start to reduce the number of stitches in each round to create a tapered shape at the top of the hat.
To begin decreasing, follow the pattern instructions for the specific stitch pattern you are using. Typically, decreasing is done by knitting or purling two stitches together in specific places throughout the round. This can be done by knitting or purling the next two stitches together, or by slipping a stitch, knitting or purling the next stitch, and then passing the slipped stitch over.
Continue to decrease in this manner, following the pattern instructions, until the desired number of stitches remains. This will vary based on the size of your hat and the desired fit. Remember to keep track of your stitch count and adjust your decreases accordingly to maintain the pattern.
Once you have finished decreasing, you will have a small opening at the top of the hat. To close this opening, cut your yarn, leaving a long tail. Thread the tail through a yarn needle and weave it through the remaining stitches, pulling them tight to close the top of the hat. Secure the yarn ends and weave them in to the inside of the hat to finish.
With the crown shaping complete, your knit hat is ready to wear or gift to someone special. The decrease section adds a unique touch to the overall design and creates a comfortable fit. Enjoy the process of creating a beautifully crafted hat that will keep you warm and stylish in colder weather.
Finishing Touches
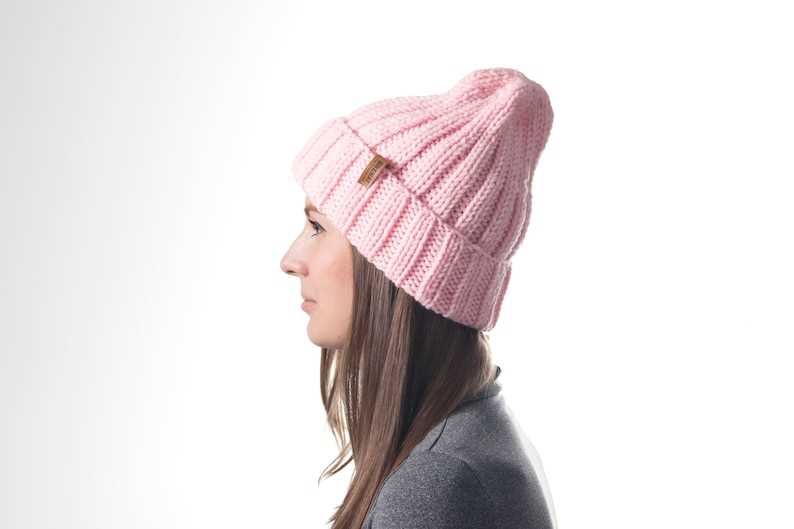
Once you have completed the ribbed brim knit hat pattern, it’s time to add the finishing touches to make the hat stand out and look polished. These small details can make a big difference in the overall appearance of the hat.
1. Decorative Button or Pom-pom
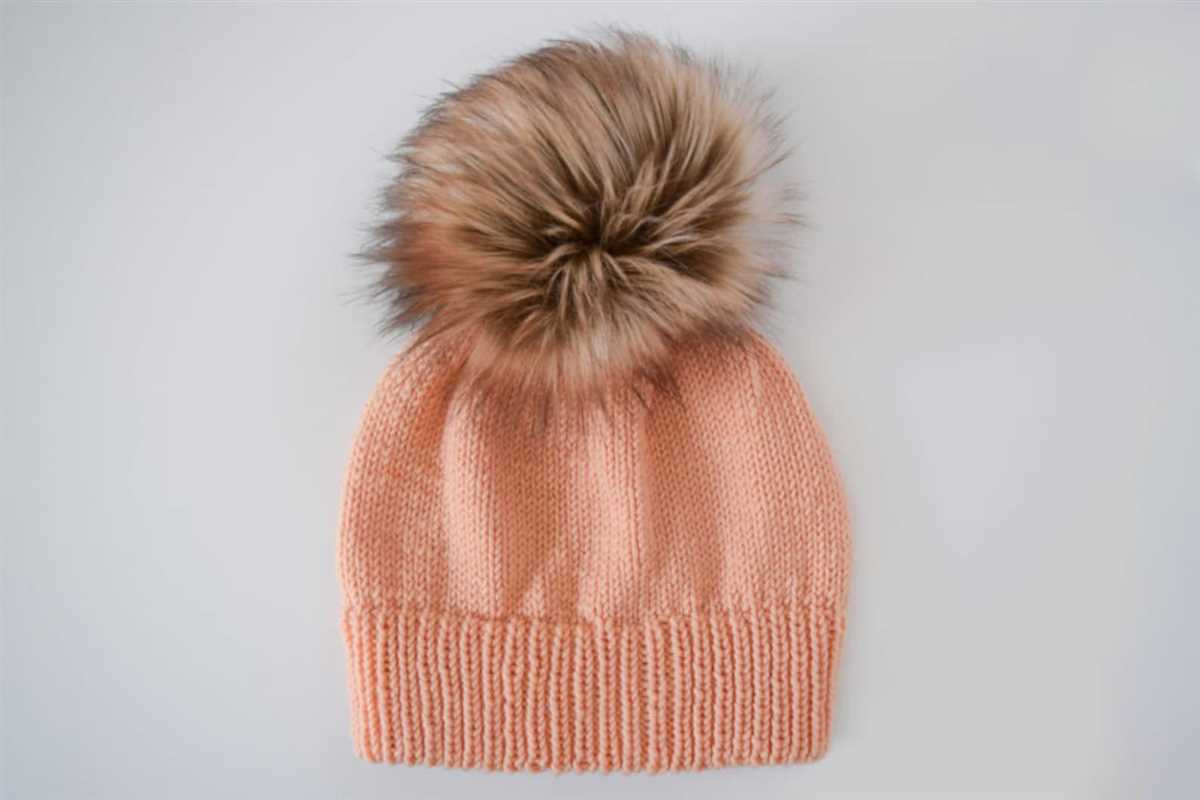
One way to add a touch of flair to your hat is by attaching a decorative button or a pom-pom to the crown. This can be done by sewing it securely onto the hat. You can choose a button or pom-pom that matches the color or style of your hat, or go for a contrasting color to create a bold statement.
2. Embroidery or Appliqué
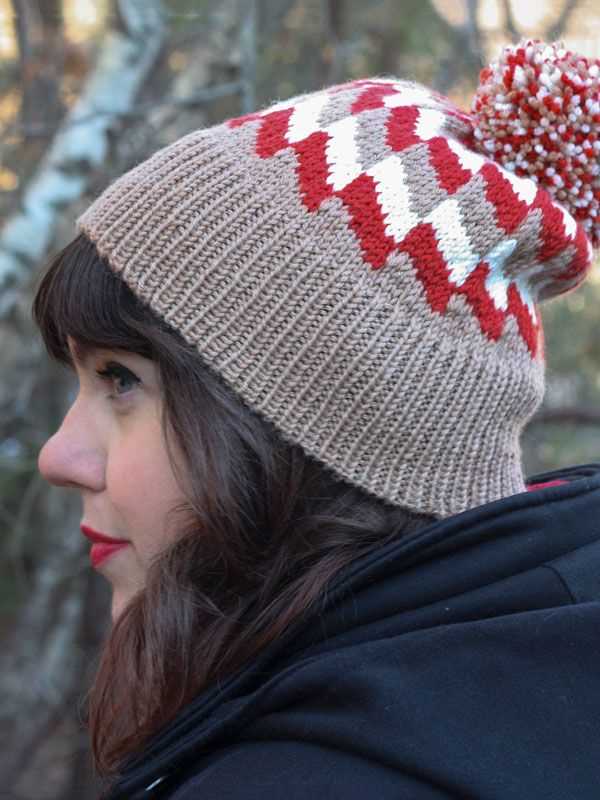
If you want to personalize your hat or add a unique design element, consider adding embroidery or an appliqué. You can use a needle and thread or embroidery floss to stitch a design onto the hat. Alternatively, you can sew on an appliqué, such as a small fabric patch or a knitted motif, to add interest and texture.
3. Hat Band
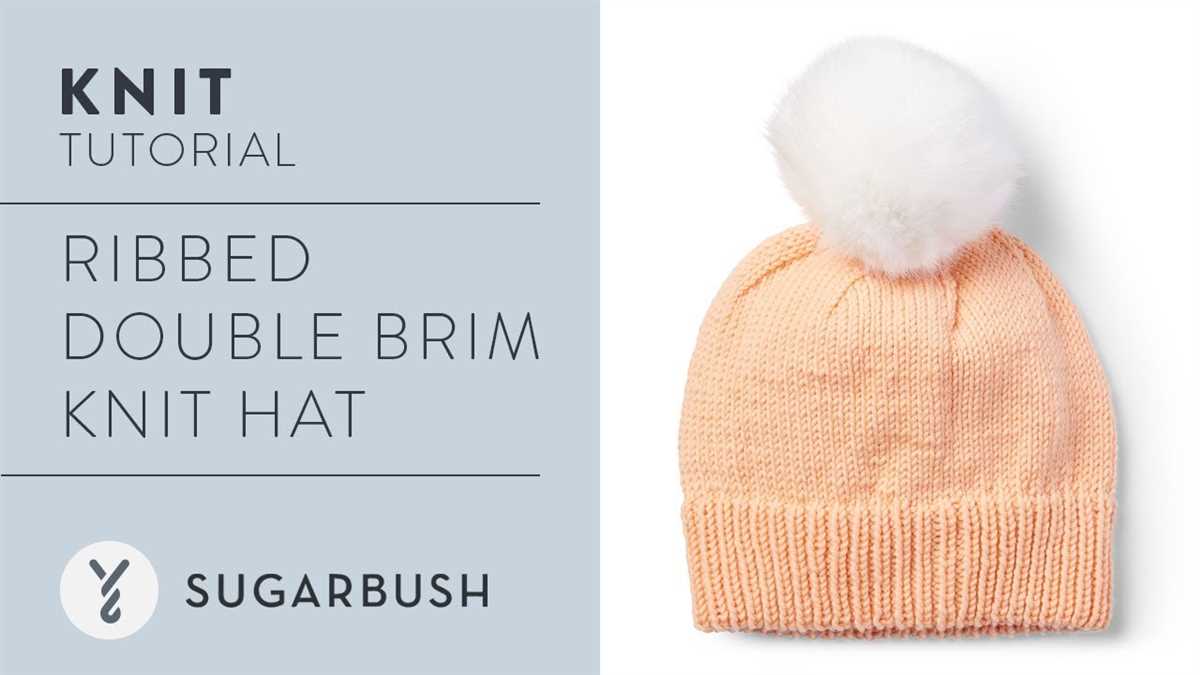
A hat band is another way to add a decorative touch to your ribbed brim knit hat. You can use a contrasting color yarn to knit a narrow band that can be attached around the base of the hat. Alternatively, you can use ribbons, fabric strips, or even a row of buttons to create an eye-catching hat band.
4. Lining
If you want to add extra warmth and comfort to your hat, consider adding a lining. A soft fabric lining can help protect your head from the cold, as well as make the hat more comfortable to wear. You can sew a lining by hand or machine and attach it to the inside of the hat.
- Choose a fabric that is soft and warm, such as fleece or flannel.
- Measure the circumference of the hat and cut a piece of fabric slightly smaller than that measurement.
- Hand stitch or use a sewing machine to attach the lining to the inside of the hat, making sure to secure the edges neatly.
By adding these finishing touches, you can elevate your ribbed brim knit hat from a simple and functional accessory to a stylish and personalized fashion statement. Get creative and have fun experimenting with different embellishments to make your hat truly unique.
Additional Options
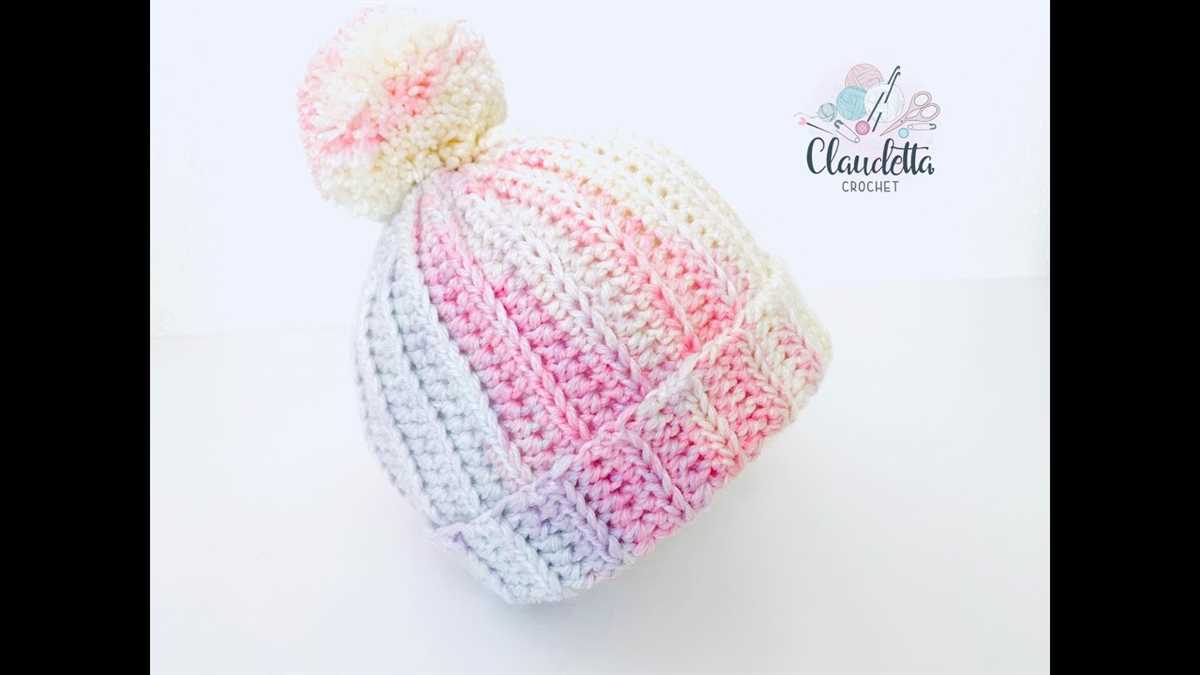
If you are looking to add some extra flair to your ribbed brim knit hat, there are a few options to consider. These options can help customize your hat and make it unique to your style.
Color Variations
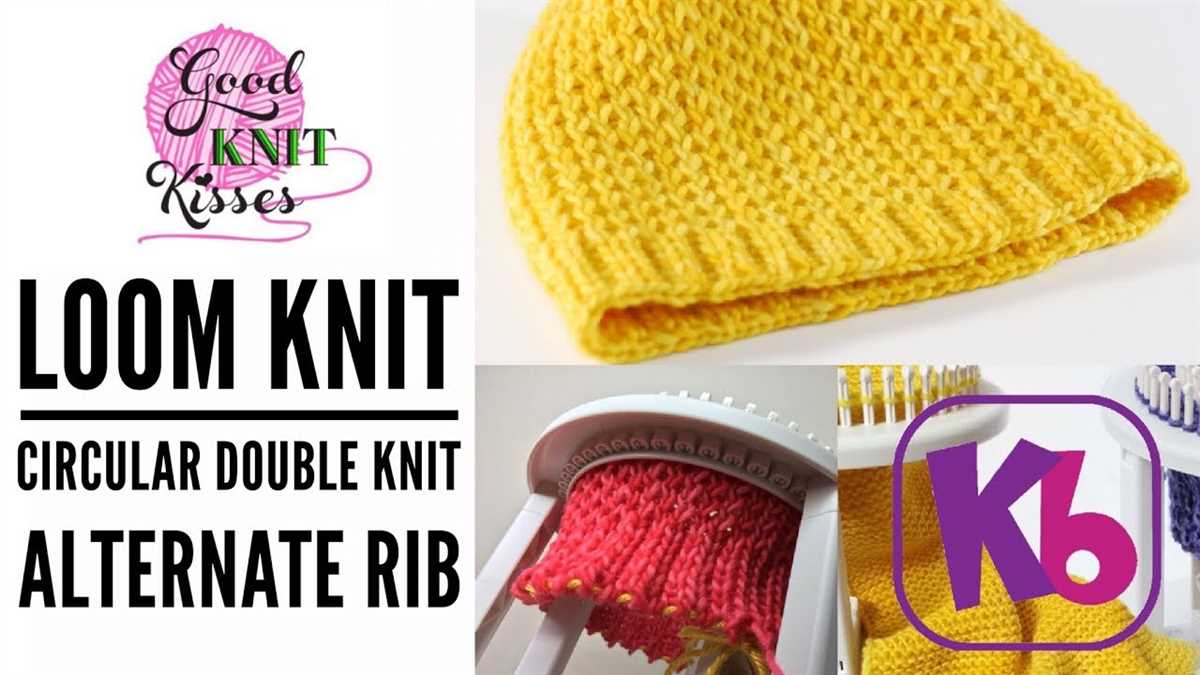
One way to add some visual interest to your ribbed brim knit hat is by incorporating different colors. You can choose to knit the entire hat in a single color and then add a contrasting color for the ribbed brim, or you can create a striped effect by alternating colors throughout the entire hat. This is a great way to showcase your favorite color combinations or to match your hat with other accessories.
Embroidery or Appliques
If you have some basic embroidery skills, you can consider adding your own design or pattern to the ribbed brim of your hat. This can be done with simple stitches like cross-stitch or backstitch, or you can get more creative with more intricate embroidery techniques. Another option is to add fabric or felt appliques to the brim, which can be sewn or glued on for added texture and visual interest. This allows you to personalize your hat with your favorite motifs or designs.
Buttons or Brooches
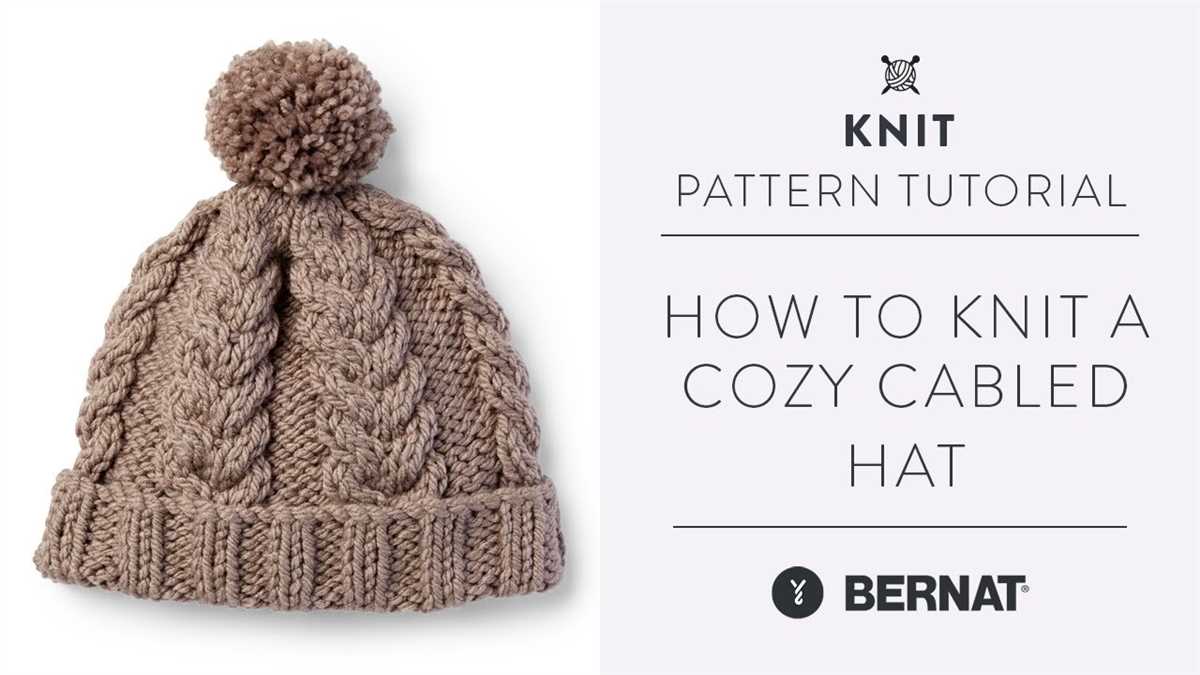
Adding buttons or brooches to the ribbed brim can be another way to embellish your hat. Consider sewing on some decorative buttons in coordinating or contrasting colors, or attach a vintage brooch for a touch of elegance. This is a great option if you want to add some sparkle or create a focal point on your hat.
Pom-pom or Tassel
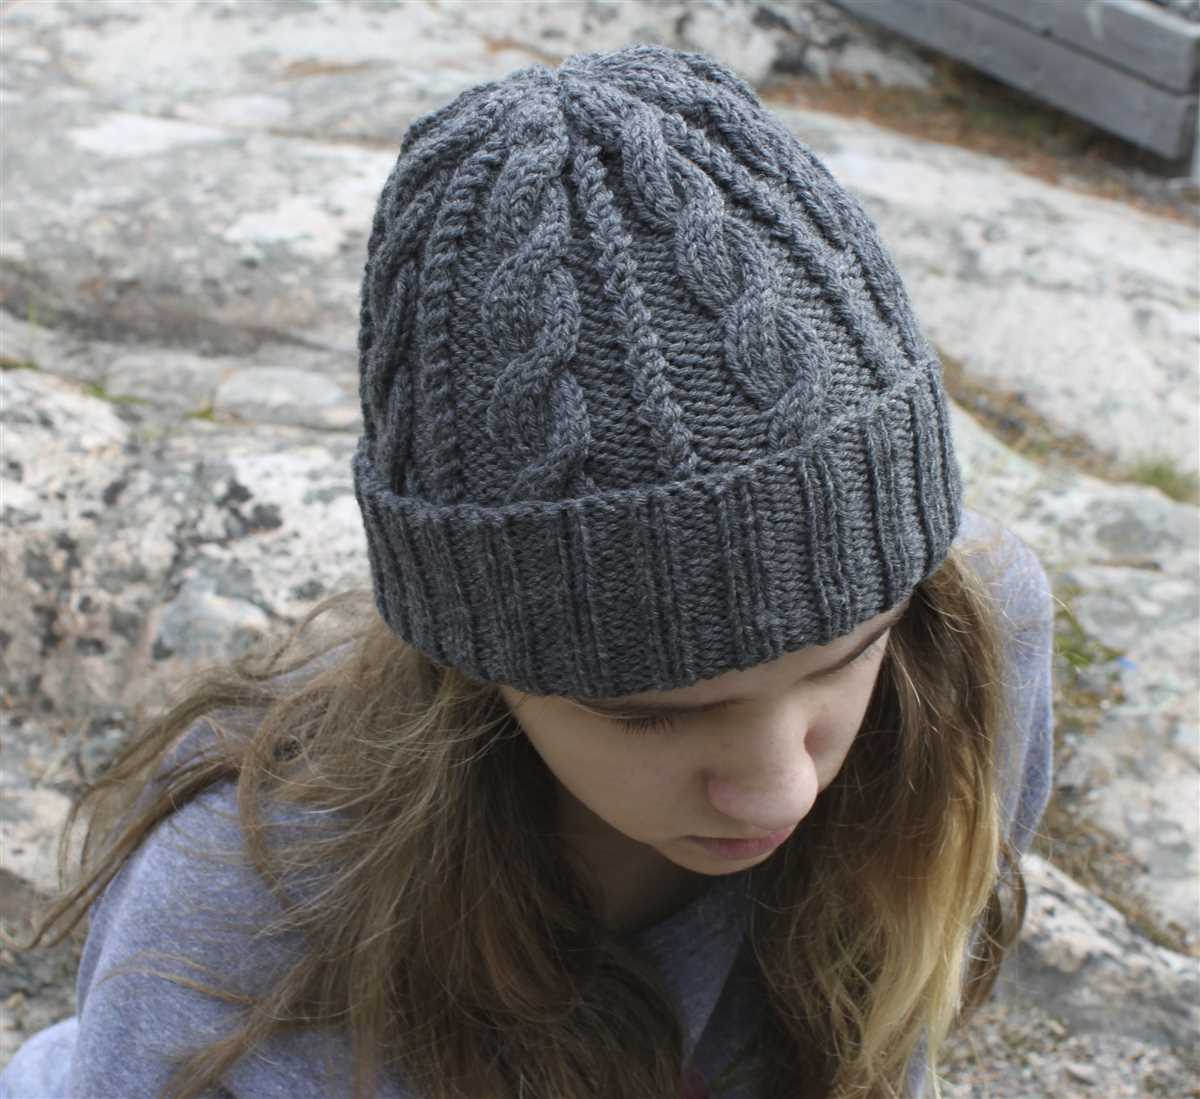
Finally, you can add a fun and playful element to your ribbed brim knit hat by attaching a pom-pom or tassel. There are many tutorials available online on how to make your own pom-poms and tassels, or you can purchase pre-made ones in different colors and sizes. Attach it to the crown of the hat or to the side for a whimsical touch.
- Color Variations: Add visual interest with different color combinations
- Embroidery or Appliques: Personalize your hat with your own design or fabric appliques
- Buttons or Brooches: Attach decorative buttons or vintage brooches for added embellishment
- Pom-pom or Tassel: Add a playful element with a pom-pom or tassel
Tips and Tricks
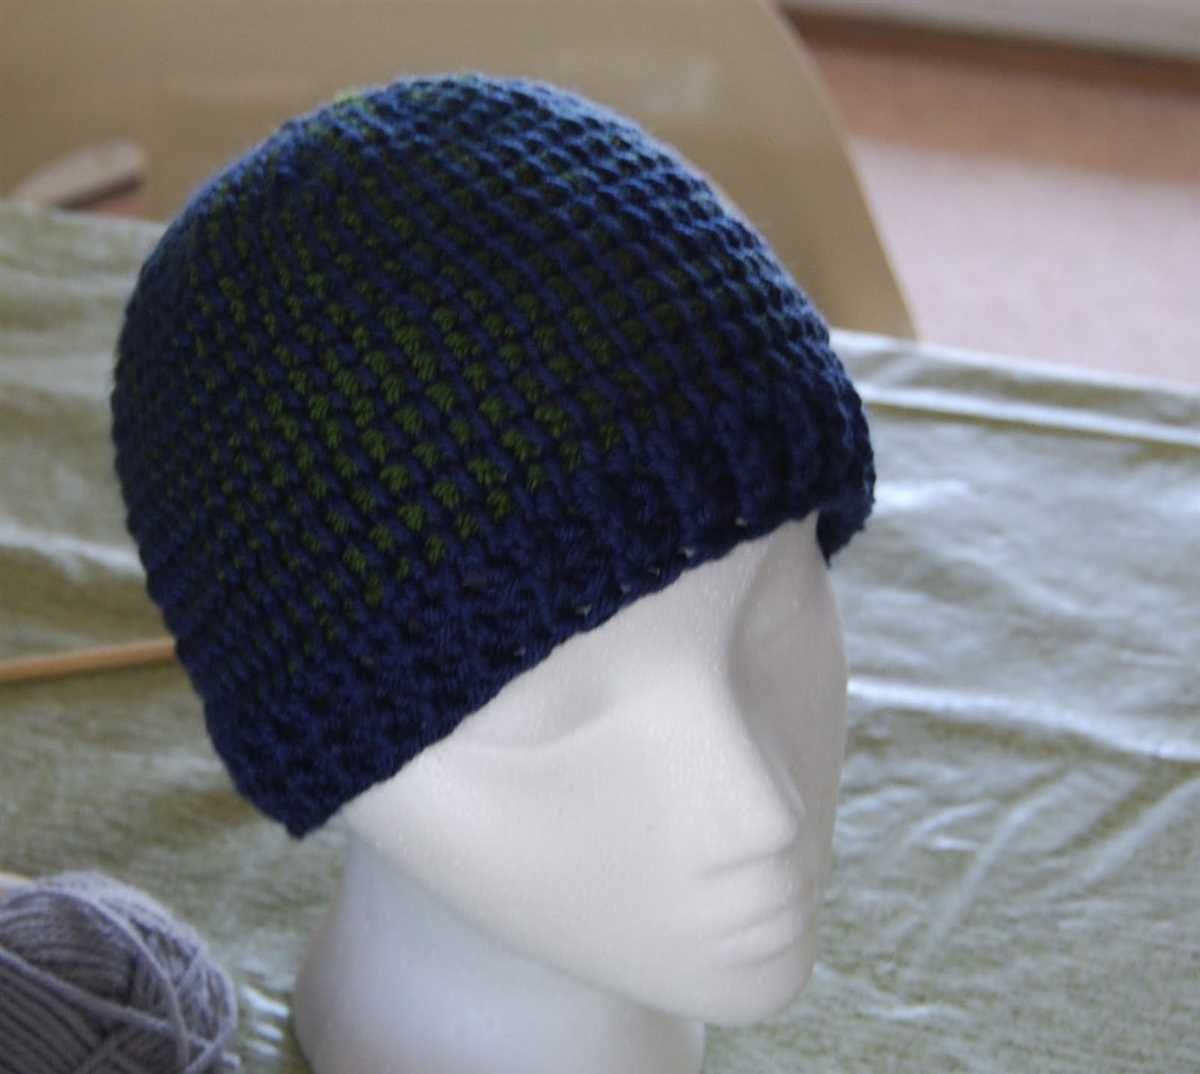
When knitting a ribbed brim knit hat, there are a few tips and tricks that can help make the process easier and ensure a successful finished hat. Here are some recommendations to keep in mind:
1. Use the right yarn: Choose a yarn that is suitable for the project, such as a medium weight yarn. This will provide the necessary warmth and durability for a hat.
2. Check your gauge: Before starting the hat, make sure to knit a gauge swatch to ensure you are achieving the correct number of stitches and rows per inch. This will help ensure the hat fits properly.
3. Pay attention to the ribbing pattern: The ribbed brim pattern typically alternates knit and purl stitches. Pay close attention to this pattern as you knit to ensure the ribbing looks consistent and even.
4. Don’t forget to count: As you knit each row, make sure to count your stitches periodically to ensure you haven’t accidentally added or dropped any stitches. This will help prevent any issues with the hat’s fit.
5. Use stitch markers: If the pattern calls for decreases or increases, consider using stitch markers to keep track of where these changes occur. This can help make the knitting process smoother and prevent any mistakes.
6. Try different ribbing variations: While the traditional ribbing pattern is a classic choice, don’t be afraid to experiment with different variations. For example, you could try a twisted rib or a mock cable rib for a unique look.
7. Block your hat: Once the hat is complete, consider blocking it to help even out the stitches and shape the hat. This can help give the hat a more polished and professional appearance.
8. Personalize with embellishments: After completing the ribbed brim knit hat, consider adding personal touches such as a pom-pom, a decorative button, or a contrasting colored stripe. These embellishments can make the hat truly unique.
How to Wear and Style
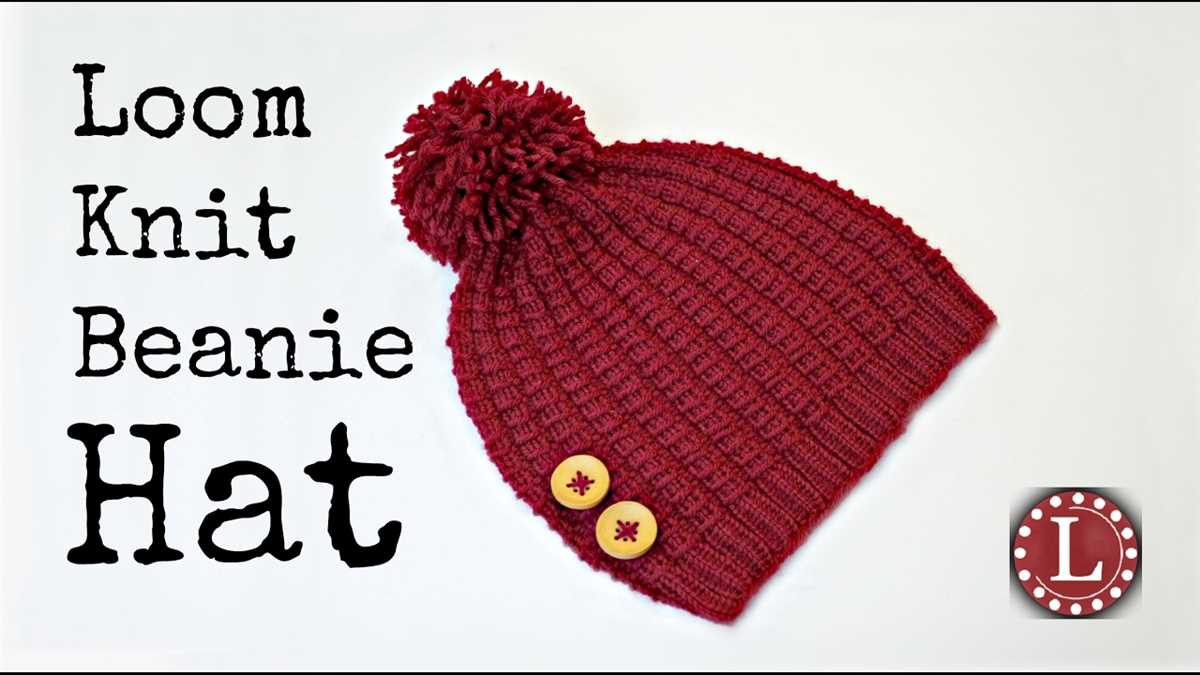
Once you have completed your ribbed brim knit hat, it’s time to put it on and style it to complete your look. Here are some tips on how to wear and style your hat:
- Wear the hat with the ribbed brim folded up for a snug and cozy fit.
- For a more relaxed look, leave the ribbed brim unfolded and let it sit lower on your forehead.
- Pair the hat with a casual outfit for a laid-back and comfortable style.
- You can also dress up your hat by wearing it with a sleek winter coat and boots.
- Experiment with different colors of yarn to match your hat with your outfit or make a statement.
- Add a pom-pom or a decorative button to the top of your hat for a playful and personalized touch.
- Accessorize your hat with a scarf or gloves to create a coordinated and put-together winter look.
Remember to have fun and embrace your personal style when wearing and styling your ribbed brim knit hat. Whether you’re going for a casual or dressy look, this hat is versatile and can be customized to suit your individual taste.
So grab your knitting needles and get started on your own ribbed brim knit hat to keep yourself warm and stylish during the colder months!