
Whether you’re looking to create a unique gift for a child or just want to unleash your creative side, this dinosaur sweater knitting pattern is the perfect project for you. With this free pattern, you can bring dinosaurs to life and create a stylish and cozy garment that will be cherished for years to come.
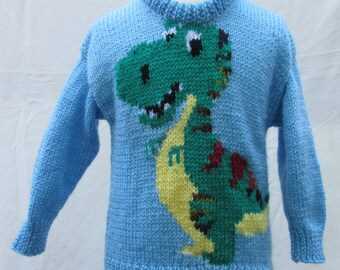
The pattern is suitable for knitters of all levels, from beginners to experienced crafters. The instructions are easy to follow and include detailed explanations of each step, making it a fun and rewarding project for anyone who loves to knit. The finished sweater features a whimsical dinosaur design that is sure to bring a smile to the face of the wearer.
Not only is this pattern enjoyable to knit, but it also allows for endless customization options. You can choose the colors and yarn types that best suit your style and preferences, making each dinosaur sweater truly unique. Plus, with this pattern, you can easily adjust the size to fit children of different ages, ensuring a perfect fit every time.
So why wait? Grab your knitting needles and get started on this delightful dinosaur sweater. Whether you’re making a gift or treating yourself to a new knitting project, this pattern is sure to become a favorite. Download the free pattern now and let your creativity soar!
Dinosaur Sweater Knitting Pattern Free
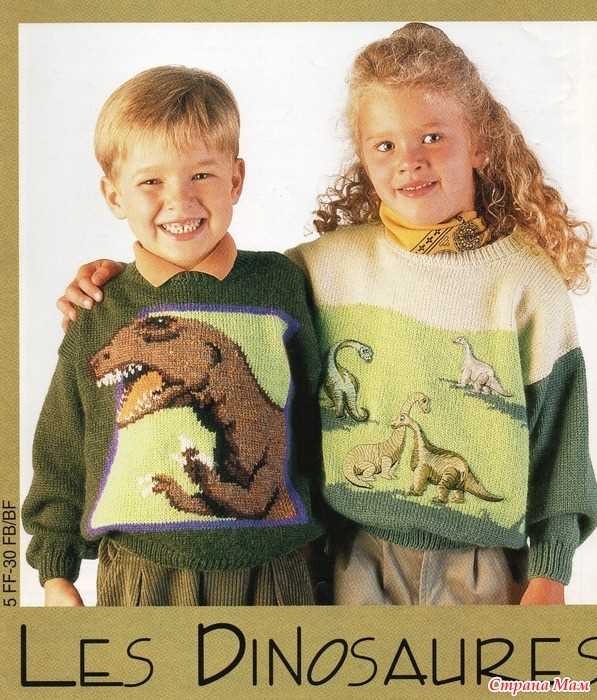
If you love dinosaurs and knitting, you’re in luck! We have a free dinosaur sweater knitting pattern that you can follow to create your very own unique and adorable dinosaur-themed sweater. This pattern is perfect for both adults and children, and it’s a fun and creative way to show off your love for dinosaurs.
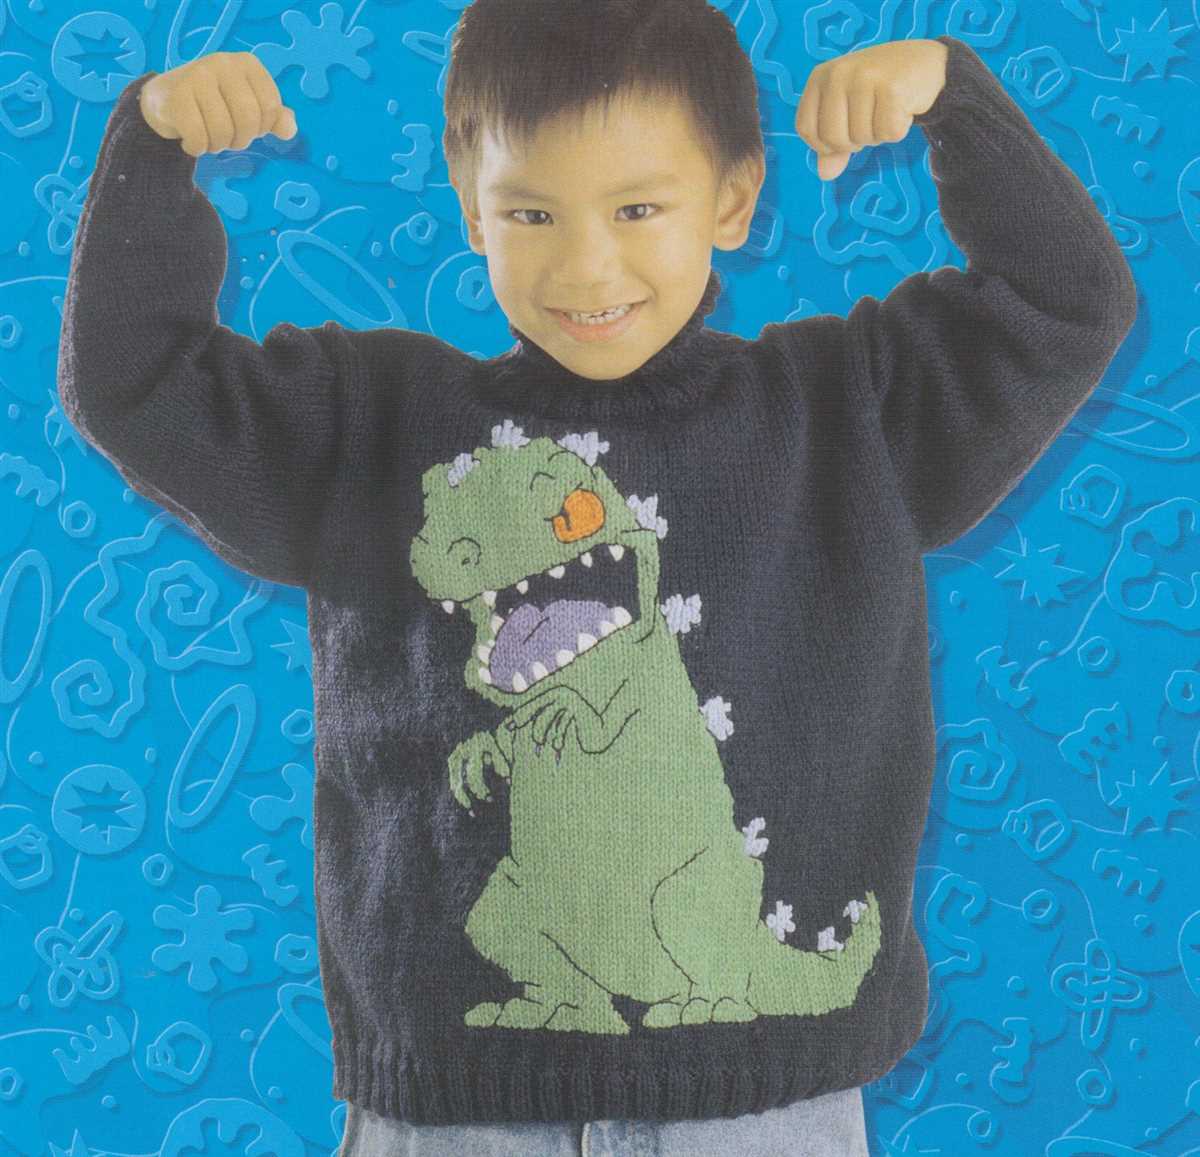
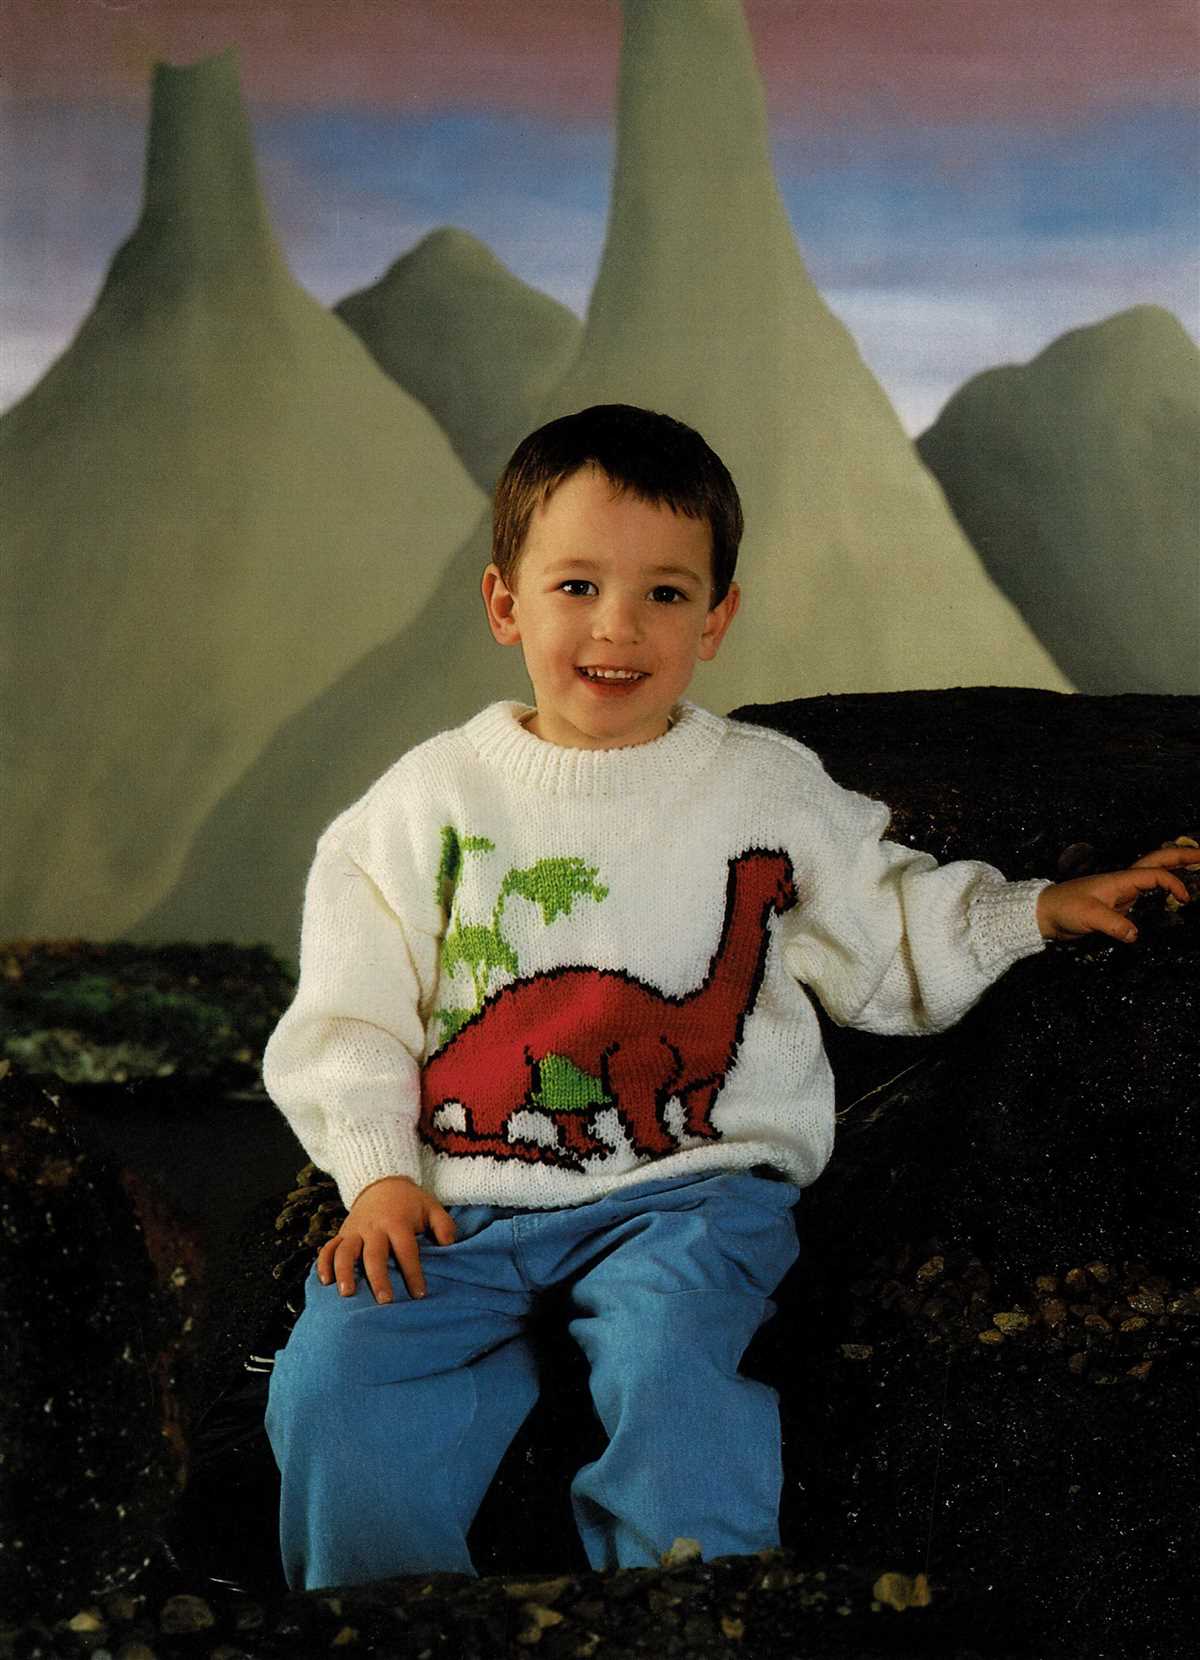
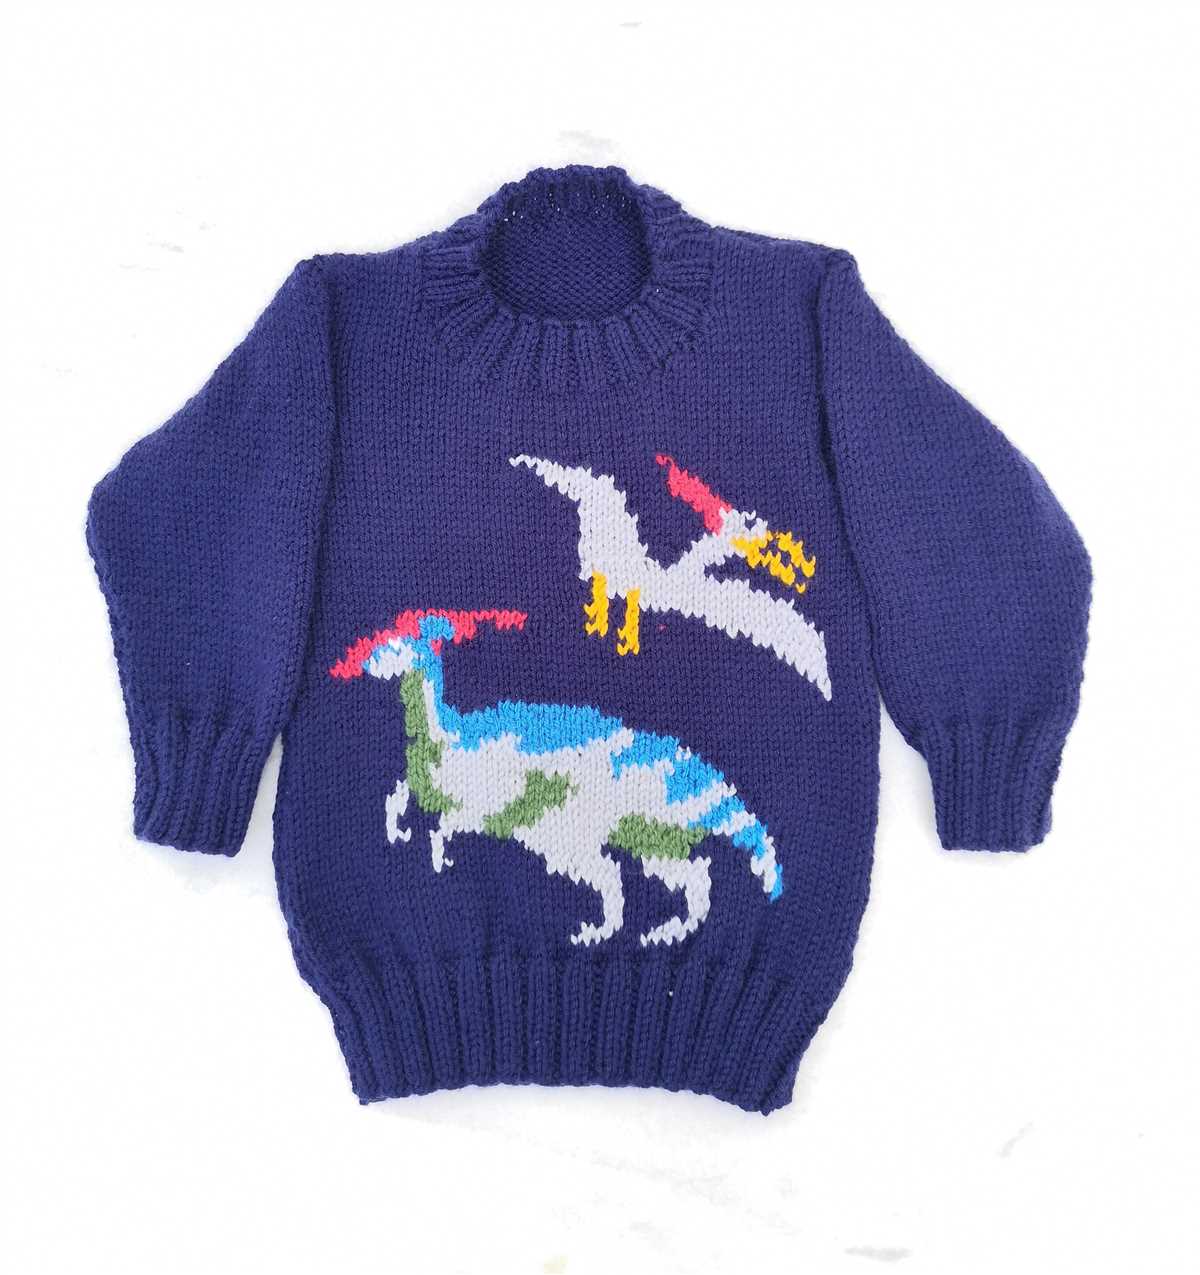
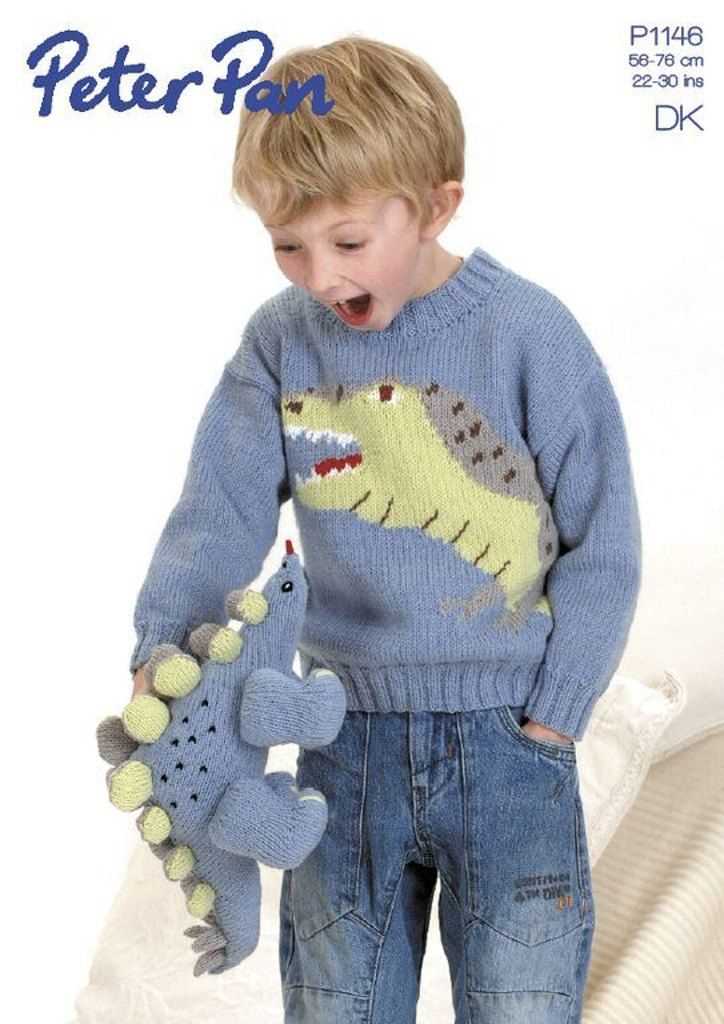
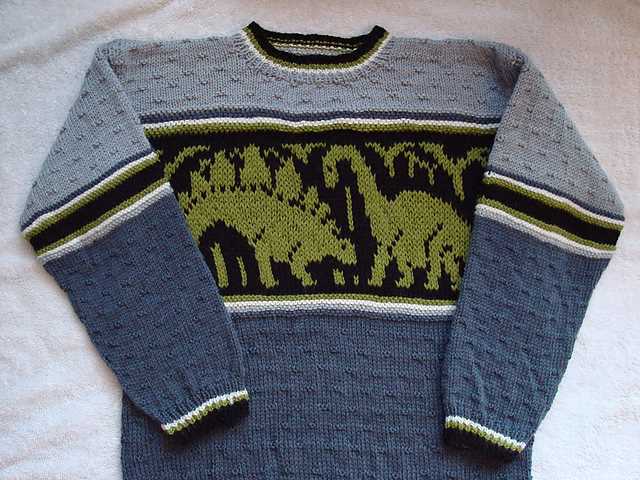
The dinosaur sweater knitting pattern is designed to be beginner-friendly, so even if you’re new to knitting, you can still give it a try. The pattern includes detailed instructions and a list of materials needed, so you’ll have everything you need to get started. You can choose from a variety of dinosaur designs, including T-rex, triceratops, and brontosaurus, among others.
To create your dinosaur sweater, simply follow the steps outlined in the pattern. You’ll start by casting on the required number of stitches and knitting the ribbing for the hem and cuffs. Then, you’ll move on to the body of the sweater, where you’ll follow the colorwork chart to create the dinosaur design. Once the body is complete, you’ll knit the sleeves and sew them onto the body. Finally, you’ll finish off the sweater by adding the neckline and any optional embellishments.
Materials needed:
- Worsted weight yarn in various colors
- Size 8 (5mm) knitting needles
- Tapestry needle
- Stitch markers
- Scissors
This dinosaur sweater knitting pattern is not only a great way to showcase your knitting skills, but it also allows you to create a unique and personalized piece of clothing that reflects your passion for dinosaurs. Whether you’re knitting it for yourself or as a gift for a dinosaur-loving friend or family member, this sweater is sure to be a hit.
So why wait? Download the free dinosaur sweater knitting pattern today and start creating your very own dino-inspired masterpiece!
Why Choose a Dinosaur Sweater?
When it comes to choosing a sweater, there are countless options available on the market. One unique and playful option that stands out is a dinosaur sweater. Why choose a dinosaur sweater? Well, let’s explore some reasons that make it a fun and fashionable choice:
1. Unique Style
A dinosaur sweater offers a unique and eye-catching style that sets it apart from more traditional sweater designs. The intricate patterns and details of the dinosaurs bring an element of fun and excitement to your outfit. It’s a great way to showcase your individuality and stand out from the crowd.
2. Nostalgic Appeal
Dinosaurs have always held a special place in our hearts, especially for those of us who grew up fascinated by these prehistoric creatures. Wearing a dinosaur sweater allows you to tap into that nostalgic appeal and bring a touch of childhood joy and wonder to your wardrobe. It’s a way to embrace your inner kid and add a whimsical touch to your everyday look.
3. Conversation Starter
A dinosaur sweater is bound to catch people’s attention and spark conversations wherever you go. Whether you’re at a party, a social gathering, or simply running errands, expect compliments and questions about your unique sweater choice. It’s a great icebreaker and an opportunity to share your love for dinosaurs or knitting.
4. Versatile and Fun
A dinosaur sweater can be styled in various ways to match your personality and mood. It can be paired with jeans for a casual, laid-back look or dressed up with a skirt or trousers for a more polished ensemble. Whether you’re going for a playful, quirky vibe or a more sophisticated aesthetic, a dinosaur sweater adds an element of fun to any outfit.
5. Handknit Charm
Many dinosaur sweater patterns are available for free, allowing you to create your own unique piece. Knitting a sweater yourself not only gives you a sense of accomplishment, but it also adds an extra touch of charm and character to the finished product. A handknit dinosaur sweater is a labor of love that showcases your creativity and dedication to the craft.
In conclusion, choosing a dinosaur sweater is a way to show off your unique style, tap into nostalgic appeal, start conversations, add versatility and fun to your wardrobe, and embrace the charm of handknit garments. It’s a statement piece that brings joy and personality to any outfit. So why not unleash your inner dinosaur enthusiast and rock a dinosaur sweater?
Materials Needed for Knitting the Sweater
When knitting a dinosaur sweater, it is important to have all the necessary materials on hand. Here is a list of the items you will need to complete the project:
1. Yarn:
You will need a soft and warm yarn in the desired color for the body of the sweater. Choose a yarn that is suitable for the desired gauge and provides good stitch definition.
2. Knitting Needles:

A set of knitting needles in the appropriate size for your chosen yarn. The size will depend on the gauge you want to achieve and can be found on the yarn label or in the pattern instructions.
3. Stitch Markers:
Stitch markers are essential for keeping track of specific stitch patterns or shaping details. They can be in the form of small rings or clips that easily slide onto the knitting needles.
4. Tapestry Needle:
A tapestry needle with a large eye is needed for weaving in loose ends and joining pieces together. Make sure it is large enough to accommodate the yarn you are using.
5. Scissors:
A pair of sharp scissors is necessary for cutting the yarn and trimming any excess. Keep them nearby for quick and easy access.
6. Measuring Tape:
A measuring tape or ruler will come in handy for checking your gauge and ensuring the correct fit of the sweater. It is important to measure your work as you go to avoid any sizing issues.
7. Dinosaur Sweater Knitting Pattern:

Lastly, you will need a dinosaur sweater knitting pattern. This can either be a physical copy or a digital PDF that you can refer to throughout the knitting process. Make sure to read the pattern carefully and familiarize yourself with any special stitch instructions or techniques.
Finding the Right Pattern
When it comes to knitting a dinosaur sweater, finding the right pattern is key. A well-designed pattern can make the process easier and ensure that the final result is exactly what you envision. Whether you are an experienced knitter or new to the craft, there are plenty of free patterns available online that can help you create the perfect dinosaur sweater.
Start by searching for free patterns: The internet is a treasure trove of free knitting patterns, and a quick search can yield a wide variety of options for dinosaur sweaters. Websites like Ravelry and Knitty offer extensive collections of patterns, and you can also find patterns on blogs and knitting forums. Take the time to browse through different options and choose a pattern that suits your skill level and personal style.
Consider the level of difficulty: Knitting patterns often come with a level of difficulty rating, which can help you determine if it is suitable for your skill level. If you are a beginner, look for patterns labeled as “easy” or “beginner-friendly” to ensure a smoother knitting experience. For more advanced knitters, patterns with intricate stitch patterns or unique construction techniques can provide a fun challenge.
Read reviews and check for modifications: Before starting a pattern, it can be helpful to read reviews and see if other knitters have made any modifications. Reading about other knitters’ experiences can give you insight into any potential issues or adjustments you may need to make. Look for patterns that have been well-reviewed and have clear instructions to avoid confusion during the knitting process.
- Take note of the measurements and gauge:
Take note of the measurements and gauge: A well-fitting sweater starts with accurate measurements and achieving the correct gauge. Make sure to read the pattern instructions carefully, paying attention to the recommended yarn weight, needle size, and gauge. Taking the time to swatch and check your gauge before starting the sweater will ensure that your final product fits as intended.
Personalize your sweater: Once you have found the perfect pattern, don’t be afraid to make it your own. You can customize the colors, add embellishments, or even modify the shape of the dinosaur to create a unique sweater that reflects your style and personality. Knitting allows for endless creativity, so feel free to experiment and make the pattern your own.
With the right pattern in hand, you will be well on your way to creating a charming and cozy dinosaur sweater. Don’t be afraid to try different patterns until you find the one that speaks to you – knitting is all about enjoying the process and creating something special.
Getting Started: Casting On
If you’re new to knitting or just starting a new project, casting on is the first step to creating your dinosaur sweater. Casting on is the process of creating the first row of stitches on your knitting needle. This is the foundation row that you will build upon as you knit the rest of your sweater. There are several different methods for casting on, but we’ll focus on the long-tail cast-on method for this pattern.
To begin casting on, you’ll need to measure a tail of yarn that is approximately three times the width of your sweater. This will give you enough yarn to work with and leave a tail for weaving in later. Make a slipknot at the end of the yarn, leaving a short tail.
Step 1: Hold the slipknot in your left hand, with the long tail hanging down and the short tail pointing towards your right hand. Insert your right needle into the loop of the slipknot from front to back, making sure the long tail is behind the needle.
Step 2: With your left thumb and index finger, grab both the long tail and the working yarn and hold them together. This will create a V shape with the yarn.
Step 3: With your right needle, insert it under the working yarn (the yarn coming from the ball) and over the long tail. This will create a loop around the right needle.
Step 4: Pull the right needle through the loop, creating a new stitch on your right needle. Take your left thumb and index finger out of the loop, keeping tension on the yarn.
Repeat steps 3 and 4 until you have cast on the desired number of stitches for your dinosaur sweater. Remember to count your stitches as you go to ensure you have the correct number. Once you have cast on all your stitches, you’re ready to start knitting the first row of your dinosaur sweater!
The Body of the Sweater: Knitting the Front and Back
When knitting a dinosaur sweater, the body is an important part that sets the stage for the design. To start, you will need to cast on the required number of stitches for both the front and back pieces of the sweater. This will depend on the size you are knitting and the thickness of your yarn.
Once you have cast on, you will begin working in your chosen stitch pattern, following the provided instructions for the sweater. It’s important to pay attention to any shaping instructions, such as increases or decreases, to ensure that the sweater fits properly.
As you work, you will create the length of the sweater, which will vary depending on the desired finished length. This can be determined by measuring from the bottom edge of the sweater to the underarm and adding any desired ribbing or hem. Ensure that your measurements match the pattern instructions to achieve the correct fit.
When you reach the desired length, you will need to shape the armholes and neckline. This can be done through a combination of bind offs and decreases, as specified in the pattern. Pay close attention to the shaping instructions to ensure that you create the correct shape for the armholes and neckline.
After shaping the armholes and neckline, you will continue knitting the front and back pieces separately until they reach the desired length for the shoulders. At this point, you will bind off all stitches and set these pieces aside.
With the front and back pieces completed, you are now ready to move on to knitting the sleeves and assembling the sweater. The body of the sweater sets the foundation for the rest of the design and it is important to carefully follow the pattern instructions to achieve the desired result.
Adding Sleeves: Knitting Techniques
In the world of knitting, adding sleeves to a sweater is an important step that requires specific techniques to ensure a proper fit and seamless integration with the rest of the garment. The following knitting techniques can be employed to create beautiful and comfortable sleeves:
Picking Up Stitches:
One common method for adding sleeves is to pick up stitches along the armhole edge. This involves using a needle to insert through the fabric loops along the armhole and knitting new stitches with the working yarn. This technique allows for precise control over the sleeve length and provides a seamless transition from the body of the sweater to the sleeves. It is important to evenly pick up stitches to ensure a symmetrical and balanced look.
Knitting In the Round:
Another popular technique for creating sleeves is knitting them in the round. This involves using double-pointed needles, circular needles, or magic loop method to seamlessly knit the sleeves without the need for seaming. This technique produces a continuous tube of fabric, resulting in a comfortable fit and minimal finishing work. Knitting in the round requires understanding of basic circular knitting techniques, such as joining the round and working in a continuous spiral.
- Benefits of knitting sleeves in the round:
- Eliminates the need for seaming
- Creates a seamless and clean look
- Reduces finishing work
- Provides a comfortable and flexible fit
- Allows for easy customization of sleeve length
Shaping the Sleeves:

To ensure a proper fit, it is essential to shape the sleeves as they are being knitted. This can be achieved through a variety of techniques, such as increasing or decreasing stitches to create a tapered or flared shape. Common sleeve shaping techniques include raglan, set-in sleeve, and dolman sleeves. Understanding the specific shaping requirements of the sweater pattern and following the instructions carefully will help achieve the desired fit and look.
By employing these knitting techniques, crafters can successfully add sleeves to their dinosaur sweaters, creating unique and cozy garments for themselves or their loved ones.
Shaping the Neckline and Shoulders
When knitting a dinosaur sweater, shaping the neckline and shoulders is an important step to achieve a comfortable fit. This process involves decreasing stitches to create a sloping line for the neckline and shoulder slopes. Here are a few steps to guide you in shaping the neckline and shoulders.
1. Identify the starting point for the neckline shaping
The starting point for the neckline shaping is usually at the center front or center back of the sweater. Mark this point with a stitch marker or a piece of contrasting yarn. This will be the reference point for your decreasing stitches.
2. Decrease stitches for the neckline
Begin decreasing stitches evenly on each side of the marked starting point. You can use various techniques such as knit two together (k2tog) or slip, slip, knit (ssk) to decrease the stitches. Continue decreasing until you achieve the desired neckline depth.
3. Shaping the shoulder slopes
To shape the shoulder slopes, you will need to work on both the front and back sections of the sweater. Start by identifying the starting point for the shoulder slopes, which is usually a certain number of stitches away from the neckline shaping points. Mark these points with stitch markers or yarn.
Next, begin decreasing stitches on both sides of the marker points. Decrease evenly and gradually to create a sloping line for the shoulders. The number of stitches to decrease and the rate of decreasing may vary depending on your pattern and desired fit. Make sure to follow the pattern instructions or consult a knitting resource for guidance.
By following these steps, you can effectively shape the neckline and shoulders of your dinosaur sweater, ensuring a comfortable and well-fitting garment. Remember to take accurate measurements and adjust the shaping as needed to achieve the desired fit.
Creating Dinosaur Details: Knitting the Spikes
One of the most fun and iconic features of a dinosaur sweater is the row of spikes running down the back. These spikes add a playful and unique touch to the sweater, making it truly stand out. Knitting the spikes can be a bit challenging, but with some patience and basic knitting skills, you can create a stunning dinosaur-inspired masterpiece.
Choosing the yarn: When it comes to knitting the spikes, it’s important to choose a yarn that is sturdy and durable. Dinosaur spikes need to stand tall and hold their shape, so opt for a yarn that has some structure, such as a wool or acrylic blend. You can also experiment with different colors to create a more vibrant and dynamic effect.
Creating the pattern: Once you have chosen your yarn, you’ll need to decide on the pattern for the spikes. There are various options you can explore, from simple triangle shapes to more intricate designs. You can find free knitting patterns online, or if you’re feeling creative, you can come up with your own unique pattern. Sketch the design on a piece of paper to help visualize how it will look on the sweater.
Knitting the spikes: To knit the spikes, you’ll need to follow the pattern you’ve chosen. Start by casting on the required number of stitches and knitting in the desired stitch pattern. As you work, gradually increase or decrease stitches to create the triangular shape of the spike. Pay close attention to the pattern instructions and make sure to count your stitches accurately to ensure that the spikes are uniform in size and shape.
Attaching the spikes to the sweater: Once you have completed knitting all the spikes, it’s time to attach them to the back of the sweater. Lay the sweater flat and arrange the spikes in a row along the center back. Use a tapestry needle and matching yarn to carefully sew the base of each spike to the sweater. Make sure to securely fasten the spikes, as they will be subject to some tension when worn.
Finishing touches: Once all the spikes are attached, give your sweater a final inspection. Check for any loose ends or loose stitches and secure them with a needle and thread. Take the time to block the sweater if necessary, reshaping it to ensure that the spikes are standing tall and straight. And voila! You now have a fabulous dinosaur sweater with stunning spikes!
Finishing Touches: Making Buttonholes and Sewing Buttons
Adding buttons to your dinosaur sweater is the final step in completing your knitting project. Not only do buttons serve a functional purpose of keeping your sweater closed, they also add a decorative touch to your design. To make buttonholes and sew buttons onto your sweater, follow these simple steps:
Making Buttonholes
- Start by identifying the best placement for your buttonholes along one side of the sweater’s front. Measure the distance between each buttonhole to ensure they are evenly spaced.
- Using a smaller knitting needle or a crochet hook, create a series of yarn overs in the desired locations for your buttonholes. The number of yarn overs will depend on the size of your buttons.
- On the next row, knit or purl the yarn overs as instructed by your pattern. This will create a row of stitches that will serve as the buttonhole.
- Continue knitting or purling the rest of the row and finishing your sweater as directed.
Sewing Buttons
- Once your sweater is complete, it’s time to sew the buttons onto the corresponding buttonholes. Thread a needle with a length of matching yarn or thread.
- Start by anchoring the thread on the wrong side of the fabric, near the first buttonhole. Bring the needle through the hole and secure it with a knot on the wrong side.
- Take the needle to the next buttonhole and pass it through the front of the fabric, making sure to align the buttonhole and button. Bring the needle back to the wrong side and sew it securely.
- Repeat this process for each buttonhole, making sure to sew the buttons on securely.
- Once all the buttons are attached, secure the thread with a knot on the wrong side of the fabric and trim any excess.
With your buttons securely in place, your dinosaur sweater is now complete and ready to be worn with style. Enjoy the warmth and uniqueness of your handmade creation!
Blocking and Finishing the Sweater
Once you have completed all the knitting for your dinosaur sweater, the next step is to block and finish it. Blocking is an important process that helps to shape and even out the stitches, making the sweater look more professional and polished. Here are the steps to follow for blocking and finishing your dinosaur sweater:
Step 1: Prepare your sweater
Start by gently washing your dinosaur sweater in cold water using mild detergent. Avoid soaking it for too long to prevent stretching. Gently squeeze out the excess water and lay the sweater flat on a clean towel.
Step 2: Pin the sweater
Using rustproof T-pins or blocking wires, pin the sweater to the desired measurements. Pay special attention to the edges, collar, and any other areas that need shaping. Make sure the stitches are even and the sweater is lying flat.
Step 3: Let it dry
Allow the sweater to dry completely before removing the pins. This may take several hours or even overnight depending on the yarn used and the climate. Avoid moving or disturbing the sweater while it is drying to prevent the stitches from getting misshapen.
Step 4: Finishing touches
Once the sweater is dry, gently remove the pins or blocking wires. Weave in any loose ends using a tapestry needle, being careful not to pull the stitches too tightly. Trim any excess yarn if necessary.
Finally, give the sweater a final gentle steam blocking to further set the shape and even out any remaining imperfections. With proper blocking and finishing, your dinosaur sweater will be ready to wear or gift to a dino-loving friend!
Remember, blocking is an essential step in the knitting process to achieve a professional and polished look for your finished garment. Don’t skip this step – your dinosaur sweater will thank you!