
Knitting is a wonderful craft that allows you to create beautiful and cozy items for yourself and your loved ones. If you are a beginner knitter looking for an easy project, a simple cardigan is a great choice. With this basic knitting pattern, you can make a stylish and comfortable cardigan that will be perfect for any occasion.
This simple cardigan pattern is suitable for knitters of all skill levels. It uses basic knitting techniques such as knitting, purling, and decreasing, making it a great project for beginners to practice their skills. The pattern is written in clear instructions and includes detailed stitch counts and measurements to ensure a perfect fit.
The cardigan is worked from the top down in one piece, which means there is minimal seaming involved. The pattern includes instructions for different sizes, so you can make a cardigan that fits you perfectly. You can customize the length of the sleeves and the body to suit your preference, making this cardigan truly your own.
With this simple cardigan knitting pattern, you can create a timeless and versatile garment that will keep you cozy and stylish all year round. Whether you’re knitting for yourself or a loved one, this project is a great way to hone your knitting skills and create a garment that will be cherished for years to come.
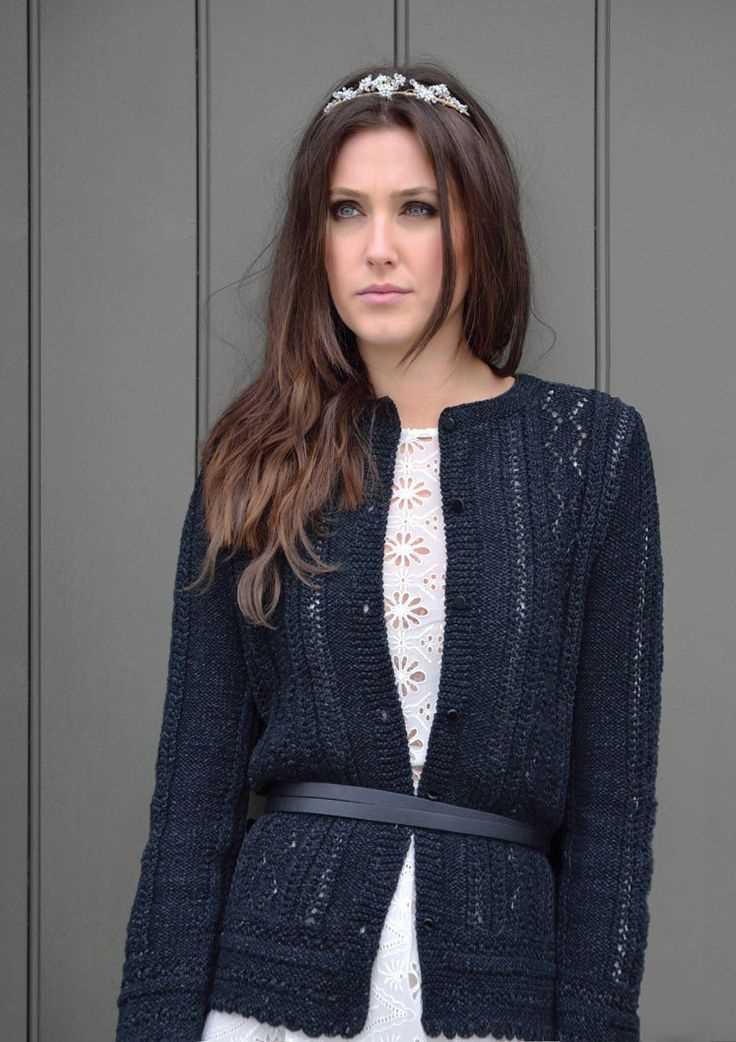
Simple Cardigan Knitting Pattern
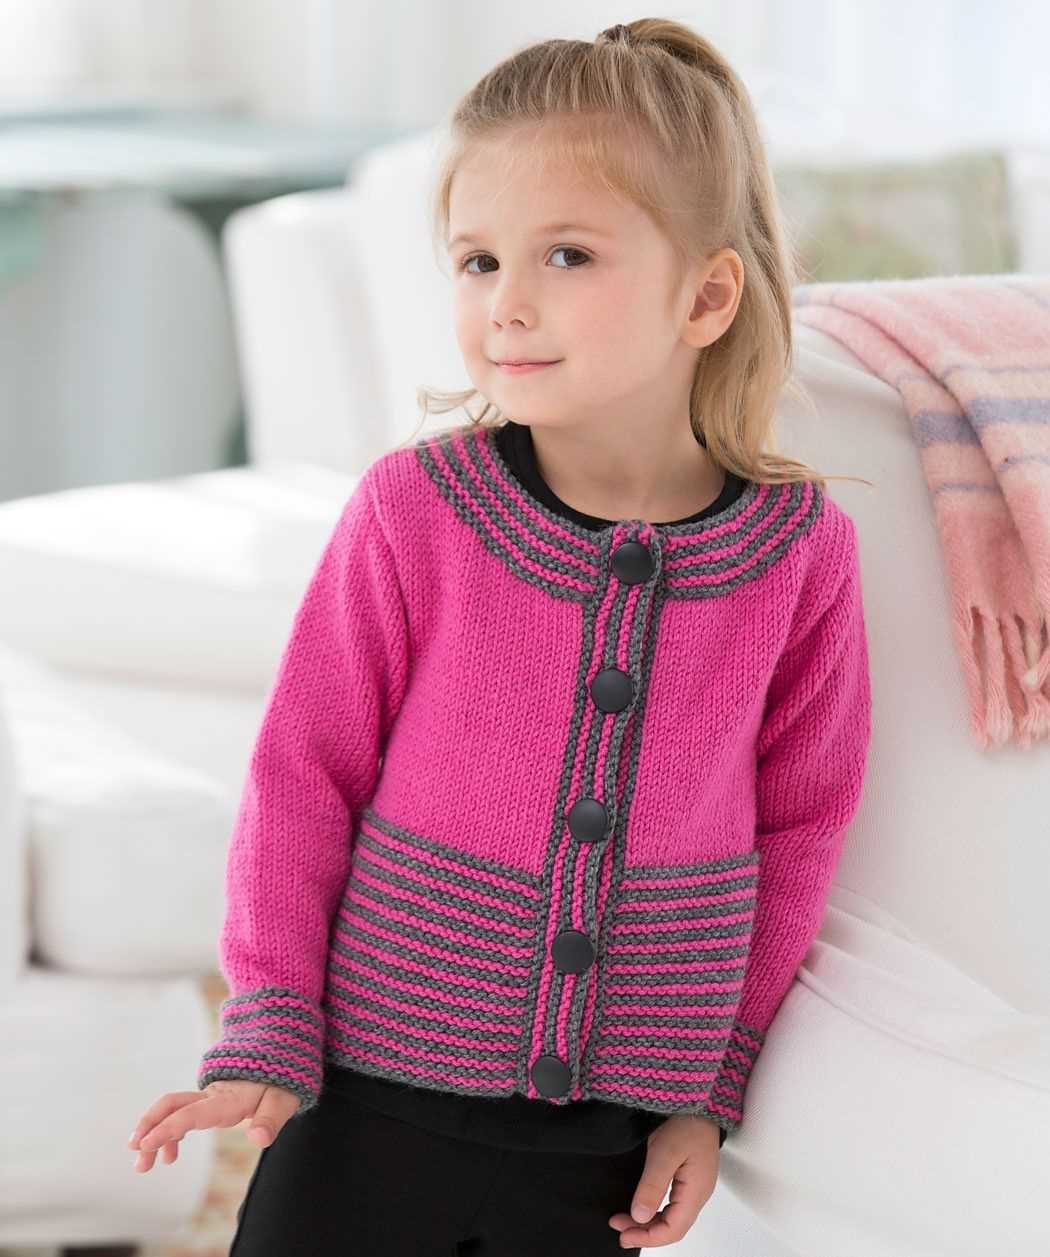
Knitting your own cardigan is a great way to create a unique and personalized wardrobe staple. With a simple cardigan knitting pattern, you can easily make a cozy and stylish garment that will keep you warm in any season.
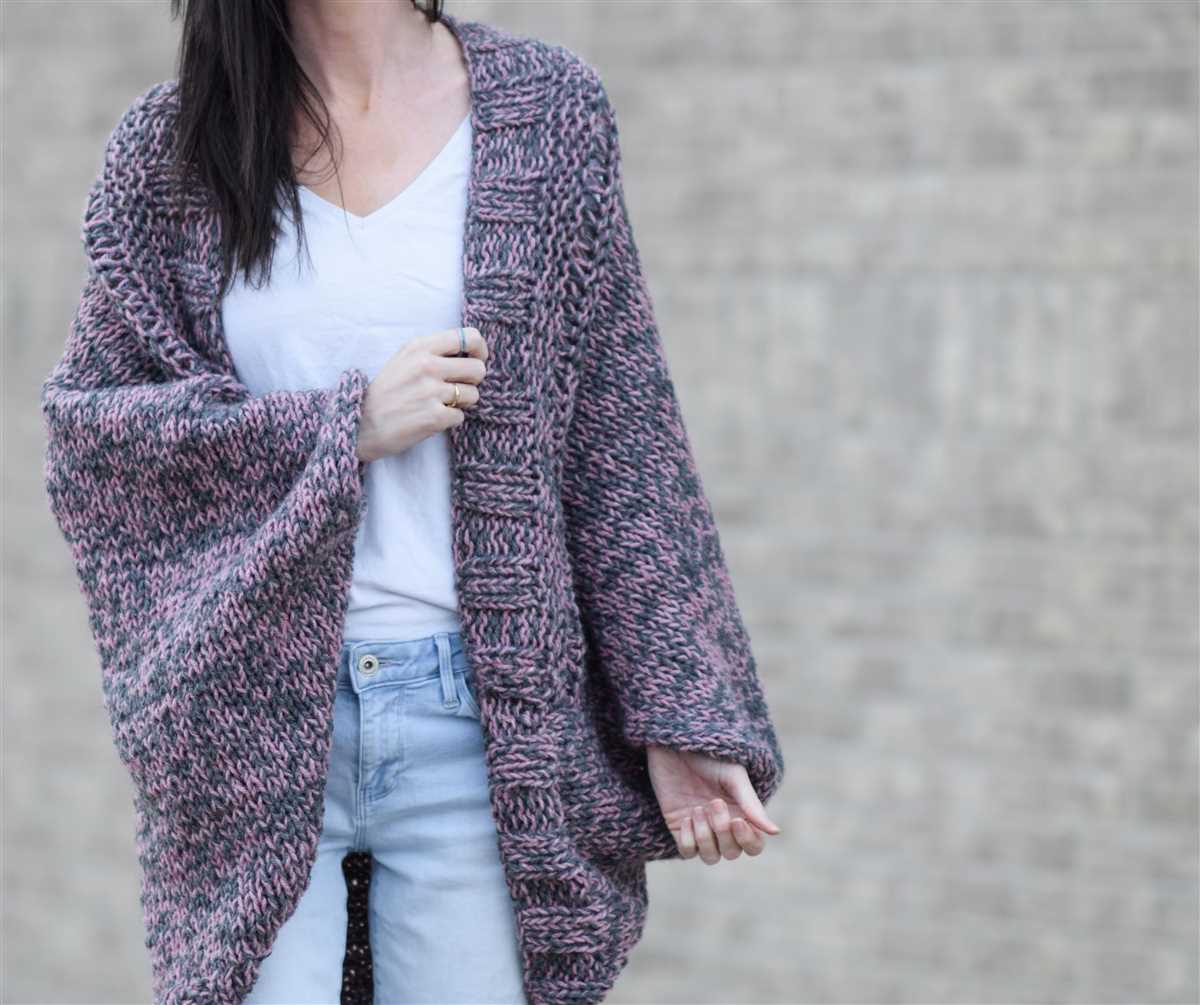
One popular and easy cardigan knitting pattern is the garter stitch cardigan. This pattern is perfect for beginners as it only requires basic knitting techniques and uses a simple garter stitch. The garter stitch cardigan is knit in one piece, starting from the bottom and working up to the shoulders. It features a relaxed fit and can be customized with a variety of yarn colors and textures.
To start knitting the garter stitch cardigan, you will need to choose your yarn and needles. Worsted weight yarn is a good option for this pattern as it creates a cozy and versatile fabric. You will also need a pair of knitting needles in the appropriate size for your chosen yarn.
The garter stitch cardigan pattern begins with casting on the desired number of stitches. You will then work the garter stitch, knitting every row, until the cardigan is the desired length. The pattern includes instructions for shaping the neck and adding a button band.
Once you have finished knitting the body of the cardigan, you will move on to knitting the sleeves. The sleeves are knit separately and then sewn onto the body. You can choose to make full-length sleeves or shorter sleeves depending on your preference.
After completing the sleeves, you will finish the cardigan by adding the button band and any desired embellishments. You can use buttons, ribbons, or toggles to add a personalized touch to your cardigan.
The garter stitch cardigan is a versatile and timeless piece that can be dressed up or down depending on the occasion. With a simple cardigan knitting pattern like this, you can create a garment that is both stylish and practical.
Choosing the Right Yarn and Needles
When it comes to knitting a simple cardigan, choosing the right yarn and needles is crucial in order to achieve the desired look and feel of the finished garment. The yarn and needle combination will determine the overall texture, drape, and warmth of the cardigan.
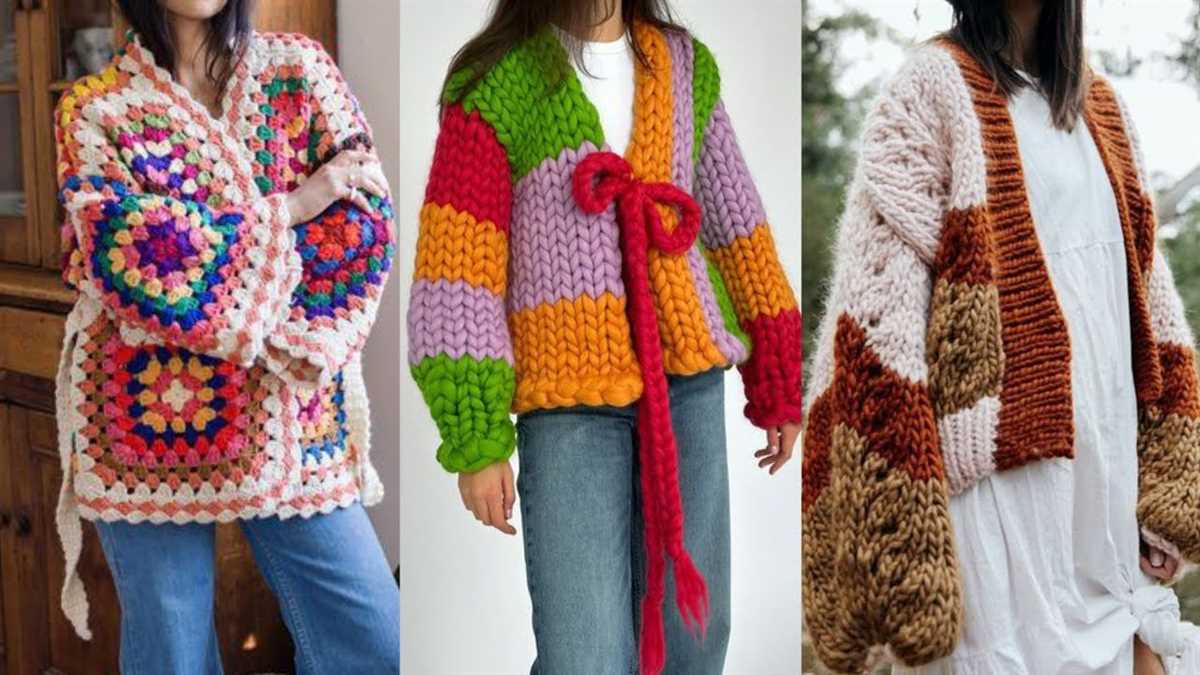
Yarn: The type of yarn you choose will depend on your personal preferences and the look you want to achieve. For a classic, timeless cardigan, a smooth and versatile yarn such as merino wool or cotton would be a great choice. If you’re looking for more texture and warmth, a yarn with a blend of alpaca or mohair can add a cozy touch to the cardigan. Additionally, consider the weight of the yarn – a thinner yarn will result in a more lightweight cardigan, while a thicker yarn will create a chunkier and warmer garment.
Needles: The size of your knitting needles will determine the gauge and size of your cardigan. It’s important to check the recommended gauge for the pattern you’re using and choose needles that will help you achieve that gauge. Generally, thicker yarns will require larger needles, while thinner yarns will need smaller needles. Circular needles are often preferred for knitting cardigans, as they allow you to easily try on and adjust the fit as you go.
Remember to always swatch before starting your project to ensure that you’re using the correct combination of yarn and needles. This will help you avoid any surprises and ensure that your cardigan turns out just the way you envision it.
Taking Accurate Measurements
Before starting any knitting project, it is important to take accurate measurements to ensure the finished garment fits well. Whether you are knitting a simple cardigan or any other clothing item, taking precise measurements is crucial for getting the sizing right.
1. Bust Measurement: Take a flexible measuring tape and wrap it around the fullest part of the bust. Make sure the tape is snug but not too tight, and take note of the measurement in inches or centimeters.
2. Waist Measurement: Measure the narrowest part of the waist with the tape, again making sure it is snug but not overly tight. Record the measurement for future reference.
3. Hip Measurement: For cardigans or other garments with a more relaxed fit, it is important to measure the hips as well. Wrap the tape around the fullest part of the hips, ensuring it is level all the way around.
4. Arm Length: To determine the desired sleeve length, measure from the edge of the shoulder down to the wrist bone. This measurement is particularly important for cardigans, as the sleeve length can greatly affect the overall fit and style of the garment.
5. Back Length: Measure from the base of the neck down to the desired length of the cardigan. This measurement will help ensure that the finished garment hits at the desired point on the body.
6. Shoulder Width: Measure across the upper back, from one shoulder seam to the other, to determine the appropriate shoulder width for the cardigan. This measurement is crucial for achieving a good fit and preventing any discomfort or restriction of movement.
By taking accurate measurements before beginning your knitting project, you can ensure that the finished cardigan fits well and is tailored to your specific body measurements. This will result in a garment that is both comfortable and flattering, making it a favorite piece in your wardrobe.
Casting on Stitches

Before you can start knitting your simple cardigan, you need to cast on stitches to your knitting needles. Casting on is the process of creating the stitches that will form the foundation of your cardigan. There are several methods you can use to cast on stitches, but the long-tail cast on method is commonly used for cardigan knitting patterns.
To cast on stitches using the long-tail method, you will need to measure out a length of yarn that is approximately three times the width of your finished cardigan. Make a slipknot at one end of the yarn and place it on one of your knitting needles. Hold the slipknot in your right hand while holding the other end of the yarn in your left hand.
With your left hand, take the yarn between your thumb and index finger. Insert your right-hand needle into the slipknot from left to right, catching the yarn with the needle. Bring the needle back towards you, bringing the loop of yarn through the slipknot. This creates your first cast on stitch. Repeat this process until you have cast on the desired number of stitches for your cardigan.
Once you have cast on all your stitches, you can continue with the next steps of your cardigan knitting pattern, such as knitting the ribbing or starting the main body of the cardigan. Casting on stitches is an important first step in knitting any project, and mastering different casting on methods will expand your knitting skills and allow you to tackle a wider range of patterns and projects. So grab your knitting needles and get ready to cast on stitches for your simple cardigan!
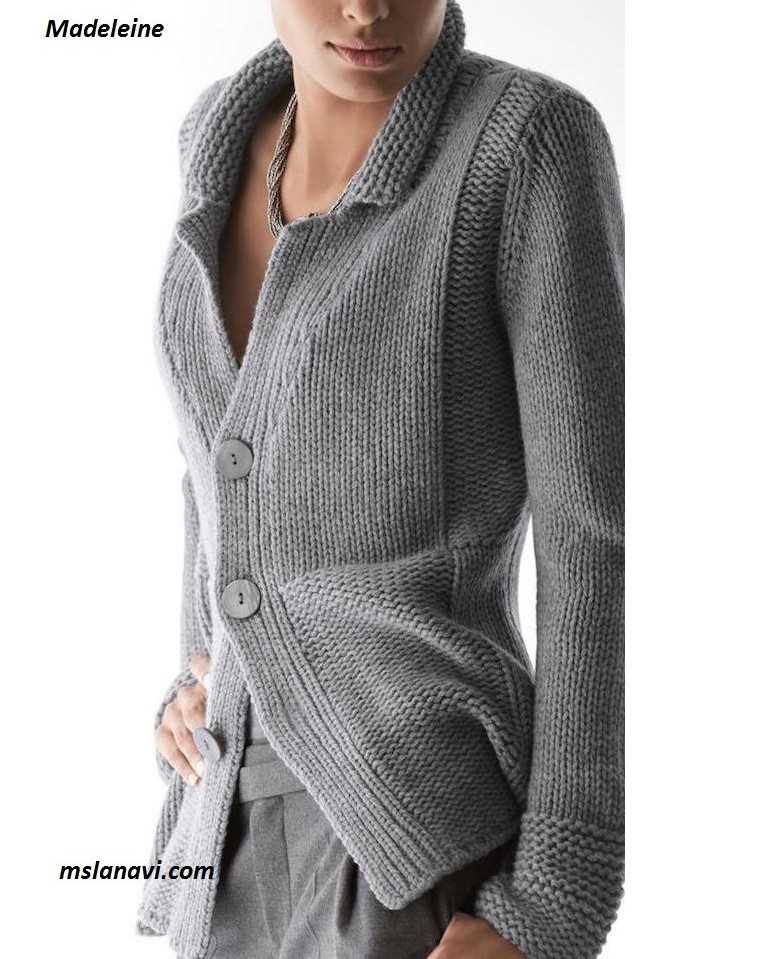
Knitting the Ribbing

When knitting a simple cardigan, one of the first steps is to create the ribbing. The ribbing adds elasticity and structure to the garment, making it fit snugly around the waist, wrists, and neckline.
To start knitting the ribbing, you will need to cast on the desired number of stitches using a long-tail cast on method. This cast on method creates a stretchy edge that blends in seamlessly with the ribbing pattern. It is important to make sure your cast on stitches are not too tight or too loose, as this can affect the overall fit of the cardigan.
Once you have cast on the stitches, you will begin working in a rib stitch pattern. The most common rib stitch pattern is the 1×1 rib, which alternates between knitting and purling each stitch. This creates a raised, textured pattern that is both visually appealing and functional.
When knitting the ribbing, it is important to maintain an even tension throughout your work. This will ensure that the ribbing has a consistent appearance and fits well when worn. If your tension is too tight, the ribbing may appear pulled and constricted. If your tension is too loose, the ribbing may appear loose and floppy.
After completing the desired length of ribbing, you will be ready to move on to the main body of the cardigan. The ribbing serves as a foundation for the rest of the knitting, providing structure and stability to the garment. With the ribbing complete, you can continue knitting your simple cardigan pattern, following the instructions for shaping, sleeves, and any other design elements.
Creating the Body of the Cardigan
Once you have completed the ribbing for the bottom hem of the cardigan, it’s time to move on to creating the body. This is where you will knit the majority of the cardigan, making it the longest and most time-consuming part of the project. However, the end result will be well worth the effort.
To begin, continue knitting in the stitch pattern that you established for the ribbing. This will ensure a cohesive look throughout the entire garment. If you’re using a plain stitch pattern, such as stockinette or garter stitch, simply continue knitting every row. If you’re using a more complex stitch pattern, make sure to follow the instructions carefully to maintain the desired pattern.
As you knit the body, be sure to periodically check your gauge to ensure that you’re still on track. This is especially important if you’re using a stitch pattern that may affect the overall size of the cardigan. Adjust your tension as needed to maintain the correct gauge.
If the pattern calls for any shaping, such as increases or decreases, be sure to follow the instructions and place markers as necessary. These shaping techniques will help create a flattering fit for the cardigan. Make sure to carefully read the pattern and consult any accompanying charts or diagrams to ensure that you’re executing the shaping correctly.
Continue knitting the body of the cardigan until you reach the desired length. This will depend on your personal preference and the style of the cardigan you’re creating. If you’re unsure, refer to the pattern for guidance. Once you’ve reached the desired length, you’re ready to move on to the next step in constructing the cardigan.
Shaping the Sleeves
Once you have completed the body of your cardigan, it’s time to shape the sleeves. Depending on the pattern, you may be instructed to pick up stitches along the armhole edge or to use a separate set of needles. In either case, you will need to follow the pattern’s instructions for the sleeve shaping.
Typically, sleeve shaping involves decreasing stitches to create a taper that conforms to the shape of the arm. This is done by working decreases at regular intervals along the rows. The specific type of decrease and the number of decreases will vary depending on the pattern.
Top-Down Sleeves

If you are knitting a top-down cardigan, you will start the sleeve shaping at the top of the armhole. This is usually done by working a series of decrease rows, where you decrease a certain number of stitches on each side of the row.
For example, the pattern may instruct you to decrease 1 stitch at the beginning and end of every other row for a certain number of times. This gradually reduces the number of stitches on the needle and creates the tapered sleeve shape.
Bottom-Up Sleeves
If you are knitting a bottom-up cardigan, you will start the sleeve shaping at the cuff. This is usually done by working a series of increase rows, where you increase a certain number of stitches on each side of the row.
For example, the pattern may instruct you to increase 1 stitch at the beginning and end of every other row for a certain number of times. This gradually increases the number of stitches on the needle and creates the tapered sleeve shape.
Once you have completed the sleeve shaping, you can continue to work the sleeves in the pattern stitch until they reach the desired length. Make sure to follow the pattern’s instructions for any additional shaping or finishing details, such as binding off or working ribbing at the cuff.
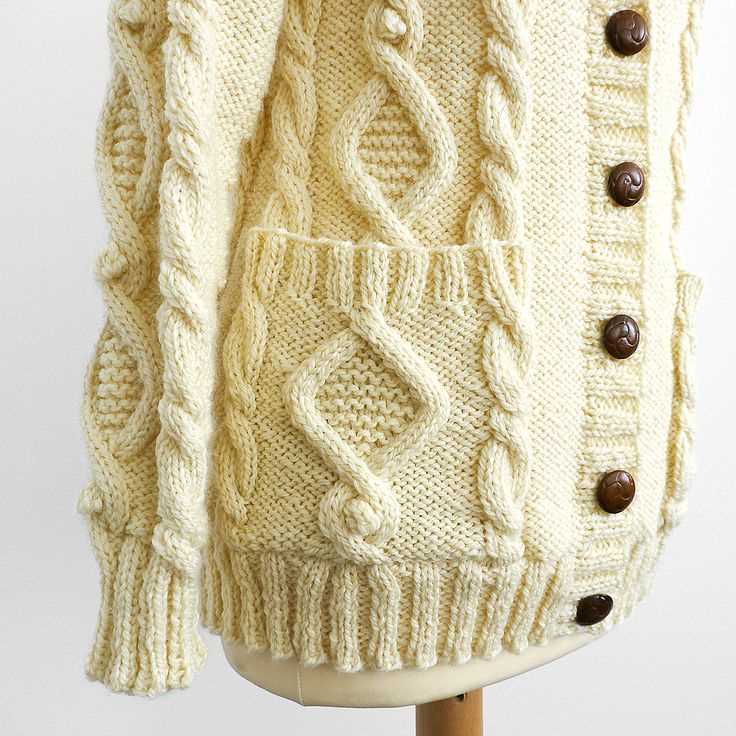
Adding Buttonholes
When knitting a cardigan, one important detail to consider is the addition of buttonholes. Buttonholes are necessary to attach buttons to the front of the cardigan and provide a closure. Adding buttonholes to your knitting project can be done in a few simple steps.
Step 1: Determine the placement of the buttonholes by referring to the pattern or creating your own design. Typically, buttonholes are evenly spaced along the edge of the cardigan where the buttons will be sewn.
Step 2: Once you have determined the placement of the buttonholes, it’s time to create them. There are several methods to create buttonholes, but the most common technique is to bind off a few stitches and then cast on the same number of stitches on the next row to create an opening for the button. This can be done by following these steps:
- Knit to the position where the buttonhole should begin
- Bind off the desired number of stitches for the buttonhole by passing the first stitch over the second stitch
- Continue knitting until the end of the row
- On the next row, cast on the same number of stitches that were bound off in the previous row by using the backward loop method or the cable cast on method
- Continue knitting as instructed in the pattern
Step 3: Repeat these steps for each desired buttonhole, making sure to maintain consistency in size and placement. Once all the buttonholes have been added, continue knitting the cardigan as instructed in the pattern.
By following these steps, you can easily add buttonholes to your cardigan knitting project. Remember to take your time and carefully follow the instructions to ensure a professional-looking finish. Happy knitting!
Finishing the Edges
Once you have completed knitting the main body of the cardigan, it is time to finish the edges. This step will give your cardigan a polished look and help prevent the edges from curling.
One option to finish the edges is to use a ribbed border. Knit a few rows of ribbing, alternating between knit and purl stitches, to create a stretchy and neat border. This will also add structure to the edges, making them more durable and less prone to stretching out over time.
If you prefer a simpler edge, you can opt for a garter stitch border. The garter stitch is created by knitting every row, resulting in ridges that add texture to the edge. This border is easy to knit and gives a clean and classic finish to your cardigan.
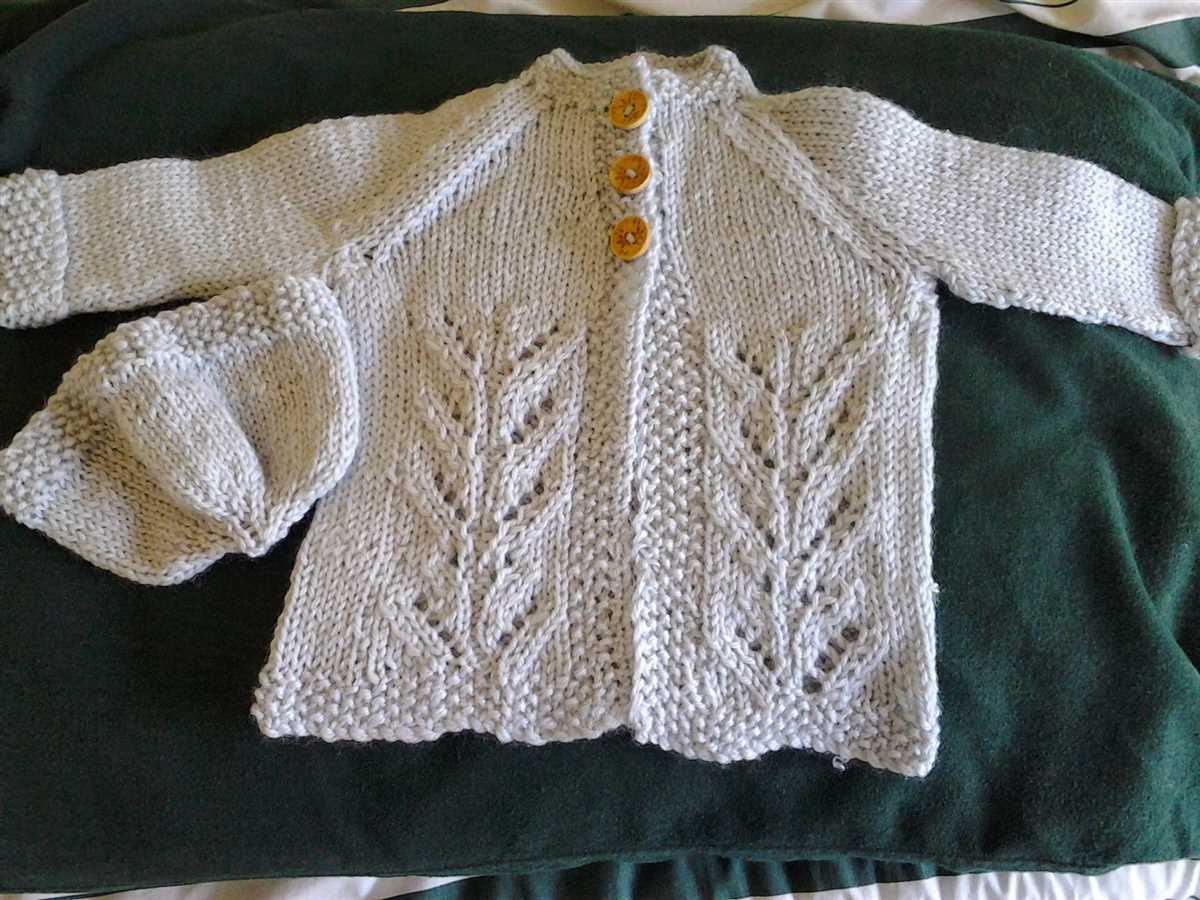
Another option for finishing the edges is to add a picot edge. To create a picot edge, you will need to cast on a few extra stitches at the beginning of the row. Then, on the next row, knit the first two stitches together to create a decrease. Repeat this pattern across the row to create a decorative picot edge. This technique adds a delicate and feminine touch to your cardigan.
Regardless of the finishing method you choose, make sure to bind off your stitches carefully to ensure a neat and secure edge. Take your time to weave in any loose ends and trim them to ensure a clean and professional-looking finish.
In summary, finishing the edges of your cardigan is an important step to complete your knitting project. Whether you choose a ribbed border, a garter stitch border, or a picot edge, make sure to pay attention to detail and take pride in your craftsmanship. With the right finishing touches, your cardigan will be ready to wear and showcase your knitting skills.
Sewing the Sleeves and Side Seams
Once you have completed knitting the cardigan pieces, it’s time to sew the sleeves and side seams together. This is an important step in finishing your cardigan and ensuring that it fits well.
Sleeves: Begin by placing the front and back pieces of the cardigan flat on a table or surface, right side up. Take one of the sleeves and align the cuff edge with the armhole opening on the front piece. Use a tapestry needle and matching yarn to sew the sleeve to the front piece, using a whipstitch or mattress stitch. Repeat this process for the other sleeve and the back piece of the cardigan.
Side seams: To sew the side seams of your cardigan, fold the cardigan in half lengthwise with the right sides together. Align the underarm edges of the sleeves and the bottom edges of the front and back pieces. Use a whipstitch or mattress stitch to sew the side seams, starting from the cuff edge and working your way up to the underarm. This will create a neat and seamless finish for your cardigan.
Once you have finished sewing the sleeves and side seams, make sure to weave in any loose ends and give your cardigan a gentle blocking to help it retain its shape. Your simple cardigan is now complete and ready to be worn or gifted to someone special.
Blocking and Care Instructions

Once you have completed your cardigan, it is important to properly block it to ensure the best fit and finish. Blocking is the process of gently shaping the knitted fabric to the desired measurements and allowing it to dry in that shape. This helps to even out any uneven stitches, open up lace patterns, and give the cardigan a polished look.
To block your cardigan, follow these steps:
- Gently soak the cardigan in lukewarm water with a gentle wool wash or mild detergent for about 15-20 minutes. Avoid rubbing or agitating the garment too much to prevent felting.
- Drain the water and gently squeeze out excess moisture. Do not twist or wring the fabric.
- Lay the cardigan flat on a clean towel and gently shape it to the desired measurements, paying attention to the length, width, and collar. Smooth out any wrinkles or puckering.
- Use rust-proof pins to secure the cardigan in place, making sure to pin along the edges and any areas that need shaping.
- Leave the cardigan to dry completely, preferably in a well-ventilated area away from direct sunlight or heat sources.
- Once the cardigan is dry, unpin it and gently reshape it if needed.
Important: It is recommended to always follow the care instructions specific to the yarn you have used for your cardigan. However, as a general guideline for wool cardigans, it is best to hand wash them in lukewarm water with a gentle wool wash or mild detergent. Avoid twisting or wringing the fabric and instead gently squeeze out excess moisture. Lay flat to dry to maintain the shape and prevent stretching. It is also a good idea to store your cardigan folded or hung to prevent creasing.
Conclusion: With these blocking and care instructions, you can ensure that your knitted cardigan will maintain its shape and last for years to come. Taking the time to properly block and care for your garment not only enhances its appearance but also helps to preserve the integrity of the stitches and the overall quality of the cardigan.