
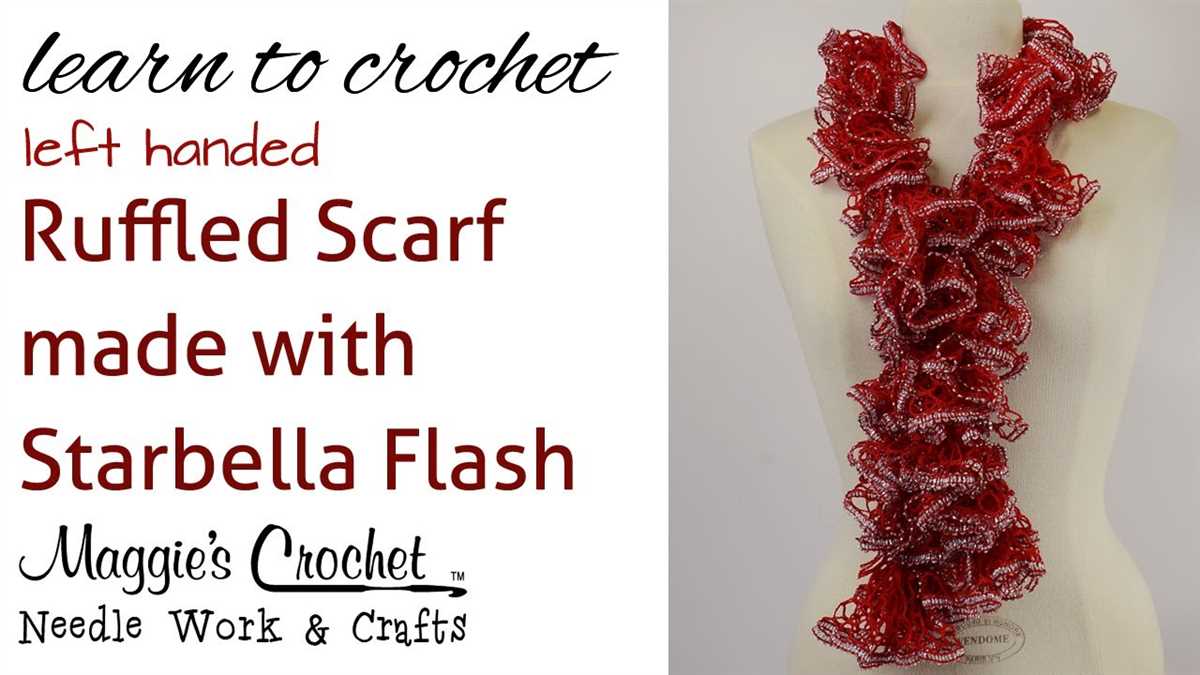
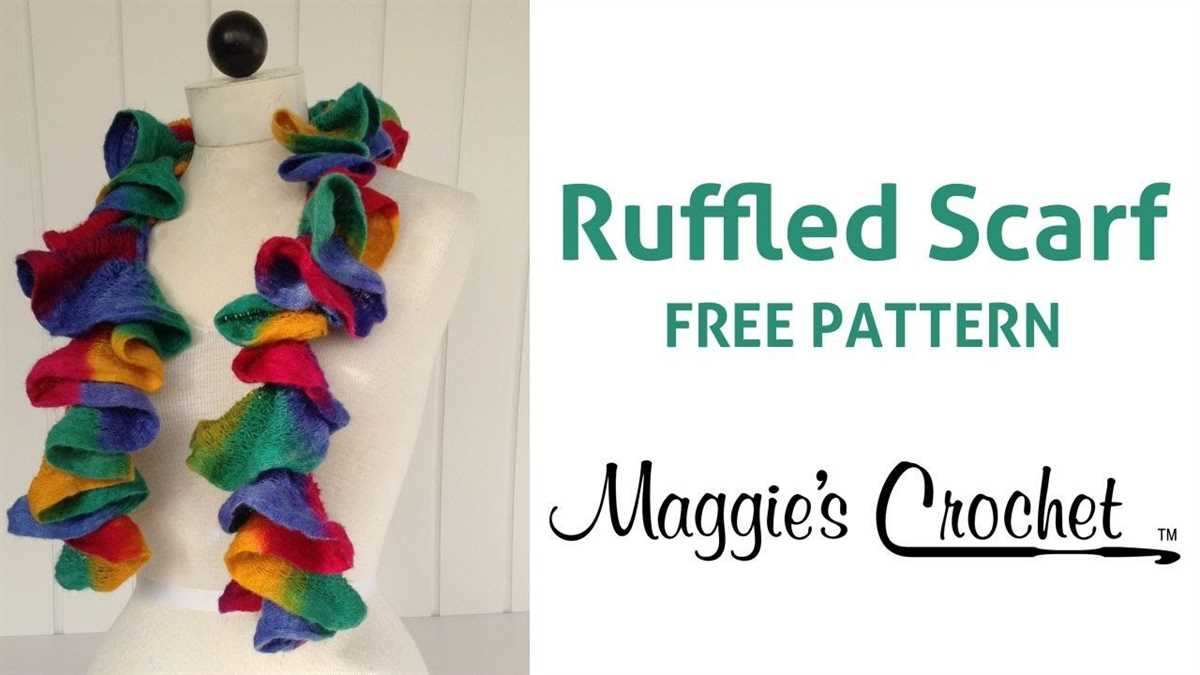
Knitting a ruffle scarf can be a fun and rewarding project for both beginners and experienced knitters alike. One popular pattern that is sure to catch your eye is the Starbella ruffle scarf knit pattern. This pattern features a unique and eye-catching ruffle design that is sure to turn heads wherever you go.
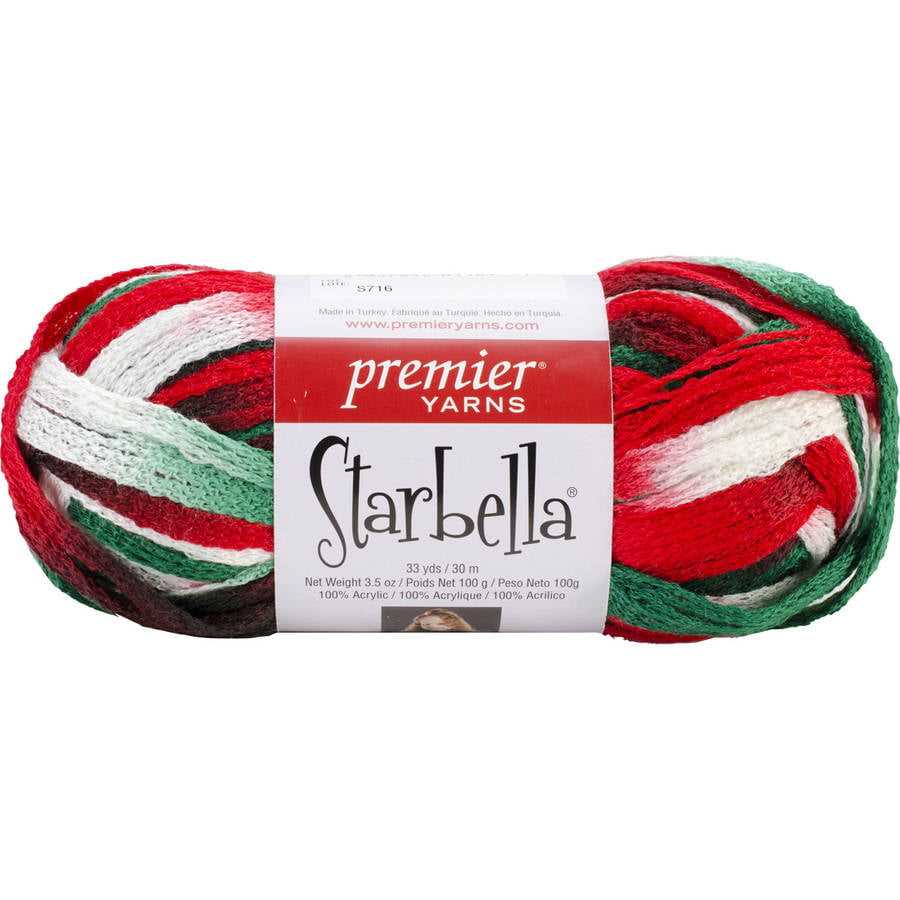
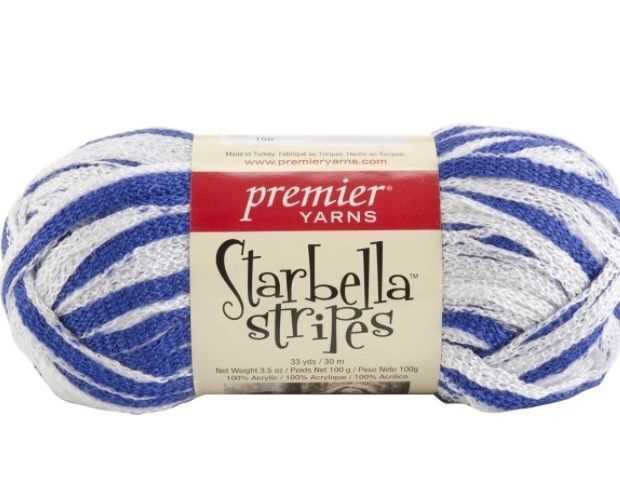
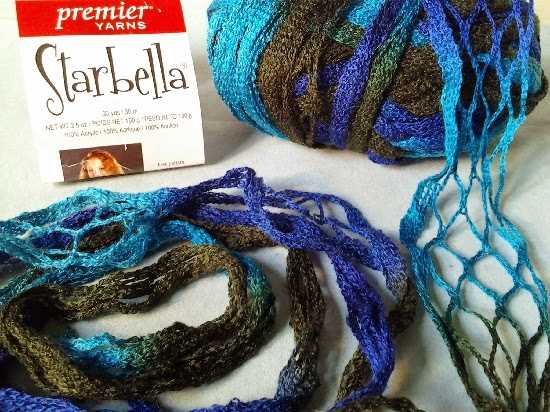
The Starbella ruffle scarf knit pattern utilizes a specific type of yarn called Starbella, which is known for its ruffled texture. This yarn creates a beautiful ruffle effect when knitted, giving your scarf a stylish and dramatic look. The pattern itself is relatively simple and easy to follow, making it a great choice for knitters of all skill levels.
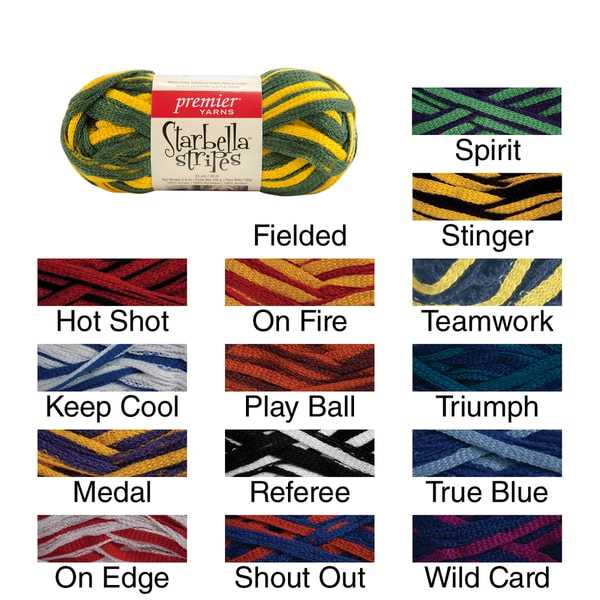
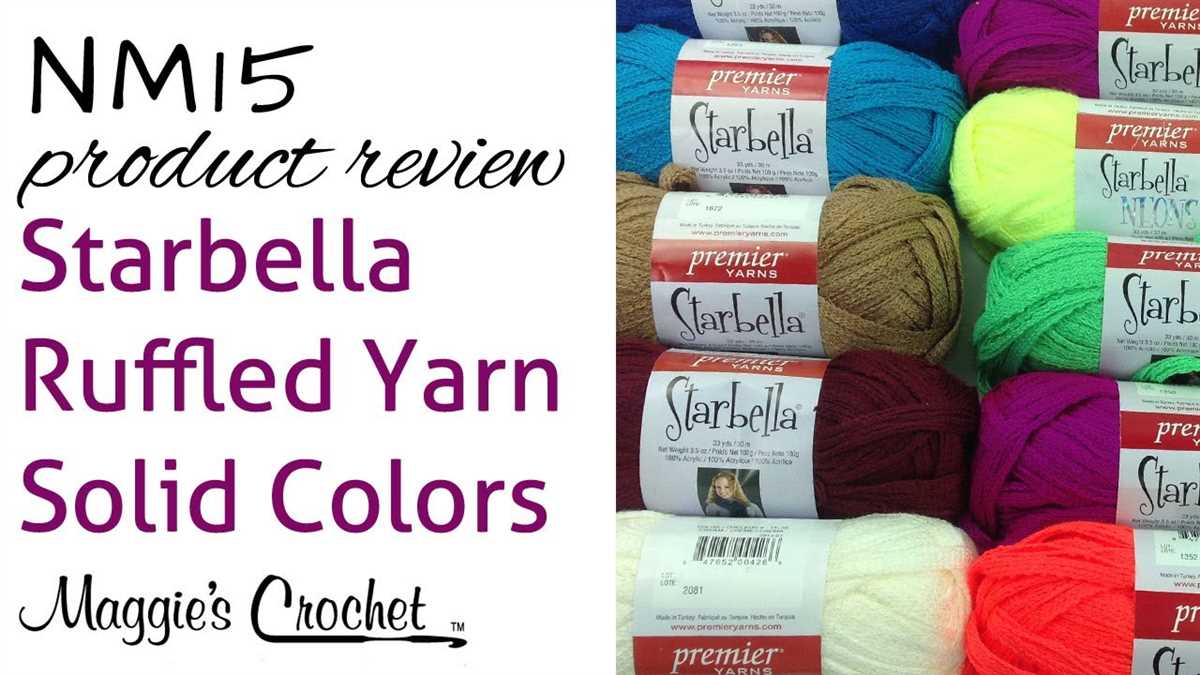
When knitting the Starbella ruffle scarf, you can choose from a wide range of colors to fit your personal style and taste. From vibrant and bold hues to more subtle and neutral tones, there is a color option to suit every preference. Plus, the ruffle design of this scarf allows it to be worn in a variety of ways, making it a versatile accessory for any outfit or occasion.
Whether you are a seasoned knitter looking for a new project or a beginner wanting to try something different, the Starbella ruffle scarf knit pattern is a great choice. With its unique ruffle design and simple yet stylish pattern, you are sure to create a scarf that will make a bold fashion statement. So grab your needles and yarn and start knitting your very own Starbella ruffle scarf today!
Starbella Ruffle Scarf Knit Pattern: Easy Guide to Creating a Fashionable Accessory

If you’re looking to create a stylish and trendy accessory, look no further than the Starbella ruffle scarf knit pattern. With its unique design and cascading ruffles, this scarf is sure to make a statement wherever you go.
The Starbella ruffle scarf is surprisingly easy to make, even for beginners. The pattern requires only basic knitting skills and can be completed in just a few hours. All you need is a skein of Starbella ruffle yarn, a pair of knitting needles, and some patience.
To start, simply cast on the required number of stitches onto your knitting needles. The exact number will vary depending on the size and length of the scarf you want to make. Once you have cast on, begin knitting rows of stitches until your scarf reaches the desired length.
What sets the Starbella ruffle scarf apart is its unique construction. Unlike traditional scarves that are knit in a flat, rectangular shape, the Starbella ruffle scarf is knit in a spiral. This creates the cascading ruffles that give the scarf its distinctive look.
To achieve the ruffle effect, simply knit the stitches as normal, allowing the yarn to naturally fold and twist into ruffles as you go. The yarn will guide you as you knit, and the ruffles will appear on their own as you continue knitting.
Once you have finished knitting the scarf, simply bind off your stitches and weave in any loose ends. The result will be a fashionable and eye-catching accessory that is sure to turn heads.
Whether you’re knitting the Starbella ruffle scarf for yourself or as a gift for someone else, you’ll be amazed at how easy and fun it is to create this stylish accessory. So grab your knitting needles and get started on your own Starbella ruffle scarf today!
What is a Starbella Ruffle Scarf?
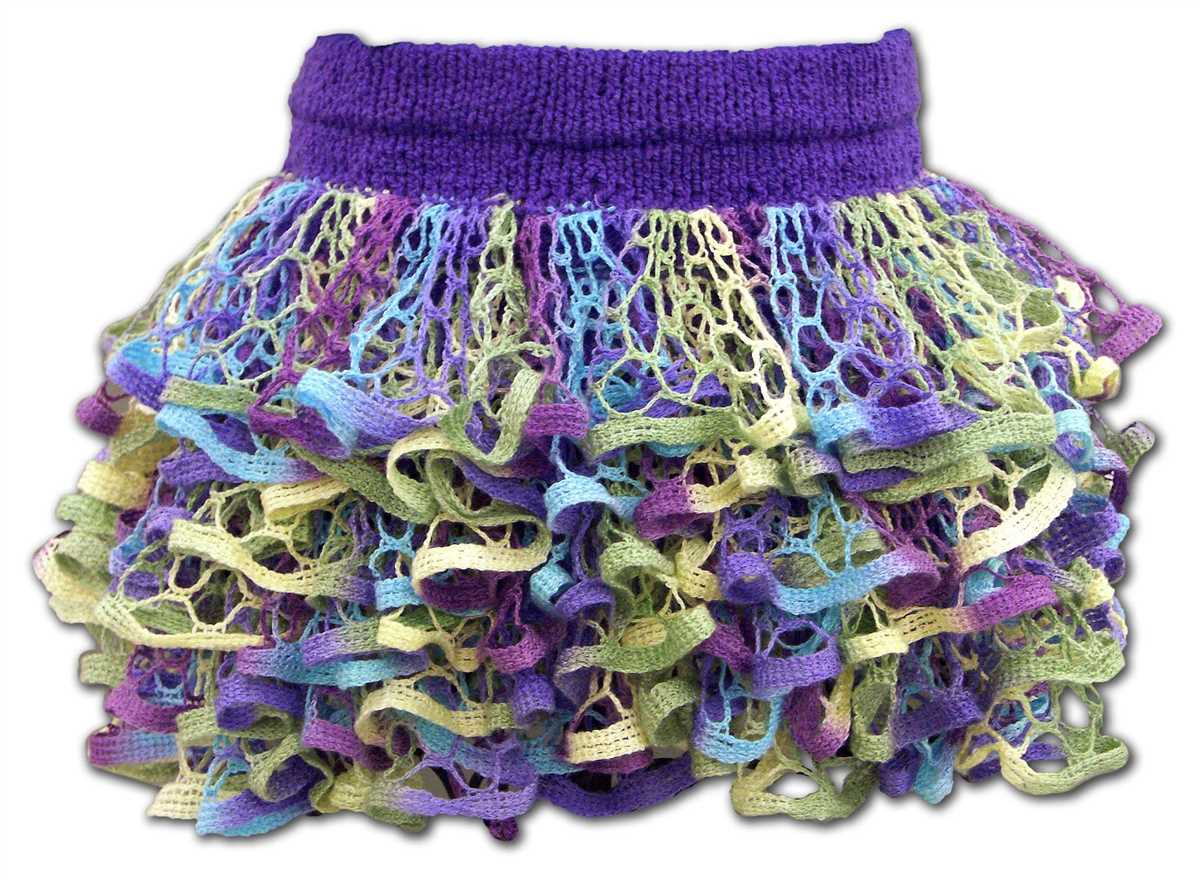
A Starbella Ruffle Scarf is a type of knitted scarf made using a specific yarn called Starbella. This yarn is unique in that it creates a ruffled effect when knitted, resulting in a scarf with a textured and voluminous appearance.
To create a Starbella Ruffle Scarf, you would typically use a knitting technique called the “ruffle scarf knit pattern.” This pattern involves casting on stitches and then knitting through the holes along the edge of the yarn, creating the ruffled effect. The pattern can be simple or complex, depending on the desired outcome.
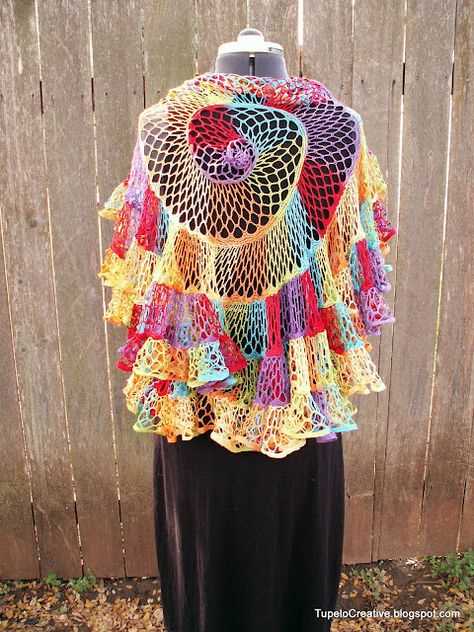
Starbella yarn is available in a variety of colors and textures, allowing for creativity and customization when knitting the scarf. This yarn is often used to create fashion-forward and eye-catching accessories, such as scarves and shawls.
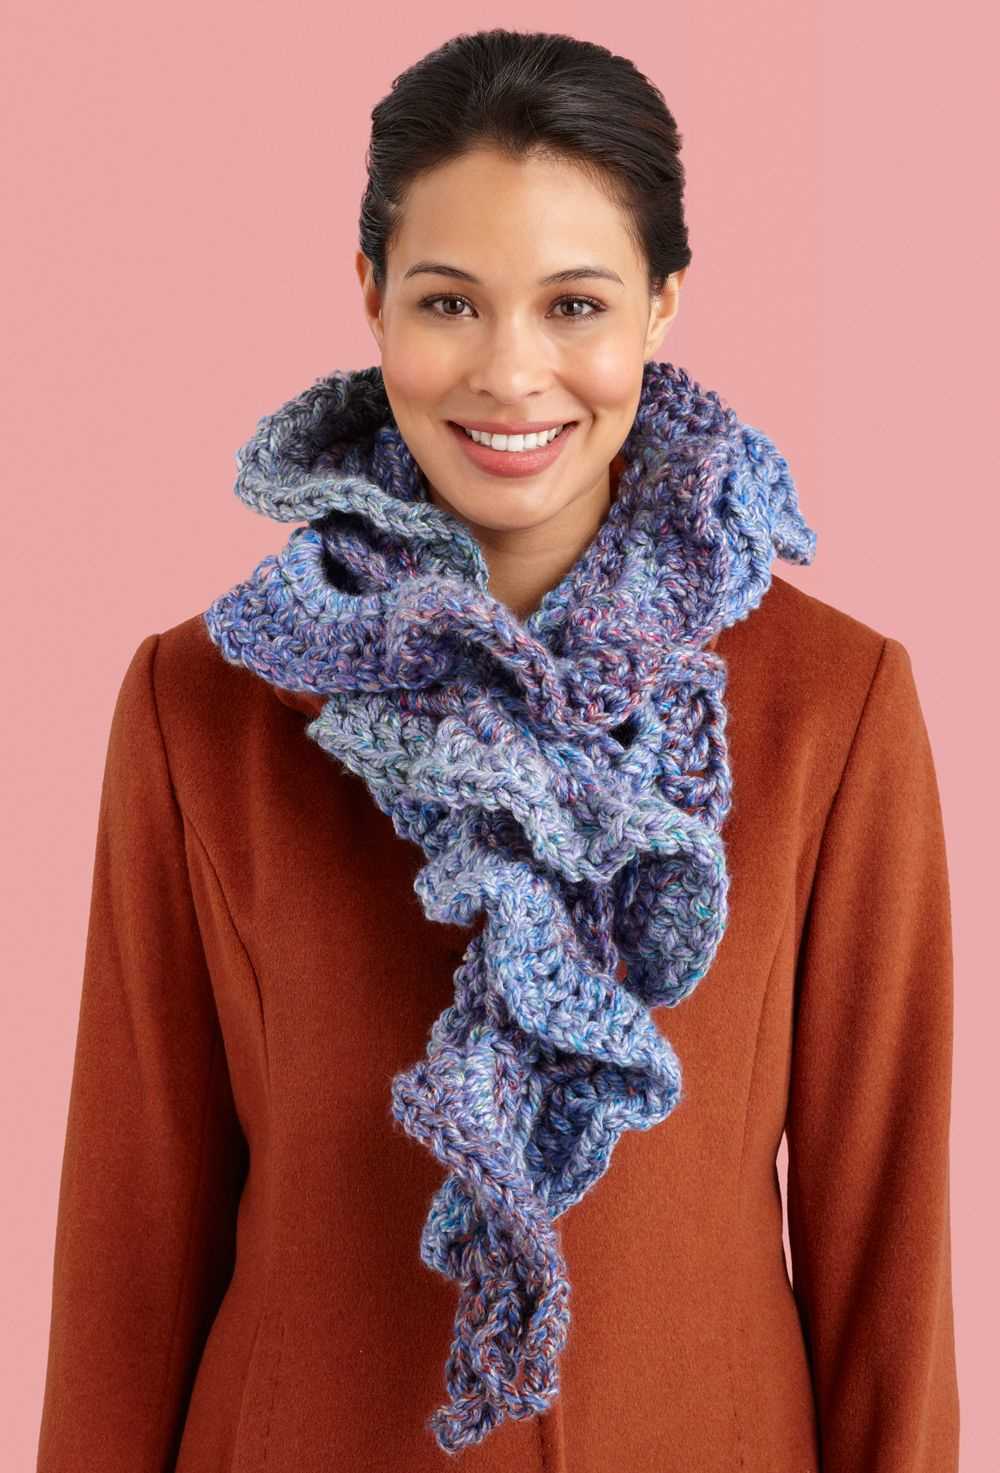
When wearing a Starbella Ruffle Scarf, you can expect to make a bold fashion statement. The scarf’s unique texture and volume add a touch of drama to any outfit, making it a stylish and trendy accessory.
Moreover, the ruffled design of the scarf provides warmth and comfort during colder seasons. The layers created by the ruffles help to trap heat, keeping the wearer cozy and snug.
Whether you’re looking to add a fashionable accessory to your wardrobe or wanting to knit a statement piece, a Starbella Ruffle Scarf is a great choice. Its unique texture, voluminous appearance, and warmth make it a versatile and fashionable accessory for both casual and formal occasions.
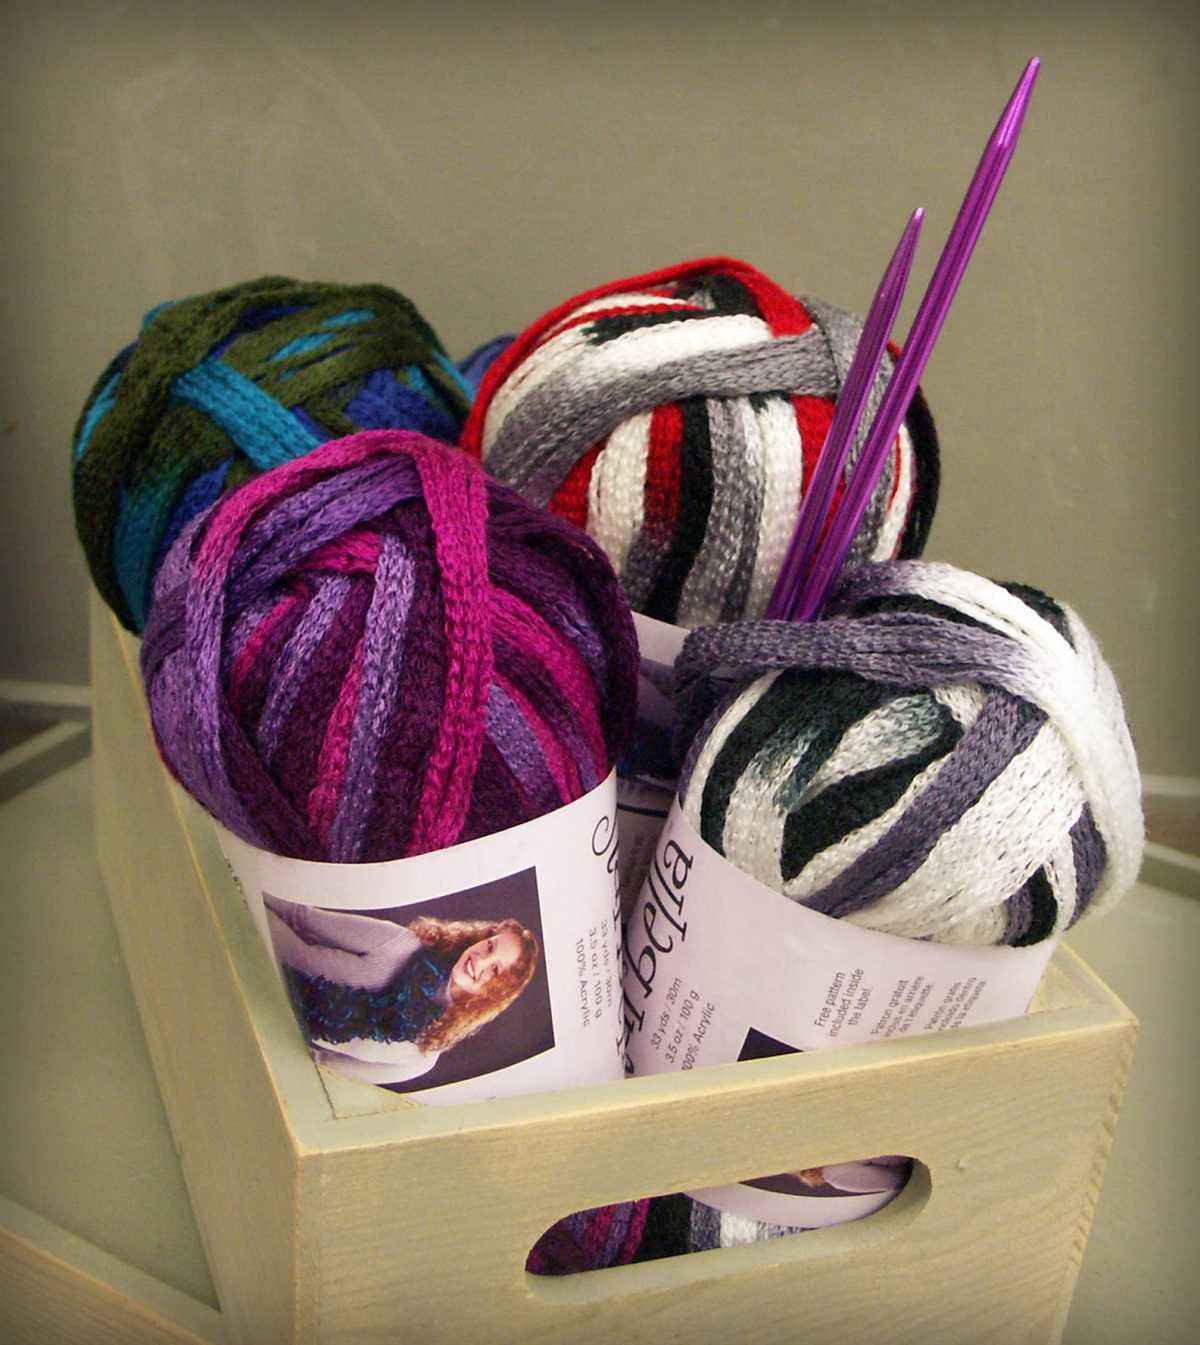
Choosing the Right Yarn

When it comes to knitting a Starbella ruffle scarf, selecting the right yarn is essential. The yarn you choose will not only affect the overall look and feel of the scarf, but also how easy or difficult it is to knit. With so many yarn options available, it can be overwhelming to make a decision. However, considering a few key factors can help you narrow down your choices and find the perfect yarn for your project.
1. Weight: The weight of the yarn refers to its thickness and can have a significant impact on the finished scarf. Starbella ruffle scarves typically require a bulky or super bulky weight yarn. These thicker yarns create larger and more pronounced ruffles, giving the scarf a full and voluminous appearance. Using a lighter weight yarn may result in smaller and less defined ruffles.
2. Fiber: Another important factor to consider when choosing yarn is the fiber content. Different fibers have different properties that can affect the drape, warmth, and durability of the scarf. Acrylic yarns are popular choices for Starbella ruffle scarves because they are affordable, easy to care for, and come in a wide range of colors. However, you can also experiment with other fibers, such as wool or cotton, to achieve different effects.
3. Texture:
The texture of the yarn can also play a role in the final appearance of the scarf. Starbella ruffle scarves are designed to have a textured and ruffled look, so choosing a yarn with a slightly textured or boucle finish can enhance this effect. However, if you prefer a smoother and more uniform look, a yarn with a smoother texture may be more suitable.
Overall, finding the right yarn for your Starbella ruffle scarf project is a personal decision that depends on your preferences and the look you want to achieve. By considering factors such as weight, fiber, and texture, you can choose a yarn that will make your scarf both beautiful and enjoyable to knit.
Selecting the Right Needle Size
When starting a Starbella ruffle scarf knit pattern, one of the important factors to consider is selecting the right needle size. The right needle size will not only affect the overall look and drape of the finished scarf, but it will also determine the ease and comfort of the knitting process.
1. Gauge: Before starting the pattern, it is crucial to check the gauge mentioned in the pattern instructions. The gauge refers to the number of stitches and rows per inch achieved with a particular needle size. By knitting a swatch using the recommended needle size, you can compare your gauge with the pattern’s gauge to ensure accuracy and a proper fit.
2. Yarn Weight: Another important factor to consider when selecting the right needle size is the weight of the yarn you are using. Different yarn weights require different needle sizes to achieve the desired tension. Fine yarns such as lace or fingering weight will typically require smaller needle sizes, while bulkier yarns like chunky or super bulky may require larger needle sizes to create a balanced fabric.
3. Pattern Effect: The needle size you choose will also affect the overall appearance of the ruffles in the Starbella ruffle scarf. A smaller needle size will create tighter and more defined ruffles, while a larger needle size will result in looser and softer ruffles. Consider the desired effect and choose a needle size accordingly.
4. Personal Preference: Ultimately, the choice of needle size also depends on personal preference and knitting style. Some knitters may prefer a tighter or looser tension, depending on their knitting speed and comfort. Experiment with different needle sizes to find the one that feels most comfortable for you and creates the aesthetic you desire for your ruffle scarf.
In conclusion, selecting the right needle size for your Starbella ruffle scarf knit pattern involves considering the pattern’s gauge, yarn weight, desired effect, and personal preference. Taking these factors into account will ensure a successful and enjoyable knitting experience, resulting in a beautifully crafted ruffle scarf.
Understanding the Knitting Techniques
Knitting is a popular craft that involves creating fabric by interlocking loops of yarn with knitting needles. To create the Starbella ruffle scarf, it is important to understand a few key knitting techniques:
Garter Stitch

The garter stitch is one of the basic knitting stitches used in the Starbella ruffle scarf pattern. It is created by knitting every stitch on every row. This creates a fabric that is reversible and has a ridged texture. The garter stitch is often used for borders, cuffs, and scarves.
Stockinette Stitch
The stockinette stitch is another basic knitting stitch used in the Starbella ruffle scarf pattern. It is created by knitting one row and purling the next row. This creates a smooth fabric on one side, called the “right side,” and a bumpy texture on the other side, called the “wrong side.” The stockinette stitch is commonly used for garment fronts and backs.
Increase and Decrease Techniques

To create the ruffles in the Starbella ruffle scarf, increase and decrease techniques are used. Increases involve adding additional stitches to the knitting, while decreases involve reducing the number of stitches. These techniques are used strategically in the pattern to create the desired ruffle effect.
Working with Ruffle Yarn
The Starbella yarn used in this pattern is a ruffle yarn, which means it has a unique texture and construction. When knitting with ruffle yarn, it is important to keep the tension loose to allow the ruffles to form. The yarn can be challenging to work with at first, but with practice, it becomes easier to create the desired ruffle effect.
By understanding these knitting techniques and practicing with the Starbella ruffle scarf pattern, you can create a beautiful and unique scarf that showcases your knitting skills.
Casting On – Getting Started
Before you start knitting your Starbella ruffle scarf, you’ll need to cast on. Casting on is the process of creating the first row of stitches on your knitting needle. It’s important to cast on evenly and tightly to ensure that your scarf turns out the right size and has a neat, professional look.
To cast on for the Starbella ruffle scarf, you’ll need to use a technique called the long tail cast on. This method creates a neat, elastic edge that is perfect for this type of scarf. To begin, you’ll need to estimate how much yarn you’ll need for the cast on. The general rule of thumb is to measure out one inch of yarn for each stitch you plan to cast on, plus a little extra for the tail.
Once you have measured out the yarn, make a slip knot by folding the yarn over itself and pulling the end through the loop. Place the slip knot on your knitting needle, holding the tail and working yarn in different hands. To cast on, use your thumb and index finger to hold the slip knot and working yarn together. Insert the needle into the slip knot, from front to back, and then wrap the working yarn around the needle.
Next, bring the needle forward and through the loop of yarn on your thumb, creating a new stitch. Gently tighten the stitch by pulling on the working yarn. Repeat this process to cast on the desired number of stitches for your ruffle scarf.
Once you have cast on all the stitches, you’re ready to start knitting your Starbella ruffle scarf using the pattern instructions. Remember to keep your tension even and to follow the pattern carefully to achieve the desired result. With a little practice and patience, you’ll soon have a beautiful ruffle scarf to wear or give as a gift!
Creating the First Row
To start knitting the Starbella ruffle scarf, you will need to create the first row of stitches. This initial row will set the foundation for the ruffle pattern and determine the length of your scarf. Make sure you have all the necessary knitting tools and supplies, including a pair of knitting needles suitable for the type of yarn you are using.
Begin by casting on the desired number of stitches. If you are following a specific pattern, refer to the instructions for the recommended number of stitches. Typically, the cast-on number for a Starbella ruffle scarf is around 12-15 stitches. Use the long-tail cast-on method or any other preferred cast-on method.
Step 1: Hold the knitting needle with the slip knot in your right hand, and insert the left-hand needle into the slip knot from left to right.
Step 2: Wrap the yarn around the right-hand needle (the working yarn) from back to front, creating a loop.
Step 3: Use the tip of the right-hand needle to pull the loop through the slip knot, creating a new stitch on the right-hand needle.
Step 4: Repeat steps 2 and 3 to continue casting on stitches until you reach the desired number. Make sure to maintain an even tension throughout the cast-on process.
Once you have cast on the required number of stitches, you are ready to begin knitting the first row of your Starbella ruffle scarf. You can follow the specific pattern instructions for the row, which will typically involve alternating knit and purl stitches to create the desired ruffle effect. Take your time and enjoy the process of creating each stitch, and soon you will have a beautiful ruffle scarf to wear or gift to someone special.
Continuing the Pattern
Once you have mastered the basic Starbella ruffle scarf knit pattern, you can continue to create more stunning and intricate designs. One way to do this is by experimenting with different stitch patterns. By incorporating different knit and purl stitches into your pattern, you can create unique textures and patterns within the ruffles of the scarf. This adds an extra level of visual interest and complexity to your finished piece.
Another way to continue the pattern is by using multiple colors of yarn. The Starbella ruffle yarn comes in a variety of vibrant colors, and you can incorporate different shades into your scarf to create a striped or gradient effect. This adds depth and dimension to your scarf, making it even more eye-catching and stylish.
Additionally, you can incorporate other types of yarn into your Starbella ruffle scarf. For example, you can use a contrasting yarn to create a border or trim around the edges of the ruffles. This adds a pop of color and a touch of elegance to your scarf.
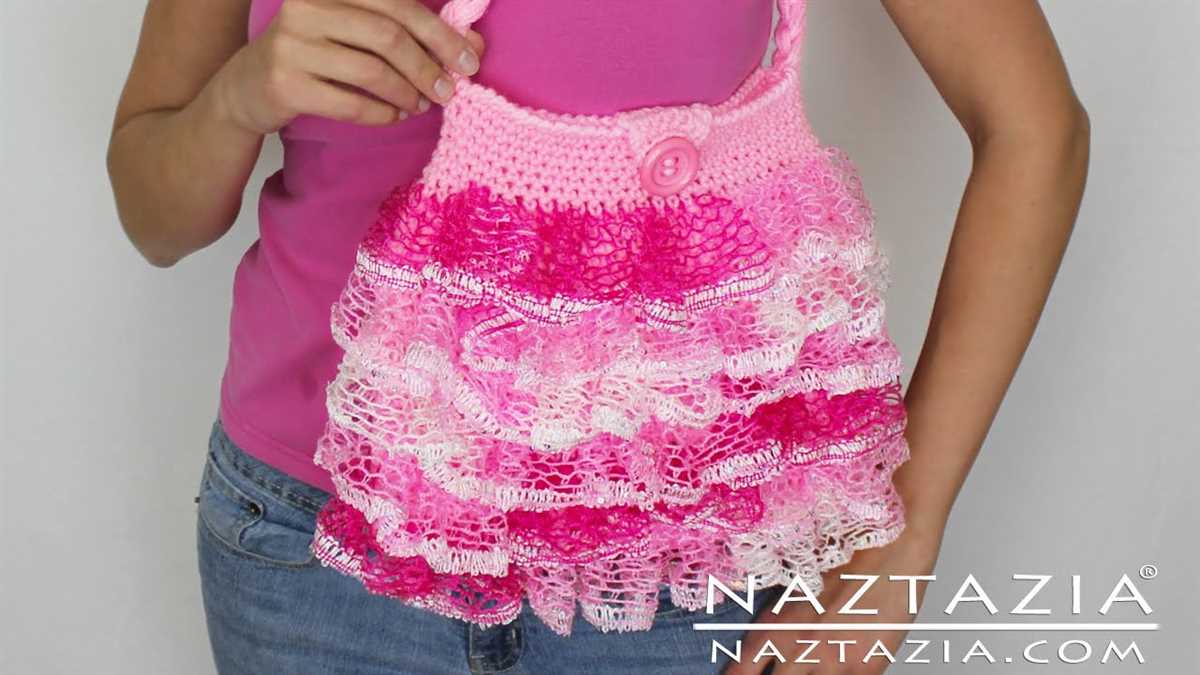
To further personalize your scarf, you can also experiment with adding embellishments such as beads or buttons. You can sew these onto your scarf to create unique accents and focal points. This allows you to add your own personal touch and make your scarf truly one-of-a-kind.
Overall, the Starbella ruffle scarf knit pattern provides a great foundation for creating beautiful and stylish scarves. With a little creativity and experimentation, you can continue to expand on this pattern and create your own unique designs. Whether you choose to play with stitch patterns, incorporate multiple colors, or add embellishments, the possibilities are endless. So grab your knitting needles and let your imagination run wild!
Binding Off – Finishing Touches
After completing the Starbella ruffle scarf knit pattern, it’s time to give it the finishing touches by binding off. The binding off process ensures that the stitches are secure and prevents them from unraveling. Here are the steps to bind off your ruffle scarf:
- Knit the first two stitches. Start by knitting the first two stitches of your scarf. This will create a secure edge for binding off.
- Pass the first stitch over the second stitch. Take the first knitted stitch and lift it up and over the second knitted stitch, passing it off the needle. This binds off one stitch.
- Knit one stitch. After binding off a stitch, knit the next stitch on your needle. This will create a new stitch to bind off.
- Repeat steps 2 and 3. Continue to pass the bound off stitch over the newly knitted stitch, and then knit another stitch. Repeat this process until you have bound off all the stitches on your needle.
Once you have bound off all the stitches, you can cut the yarn, leaving a long tail for weaving in. Weave in the loose ends by threading the yarn tail onto a yarn needle and sewing it into the fabric of the scarf. Make sure to secure the yarn tightly to prevent it from coming undone.
Now that your Starbella ruffle scarf is bound off and the loose ends are woven in, your project is complete! You can proudly wear your beautiful knitted scarf or gift it to someone special. The binding off process gives your scarf a polished and professional look, making it ready to be shown off and enjoyed.
Blocking the Finished Scarf
After completing the Starbella ruffle scarf knit pattern, you may find that the scarf has become curled or uneven. Blocking is an important finishing step that can help to straighten and shape the scarf, giving it a more polished and professional look.
To block the finished scarf, you will need a blocking board or a clean, flat surface. Start by laying out a clean towel on the surface to protect it from any moisture. Place the scarf on top of the towel, making sure it is spread out evenly with all the ruffles lying flat.
Next, you will need to wet the scarf. Fill a basin or sink with lukewarm water and gently submerge the scarf. Allow it to soak for about 15-20 minutes, or until the fibers are fully saturated. Make sure to avoid agitating or scrubbing the scarf, as this can cause damage to the delicate yarn.
Once the scarf is fully wet, carefully remove it from the water and gently squeeze out any excess moisture. Avoid wringing or twisting the scarf, as this can cause it to lose its shape.
Now, you can begin shaping the scarf. Lay it out on the blocking board or surface, gently arranging the ruffles in their desired position. You can use rustproof pins to hold the scarf in place, shaping it as needed. Make sure to pin down the edges and any areas that are particularly curled or uneven.
Leave the scarf to dry completely. This can take anywhere from a few hours to overnight, depending on the thickness of the yarn and the humidity of the room. Once the scarf is fully dry, carefully remove the pins and gently fluff the ruffles.
Blocking is an essential step to ensure that your Starbella ruffle scarf looks its best when worn or gifted. It helps to give the scarf a more polished and finished appearance while also helping to maintain its shape over time.
Tips and Tricks for a Professional Finish
When knitting a Starbella ruffle scarf, it’s important to pay attention to the details to ensure a professional finish. Here are some tips and tricks to help you achieve a polished look:
1. Use the right needle size:
Choosing the correct needle size is crucial for achieving the desired ruffle effect. Make sure to use the recommended needle size specified in the pattern. Using a needle that is too small may result in a tight and stiff fabric, while using a needle that is too large may result in a looser and less defined ruffle.
2. Check your tension:
Consistent tension is key to creating an even and professional-looking ruffle. Take the time to check your tension regularly while knitting to ensure that your stitches are uniform in size. If your tension is too tight or too loose, it may affect the overall appearance of the scarf.
3. Pay attention to your edges:
To achieve a neat and clean edge on your Starbella ruffle scarf, it’s important to pay attention to your selvedge stitches. Make sure to knit or purl these stitches consistently, following the pattern instructions. This will help prevent any uneven or messy edges.
4. Block your finished scarf:
Blocking your finished Starbella ruffle scarf can greatly improve its appearance. After completing the scarf, wet/block it according to the yarn’s instructions. This will help smooth out any uneven stitches and give the scarf a more polished look.
5. Take your time with the finishing touches:
Adding any final touches, such as attaching a decorative button or weaving in loose ends, can enhance the overall professional look of your Starbella ruffle scarf. Take your time to carefully sew any additions or weave in ends neatly to ensure that they blend seamlessly with the rest of the scarf.
By following these tips and tricks, you’ll be able to create a Starbella ruffle scarf with a professional finish that you can be proud of. Remember to always read and follow the pattern instructions, and don’t be afraid to experiment and add your own personal touches to make your scarf unique.
Ideas for Customizing Your Starbella Ruffle Scarf
The Starbella ruffle scarf is a versatile accessory that can be customized in many different ways to suit your personal style. Here are some ideas to help you create a unique and one-of-a-kind scarf:
- Color combinations: Mix and match different colors of Starbella yarn to create a multicolored scarf. You can choose colors that complement each other or create a bold, contrasting look.
- Adding embellishments: Embellish your scarf with buttons, beads, or charms. You can sew them onto the edges of the ruffles or attach them to the middle of each ruffle for a more eye-catching effect.
- Introducing other textures: Combine the Starbella yarn with other types of yarn to create interesting textures. For example, you can alternate rows of Starbella yarn with rows of a smooth cotton yarn for a more tactile scarf.
- Experimenting with stitch patterns: Try using different stitch patterns with the Starbella yarn to create unique effects. You can incorporate lace stitches, cables, or even simple knit and purl combinations to add variety to your scarf.
- Using multiple strands: Double or triple up on the Starbella yarn to create a thicker and chunkier scarf. This will give your scarf a more substantial look and feel.
With these customization ideas, you can make your Starbella ruffle scarf truly your own. Experiment with different options and have fun creating a scarf that reflects your personal style!