
If you’re tired of dealing with unruly hair or just want to add a touch of elegance to your hairstyle, a knit hair net may be the perfect accessory for you. Hair nets have been worn for centuries, and they can be both functional and fashionable. Whether you’re a beginner or an experienced knitter, this knit hair net pattern is sure to be a fun and rewarding project.
Made with lightweight and breathable yarn, this hair net will keep your hair securely in place without feeling tight or uncomfortable. The pattern features a delicate lace design that adds a touch of femininity to any hairstyle. Whether you’re going for a vintage-inspired updo or a simple ponytail, this hair net will add a touch of elegance to your look.
This knit hair net pattern is designed for intermediate knitters, but it can be easily modified for beginners. The pattern includes step-by-step instructions, as well as a stitch chart and a list of materials. With just a few basic knitting stitches and some patience, you’ll be able to create a beautiful hair net that you can wear for any occasion.
Knit Hair Net Pattern: Tips and Instructions
Knitting your own hair net can be a fun and practical project. Whether you’re looking for a vintage style accessory or a functional way to keep your hair in place, a knit hair net is a great option. Here are some tips and instructions for creating your own hair net.
Materials Needed:

- Size 4 knitting needles
- Fine weight yarn
- Tape measure
- Yarn needle
Instructions:
- Start by casting on 80 stitches using the long-tail cast-on method.
- Work in a knit 1, purl 1 rib pattern for about 2 inches to create the band of the hair net.
- Switch to a stockinette stitch pattern, knitting every row, for the body of the hair net.
- Continue knitting in stockinette stitch until the hair net measures approximately 8 inches in length.
- Begin decreasing stitches to shape the crown of the hair net. Work a knit 2 together decrease at the beginning and end of every row until you have 10 stitches remaining.
- Cut the yarn, leaving a long tail. Thread the tail through a yarn needle and slip the remaining stitches onto the needle.
- Remove the knitting needle and pull the yarn tight to close the top of the hair net.
- Use the yarn needle to weave in any loose ends.
A knit hair net is a versatile accessory that can be customized to fit your personal style. You can experiment with different yarn colors and textures to create a unique look. Whether you choose to wear it as a fashion statement or as a functional way to keep your hair in place, a knit hair net is sure to turn heads.
Tools and Materials for Knitting a Hair Net
When it comes to knitting a hair net, it’s important to have the right tools and materials on hand to ensure a successful and comfortable end result. Here are some essential items you’ll need:
Yarn:

Choosing the right yarn for your hair net is essential. Opt for a lightweight and breathable yarn that will provide a comfortable fit. Cotton or linen yarns are popular choices for hair nets, as they are natural fibers that offer breathability while also being durable.
Knitting Needles:
Having the right knitting needles is crucial for creating your hair net. Choose needles that are appropriate for the yarn you’ve selected. For a lightweight yarn, you’ll want to use smaller needles, such as US size 1 or 2 (2.25mm or 2.75mm). These smaller needles will create a tighter knit, resulting in a more secure hair net.
Stitch Markers:
Stitch markers are handy tools that can help you keep track of your stitches and rounds. They can be particularly useful when knitting in the round to mark the beginning of each round. This is important for maintaining the correct shape and size of your hair net.
Row Counter:
A row counter is a useful tool for keeping track of the number of rows you’ve knitted. This is especially important if you’re following a specific pattern or if you want to ensure your hair net has a consistent size and shape.
Tapestry Needle:
A tapestry needle is used for weaving in loose yarn ends once you’ve finished knitting your hair net. It’s important to weave in these ends securely to prevent any unraveling or discomfort while wearing the hair net.
Scissors:
Having a pair of scissors handy is essential for cutting the yarn and snipping any excess ends. Make sure to use sharp scissors to ensure clean and precise cuts.
With these tools and materials, you’ll be well-equipped to start knitting your own hair net. Remember to always follow a pattern or create your own design, and enjoy the process of creating a beautiful and functional accessory.
Step-by-Step Guide to Knitting a Hair Net
Knitting a hair net is a fun and practical project that can help keep your hair in place while adding a touch of vintage charm to your look. Here is a step-by-step guide to help you create your own hair net.
Materials:
- Knitting needles (size 7 or 8)
- Lace weight yarn
- Measuring tape
- Scissors
Step 1: Get the Measurements
Before starting to knit, it’s important to determine the measurements for your hair net. Measure the circumference of your head where you want the hair net to sit and write down this measurement.
Step 2: Cast On Stitches
Using the lace weight yarn and knitting needles, cast on the desired number of stitches. The number of stitches should be approximately equal to the head circumference measurement divided by 2. For example, if your head circumference is 20 inches, cast on around 10 stitches.
Step 3: Knit the First Row
With the stitches cast on, start knitting the first row. You can use a simple knit stitch for the entire hair net or explore different patterns for added texture and visual interest.
Step 4: Continue Knitting
Continue knitting in the chosen stitch pattern until the hair net reaches the desired length. Keep in mind that the hair net should be slightly stretchy to comfortably fit over your hair.
Step 5: Bind Off Stitches
Once the hair net has reached the desired length, it’s time to bind off the stitches. Cut the yarn, leaving a long tail. Thread the tail through the last stitch and pull tight to secure the end.
Step 6: Finishing Touches
To complete the hair net, weave in any loose ends and give it a gentle blocking by dampening it and laying it flat to dry. Once dry, your hair net is ready to be worn!
Knitting a hair net can be a relaxing and rewarding project, allowing you to create a unique accessory that adds a touch of vintage elegance to your hairstyle. Have fun experimenting with different yarns and stitch patterns to customize your hair net to your liking.
Choosing the Right Yarn for Your Hair Net
When it comes to choosing the yarn for your hair net, it is important to consider the specific characteristics that will make it suitable for your needs. Firstly, you will want to select a yarn that is lightweight and breathable. The hair net will be worn on your head for extended periods of time, so it is essential that the yarn allows for proper airflow. This will prevent your scalp from becoming too hot and sweaty while wearing the hair net.
Another important factor to consider is the stretchiness of the yarn. The hair net will need to fit snugly on your head without causing discomfort. Opting for a yarn with a good amount of stretch will ensure that the hair net stays securely in place without feeling too tight. Look for yarns that contain a blend of natural and synthetic fibers, as these tend to have a good balance of stretch and durability.
- Cotton yarn: Cotton is a popular choice for hair nets due to its lightweight and breathable nature. It is gentle on the scalp and provides good airflow, making it ideal for those with sensitive skin or allergies.
- Bamboo yarn: Bamboo yarn is known for its softness and moisture-wicking properties. It is highly breathable and absorbs moisture well, keeping your scalp cool and dry while wearing the hair net.
- Elastic yarn: If you prefer a hair net with more stretch, consider using an elastic yarn. This type of yarn typically contains a blend of synthetic fibers such as nylon or spandex, which provides an excellent elasticity and a secure fit.
In conclusion, choosing the right yarn for your hair net involves considering factors such as breathability, stretchiness, and the specific needs of your scalp. By selecting a yarn that meets these criteria, you can ensure that your hair net is comfortable and functional.
Knit Hair Net Pattern: Basic Stitches
When it comes to knitting a hair net, it’s important to have a good understanding of the basic stitches. These stitches are essential for creating the net’s structure and ensuring that it properly holds hair in place. Whether you’re an experienced knitter or just starting out, mastering these basic stitches will set you on the path to successfully creating your own hair net.
1. Knit Stitch:
The knit stitch is the most basic stitch in knitting and forms the foundation of many patterns, including hair nets. To create a knit stitch, insert the right needle into the front of the stitch on the left needle. Wrap the yarn around the right needle counterclockwise and pull the new loop through the stitch. Slip the old stitch off the left needle and repeat the process for each stitch.
2. Purl Stitch:
The purl stitch is another fundamental stitch in knitting. It creates a bump or a pearl-like texture on the front of the fabric. To purl, insert the right needle into the front of the stitch on the left needle from right to left. Wrap the yarn counterclockwise and bring it through the stitch from right to left, slipping the old stitch off the left needle.
3. Yarn Over:
The yarn over is an important stitch in creating an open and airy hair net. It increases the number of stitches in a row and creates a hole in the fabric. To yarn over, simply bring the yarn to the front of your work (if it’s not already there) and then wrap it over the right needle once before proceeding with the next stitch.
4. Decrease Stitch:
Decrease stitches are essential for shaping a hair net and ensuring a snug fit. There are different methods for decreasing stitches, including knit two together (k2tog) and slip, slip, knit (ssk). Both reduce the number of stitches by combining two stitches into one. These decreases are typically used at the edges of the hair net for a neater appearance.
By mastering these basic stitches, you’ll have the foundation needed to create your own knit hair net pattern. Experiment with different stitch combinations and techniques to achieve the desired look and fit for your hair net.
Advanced Techniques for a Unique Hair Net Design
Creating a unique and stylish hair net design requires advanced knitting techniques that go beyond the basic pattern. By incorporating different stitches, colors, and patterns, you can elevate the look of your hair net and make it stand out from the crowd.
One advanced technique you can try is incorporating lace stitches into your hair net design. Lace stitches create an intricate and delicate pattern that adds elegance and femininity to your hair net. By using yarn with a fine gauge and smaller knitting needles, you can achieve a finer lace pattern that is perfect for a special occasion or formal event.
Another technique you can experiment with is colorwork. By using multiple colors of yarn and following a colorwork chart, you can create beautiful and eye-catching patterns on your hair net. Whether you choose to create a bold geometric design or a subtle floral motif, colorwork allows you to showcase your creativity and personalize your hair net.
In addition to lace stitches and colorwork, you can also incorporate beading into your hair net design. By adding beads to your knitting, you can create a stunning and unique accessory that will sparkle and shine in the light. Beading can be done by pre-stringing the beads onto the yarn before knitting or by adding them individually with a crochet hook during the knitting process.
Overall, advanced knitting techniques such as lace stitches, colorwork, and beading can take your hair net design to the next level. Don’t be afraid to experiment and try new techniques to create a unique and personalized hair net that reflects your style and creativity.
Knitting Hair Nets for Different Hair Types

When it comes to knitting hair nets, it’s important to take into consideration the different hair types and textures that exist. This will ensure that the hair net not only provides the desired level of protection but also fits comfortably and securely. Whether you have fine, medium, or thick hair, there are knitting patterns available to suit your specific needs.
For Fine Hair: Those with fine hair may opt for a hair net with smaller openings to prevent hairs from slipping through. Knitting with a finer gauge yarn and smaller needles is recommended for creating a tighter weave. This will ensure that even the thinnest of strands are kept securely in place, making it ideal for those with fine hair who want to keep their hair neatly contained.
For Medium Hair: Individuals with medium hair can enjoy a wider range of hair net patterns. This hair type typically allows for more versatility, and therefore, a variety of styles and designs can be considered. Knitting with a medium gauge yarn and slightly larger needles will create a balanced weave, providing both protection and breathability for the hair.
For Thick Hair: Those with thick hair may find it challenging to find hair nets that comfortably accommodate the volume of their hair. However, knitting a hair net with larger openings and a loose weave can provide the necessary flexibility. Using a bulky gauge yarn and large needles will allow for a more open, flexible mesh that can easily accommodate thick hair while still providing adequate protection.
By tailoring hair net patterns to different hair types, knitters can ensure that everyone can enjoy the benefits of using a hair net. Whether it’s for daily wear or for a special occasion, these customized hair nets can provide the desired level of comfort, security, and style.
Adding Embellishments to Your Knit Hair Net
If you want to add a touch of personal style to your knit hair net, there are many embellishments you can incorporate into your design. Whether you prefer a sleek and simple look or a more decorative and ornate design, there are options to suit every taste.
1. Beads: Adding beads to your knit hair net can give it an elegant and sophisticated look. You can use small seed beads for a dainty and subtle effect, or larger beads for a more eye-catching design. Consider using beads in coordinating colors or contrasting shades to create a striking visual impact.
2. Ribbons: Ribbons are a versatile embellishment that can add a feminine and whimsical touch to your hair net. You can weave ribbons through the knit stitches or attach them as bows or rosettes. Opt for ribbons in complementary colors to add a pop of vibrancy to your hair net.
3. Appliques: Appliques are fabric or embroidered patches that can be attached to your knit hair net to add a unique and personalized touch. You can choose appliques in various shapes and designs, such as flowers, butterflies, or even initials. Sew them onto your hair net using a matching thread for a seamless look.
4. Buttons: Buttons can be used as both a functional closure for your hair net and a decorative element. Choose buttons in different colors, shapes, and sizes to add visual interest to your hair net. Sew them onto the edges or in the center of your hair net for a stylish and distinctive look.
- 5. Feathers: For a bohemian or whimsical vibe, consider incorporating feathers into your knit hair net. You can attach small feathers to the edges of your hair net or create a focal point by adding a larger feather as a centerpiece. Feathers in natural hues or bold and vibrant colors can both make a statement.
- 6. Sequins: If you want to add some sparkle and shine to your hair net, consider using sequins. You can sew sequins onto the knit stitches or create patterns and designs with them. Choose sequins in metallic or iridescent shades to catch the light and create a dazzling effect.
Remember to experiment with different embellishments and combinations to find the perfect look for your knit hair net. Whether you prefer a subtle and understated design or a bold and elaborate style, there are endless possibilities to enhance your hair net and make it uniquely yours.
How to Properly Wear and Care for Your Hair Net
Wearing a hair net properly is essential for maintaining a hygienic and professional appearance. Whether you work in the food industry or need to keep your hair in place while exercising, it’s important to know how to properly wear and care for your hair net to ensure it serves its purpose effectively.
1. Choosing the right size: Before wearing a hair net, make sure you have the right size. Hair nets come in different sizes, so it’s important to choose one that fits comfortably over your hair without being too tight or too loose. This will ensure that your hair is properly covered and secured.
2. Putting on the hair net: To put on a hair net, gather your hair together and twist it into a bun or ponytail. Then, place the hair net over your head, ensuring that it covers all your hair and is snugly fitted around your head. Secure it in place with bobby pins or hair clips if necessary.
3. Maintaining hygiene: It’s important to keep your hair net clean and hygienic. Wash your hair net regularly, following the instructions on the label. Avoid using harsh chemicals or bleach that could damage the fabric of the hair net. Additionally, make sure to store your hair net in a clean and dry place to avoid any contamination.
4. Avoiding damage: To ensure the longevity of your hair net, be gentle when handling it. Avoid pulling or stretching the fabric, as this could cause it to tear or lose its shape. When not in use, store your hair net in a way that avoids creases and prevents it from getting tangled with other items.
- 5. Replace when necessary: Over time, hair nets can become stretched or damaged. If you notice any signs of wear and tear, it’s important to replace your hair net to maintain its effectiveness. Regularly check for any holes or loose threads that could compromise the integrity of the hair net.
By following these steps, you can ensure that your hair net is worn properly and cared for appropriately. This will not only help you maintain a professional appearance but also ensure optimal hygiene and functionality.
Frequently Asked Questions and Troubleshooting Tips
If you have any questions or encounter any issues while knitting a hair net, you’re not alone. Here are some frequently asked questions and troubleshooting tips to help you along the way:
1. Where can I find a knit hair net pattern?
There are several places where you can find knit hair net patterns. Online platforms such as knitting websites, blogs, and forums are great resources. You can also check knitting books or ask fellow knitters for recommendations.
2. What materials do I need to knit a hair net?
To knit a hair net, you will need a set of knitting needles, usually in size 7 or 8, and a yarn that is suitable for hair nets. Typically, a lightweight and stretchy yarn like cotton or nylon is used.
3. How can I customize the size of the hair net?
To customize the size of the hair net, you can adjust the number of stitches and rows in your pattern. If you want a smaller net, cast on fewer stitches and work fewer rows. For a larger net, cast on more stitches and work more rows. Remember to check your gauge to ensure the hair net will fit properly.
4. My hair net looks too loose. How can I make it tighter?
If your hair net looks too loose, you can try using smaller needles to create a tighter gauge. Alternatively, you can decrease the number of stitches in your pattern to make the net smaller. Remember to check your gauge as you make changes to ensure you achieve the desired fit.
5. How do I join the ends of the hair net?
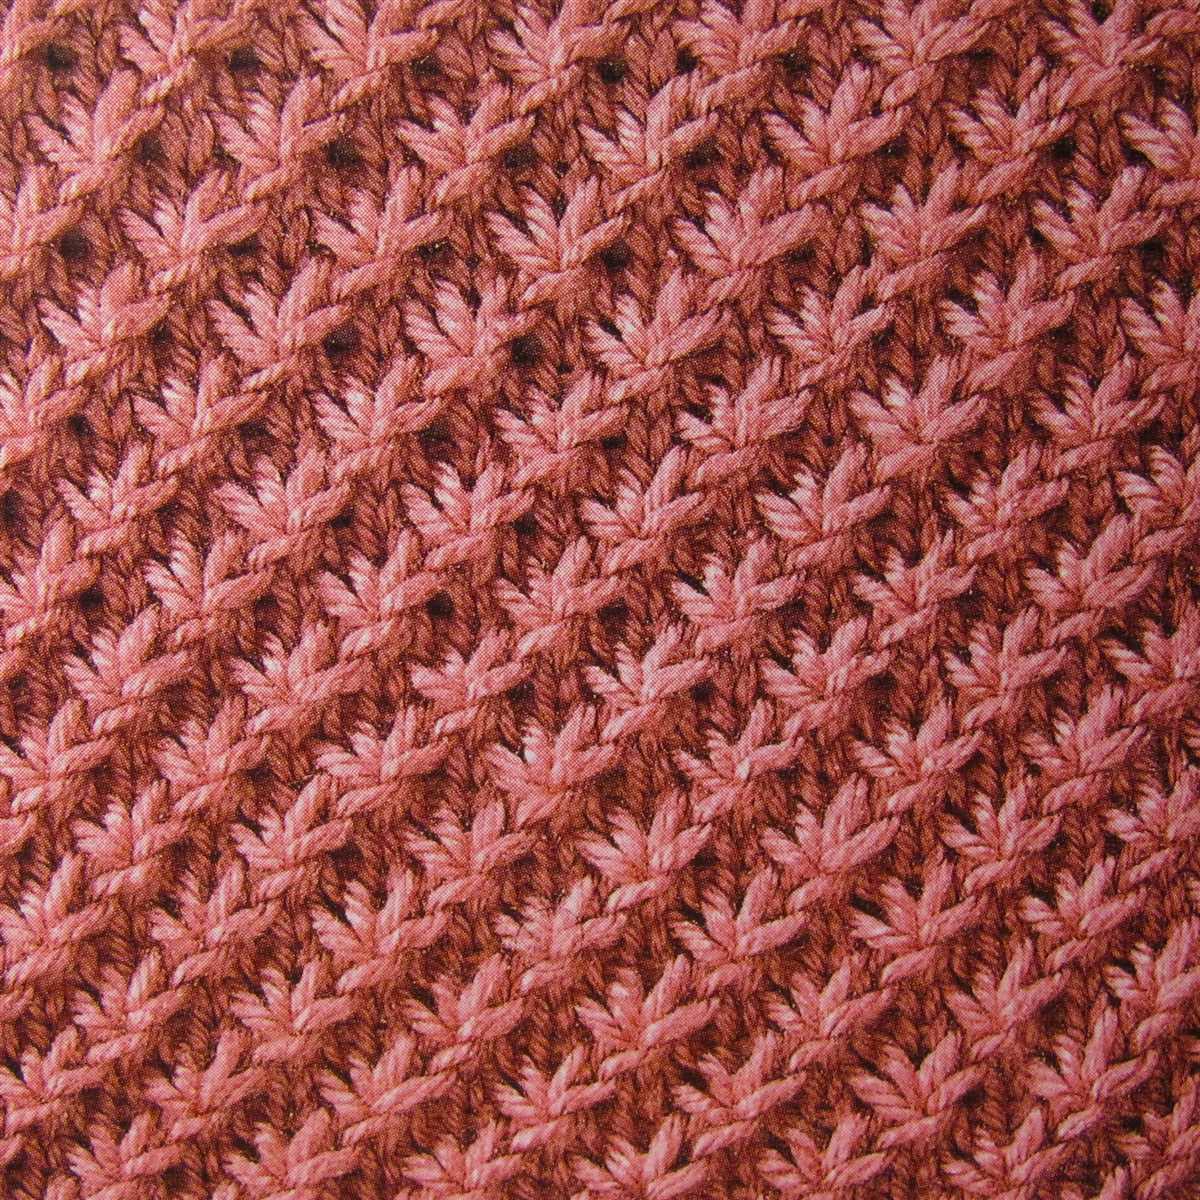
To join the ends of the hair net, you can use a sewing needle and thread to sew them together. Make sure to secure the ends tightly to prevent the hair net from unraveling.
6. Can I add embellishments to my hair net?

Absolutely! Adding embellishments like beads, ribbons, or flowers can give your hair net a unique and personalized touch. You can sew them onto the net using a needle and thread, or secure them with small amounts of yarn.
7. How do I care for my knitted hair net?
To care for your knitted hair net, gently hand wash it using a mild detergent or shampoo. Avoid wringing or twisting the net and instead, squeeze out any excess water gently. Lay it flat to dry to maintain its shape.
8. Can I use a knit hair net for more than one use?

It is possible to reuse a knit hair net, but it is important to ensure it is clean and in good condition. Inspect the hair net for any signs of wear or damage, and if needed, repair or replace it before using it again.
9. Where can I find more advanced hair net patterns?
If you are looking for more advanced hair net patterns, consider joining knitting communities or groups. Other knitters may have recommendations or even share their own patterns. You can also explore knitting magazines or books for more intricate designs.
Happy knitting and enjoy your stylish hair nets!