
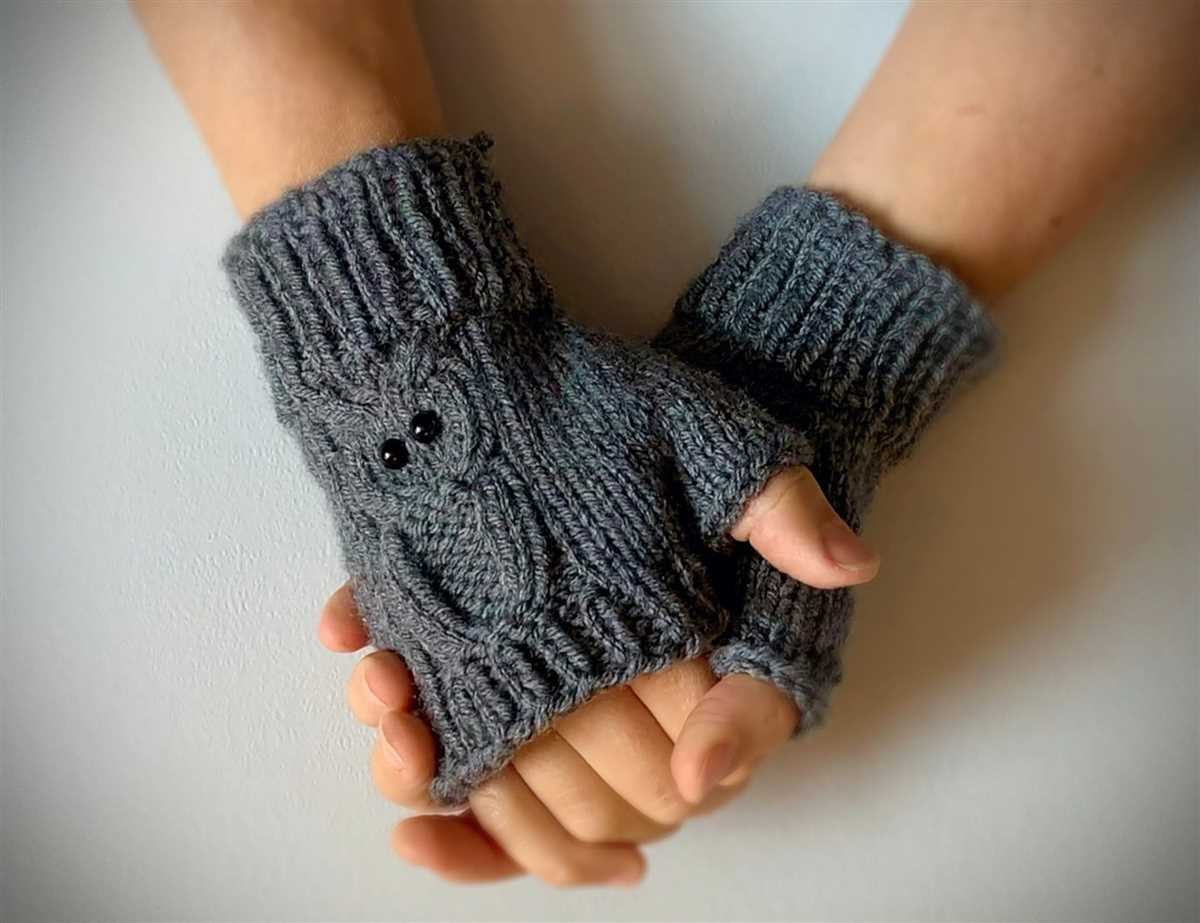
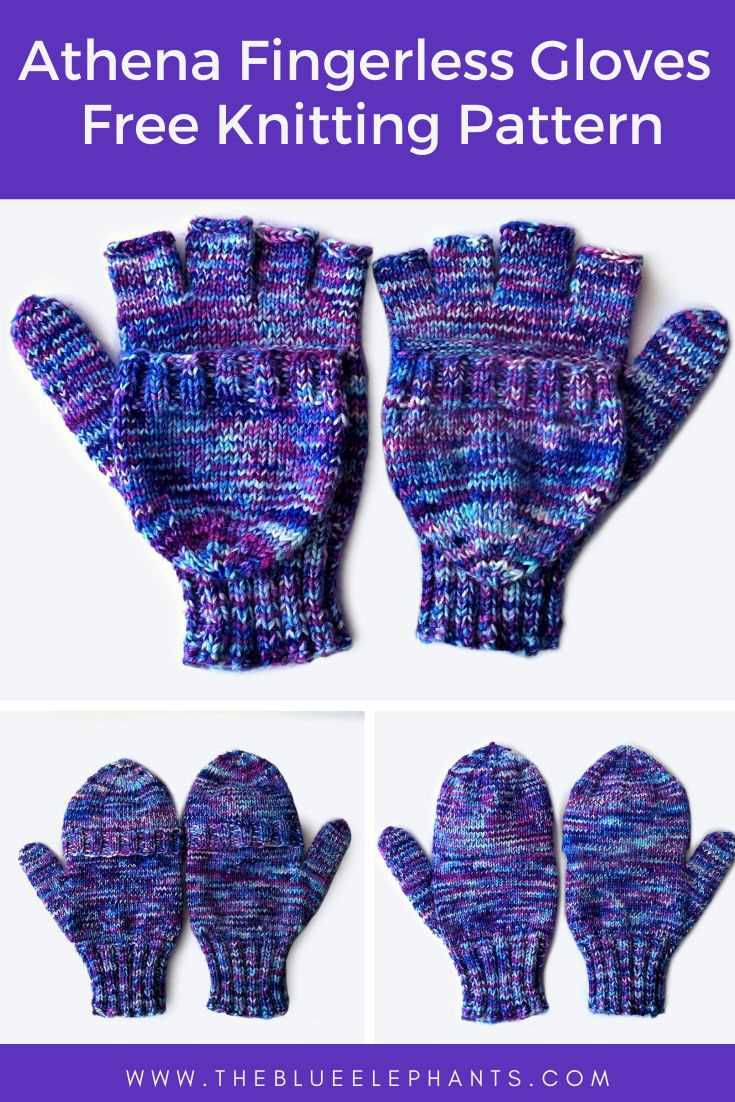
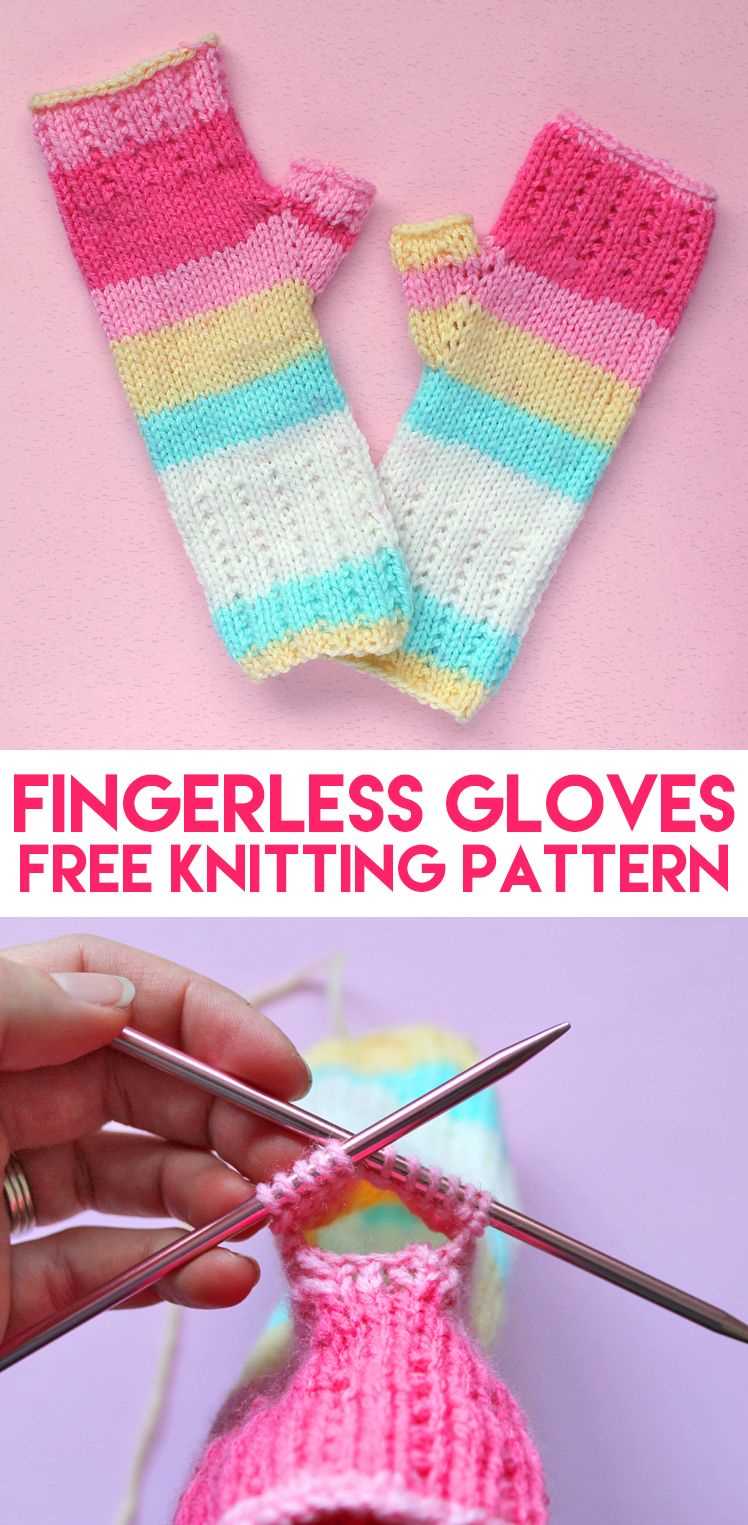
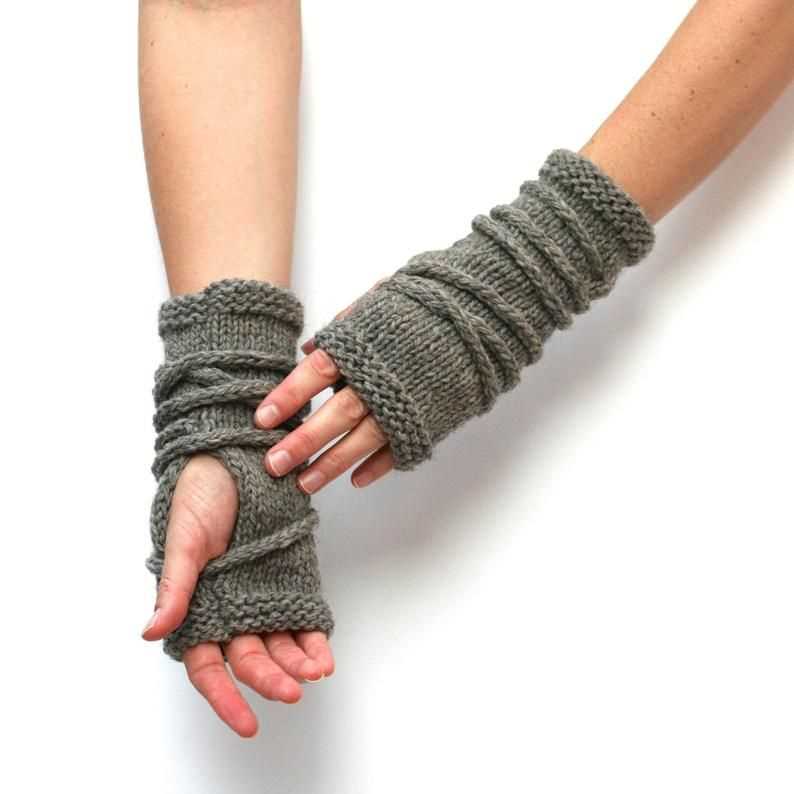
Fingerless gloves are a versatile accessory that can be both practical and stylish. They keep your hands warm while allowing your fingers to be free for tasks that require dexterity, such as using a phone or typing on a keyboard. Plus, they are a great way to show off your knitting skills and add a personal touch to your winter wardrobe.
If you’re a knitter looking for a new project, then you’ll love this free knit fingerless gloves pattern. Whether you’re a beginner or an experienced knitter, this pattern is perfect for you. It’s easy to follow and includes detailed instructions and helpful tips to make the process smooth and enjoyable.
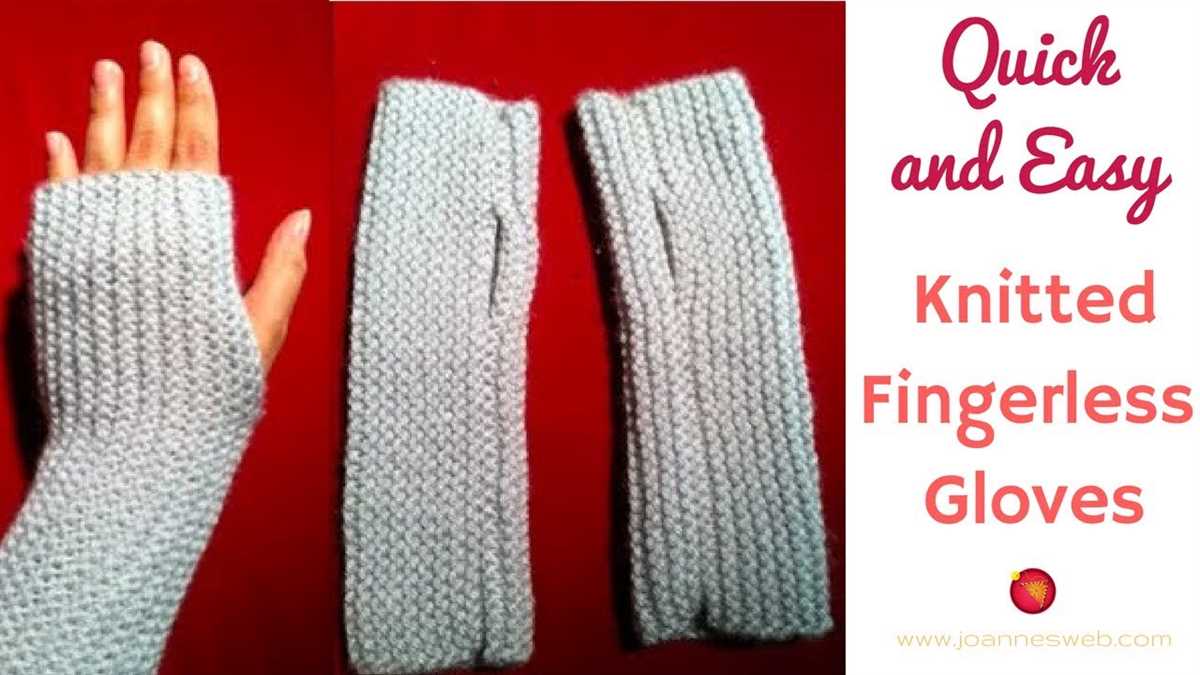
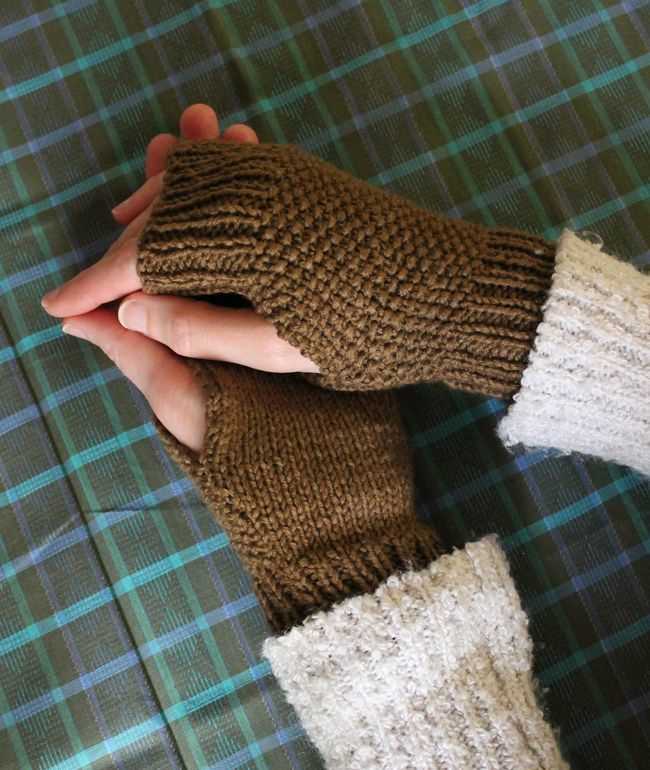
This pattern features a ribbed cuff for a snug and comfortable fit, as well as a classic textured pattern on the hand for added style. You can choose any color of yarn to suit your taste and match your other winter accessories. The fingerless gloves are knit in the round, so there’s no need to sew any seams, making them even easier to make.
How to Knit Fingerless Gloves: Free Pattern
If you’re looking for a fun and practical knitting project, fingerless gloves are a great option. They keep your hands warm while still allowing you to use your fingers freely. Plus, knitting them yourself allows you to customize the size, color, and style to suit your preferences. Luckily, we have a free pattern for knitting fingerless gloves that you can follow!
Materials Needed:
- Worsted weight yarn in your chosen color
- Size 7 knitting needles
- Tapestry needle for weaving in ends
- Stitch markers (optional)
Instructions:
- Using the long-tail cast-on method, cast on 36 stitches.
- Work in a k2, p2 ribbing pattern for 2 inches.
- Switch to stockinette stitch (knit every row) and continue until the piece measures 7 inches from the cast-on edge.
- Divide the stitches evenly onto three double-pointed needles (12 stitches per needle).
- Place a stitch marker to indicate the beginning of the round.
- Work in a k1, p1 ribbing pattern for 1 inch.
- Bind off all stitches in pattern.
- Repeat steps 1-7 for the second glove.
- Weave in any loose ends using a tapestry needle.
Now you have a lovely pair of hand-knit fingerless gloves! Feel free to experiment with different yarns, stitch patterns, or embellishments to make them uniquely yours. These gloves also make great gifts for friends and family, so why not knit a few extra pairs?
Choose the Right Yarn and Needles
When it comes to knitting fingerless gloves, choosing the right yarn and needles is essential for creating a comfortable and stylish pair. The type of yarn and needles you select will not only affect the overall look of the gloves but also their warmth and durability.
Yarn: It is important to choose a yarn that is suitable for fingerless gloves. Look for a yarn that is soft, warm, and has a good amount of stretch. Wool or wool-blend yarns are popular choices as they provide warmth and flexibility. Additionally, consider choosing a yarn with a bit of elasticity to ensure a snug fit on the hands.
Weight: The weight of the yarn will also impact the final product. For fingerless gloves, a medium to a bulky weight yarn is often recommended. These yarns provide enough thickness to retain heat and offer better insulation for the hands. However, if you prefer a lighter and more breathable option, you can opt for a lightweight yarn.
Needles: Choosing the right needles is crucial for achieving the correct gauge and ensuring a smooth knitting process. The size of the needles will depend on the thickness of the yarn you choose. Be sure to check the recommended needle size on the yarn label or the pattern instructions. Circular needles are commonly used for knitting fingerless gloves as they can accommodate a larger number of stitches and are more comfortable to work with.
Gauge: Before you start knitting, it is important to check the gauge specified in the pattern. This will help ensure that the gloves will fit properly. If your gauge does not match the pattern, try adjusting your needle size to achieve the correct tension. Knitting a gauge swatch before starting the project is highly recommended.
In summary, selecting the right yarn and needles is vital for creating a pair of fingerless gloves that are not only visually appealing but also functional and comfortable. Consider the type, weight, and elasticity of the yarn, as well as the appropriate needle size to achieve the desired results. With the right materials, you can knit a pair of fingerless gloves that will keep your hands cozy and stylish all season long.
Get Started with the Ribbing
The ribbing is an essential part of the fingerless gloves pattern, adding both style and functionality to the finished product. It is a combination of knit and purl stitches that creates a stretchy and textured fabric, perfect for keeping your hands warm and comfortable.
To begin the ribbing section of the pattern, you will need to cast on the desired number of stitches using your chosen yarn and needle size. It’s important to choose a needle size that gives you the desired tension, as this will affect the overall fit and stretchiness of the gloves.
Once you have cast on, you will work in a combination of knit and purl stitches for several rows to create the ribbing. The most common ribbing pattern is the 1×1 rib, which alternates knit and purl stitches in each row. This creates a subtle, vertical ribbing effect that is both visually appealing and functional.
To work the 1×1 rib, you will knit the first stitch, then purl the next stitch, and repeat this sequence until the end of the row. When you reach the next row, you will knit the knit stitches and purl the purl stitches, maintaining the same pattern. This creates the ribbing effect by pulling the knit stitches slightly closer together and stretching the purl stitches apart.
Continue working in the 1×1 rib pattern for the specified number of rows, as indicated in the pattern instructions. The length of the ribbing will depend on your personal preference and the desired fit of the gloves. Once you have completed the ribbing section, you will be ready to move on to the next part of the pattern, whether it be a decorative stitch pattern or the main body of the gloves.
Work on the Thumb Gusset
The thumb gusset is an important element in creating fingerless gloves that fit comfortably and allow for freedom of movement. It is the section of the glove that accommodates the thumb and provides shaping to ensure a snug fit. Here’s how to work on the thumb gusset:
1. Pick up stitches
To begin the thumb gusset, you will need to pick up stitches along the side of the thumb opening. This can be done by inserting the knitting needle through the edge of the opening and pulling the yarn through to create new stitches. The number of stitches picked up will depend on the desired width of the thumb gusset.
2. Increase stitches
Once the stitches have been picked up, you will need to increase the number of stitches to create the gusset shaping. This can be done by working increases, such as knitting into the front and back of a stitch or making yarn overs, on either side of the picked-up stitches. The number and placement of the increases will depend on the pattern instructions.
3. Continue knitting
After the increases have been made, you will continue knitting the rest of the glove while incorporating the thumb gusset stitches. This may involve working in pattern or a specific stitch, such as ribbing or stockinette, to maintain the overall design. You will need to follow the pattern instructions for the specific number of rows or rounds to work on the thumb gusset.
4. Shaping the thumb
Once the desired number of thumb gusset rows or rounds have been completed, you will need to shape the thumb by either binding off or placing stitches on hold. This will create the opening for the thumb and allow for a seamless transition between the thumb gusset and the rest of the glove. Again, the pattern instructions will provide guidance on how to shape the thumb effectively.
Working on the thumb gusset requires attention to detail and following the pattern instructions closely. By properly picking up stitches, increasing, and shaping the thumb, you can create fingerless gloves that are both comfortable and stylish.
Create the Hand Section
Now that you have completed the cuff section of the fingerless gloves, it’s time to move on to the hand section. This is where you will continue working in rounds to create the main body of the gloves.
To begin the hand section, you will need to make sure you have the correct number of stitches on your needles. If you used the recommended number of cast on stitches, you should have the same number of stitches as the circumference of your hand.
Instructions:
- Start by joining a new ball of yarn and knitting the next stitch onto your right-hand needle.
- Continue working in the established stitch pattern until the hand section measures the desired length.
- Remember to periodically try on the gloves to ensure they fit snugly but comfortably.
As you work the hand section, you may want to consider adding any desired stitch patterns or embellishments. This is where you can get creative and customize your gloves to your liking. You can add cables, lace, or any other design element that you prefer.
Once you have completed the hand section, you will be ready to move on to shaping the thumb opening. This will allow you to easily use your fingers while still keeping your hands warm. Stay tuned for the next section, where we will cover how to shape the thumb opening in your fingerless gloves.
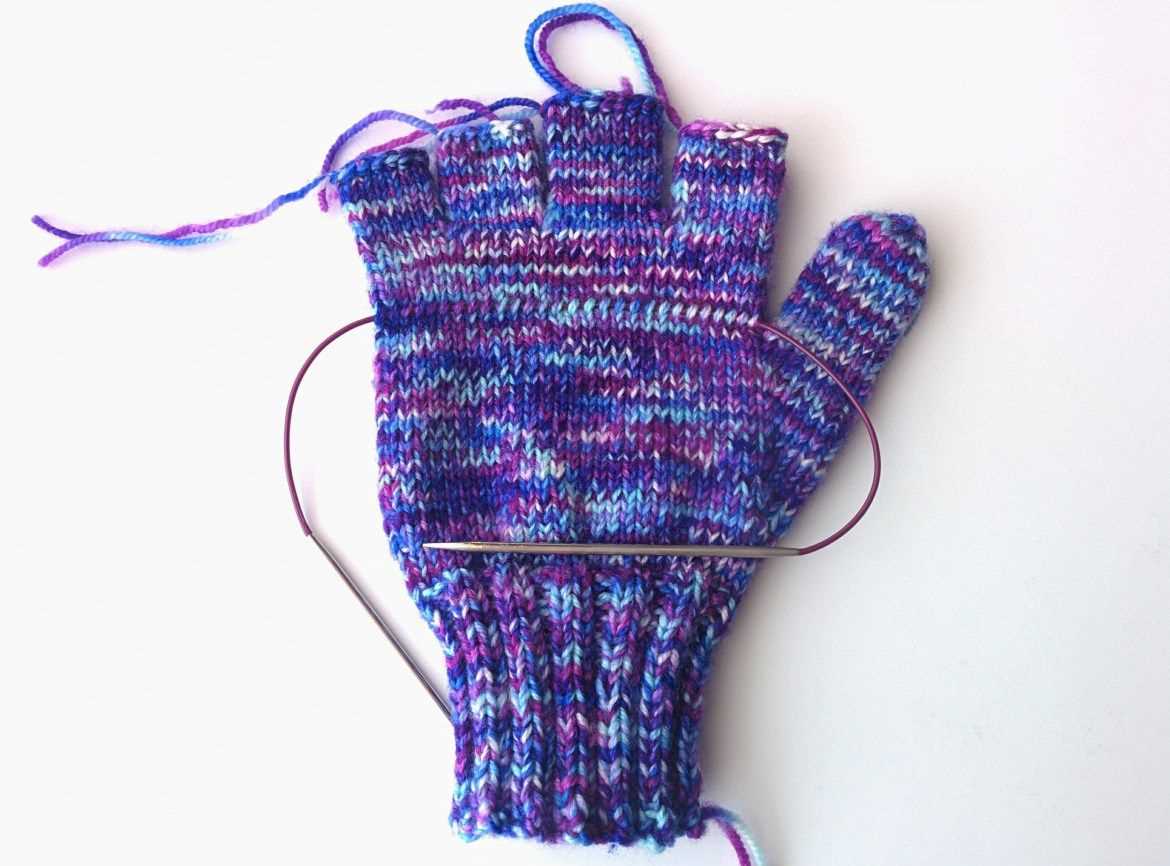
Shape the Finger Openings
Once you have completed the ribbing and main body of the fingerless gloves, it’s time to shape the finger openings. This will create a comfortable and functional design that allows your fingers to move freely while keeping your hands warm.
To start shaping the finger openings, you will need to decide how many fingers you want your gloves to have. Typically, fingerless gloves have separate openings for the thumb, index finger, and middle finger. However, you can adjust the pattern to have fewer or more finger openings, depending on your preference.
To create the thumb opening, you will need to decrease stitches in a specific area on the hand. This can be done by knitting two stitches together, which will decrease the number of stitches on your needle. Repeat this decrease process for a few rows until you have achieved the desired thumb opening size.
Next, you will need to create the finger openings for the index finger and middle finger. To do this, you will need to place several stitches on hold using stitch holders or waste yarn. These stitches will be added back later to create the finger openings. The number of stitches placed on hold will depend on the size of your fingers and the desired width of the finger openings.
Once the finger openings have been created, you can continue knitting the remaining stitches to finish the hand portion of the gloves. Add any desired embellishments or decorative stitches, such as cables or lace, to personalize your fingerless gloves.
Knit the Thumb
Knitting the thumb for fingerless gloves is an essential step in the pattern. The thumb is what allows the gloves to be functional and comfortable. To begin knitting the thumb, you will need to have already completed the main body of the glove, leaving an opening for the thumb.
Once you have reached the point in the pattern where the thumb opening begins, you will need to pick up stitches along the edge of the opening. This can be done by inserting the knitting needle into the stitches along the edge and pulling the yarn through to create new stitches. The number of stitches you pick up will depend on the size of the glove and the desired width of the thumb.
Start knitting the thumb by working in the round. Using double-pointed needles or magic loop method, divide the picked up stitches evenly onto two needles. Make sure the stitches are distributed evenly and not twisted.
Continue knitting the thumb using the desired stitch pattern. This can be the same stitch pattern used for the main body of the glove or a different one for added interest. Follow the pattern instructions for the recommended number of rounds or until the desired length of the thumb is achieved.
To shape the thumb, decrease stitches. This is typically done by knitting two stitches together (k2tog) or by slipping stitches and passing the slipped stitch over (ssp). Decrease stitches evenly throughout the rounds until the desired width of the thumb is achieved at the top.
Finish off the thumb by binding off the remaining stitches. Cut the yarn, leaving a long tail for weaving in later. Slip the stitches onto a spare piece of yarn or stitch holder before binding off to keep them secure.
Add the Finishing Touches
Once you have completed knitting your fingerless gloves, it is time to add the finishing touches to make them look polished and professional. Here are a few steps you can follow:
Weave in the Ends
First, take a yarn needle and thread the loose ends of your yarn through it. Carefully weave the ends into the fabric of the gloves, making sure to hide them between the stitches. This will give your gloves a clean and seamless appearance.
Block the Gloves
Blocking is an important step in knitting that helps to even out the stitches and give the finished piece a polished look. Soak your gloves in lukewarm water for about 10-15 minutes, then gently squeeze out the excess water. Lay the gloves flat on a towel and reshape them by gently patting them into the desired shape. Leave them to dry completely.
Add Embellishments
To make your fingerless gloves even more unique and personalized, you can add embellishments. This can be done by attaching buttons, beads, or embroidery to the gloves. Be creative and choose embellishments that complement the color and style of the gloves. Sew them on securely using a needle and thread.
Give Them a Final Press
Lastly, give your fingerless gloves a final press to smooth out any wrinkles or imperfections. Lay a damp cloth over the gloves and gently press with a warm iron. Avoid placing the iron directly on the gloves to prevent them from getting damaged. This step will give your gloves a professional and polished finish.
By following these steps, you can add the finishing touches to your knitted fingerless gloves and create a beautiful and stylish accessory that will keep your hands warm and cozy.
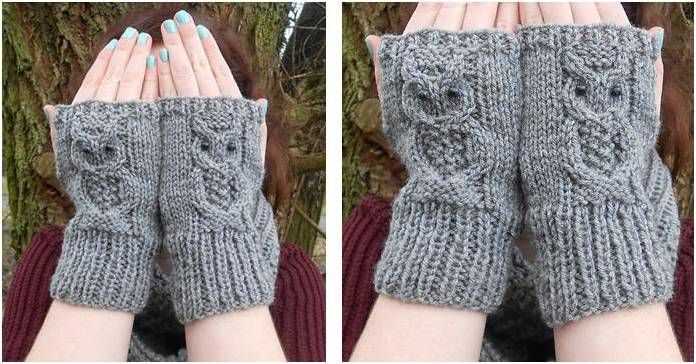
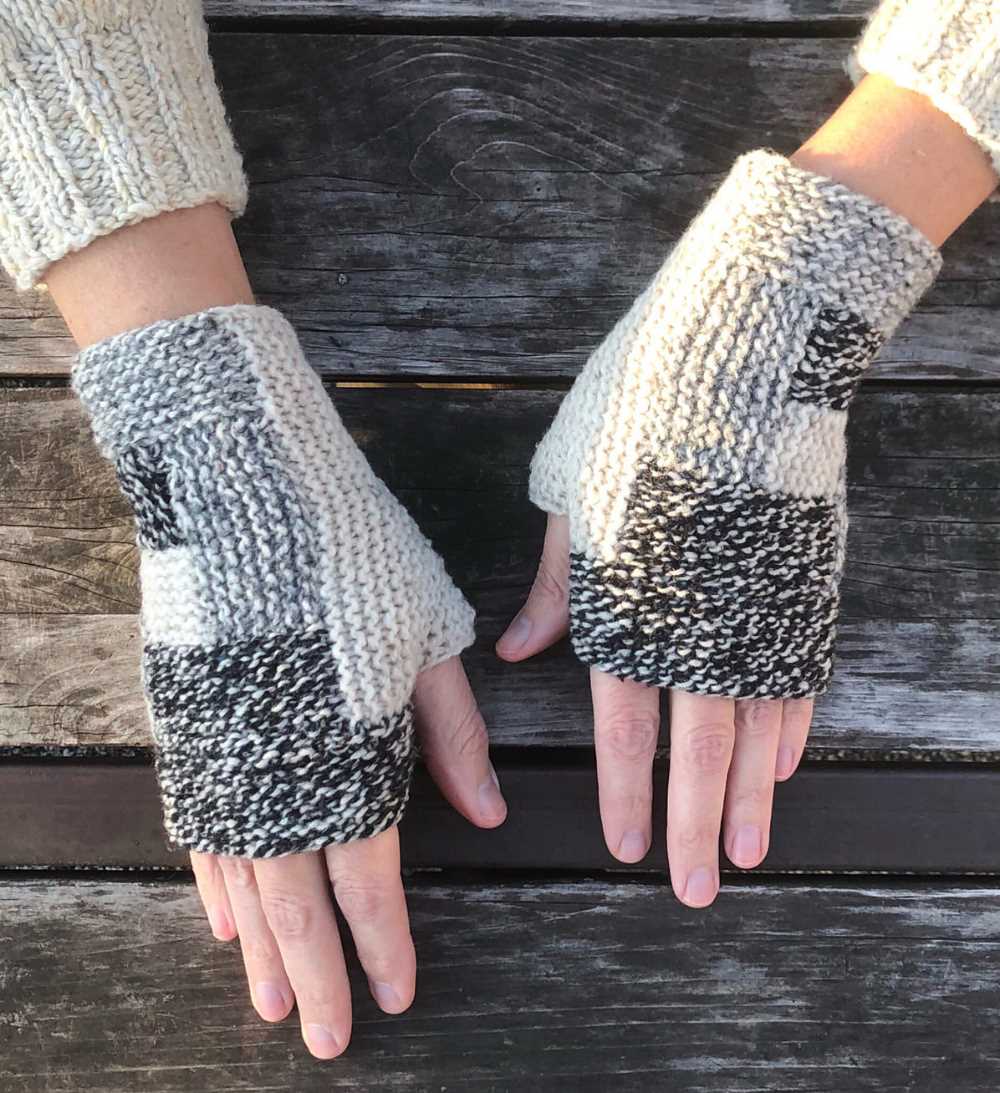
Try Different Stitch Patterns
When it comes to knitting fingerless gloves, there are endless stitch pattern options to explore. Each stitch pattern creates a unique texture and design, allowing you to personalize your gloves and add extra flair to your wardrobe.
One popular stitch pattern to try is the seed stitch. This pattern alternates knit and purl stitches in a checkerboard-like pattern, creating a textured surface. The seed stitch is not only visually appealing, but it also provides a flexible and stretchy fabric, making it ideal for fingerless gloves that need to fit snugly.
Another stitch pattern to consider is the cable stitch. This pattern involves crossing stitches over each other, creating a twisting cable effect. Cable stitches add depth and dimension to your fingerless gloves, giving them an intricate and sophisticated look. Combine cable stitches with ribbing or other stitch patterns to create a more complex design.
If you want to keep things simple yet stylish, the stockinette stitch is a classic choice. This stitch pattern is created by knitting one row and purling the next, resulting in a smooth and uniform fabric. The stockinette stitch is versatile and works well with a variety of yarns, making it a great option for fingerless gloves of all styles.
Don’t be afraid to experiment with different stitch patterns to discover which ones you enjoy working with and which ones best complement your personal style. Whether you prefer a more traditional look or want to make a bold statement, there is a stitch pattern out there that will help you create the perfect pair of fingerless gloves.
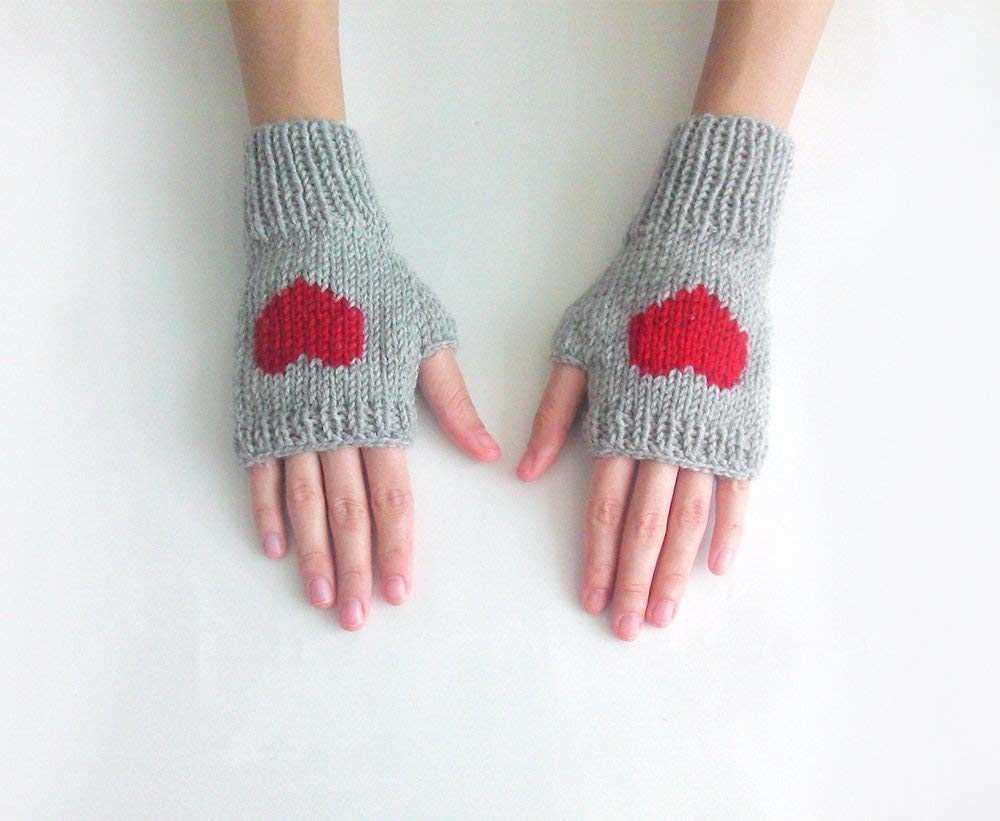
Personalize Your Gloves with Embellishments
If you want to add a personal touch to your fingerless gloves, embellishments are the way to go. There are numerous options for adding decorative elements to your gloves, allowing you to customize them to your own style and preferences.
One popular option is to add buttons to your gloves. You can sew them onto the cuffs or along the back of the gloves for a stylish and functional embellishment. Choose buttons that match the color or pattern of your gloves, or opt for contrasting buttons for a more eye-catching look.
Another way to personalize your gloves is by using embroidery. You can embroider your initials, a simple design, or even a small picture onto the fabric. Embroidery adds a unique and handmade touch to your gloves, making them truly one-of-a-kind.
If you want to add some sparkle to your gloves, consider using rhinestones or sequins. These small jewels can be attached to the fabric using fabric glue or hand sewing. You can create a pattern or just scatter them across the gloves for a glamorous look.
For a more rustic or natural look, you can add wooden or leather embellishments to your gloves. These can be in the form of small patches, buttons, or even braided leather accents. These embellishments can give your gloves a more earthy and bohemian feel.
Whatever embellishments you choose, make sure they are securely attached to your gloves so they don’t come loose. Consider using strong thread or glue specifically designed for fabric. With a bit of creativity and a few added touches, you can transform your fingerless gloves into a truly unique accessory.
Share Your Finished Fingerless Gloves
Now that you have completed your beautiful fingerless gloves, it’s time to show them off! We would love to see your finished creations and hear about your knitting experience. Share your photos and thoughts with the community by using the hashtag #KnitFingerlessGloves on social media platforms like Instagram, Twitter, and Facebook.
Not only will you inspire and motivate other knitters, but you may also receive valuable feedback and suggestions from fellow crafters. It’s always exciting to see how different people interpret the pattern and customize their gloves with unique color combinations and embellishments!
Remember: You can also leave a comment on the pattern website or join online knitting forums to share your knitting journey, seek advice, or simply connect with like-minded individuals who share your passion for knitting.
- Show off your fingerless gloves by posting pictures on social media using the hashtag #KnitFingerlessGloves.
- Leave a comment on the pattern website to share your experience and connect with other knitters.
- Join online knitting forums to seek advice, share your journey, and connect with fellow crafters.
Thank you for joining us on this knitting adventure! We hope you enjoyed the pattern and found this guide helpful.
Happy knitting, and we can’t wait to see your finished fingerless gloves!