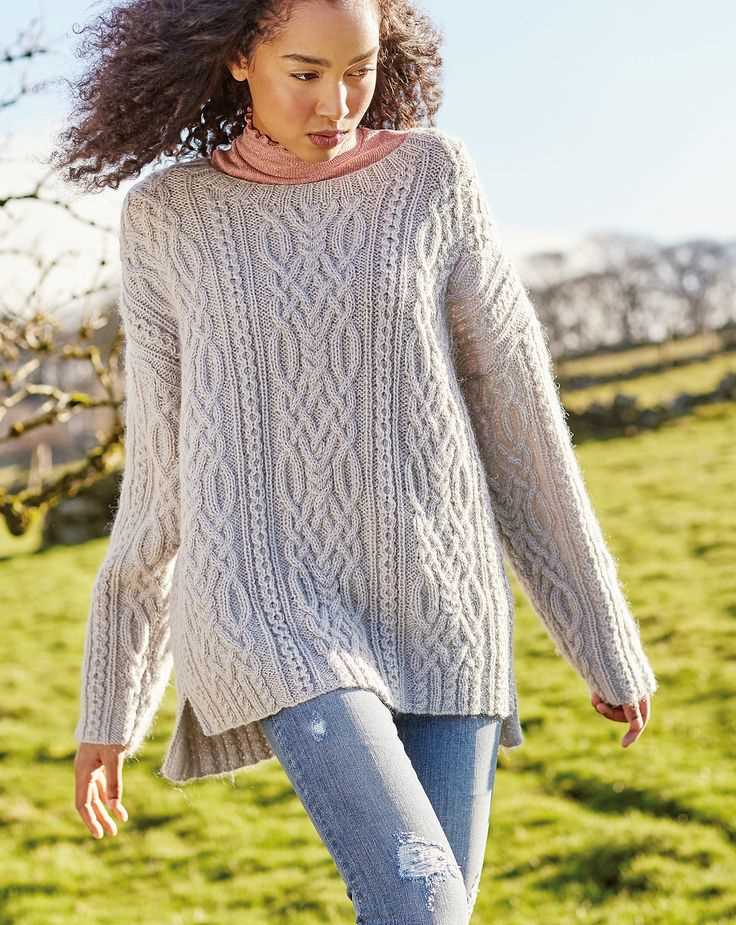
Knitting pullover patterns are a great way for beginners to learn the art of knitting and create beautiful and cozy garments. Whether you are new to knitting or have some experience, pullovers are a versatile and rewarding project to work on. With a wide range of patterns available, beginners can easily find something that suits their skill level and style.
When starting out with knitting pullovers, it is important to choose a pattern that is labeled as beginner-friendly. These patterns typically use basic stitches and techniques, making them easy to follow and understand. They also provide detailed instructions and tips to help beginners navigate through the knitting process.
One of the benefits of knitting pullovers is that they allow beginners to create wearable garments. Pullovers are comfortable, stylish, and can be customized to fit individual preferences. Whether you prefer a loose, oversized pullover or a more fitted style, there are patterns available to suit all body types and fashion tastes.
Additionally, knitting pullover patterns offer endless opportunities for creativity. Beginners can experiment with different colors, yarns, and stitch patterns to achieve unique and personalized creations. They can also learn new techniques as they progress, such as shaping and adding details like cables or lace.
How to Knit Your First Pullover: A Beginner’s Guide

Knitting your first pullover can seem like a daunting task, but with the right guidance, it can be a fun and rewarding project. Whether you’re a beginner or have some knitting experience, this guide will walk you through the process of creating your very own pullover.
1. Choose the Right Pattern: Start by selecting a knitting pattern that is suitable for beginners. Look for patterns that are labeled as “easy” or “beginner-friendly.” These patterns typically have simple instructions and use basic stitch patterns.
2. Gather Your Supplies: Before you begin knitting, make sure you have all the necessary supplies. You will need knitting needles, yarn in the recommended weight and color, stitch markers, a tapestry needle, and scissors.
3. Swatch for Gauge: To ensure that your pullover fits correctly, it’s important to swatch for gauge. This involves knitting a small sample of the pattern stitch and measuring the number of stitches and rows per inch. Adjust your needle size if necessary to match the gauge specified in the pattern.
4. Start with the Basics: If you’re new to knitting, it’s best to start with a simple pullover pattern that uses basic stitches such as knit and purl. Master these stitches before moving on to more complex techniques.
5. Follow the Instructions: Read through the pattern instructions carefully before you begin. Pay attention to any special stitches or techniques that may be required. Break the instructions down into smaller steps and take your time to ensure you understand each one before moving on.
6. Take Breaks: Knitting a pullover can be a time-consuming project, so don’t be afraid to take breaks and pace yourself. Knitting should be an enjoyable hobby, so take the time to relax and enjoy the process.
7. Finishing Touches: Once you have completed all the sections of your pullover, it’s time to add the finishing touches. This may involve sewing in any loose ends, blocking the garment to give it shape, and adding any desired embellishments.
8. Wear and Show Off: Congratulations, you have completed your first pullover! Try on your new creation, make any necessary adjustments, and proudly wear your handmade pullover. Don’t forget to share your accomplishment with friends and family.
Remember, practice makes perfect, so don’t be discouraged if your first pullover doesn’t turn out exactly as you expected. With each project, you’ll gain more experience and improve your knitting skills.
Choosing the Right Yarn and Needles
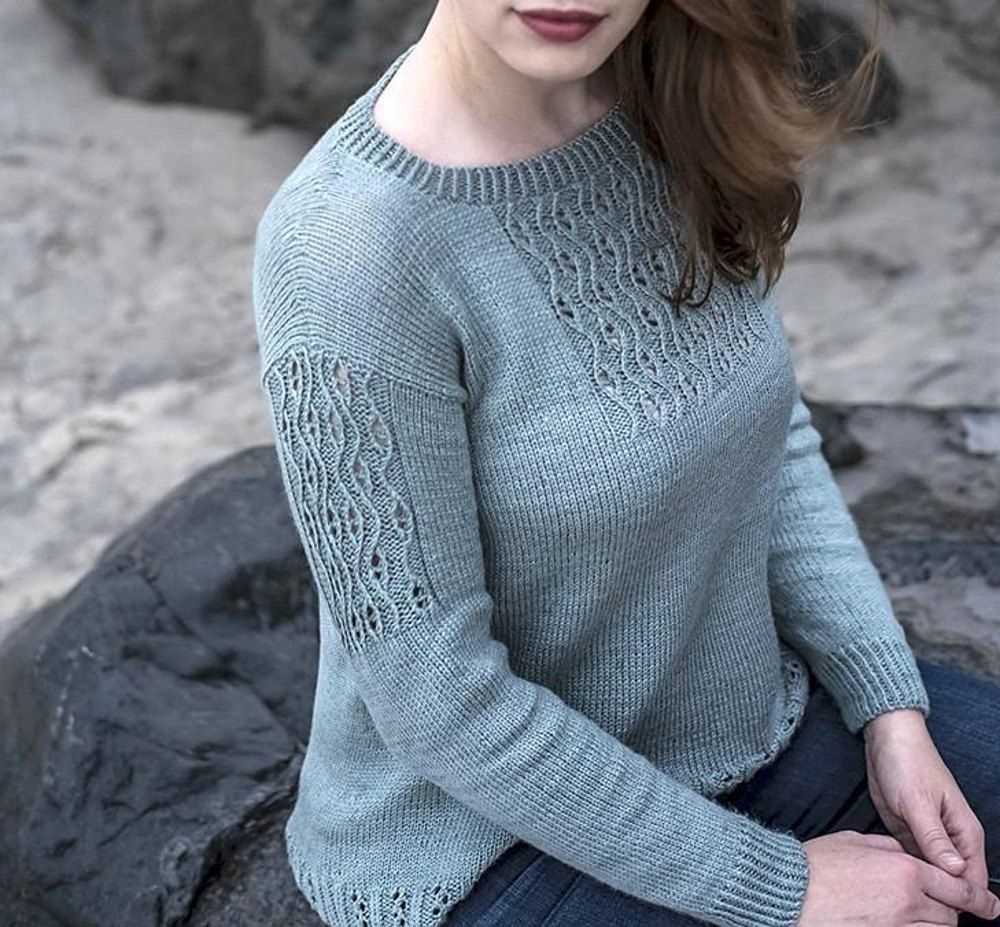
When it comes to knitting a pullover, choosing the right yarn and needles is essential for success. The type and size of yarn can greatly influence the final look and feel of the garment, while the needles will determine the gauge and stitch definition.
Yarn: There are various types of yarn to choose from, including wool, cotton, acrylic, and blends. Beginners may want to start with a medium- or light-weight yarn that is easy to work with and forgiving of mistakes. It is important to consider the care instructions of the yarn, as some may require special washing or dry cleaning.
Needles: The size of the needles will determine the tension and overall size of the pullover. Beginners can look for needles with larger sizes to create a looser and more forgiving fabric. Straight or circular needles can be used depending on personal preference and the pattern instructions. It is recommended to use a needle size that matches the recommendations on the yarn label to ensure a properly sized garment.
Additionally, it may be helpful to have a set of double-pointed needles for working on sleeves or smaller areas of the pullover. These needles allow for knitting in the round and creating seamless garments.
Gauge: Before beginning the project, it is important to check the gauge using the recommended yarn and needle size. This involves knitting a swatch of stitches and rows and measuring them against the pattern’s gauge. Adjusting the needle size may be necessary to achieve the correct gauge, which will ensure that the pullover fits properly.
- Choose the right yarn and needles based on the desired look and feel of the pullover.
- Consider the care instructions of the yarn before making a selection.
- Use larger needles for a looser fabric and smaller needles for a tighter fabric.
- Have a set of double-pointed needles for working on sleeves or smaller areas.
- Check the gauge before starting the project to ensure proper sizing.
Casting On: Starting Your Pullover

When it comes to knitting a pullover, one of the first steps is casting on. Casting on is the process of creating the foundation row of stitches that will make up the bottom edge of your pullover. It is important to start with a good foundation to ensure that your pullover is the right size and shape.
To start casting on, you will need your knitting needles and your chosen yarn. You can use any method of casting on that you are comfortable with, but for beginners, the long-tail cast on is often a good choice. This method creates a neat and stretchy edge, which is perfect for the bottom edge of a pullover.
Step 1: To begin the long-tail cast on, make a slipknot by creating a loop with the yarn. Place the loop on one of your knitting needles, leaving a long tail hanging down.
Step 2: Hold the knitting needle with the slipknot in your right hand, and the other knitting needle in your left hand. Insert the right-hand needle into the slipknot from front to back, and bring the yarn over the top of the right-hand needle.
Step 3: With your left thumb and forefinger, hold the yarn coming from the ball and the tail of the yarn together. Use your right hand to pull the right-hand needle (with the loop on it) through the slipknot. This creates a new loop on the right-hand needle.
Step 4: Repeat steps 2 and 3 until you have cast on the desired number of stitches for your pullover. Make sure to keep the tension consistent, neither too loose nor too tight.
Step 5: Once you have cast on all the stitches, you are ready to begin working the first row of your pullover. Check your pattern for the next steps, which may involve joining the round if you are knitting in the round, or starting the first row of the main body if you are knitting flat.
Casting on may take a bit of practice to get right, but with time and patience, you will become more comfortable with the process. Remember to take your time and have confidence in your skills. Soon enough, you’ll be ready to start knitting your beautiful pullover!
Knitting the Ribbing

When knitting a pullover, one of the essential parts to focus on is the ribbing. The ribbing is typically located at the cuffs, neckband, and lower edge of the garment. It adds elasticity and helps keep the pullover in shape. Here are a few key points to keep in mind when knitting the ribbing:
- Choose the right needle size: To achieve the desired ribbing effect, it’s important to use a smaller needle size than the one used for the main body of the pullover. This will create a tighter fabric that will hold its shape better.
- Select the appropriate ribbing pattern: There are various ribbing patterns to choose from, such as 1×1 (alternating knit and purl stitches), 2×2 (alternating two knit and two purl stitches), or even more complex patterns. Beginners may want to start with a simple 1×1 ribbing pattern until they feel more comfortable.
- Pay attention to tension: Maintaining an even tension while knitting the ribbing is crucial to ensure an even and neat result. Avoid knitting too tightly or too loosely, as it can affect the overall look and fit of the pullover.
- Consider using ribbing needles: Ribbing needles, also known as double-pointed needles, can be helpful when knitting the ribbing on smaller areas such as cuffs. They allow for easy shaping and manipulation of the stitches.
- Measure and adjust: Before moving on to the main body of the pullover, it’s important to measure the ribbing section to ensure accuracy. Adjust the number of rows or stitches if needed to achieve the desired length.
By focusing on these key points, beginners can successfully knit the ribbing for their pullover and achieve a professional-looking result. The ribbing adds a finished touch to the garment and sets the stage for the rest of the knitting project.
Working the Body of the Pullover

Once you have completed the ribbing section, you are ready to start working on the body of the pullover. The body of the pullover is where you will start to see the shape and size of the garment take form.
Step 1: Continuing in Pattern
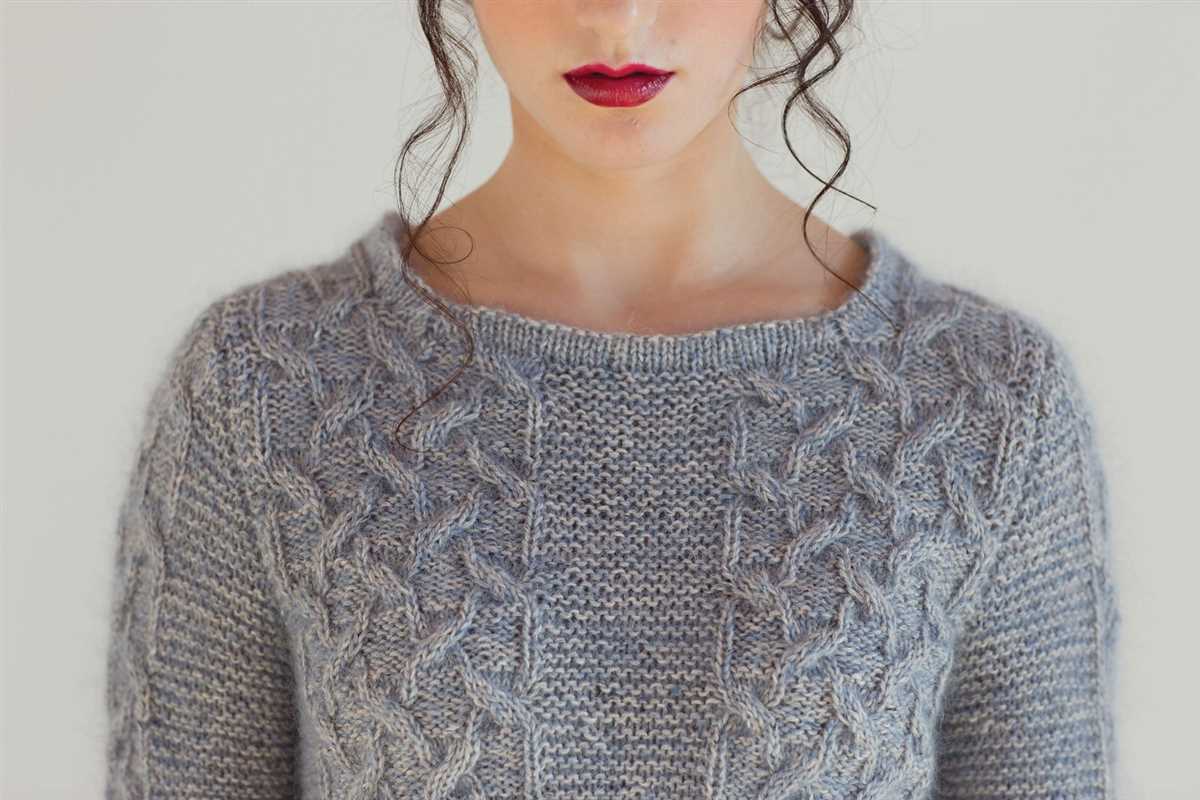
To begin, continue knitting in the established pattern from the ribbing section. This could be a simple stockinette stitch or a more intricate pattern, depending on the design of the pullover. Make sure to refer to the pattern instructions for the specific stitch pattern and row gauge.
Step 2: Shaping the Waist
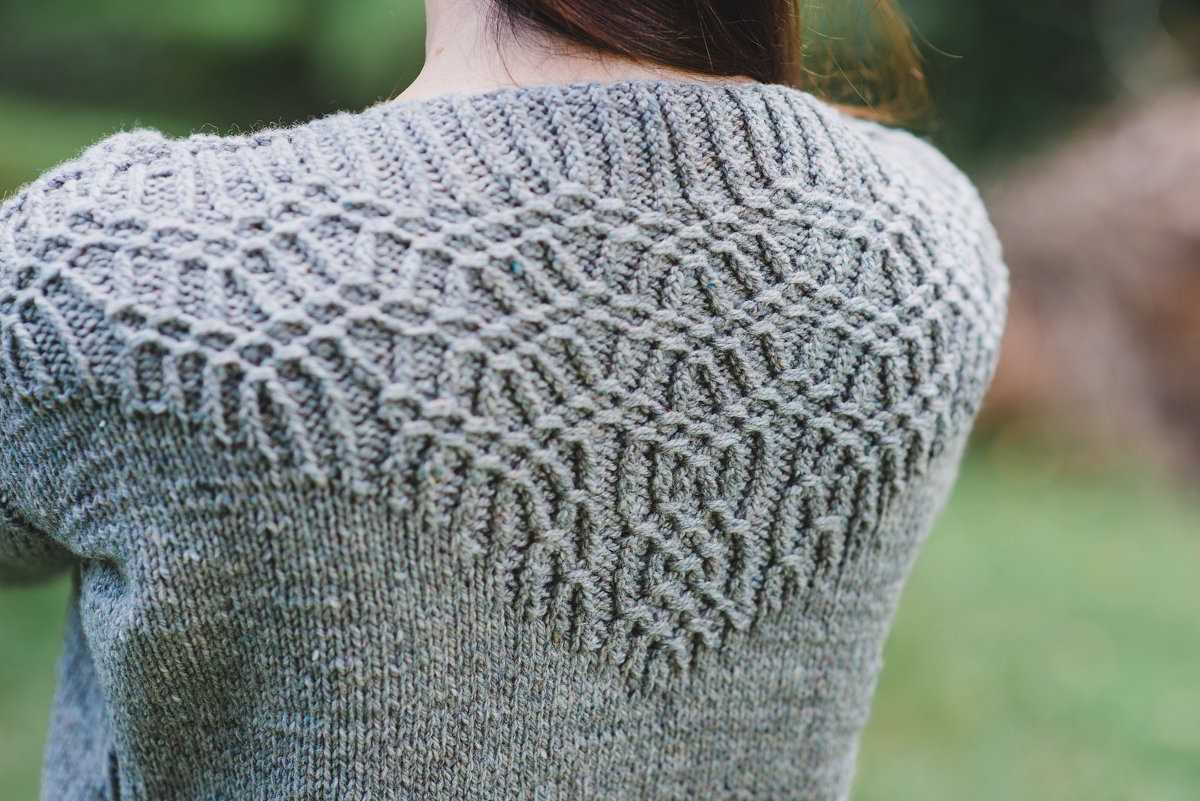
As you work the body of the pullover, you may need to shape the waist to create a more fitted look. This can be done by decreasing or increasing stitches at specific points in the pattern. Refer to the pattern instructions for the recommended shaping techniques and measurements.
When shaping the waist, it is important to keep track of your stitch count and row gauge to ensure that you are maintaining the correct measurements and proportions. Adjustments may need to be made as you work through the body section to achieve the desired fit.
Step 3: Working the Length

Once the waist shaping is complete, continue to work the body of the pullover in the established pattern until you reach the desired length. The length can vary depending on personal preference and the design of the pullover.
Remember to regularly check your work against the pattern instructions to ensure that you are on track and following the correct measurements. Once the body section is complete, you will be ready to move on to the next step in completing your pullover.
Shaping the Neckline
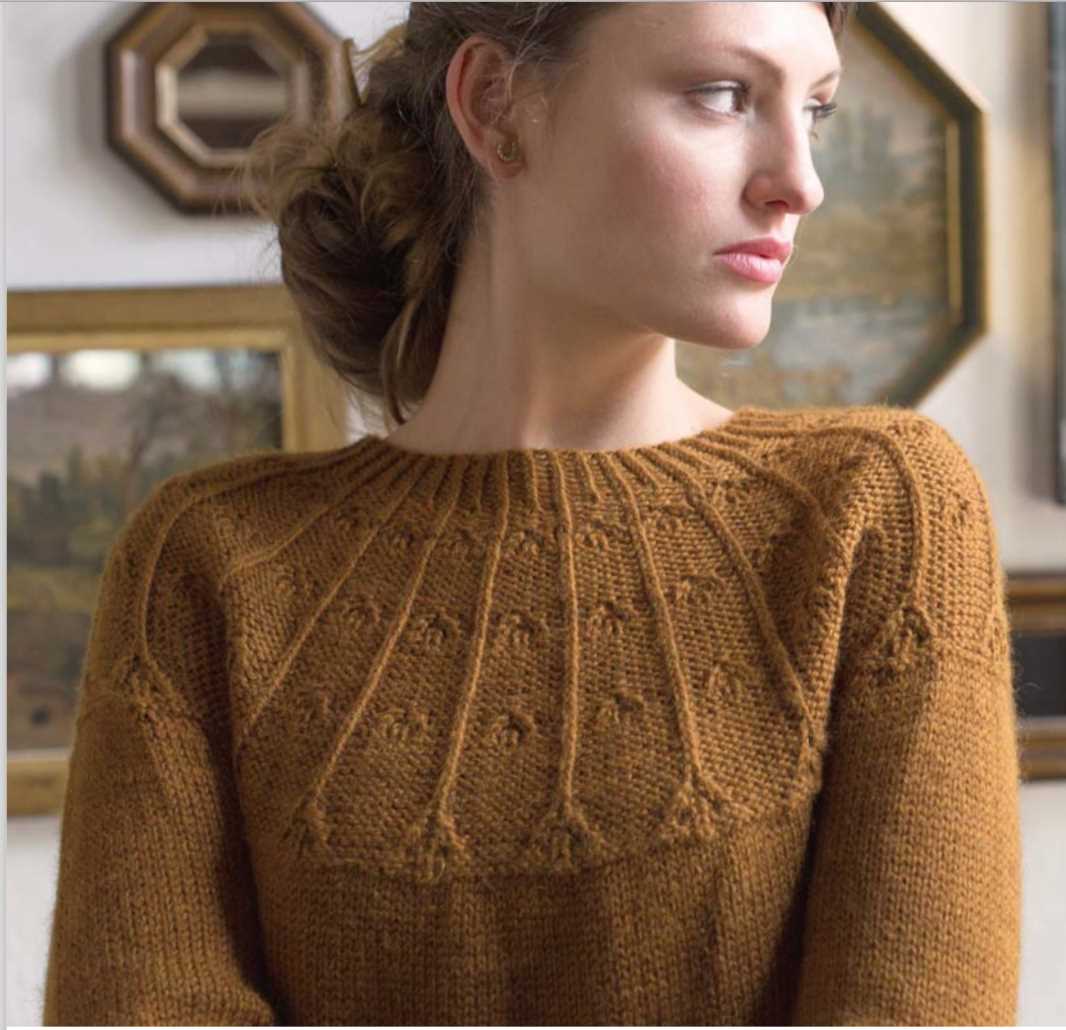
When knitting a pullover, one important design feature to consider is the neckline. The neckline not only creates the opening for the head, but also adds style and can greatly affect the overall look of the garment. There are several different ways to shape the neckline, depending on the desired style and level of difficulty.
One common method for shaping the neckline is the use of short rows. Short rows are partial rows that are worked back and forth without knitting all the way to the end of the row. By working short rows in a specific pattern, it is possible to create a curved or angled neckline. This technique is often used for creating a scooped or V-shaped neckline, and can be done with either wraps or without wraps.
- With wraps: When knitting with wraps, the short row is worked until a specific stitch, then a wrap is made around the next stitch before turning the work. On the following row, the wrap is picked up and knitted together with the wrapped stitch to create a smooth transition. This method helps to prevent gaps or holes when turning the work.
- Without wraps: Alternatively, short rows can be worked without wraps. In this method, the work is simply turned without creating a wrap. On the following row, the turning point is worked together with the stitch before it to close any gaps. This method is simpler than using wraps, but may result in a less smooth transition.
Another common method for shaping the neckline is through the use of decreases. Decreases are stitches that are worked together to reduce the total number of stitches. By strategically placing decreases along the rows, it is possible to shape the neckline into a desired curve or angle. Decreasing can be done at the center front or back, as well as along the sides of the neckline.
It is important to carefully follow the pattern instructions for shaping the neckline, as it may require specific stitch counts and placement of decreases. Taking the time to properly shape the neckline will ensure a well-fitting and visually appealing pullover.
Creating the Sleeves
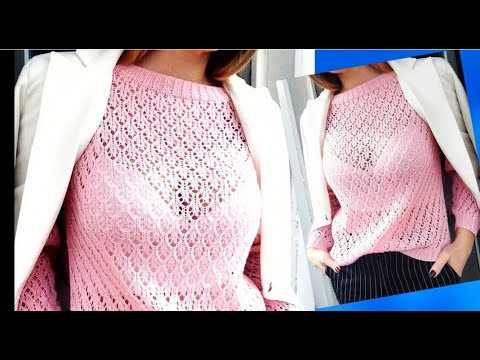
Once you have completed the body of the pullover, it’s time to move on to the sleeves. The sleeves are an essential part of the garment and require careful attention to detail. Here are the steps to create the sleeves for your knitting pullover:
1. Measure and calculate: Before you start knitting the sleeves, you need to measure your arm circumference and length. This will help you determine the number of stitches and rows needed for your sleeves. Make sure to account for any desired ease in the measurements.
2. Cast on stitches: Using the same yarn and needle size as the body of the pullover, cast on the required number of stitches for the sleeves. This number will depend on your measurements and the desired fit. You can use a provisional cast on if you plan to add a ribbed cuff later.
3. Knit the sleeves: Follow the chosen knitting pattern for the pullover to knit the sleeves. Usually, this involves working in the round, either using double-pointed needles or a circular needle for magic loop technique. Make sure to follow the pattern instructions for any shaping, increases, or decreases required for the sleeve design.
4. Check the fit: As you progress with knitting the sleeves, it’s important to periodically try on the garment to check the fit. This will help ensure that the sleeves are neither too tight nor too loose. Adjustments can be made by adding or reducing stitches along the way.
5. Finish the sleeves: Once you have reached the desired sleeve length, it’s time to finish off the sleeves. This may involve binding off stitches or working a ribbed cuff, depending on your chosen design. Make sure to follow the pattern instructions for any required finishing techniques.
By following these steps, you can create well-fitting and stylish sleeves for your knitting pullover. Remember to take your time and enjoy the process of knitting!
Joining the Sleeves to the Body
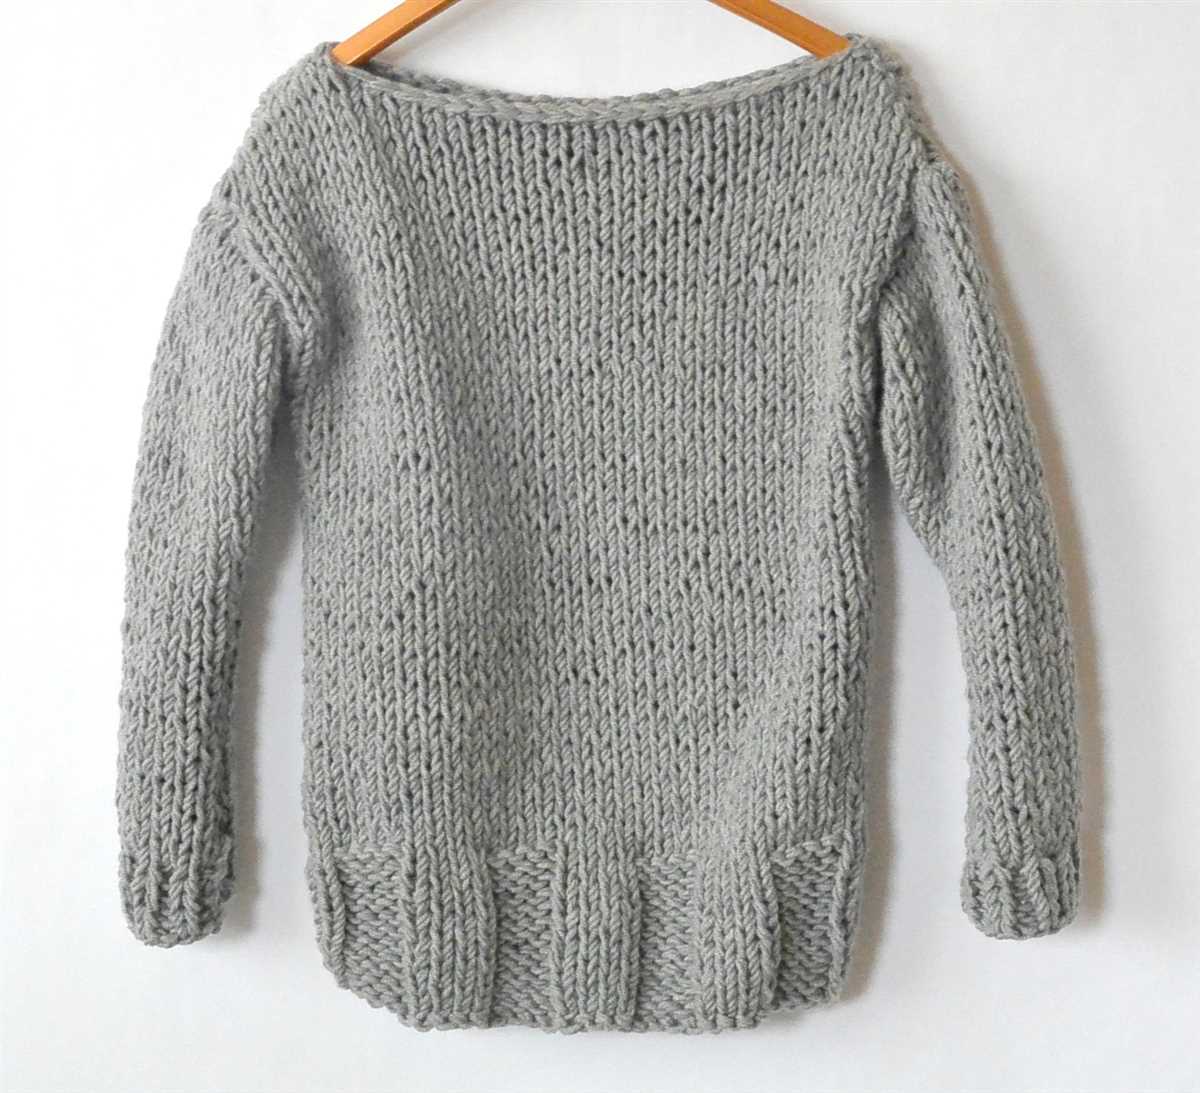
After completing the sleeves and the body of your knitted pullover, the next step is to join them together. This is an important step as it determines the overall fit and structure of the garment. There are a few different methods you can use to join the sleeves to the body, depending on your personal preference and the pattern instructions.
1. Mattress Stitch: One common method for joining sleeves to the body is using the mattress stitch. This stitch creates a nearly invisible seam and gives a professional finish to your pullover. To use the mattress stitch, align the sleeve and body edges with the right sides facing each other. Use a tapestry needle and matching yarn to weave in and out of the rows, creating a neat and invisible seam. Repeat this process for both sleeves.
2. Three-Needle Bind Off: Another method you can use to join the sleeves to the body is the three-needle bind off. This method creates a sturdy and decorative seam. To use the three-needle bind off, align the sleeve and body edges with the right sides facing each other. Insert a third knitting needle through the first stitch on the front needle and the first stitch on the back needle. Knit these two stitches together, then continue knitting one stitch from each needle together until all the stitches are bound off. This method creates a visible seam on the right side of the garment, so it’s important to consider the aesthetic you want to achieve.
Knitting the Collar or Hood
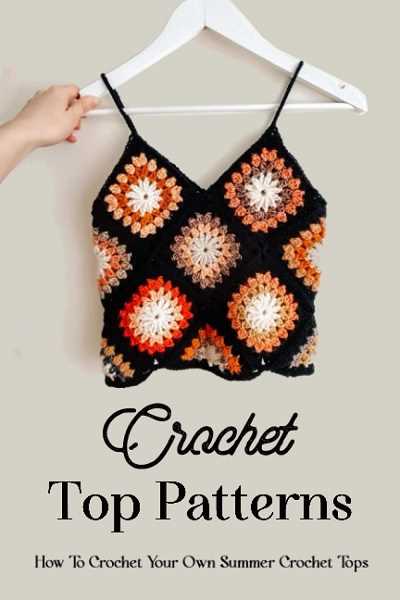
When it comes to knitting the collar or hood of a pullover, there are a few different techniques you can use depending on the pattern. One common method is to pick up stitches along the neckline and knit in ribbing or another desired stitch pattern. This is done by inserting the knitting needle into the edge of the fabric at regular intervals and wrapping the yarn around the needle to create new stitches.
Another option is to knit the collar or hood separately and then sew it onto the body of the pullover. This can be done by following a separate pattern for the collar or hood, knitting it to the desired length, and then carefully sewing it in place using a tapestry needle and the same yarn that was used for the rest of the pullover. This method allows for more customization and can be a good option if you want a contrasting color or stitch pattern for the collar or hood.
If you are knitting a hood, there may be additional steps involved such as picking up stitches along the top of the collar and working short rows to shape the hood. This can create a more comfortable and snug fit around the head. It’s important to carefully follow the pattern instructions to ensure that the collar or hood is knitted correctly and matches the desired style and fit of the pullover.
Overall, knitting the collar or hood of a pullover requires careful attention to detail and following the pattern instructions closely. It can be a rewarding and fun part of the knitting process and adds a finishing touch to the garment.
Finishing Touches: Seaming and Blocking
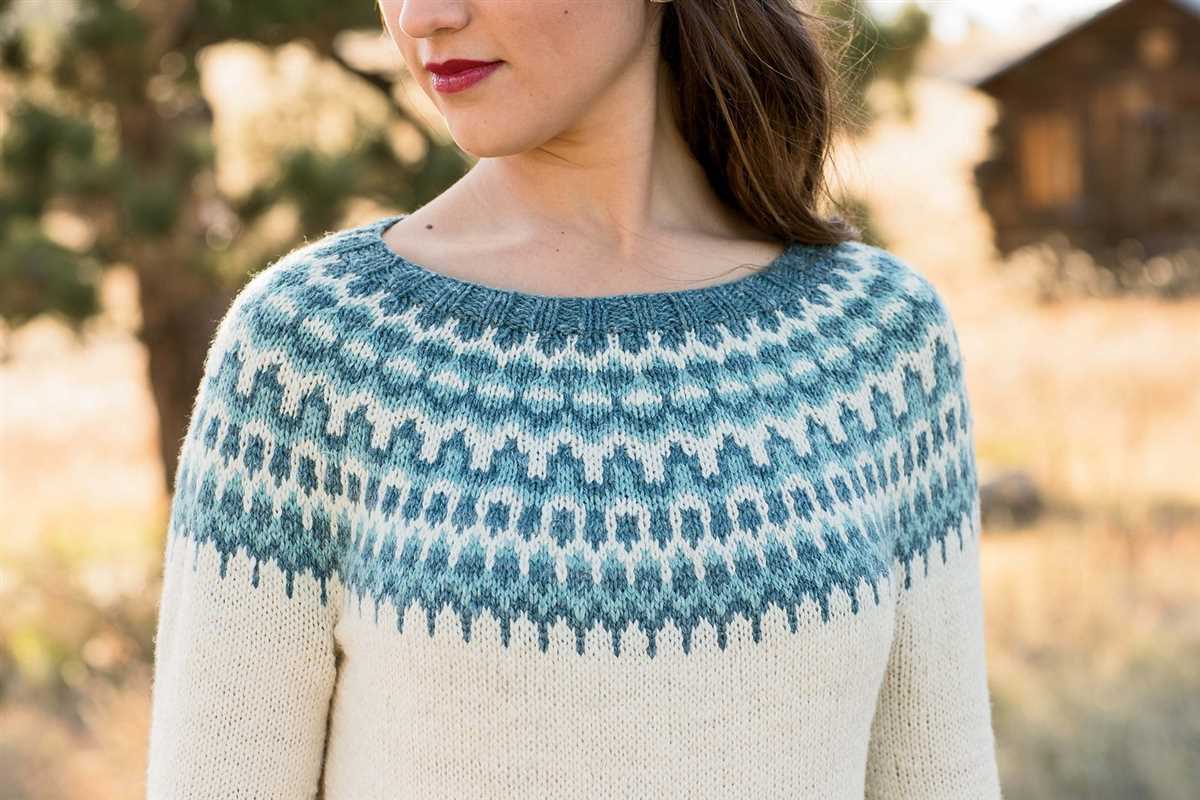
After completing the final stitch of your knitting project, there are two important steps to take to ensure a professional-looking finished product: seaming and blocking.
Seaming is the process of connecting the separate pieces of your knitted pullover, such as the front and back panels, sleeves, and neckline. This is typically done using a yarn needle and the same yarn that was used to create the project. Take care to match the edges of the pieces as closely as possible to create a seamless appearance. Use a simple, invisible seam technique like mattress stitch or whipstitch to secure the pieces together. Take your time while seaming to ensure accuracy and avoid any unnecessary bulk or puckering.
Blocking is the final step in the knitting process that can greatly improve the overall look and fit of your pullover. Place your finished knitted garment onto a flat surface, such as a blocking mat or towel, and gently shape it to the desired measurements using blocking pins. This process helps to relax the fibers, even out any uneven tension, and create a smooth, uniform appearance. If your yarn allows, you can wet block your pullover by spraying it lightly with water or immersing it completely, and then allowing it to dry in shape. Alternatively, you can steam block it by hovering a steam iron over the garment without actually touching it. Always follow the yarn manufacturer’s care instructions to ensure the best results.
By taking the time to seam and block your knitted pullover, you can elevate it from a simple DIY project to a polished, professional-looking garment. These finishing touches can make all the difference in the final result, showcasing your skills as a knitter and ensuring that your pullover fits and drapes beautifully.
Adding Embellishments or Decorative Stitches

The key to creating a unique and personalized knitting pullover is to add embellishments or decorative stitches to your design. These small details can make a big impact and can be a fun way to showcase your creative style.
One option is to add decorative stitches to the body or sleeves of your pullover. You can incorporate cables, bobbles, lace patterns, or other textured stitches to create visual interest. These stitches can be added in a contrasting color for a bold look or in a complementary color for a subtle touch.
Another way to add embellishments is by using different types of yarns. You can experiment with yarns that have sequins, metallic threads, or other special details. This can create a more glamorous and eye-catching effect on your pullover.
Additionally, you can also add embellishments after knitting the pullover. This can be done by sewing on buttons, beads, or appliques. These small additions can add a touch of elegance or whimsy to your pullover, depending on your chosen embellishments.
To help you plan your embellishments or decorative stitches, you can start by sketching out your design or creating a pattern swatch. This will allow you to visualize how the embellishments will look and help you decide on the best placement.
Remember, the key is to have fun and let your creativity shine when adding embellishments or decorative stitches to your knitting pullover. Don’t be afraid to take risks and try different techniques to create a truly unique and beautiful garment.
Tips and Tricks for Knitting Pullovers
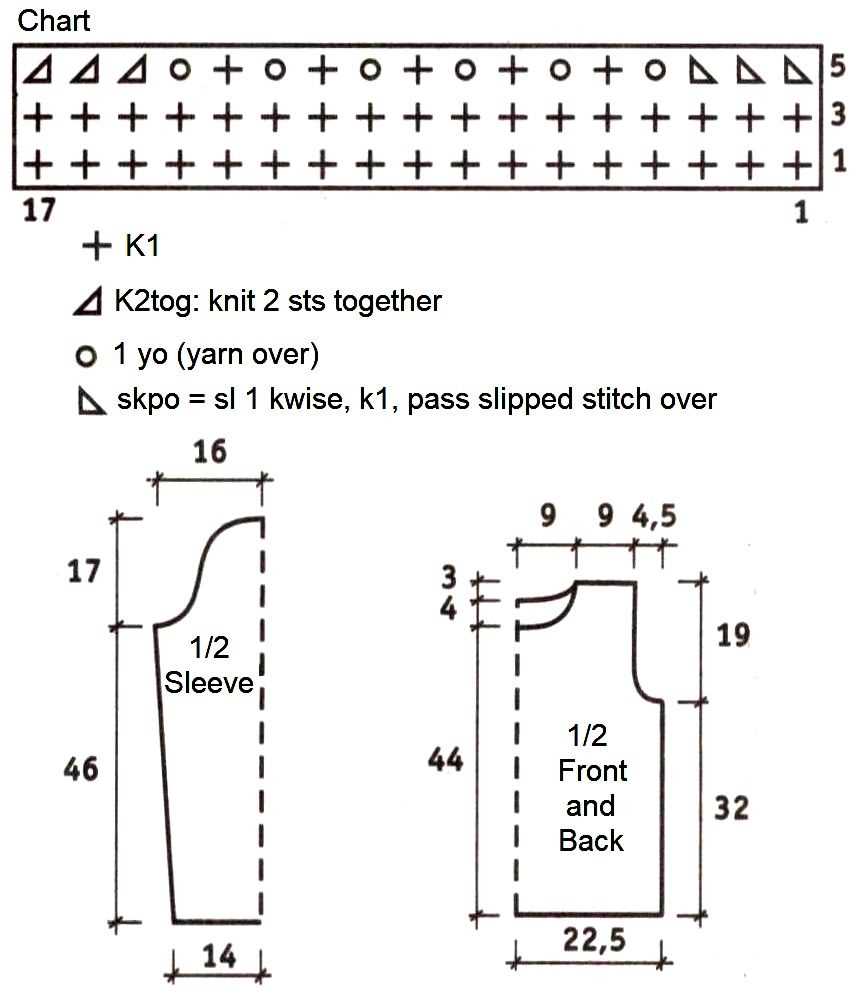
Knitting pullovers can be a rewarding and enjoyable hobby, but it can also present some challenges, especially for beginners. Here are some tips and tricks to help you successfully knit your pullover:
Familiarize Yourself with the Pattern: Before you start knitting, make sure you fully understand the pattern. Take the time to read through it carefully, noting any special stitches or techniques required. This will help prevent mistakes and confusion as you work on your pullover.
Choose the Right Yarn and Needles: Choosing the right yarn and needles for your pullover is crucial. Ensure that the yarn weight recommended in the pattern matches the yarn you intend to use. Additionally, select needles that will give you the correct gauge for the pattern. Swatching beforehand can help ensure you achieve the right tension.
Take Accurate Measurements: Properly measuring yourself or the intended recipient of the pullover is essential for a good fit. Take accurate measurements of the chest, arm length, and waist, following the guidelines provided in the pattern. This will help you choose the correct size and make any necessary modifications to the pattern.
Use Stitch Markers: Stitch markers can be incredibly useful for keeping track of your progress and ensuring you don’t make any mistakes. Place markers at the beginning and ends of pattern repeats or wherever the pattern instructs. This will make it easier to identify any errors and help you stay organized.
Take Breaks and Rest Your Hands: Knitting for extended periods can strain your hands and wrists. Remember to take breaks and rest your hands to prevent fatigue and discomfort. Stretching exercises specifically designed for knitters can help alleviate any tension and keep your hands in good shape.
Join a Knitting Group or Find Online Communities: Knitting with others who share your passion can be a great way to learn new techniques, get advice, and find project inspiration. Joining a knitting group in your area or finding online communities can connect you to experienced knitters who can offer support and guidance when you need it.
Experiment with Stitch Patterns: Once you have mastered the basics, don’t be afraid to experiment with different stitch patterns. Adding a unique texture or design to your pullover can make it truly one-of-a-kind. Just be sure to keep detailed notes on any modifications you make so you can replicate them in the future.
With these tips and tricks in mind, you are well-equipped to tackle your knitting pullover project. Remember to be patient with yourself as you learn and always enjoy the process. Happy knitting!
Q&A:
What are some easy knitting pullover patterns for beginners?
Some easy knitting pullover patterns for beginners include basic drop-shoulder pullovers, simple raglan sleeve sweaters, and boxy oversized sweaters.
Where can I find knitting pullover patterns for beginners?
You can find knitting pullover patterns for beginners in knitting books, online knitting websites, and on knitting pattern databases. Some popular websites for finding knitting patterns include Ravelry, Knitty, and Lion Brand Yarn.
What materials do I need to knit a pullover sweater?
To knit a pullover sweater, you will typically need yarn, knitting needles in the appropriate size, stitch markers, a tapestry needle for sewing seams, and scissors. The type and amount of yarn will depend on the specific pattern you choose.
How long does it take to knit a pullover sweater?
The time it takes to knit a pullover sweater will vary depending on your knitting speed, the complexity of the pattern, and the size of the sweater. For beginners, it may take anywhere from a few weeks to a few months to complete a pullover sweater.
Can I customize a knitting pullover pattern for beginners?
Yes, you can customize a knitting pullover pattern for beginners. You can modify the length, width, and neckline of the sweater, as well as add or remove details such as cables or colorwork. Just make sure to take accurate measurements and adjust the pattern accordingly.
What are some easy knitting pullover patterns for beginners?
Some easy knitting pullover patterns for beginners include the garter stitch pullover, basic stockinette stitch pullover, and the ribbed pullover.
What materials do I need to knit a pullover?
To knit a pullover, you will need yarn in the desired color and weight, knitting needles in the recommended size, a tapestry needle for sewing seams, stitch markers, and a measuring tape.