
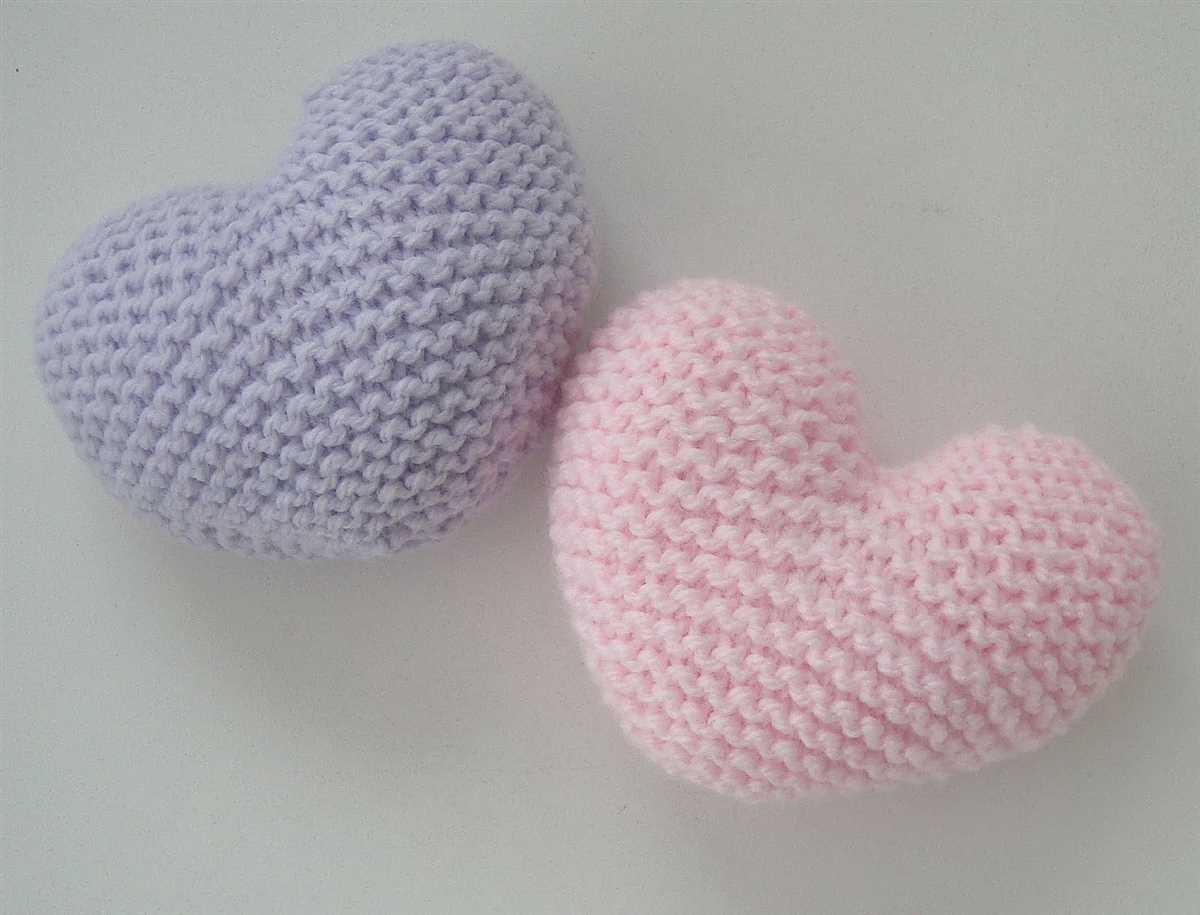
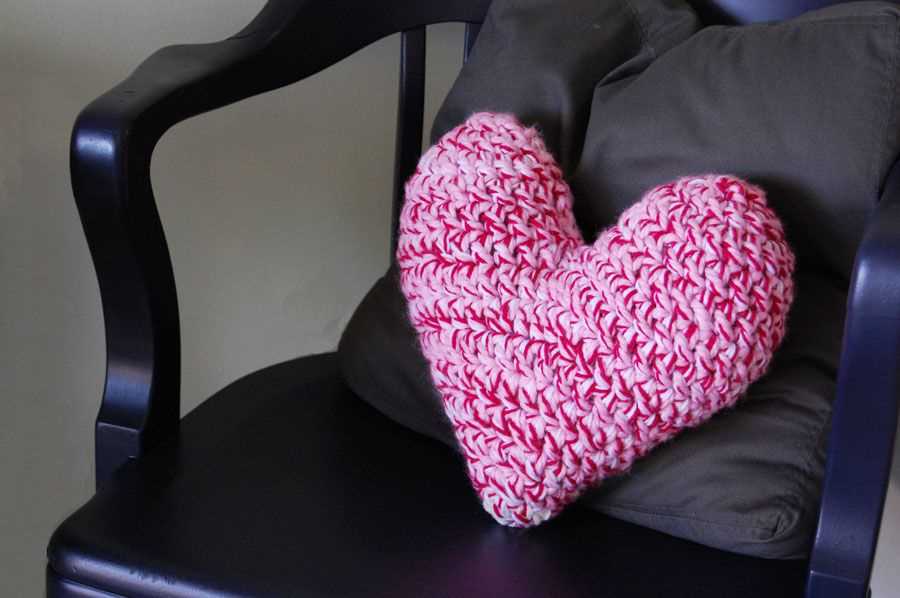
If you are looking for a fun and cozy project to work on, a knit heart pillow can be the perfect choice. This cute and decorative accessory can add a touch of love and warmth to any room in your home. Whether you are a beginner or an experienced knitter, this pattern is simple and easy to follow.
Knitting a heart pillow is not only a great way to practice your knitting skills, but it also allows you to create a unique and personalized item that you can cherish for years to come. With this pattern, you can choose your favorite colors and yarns to make a pillow that matches your style and preferences.
The knit heart pillow pattern includes step-by-step instructions and a detailed list of the materials you will need. You will also find tips and tricks to help you along the way. So grab your knitting needles, choose your favorite yarn, and get ready to create a lovely knit heart pillow that will make any space feel cozy and inviting.
Knit Heart Pillow Pattern
Create a cozy and adorable knit heart pillow with this easy-to-follow pattern. Whether you’re an experienced knitter or just starting out, this project is perfect for adding a touch of charm to your home decor. The finished pillow makes a lovely gift for a loved one or a cute addition to your own couch or bed.
To get started, you’ll need:
- Size 8 (5mm) knitting needles
- Approximately 200 yards of worsted weight yarn
- Pair of scissors
- Tapestry needle
- Polyester fiberfill stuffing
Instructions:
- Cast on 60 stitches.
- Row 1: Knit across.
- Row 2: Purl across.
- Repeat Rows 1 and 2 until the piece measures approximately 20 inches in length.
- Bind off all stitches.
- Using the tapestry needle and a length of yarn, sew the two short sides of the knit piece together, leaving one long side open for stuffing.
- Stuff the heart pillow firmly with polyester fiberfill.
- Sew the open side closed using the tapestry needle and yarn.
You can customize your heart pillow by using different colors of yarn or adding embellishments such as buttons or embroidery. Get creative and make this knit heart pillow your own!
Materials Needed
To create a knit heart pillow, you will need the following materials:
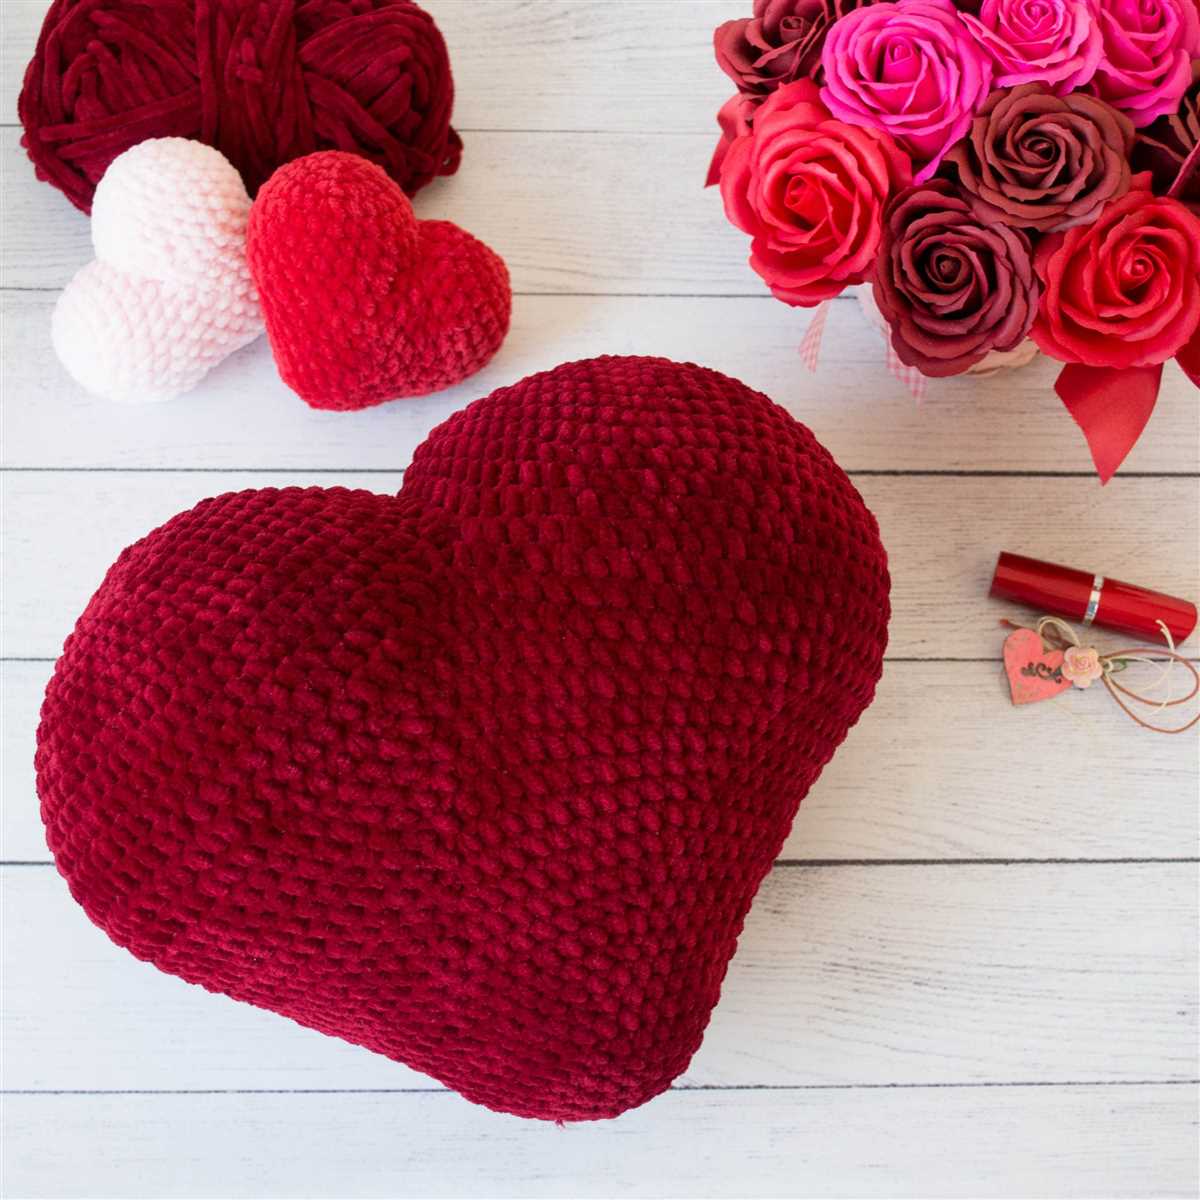
- Yarn: Choose a soft and chunky yarn in the color of your choice. The yarn should be thick enough to create a cozy and plush pillow.
- Knitting Needles: Make sure you have the appropriate size knitting needles for your chosen yarn. Typically, larger needles are used for chunky yarn.
- Tapestry Needle: This needle will be used to weave in loose ends and sew the pieces of the heart pillow together.
- Scissors: You will need a pair of scissors to cut the yarn and trim any excess.
- Stuffing: To give your heart pillow its shape and firmness, you will need stuffing. This can be polyester fiberfill, foam, or any other material of your choice.
- Stitch Markers: Stitch markers are helpful for keeping track of stitch counts and marking important points in the pattern.
Once you have gathered all of these materials, you will be ready to start knitting your heart pillow. Make sure you have enough yarn for the entire project and consider purchasing extra in case you need to make any adjustments or repairs.
Choosing the Right Yarn

When it comes to knitting a heart pillow, choosing the right yarn is essential to achieving the desired results. The type of yarn you select will not only affect the appearance and texture of the finished product but also its durability and ease of care. Here are some important factors to consider when choosing the right yarn for your knit heart pillow pattern:
Fiber Content:
The first thing to consider is the fiber content of the yarn. There are many different options available, including wool, cotton, acrylic, and blends of various fibers. Each type of fiber has its own unique characteristics, so it’s important to think about how you want your heart pillow to look and feel. Wool, for example, is warm and soft, making it great for cozy pillows, while cotton is lightweight and breathable, making it ideal for summer decor.
Weight:
The weight of the yarn will also affect the finished appearance of your heart pillow. Yarn weight refers to the thickness of the yarn, with options ranging from lace weight to super bulky. A thicker yarn will create a larger, more plush pillow, while a thinner yarn will result in a smaller, more delicate pillow. Consider the size and intended use of your pillow when choosing the weight of the yarn.
Color and Pattern:
The color and pattern of the yarn will greatly impact the visual appeal of your heart pillow. Luckily, there are countless options available, from solid colors to variegated and self-striping yarns. Consider the color scheme and overall design of your room or intended setting for the pillow. You may want to choose a yarn that complements the existing decor or one that adds a pop of color and interest.
By carefully considering the fiber content, weight, color, and pattern of the yarn, you can ensure that your knit heart pillow turns out exactly as you envision. Take your time when selecting the yarn and don’t be afraid to experiment with different options to find the perfect match for your project.
Choosing the Right Needles
When it comes to knitting, choosing the right needles is an important decision that can significantly affect the outcome of your project. Whether you’re knitting a hat, scarf, or a heart pillow, selecting the appropriate needles can make a difference in the ease and quality of your knitting experience.
One factor to consider when choosing needles is the material they are made of. Needles can be made from a variety of materials, including metal, wood, and plastic. Each material has its advantages and disadvantages. Metal needles, such as aluminum or stainless steel, are known for their durability and smoothness, allowing stitches to glide easily. Wood needles, on the other hand, are prized for their warmth and flexibility, which can be especially helpful when working with delicate or lightweight yarns. Plastic needles are often more affordable and lightweight, making them a popular choice for beginners.
What size should you choose?
Another important factor to consider is the size of the needles. Needles come in various sizes, denoted by numbers, and the size you choose will depend on the thickness of the yarn and the desired gauge of your project. The size of the needles determines the size of the stitches and ultimately the finished product. Typically, thicker yarns require larger needles, while thinner yarns require smaller needles.
Keep in mind that using the wrong size of needles can result in a project that is too loose or too tight. To ensure the best results, it’s always a good idea to check the gauge of your pattern and make a gauge swatch before starting the project. This will help you determine if you need to adjust the size of your needles to achieve the desired result.
- Consider the material of the needles – metal, wood, or plastic.
- Choose the right size of needles based on the thickness of your yarn and desired gauge.
- Check the gauge of your pattern and make a gauge swatch before starting your project.
Casting On
To begin knitting the heart pillow pattern, you will first need to cast on your stitches. Casting on is the process of creating the first row of stitches on your knitting needle. There are several different methods you can use to cast on, but for this pattern, we will be using the long tail cast on method.
To start, you will need to estimate the amount of yarn you will need for the cast on. For the long tail cast on method, you will need to have a long tail of yarn, usually about three times the width of your finished piece. Measure out the yarn, leaving a tail that is about 18 inches long.
Once you have your yarn measured, make a slip knot by creating a loop with the tail end of the yarn. Insert your knitting needle through the loop and tighten the loop around the needle. Hold the needle with the slip knot in your right hand and the long tail in your left hand.
To cast on your first stitch, insert the needle into the slip knot loop from left to right. Use your right hand to bring the yarn behind the needle, forming a loop. With your right hand, bring the yarn forward between the needles, creating a new loop around the right needle.
Continue this process of inserting the needle into the loop, bringing the yarn behind, and bringing the yarn forward between the needles until you have cast on the desired number of stitches for your project. Take care not to let the stitches become too tight or too loose as you work.
Once you have cast on all of your stitches, you are ready to begin knitting the heart pillow pattern. Follow the instructions for the pattern to create a beautiful knitted heart pillow that you can enjoy or gift to someone special.
Knitting the Front Panel
Before you can start knitting the front panel of the heart pillow, you will need to gather your materials and choose your yarn and needle size. It is recommended to use a chunky or bulky weight yarn for this project to create a soft and cozy pillow. Once you have everything you need, you can begin the knitting process.
To start, cast on the required number of stitches onto your knitting needles. The pattern will specify the exact number of stitches you need to cast on based on your chosen yarn and needle size. It is important to pay attention to these instructions, as casting on the incorrect number of stitches can affect the overall shape and size of the pillow.
Once you have cast on your stitches, you can begin knitting the first row. Follow the pattern instructions for the specific stitch pattern you will be using, as it may vary based on the desired texture and design of the front panel. Use stitch markers to help you keep track of any stitch pattern repeats or increases and decreases.
Continue knitting the rows according to the pattern instructions until you have completed the desired length for the front panel. It is important to periodically check your gauge to ensure that your knitting is coming out to the correct measurements. Adjust your needle size if necessary to achieve the correct gauge.
Once you have finished knitting the front panel, it is time to bind off your stitches. Use a stretchy bind off method to ensure that the edges of the panel are not too tight or restrictive. Cut the yarn, leaving a long tail for sewing later on. Weave in any loose ends on the wrong side of the panel to keep it looking neat and tidy.
Congratulations! You have now completed the front panel of your knit heart pillow. You can now move on to knitting the back panel and assembling the pillow. Follow the pattern instructions for these steps, and soon you will have a beautiful, heart-shaped pillow to cozy up with.
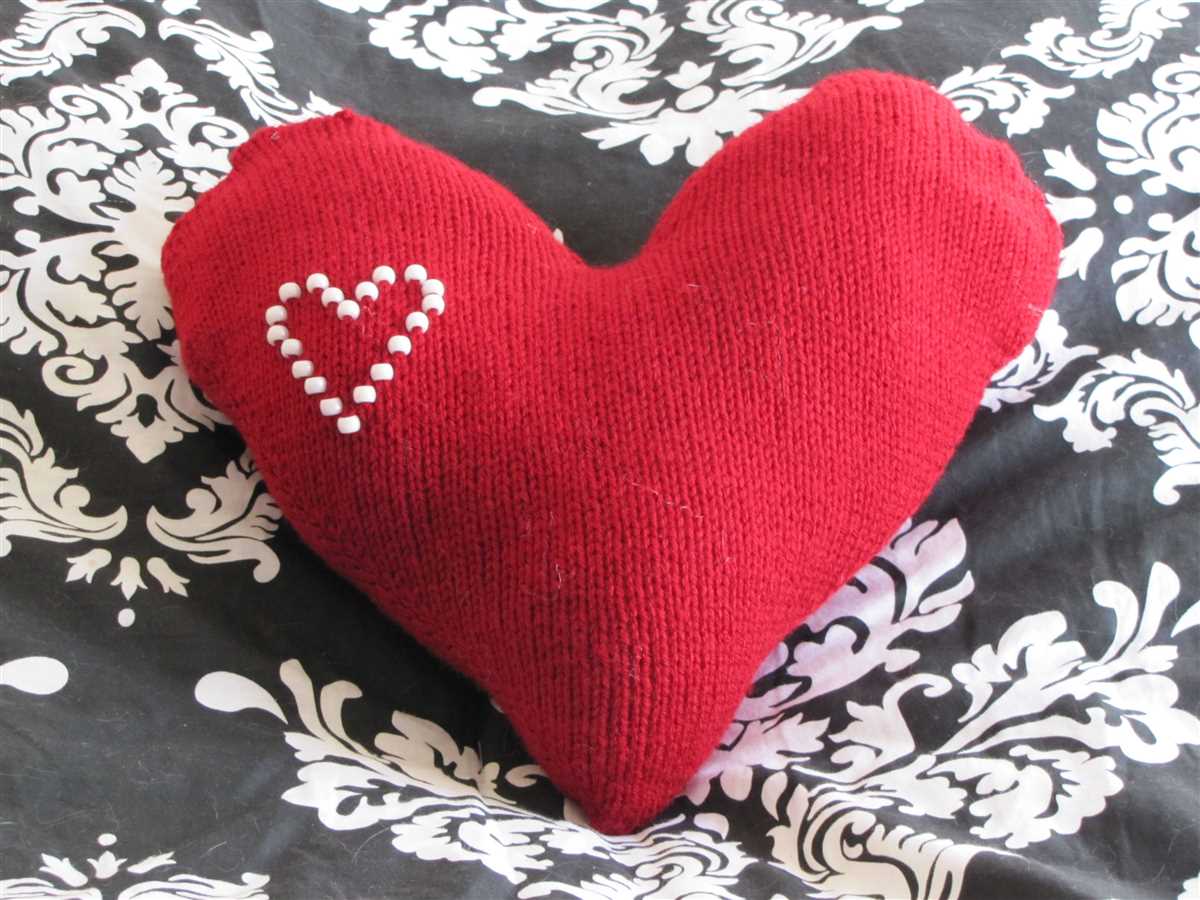
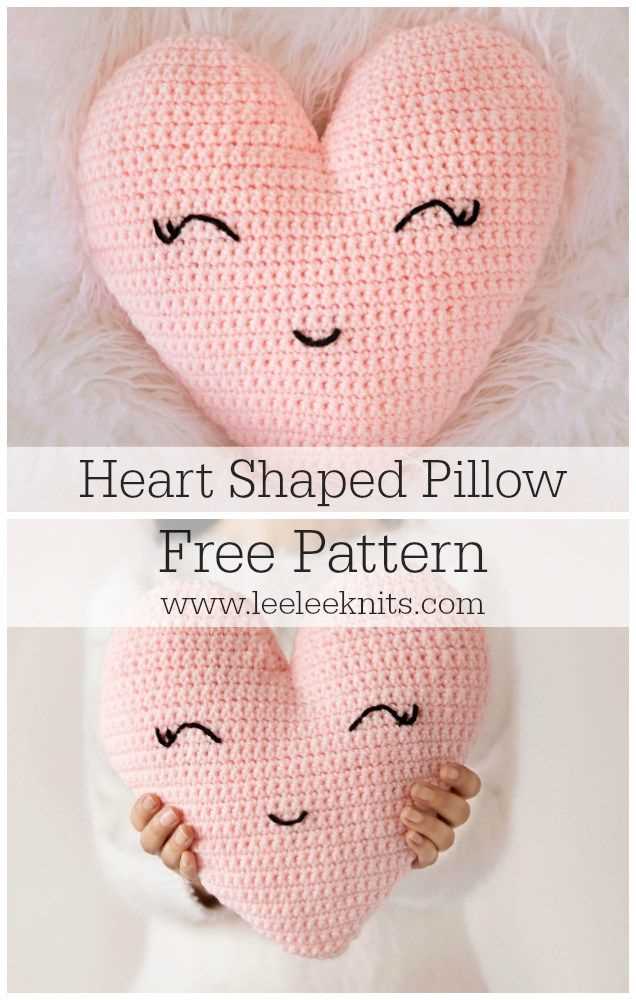
Adding a Heart Motif
Adding a heart motif to your knit heart pillow can elevate its design and make it even more special. There are several ways you can incorporate a heart motif into your pillow, whether you want to make it the main focus or simply add a subtle touch.
Embroidery:
One of the easiest ways to add a heart motif to your knit heart pillow is through embroidery. You can use a contrasting color of yarn or embroidery floss to embroider a heart shape onto the surface of the pillow. This can be done either before or after sewing the pillow together. You can choose to make the heart small and discreet or large and bold, depending on your personal preference.
Intarsia:
If you’re looking to make the heart motif more prominent, you can use the intarsia knitting technique. With intarsia, you can create a heart shape by knitting with different colored yarns in specific sections of the pillow. This technique requires more advanced knitting skills but will result in a striking and visually appealing heart motif.
Appliqué:
Another option for adding a heart motif is by creating a heart-shaped appliqué. You can knit or crochet a separate heart piece and then sew it onto the front of the pillow. This method allows for more customization, as you can choose different yarns or even use fabric for the appliqué. The appliqué can be securely sewn onto the pillow or attached with small snaps or buttons for a removable and interchangeable motif.
Whichever method you choose, adding a heart motif to your knit heart pillow will add a special touch and make it a truly unique and heartfelt gift or decor piece.
Knitting the Back Panel
Once you have finished knitting the front panel of your heart pillow, it’s time to move on to the back panel. The back panel is worked in a similar manner to the front panel, but without any colorwork or shaping.
To begin knitting the back panel, you will need to cast on the required number of stitches using the same yarn and needle size as the front panel. Make sure to leave a long tail of yarn before you begin, as you will need it later to sew the two panels together.
Once you have cast on, you can start knitting the back panel in your chosen stitch pattern. You can continue with the same stitch pattern as the front panel, or choose a different one for added variety. Keep in mind that the back panel should be the same size as the front panel, so make sure to follow the same number of rows and stitches as before.
Once you have finished knitting the back panel, bind off all the stitches and cut the yarn, leaving a long tail. Now you can start assembling your heart pillow by sewing the front and back panels together using the long tails of yarn. Make sure to sew the panels together neatly, using a whip stitch or any other preferred method.
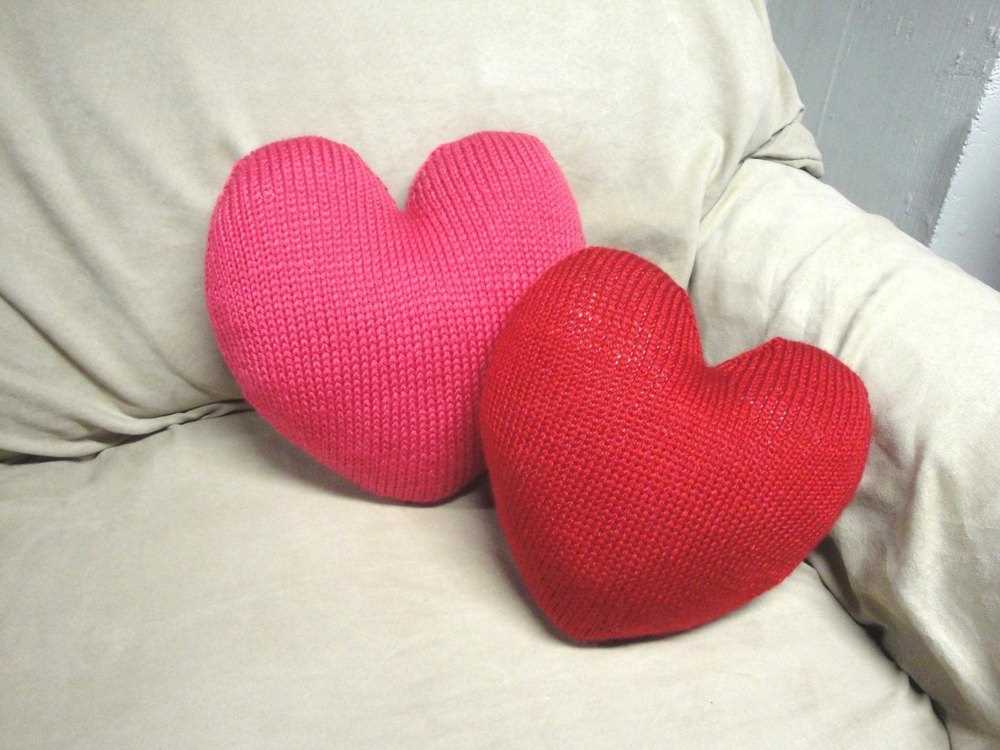
After the panels are sewn together, you can stuff the heart pillow with fiberfill or a preferred stuffing material. Once the pillow is stuffed to your desired level of firmness, you can continue sewing the remaining side and finish off any loose ends.
Your knit heart pillow is now complete! It’s a lovely and cozy decorative item that can be used as a throw pillow or as a charming accent on a bed or couch. Enjoy your creation or give it as a thoughtful handmade gift.
Joining the Panels
Once you have knitted all the panels for your heart pillow, it’s time to join them together. This step is essential to create a seamless and professional-looking finished product. Here are the steps to join the panels:
1. Lay out the panels
Start by laying out the panels in the desired arrangement. Make sure all the panels are facing the right side up, with the knit stitches on the front. This will ensure that the seams are hidden on the inside of the pillow.
2. Use a yarn needle and matching yarn
Thread a yarn needle with a length of matching yarn that is approximately three times the width of one panel. This will give you enough yarn to work with while joining.
3. Whip stitch the panels together

Begin by holding two adjacent panels together, with the right sides facing each other. Starting at the bottom corner, insert the needle from the back of the fabric through the first stitch on the bottom edge of the first panel. Then, insert the needle through the corresponding stitch on the second panel. Pull the yarn through, leaving a small tail.
Continue whip stitching along the bottom edge, joining one stitch from each panel at a time. Take care to stitch through both loops of each stitch to create a secure seam. Repeat this process for the remaining edges of the panels, working in a clockwise or counterclockwise direction.
4. Weave in the ends
Once all the panels are joined together, weave in the loose ends of the yarn to secure them. Insert the needle through the back of the fabric and pass it through several stitches, then trim the excess yarn close to the fabric.
After joining the panels, you can stuff the pillow with fiberfill or a pillow form, and then close the final seam using the same whip stitch method. With the panels joined together, your heart pillow is now complete and ready to be enjoyed or given as a heartfelt gift!
Stuffing the Pillow
Once you have finished knitting the heart-shaped pillow, it’s time to stuff it and give it that plush, cozy feel. The stuffing you choose will determine the overall comfort and shape of the pillow, so it’s important to choose a filling that suits your preferences.
Fiberfill: A popular choice for pillow stuffing is fiberfill, which is a synthetic material that mimics the feel and loft of natural feathers. It is hypoallergenic and provides a soft, fluffy texture to the pillow. To stuff the heart pillow with fiberfill, start by fluffing up the material to create an even distribution of filling. Insert small handfuls of fiberfill into the opening of the pillow, gently pushing it into the corners to ensure a plump and evenly stuffed heart shape.
Recycled Materials: If you prefer an eco-friendly option, you can stuff your heart pillow with recycled materials such as fabric scraps, old t-shirts, or even shredded paper. This not only reduces waste but also adds a unique texture and weight to the pillow. To stuff the pillow with recycled materials, simply fill the opening with small handfuls of the chosen material, ensuring an even distribution throughout.
Lavender or Other Fragrant Fillings: For an added touch of relaxation and fragrance, you can consider adding lavender or other scented fillings to your heart pillow. Dried lavender flowers or scented potpourri can be placed inside a small fabric bag or sachet and inserted into the pillow before closing the opening. This will create a soothing aroma when the pillow is squeezed or cuddled.
Adding the Final Stitches: Once you have stuffed the heart pillow to your desired level of fullness, use a tapestry needle and yarn to carefully stitch up the opening. Make sure to secure the stitches tightly to prevent any stuffing from coming out. Once the opening is closed, give the pillow a gentle fluff and shape it with your hands to create the perfect heart shape. Your knit heart pillow is now ready to be enjoyed!
Closing the Pillow

Once you have finished knitting the front and back panels of the heart pillow, it’s time to close the pillow and add the stuffing. This final step will bring your project to completion and create a cozy and decorative accent for your home or a heartfelt gift for a loved one.
To close the pillow, start by sewing the two panels together using a tapestry needle and the same yarn that you used for knitting. Align the edges of the panels and thread the needle with a long piece of yarn. Begin at the bottom center of the heart and work your way up, using a whip stitch or a slip stitch to join the panels together. Make sure to sew all the way around the heart, leaving a small opening for stuffing.
Pro tip: To make your sewing invisible, try to match the yarn color to the panels or use a yarn that blends well with the chosen colors.
Once the panels are securely sewn together, it’s time to stuff the pillow. Use polyester fiberfill or any other stuffing material of your choice. Start by inserting small amounts of stuffing through the opening, gently pushing it into the corners and curves of the heart shape. Avoid overstuffing, as it can distort the shape of the pillow. Instead, add stuffing gradually until you achieve the desired level of firmness.
After stuffing the pillow, carefully sew the opening closed using the same technique as before. Take your time to ensure a neat and tidy closure. Once the opening is securely sewn, weave in any loose ends of yarn and trim them close to the fabric to give your pillow a polished finish.
Optional: You can add some final touches to your pillow by attaching embellishments like buttons, ribbons, or embroidery. Get creative and personalize your heart pillow to make it truly unique.
Finishing Touches
Once you have completed knitting the heart pillow, it’s time to add the finishing touches to make it even more special. Here are a few ideas to consider:
1. Embellishments: Add some embellishments to give your heart pillow a unique look. You can sew on buttons, appliques, or beads to create lovely designs. Be creative and experiment with different materials to achieve the desired effect.
2. Personalization: Make your heart pillow more personal by adding initials, names, or dates. You can embroider or applique the desired details on the front or back of the pillow. This will make it an excellent gift for special occasions like birthdays or anniversaries.
3. Edging: Consider adding an edging to the pillow to give it a polished look. You can crochet a simple border in a complementary color or use a decorative stitch pattern to add texture. This will provide a nice finishing touch to your knitted heart pillow.
4. Cleaning and care instructions: Include a tag with cleaning and care instructions for your heart pillow. This will ensure that the recipient knows how to handle and maintain the pillow’s quality over time.
With these finishing touches, your knitted heart pillow will be ready to bring warmth and comfort to any space. Enjoy the process of adding your personal touch and creating a unique and beautiful masterpiece.