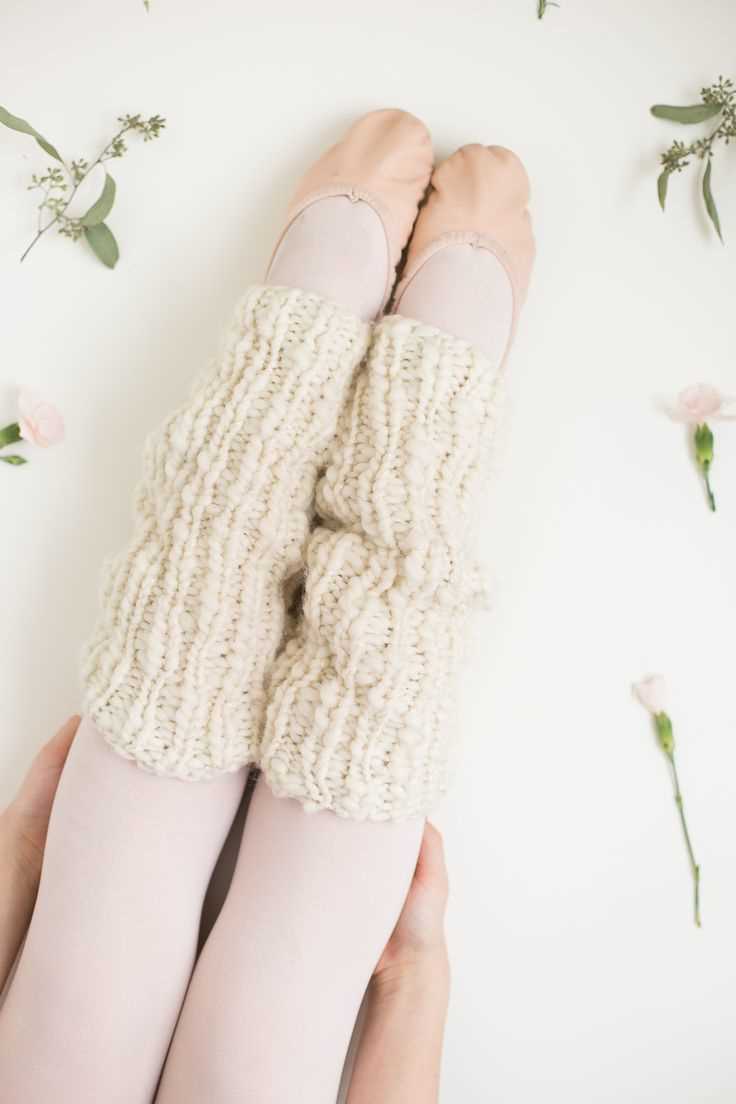
Knitting leg warmers is a great way to keep your legs warm and stylish during the colder months. Whether you’re a beginner knitter or have some experience, this knit leg warmer pattern is perfect for you. It’s simple enough for beginners to follow, but also provides enough challenge to keep more experienced knitters engaged.
This pattern uses basic knitting stitches and requires minimal shaping, making it an ideal project for those who are new to knitting or looking for a quick and easy project. The leg warmers can be customized to fit any size or length, making them a versatile addition to your winter wardrobe.
With this beginner-friendly pattern, you’ll be able to create cozy leg warmers that are perfect for wearing with boots or over leggings. The textured pattern adds visual interest and provides extra warmth, ensuring that your legs stay toasty in even the coldest weather. So grab your knitting needles and yarn, and let’s get started on this fun and fashionable project!
Why Knitting Leg Warmers is a Great Project for Beginners
Knitting leg warmers is a fantastic project for beginners because it allows them to practice basic knitting techniques while creating a useful and stylish accessory. Leg warmers are relatively small projects, making them manageable for beginners and providing a sense of accomplishment upon completion.
One of the main advantages of knitting leg warmers as a beginner is that they require only basic knitting stitches, such as knitting and purling. This simplicity allows beginners to focus on their technique and become familiar with the basic mechanics of knitting without feeling overwhelmed. By using these fundamental stitches, beginners can build their confidence and improve their skills gradually.
Additionally, knitting leg warmers allows beginners to experiment with different types of yarn, colors, and patterns. This creative freedom provides an opportunity to develop personal style and preferences. Beginners can explore various yarn textures and weights, and choose from a wide range of patterns, including ribbed, cabled, or even lace designs, to create unique and customized leg warmers.
Another benefit of knitting leg warmers is that they are relatively quick to complete compared to larger projects like sweaters or blankets. This fast turnaround time provides beginners with a sense of instant gratification, motivating them to continue exploring the world of knitting. It also allows them to practice their skills more frequently and witness their progress sooner.
In conclusion, knitting leg warmers is an excellent project for beginners due to its small size, simplicity of stitches, creative possibilities, and quick completion time. Whether knitting for themselves or as gifts for others, beginners can enjoy the process of knitting leg warmers while honing their skills and creating beautiful and functional accessories.
Benefits of Knitting Leg Warmers

Knitting leg warmers can be a rewarding and enjoyable hobby for beginners. Not only does it provide a creative outlet, but it also offers several benefits that make it worth trying. Whether you’re knitting for yourself or as a gift for someone else, here are some reasons why knitting leg warmers can be beneficial:
1. Warmth and Comfort
Leg warmers are designed to provide warmth and comfort during colder months. They can help keep your legs cozy and protected from cold drafts, making them perfect for outdoor activities or just lounging at home. Knitting your own leg warmers allows you to customize the size, length, and thickness to your liking, ensuring the perfect fit and level of warmth.
2. Fashion and Style
Knitted leg warmers can be stylish and fashionable accessories that add a unique touch to any outfit. By choosing your own yarn colors and patterns, you have the opportunity to create leg warmers that perfectly match your personal style and preferences. Whether you prefer a bold and vibrant design or a more subtle and neutral look, knitting leg warmers allows you to express your creativity and stand out from the crowd.
3. Personalized Gifts
Hand-knitted leg warmers can make thoughtful and personalized gifts for family and friends. By taking the time and effort to create something with your own hands, you can show your loved ones how much you care. Knitting leg warmers allows you to create unique and one-of-a-kind gifts that are sure to be treasured and appreciated.
4. Relaxation and Stress Relief
Knitting has been proven to be a relaxing and therapeutic activity that helps reduce stress and anxiety. The repetitive motion of knitting can have a calming effect on the mind, allowing you to focus on the present moment and let go of worries. Knitting leg warmers can be a great way to unwind after a long day and provide a sense of accomplishment and satisfaction when you see the finished product.
Overall, knitting leg warmers offers a range of benefits, from practical warmth and fashion to personalization and relaxation. Whether you’re a beginner or an experienced knitter, this hobby can bring joy and satisfaction while keeping you warm and stylish.
Choosing the Right Yarn for Your Leg Warmers
When it comes to knitting leg warmers, selecting the right yarn is essential for achieving the desired results. The type of yarn you choose will determine the warmth, comfort, and overall look of your leg warmers. There are several factors to consider when deciding on the perfect yarn for your project.
Weight and Thickness
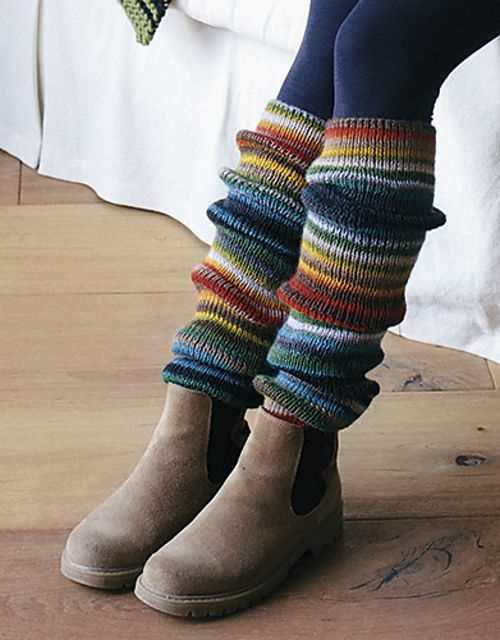
One of the first considerations when choosing yarn for leg warmers is the weight and thickness of the yarn. Thicker yarns, such as bulky or super bulky, will create leg warmers that are cozy and provide extra warmth. These yarns are great for colder climates or winter wear. On the other hand, if you prefer lighter leg warmers that can be worn in transitional seasons or indoors, you may opt for finer yarns like fingering or sport weight.
Fiber Content
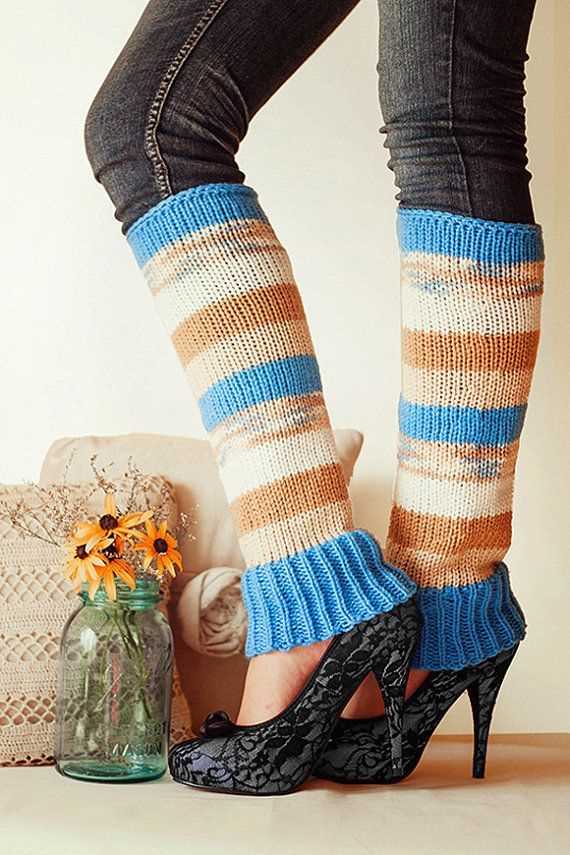
The fiber content of the yarn is another important factor to consider. Different fibers have unique qualities that can affect the feel, drape, and care requirements of your leg warmers. Wool is a popular choice for leg warmers due to its warmth and elasticity. Acrylic yarns offer affordability and easy care, making them suitable for everyday wear. For those with sensitive skin, natural fibers like cotton or bamboo may be preferred for their softness and breathability.
Color and Pattern
The color and pattern of the yarn can also greatly impact the overall look of your leg warmers. Solid-colored yarns provide a timeless and versatile option, allowing the focus to be on the texture and stitch pattern of your leg warmers. However, if you want to make a bold fashion statement, you may opt for variegated or self-striping yarns that add visual interest to your leg warmers. Choosing yarns with speckles or other unique color effects can also add a trendy touch to your leg warmers.
Conclusion

Choosing the right yarn for your leg warmers is crucial for creating a comfortable and stylish accessory. By considering the weight and thickness, fiber content, and color and pattern of the yarn, you can customize your leg warmers to suit your preferences and the intended use of the garment. Whether you prioritize warmth, softness, or fashionable flair, there is a yarn out there that will help you knit the perfect pair of leg warmers.
Essential Knitting Tools and Supplies
Knitting is a popular craft that requires a few essential tools and supplies. Whether you are a beginner or an experienced knitter, having the right equipment can make your projects more enjoyable and successful. Here are some key items you will need for knitting:
Knitting Needles:
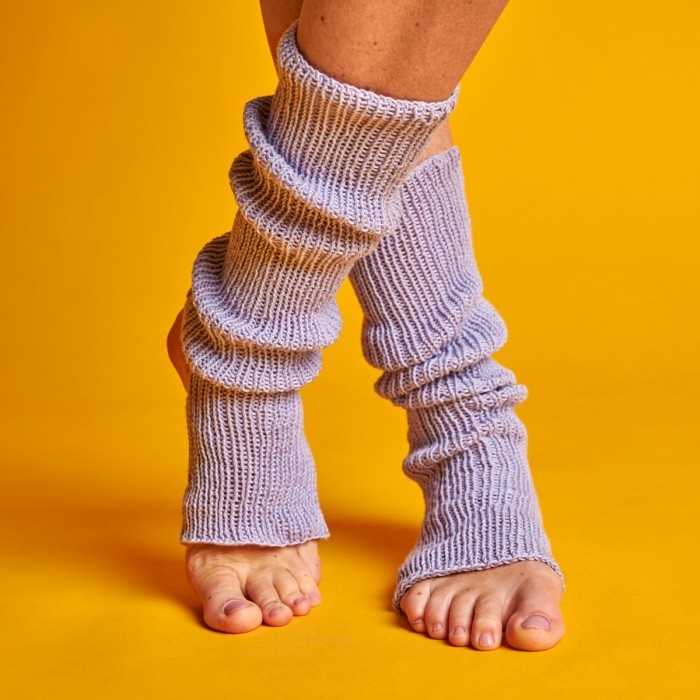
The most important tool for knitting is a pair of knitting needles. These come in different sizes and materials, such as metal, bamboo, or plastic. The needle size you need will depend on the weight of yarn you are using and the tension you want to achieve in your knitting. It’s a good idea to have a variety of needle sizes in your collection.
Yarn:
Yarn is the thread-like material that you will be knitting with. It comes in many different colors, textures, and weights. When choosing yarn, consider the project you want to make and the desired look and feel. For beginners, it’s usually best to start with a medium weight yarn that is easy to work with.
Tape Measure:

A tape measure is handy for measuring your knitting and making sure it’s the correct size. You can use it to measure your gauge, which is the number of stitches and rows per inch. This will help you ensure that your finished project matches the measurements specified in the pattern.
Scissors:
A pair of small scissors is essential for cutting yarn. You will need them to trim the yarn at the end of each row or to fix mistakes in your knitting. Choose a pair of scissors that are sharp and easy to handle.
Stitch Markers:
Stitch markers are small plastic or metal rings that can be placed on your knitting needles to mark specific points in your project. They are useful for indicating the beginning of a round, marking pattern repeats, or highlighting important points in your knitting. Having a set of stitch markers will make it easier to keep track of your stitches.
Yarn Needles:
Yarn needles, also known as tapestry needles, are used for weaving in loose ends and sewing pieces of your project together. These needles have large eyes to accommodate yarn and are often blunt at the tip to prevent them from splitting the yarn. Having a few yarn needles in different sizes will come in handy for different projects.
In addition to these essential tools, you may also want to have a knitting bag or basket to keep your supplies organized, as well as a stitch counter, row counter, or knitting journal to help you keep track of your progress. With the right tools and supplies, you’ll be ready to start knitting and create beautiful projects.
Understanding Knitting Patterns and Abbreviations
In the world of knitting, patterns and abbreviations play a crucial role in creating beautiful garments and accessories. Whether you’re a beginner or an experienced knitter, understanding knitting patterns and their abbreviations is essential to successfully complete your projects.
Knitting patterns are written instructions that guide you through the process of creating a specific knitted item. They include information about the materials you need, the gauge you should achieve, and the steps you need to follow. However, these instructions can sometimes be overwhelming, especially for beginners. That’s where knitting abbreviations come in.
Knitting abbreviations are shorthand codes used in knitting patterns to represent stitches, techniques, and pattern repeats. They help to simplify the instructions and make them easier to read and understand. For example, instead of writing “knit two stitches together,” the abbreviation “k2tog” is used. Similarly, “yarn over” is abbreviated as “yo.” These abbreviations are standardized and widely used, so once you familiarize yourself with them, you’ll be able to read knitting patterns with ease.
It’s important to pay attention to the key or legend section of a knitting pattern, where the abbreviations are usually explained. This will help you understand what each abbreviation means and how to perform the corresponding stitch or technique. Additionally, many knitting websites and books provide comprehensive lists of knitting abbreviations, which can serve as handy references when you come across unfamiliar ones.
When following a knitting pattern, it’s crucial to read the instructions carefully, especially when it comes to the abbreviations used. Misinterpreting an abbreviation can lead to mistakes in your knitting, altering the final appearance of the item. Taking the time to understand and familiarize yourself with the knitting patterns and abbreviations will greatly enhance your knitting experience and enable you to create beautiful, well-finished projects.
Getting Started with the Basic Knitting Stitches
Learning the basic knitting stitches is a fundamental step for beginners who want to master the art of knitting. These stitches are the building blocks of various knitting techniques, and once you have a strong foundation in them, you can create a wide range of beautiful knitted projects.
One of the most common basic stitches is the knit stitch. This stitch creates a smooth and flat fabric, and it is achieved by inserting the needle in the front of the stitch from left to right, wrapping the yarn around the needle, and pulling it through the stitch. With regular practice, you will be able to knit rows upon rows of neat and even knit stitches.
The purl stitch
Another essential stitch is the purl stitch. This stitch creates a bumpy texture on the fabric and is achieved by inserting the needle in the front of the stitch from right to left, wrapping the yarn around the needle, and pulling it through the stitch. The purl stitch is often combined with the knit stitch to create various patterns and textures in knitted projects.
Once you have mastered the knit and purl stitches, you can start exploring different stitch patterns and techniques. You can experiment with ribbing, where you alternate between knit and purl stitches, giving the fabric a stretchy and textured appearance. You can also try your hand at cables, lace, and colorwork, all of which require a solid understanding of the basic knitting stitches.
Remember, knitting is a skill that gets better with practice. It may take some time to get comfortable with the basic stitches, but with patience and perseverance, you will soon be able to tackle more advanced knitting projects and create beautiful garments and accessories.
Selecting the Perfect Leg Warmer Pattern for Beginners
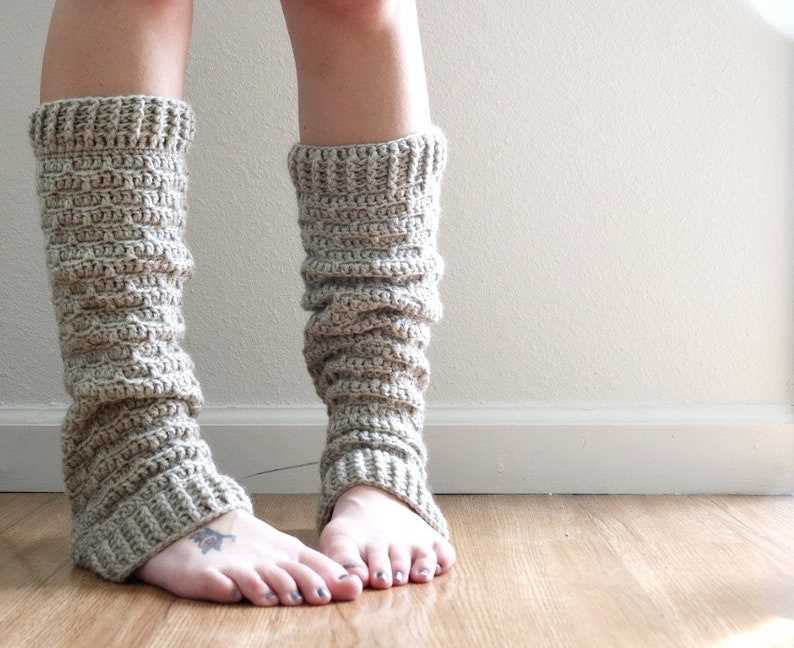
When it comes to knitting leg warmers, beginners may feel overwhelmed by the variety of patterns available. However, selecting the perfect leg warmer pattern doesn’t have to be a daunting task. By considering a few important factors, beginners can find a pattern that is both manageable and enjoyable to work on.
First and foremost, it’s important for beginners to choose a leg warmer pattern that is labeled as “beginner-friendly” or suitable for beginners. These patterns typically use basic stitches and techniques that are easy to understand and execute. Look for patterns that provide detailed instructions and include explanations of any unfamiliar terms or techniques.
In addition, beginners should consider the level of difficulty indicated on the leg warmer pattern. Some patterns may be labeled as “easy” or “advanced beginner,” while others may be more challenging. It’s important for beginners to choose a pattern that matches their skill level and comfort zone. Starting with a pattern that is too advanced can lead to frustration and discouragement.
Another aspect to consider when selecting a leg warmer pattern is the size and fit. Some patterns may provide options for different sizes, while others may be one-size-fits-all. Beginners should take their measurements and choose a pattern that aligns with their body size. This will ensure that the finished leg warmers fit properly and are comfortable to wear.
Lastly, beginners may also want to consider the style and aesthetic of the leg warmer pattern. Knitting is a creative outlet, and choosing a pattern that matches personal preferences can make the process more enjoyable. Whether it’s a simple ribbed design or a more intricate cable pattern, finding a leg warmer pattern that resonates with individual style can add an extra layer of satisfaction to the knitting experience.
By taking these factors into consideration, beginners can confidently select the perfect leg warmer pattern that matches their skill level, size, and personal style. With the right pattern in hand, knitting leg warmers can be a fun and rewarding project for beginners.
Step-by-Step Instructions for Casting On
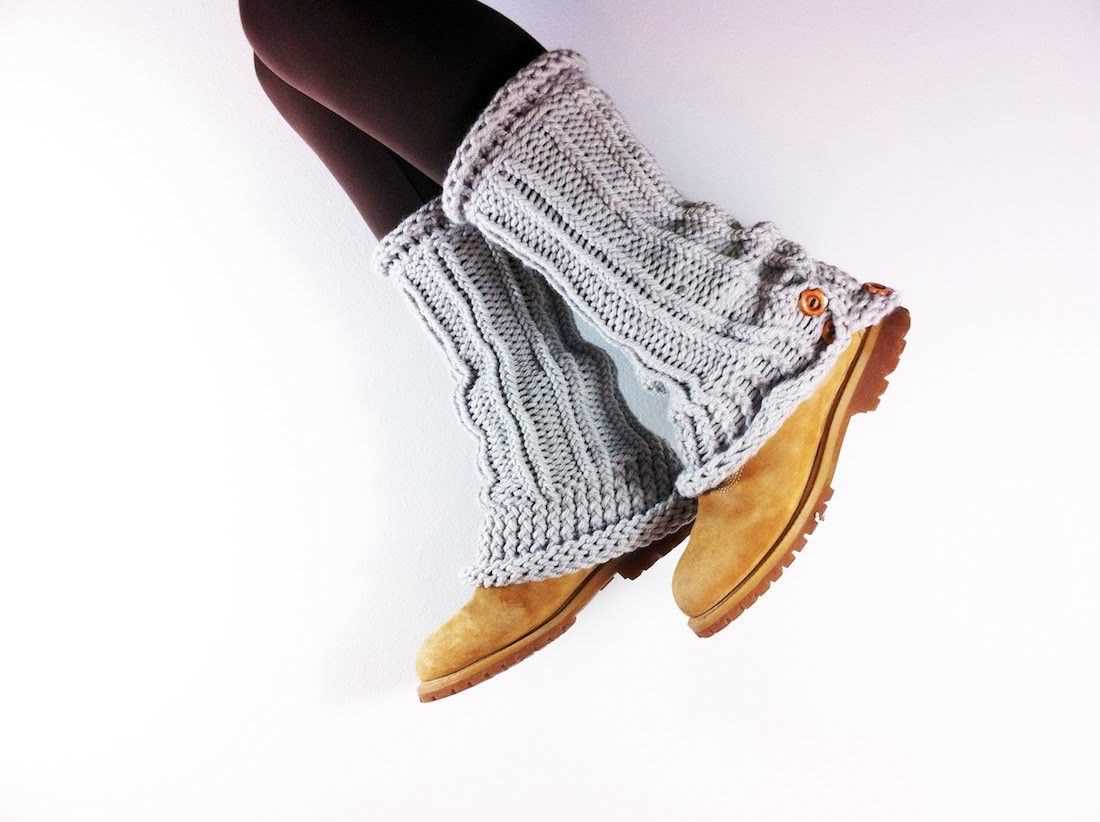
Before you begin knitting your leg warmers, you will need to cast on to create the foundation row. The cast on method you choose will depend on the type of edge you want for your leg warmers. Here are step-by-step instructions for two commonly used cast on methods: long tail cast on and knitted cast on.
Long Tail Cast On
- Begin by making a slip knot. Leave a long tail, approximately three times the width of your finished leg warmers.
- Hold the slip knot on the left needle with your left hand.
- With your right hand, hold the other needle and place it behind the left needle, making sure it extends beyond the slip knot.
- Using your right hand, bring the yarn over the right needle from back to front, creating a loop.
- Insert the right needle into the loop from left to right.
- Bring the right needle behind the left needle again and knit the stitch off the left needle, transferring it to the right needle.
- Repeat steps 4-6, casting on the desired number of stitches for your leg warmers.
Knitted Cast On
- Make a slip knot and place it on the left needle.
- Hold the needle with the slip knot in your right hand.
- Insert the right needle into the slip knot from back to front.
- Wrap the yarn around the right needle counterclockwise.
- Pull the loop through the slip knot, creating a new stitch on the right needle.
- Transfer the new stitch from the right needle to the left needle.
- Repeat steps 3-6, casting on the desired number of stitches for your leg warmers.
Once you have cast on the required number of stitches, you are ready to start knitting your leg warmers using your preferred stitch pattern!
Knitting the Ribbing for the Leg Warmers
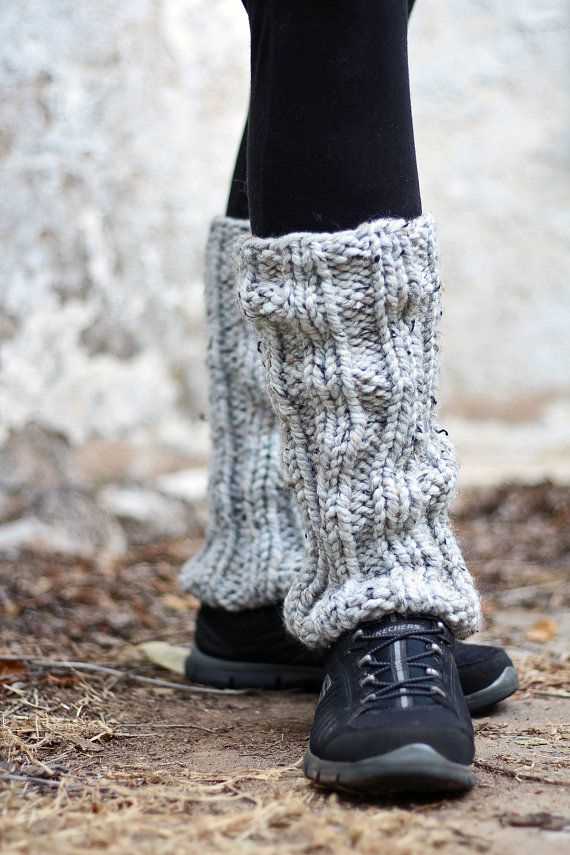
When knitting leg warmers, the ribbing is an essential component that provides elasticity and helps the leg warmers stay in place. The ribbing is typically worked at the beginning and end of the leg warmers, as well as around the calf area. This creates a snug fit and ensures that the leg warmers will stay up without slipping down.
To start knitting the ribbing, cast on the required number of stitches using the suggested needle size. It’s important to choose a stretchy cast on method, such as the long-tail cast on, to ensure that the ribbing has enough elasticity. You can also use a smaller needle size for the cast on if you find it too loose.
For the ribbing pattern:
- Begin by working a few rows of knit stitch. This creates the classic knit ribbing pattern, which is a combination of knit and purl stitches.
- Next, switch to the purl stitch for the desired number of rows. This alternation between the knit and purl stitches creates the ribbed texture.
- Continue alternating between knit and purl stitches until you reach the desired length for the ribbing. This could be anywhere from one to three inches, depending on the desired fit and style of the leg warmers.
Remember to keep the tension consistent throughout the ribbing to ensure an even and professional-looking result. Once the ribbing is complete, you can continue with the main stitch pattern for the rest of the leg warmers, such as stockinette stitch or a cable pattern.
Working on the Main Body of the Leg Warmers
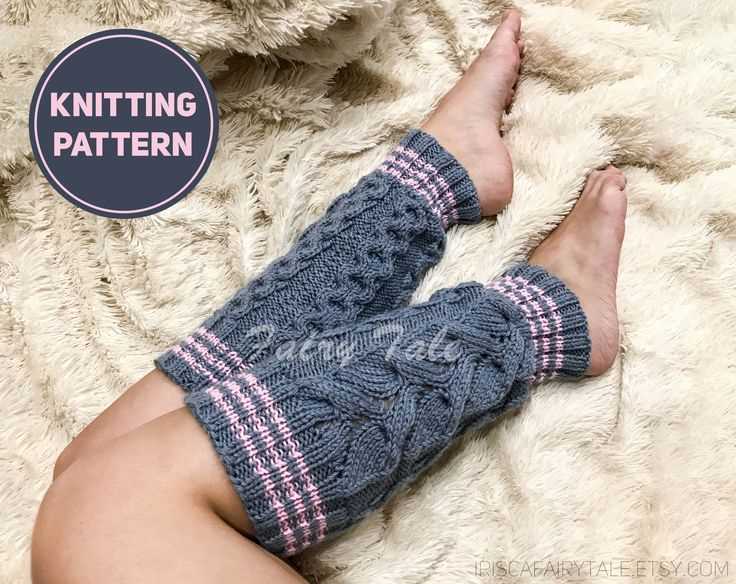
Once you have completed the ribbed cuff of the leg warmers, it’s time to move on to the main body. This section will determine the length and width of your leg warmers, so make sure to follow the pattern carefully.
To start, you’ll continue knitting in the round using the desired stitch pattern. This could be a simple stockinette stitch, a ribbed pattern, or any other pattern of your choice. If you want to add some texture or visual interest, consider incorporating a cable or lace pattern.
Remember to periodically check your gauge to ensure that you’re on track with the pattern. This will help you achieve the desired fit and size for your leg warmers. If necessary, adjust your needle size or tension to match the recommended gauge.
If your leg warmers require shaping, such as increases or decreases, be sure to follow the pattern instructions for the correct placement and frequency. This will help create a comfortable and well-fitting final product.
You may choose to add some personal touches to your leg warmers, such as stripes, color blocking, or other embellishments. Get creative and have fun with your design!
Tips:
- Keep track of your progress by marking the beginning of each round with a stitch marker.
- Regularly try on the leg warmers to check the fit and length. Adjust as needed to achieve the desired look and comfort.
- If you’re new to knitting in the round, it may be helpful to watch tutorial videos or seek guidance from experienced knitters.
Shaping and Decreasing for a Perfect Fit
When knitting leg warmers, it’s important to create the perfect fit. One way to achieve this is by shaping and decreasing the stitches in strategic places. By doing so, you can mold the leg warmers to fit snugly around your legs, ensuring maximum comfort.
To shape the leg warmers, you will need to work increases and decreases at specific points in the pattern. This can be done by adding or removing stitches in a controlled manner. For example, if you want the leg warmers to be snug around the calf but loose around the ankle, you can gradually decrease the number of stitches as you move down the leg.
When it comes to decreasing, there are several techniques you can use. One commonly used method is called “k2tog,” which stands for knit two together. This involves knitting two stitches together as if they were one, effectively decreasing the stitch count by one. Another technique is “ssk,” which stands for slip, slip, knit. This involves slipping two stitches knitwise, then knitting them together through the back loop.
By strategically placing these decreases, you can create a tailored fit for your leg warmers. It’s important to follow the pattern instructions carefully and keep track of your stitches to ensure accuracy. Remember, shaping and decreasing may require some trial and error, but with a little practice, you’ll be able to achieve the perfect fit for your leg warmers.
In conclusion, shaping and decreasing are essential techniques when knitting leg warmers for a perfect fit. By employing these techniques, you can create a snug and comfortable garment that hugs your legs in all the right places. Practice your shaping and decreasing skills, and soon you’ll be able to knit leg warmers that are tailored to your unique measurements and preferences.
Finishing Touches: Binding Off and Weaving in Ends
Once you have completed knitting your leg warmers using the beginner-friendly pattern, it’s time to add the finishing touches to give your project a polished look. This involves binding off your stitches and weaving in any loose ends.
To bind off, start by knitting the first two stitches as usual. Then, using the left needle, lift the first stitch over the second stitch and off the right needle. Knit the next stitch, and repeat the process of lifting the previous stitch over the newly knit stitch. Continue knitting and binding off until you have only one stitch left. Cut the yarn, leaving a tail of about 6 inches, and pull it through the final stitch to secure it in place.
After binding off, you may have several loose ends of yarn hanging from your leg warmer. It’s important to weave in these ends to ensure that they don’t unravel or get caught on anything. To do this, thread a tapestry needle with one of the loose ends. Starting on the wrong side of the leg warmer, bring the needle through several stitches, following the direction of the knitting. Repeat this process with the other loose ends, making sure to weave them in securely and neatly.
By binding off and weaving in ends, you are completing your knitting project and giving it a professional finish. This simple process ensures that your leg warmers are secure and ready to be worn. Now that you’ve mastered this basic knitting technique, you can confidently move on to more advanced patterns and projects.
Tips for Caring for and Styling Your Knitted Leg Warmers
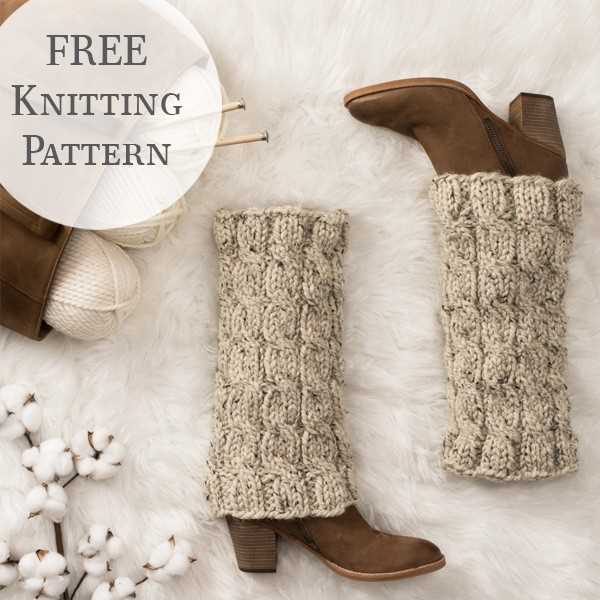
Once you’ve finished knitting a pair of leg warmers, it’s important to take proper care of them to ensure they maintain their shape and appearance. Additionally, finding the right ways to style your leg warmers can add a fashionable touch to your outfits. Here are some tips to help you care for and style your knitted leg warmers.
Caring for Your Knitted Leg Warmers
- Hand wash: It’s best to hand wash your knitted leg warmers in cold water to prevent any damage. Use a gentle detergent or wool wash and soak the leg warmers for a few minutes before rinsing them thoroughly.
- Flat drying: After washing, gently squeeze out excess water and lay the leg warmers flat on a clean towel or drying rack. Avoid wringing or hanging them as this can stretch or distort their shape.
- Storage: When storing your leg warmers, fold them neatly and place them in a drawer or container where they won’t get squished or tangled with other items. You can also use tissue paper or cloth bags to help protect them.
Styling Your Knitted Leg Warmers
Layered look: Leg warmers can be worn over tights or leggings to create a layered and cozy look. Choose leg warmers in contrasting colors or patterns to add visual interest to your outfit.
Boot cuffs: Instead of wearing leg warmers all the way up to your knees, fold them over and wear them as boot cuffs. This can add a touch of style to your boots and showcase your leg warmers in a different way.
With skirts or dresses: Pairing your leg warmers with skirts or dresses can create a fashionable and feminine look. Opt for leg warmers that complement the colors or patterns of your outfit for a cohesive ensemble.
Summary
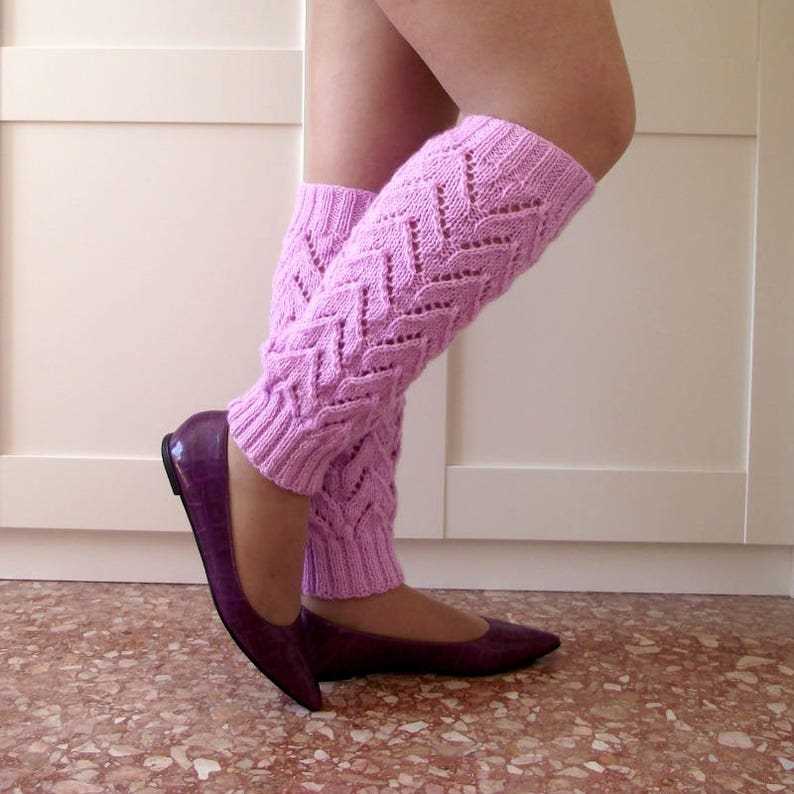
Caring for your knitted leg warmers involves hand washing them in cold water, flat drying them, and storing them properly to maintain their shape. When it comes to styling, you can layer your leg warmers, wear them as boot cuffs, or pair them with skirts or dresses to create different fashion-forward looks.
Q&A:
What is a knit leg warmer pattern for beginners?
A knit leg warmer pattern for beginners is a set of instructions and guidelines on how to create leg warmers using basic knitting techniques. It is designed for individuals who are new to knitting and provides step-by-step instructions on how to knit leg warmers from start to finish.
Is knitting leg warmers difficult for beginners?
Knitting leg warmers can be a bit challenging for beginners, especially if they are not familiar with basic knitting techniques. However, with patience and practice, beginners can learn to knit leg warmers successfully. It is recommended to start with simple patterns and gradually move on to more complex designs as skills improve.
What materials are needed for knitting leg warmers?
The materials needed for knitting leg warmers include knitting needles of the appropriate size, yarn in the desired color and weight, a pair of scissors for cutting yarn, and a tapestry needle for weaving in loose ends. It is also helpful to have a measuring tape or ruler to ensure the correct size of the leg warmers.
Where can I find beginner-friendly knit leg warmer patterns?
There are many resources available where you can find beginner-friendly knit leg warmer patterns. These include online knitting communities, knitting books and magazines, knitting websites, and video tutorials. You can also ask for recommendations from experienced knitters or join a local knitting group for guidance and support.
What is a knit leg warmer pattern for beginners?
A knit leg warmer pattern for beginners is a step-by-step guide on how to knit leg warmers. It is designed specifically for beginners who have no or limited knitting experience.
How many leg warmers can I make with a beginner knit pattern?
A beginner knit leg warmer pattern typically guides you to create one pair of leg warmers, which means you can knit two leg warmers in total.