
Knitting is a popular pastime that allows you to create beautiful and functional pieces using just a pair of needles and some yarn. One of the most versatile and fun things to knit is a hat. Hats come in all shapes and sizes, but if you’re looking to make a statement, a big hat is the way to go.
A big hat is not only a fashion statement, but it’s also practical. It can keep you warm and protected from the elements, while adding a unique touch to your outfit. Whether you’re a seasoned knitter or just starting out, making a big hat is a great project to take on.
There are many different knitting patterns available for big hats, each with their own style and level of difficulty. Some patterns incorporate intricate stitches and techniques, while others are simpler and more straightforward. No matter your skill level, there’s a big hat knitting pattern out there for you.
In this article, we’ll explore some popular big hat knitting patterns, as well as provide tips and tricks to help you create the perfect hat. Whether you’re knitting for yourself or as a gift for someone else, a big hat is sure to make a lasting impression.
Big Hat Knitting Pattern
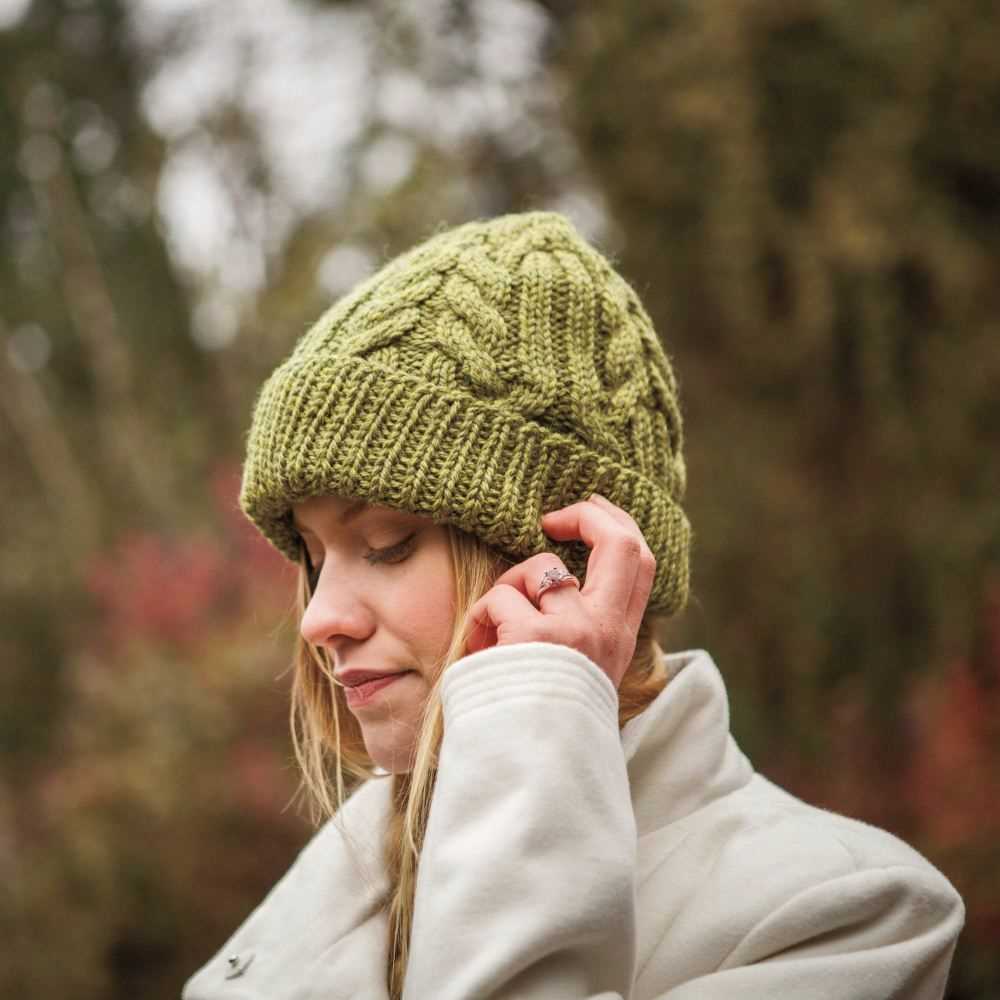
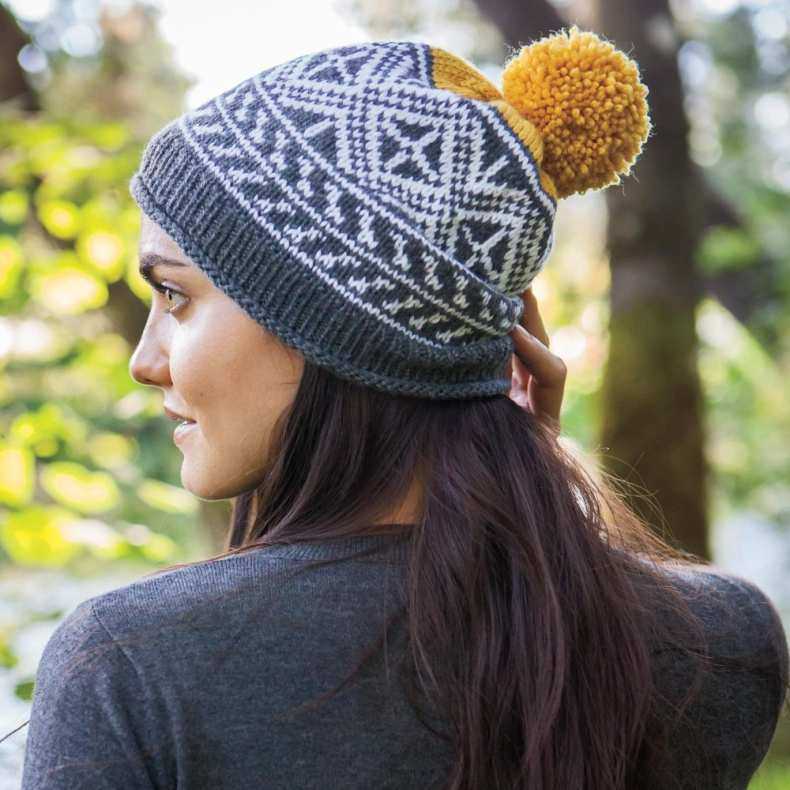
Are you looking for a knitting pattern that will make a statement? Look no further than the big hat knitting pattern. With its oversized design, this hat is sure to turn heads and keep you warm during the colder months.
The big hat knitting pattern is perfect for knitters of all skill levels. Whether you’re a beginner or an experienced knitter, you can easily create this trendy accessory. The pattern uses basic knitting stitches and techniques, making it a great project for beginners who want to learn new skills.
Materials
- Super bulky weight yarn
- Size US 15 (10mm) circular knitting needles
- Set of size US 15 (10mm) double-pointed knitting needles
- Stitch marker
- Tapestry needle
- Pom pom maker (optional)
Instructions

- Cast on 40 stitches using the circular knitting needles.
- Join the round, being careful not to twist the stitches, and place a stitch marker to mark the beginning of the round.
- Knit every round until the hat measures 10 inches from the cast on edge.
- Switch to the double-pointed knitting needles when there are too few stitches to comfortably fit on the circular needles.
- Decrease rounds:
- Round 1: *K6, k2tog; repeat from * to end of round.
- Round 2: Knit.
- Round 3: *K5, k2tog; repeat from * to end of round.
- Round 4: Knit.
- Round 5: *K4, k2tog; repeat from * to end of round.
- Round 6: Knit.
- Continue in this manner, decreasing the number of knit stitches by one between each k2tog decrease, until there are only 8 stitches remaining.
- Cut the yarn, leaving a long tail. Thread the tail through a tapestry needle, slip the remaining stitches onto the needle, and pull tight to close the top of the hat.
- Weave in any loose ends.
- If desired, use a pom pom maker to create a pom pom and attach it to the top of the hat.
- Your big hat is now complete! Enjoy wearing it and staying cozy.
Choosing the Right Yarn for Your Big Hat
When it comes to knitting a big hat, choosing the right yarn is crucial. The yarn you select will not only determine the overall look and feel of your hat but also affect its durability and warmth. Here are a few factors to consider when deciding on the perfect yarn for your big hat.
Weight and Thickness
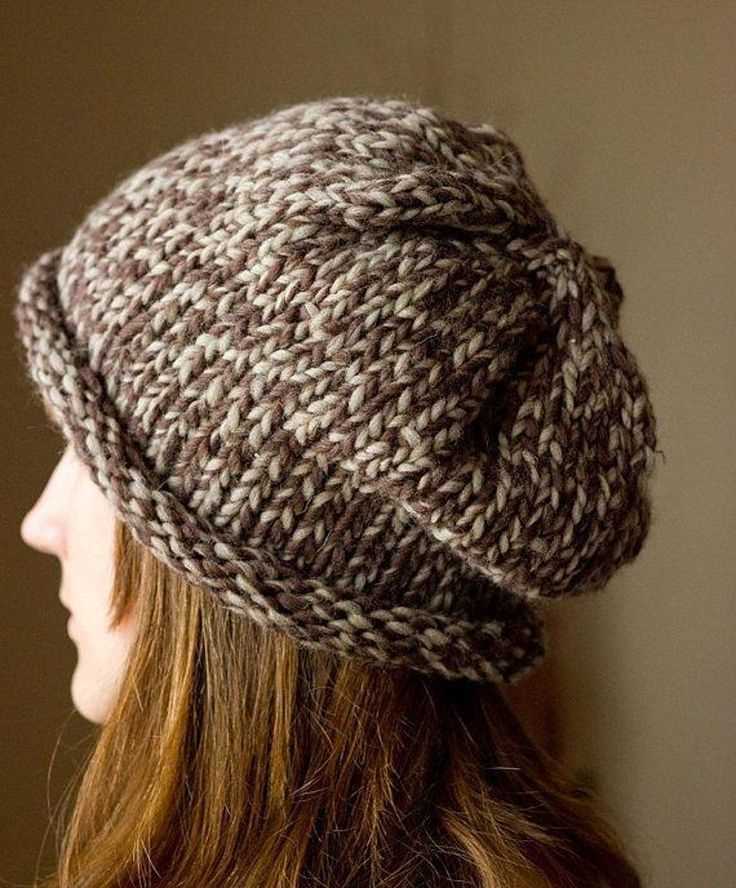
The weight and thickness of the yarn will play a significant role in the final outcome of your big hat. If you want a hat with a chunky and cozy look, opt for a bulky or super bulky yarn. This type of yarn will create a thick fabric that provides maximum warmth. On the other hand, if you prefer a more delicate and lightweight hat, choose a fingering or sport weight yarn. These yarns will result in a hat with a more dainty and breathable texture.
Fiber Content
The fiber content of the yarn will also impact the performance of your big hat. Natural fibers such as wool and alpaca are excellent choices for cold weather hats as they offer excellent insulation and moisture-wicking properties. Acrylic yarns, on the other hand, are easy to maintain and often more affordable. Consider the intended use of your hat and the level of care you are willing to provide when selecting the fiber content.
- Wool: Provides warmth and insulation, great for winter hats.
- Alpaca: Luxuriously soft and warm, perfect for cold weather accessories.
- Acrylic: Easy to care for and budget-friendly.
Color and Pattern
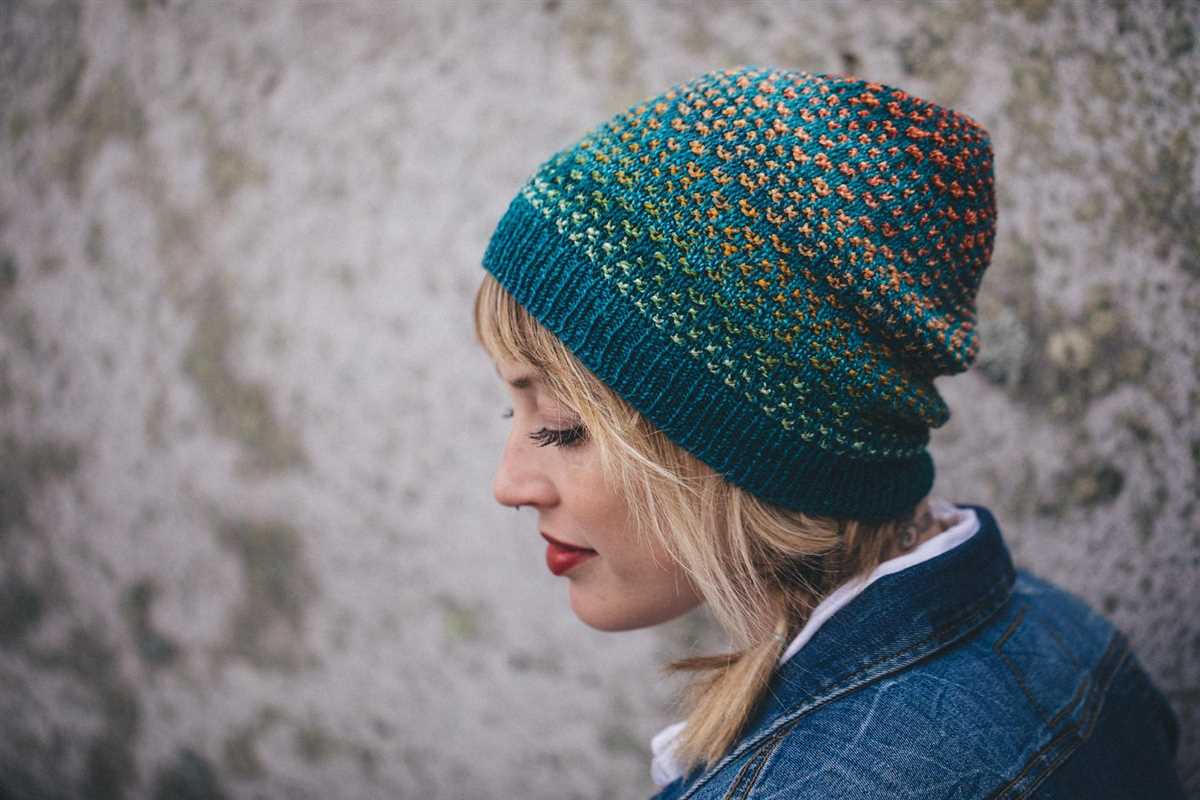
The color and pattern of the yarn will also contribute to the overall look of your big hat. If you want a classic and versatile hat, neutral colors such as black, gray, or beige are safe choices. However, if you want to add a pop of color or showcase your knitting skills with intricate patterns, opt for yarns with vibrant hues or unique textures. Remember that the color and pattern of the yarn should complement your personal style and the intended occasion for wearing the hat.
In conclusion, choosing the right yarn for your big hat is essential for achieving the desired look, warmth, and durability. Consider the weight and fiber content of the yarn, as well as the color and pattern, to create a hat that not only keeps you cozy but also reflects your personal style.
Selecting the Appropriate Needles for Big Hat Knitting
When it comes to knitting a big hat, choosing the right needles is crucial to achieve the desired results. The size and material of the needles can greatly affect the overall look and feel of the finished hat.
Size: The size of the needles is determined by the diameter of the needle shaft. For knitting big hats, it is recommended to use larger-sized needles, typically ranging from US size 10 to 13 (6mm to 9mm). These larger needles allow for looser tension and faster progress, especially when working with bulky yarns. However, it is important to consider the gauge and pattern requirements before selecting the needle size.
Material: The material of the needles can greatly impact the knitting experience. Metal needles, such as aluminum or stainless steel, are known for their durability and smoothness, allowing for quicker and smoother knitting. Wooden or bamboo needles, on the other hand, provide a warmer and quieter knitting experience, which can be preferable for some knitters. Additionally, wooden needles are less likely to slip out of stitches, making them a great choice for beginners or for working with slippery yarns.
Tips for selecting needles:
- Consider the weight and thickness of the yarn you’ll be using when choosing the needle size.
- Experiment with different needle materials to find the one that suits your knitting style and preferences.
- Check the pattern and gauge requirements before making a final decision on the needle size.
- If you’re unsure, it’s always a good idea to swatch with different needle sizes to find the one that gives you the desired fabric and gauge.
In conclusion, selecting the appropriate needles for big hat knitting involves considering the size and material that will work best for the specific yarn and pattern. It’s important to experiment and find the needles that provide the desired tension, speed, and overall knitting experience. With the right needles in hand, knitting a big hat can be a fun and rewarding project.
Casting on Stitches for Your Big Hat
If you’re ready to start knitting a big hat, the first step is casting on the stitches. This process sets the foundation for your hat and determines its size and shape. There are several ways to cast on stitches, but for a big hat, it’s best to use a method that creates a stretchy and flexible edge.
One popular method for casting on stitches is the long tail cast on. This technique creates a neat and sturdy edge that works well for hats. To use the long tail cast on, start by leaving a long tail of yarn, around three times the width you want your hat to be. Then, create a slip knot and place it on one of your knitting needles.
Step 1: Hold the needle with the slip knot in your right hand and the other knitting needle in your left hand.
Step 2: Insert the right-hand needle into the slip knot from left to right, so that the slip knot is now on the right-hand needle.
Step 3: Bring the yarn between the two needles and wrap it clockwise around the right-hand needle.
Step 4: While holding the yarn in place with your left thumb, bring the right-hand needle back through the slip knot, moving from right to left.
Step 5: Slip the new stitch onto the left-hand needle, and tighten the yarn to secure the stitch. Repeat steps 2-5 until you have cast on the desired number of stitches for your big hat.
Once you have cast on all your stitches, you can start knitting the first row of your big hat. Remember to check the knitting pattern you’re using for any specific instructions on stitch counts or stitch patterns for your big hat. With the right cast-on and a little practice, you’ll be on your way to knitting a cozy and stylish big hat!
Knitting the Body of the Big Hat
Now that you have completed the brim of your big hat, it’s time to move on to knitting the body. This is where the hat really starts to take shape and you can begin to see your design come to life.
To begin, you will need to choose your yarn and needles. For a big hat, you will want to use a bulky or chunky weight yarn to create a nice, cozy fabric. As for needles, a needle size between US 10.5 and US 13 should work well. Remember to check your gauge before starting to ensure that your hat will fit properly.
Step 1: Cast on the required number of stitches onto your circular needles. This will typically be around 60-80 stitches, depending on the size of the hat and the gauge you are using. Make sure to distribute the stitches evenly around the needles.
Step 2: Join your yarn in the round, being careful not to twist your stitches. You can use a stitch marker to mark the beginning of the round if you find it helpful.
Step 3: Knit every round in the desired stitch pattern until the hat measures the desired length. For a basic stockinette stitch, simply knit every round. If you want to add some texture or pattern, you can experiment with different stitch patterns such as ribbing, cables, or lace.
Step 4: Continue knitting until the hat reaches the desired length, keeping in mind that you will need to leave room for the crown shaping. The length will vary depending on the style of hat you are knitting, but a good rule of thumb is to measure from the brim to where you want the top of the hat to sit on your head.
Step 5: Once the body of the hat is complete, you can move on to shaping the crown. This will involve decreasing stitches to create a tapered effect. Specific instructions for crown shaping can vary depending on the pattern you are following, so be sure to consult your pattern for guidance.
Step 6: Finally, bind off the remaining stitches and weave in any loose ends. Give your hat a gentle blocking if desired to help it maintain its shape.
With the body of your big hat complete, you can admire your knitting skills and enjoy the warmth and style of your finished project. Whether you’re knitting for yourself or a loved one, a big hat is a cozy and fashionable accessory for the colder months.
Adding Ribbing to Your Big Hat
When knitting a big hat, adding ribbing can be a great way to add some extra stretch and texture to your design. Ribbing is a knitting technique that creates a stretchy and elastic fabric by alternating knit and purl stitches. It is commonly used at the brim of hats, cuffs of sleeves, and edges of garments to provide a snug fit.
To add ribbing to your big hat, you will need to determine the number of stitches and the height of the ribbing you want. Typically, a 1×1 ribbing is used, which means you alternate one knit stitch with one purl stitch. However, you can also experiment with other ribbing patterns such as 2×2 ribbing or 3×1 ribbing for a different look.
Start by casting on the desired number of stitches for your ribbing. If you are using a 1×1 ribbing, cast on an even number of stitches. For example, if your hat requires 80 stitches, you can cast on 80 stitches for the ribbing.
Once you have cast on your stitches, you can begin working the ribbing pattern. For a 1×1 ribbing, you will alternate knitting one stitch and purling one stitch across each row. Repeat this pattern until you reach the desired height for your ribbing. Usually, a ribbing height of 1-2 inches is sufficient.
After you have completed the ribbing, you can continue knitting your big hat as per the pattern instructions. The ribbing will provide a stretchy and snug fit at the brim of your hat, making it comfortable to wear and helping it stay in place.
Remember to always check the gauge and adjust your needle size if necessary to ensure that your ribbing matches the rest of your project. Enjoy knitting your big hat with added ribbing, and experiment with different ribbing patterns to create unique and personalized designs!
Shaping the Crown of Your Big Hat
When it comes to knitting a big hat, shaping the crown is an important step to ensure a perfect fit. The crown of the hat is the top part that covers the head, and it can be shaped in different ways to achieve different styles and looks. There are various techniques you can use to shape the crown of your big hat, and here are some suggestions:
1. Decreasing Method
One common way to shape the crown of a hat is by using the decreasing method. This involves gradually reducing the number of stitches in each round to create a tapered shape towards the top. To do this, you can use techniques such as knit two together (k2tog) or slip, slip, knit (ssk) to decrease the stitches. You can continue decreasing until you reach the desired number of stitches, and then close the crown by pulling the yarn through the remaining stitches.
2. Increased Method
Alternatively, you can shape the crown of your big hat by using the increasing method. This technique involves adding stitches in each round to create a rounded shape. One way to do this is by using yarn overs (yo), which create small holes in the fabric. By increasing the number of stitches in each round, you can create a fuller and more rounded crown. Keep in mind that the number of increases you use will depend on the desired size and style of your hat.
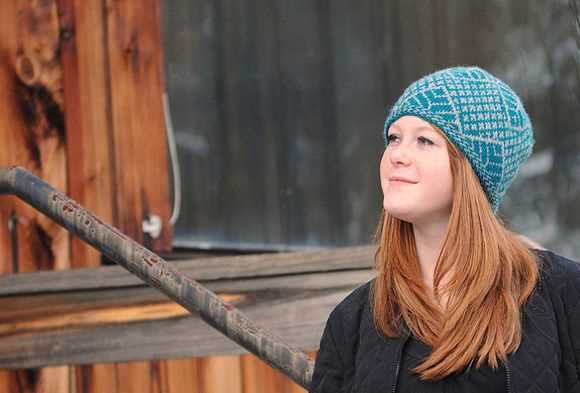
- Tip: If you want a slouchy hat, you can continue increasing even after reaching the desired number of stitches, and then close the crown when it is wide enough.
3. Combination of Decreasing and Increasing:
Another option for shaping the crown of your big hat is to use a combination of decreasing and increasing methods. This can create a unique and more intricate design. For example, you can start by decreasing the stitches in a few rounds to create a tapered shape, and then switch to increasing stitches to create a fuller crown. This combination can result in a hat with interesting textures and patterns.
- Tip: To further enhance the design, you can incorporate different stitch patterns or colors during the crown shaping process.
In conclusion, shaping the crown of your big hat is an essential step in knitting. Whether you choose to use the decreasing method, increasing method, or a combination of both, it’s important to plan and experiment to achieve the desired fit and style. Have fun exploring different techniques and creating beautiful hats to keep you warm and stylish!
Binding Off and Finishing Your Big Hat
Once you have finished knitting your big hat, it’s time to bind off and give it a finished look. Binding off is the process of securing the stitches so that they don’t unravel. Here are some steps you can follow to bind off your big hat:
- Start by knitting two stitches onto the right-hand needle.
- Insert the left-hand needle into the first stitch on the right-hand needle.
- Lift the first stitch on the right-hand needle over the second stitch and off the needle, leaving one stitch on the right-hand needle.
- Knit one stitch onto the right-hand needle.
- Repeat steps 2-4 until you have one stitch remaining on the right-hand needle.
- Cut the yarn, leaving a long tail.
- Thread the yarn tail through the remaining stitch and pull tight to secure.
Now that you have bound off your big hat, it’s time to finish the remaining loose ends. If you have any yarn tails from changing colors or joining new yarn, weave them into the back of the hat using a tapestry needle. This will help to hide the ends and create a neater finish.
Finally, give your big hat a gentle block to help it retain its shape. You can do this by wetting the hat and gently shaping it to the desired size while it is still damp. Once the hat is dry, it will hold its shape better and be ready to wear or gift to someone special.
Blocking Your Big Hat for a Perfect Fit
Blocking is an essential step in knitting that helps to give your finished project a polished look and ensure the perfect fit. When it comes to big hats, blocking is particularly important, as it can help to stretch and shape the hat to fit your head size and desired style.
Before you begin blocking your big hat, it’s important to gather all the necessary materials. You’ll need a blocking mat or towel, rust-proof pins, a spray bottle filled with water, and your big hat, of course.
Begin by laying your hat flat on the blocking mat or towel. Gently stretch the hat to the desired shape and size, making sure to maintain the integrity of any stitch patterns or design elements. Pin the hat in place using the rust-proof pins, making sure to distribute them evenly around the circumference of the hat.
Next, lightly mist the hat with water using the spray bottle. Be sure to avoid soaking the hat, as this can cause the fibers to become overly stretched and lose their shape. Once the hat is damp, allow it to dry completely before removing the pins.
Once your big hat is dry, remove the pins and gently reshape the hat as needed. This is the time to make any final adjustments to the fit and shape of the hat. If you find that the hat is still not fitting quite right, you can repeat the blocking process to further customize the fit.
Blocking your big hat may seem like an extra step, but it can truly make a difference in the overall appearance and fit of your finished project. Take the time to block your hat properly, and you’ll be rewarded with a beautiful and perfectly fitting piece that you’ll be proud to wear.
Styling and Wearing Your Big Hat
Now that you’ve completed knitting your big hat using the pattern, it’s time to style and wear it with confidence. Here are some tips and ideas to help you make the most of your big hat:
1. Pair it with the right outfit
A big hat can instantly elevate your outfit and make a stylish statement. Pair it with a flowy summer dress for a bohemian look, or wear it with a tailored coat and boots for a more sophisticated vibe. Experiment with different styles and see what works best for you.
2. Choose the right occasion
While a big hat can add a touch of glamour to any outfit, consider the occasion you’ll be attending. Big hats are perfect for outdoor events like garden parties, weddings, and race days. Make sure to check any dress codes beforehand and choose a hat that complements the event.
3. Confidence is key
Rocking a big hat requires confidence. Own your look and wear your hat with pride. The more confident you feel, the more fabulous you’ll look.
4. Experiment with hairstyles
Don’t be afraid to play around with different hairstyles to complement your big hat. Whether it’s a loose braid, a voluminous updo, or simply leaving your hair down, find a hairstyle that flatters both you and your hat.
5. Take care of your big hat
To ensure your big hat stays in top shape, handle it with care. Store it in a hat box or on a hat stand to maintain its shape and protect it from dust. If your hat gets dirty, gently spot clean it or take it to a professional cleaner if necessary.
Conclusion
With the right styling and confidence, your big hat can be a versatile accessory that adds a touch of elegance to any outfit. Experiment with different looks, embrace your unique style, and have fun wearing your big hat!