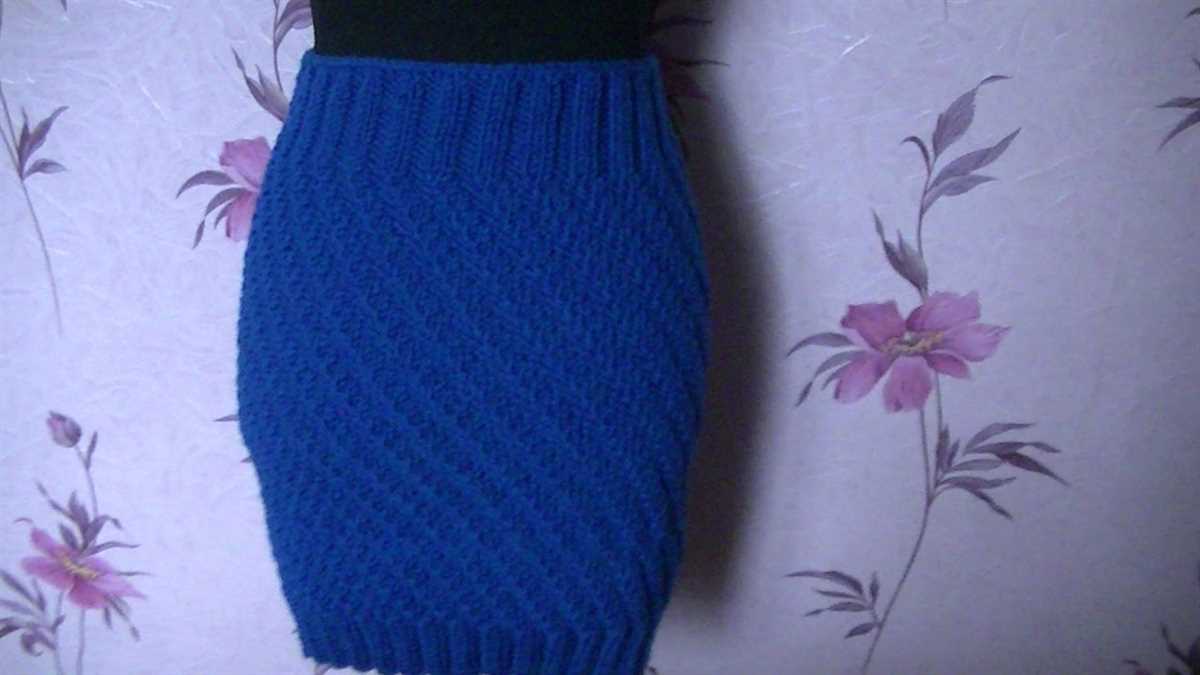
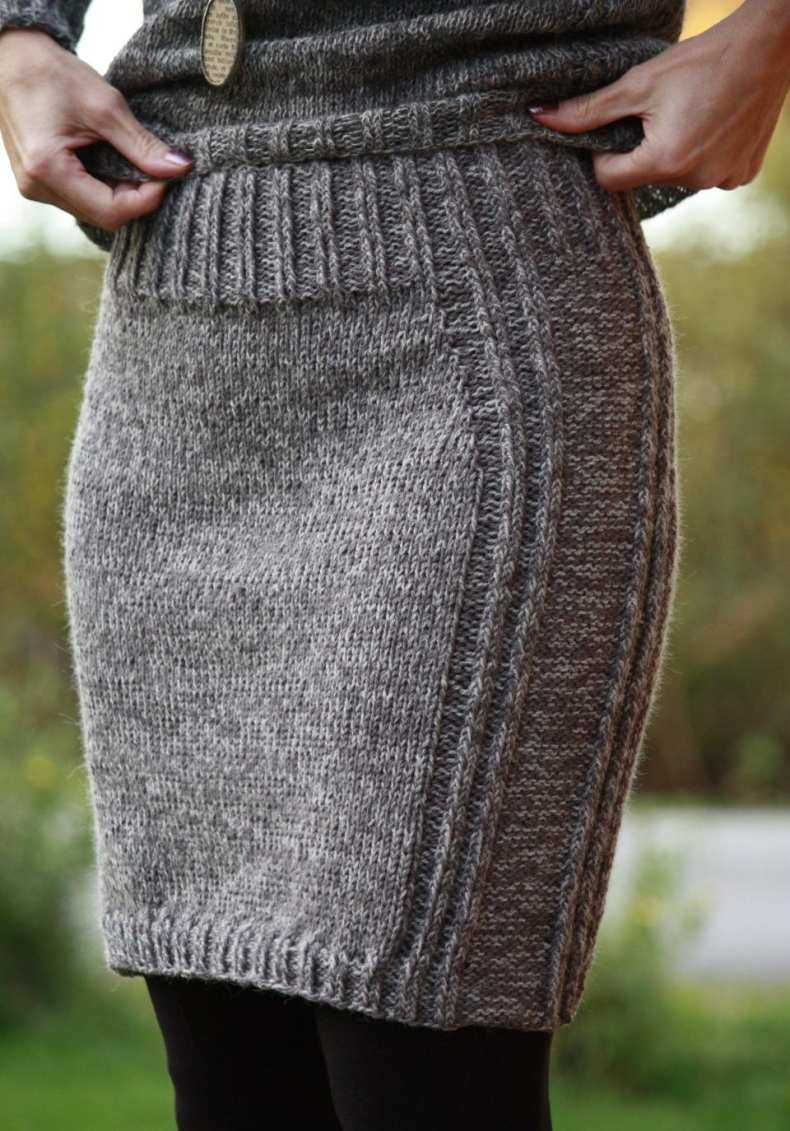
If you’re looking for a chic and versatile addition to your wardrobe, a knit pencil skirt is the perfect choice. This classic design hugs your curves and creates a sleek silhouette that can be dressed up or down for any occasion. Whether you’re heading to the office or going out for a night on the town, a knit pencil skirt will make sure you turn heads wherever you go.
One of the best things about a knit pencil skirt is that it’s easy to make yourself. With a simple pattern and some basic knitting skills, you can create your own custom skirt in no time. Knitting allows you to choose the perfect yarn and color for your skirt, ensuring that it’s exactly what you want. Plus, knitting allows for a bit of stretch and give, making the skirt comfortable to wear all day long.
In this article, we’ll provide you with a step-by-step guide to creating your own knit pencil skirt. We’ll cover everything from choosing the right yarn and needles to following the pattern and adding finishing touches. Whether you’re a beginner knitter or an experienced pro, we have all the information you need to make a beautiful pencil skirt that fits like a dream. So grab your knitting needles and get ready to create a wardrobe staple that you’ll love for years to come!
Knit Pencil Skirt Pattern: Create Your Own Stylish Skirt
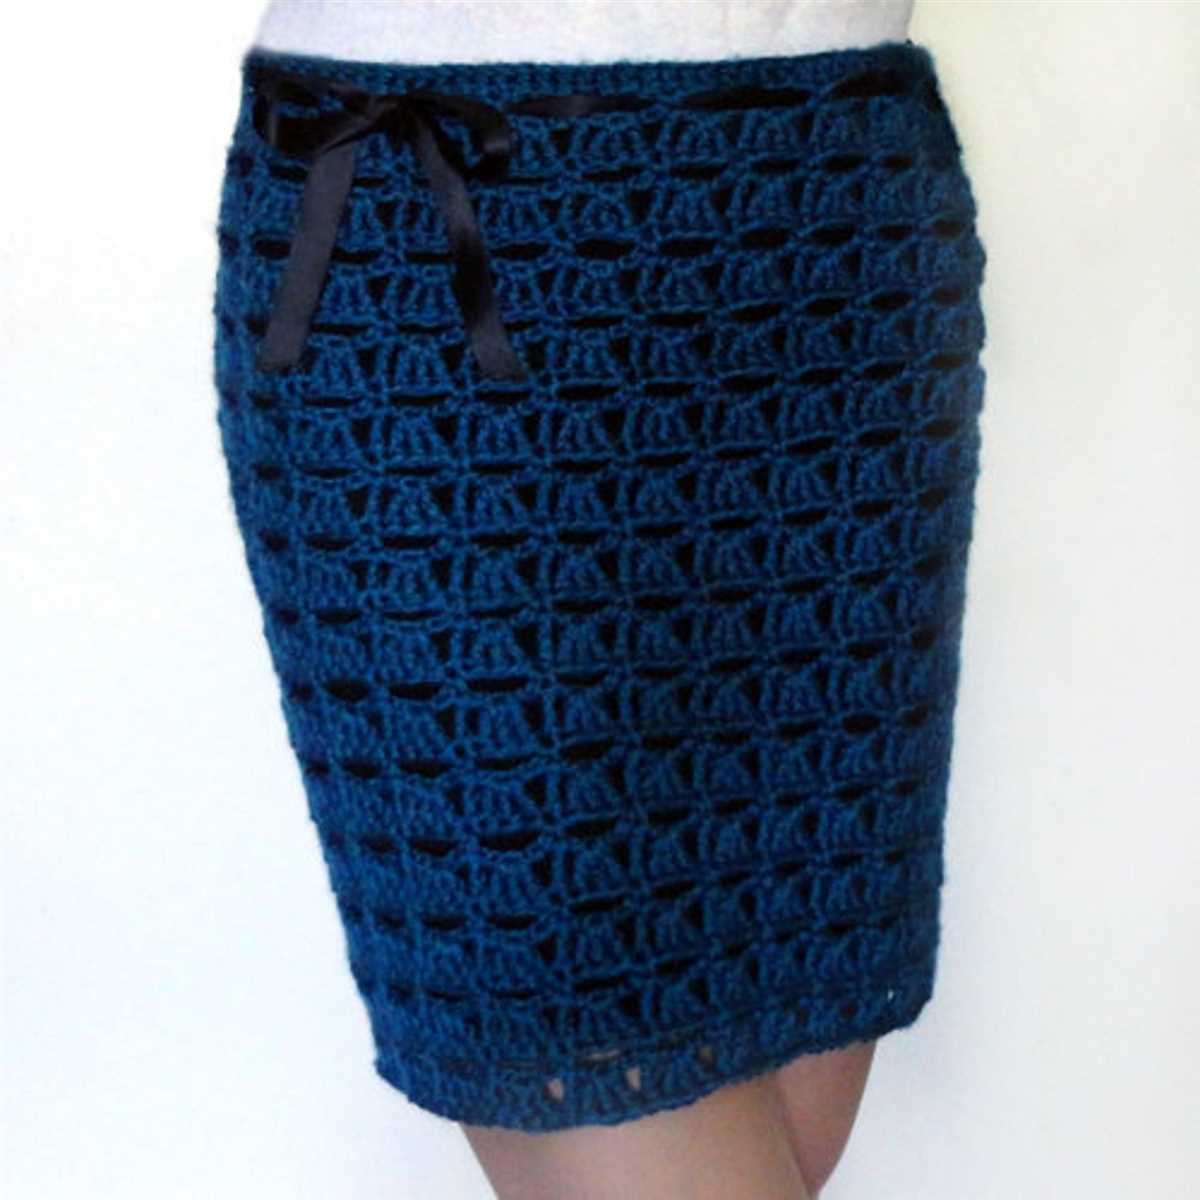
Creating your own knit pencil skirt is a great way to add a stylish and personalized piece to your wardrobe. Whether you’re a seasoned knitter or just starting out, this pattern allows you to showcase your skills and create a unique skirt that fits perfectly.
Materials needed: To start your knit pencil skirt project, you’ll need the following materials:
- Knitting needles
- Worsted weight yarn
- Tape measure
- Stitch markers
- Yarn needle
Instructions: Follow these steps to create your own knit pencil skirt:
- Begin by measuring your waist and hips. This will ensure that your skirt fits properly.
- Select the appropriate needle size based on the gauge required for your chosen yarn.
- Cast on the required number of stitches for your waist measurement, keeping in mind any desired ease.
- Work in a ribbing stitch pattern for the waistband, such as K1, P1 or K2, P2, for the desired length.
- Switch to the main stitch pattern, such as stockinette stitch, for the body of the skirt. Work until the skirt reaches the desired length.
- Shape the skirt by decreasing stitches evenly spaced throughout the desired shaping area, such as the hips.
- Continue knitting until the skirt reaches the desired length, then bind off all stitches.
- Seam the sides of the skirt using a mattress stitch or your preferred seaming method.
- Weave in any loose ends and block the skirt to ensure proper shaping.
Customization: Feel free to customize your knit pencil skirt pattern to suit your personal style. You can experiment with different stitch patterns, add embellishments, or even create a color-blocked design using multiple yarn colors. The possibilities are endless!
With this knit pencil skirt pattern, you have the freedom to create a stylish and comfortable skirt that is truly one-of-a-kind. Show off your knitting skills and enjoy the satisfaction of wearing a handmade garment that fits you perfectly.
Choosing the Right Yarn for Your Knit Pencil Skirt
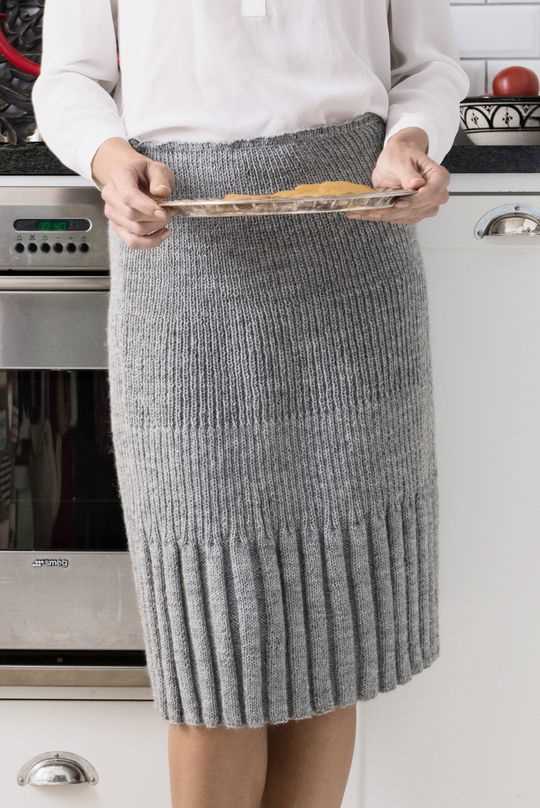
When it comes to knitting a pencil skirt, choosing the right yarn is essential. The yarn you select will greatly affect the final look and feel of your skirt, so it’s important to consider a few key factors before making your decision.
Yarn Weight: One of the first things to consider is the weight of the yarn. For a fitted pencil skirt, you’ll want to choose a yarn that is lightweight and has good drape. A fingering weight or sport weight yarn would be a great choice for this type of project, as it will create a sleek and flattering silhouette.
Fiber Content: The fiber content of the yarn is also an important consideration. For a pencil skirt, you’ll want to choose a yarn that has some stretch and recovery to it. Blends that include elastic fibers like nylon or spandex are ideal, as they will help the skirt retain its shape and provide a comfortable fit.
Color and Pattern: The color and pattern of the yarn can also greatly impact the overall look of your knit pencil skirt. Solid, neutral colors are a classic choice that will never go out of style, but don’t be afraid to experiment with bold, vibrant hues or subtle stripes and textures.
Care Instructions: Finally, consider the care instructions for the yarn you choose. A pencil skirt is a garment that will likely be worn frequently, so it’s important to select a yarn that can withstand regular washing and wear. Machine washable yarns or those that can be easily hand washed and dried will make caring for your skirt a breeze.
In conclusion, when choosing the right yarn for your knit pencil skirt, remember to consider the weight, fiber content, color and pattern, and care instructions. By carefully selecting the yarn, you can ensure that your finished skirt will be both fashionable and comfortable.
Selecting the Perfect Needles for Your Knit Pencil Skirt
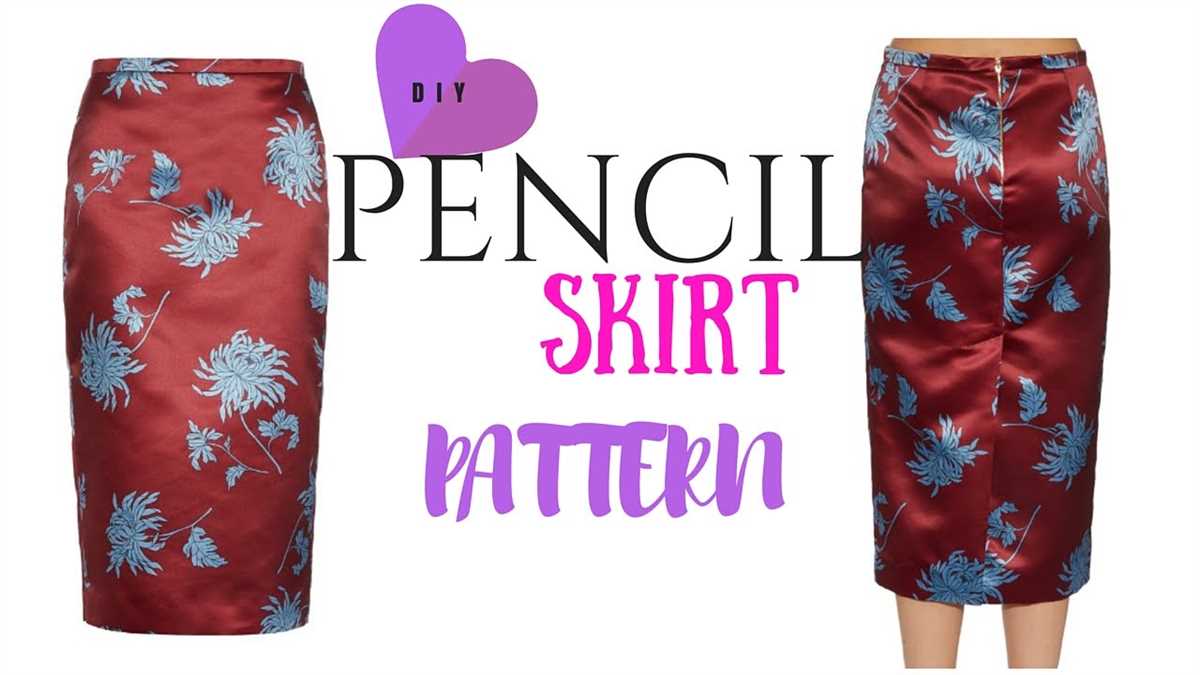
When it comes to knitting a pencil skirt, selecting the right needles is crucial for achieving the desired results. The choice of needles can significantly affect the drape, fit, and overall appearance of the finished garment. To ensure success, consider the following factors when selecting your knitting needles.
1. Needle Size: The needle size you choose will depend on the type of yarn you are using and the desired gauge of your skirt. Generally, larger needle sizes create looser stitches and a more relaxed fit, while smaller needle sizes produce tighter, denser fabrics. It’s essential to match your needle size to the recommended gauge in your pattern to achieve the proper fit.
2. Needle Material: Knitting needles are available in various materials, including metal, bamboo, and plastic. Each material has its own unique characteristics that can impact your knitting experience. Metal needles are known for their smoothness, allowing stitches to glide effortlessly. Bamboo needles provide a warm and lightweight feel, making them ideal for longer knitting sessions. Plastic needles are budget-friendly and lightweight but may not be as durable as other materials.
3. Needle Length: The length of your knitting needles will depend on the circumference of your skirt and the method you prefer. Circular needles are popular for knitting seamless pencil skirts as they can accommodate larger stitch counts and distribute the weight of the fabric more evenly. Alternatively, you can use double-pointed needles or straight needles for knitting smaller sections of the skirt, such as the waistband or a vent.
4. Needle Tips: The tips of the needles can also impact your knitting experience. Sharp-tipped needles are excellent for intricate stitch patterns and working with fine yarns, as they allow for more precise stitches. Blunt-tipped needles, on the other hand, are ideal for beginners or when working with bulkier yarns, as they are less likely to split the yarn.
By considering these factors and experimenting with different needle options, you can find the perfect needles for your knit pencil skirt project. Remember, the right needles can make all the difference in achieving a beautifully fitted and stylish skirt that you’ll be proud to wear.
Taking Accurate Measurements for Your Knit Pencil Skirt
Making a knit pencil skirt that fits you perfectly requires taking accurate measurements. By measuring your waist, hips, and desired skirt length, you can ensure that your finished garment will be proportionate and flattering. Here are some guidelines to help you take precise measurements for your knit pencil skirt.
1. Measure Your Waist
To determine your waist circumference, wrap a soft measuring tape around the narrowest part of your waist. Make sure the tape is snug but not too tight. Record this measurement in inches or centimeters, depending on your preference, as you will need it later when selecting the appropriate pattern size.
2. Measure Your Hips
To measure your hip circumference, place the measuring tape around the fullest part of your hips. This is usually a few inches below your waist. Again, ensure that the tape is comfortably snug and record the measurement in inches or centimeters for future reference.
3. Determine Skirt Length
Decide on the desired length of your knit pencil skirt. Measure from your waist to your desired hemline, which can be above the knee, at the knee, or below the knee, depending on your preference. Write down this measurement as well, as it will determine the length of the skirt pattern pieces you will need to cut.
Keep in mind that these measurements are crucial for achieving the best fit. Always double-check your measurements before starting your project, as improperly sized pattern pieces can result in an ill-fitting garment. Taking accurate measurements is the first step toward creating a comfortable and stylish knit pencil skirt that you will love to wear.
Understanding the Basic Knitting Stitches for Your Pencil Skirt
If you are looking to create a stylish and comfortable knit pencil skirt, it is important to understand the basic knitting stitches. These stitches will be the foundation for your skirt and will determine the overall look and feel of the finished product. Whether you are a beginner knitter or an experienced one, knowing these stitches will help you create a beautiful and professional-looking skirt.
One of the most essential knitting stitches for a pencil skirt is the knit stitch. The knit stitch is simple and versatile, making it a great choice for a variety of designs. To create this stitch, insert the right-hand needle into the front of the stitch on the left-hand needle, then wrap the yarn around the right-hand needle and pull it through the stitch. Repeat this process for each stitch on the row until you have completed the desired length for your skirt.
Another important stitch to know is the purl stitch. The purl stitch creates a ribbed texture and is often used for waistbands and borders on pencil skirt patterns. To purl, insert the right-hand needle into the front of the stitch from right to left, wrap the yarn around the right-hand needle, and pull it through the stitch. Repeat this process for each stitch on the row to create a purl stitch pattern.
In addition to these basic stitches, you may also want to incorporate more advanced techniques into your pencil skirt design. For example, you can use the seed stitch, which alternates between knit and purl stitches, to create a textured pattern. The stockinette stitch, which involves knitting one row and purling the next, creates a smooth and sleek fabric that is perfect for a pencil skirt.
By understanding these basic knitting stitches and experimenting with different combinations and patterns, you can create a unique and fashionable pencil skirt that is tailored to your personal style. So grab your knitting needles and get started on your new project!
Casting On and Joining in the Round for Your Knit Pencil Skirt
When starting your knit pencil skirt, the first step is to cast on your stitches. The number of stitches you need will depend on the size of your skirt and the gauge of your knitting. Make sure to check the pattern or swatch first to determine the correct number of stitches. You can use any cast on method that you prefer, such as the long-tail cast on or the cable cast on. Take your time and make sure each stitch is securely on your needle before moving on.
Once you have cast on your stitches, you will need to join in the round to create a seamless tube. To do this, take the last stitch you cast on and the first stitch on your needle and slide them onto the same needle, making sure not to twist your stitches. This will connect your stitches and create a continuous loop. You can use a stitch marker to mark the beginning of your round if needed.
A common method for joining in the round is to use the magic loop technique, which involves using a long circular needle to create two loops of stitches. This allows you to knit the skirt using a smaller circumference needle, which can be more manageable than using double pointed needles. Another option is to use double pointed needles or a small circular needle, depending on your preference and the size of your skirt.
Once you have joined in the round, you can begin knitting your skirt according to the pattern instructions. Remember to keep track of your rounds and carefully follow any increases or decreases that are required. Knitting a pencil skirt can be a fun and rewarding project, and with the right technique, you can create a beautiful and flattering garment.
Knitting the Body of Your Pencil Skirt
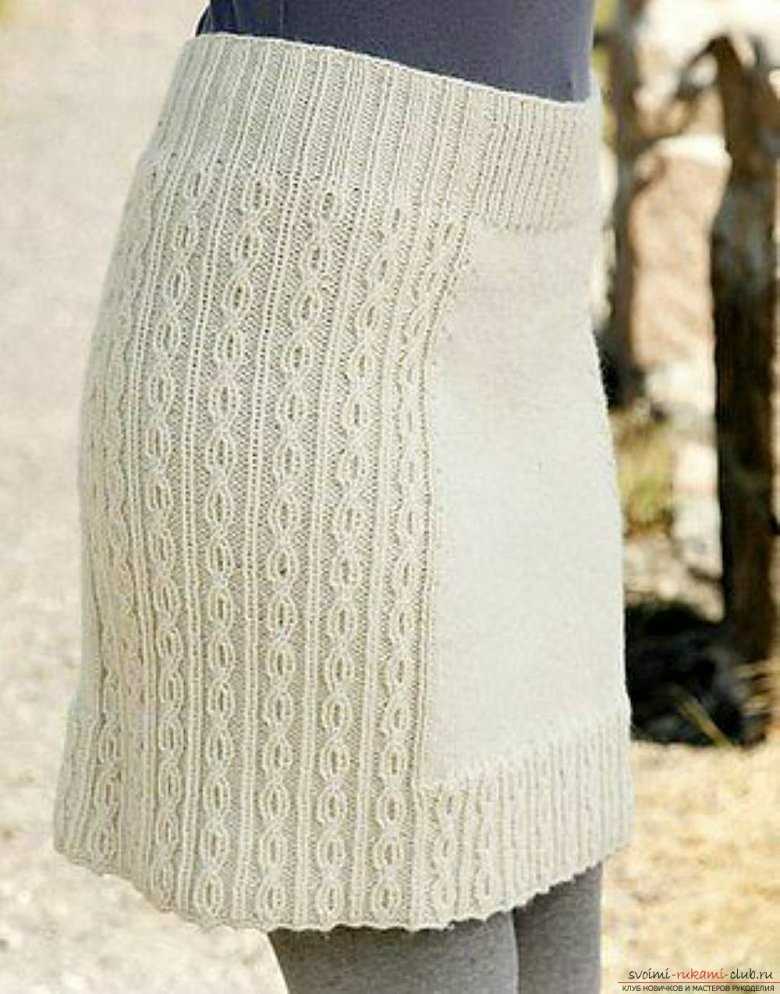
Once you have selected the perfect yarn and the right knitting needle size for your pencil skirt, it’s time to start knitting the body. This is the part where the majority of the work will be done, and it’s important to follow the pattern carefully to achieve the desired fit and shape.
Begin by casting on the required number of stitches, as specified in the pattern. This will determine the circumference of your skirt. Make sure to use a stretchy cast-on method to ensure a comfortable fit around your hips.
Next, you will start working in the main stitch pattern for the body of the skirt. The pattern may call for a specific stitch pattern, such as ribbing or stockinette stitch. Follow the instructions closely to create the desired texture and look. For a classic pencil skirt, an even, smooth fabric is often preferred.
As you knit the body of the skirt, make sure to check your gauge regularly to ensure that your stitches are the correct size. This is especially important for fitted garments like pencil skirts, as small differences in gauge can result in a significantly different fit. Measure your gauge against the pattern instructions and make any necessary adjustments.
Keep working in the main stitch pattern until you reach the desired length for your skirt. The pattern will specify the length, but you can also customize it to your preference. Remember that a pencil skirt is typically knee-length or just below the knee.
Once you have reached the desired length, it’s time to shape the waist. The pattern will guide you through the decreases required to create a fitted waistband. Follow the instructions carefully and make sure to maintain the pattern stitch as you shape the waist.
Finally, bind off the stitches to finish the body of your pencil skirt. Use a stretchy bind-off method to ensure a comfortable fit around your waist and hips. Take the time to block your skirt according to the yarn’s care instructions to give it a polished look and ensure that the stitches settle into place.
With the body of your pencil skirt complete, you can move on to the next step in the pattern, whether it be adding a waistband, zipper, or other finishing details. Take your time and enjoy the process of creating a handmade garment that will fit you like a dream.
Creating the Waistband of Your Knit Pencil Skirt
Once you have completed the main body of your knit pencil skirt, it’s time to move on to creating the waistband. The waistband is an essential part of the skirt as it helps to define and hold the shape of the garment. It also adds a finishing touch to the overall look. Below, you will find a step-by-step guide on how to create the waistband for your knit pencil skirt.
1. Measure your waist and determine the width of your waistband:
Start by measuring your waist using a measuring tape. This will help you determine the width of your waistband. You can decide whether you want a wide or narrow waistband based on your personal preference. Typically, a waistband that is about 1-2 inches wide works well for a knit pencil skirt.
2. Cut out the fabric for your waistband:
Using the measurements you took in the previous step, cut out a long strip of fabric for your waistband. Make sure the width of the fabric is the same as the width you determined for your waistband. The length of the fabric should be the circumference of your waist, plus a few extra inches for seam allowances.
3. Fold and press the waistband fabric:
Take the strip of fabric you cut out for the waistband and fold it in half lengthwise. Press the fold with an iron to create a crisp crease. This folded edge will be the top edge of your waistband.
4. Attach the waistband to the skirt:
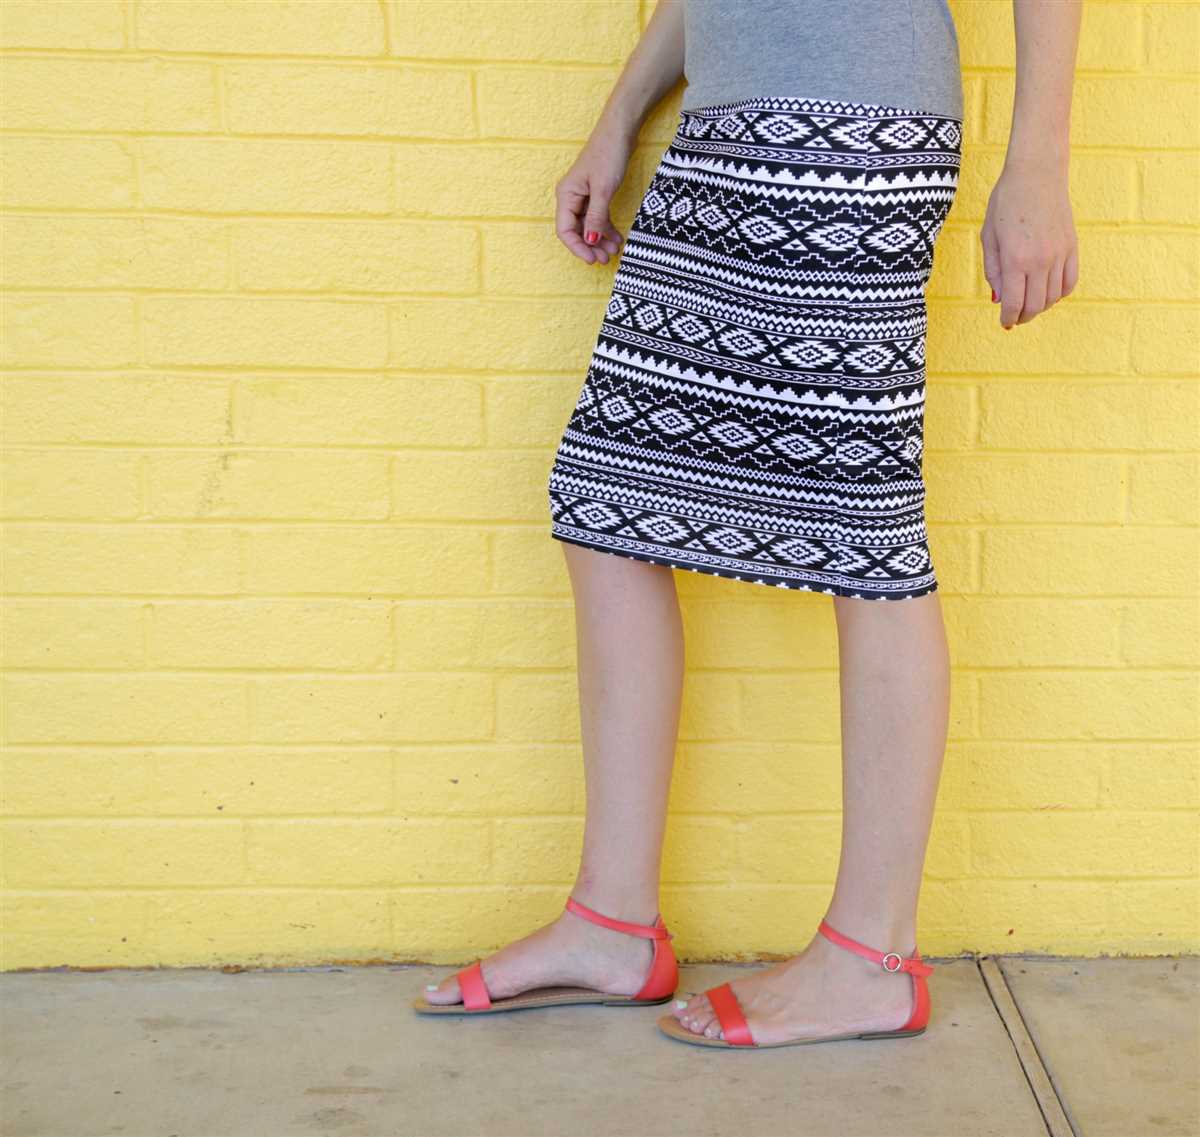
Place the waistband fabric around the top edge of your knit pencil skirt, aligning the raw edges. Pin the waistband in place, making sure it is evenly distributed around the skirt. Using a sewing machine or serger, stitch the waistband to the skirt, sewing along the raw edges.
5. Finish the waistband:
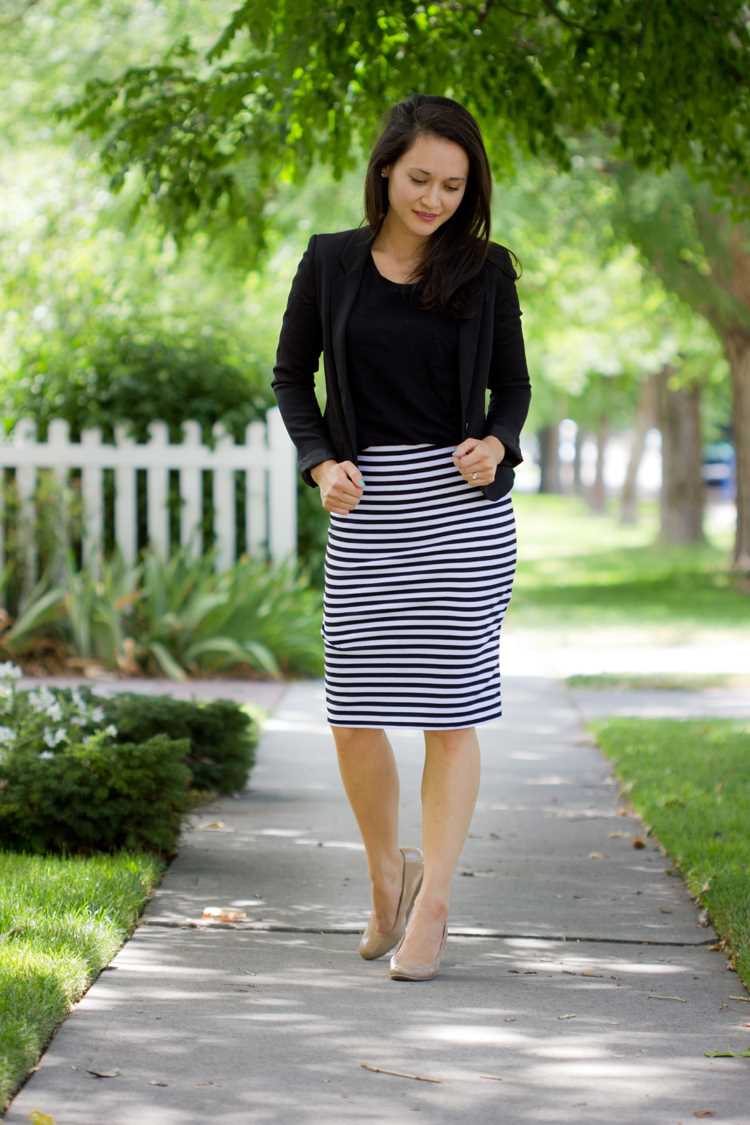
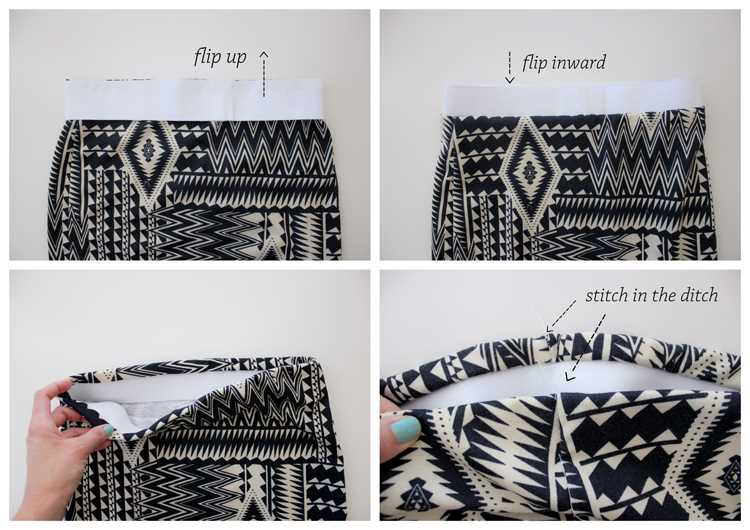
To finish the waistband, fold the fabric over to the inside of the skirt, covering the seam allowance. Press the folded edge with an iron to create a clean finish. You can then secure the folded edge by stitching it in place using a straight stitch or a stretch stitch.
And there you have it – a completed waistband for your knit pencil skirt! With this essential finishing touch, your skirt will be ready to wear and show off your stylish flair. Enjoy the process of creating your own knit pencil skirt and feel confident in the knowledge that you’ve added a unique piece to your wardrobe.
Shaping and Contouring Your Knit Pencil Skirt
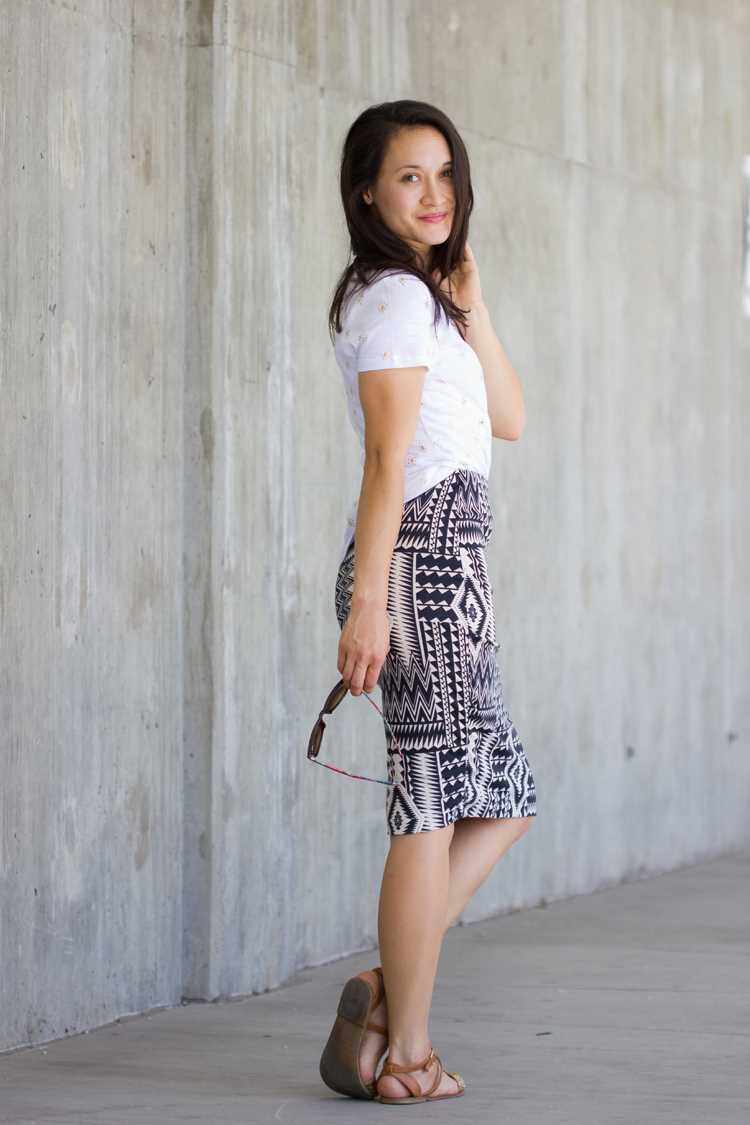
The fit of a knit pencil skirt can make all the difference in how flattering and comfortable it is to wear. By understanding how to shape and contour your knit pencil skirt, you can achieve a customized and flattering fit that accentuates your curves in all the right places.
One of the first steps to shaping your knit pencil skirt is to choose the appropriate pattern size. Measure your waist, hips, and length measurements, and select the size that corresponds most closely to your measurements. Keep in mind that knit fabrics have some stretch, so it’s better to choose a slightly smaller size if you are between sizes.
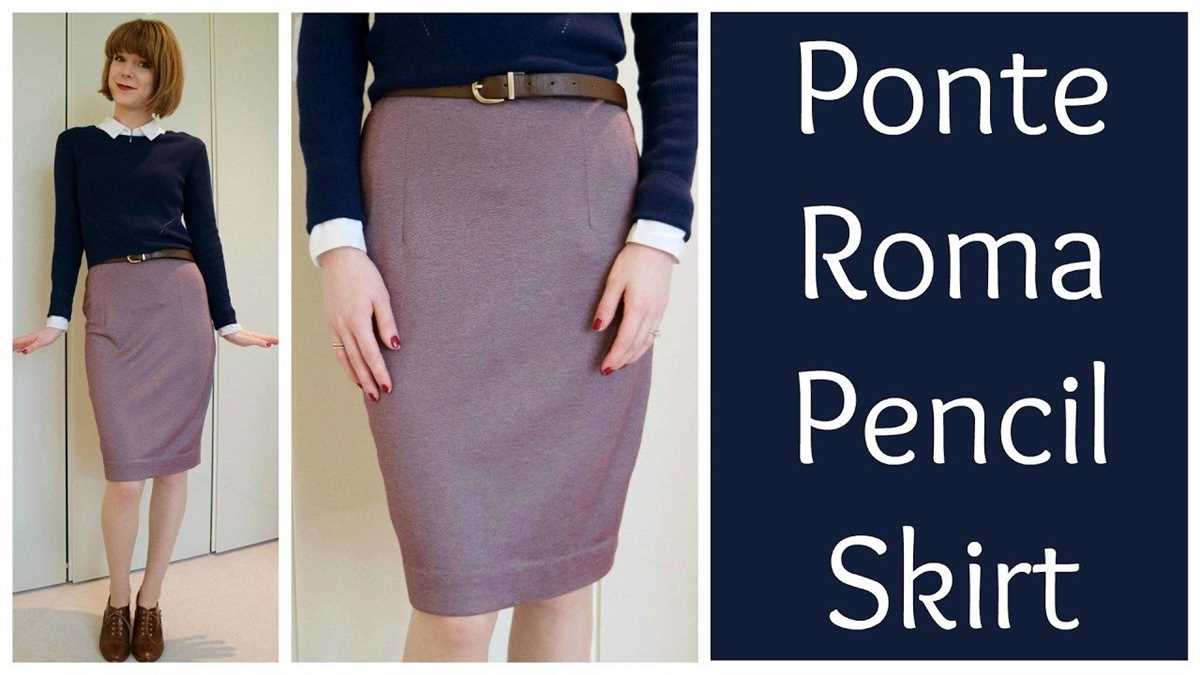
- Knit fabric choice: When selecting a fabric for your knit pencil skirt, opt for a fabric with some stretch, such as a cotton-spandex blend or a ponte knit. The stretch in the fabric will not only make it easier to shape and contour but will also provide a comfortable fit.
- Adding darts: Darts are a key element in shaping a pencil skirt. They help contour the waist and hips for a more tailored look. Follow the pattern instructions to add darts to your skirt, ensuring they are positioned correctly for your body shape.
- Creating a smooth silhouette: To create a smooth silhouette, consider using a waistband facing instead of an elastic waistband. This will help eliminate bulk and keep the waistline looking sleek. Additionally, using a lining can help prevent any clinginess and provide a polished finish.
- Length adjustments: Depending on your height and desired skirt length, you may need to make adjustments to the pattern length. Measure from your waist to the desired hemline and compare it to the pattern length. Make any necessary adjustments by adding or subtracting length at the appropriate points.
By following these tips for shaping and contouring your knit pencil skirt, you can achieve a customized fit that flatters your body shape and allows for comfortable wear. Remember to always consult the pattern instructions for specific guidance and measurements for your chosen pattern.
Finishing Touches: Binding Off and Weaving in Ends

When it comes to completing your knit pencil skirt, the finishing touches often make all the difference. Binding off and weaving in ends are two important steps that ensure your skirt looks professional and polished.
Binding Off
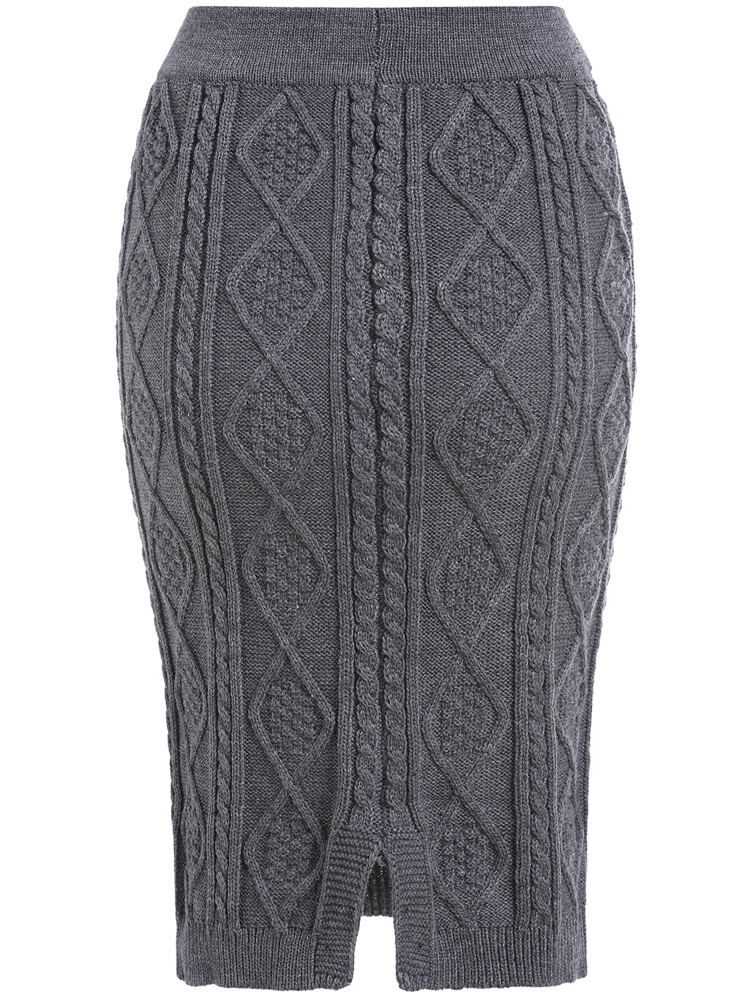
Binding off, also known as casting off, is the process of closing the stitches at the end of your work to create a finished edge. To bind off your knit pencil skirt, simply follow these steps:
- Knit the first two stitches as normal.
- Insert the left needle into the first stitch on the right needle.
- Lift this stitch over the second stitch and off the right needle.
- Knit the next stitch on the left needle.
- Repeat steps 2-4 until you have one stitch left on your right needle.
- Cut the yarn, leaving a long tail, and pull it through the remaining stitch to secure.
Binding off creates a neat and tidy edge that prevents your stitches from unraveling. It’s important to bind off using a method that matches the stitch pattern you used for your skirt, such as the basic bind off for stockinette stitch or the stretchy bind off for ribbing.
Weaving in Ends
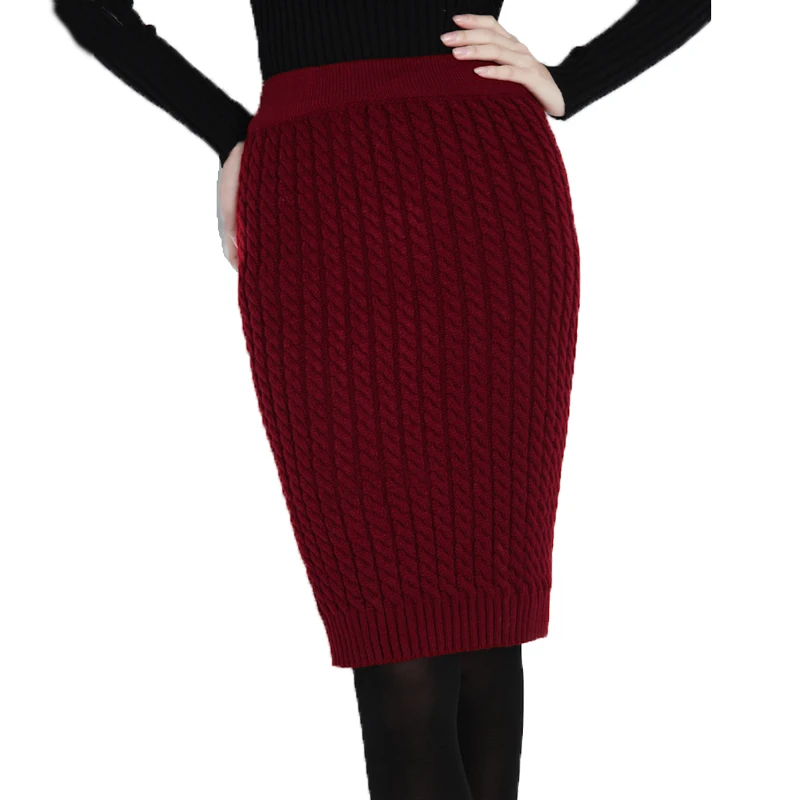
After you have bound off, you will be left with loose ends of yarn from where you started and finished your skirt. Weaving in these ends is essential for a clean and professional-looking finished product.
To weave in ends, thread your yarn through a tapestry needle and insert it under several stitches on the wrong side of your work. Then, bring the needle back out and trim any excess yarn. By weaving in the ends, you are securing them and preventing them from coming loose or unraveling over time.
Take care to weave in your ends in a way that is not too tight or too loose, as this can affect the drape and fit of your pencil skirt. It’s also a good idea to weave in the ends as you go, rather than waiting until the end, to avoid a large amount of loose ends to deal with.
By following these steps to bind off and weave in ends, you can give your knit pencil skirt a professional finish that will make it look like it was made by an expert knitter.
Styling and Wearing Your Knit Pencil Skirt with Confidence
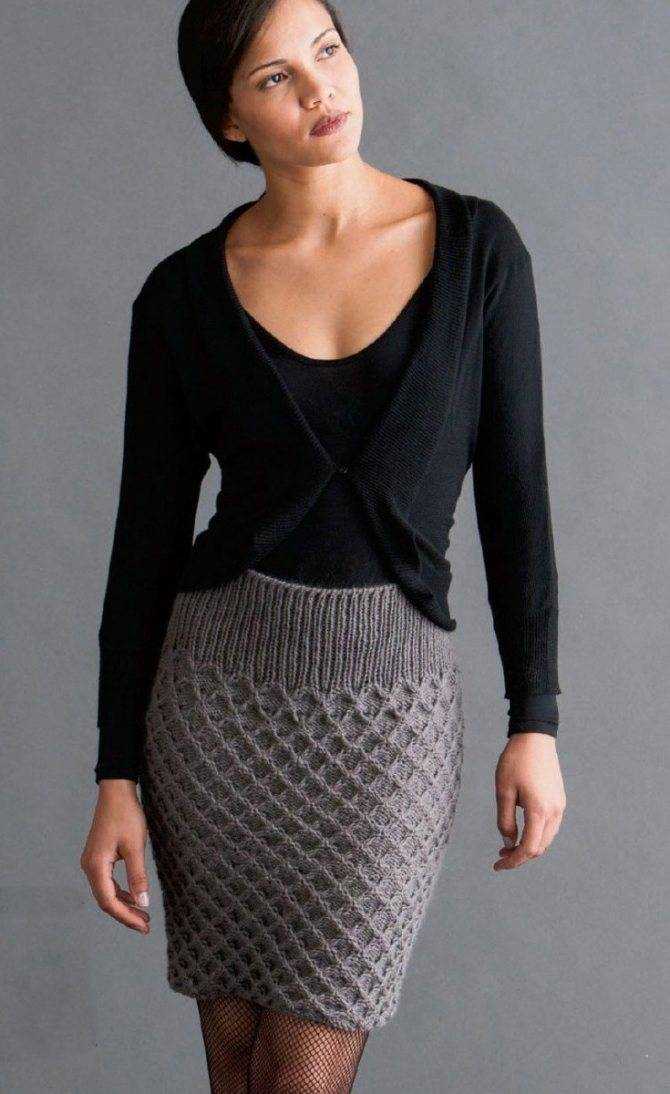
Now that you have successfully knitted your own pencil skirt, it’s time to explore different styling options and wear it with confidence. Whether you’re dressing up for a formal event or going for a casual look, a knit pencil skirt can be a versatile addition to your wardrobe.
Here are some tips on how to style and wear your knit pencil skirt:
- Pair it with a blouse: For a polished and sophisticated look, tuck in a fitted blouse or a button-down shirt into your pencil skirt. This combination is perfect for office settings or more formal occasions.
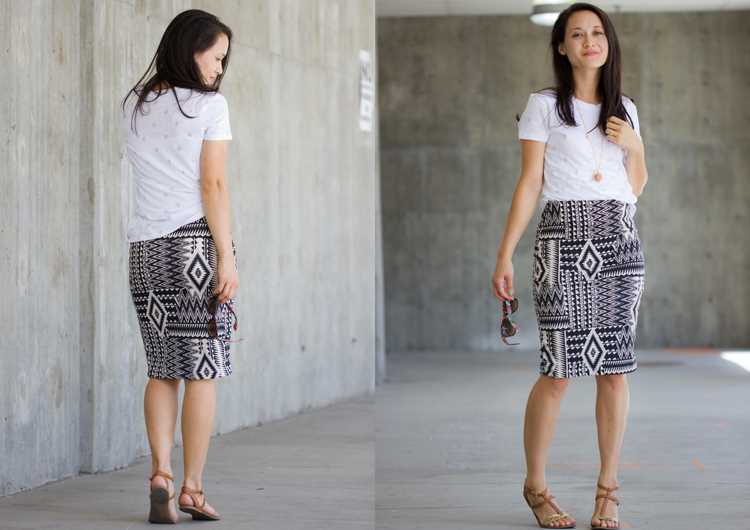
- Dress it down with a graphic tee: To create a more relaxed and casual outfit, pair your pencil skirt with a trendy graphic tee. Add some sneakers or ankle boots to complete the look. This combination is great for a day out with friends or running errands.
- Add layers: Experiment with layering to create different looks with your pencil skirt. You can add a cropped jacket, a cozy cardigan, or a statement blazer to change the overall vibe of your outfit. Don’t be afraid to mix textures and colors to add visual interest.
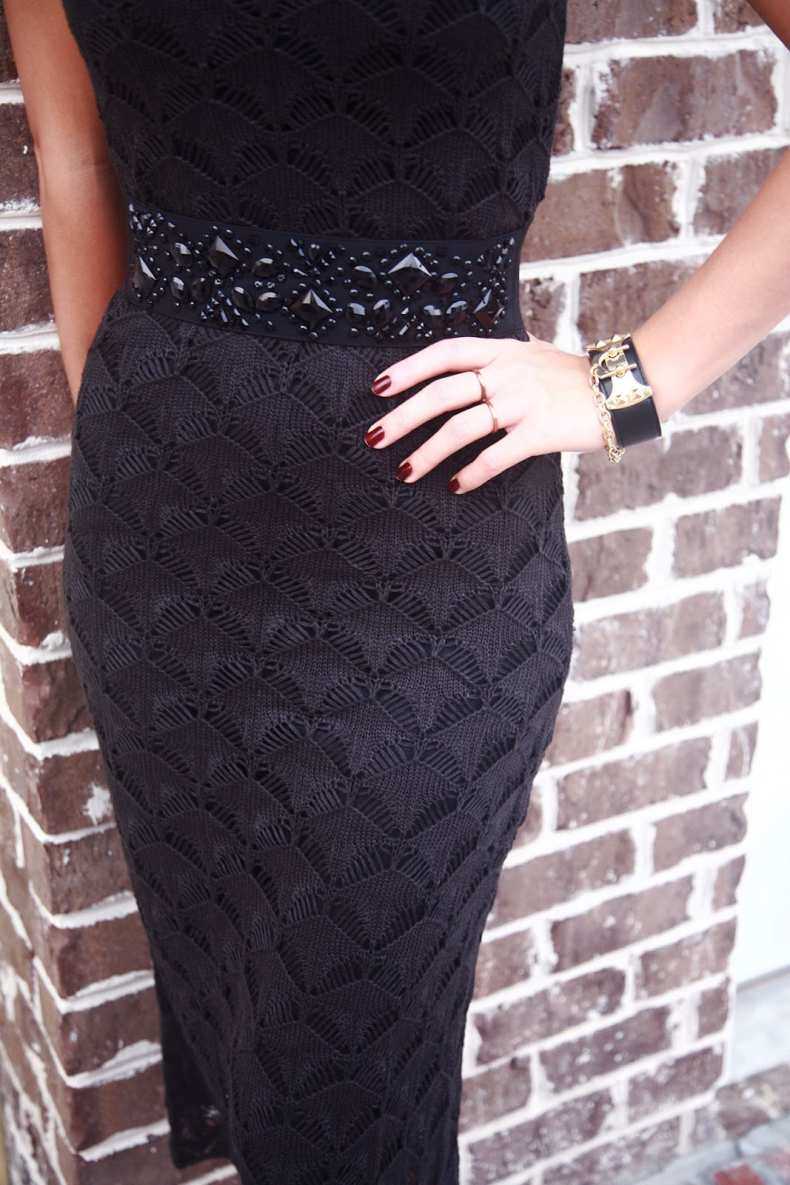
- Accessorize: Accessorizing can enhance your overall look and add personality to your outfit. Consider adding a belt to define your waist, statement jewelry to add a touch of glamour, or a stylish handbag to complete your ensemble.
- Experiment with footwear: The type of shoes you choose can completely transform your look. Pair your knit pencil skirt with high heels or stilettos for a more formal occasion, opt for ankle boots or mules for a trendy and stylish look, or choose flats for a comfortable and casual outfit.
Remember, confidence is key when styling and wearing your knit pencil skirt. Own your outfit and embrace your unique style. With these tips in mind, you’ll be able to create various looks with your knitted creation and showcase your creativity and individuality.