
Knitting can be a relaxing and fulfilling hobby, and what better way to showcase your skills than by creating a unique hat for yourself or a loved one? The Oslo hat knitting pattern is a popular choice among knitters, known for its simple yet stylish design and warm, cozy fit.
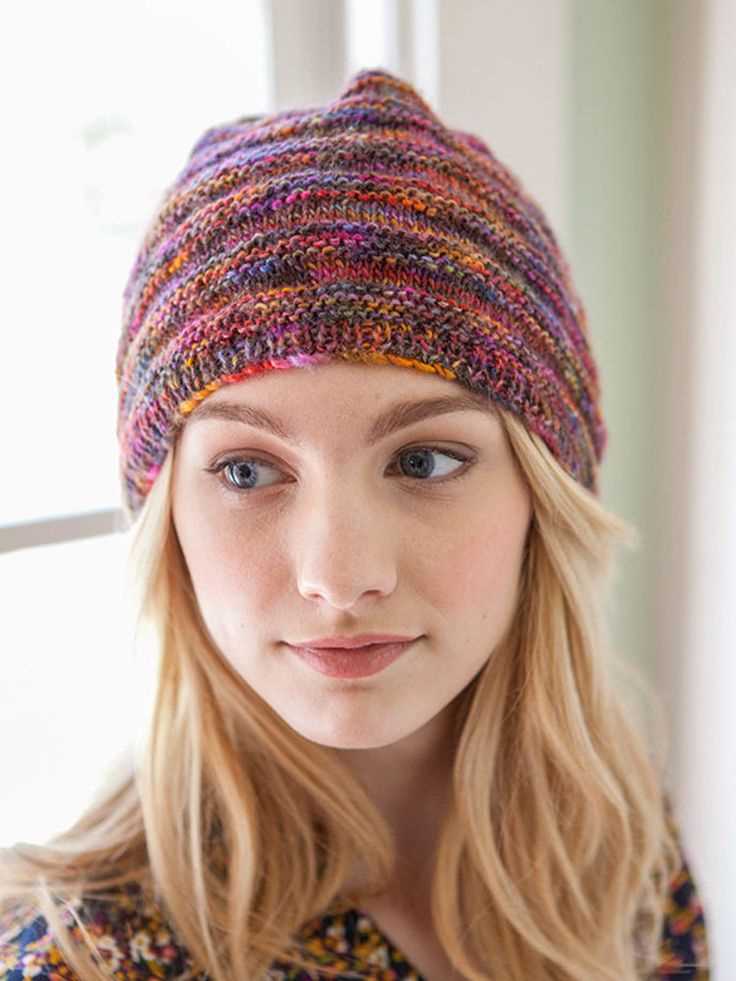
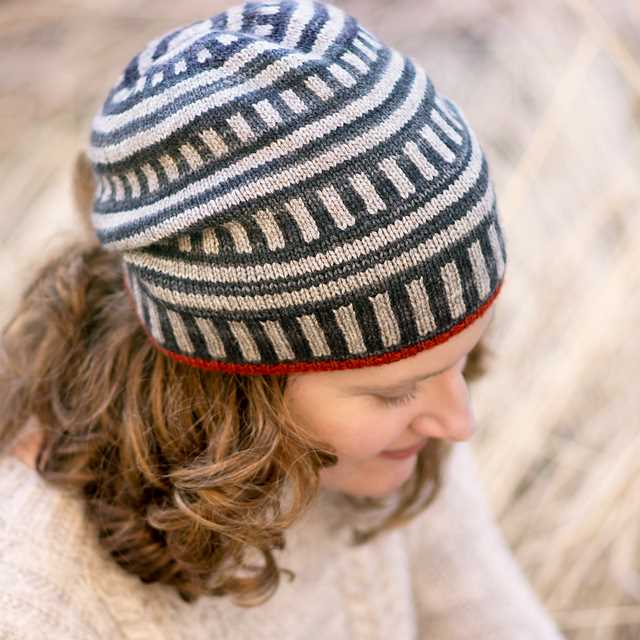
The Oslo hat pattern features a classic ribbed brim that hugs the head comfortably, while the body of the hat is knit in a beautiful textured stitch that adds depth and interest. This pattern is suitable for knitters of all skill levels, making it a great project for beginners looking to expand their repertoire or more experienced knitters looking for a quick and satisfying project.
One of the highlights of the Oslo hat knitting pattern is its versatility. The pattern can be easily adapted to different yarn weights, allowing you to create a hat for any season or style preference. Whether you choose a soft and fluffy yarn for a cozy winter hat or a lightweight yarn for a breezy summer accessory, the Oslo hat pattern is sure to deliver a professional-looking result.
Oslo Hat Knitting Pattern

If you are looking for a cozy and stylish hat to knit, the Oslo Hat knitting pattern is a great choice. This pattern features a classic design with a modern twist, making it perfect for both everyday wear and special occasions.
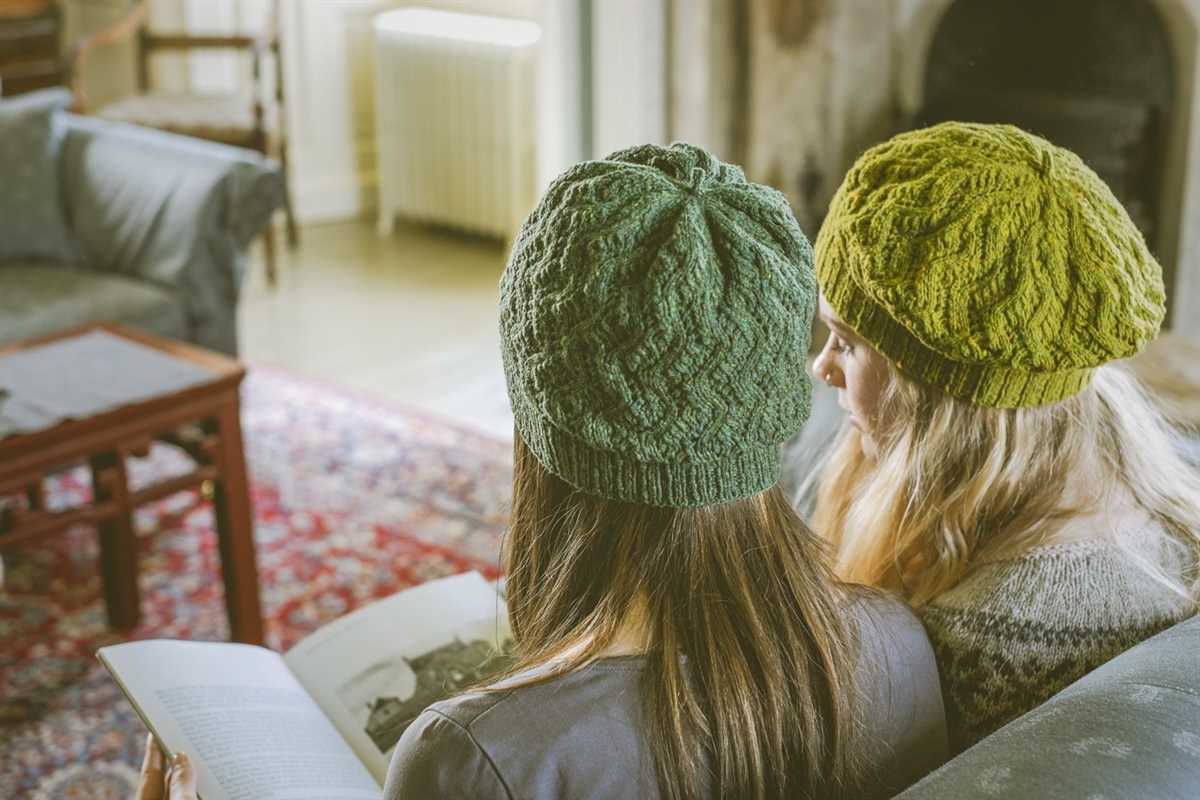
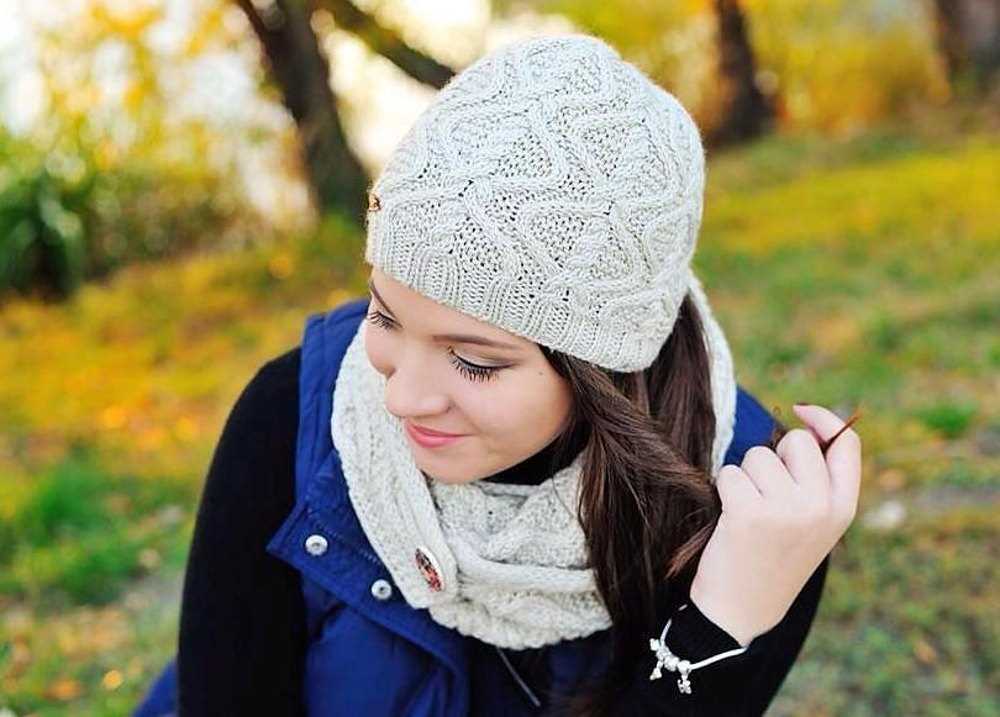
The Oslo Hat knitting pattern is suitable for intermediate knitters. The pattern includes instructions for knitting the hat in two different sizes, ensuring a perfect fit for anyone. It also features a variety of stitches, including ribbing, cables, and lace, which add texture and visual interest to the finished hat.
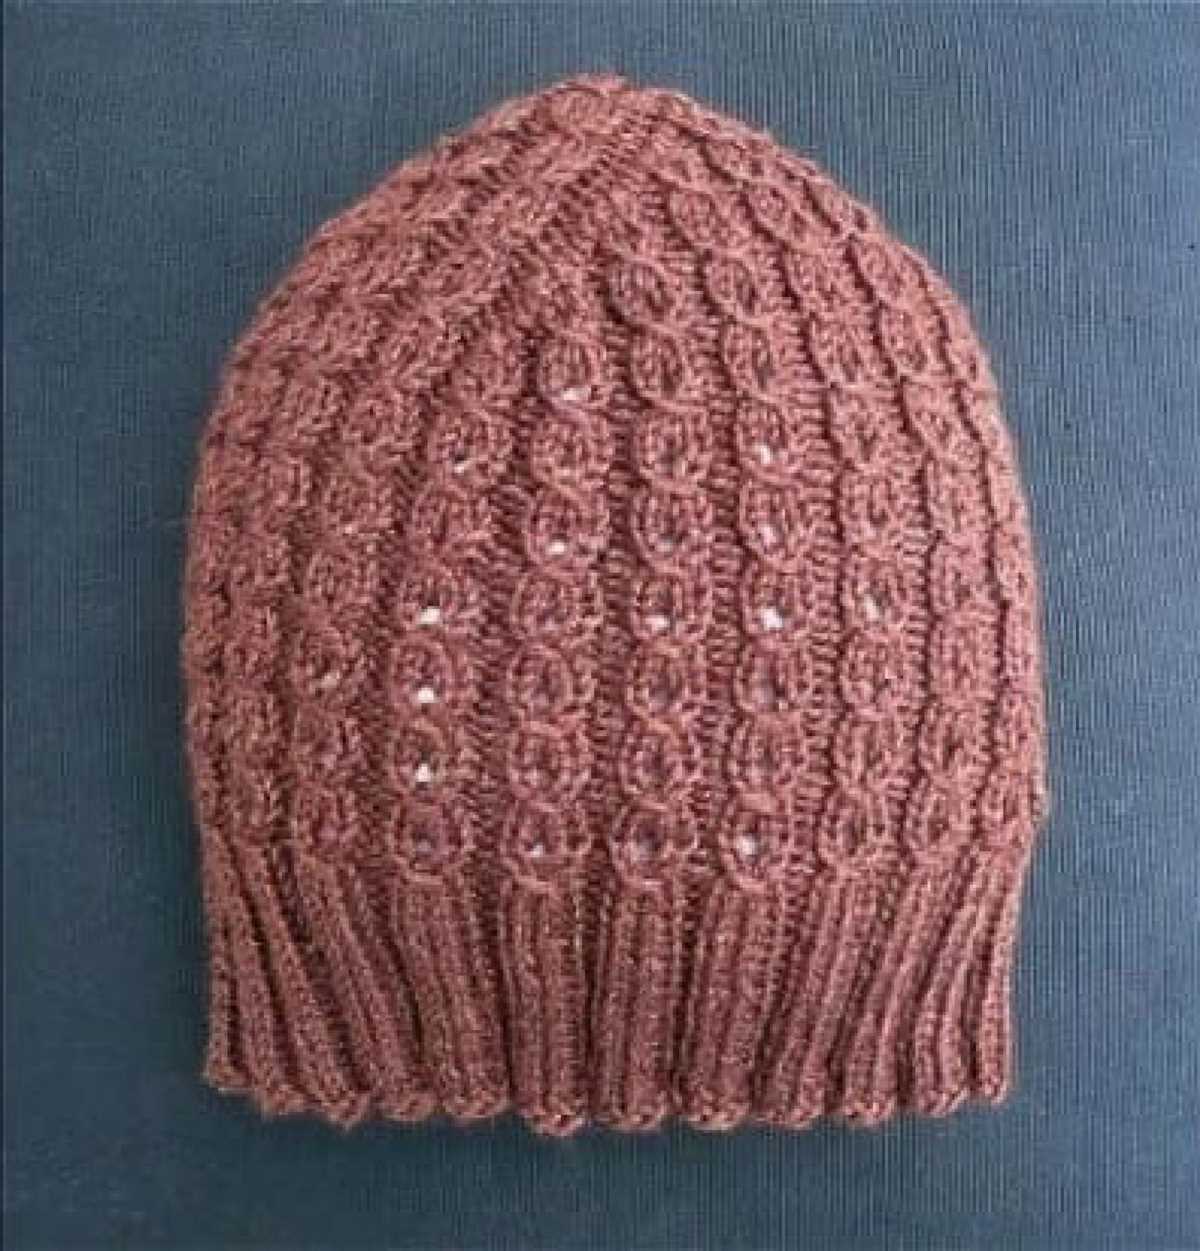
The Oslo Hat knitting pattern begins with the brim, which is knit in a ribbed stitch pattern for added stretch and comfort. The body of the hat is then knit in a combination of cables and lace, creating a beautiful and unique design. The pattern includes detailed written instructions, as well as a chart for the cable and lace sections.
To complete the Oslo Hat, you will need approximately 200-250 yards of worsted weight yarn and a set of US size 7 (4.5mm) double-pointed needles or a 16-inch circular needle. The pattern also calls for a cable needle and a stitch marker to help with shaping and keeping track of your progress.
Whether you are knitting the Oslo Hat for yourself or as a gift, it is sure to be a hit. The combination of classic design and modern details make it a versatile accessory that can be worn with any outfit. So grab your knitting needles and get started on this stylish and cozy project!
What is an Oslo hat?
An Oslo hat is a type of knitted hat that originated in Oslo, Norway. It is known for its unique design and warmth, making it a popular choice for cold weather wear. The Oslo hat is typically knitted using a variety of stitches and patterns, resulting in a textured and cozy finished product.
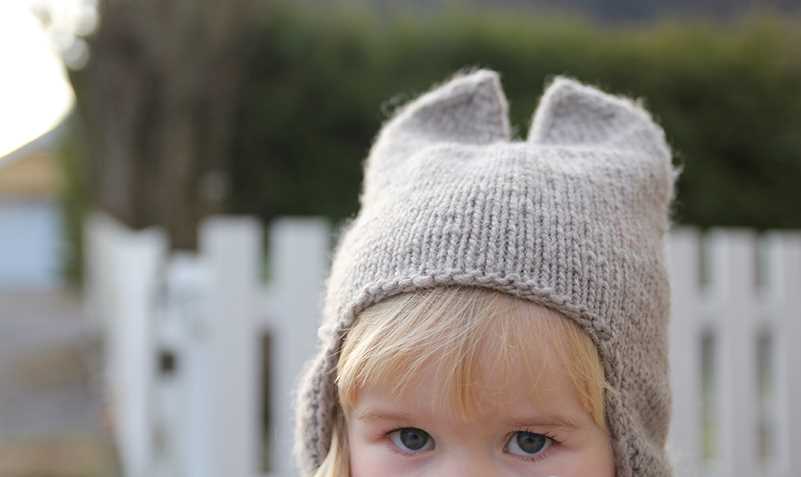
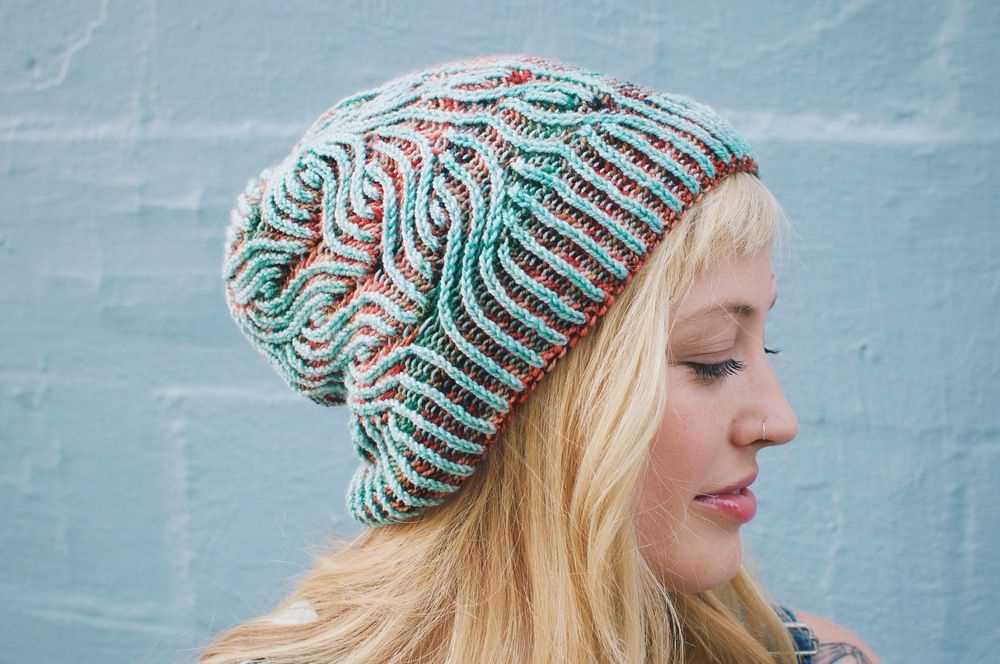
The Oslo hat is characterized by its wide brim and slouchy fit, providing both style and functionality. It is often made with a thick and soft yarn, such as merino wool, to ensure maximum warmth and comfort. Many Oslo hat patterns incorporate intricate cable or stranded colorwork designs, adding an extra touch of elegance to the finished hat.
Features of an Oslo hat:

- Wide brim
- Slouchy fit
- Textured and cozy design
- Thick and soft yarn
- Intricate cable or colorwork patterns
Whether you’re knitting an Oslo hat for yourself or as a gift, it is sure to be a stylish and practical accessory for the winter months. The timeless design and versatility of the Oslo hat make it a popular choice among knitters of all skill levels. So grab your needles and yarn, and start creating your own cozy Oslo hat today!
The History of the Oslo Hat
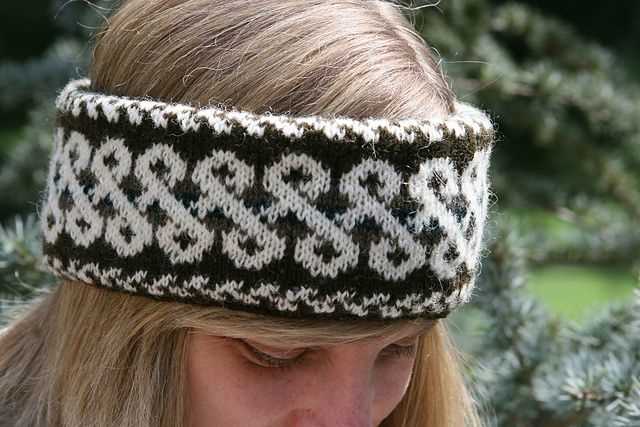
The Oslo hat, also known as the Norwegian hat or the Nordic hat, is a traditional knitted hat that originates from Norway. It is named after the capital city, Oslo, where it was traditionally worn by both men and women to keep warm during the long, cold winters. The Oslo hat is characterized by its unique design, featuring intricate patterns and motifs inspired by the rich cultural heritage of Norway.
The origins of the Oslo hat can be traced back to the 19th century when knitting became an important part of Norwegian culture. Knitting was not only a practical skill but also a form of artistic expression. Women would hand-knit garments and accessories for their families, showcasing their creativity and skill. The Oslo hat became a popular item among knitters, and its unique patterns and designs evolved over time.
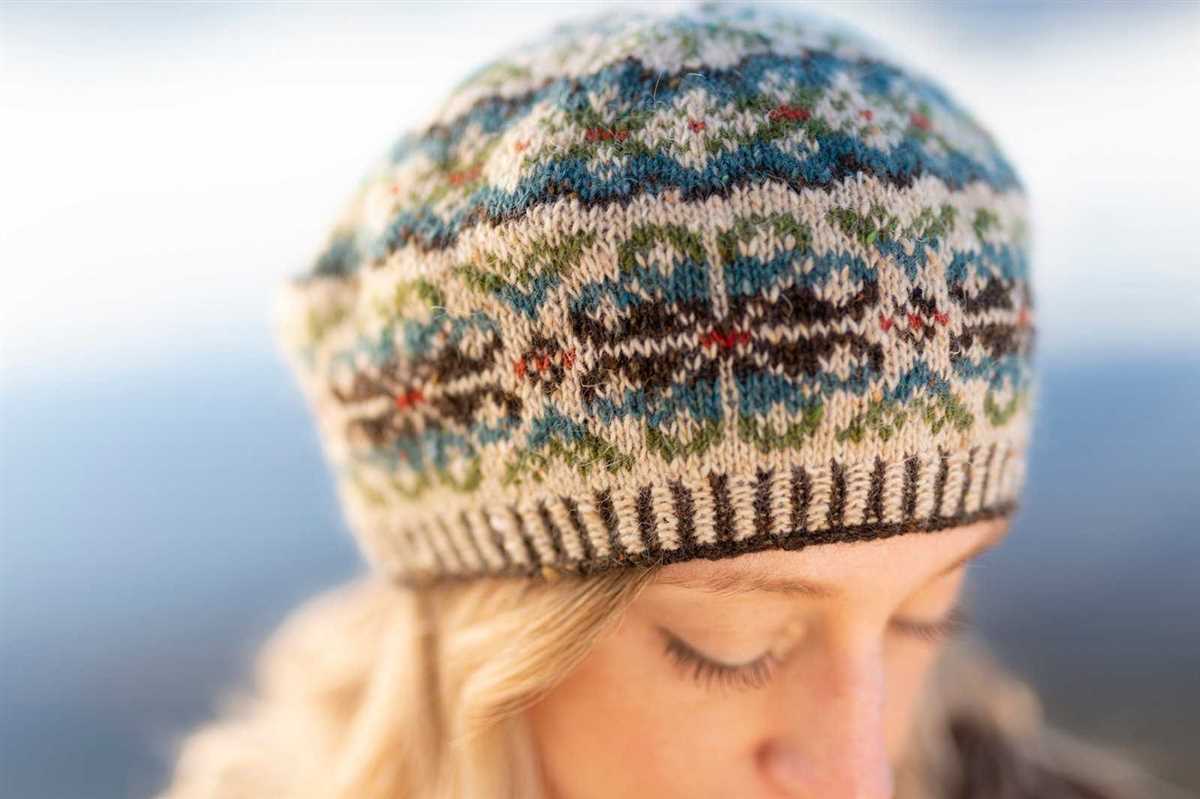
The Oslo hat is typically knitted using two colors of yarn and a variety of knitting techniques. The most common pattern used is the Fair Isle technique, which involves alternating colors in a stranded knitting style. This creates a distinctive look with small, intricate motifs that are often inspired by nature, such as snowflakes, stars, and flowers.
Today, the Oslo hat continues to be a beloved symbol of Norwegian heritage and craftsmanship. It is often worn as a fashion statement, not just for its functionality. Knitters around the world are inspired by the tradition and beauty of the Oslo hat and continue to create their own variations of this iconic design.
Materials needed for knitting an Oslo hat
If you’re interested in knitting an Oslo hat, here are the materials you’ll need to get started. By having all of these items ready, you’ll be able to create a cozy and stylish hat that’s perfect for colder weather.
1. Yarn
The first thing you’ll need is yarn. For the Oslo hat, it’s recommended to use a bulky weight yarn. This will create a hat that’s warm and soft. You can choose any color you like, whether it’s a neutral tone or a bold and vibrant shade.
2. Knitting Needles
Next, you’ll need a pair of knitting needles. The size of the needles will depend on the gauge of your yarn and your personal knitting style. It’s recommended to use circular needles for the Oslo hat, as this will allow you to easily knit in the round.
3. Stitch Markers

To help you keep track of your stitches, it’s useful to have stitch markers. These can be small rings or clips that you place on your knitting needles to mark specific points in your pattern. Stitch markers will come in handy when you need to know where to increase or decrease stitches.
4. Tapestry Needle
After you’ve finished knitting your Oslo hat, you’ll need a tapestry needle to weave in the loose ends of yarn. This needle has a blunt tip, allowing you to easily thread through the stitches without piercing the yarn. It’s an essential tool for finishing off your hat.
5. Pom Pom Maker (optional)

Finally, if you’d like to add a playful touch to your Oslo hat, you can use a pom pom maker. This tool will help you create fluffy and round pom poms that you can attach to the top of your hat. It’s optional, but it can add a fun and whimsical element to your finished project.
With these materials in hand, you’re all set to start knitting your Oslo hat. Enjoy the process and soon you’ll have a beautiful hat to keep you warm and stylish during the winter months!
Choosing the right yarn for your Oslo hat
The Oslo hat is a popular knitting pattern that is known for its cozy and stylish design. To ensure that your hat turns out just as you imagine, it’s important to choose the right yarn for the project. The right yarn will not only determine the final look and feel of your hat but also its durability and warmth. Here are some key factors to consider when selecting yarn for your Oslo hat:
1. Fiber Content
One of the first things to consider when choosing yarn for your Oslo hat is the fiber content. The most common choices for winter hats are wool and alpaca, as they are both warm and insulating. Wool is known for its breathability and moisture-wicking properties, while alpaca is incredibly soft and lightweight. Consider your personal preferences and any allergies you may have when selecting the fiber content of your yarn.
2. Weight
The weight of the yarn will determine the thickness and drape of your Oslo hat. For a chunkier, more substantial hat, opt for a bulky or super bulky weight yarn. These yarns will create a warm and cozy hat that is perfect for colder temperatures. If you prefer a lighter, more delicate hat, choose a lighter weight yarn such as fingering or sport weight. These yarns will create a more drapey and lightweight hat.
3. Color and Texture
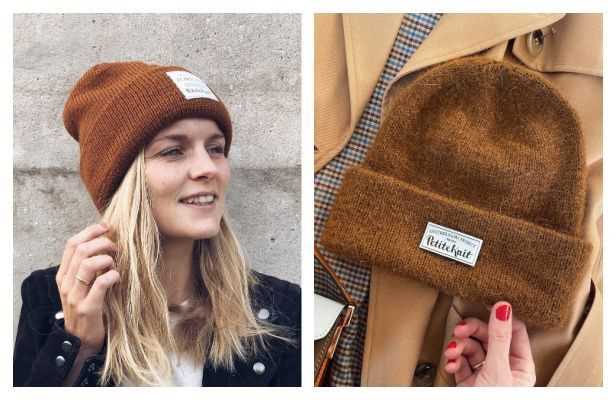
The color and texture of the yarn can greatly impact the overall look of your Oslo hat. Consider the style and aesthetic you are going for when selecting the color of your yarn. Neutral colors such as gray, black, or cream are versatile and timeless, while bold and bright colors can add a fun and playful touch. Additionally, consider the texture of the yarn – a smooth yarn will give your hat a clean and polished look, while a yarn with texture or speckles can add visual interest.
By considering these factors – fiber content, weight, color, and texture – you can choose the perfect yarn for your Oslo hat. Remember, the right yarn will not only make the knitting process more enjoyable but also result in a hat that you love to wear and show off!
Knitting Techniques for the Oslo Hat
When knitting the Oslo hat, there are a few key techniques to keep in mind to ensure a successful and beautiful finished product. These techniques include casting on, knitting in the round, ribbing, and decreasing.
Casting On
To start knitting the Oslo hat, you will need to cast on your stitches. The pattern will specify the number of stitches required. There are several casting on methods you can use, such as the long-tail cast-on or the knitted cast-on. Choose the method that you are most comfortable with and that matches the look you want for your hat.
Knitting in the Round
The Oslo hat is typically knit in the round, which means you will be knitting in a continuous circle rather than back and forth. To knit in the round, you can use circular knitting needles or double-pointed needles, depending on your preference. It’s important to make sure your stitches are not twisted when joining in the round, as this can affect the overall shape of the hat.
Ribbing
Ribbing is commonly used at the brim of the Oslo hat to create a stretchy and snug fit. This is achieved by alternating knit and purl stitches in a specific pattern, such as a 2×2 rib or a 1×1 rib. The ribbing adds both visual interest and elasticity to the hat, making it comfortable to wear.
Decreasing
To shape the crown of the Oslo hat, decreasing techniques are used. This involves knitting multiple stitches together in a specific pattern to decrease the total number of stitches and create a tapered effect. The pattern will guide you on when and how to decrease, typically in a gradual and aesthetically pleasing way.
- Overall, knitting the Oslo hat involves casting on, knitting in the round, ribbing, and decreasing.
- Make sure to choose the appropriate casting on method and needles that you are comfortable with.
- Ribbing adds elasticity and visual interest to the hat’s brim.
- Follow the pattern for decreasing to shape the crown of the hat.
Step-by-step instructions for knitting an Oslo hat

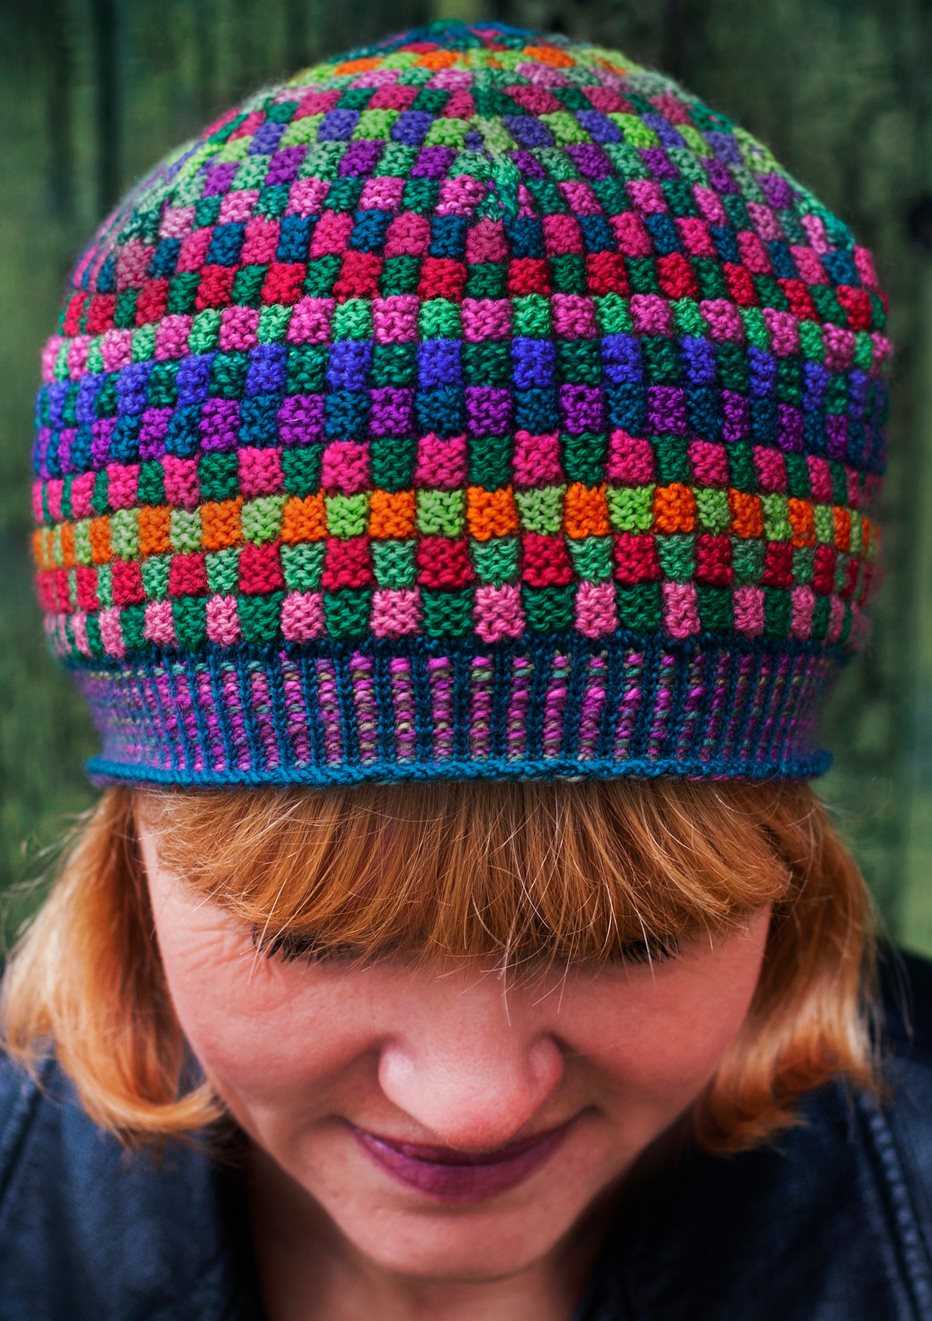
Knitting a cozy Oslo hat is a fun and rewarding project for both beginner and experienced knitters. This pattern is known for its intricate geometric colorwork and warm, snug fit. Follow these step-by-step instructions to create your own stylish Oslo hat.
Materials needed:
- A set of double-pointed knitting needles, size US 6 (4mm)
- Approximately 150 yards of main color yarn (worsted weight)
- Approximately 50 yards of contrasting color yarn (worsted weight)
- A stitch marker
- A tapestry needle for weaving in ends
Instructions:
- Using the main color yarn, cast on 88 stitches. Divide the stitches evenly onto 4 double-pointed needles (22 stitches per needle). Place a stitch marker to indicate the beginning of the round.
- Join the round in a circle, making sure not to twist the stitches. This will be the brim of the hat.
- Work in a K2, P2 ribbing pattern for approximately 1 inch.
- Switch to the contrasting color yarn and start the colorwork pattern. Follow the chart or written instructions provided in the pattern for the desired design.
- Continue knitting in the contrasting color until the hat measures approximately 7 inches in length from the brim.
- Switch back to the main color yarn and knit 1 round.
- Decrease rounds: *K6, K2tog* – repeat this pattern until the end of the round. On the next round, knit all stitches. Repeat these two rounds until there are 8 stitches remaining.
- Cut the yarn, leaving a long tail. Thread the tail onto a tapestry needle and slip the needle through the remaining stitches, removing them from the needles. Pull tight to close the top of the hat.
- Weave in all loose ends to finish the hat.
With these step-by-step instructions, you’ll be able to create a beautiful Oslo hat that’ll keep you warm and stylish during the colder months. Don’t be afraid to experiment with different color combinations and patterns to make it truly unique!
Tips for customizing your Oslo hat
Making your own Oslo hat can be a fun and rewarding project. With a few simple modifications, you can create a hat that is uniquely yours. Here are some tips for customizing your Oslo hat:
Choose the right yarn:
- Consider the weight and texture of the yarn you use. A lighter weight yarn will create a more delicate hat, while a heavier weight yarn will result in a thicker, warmer hat.
- Experiment with different fiber blends to achieve desired characteristics. For example, using a yarn with a bit of silk or cashmere can add a luxurious feel to your hat.
Add a personalized touch:
- Consider adding a decorative stitch pattern to the body of the hat. This can be done by incorporating different knitting techniques, such as cables or lace.
- Customize the brim of the hat by adding a contrasting color or a ribbed pattern. This can make your Oslo hat stand out and add visual interest.
- Personalize your hat by adding embellishments, such as buttons, beads, or pom poms. These small details can make your Oslo hat truly unique.
Adjust the fit:

- If you prefer a slouchier hat, you can add extra length to the body of the hat. Simply knit more rounds before starting the decreases.
- If you have a larger or smaller head size, make sure to adjust the number of cast on stitches accordingly. You can use a gauge swatch to determine the appropriate number of stitches for your desired fit.
- Experiment with different hat sizes and styles to find the perfect fit for you. Try knitting a few prototypes with different adjustments to see what works best.
Remember, the Oslo hat pattern is just a starting point. Feel free to get creative and make it your own. With these tips in mind, you’ll have a one-of-a-kind Oslo hat that reflects your personal style and preferences.
Mistakes to avoid when knitting an Oslo hat
Knitting an Oslo hat can be a fun and rewarding project, but it’s important to be aware of common mistakes that can occur along the way. By avoiding these pitfalls, you can ensure that your finished hat turns out perfect and meets your expectations. Here are some mistakes to watch out for:
1. Using the wrong yarn weight
Choosing the right yarn weight is crucial for achieving the correct gauge and size of your Oslo hat. Be sure to check the pattern recommendations and use the specified yarn weight. Using a different weight could result in a hat that is too loose or too tight.
2. Skipping a gauge swatch
It can be tempting to skip the gauge swatch and jump right into the project, but taking the time to swatch is essential for ensuring proper fit. The Oslo hat pattern will provide a recommended gauge, and by knitting a swatch and measuring it, you can make any necessary adjustments to your needle size or tension.
3. Not counting your stitches
When knitting in the round, it’s easy to lose track of your stitch count, especially with patterns that include increases or decreases. Make sure to regularly count your stitches to ensure you’re on track and haven’t accidentally dropped or added any stitches along the way. This will help prevent any unwanted shaping or sizing issues.
4. Ignoring pattern instructions
Following the pattern instructions carefully is crucial for a successful knitting project. It can be easy to get into a rhythm and start making assumptions about the pattern, but this can lead to mistakes. Take the time to read and understand each step of the pattern before proceeding to avoid any unnecessary mishaps.
5. Not blocking your hat

Blocking is the final step in finishing your Oslo hat and can make a big difference in the overall look and fit. It helps to even out stitches, relax the fabric, and shape the hat as desired. Skipping this step may result in a hat that doesn’t meet your expectations or doesn’t fit properly, so be sure to block your finished hat according to the pattern recommendations.
Avoiding these common mistakes will help ensure that your knitting journey with the Oslo hat pattern is smooth and enjoyable. By paying attention to details, following the instructions, and taking the time to make necessary adjustments, you’ll have a beautifully knitted hat to be proud of.
Care instructions for your Oslo hat
Proper care can help prolong the life and maintain the appearance of your Oslo hat. Follow these simple care instructions to keep your hat looking fresh:
1. Hand Wash Only: It is recommended to hand wash your Oslo hat to prevent any damage. Use a mild detergent and lukewarm water. Avoid using bleach or harsh chemicals.
2. Gently Squeeze Out Excess Water: After washing, gently squeeze out excess water from your hat. Do not twist or wring it as this can cause deformation.
3. Dry Flat: Place your hat on a clean, dry towel or a flat surface to air dry. Avoid hanging it up as this can stretch the shape of the hat.
4. Avoid Direct Sunlight: Keep your Oslo hat away from direct sunlight as prolonged exposure can cause the colors to fade.
5. Store Properly: When not in use, store your hat in a cool, dry place. Avoid folding or compressing it to maintain its shape.
6. Avoid Contact with Sharp Objects: Be cautious of sharp objects, such as jewelry or bag straps, that may snag or tear the fabric of your hat.
7. Check for Loose Threads: Regularly inspect your hat for any loose threads or snags. If you find any, gently trim them with a pair of small scissors to prevent further damage.
By following these care instructions, you can ensure that your Oslo hat stays in great condition and continues to provide you with warmth and style for years to come.