
A knitted head scarf is a great accessory for both fashion and function. Whether you’re looking to add a touch of style to your outfit or protect your head from the cold, a knitted head scarf can do it all. Plus, with so many different patterns and designs to choose from, you can easily find one that matches your personal style.
Creating your own knitted head scarf is also a fun and satisfying project. With just a few basic knitting techniques, you can create a beautiful and unique accessory that you’ll love to wear. Plus, knitting your own head scarf allows you to customize it to your liking, whether it’s choosing your favorite colors or experimenting with different stitch patterns.
In this article, we’ll explore different knitted head scarf patterns that you can try. From simple garter stitch scarves to intricate lace patterns, there’s something for knitters of all skill levels. We’ll also provide step-by-step instructions and helpful tips to guide you through the process. So grab your knitting needles, choose your favorite yarn, and let’s get started on creating your very own knitted head scarf!
Knitted Head Scarf Pattern
A knitted head scarf is a fashionable and practical accessory that can keep you warm and stylish during the colder months. With a simple knitting pattern, you can create a beautiful head scarf that showcases your personal style and keeps you cozy.
To start knitting your head scarf, you will need a set of knitting needles and yarn of your choice. Choose a chunky or bulky weight yarn for a thicker and warmer scarf, or opt for a lighter weight yarn for a more delicate and airy feel. The pattern we will be following is suitable for beginners and can be easily customized to fit your preferences.
Materials:
- Size 10 knitting needles
- Approximately 200 yards of chunky or bulky weight yarn
- Tapestry needle for weaving in ends
- Scissors
Instructions:
- Cast on 20 stitches.
- Knit every row until the scarf measures your desired length. For a short scarf, aim for around 30 inches, and for a longer scarf, go for around 60 inches.
- Bind off all stitches.
- Using the tapestry needle, weave in any loose ends.
- Your knitted head scarf is now complete! You can wear it by wrapping it around your head and tying it in a knot, or you can drape it around your neck for an extra layer of warmth.
Feel free to get creative with your scarf by adding embellishments such as buttons or pom-poms, or by using different stitch patterns to create texture. With this simple knitting pattern, you can make a head scarf that is unique to you and perfect for any occasion.
Choose the Right Yarn and Needles

When starting a knitting project, one of the most important decisions you can make is choosing the right yarn and needles. The yarn you choose will determine the overall look, feel, and durability of your finished project, while the needles you use will affect the gauge and size of your stitches.
You should consider both the fiber content and weight of the yarn when making your selection. The fiber content will determine the warmth, softness, and drape of the finished scarf. For a cozy and warm scarf, you may want to choose a yarn with a high percentage of wool. If you prefer a softer and more delicate scarf, you could opt for a yarn with silk or cashmere. Additionally, the weight of the yarn will affect the size and thickness of your finished project. A thicker yarn will create a chunkier and warmer scarf, while a thinner yarn will result in a more lightweight and airy scarf.
As for the needles, you should choose a size that matches the gauge specified in the pattern. The gauge refers to the number of stitches and rows per inch, and it ensures that your finished scarf will have the correct measurements. If your stitches are too loose, you should switch to smaller needles, while if they are too tight, you should use larger needles. It’s important to check your gauge before starting the project, as using the wrong needle size can significantly affect the final result.
Overall, choosing the right yarn and needles is crucial for the success of your knitted head scarf. Take your time to consider the fiber content, weight, and gauge requirements of your project, and you’ll be on your way to creating a beautiful and functional accessory.
Cast On Stitches
Casting on stitches is the first step in knitting a head scarf. It creates the foundation row of stitches that will be worked to create the scarf’s width. There are several different methods for casting on stitches, but the long-tail cast on is commonly used for scarves due to its stretchy and secure nature.
Long-tail cast on: To cast on stitches using the long-tail method, start by making a slipknot with your yarn. Insert your knitting needle through the slipknot, and hold it in your right hand. Using your left hand, hold the long tail of the yarn and place it over your thumb and the working yarn over your index finger. With your right hand, insert the needle under the working yarn and over the tail, catching the tail with the needle and pulling it through the loop on the needle.
- Continue this process for the desired number of stitches, keeping tension on the yarn to create even stitches.
- Once all the stitches have been cast on, you can begin working your pattern.
Knit the First Rows
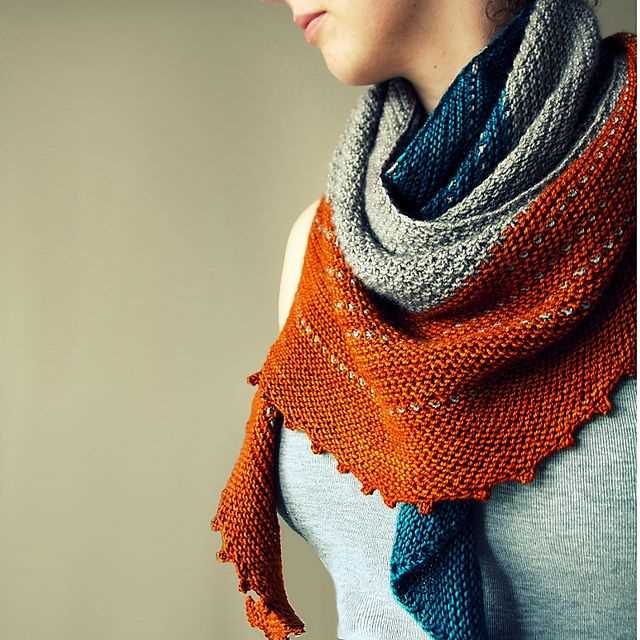
When starting a knitted head scarf, it’s important to begin with the right stitch and tension. One popular stitch pattern for a scarf is the garter stitch, which is created by knitting every row. To start, cast on the desired number of stitches using a knitting needle and yarn of your choice. Make sure the cast-on stitches are not too tight or too loose, as this can affect the overall look and feel of the scarf.
Once the stitches are cast on, it’s time to knit the first rows. To create the garter stitch pattern, simply knit every stitch in every row. Hold the needle with the cast-on stitches in your left hand and the empty needle in your right hand. Insert the right-hand needle into the first stitch on the left-hand needle from left to right, as if to knit. Wrap the yarn around the right-hand needle from back to front, and pull it through the stitch, slipping the old stitch off the left-hand needle. Continue this process for each stitch until all the stitches have been transferred to the right-hand needle.
To knit the next row, hold the needle with the stitches in your right hand and the empty needle in your left hand. Insert the right-hand needle into the first stitch on the left-hand needle from right to left, as if to purl. Wrap the yarn around the right-hand needle from front to back, and pull it through the stitch, slipping the old stitch off the left-hand needle. Continue this process for each stitch until all the stitches have been transferred to the right-hand needle. Repeat these two rows, knitting every stitch in every row, until the scarf reaches the desired length.
Knitting the first rows of a head scarf is an important step in the process. Taking the time to cast on correctly and create the garter stitch pattern will ensure a beautiful and functional scarf. Whether you’re a beginner or an experienced knitter, following these steps will help you create a cozy accessory to keep you warm during the colder months.
Create Ribbing

When knitting a head scarf, ribbing is a great way to add texture and elasticity to your piece. Ribbing is made by alternating knit and purl stitches, creating a stretchy and flexible fabric. It is commonly used for cuffs, hems, and collars in knitting projects. In this tutorial, we will guide you through the process of creating ribbing for your knitted head scarf.
Step 1: Cast On
Start by casting on the desired number of stitches for your head scarf. For ribbing, it is recommended to cast on an even number of stitches to ensure symmetry. You can use any cast-on method you prefer, such as the long-tail cast-on or the knitted cast-on.
Step 2: Knit the First Row
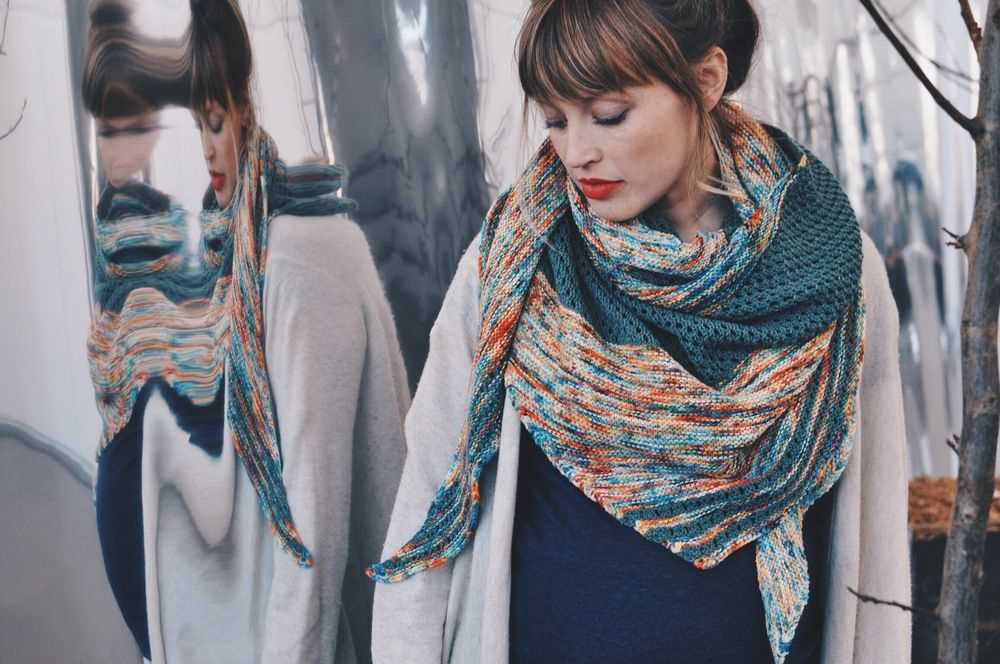
On the first row, knit every stitch across. This is the foundation row of your ribbing and will create the first row of knit stitches.
Step 3: Establish the Ribbing Pattern
On the second row, begin establishing the ribbing pattern by alternating between knit and purl stitches. The most common ribbing pattern is the 1×1 rib, where you knit one stitch, then purl one stitch, and repeat this pattern across the row. You can also try different ribbing patterns like 2×2 rib or 2×1 rib to add more variation to your head scarf.
Step 4: Repeat Rows
Continue repeating the second row pattern until you have reached the desired length for your head scarf. Remember to keep the same ribbing pattern throughout the project to maintain consistency and symmetry.
Step 5: Bind Off

Finally, when you have finished knitting your head scarf, bind off all the stitches to secure the edge. You can use any bind-off method you prefer, such as the basic bind off or the stretchy bind off, depending on the level of stretch and flexibility you want for your ribbing.
Work the Body of the Scarf
Once you have finished the ribbing, it’s time to start working on the body of the scarf. This is where you will get to showcase your knitting skills and create the beautiful texture of the scarf.
Start by switching to the main stitch pattern. You can choose from a variety of patterns, such as seed stitch, basketweave, or cable. Each pattern will give your scarf a different look and feel. Follow the instructions for your chosen stitch pattern, knitting each row according to the pattern repeat.
Seed Stitch: For seed stitch, alternate between knitting and purling each stitch across the row. On the next row, continue to alternate the knits and purls, making sure to knit the purl stitches and purl the knit stitches. Repeat these two rows for the desired length of your scarf.
Basketweave Stitch: The basketweave stitch is created by knitting multiple rows of a combination of knit and purl stitches. Start by knitting a block of stitches, for example, 8 stitches, and then follow with a block of purl stitches. Continue alternating between the knit and purl blocks for the desired length of your scarf.
You can also incorporate cables into your scarf for an added touch of interest. To knit a cable, you will need a cable needle. Follow the cable pattern instructions, which will typically involve slipping stitches onto the cable needle, knitting the next set of stitches, and then knitting the stitches from the cable needle. This creates a twist in the fabric, giving your scarf a unique design.
Continue knitting the body of the scarf until you have reached your desired length. Make sure to periodically measure your scarf to ensure consistency. Once you are satisfied with the length, you can move on to finishing the scarf by working the bind-off edge.
Add Decorative Stitching
Once you have completed the basic knitting pattern for your head scarf, you can add decorative stitching to make it even more unique and beautiful. There are several different stitching techniques that you can try, depending on the look you want to achieve.
One option is to add a cable stitch. This involves crossing stitches over each other to create a twisted effect. You can use a cable needle to hold the stitches while you cross them, or you can simply use your knitting needles. Cable stitches can be placed in a vertical or diagonal pattern, depending on your preference.
Another option is to incorporate lace stitches into your head scarf. Lace stitches create an open and delicate pattern, perfect for adding a feminine touch to your scarf. There are many different lace stitch patterns to choose from, including simple eyelets, intricate lace motifs, and everything in between.
Adding decorative stitching to your head scarf is a great way to personalize it and make it truly your own. Whether you choose to add a cable stitch, lace stitches, or any other type of decorative stitching, it will surely elevate your head scarf from a simple accessory to a statement piece.
Shape the Scarf

Once you have completed the desired length of your knitted head scarf, it’s time to shape it. This step will give the scarf its final look and ensure that it hugs your head comfortably.
To shape the scarf, begin by lightly blocking it. Lay the scarf flat on a clean surface and use pins to gently stretch it to the desired shape and size. This will help to even out any inconsistencies in the knitting and give the scarf a professional finish.
Next, sew in any loose ends of yarn using a tapestry needle. This will prevent the ends from unraveling and give the scarf a polished appearance.
If you want to add some decorative touches to your knitted head scarf, now is the time to do so. You can add fringe to the ends, attach buttons or other embellishments, or even sew on a small patch or applique. Get creative and make your head scarf uniquely yours!
Once you are satisfied with the shape and appearance of your scarf, let it air dry completely before wearing or storing it. This will ensure that the scarf maintains its shape and doesn’t stretch or shrink.
Finish the Edges
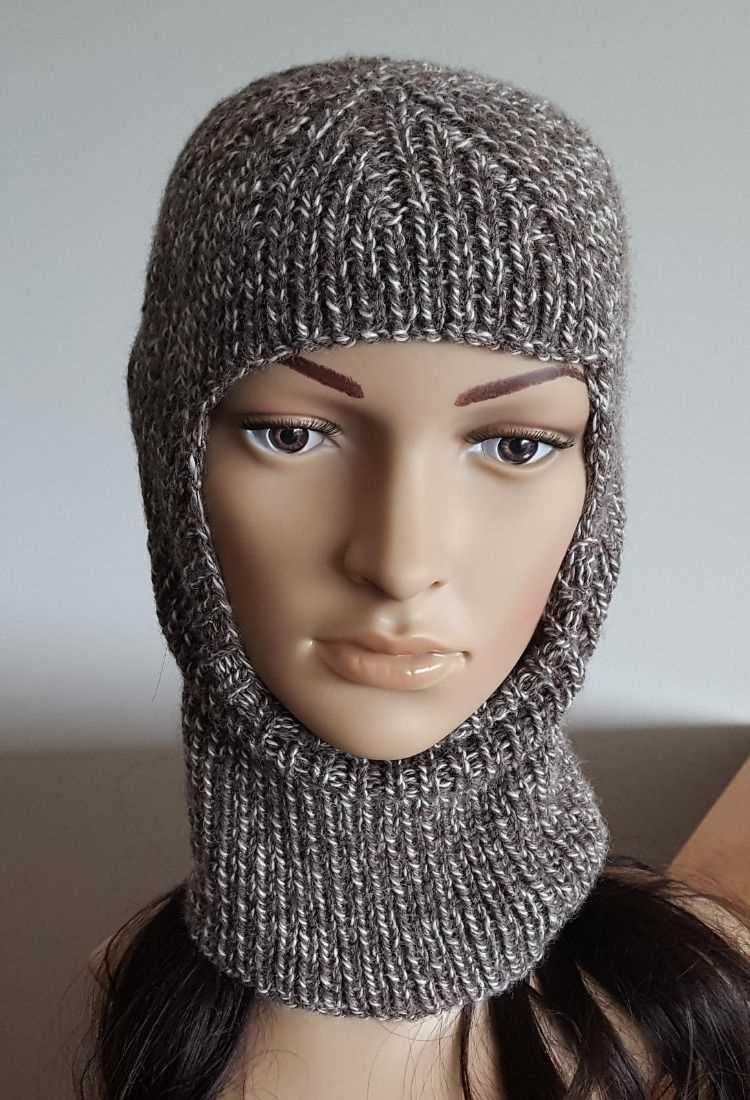
Finishing the edges of your knitted head scarf is an important step to complete the project and give it a polished look. There are several methods you can use to finish the edges, depending on the style you want to achieve.
1. Bind off: One simple way to finish the edges is to bind off the stitches. This creates a neat and tidy edge, preventing the edges from unraveling. To bind off, knit two stitches, then pass the first stitch over the second stitch and off the needle. Continue in this manner until all stitches have been bound off.
2. Garter stitch border: If you prefer a more textured and decorative edge, you can add a garter stitch border to your head scarf. This is achieved by knitting a few rows in garter stitch at the beginning and end of your knitting. Garter stitch is created by knitting every row, resulting in a bumpy and textured fabric.
3. Ribbed edge: Another option for finishing the edges is to add a ribbed edge. This is achieved by alternating between knit and purl stitches in a specific pattern. The most common ribbing pattern is the 1×1 rib, where you knit one stitch and purl one stitch across the row. Ribbing creates a stretchy and flexible edge, making it a popular choice for head scarves.
4. Crocheted edge: If you are skilled in crochet, you can also add a crocheted edge to your knitted head scarf. This can be done using a crochet hook and matching yarn to create various decorative stitches along the edge. Crocheted edges can add a delicate and intricate touch to your scarf.
Overall, finishing the edges of your knitted head scarf is a personal choice, and the method you choose will depend on your desired outcome and skill level. Regardless of the method, taking the time to finish the edges will help give your head scarf a professional and finished look.
Block and Seam the Scarf
After you have finished knitting your head scarf, it’s important to block it to give it a smooth and even shape. Blocking involves soaking the finished knitting in water, then gently stretching and shaping it to the desired dimensions. This helps the stitches relax and even out, and it also allows the yarn to fully bloom and show its true texture.
To block your head scarf, fill a basin or sink with lukewarm water and add a small amount of wool wash or gentle detergent. Place the scarf in the water and gently press it down to ensure it is fully submerged. Let it soak for about 15-20 minutes, then remove it from the water and gently squeeze out the excess moisture. Avoid wringing or twisting the scarf, as this could distort its shape.
After blocking, lay the scarf flat on a clean, dry towel or blocking mat. Gently reshape the scarf to the desired dimensions, making sure the edges are straight and the stitches are evenly spaced. Use T-pins or blocking wires to secure the edges and maintain the shape while the scarf dries. Allow the scarf to air dry completely, which can take anywhere from a few hours to a day depending on the thickness of the yarn.
To finish the head scarf, you’ll need to seam the two ends together. Lay the scarf flat with the right side facing up. Fold one end of the scarf over to meet the other end, aligning the stitches and edges. Using a tapestry needle and the same yarn, carefully sew the two ends together using a mattress stitch or your preferred seaming technique. Make sure to weave in any loose ends, and then gently block the seamed area to ensure it lays flat.
Once you have blocked and seamed your head scarf, it will be ready to wear and protect you from the cold weather while adding style to your outfit. Remember to follow the care instructions for your specific yarn when it comes to washing and storing your knitted scarf to keep it looking its best for years to come.
Add Tassels or Fringe

If you want to add a fun and stylish touch to your knitted head scarf, consider adding tassels or fringe. These decorative elements can add a pop of color and texture to your scarf, making it even more eye-catching.
To add tassels, start by cutting several strands of yarn that are twice the desired length of your tassels. Fold each strand in half and create a loop at one end. Insert the loop through a stitch at the edge of your scarf, then pass the ends of the strands through the loop and pull tightly to secure the tassel. Repeat this process along the edges of the scarf, spacing the tassels evenly.
For fringe, cut several strands of yarn that are three times the desired length of your fringe. Fold each strand in half and insert the folded end through a stitch at the edge of your scarf. Pass the loose ends of the strands through the folded end and pull tightly to secure the fringe. Repeat this process along the edges of the scarf, spacing the fringe evenly.
Adding tassels or fringe to your knitted head scarf is a simple way to personalize your accessory and create a unique look. Play around with different colors and lengths to achieve the desired effect. Whether you choose tassels or fringe, your scarf is sure to stand out with these decorative additions.
Enjoy Your Knitted Head Scarf
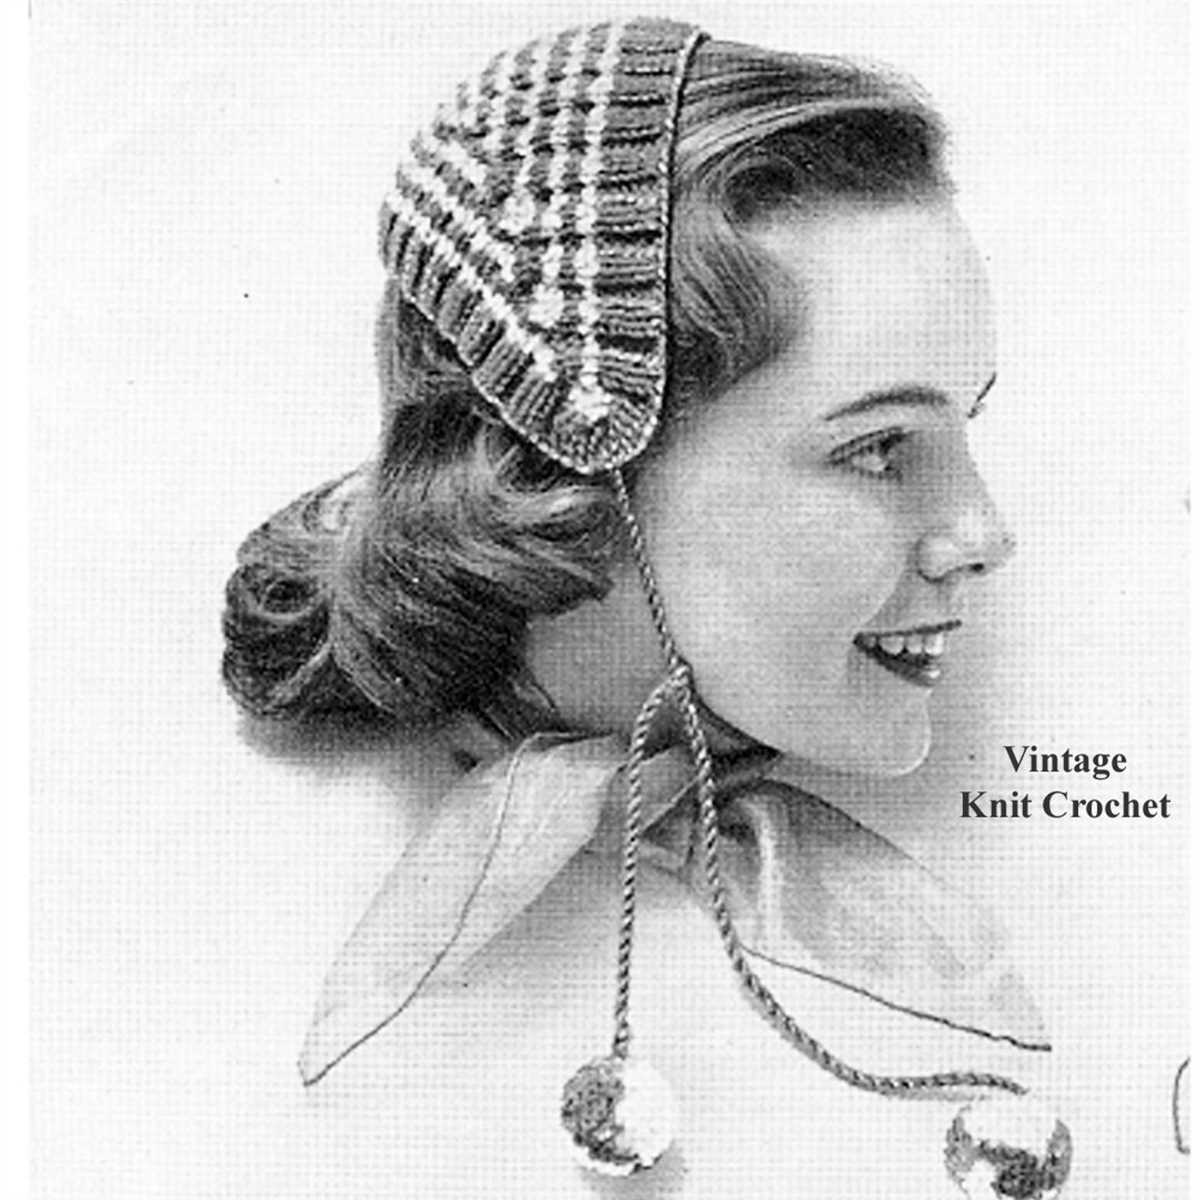
Congratulations on completing your knitted head scarf! Now that you have your cozy and stylish accessory, it’s time to put it to use and enjoy the benefits it brings. Here are a few reasons why you should be excited about your new knitted head scarf.
-
Versatility: Your knitted head scarf can be worn in various ways, allowing you to switch up your look depending on the occasion. You can wear it as a traditional scarf, wrapping it around your neck for extra warmth, or you can tie it up into a headband to keep your hair in place. The possibilities are endless, and you can get creative with different styles!
-
Warmth and Comfort: With its knitted fabric, your head scarf is perfect for keeping you warm during colder months. The soft and cozy texture will protect you from chilly winds, ensuring that you stay comfortable and snug.
-
Accessorizing: Your knitted head scarf adds a fashionable touch to any outfit. Whether you’re dressed up for a special occasion or simply running errands, your scarf will elevate your look and make a statement. Experiment with different colors and patterns to find the perfect match for your personal style.
-
Handmade Charm: Knowing that your head scarf was created by your own hands adds a unique touch to your accessory. Not only did you create a functional and beautiful item, but you also have a sense of pride and accomplishment every time you wear it.
In conclusion, your knitted head scarf is not just a regular accessory. It’s a versatile, warm, and fashionable item that will add charm to your outfits. Enjoy the flexibility it provides, the warmth and comfort it offers, and the sense of accomplishment that comes with wearing something you made yourself. Embrace your new knitted head scarf and make it a staple in your wardrobe!