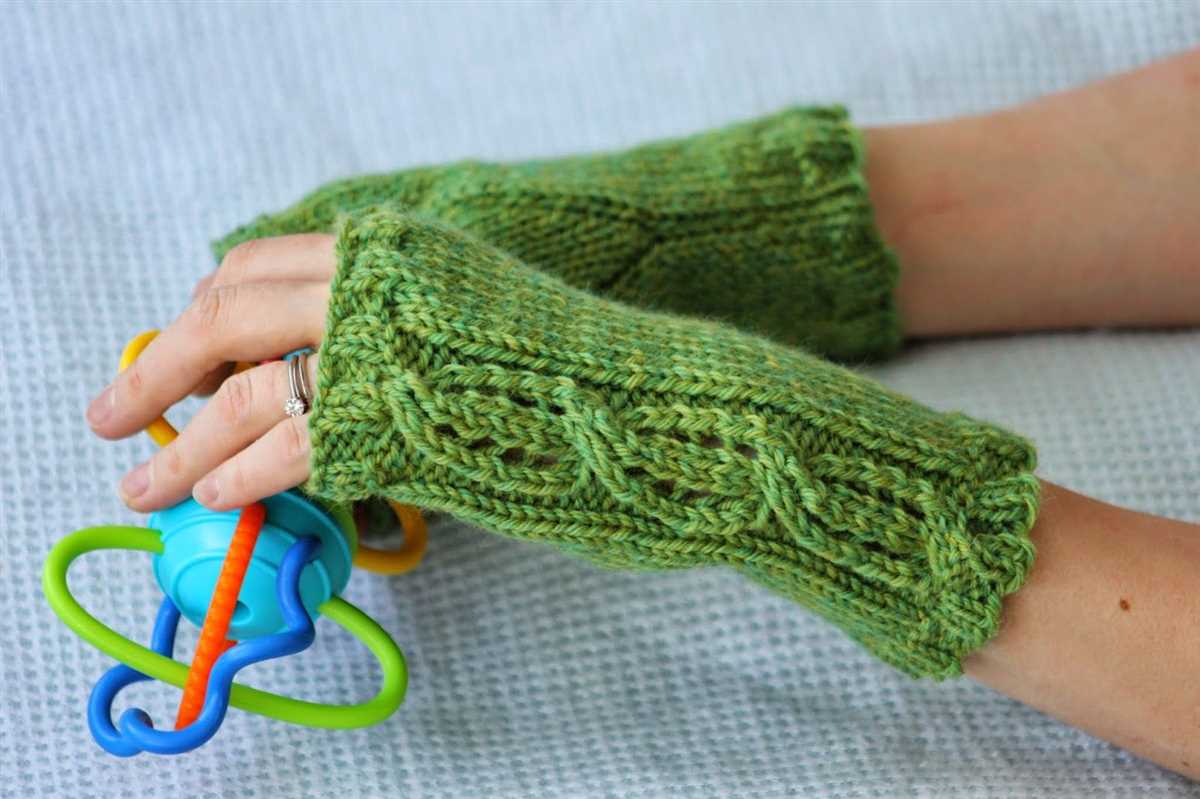
Fingerless gloves are a practical and stylish accessory for children, keeping their hands warm while still allowing them the freedom to use their fingers. Knitting a pair of fingerless gloves for your child is a great way to personalize their winter wardrobe and show off your knitting skills. Plus, it’s a fun and quick project that you can complete in just a few hours.
If you’re new to knitting, don’t worry – this fingerless gloves pattern is perfect for beginners. With simple stitches and clear instructions, you’ll be able to create a pair of cozy and trendy gloves in no time. The pattern is designed for children aged 6-10, but can easily be adjusted for different sizes by changing the number of stitches and length.
One of the great things about fingerless gloves is that they can be customized to suit your child’s style and preferences. You can choose from a wide range of yarn colors and textures to create a unique and one-of-a-kind pair of gloves. Whether your child prefers bold and bright colors or soft and subtle hues, there’s a yarn out there that’s perfect for their taste.
So grab your knitting needles and get ready to create a pair of fingerless gloves that your child will love. Not only will they keep their hands warm throughout the winter months, but they’ll also have a stylish and practical accessory that showcases your knitting talent. Follow the step-by-step instructions, and soon your little one will be proudly showing off their handmade gloves to everyone they meet.
Fingerless Gloves Child Knitting Pattern
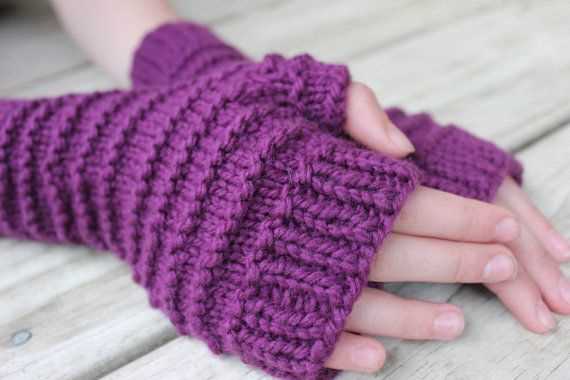
Fingerless gloves are a popular accessory for children, providing warmth and style while allowing the fingers to remain free for tasks. With a variety of knitting patterns available, it is easy to create a pair of fingerless gloves that are both functional and visually appealing for children. Whether you are an experienced knitter or just starting out, there is a pattern for every skill level, making it a fun and rewarding project.
One popular fingerless gloves knitting pattern for children involves using circular needles for a seamless finish. This pattern begins with a simple ribbed cuff and then transitions into a stockinette stitch for the main body of the gloves. The thumb opening is created by binding off a set number of stitches and then casting them back on in the following row. This allows for a comfortable fit and easy movement of the thumbs. The gloves can be customized with different colors or patterns, making them a fun and personalized accessory for kids.
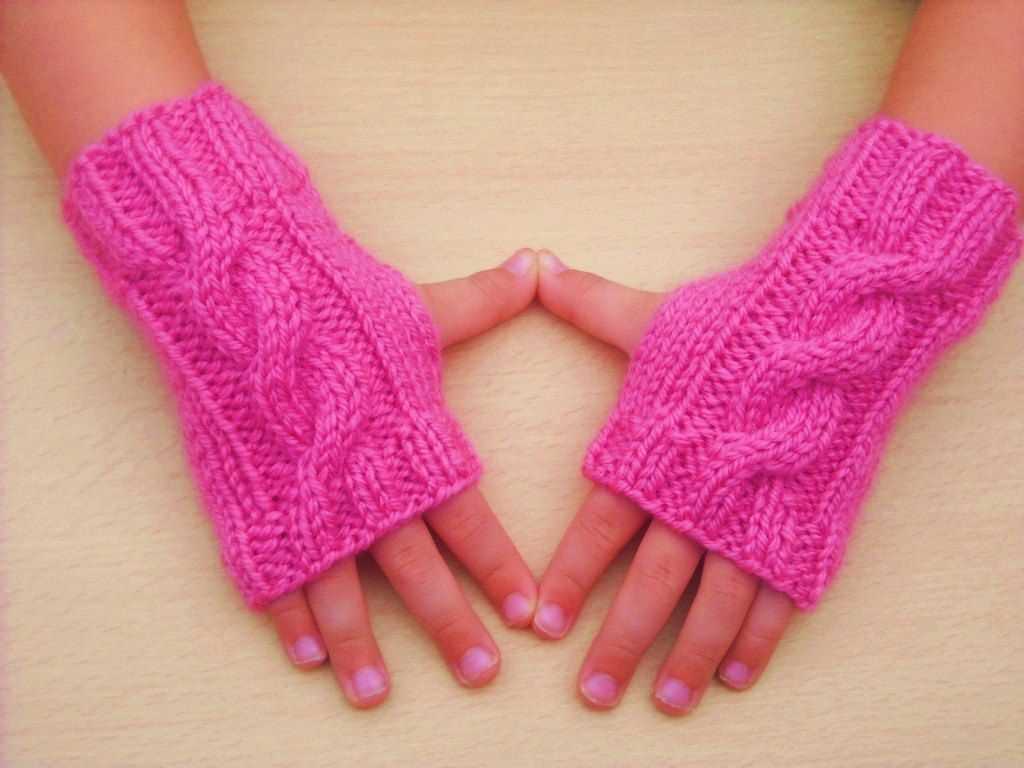
Another fingerless gloves knitting pattern for children incorporates a cable design, adding a touch of texture and interest to the gloves. This pattern typically starts with a ribbed cuff and then introduces the cable pattern on the back of the hand. The cables can be as simple or intricate as desired, depending on the knitter’s skill level and preference. The gloves can also include a thumb opening or be fully closed for extra warmth. This pattern is great for kids who want a bit of flair in their fingerless gloves.
Overall, fingerless gloves are a practical and stylish accessory for children, and knitting them can be a fun and rewarding project. Whether you prefer a simple ribbed design or a more intricate cable pattern, there is a fingerless gloves knitting pattern out there for you. So grab your knitting needles and start creating a cozy and fashionable accessory for the little ones in your life!
Materials Needed
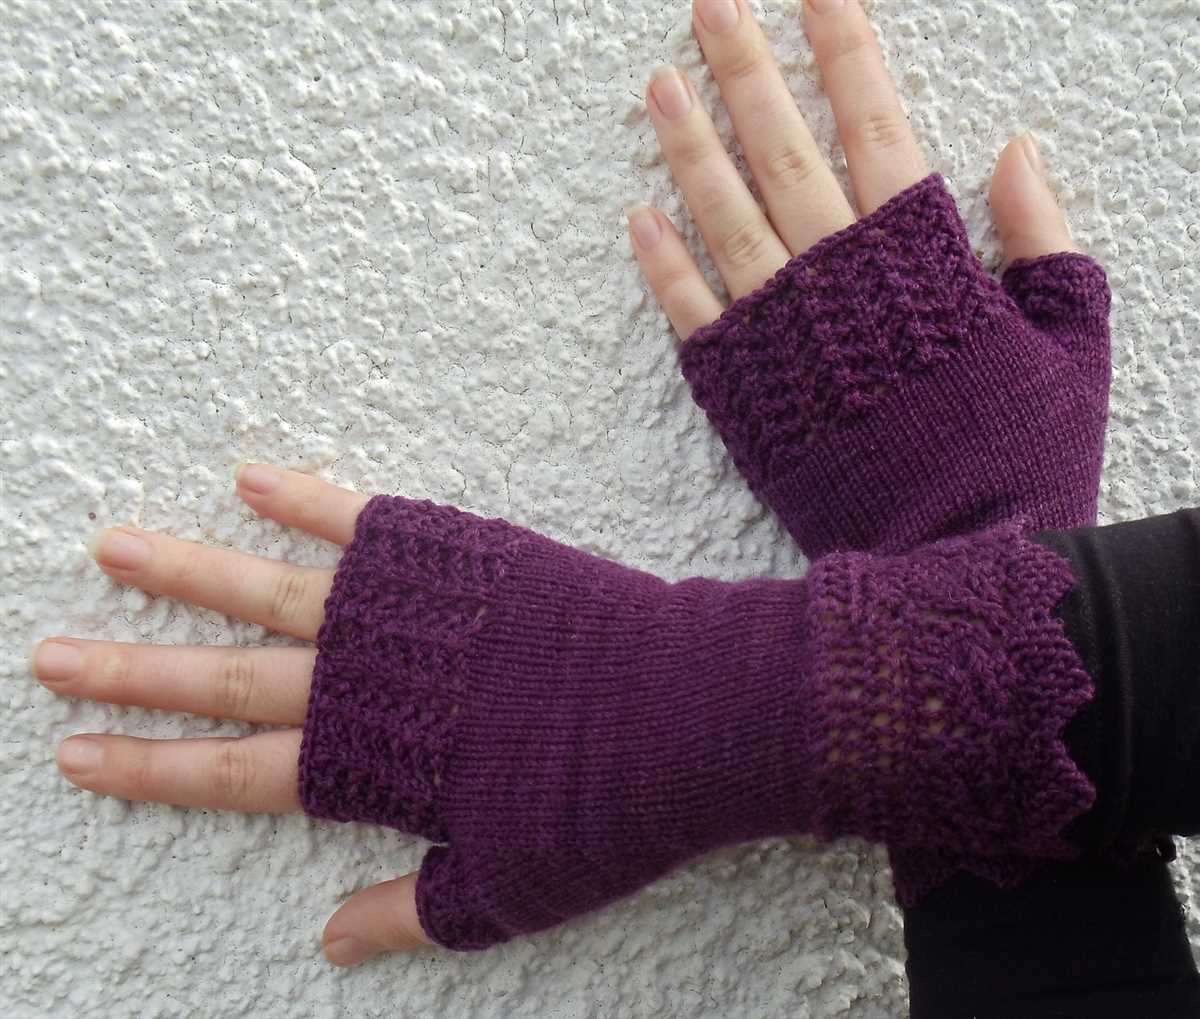
Before starting on the fingerless gloves, gather the following materials:
- Yarn: Choose a soft, medium-weight yarn in a color of your choice. Make sure it is suitable for knitting needles in size 4mm (US 6).
- Knitting Needles: You will need a pair of 4mm (US 6) knitting needles or the size needed to obtain gauge.
- Tapestry Needle: A tapestry needle is essential for weaving in ends and sewing up the gloves.
- Stitch Markers: Optional, but helpful for marking specific stitches or sections of the pattern.
- Scissors: You’ll need a pair of scissors for cutting the yarn.
- Measuring Tape: A measuring tape or ruler will come in handy when checking your gauge and measuring the finished gloves.
Once you have all the necessary materials, you will be ready to start knitting your fingerless gloves. Make sure to choose a comfortable and cozy yarn that will keep your child’s hands warm throughout the winter months.
Casting On
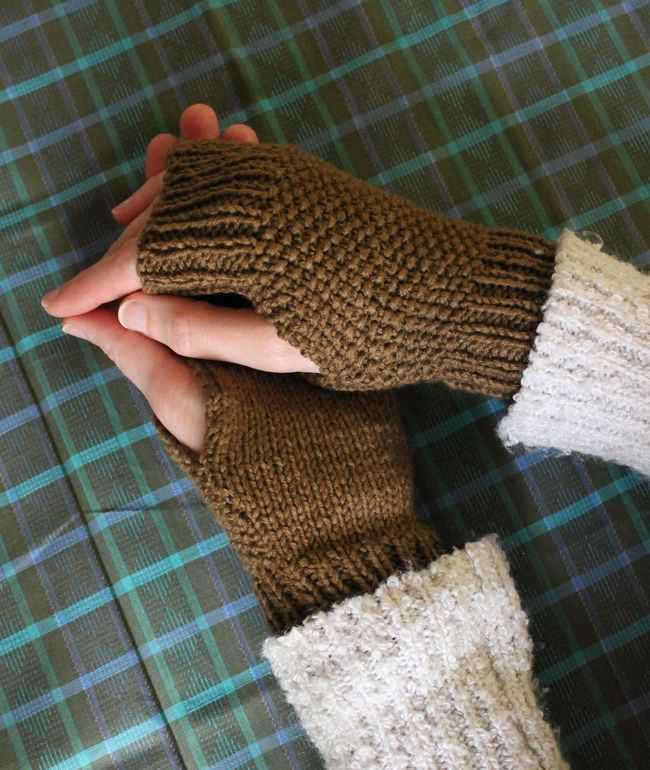
When starting your fingerless gloves knitting project for a child, the first step is to cast on. Casting on is the process of creating the first row of stitches on the needle. There are various methods for casting on, but one of the most common ones is the long-tail cast on.
The long-tail cast on is a versatile method that provides a neat and stretchy edge for your knitting. To start, you’ll need to estimate the length of yarn you’ll need for your cast on. It’s recommended to leave a tail that’s about three times the width of your knitting project. For example, if your gloves are six inches wide, you’ll want to leave a tail that’s around 18 inches long.
To begin the long-tail cast on, make a slip knot at the end of your yarn and slide it onto the needle. Hold the needle in your right hand and the tail of the yarn in your left hand. Insert the needle into the slip knot from left to right, making sure to leave a loop of yarn on the right-hand needle.
Tighten the slip knot by gently pulling both ends of the yarn. Now, using your right hand, bring the needle over and behind the tail end of the yarn, creating a cross. With your left hand, insert the needle from left to right under the strand of yarn that is in front of the tail. This will create a loop of yarn on the right-hand needle.
Continue this process of inserting the needle under the strand of yarn and creating loops until you have the desired number of stitches for your project. Once you’ve cast on all your stitches, you’re ready to start knitting the fingerless gloves for a child!
Thumb Gusset
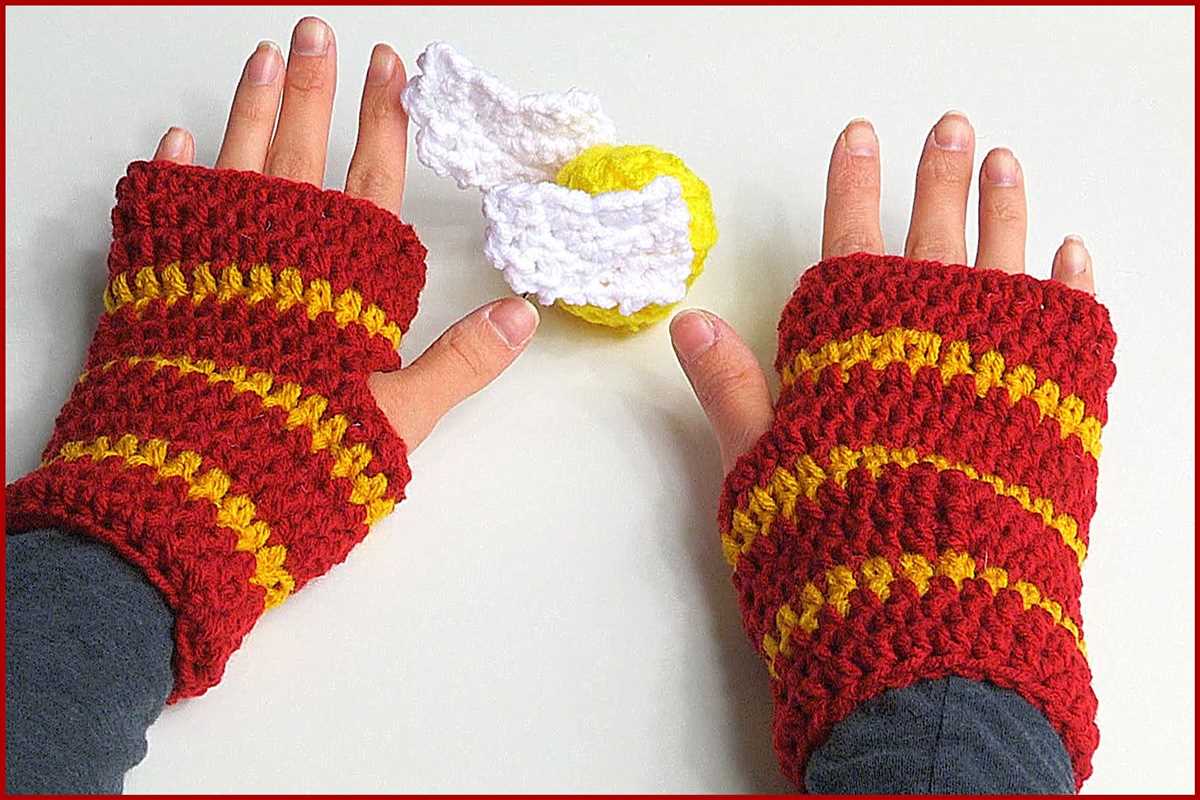
A thumb gusset is an essential part of fingerless gloves, as it allows for movement and flexibility in the thumb area. It is a triangular-shaped section of the glove that provides extra room for the thumb, ensuring a comfortable fit.
When knitting fingerless gloves, the thumb gusset is typically created by increasing a certain number of stitches on either side of the thumb opening. This creates a gradual slope that allows for a wider thumb area. The number of stitches to increase and the rate of increase will depend on the size of the glove and the desired fit.
Creating a thumb gusset:
- Start by knitting the thumb opening, which is typically a few stitches in the middle of the glove.
- Once the thumb opening is complete, you will begin increasing stitches on either side of the opening.
- There are various methods for increasing stitches, such as knitting into the front and back of a stitch or using a yarnover. The chosen method will depend on the desired look and the knitting pattern being used.
- The number of stitches to increase will depend on the desired size of the thumb gusset. This can be determined by measuring the hand or using a knitting pattern as a reference.
- Continue increasing stitches on each right-side row until the desired number of stitches for the thumb gusset is reached.
- Once the gusset is complete, the stitches are typically placed on hold while the rest of the glove is knitted.
- Finally, the stitches for the thumb are picked up and knitted separately to create the thumb portion of the fingerless glove.
A well-designed thumb gusset is essential for ensuring a comfortable and flexible fit for fingerless gloves. It allows for easy movement of the thumb while keeping the rest of the hand warm. By following a knitting pattern or adjusting the number of stitches and rate of increase, you can create a thumb gusset that is tailored to your hand size and desired fit.
Knitting the Hand
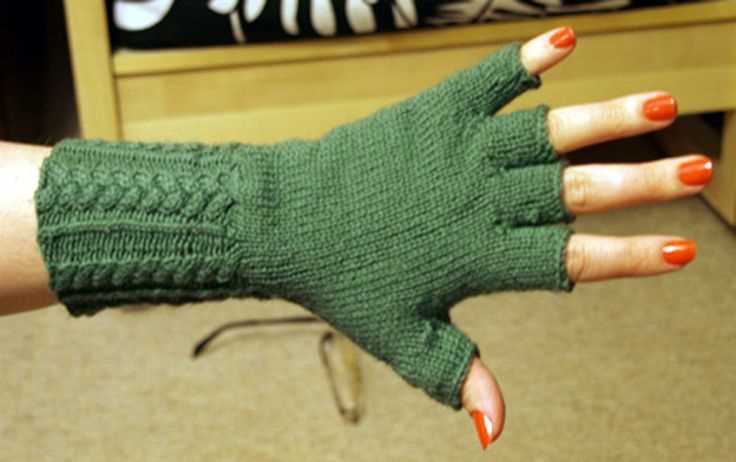
When it comes to knitting fingerless gloves for children, it’s important to pay attention to the hand measurements to ensure a perfect fit. Start by measuring the circumference of the hand at the widest point, usually around the knuckles. This will give you an idea of how many stitches to cast on to achieve the desired width.
Next, measure the length of the hand from the base of the palm to the tip of the middle finger. This measurement will help you determine the desired length of the gloves. Keep in mind that fingerless gloves should typically cover at least the knuckles to provide warmth and protection.
To begin knitting the fingerless gloves, cast on the required number of stitches using the desired yarn and knitting needles. It’s recommended to use a stretchy cast-on method, such as the long-tail cast-on, to ensure a comfortable fit around the hand.
Once the stitches are cast on, work in the chosen stitch pattern until the desired length is reached. To create a snug fit around the wrist, consider adding ribbing or a stretchy band at the cuff. This will help the gloves stay in place while allowing flexibility for movement.
When it’s time to shape the hand, you may choose to knit the thumb section separately or incorporate it into the glove. A common method for knitting the thumb is to create an opening or gap in the knitting and then pick up stitches to knit the thumb separately. This allows for flexibility and ensures a comfortable fit.
After completing the knitting, secure the stitches by binding off or using a stretchy bind-off method. Make sure to weave in any loose ends to give the gloves a polished finish. Finally, try the gloves on the child to ensure they fit properly and make any necessary adjustments.
Shaping the Top
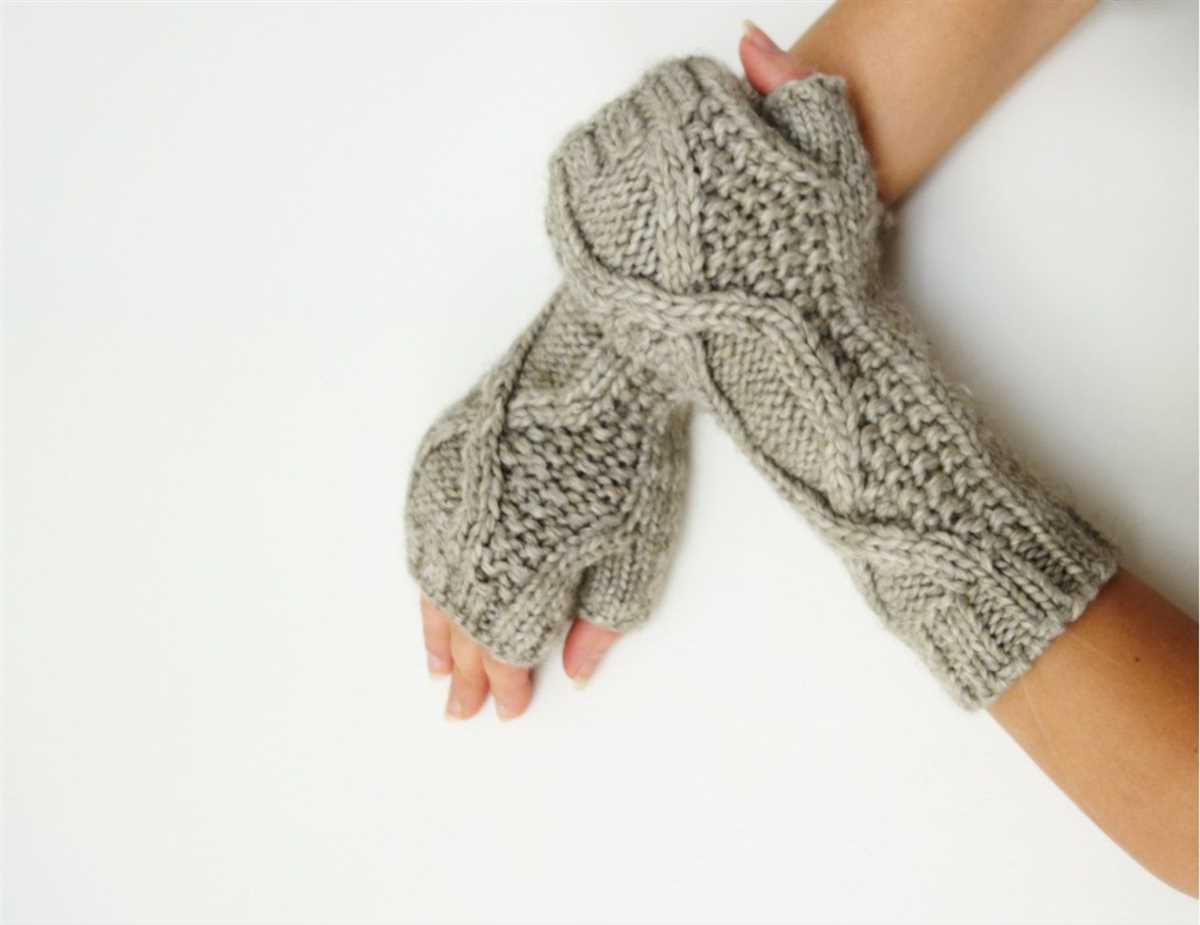
Once you have completed the desired length of the fingerless gloves, it is time to shape the top. This is an important step as it determines the fit and shape of the gloves.
Begin by decreasing the number of stitches gradually to create a tapered effect. This will ensure that the gloves fit snugly around the fingers and wrists. You can do this by knitting two stitches together at regular intervals across the row. For example, you could knit two stitches together every 5th stitch until you reach the end of the row. Repeat this decrease row every other row until you have reached the desired number of stitches.
Note: Make sure to keep track of your decreases and adjust the pattern accordingly to maintain the overall design and symmetry of the gloves.
Next, you will want to bind off the remaining stitches. This can be done by knitting two stitches together and then passing the first stitch over the second stitch. Repeat this process until you have finished binding off all the stitches. Cut the yarn, leaving a tail for weaving in later.
Finally, use a tapestry needle to weave in any loose ends and secure them in place. This will give your fingerless gloves a polished and finished look.
Once you have completed the shaping and finishing steps, your fingerless gloves are ready to be worn or gifted to a loved one. Enjoy the warmth and style they bring, and don’t forget to show off your knitting skills!
Finishing
Once you have completed knitting the fingerless gloves for your child, it’s time to finish them off and make them ready for wear. Finishing involves a few important steps to ensure the gloves are neat, tidy, and secure.
First, weave in any loose ends of yarn using a tapestry needle. Take the loose ends and thread them through the neighboring stitches on the wrong side of the gloves. This will prevent any unraveling and give the gloves a clean look.
Next, block the gloves to give them their final shape. You can do this by lightly misting the gloves with water and then gently stretching and shaping them to the desired size. Lay them flat on a clean towel to dry, making sure to shape them again if necessary. Blocking will help the gloves maintain their shape and fit better on your child’s hands.
Finally, consider adding any desired embellishments to the gloves. This could be buttons, beads, or even a small embroidered design. Use a sewing needle and thread or embroidery floss to attach these embellishments securely. Be creative and have fun personalizing the gloves for your child.
By following these finishing steps, you can ensure that the fingerless gloves for your child are not only functional but also visually appealing. Your child will love wearing their handmade gloves, and they will be a practical and fashionable accessory for the colder months.
Adding Buttons
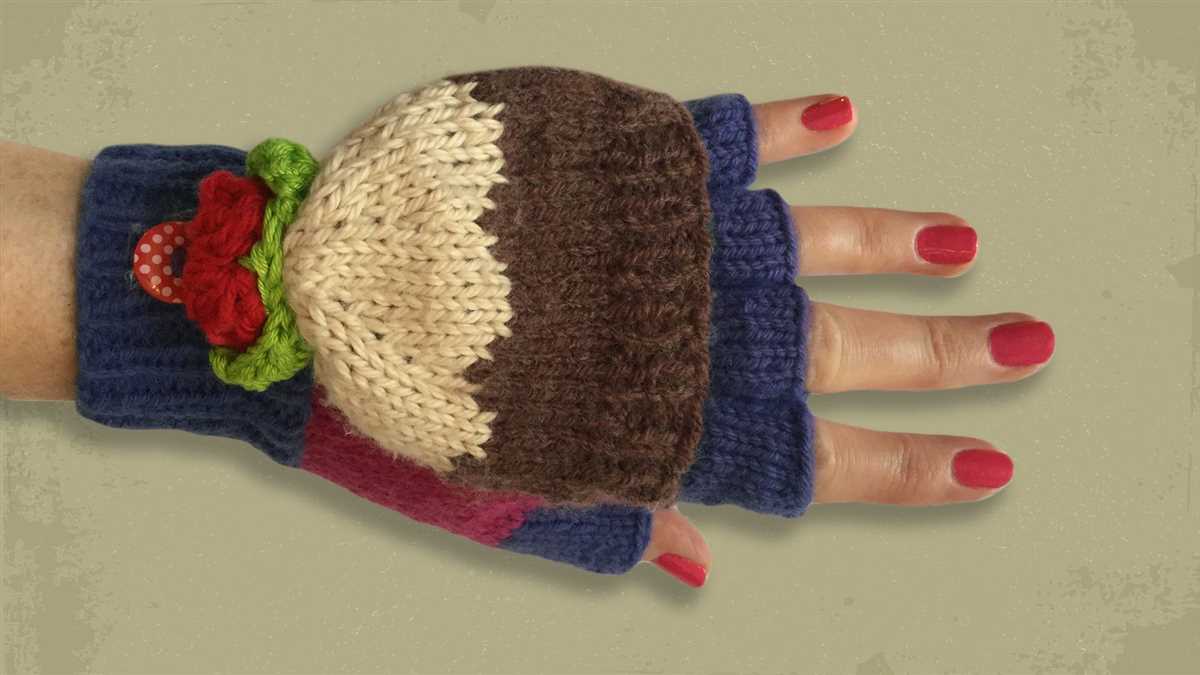
Adding buttons to fingerless gloves can be a fun and creative way to personalize your knitting project. Whether you want to add functional buttons for easy closure or decorative buttons for added style, there are many options to choose from.
When selecting buttons for fingerless gloves, it’s important to consider the size and weight of the buttons. Choose buttons that are small enough to fit comfortably on the gloves without causing any discomfort. It’s also a good idea to choose lightweight buttons that won’t weigh the gloves down or affect their functionality.
Functional Buttons
If you want to add functional buttons to your fingerless gloves, consider using small and lightweight buttons that can easily be fastened and unfastened. These buttons can be placed strategically on the gloves to allow for easy closure and adjustment. For example, you can place buttons along the side of the gloves to create a wrap-around effect, or you can add buttons to the wrist area for a secure fit.
When sewing on functional buttons, make sure to use strong and durable thread that won’t easily break. Double stitching can also be beneficial to ensure that the buttons stay securely in place. Consider reinforcing the area around the buttons with extra stitches for added durability.
Decorative Buttons
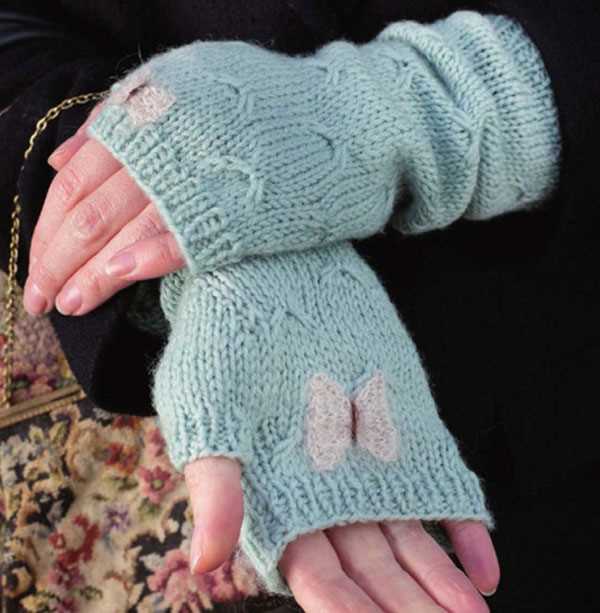
If you’re looking to add some decorative flair to your fingerless gloves, decorative buttons can be a great choice. These buttons can be larger and more eye-catching, making them a focal point of your gloves. You can choose buttons in different shapes, colors, and designs to match your personal style.
When attaching decorative buttons, it’s important to consider the placement and spacing. You can place the buttons along the cuffs or along the fingers for a unique and stylish look. Experiment with different arrangements and patterns to create a design that is visually appealing.
Adding buttons to fingerless gloves is a great way to add functionality and style to your knitting projects. Whether you choose functional buttons for easy closure or decorative buttons for added flair, make sure to take your time and sew them on securely for long-lasting wear.
Choosing Yarn
When knitting fingerless gloves for a child, choosing the right yarn is important to ensure both comfort and durability. You want a yarn that is soft and gentle on the child’s skin, but also resilient enough to withstand regular use and washing.
One popular option for fingerless gloves is a yarn blend that includes both natural fibers such as wool or alpaca, and synthetic materials like acrylic or nylon. This combination provides the best of both worlds, offering the warmth and softness of natural fibers, along with the added strength and durability of synthetic materials.
Consider the following factors when choosing yarn for fingerless gloves:
- Softness: Look for yarns that are specifically labeled as “soft” or “baby” yarns, as they will be the most gentle on a child’s sensitive skin.
- Thickness: Fingerless gloves for children can be made with a variety of yarn thicknesses, ranging from lightweight to bulky. Consider the child’s preference and the intended use of the gloves when selecting the yarn thickness.
- Durability: Choose a yarn that is labeled as “washable” or “easy care” to ensure that the fingerless gloves can withstand regular use and washing without losing their shape or becoming damaged.
- Color and pattern: Fingerless gloves can be a fun accessory for children, so consider choosing yarn in vibrant colors or with interesting patterns to make the gloves more visually appealing.
Ultimately, the best yarn for fingerless gloves for a child will depend on their individual preferences and needs. By considering factors such as softness, thickness, durability, and color, you can select a yarn that will result in a comfortable and stylish pair of fingerless gloves.
Customizing the Pattern
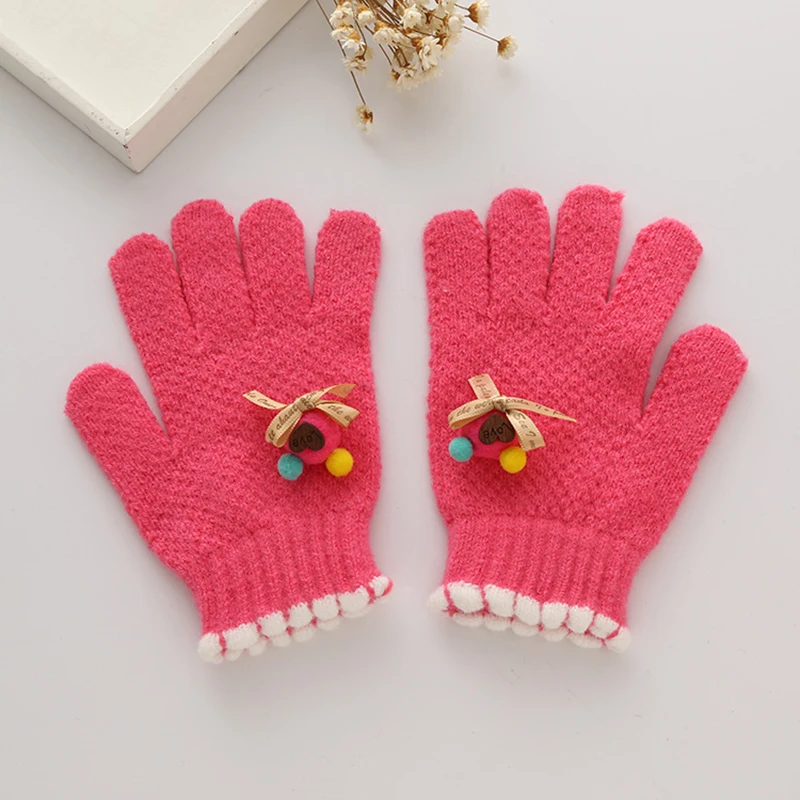
When it comes to knitting fingerless gloves for children, there is plenty of room for customization. You can adjust the pattern to fit the child’s hand size and add personalized touches to make the gloves special. Here are a few ideas to get you started:
Hand Measurements
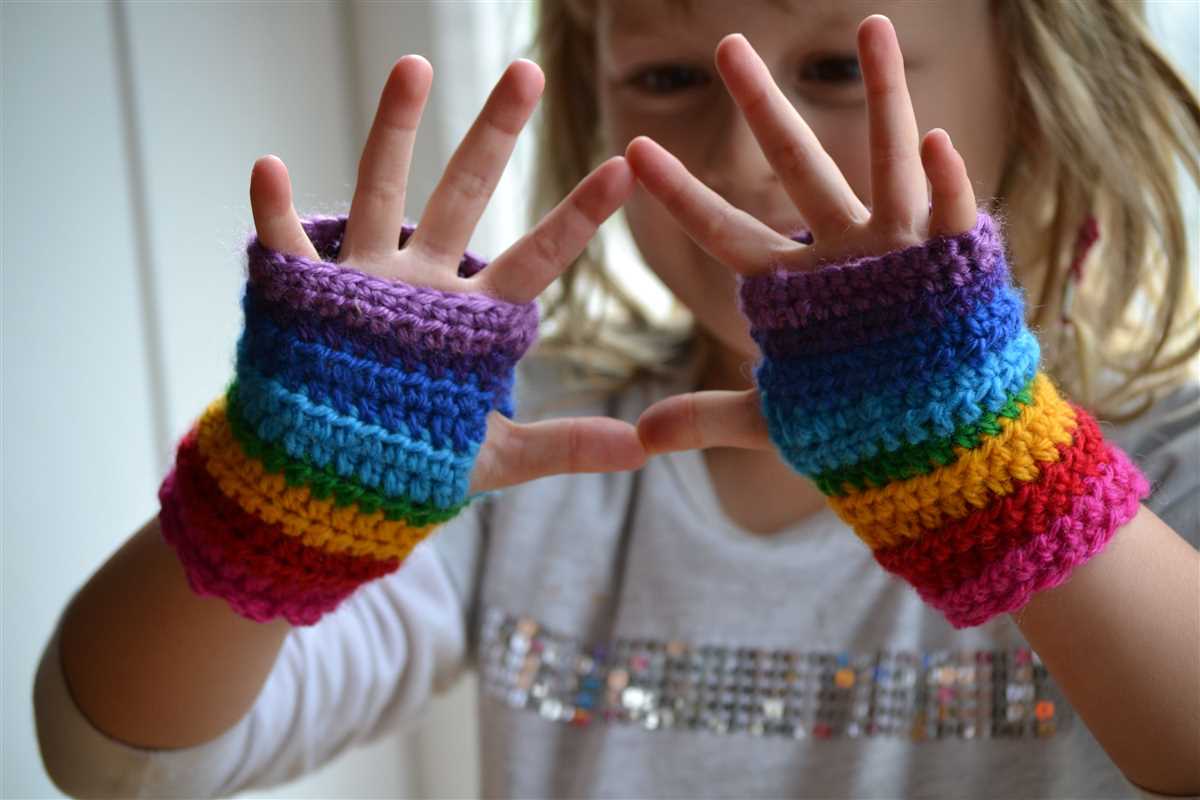
The first step in customizing the fingerless gloves pattern is to measure the child’s hand. This will help you determine the appropriate size and ensure a good fit. Measure the circumference of the palm, the length from the wrist to the base of the fingers, and the length from the base of the fingers to the tip of the middle finger. Use these measurements to adjust the stitch counts and rows in the pattern to match the child’s hand size.
Color and Yarn Choices
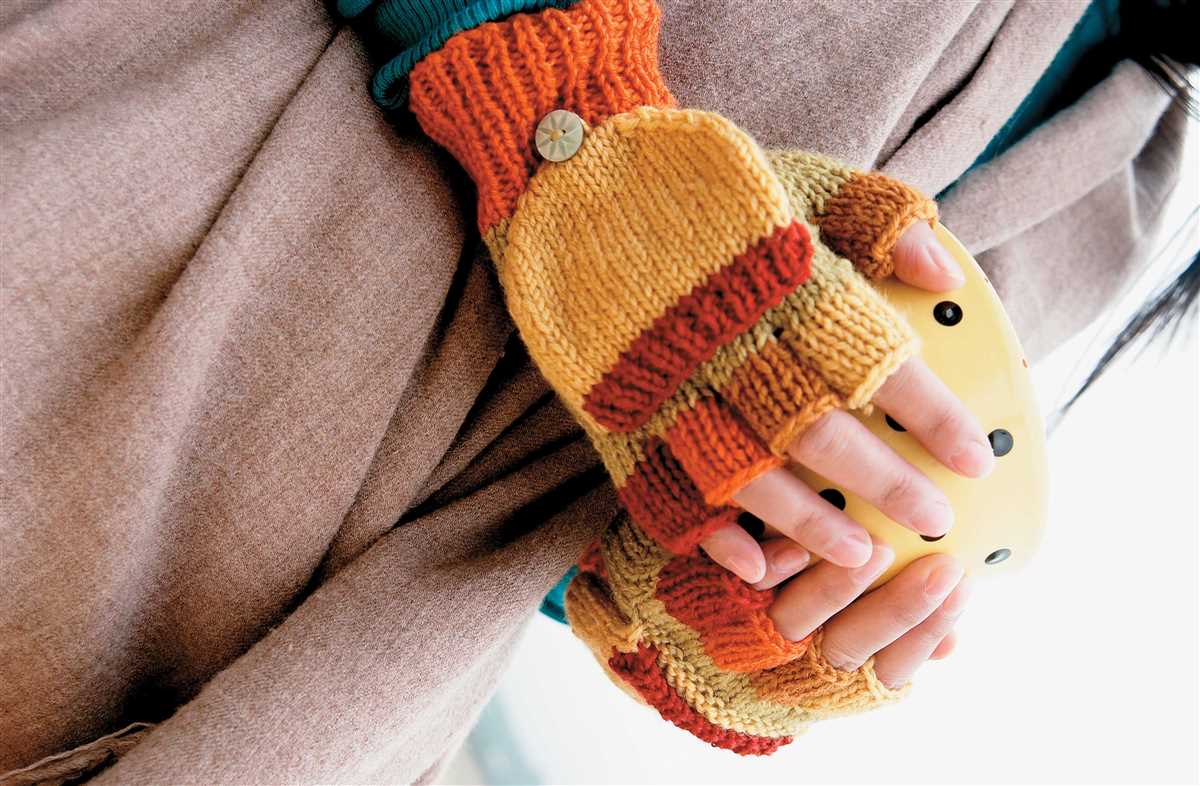
One way to customize the fingerless gloves is by choosing different colors and types of yarn. You can create a pattern using multiple colors, or use a variegated yarn for a unique look. Consider the child’s favorite colors or any specific color preferences they may have. Experiment with different yarn weights and textures to achieve different levels of warmth and comfort.
Embroidery and Appliques
To add a personal touch to the gloves, consider adding embroidery or appliques. You can use embroidery thread to stitch initials or the child’s name onto the gloves. Additionally, you can create small appliques, such as hearts, stars, or animals, to sew onto the gloves. These small embellishments can make the gloves extra special and unique.
Pattern Variations
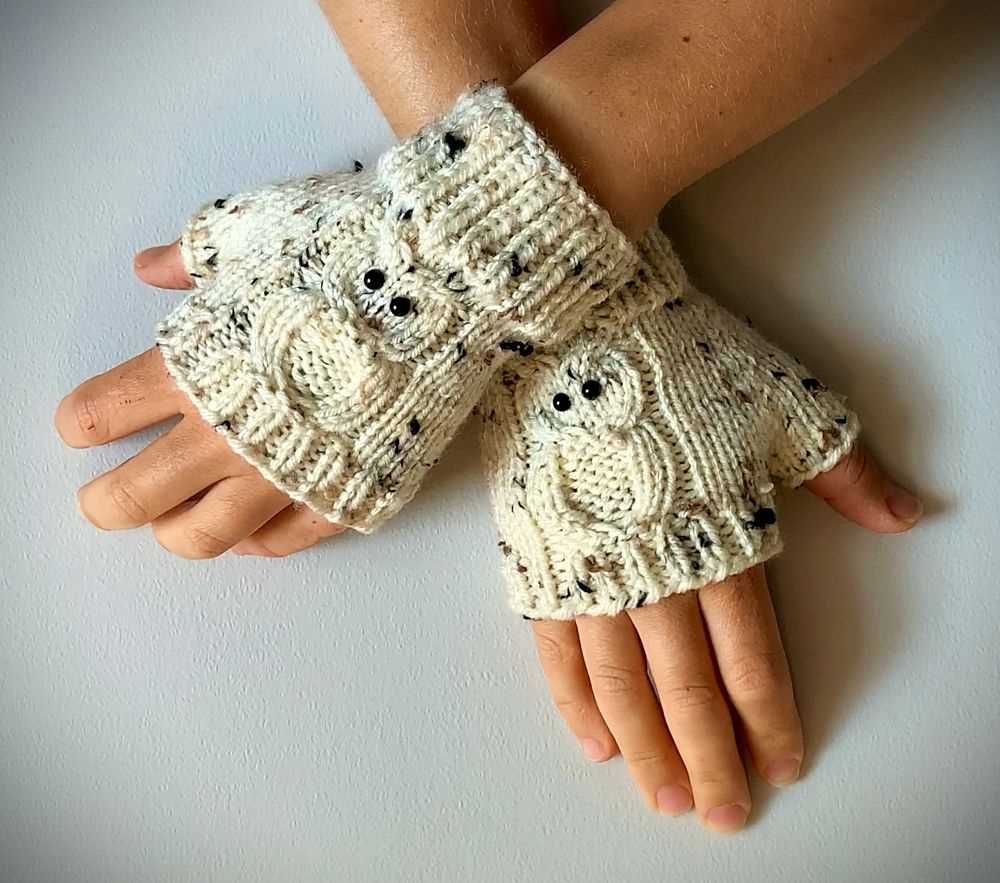
If you’re feeling adventurous, you can also try modifying the pattern itself. For example, you can experiment with different stitch patterns for the cuff or add a decorative edging. You can also adjust the length of the gloves, making them longer or shorter depending on the child’s preference. Let your creativity guide you in making the fingerless gloves truly one of a kind.
Remember, while the fingerless gloves pattern provides a great starting point, there are endless possibilities for customization. Have fun exploring different options and creating a unique pair of gloves that the child will love to wear.
Additional Tips
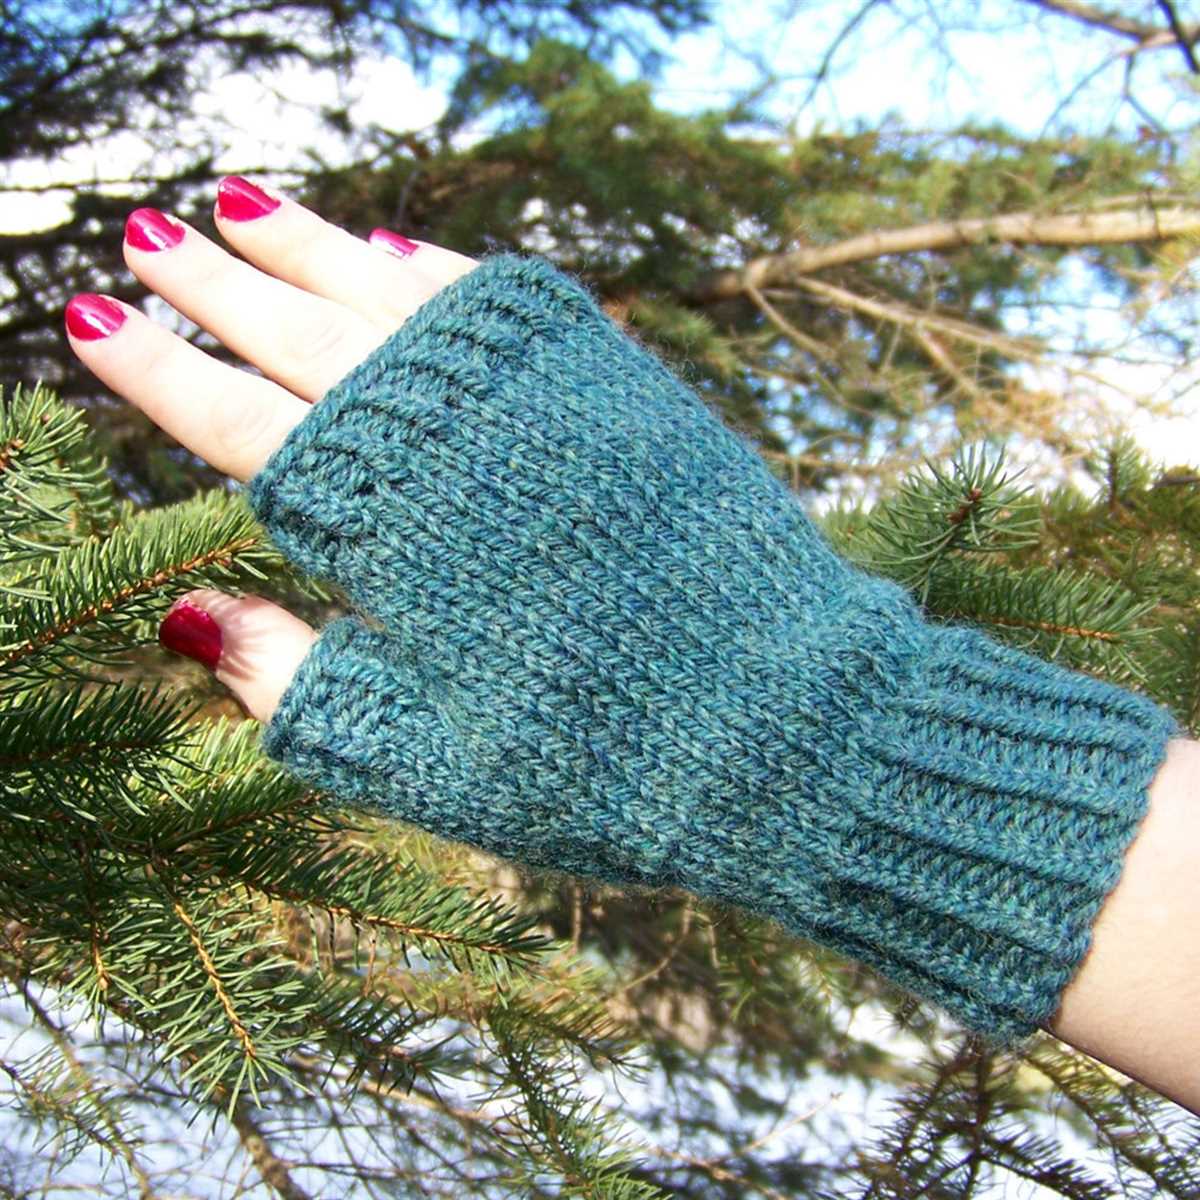
Fingerless gloves are a versatile accessory that can be knitted in a variety of ways. Here are some additional tips to consider when knitting fingerless gloves for children:
- Choose the right yarn: When selecting yarn for fingerless gloves, consider using a soft and warm yarn that is suitable for sensitive skin. Acrylic blends or yarns with a bit of stretch are often good options for children’s gloves.
- Size matters: Make sure to calculate the correct measurements for the gloves based on the child’s hand size. Taking accurate measurements will ensure a better fit and keep the gloves from being too tight or too loose.
- Add ribbing: Incorporating ribbing into the cuffs of the gloves will help to keep them snug and in place on the child’s hands. Ribbing also adds a nice decorative touch to the gloves.
- Consider adding a thumb gusset: A thumb gusset can provide additional comfort and flexibility for the child’s thumb. This triangular or diamond-shaped section is inserted into the glove to allow for better movement and ease of wear.
- Experiment with stitch patterns: Fingerless gloves are a great opportunity to showcase different stitch patterns. Consider using simple textures, cables, or lace patterns to add visual interest to the gloves.
Remember to always use your favorite knitting techniques and have fun experimenting with different patterns and yarns. With these additional tips, you’ll be able to create beautiful and cozy fingerless gloves for children.
Final Thoughts
In conclusion, knitting fingerless gloves for children is not only a fun and enjoyable activity, but it also provides a practical and stylish accessory for the colder months. With the right pattern and a bit of practice, you can create beautiful and unique gloves that your child will love. Whether you are a beginner or an experienced knitter, there are patterns available for every skill level.
Knitting fingerless gloves can also be a great way to bond with your child and teach them a new skill. They can choose their favorite colors and yarns, and you can guide them through the process. It’s a wonderful opportunity to spend quality time together and create something special.
Remember to always start with a gauge swatch to ensure that your gloves will fit properly. Take your time and pay attention to the instructions, especially if you are a beginner. Don’t be afraid to ask for help or seek out tutorials if you get stuck.
Lastly, have fun with your knitting project! Experiment with different patterns, colors, and textures to create unique gloves that reflect your child’s personality. Whether it’s a simple ribbed design or a more intricate lace pattern, fingerless gloves are a versatile accessory that can add a touch of warmth and style to any outfit.