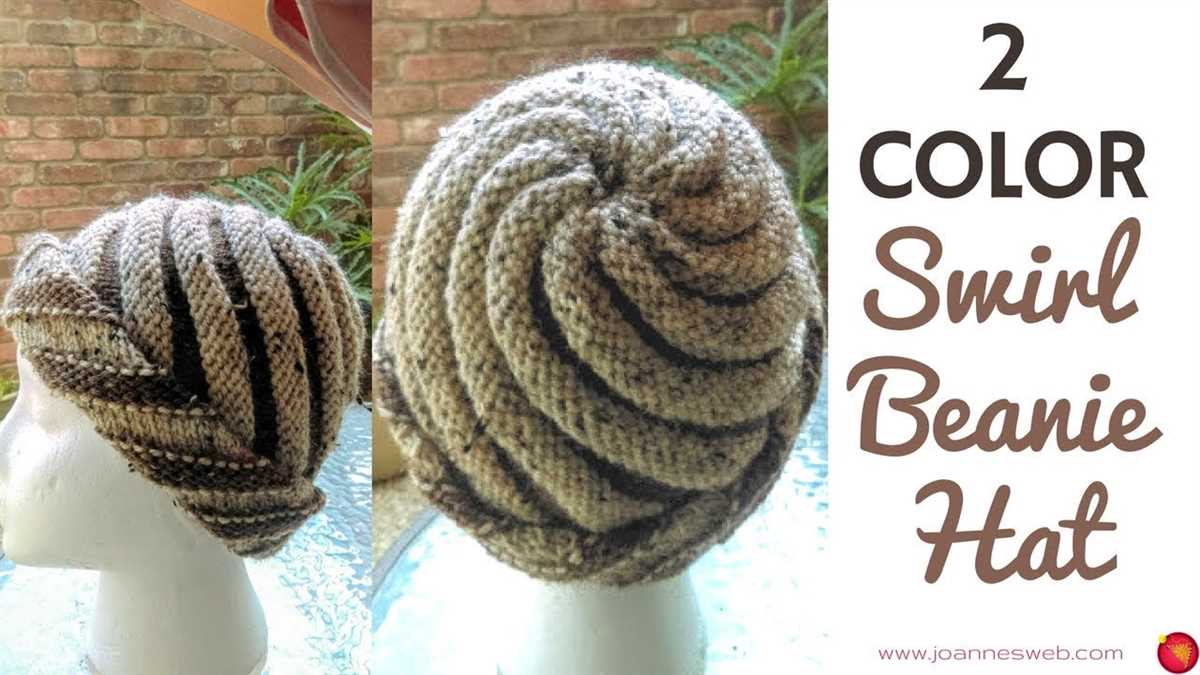
Knitting is a popular hobby that is not only enjoyable but also practical. If you’re looking for a new knitting project, why not try knitting a two color hat? It’s a great way to practice your knitting skills and create a stylish accessory at the same time. And the best part is, we have a free pattern for you to follow!
This two color knit hat pattern is perfect for beginners and experienced knitters alike. The pattern uses two different colors of yarn, allowing you to create a unique and eye-catching design. Whether you prefer bold and vibrant colors or subtle and muted shades, this pattern can be easily customized to suit your personal style.
Not only is this two color knit hat pattern free, but it’s also incredibly versatile. You can make adjustments to the size and length of the hat to fit adults, children, or even babies. Plus, with the step-by-step instructions provided, you’ll have no trouble following along and creating a beautiful finished product.
Materials needed for the project
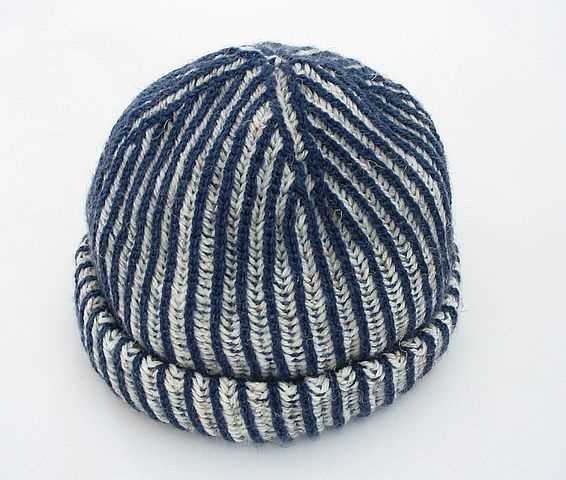
In order to complete the two color knit hat, you will need the following materials:
- Yarn: Choose two contrasting colors of worsted weight or medium weight yarn. It is best to use a soft and warm yarn, such as acrylic or wool. Make sure you have enough yarn for the entire project, as the amount will depend on the size of the hat and the length of the brim.
- Knitting needles: Use a pair of size 8 (5mm) circular knitting needles with a 16-inch (40cm) cable. These needles are perfect for knitting in the round and will ensure an even tension throughout the project.
- Tapestry needle: This is needed for weaving in loose ends and sewing any finishing touches.
- Stitch markers: These small plastic rings will help you keep track of your stitches and mark important sections, such as the beginning of rounds or pattern repeats.
- Scissors: A pair of scissors is essential for cutting yarn and snipping any extra ends.
- Measuring tape: A measuring tape or ruler will come in handy for checking the gauge and sizing of the hat. It’s important to achieve the correct gauge to ensure the hat fits properly.
Make sure you have all these materials ready before you start knitting your two color hat. Having everything prepared will make the process smoother and more enjoyable, allowing you to focus on the knitting itself.
Step-by-Step Instructions for Knitting the Hat
Knitting a two-color hat can be a fun and rewarding project, and here are step-by-step instructions to help you get started.
Materials Needed:
- Two colors of worsted weight yarn
- Size 8 knitting needles
- Tapestry needle
- Scissors
Step 1: Cast On
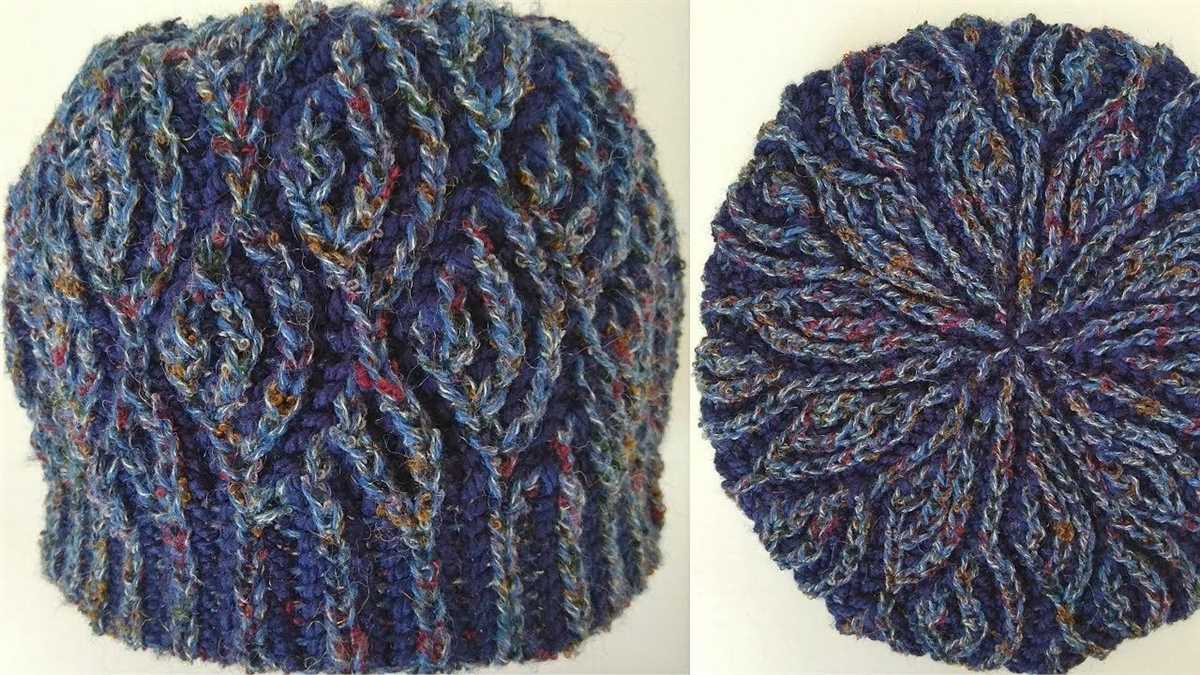
Using the first color of yarn, cast on 80 stitches onto your size 8 knitting needles.
Step 2: Knit the Ribbing
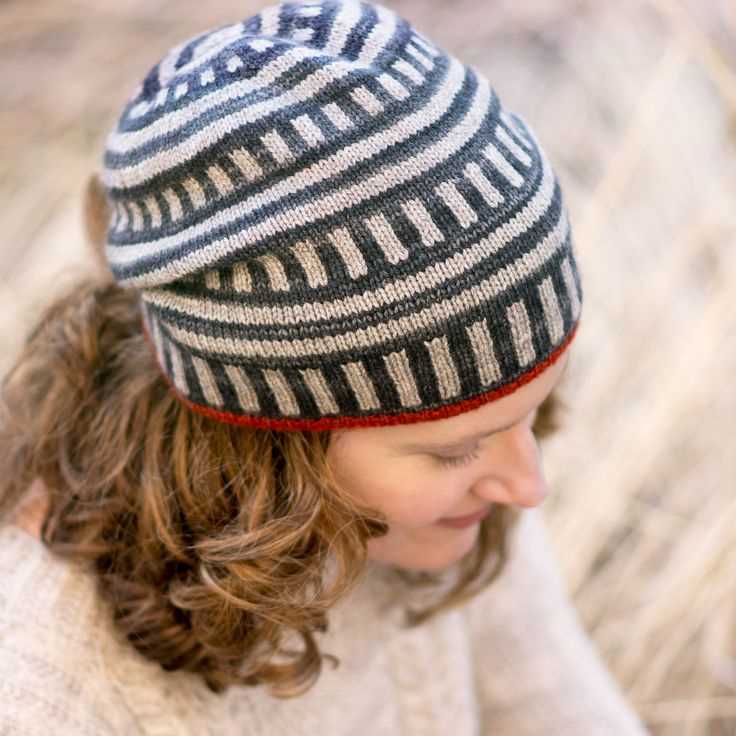
Once you have cast on, begin knitting the ribbing using a knit 2, purl 2 stitch pattern. Repeat this pattern across all 80 stitches for about 2 inches.
Step 3: Switch Colors
After completing the ribbing, switch to the second color of yarn. Cut the first color yarn, leaving a tail for weaving in later.
Step 4: Knit the Body
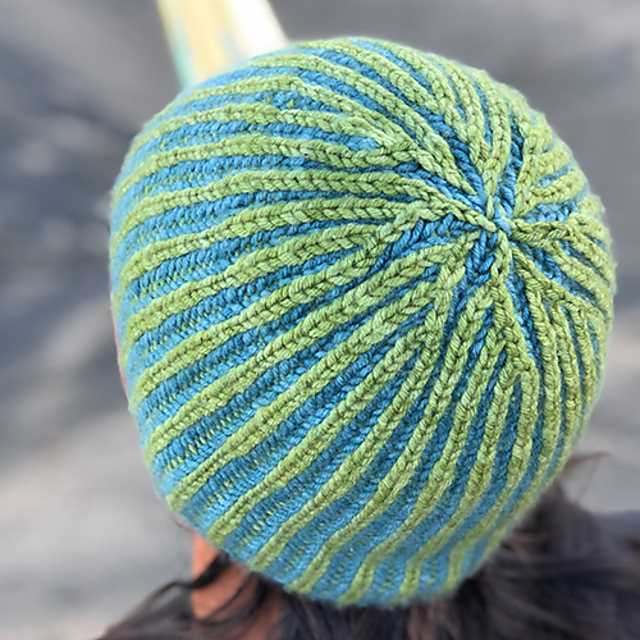
Continue knitting in the second color until the hat measures approximately 6 inches from the cast-on edge. You can adjust the length based on your preference.
Step 5: Decrease for the Crown
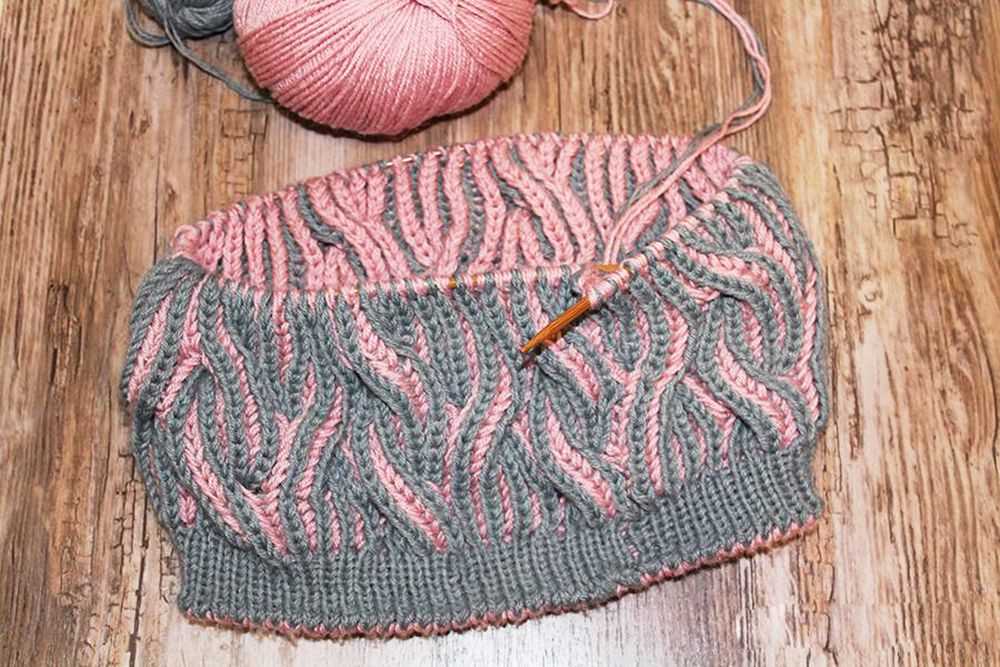
To decrease for the crown of the hat, switch back to the first color yarn. Knit 8 stitches, then knit 2 together. Repeat this pattern across the row. Knit the next row without any decreases.
Step 6: Finishing
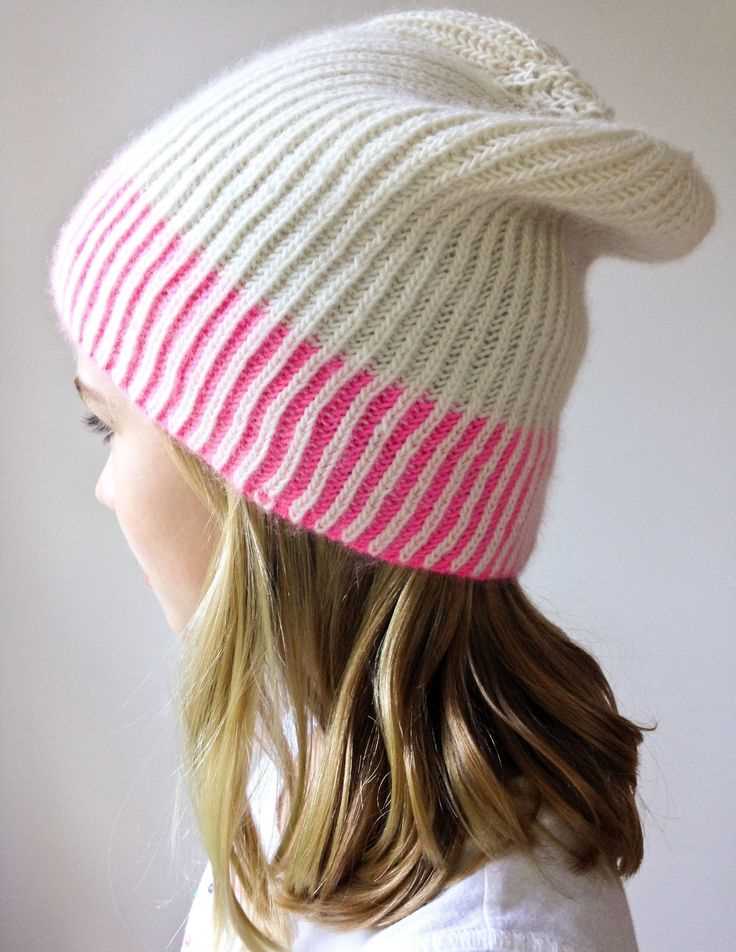
Continue decreasing as follows for the next rounds: Knit 7 stitches, knit 2 together. Knit the next round without any decreases. Repeat this pattern, decreasing the number of knit stitches by 1 each time, until you have knit 2 stitches together across the entire round. Cut the yarn, leaving a long tail.
Final Steps:
- Thread the long tail of yarn onto a tapestry needle.
- Slip the tapestry needle through all the remaining stitches on the knitting needles, removing them as you go.
- Pull the yarn tight to close the top of the hat.
- Weave in all loose ends using the tapestry needle.
And that’s it! You’ve successfully knit a two-color hat. Enjoy wearing your cozy and stylish creation or consider giving it as a heartfelt gift.
Tips for choosing the right yarn
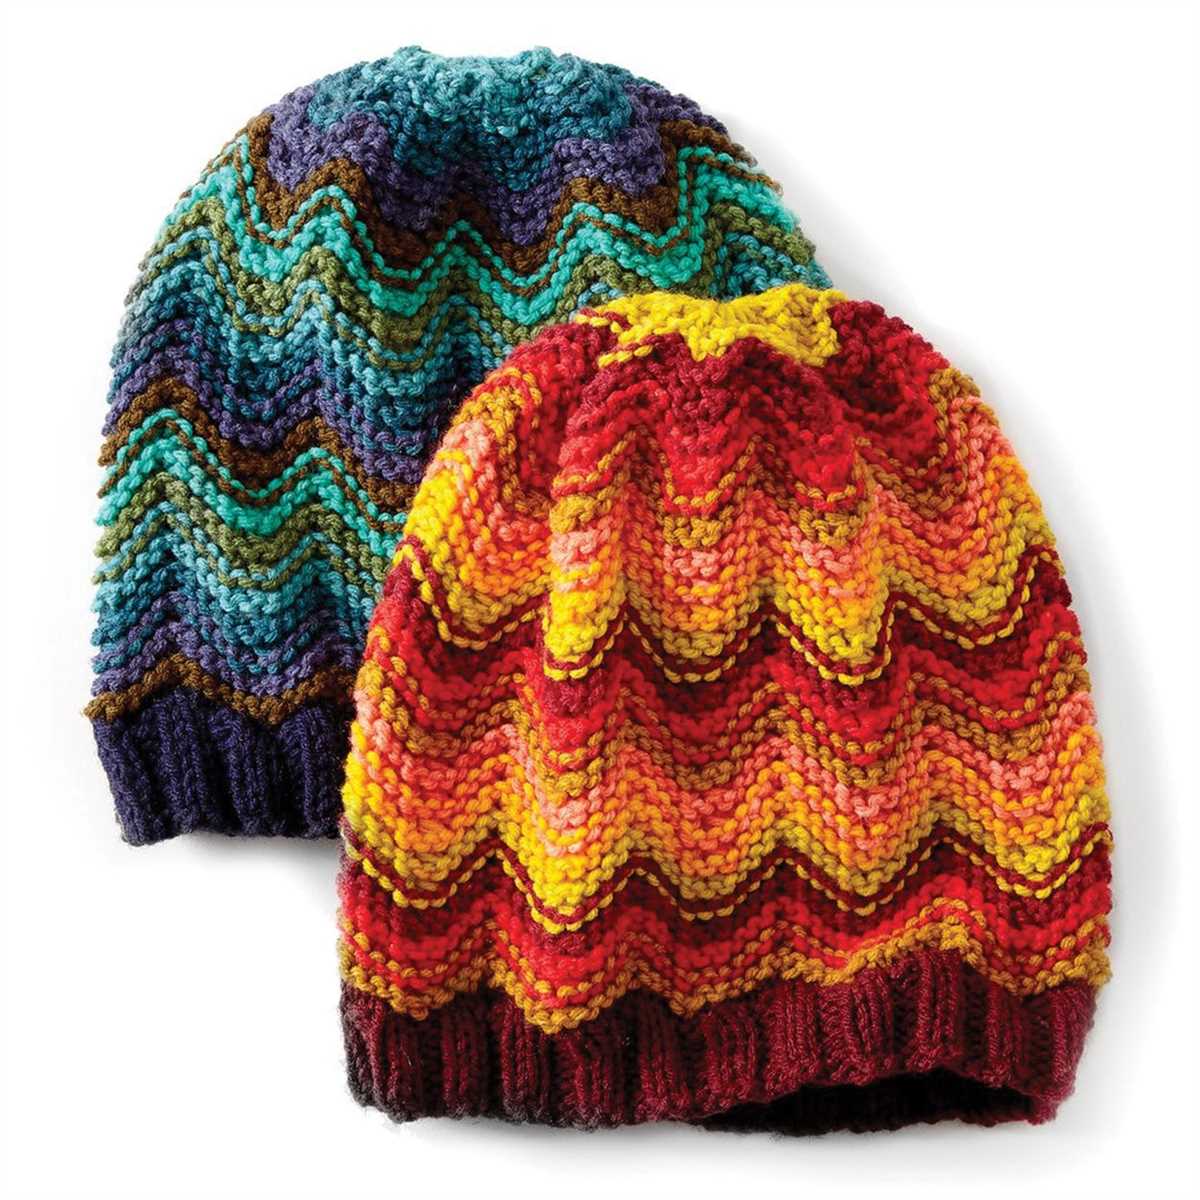
When it comes to knitting a two color hat, choosing the right yarn is essential. The yarn you choose will determine the overall look and feel of your project, as well as its durability. Here are some tips to help you make the best choice:
Consider the weight of the yarn: Different yarn weights are suitable for different projects. For a two color hat, you’ll want to choose a yarn that is not too heavy, but not too light either. A medium weight yarn, such as a worsted weight, is usually a great choice for hats.
Look for yarn with good stitch definition: Since you’ll be working with two colors, it’s important to choose a yarn that will showcase the color changes and patterns in your hat. Yarns with good stitch definition, such as those with a tight twist or made from natural fibers like wool, will help your stitches stand out.
Consider the fiber content: The fiber content of your yarn can also affect the look and feel of your hat. Natural fibers like wool, alpaca, and cotton are popular choices for hats because they are warm, soft, and breathable. However, acrylic yarns can also be a good option if you’re looking for something more affordable and easy to care for.
Think about the colors: One of the most important considerations when choosing yarn for a two color hat is the colors themselves. Think about the color combination you want to achieve and choose yarns that complement each other well. You can either choose two solid colors, or experiment with variegated or self-striping yarns for a more unique look.
Read reviews and recommendations: Before purchasing any yarn, it can be helpful to read reviews and recommendations from other knitters. This can give you an idea of the yarn’s quality, durability, and how it performs in different projects. Look for yarns that have positive reviews and are known for their colorfastness and ease of use.
Consider your budget: Yarn prices can vary greatly, so it’s important to consider your budget when choosing yarn for your two color hat. While there are many high-quality yarns available, there are also more affordable options that can still yield great results. Look for sales, discounts, or clearance sections at yarn stores to find good deals on yarn. Remember, the most important thing is to choose yarn that you love and enjoy working with!
How to select the right needle size
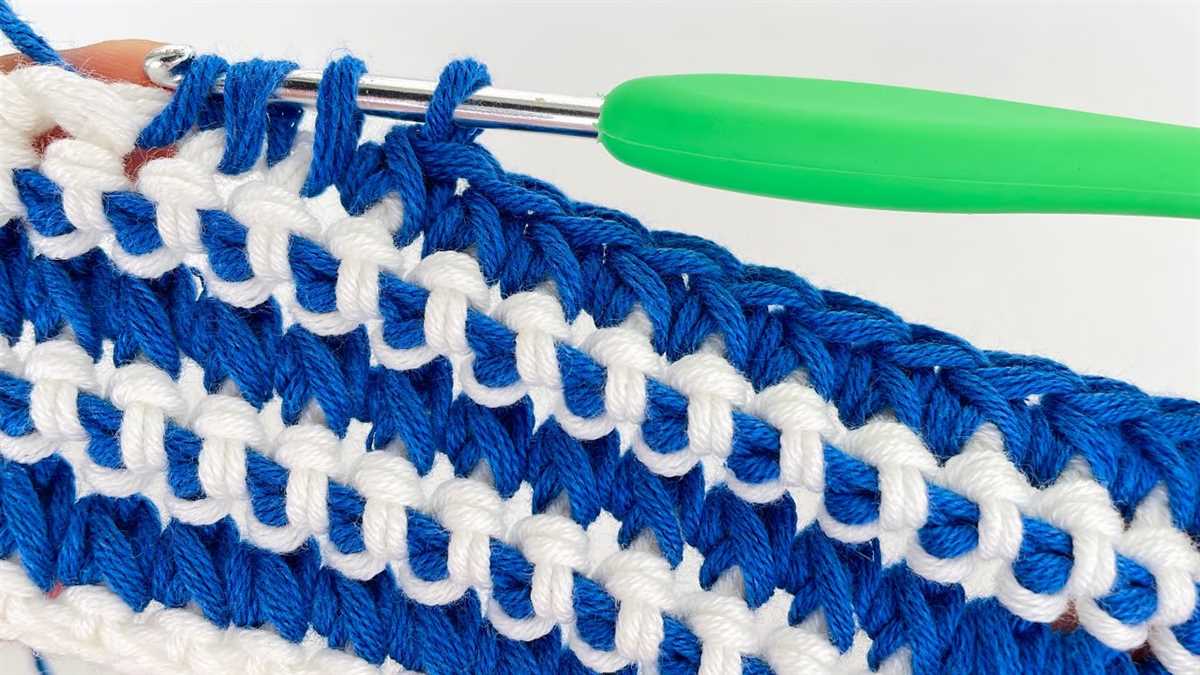
When starting a knitting project, one of the most important decisions you will make is selecting the right needle size. The size of the needle can greatly impact the final result and overall fit of your knitted item. Here are some tips to help you choose the right needle size for your project.
Consider the yarn weight
The weight of the yarn you are using should be the first factor to consider when choosing a needle size. Yarns are typically labeled with a suggested needle size range, such as “worsted weight yarn, recommended needle size 4.5 – 5.5 mm.” It’s important to follow these guidelines as a starting point, but keep in mind that personal tension can also affect the final gauge.
Check the gauge

Gauge is a crucial factor in any knitting project, as it determines the overall size and fit of the finished item. Before starting your project, be sure to check the gauge provided in the pattern. This will give you an idea of the desired stitch count and row count per inch. By knitting a gauge swatch, you can determine if your needle size is creating the correct gauge. Adjustments may need to be made if your gauge does not match the pattern’s specifications.
Consider the desired fabric
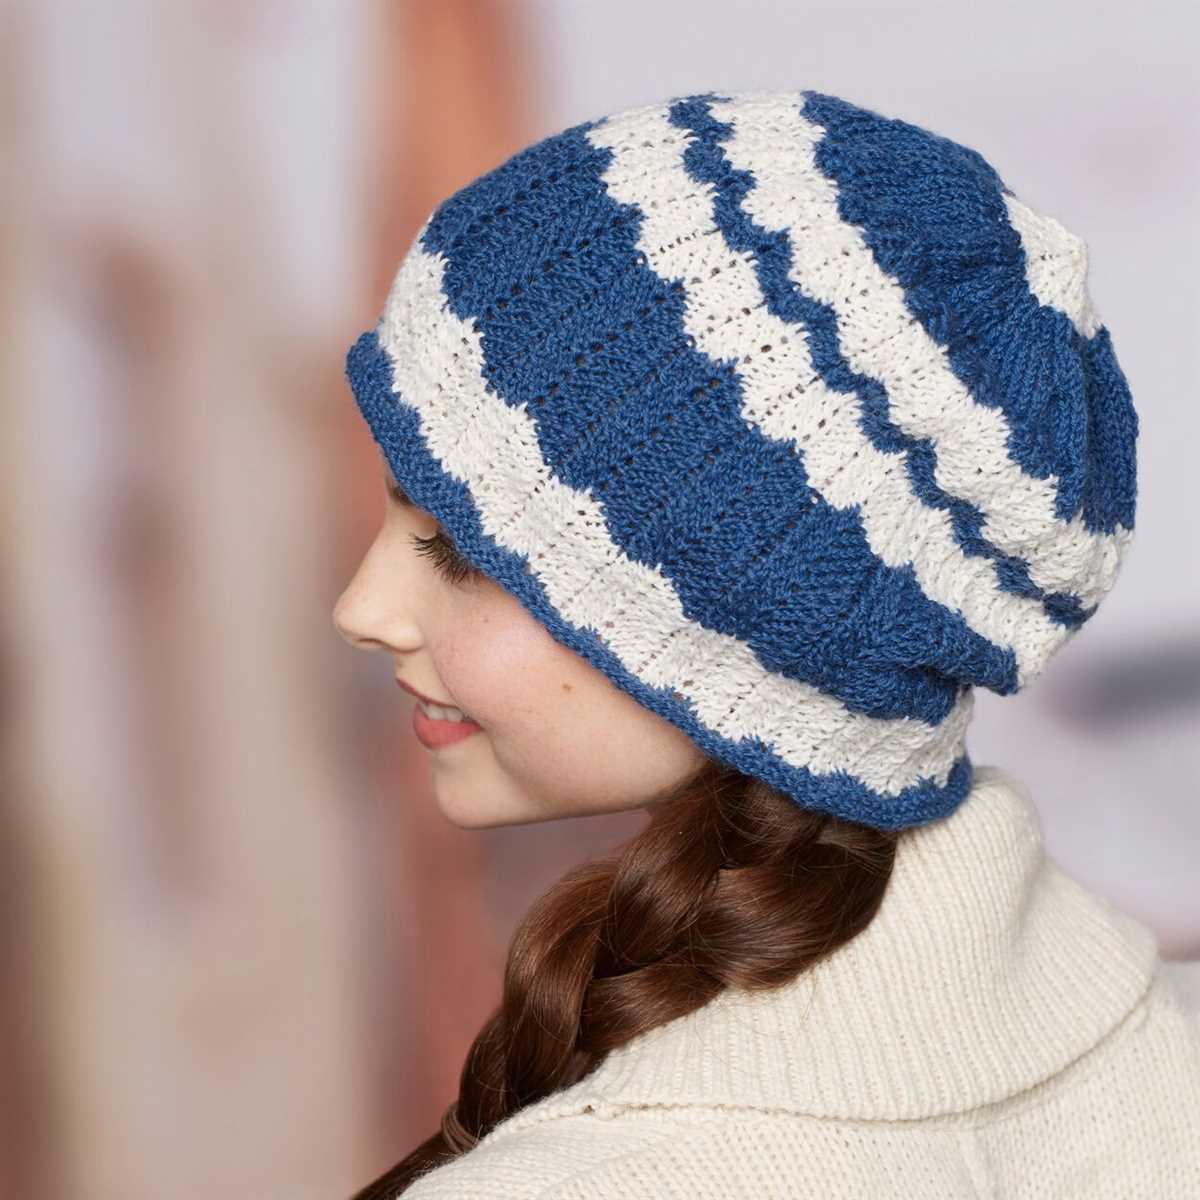
The type of fabric you want to create will also influence your needle size selection. For a tighter, denser fabric, you would want to choose a smaller needle size. This is often used for items like socks or hats, where durability and warmth are important. On the other hand, if you’re looking for a looser, flowy fabric, a larger needle size would be more appropriate. This can be ideal for garments like summer tops or shawls.
Take your personal knitting style into account
Everyone has their own unique knitting style, and this can affect the size of needle you prefer. Some knitters have a looser tension and may need to use a smaller needle size to achieve the desired gauge. Others may have a tighter tension and need to go up a needle size. Pay attention to your knitting style and make adjustments accordingly.
Overall, selecting the right needle size is a combination of following guidelines, checking gauge, considering desired fabric, and understanding your own knitting style. With practice and experimentation, you’ll find the perfect needle size for each project, resulting in beautifully knitted items that fit just right.
Creating the ribbed brim
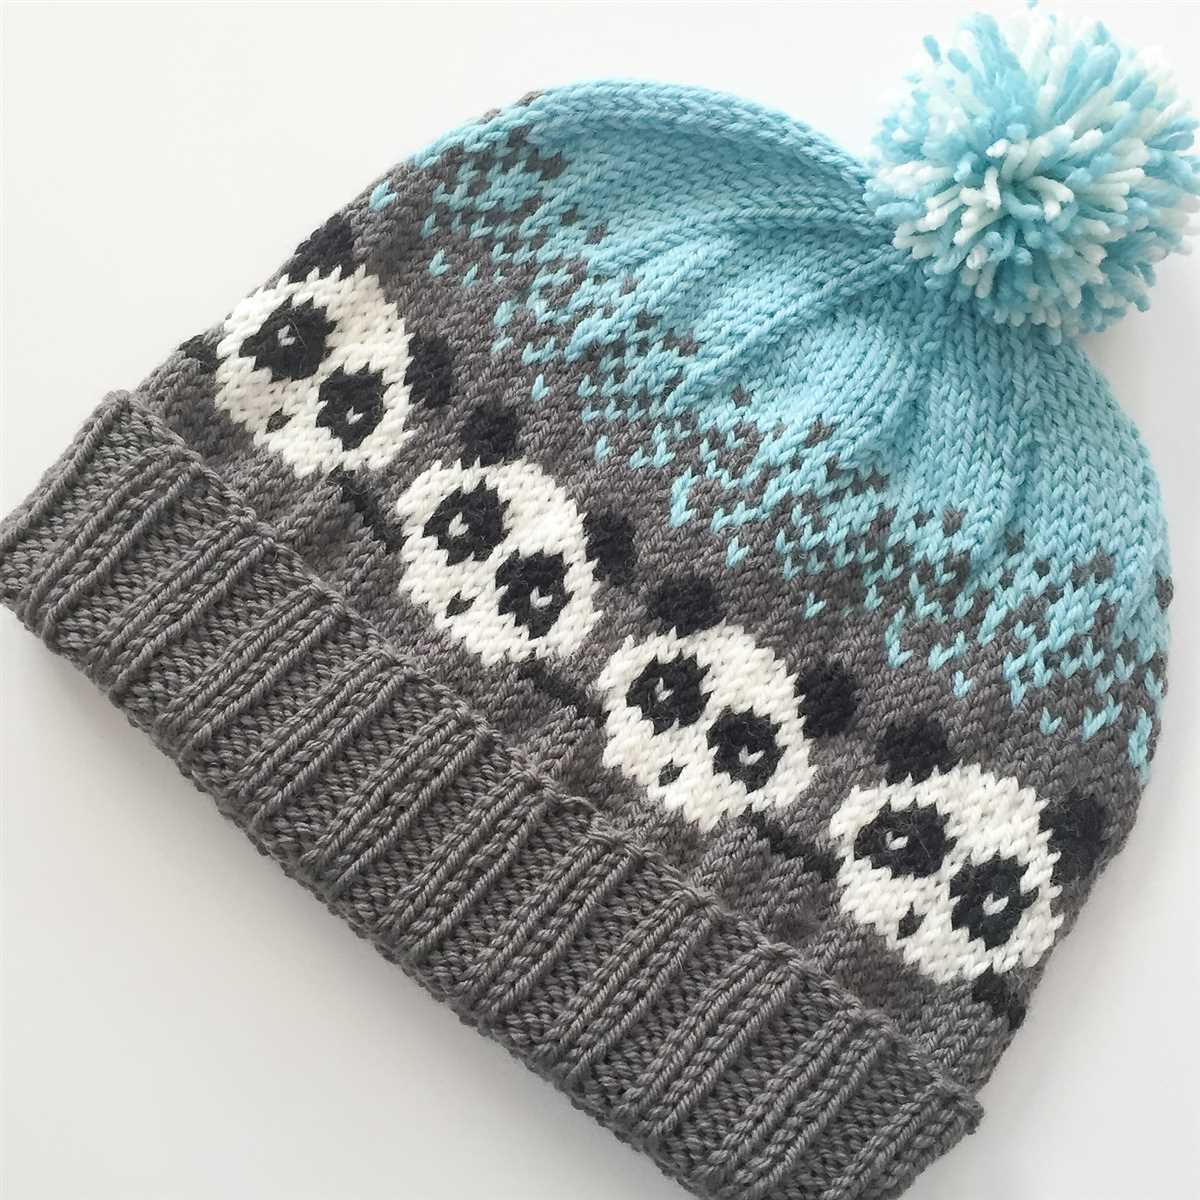
The ribbed brim is an essential part of a two-color knit hat, as it provides elasticity and helps keep the hat in place on the head. To create the ribbed brim, you will need to use a combination of knit and purl stitches.
To begin, cast on the desired number of stitches using your main color yarn. The ribbed brim typically requires a multiple of 2 stitches. For example, you can cast on 96 stitches for a larger adult-sized hat or 80 stitches for a smaller child-sized hat.
Once you have cast on the necessary stitches, you will start working in the rib stitch pattern. The rib stitch pattern is created by alternating knit and purl stitches in a specific sequence.
For a 2×2 rib stitch pattern, you will knit two stitches, then purl two stitches, and repeat this sequence until the end of the row. When you reach the end of the row, turn your work and continue the same sequence on the wrong side (purl two stitches, knit two stitches).
Continue working in the 2×2 rib stitch pattern for the desired length of the brim. The ribbed brim is typically 1-2 inches in length, but you can adjust it to your preference. Remember to keep the tension consistent throughout to ensure an even and stretchy brim.
Adding the first contrast color
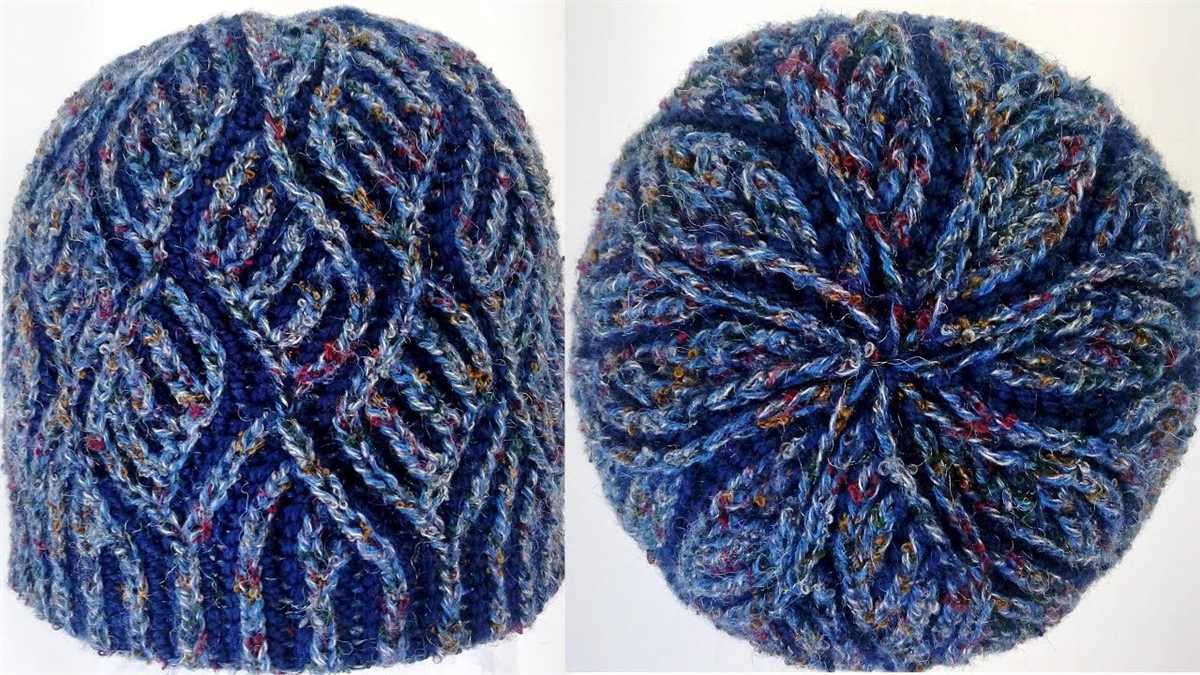
Once you have reached the desired length for your hat in the main color, it’s time to add the first contrast color. To do this, you will need to cut the main color yarn, leaving a long tail to weave in later. Take the contrast color yarn and start knitting with it, leaving a tail of a few inches to weave in later. Make sure to secure the tail of the contrast color yarn by knitting a few stitches over it.
To create a clean color change, you can use the “intarsia” technique. This involves twisting the two yarns around each other at the beginning of each row to prevent any gaps or holes. To do this, hold the main color yarn behind the work and bring the contrast color yarn over it. Then, bring the main color yarn back to the front and continue knitting with the contrast color yarn.
If you prefer a simpler color change, you can also use the “stripes” technique. This involves simply switching from knitting with the main color yarn to knitting with the contrast color yarn at the beginning of each row. This technique creates distinct stripes of color in your hat.
Continue knitting in the contrast color, following the pattern or stitch instructions, until you have reached the desired length for the contrast color section. Remember to leave a long enough tail to weave in later. Then, you can switch back to the main color yarn or introduce another contrast color for additional stripes or patterns. Have fun experimenting with different colors and patterns to create a unique and personalized knit hat!
Knitting the main body of the hat
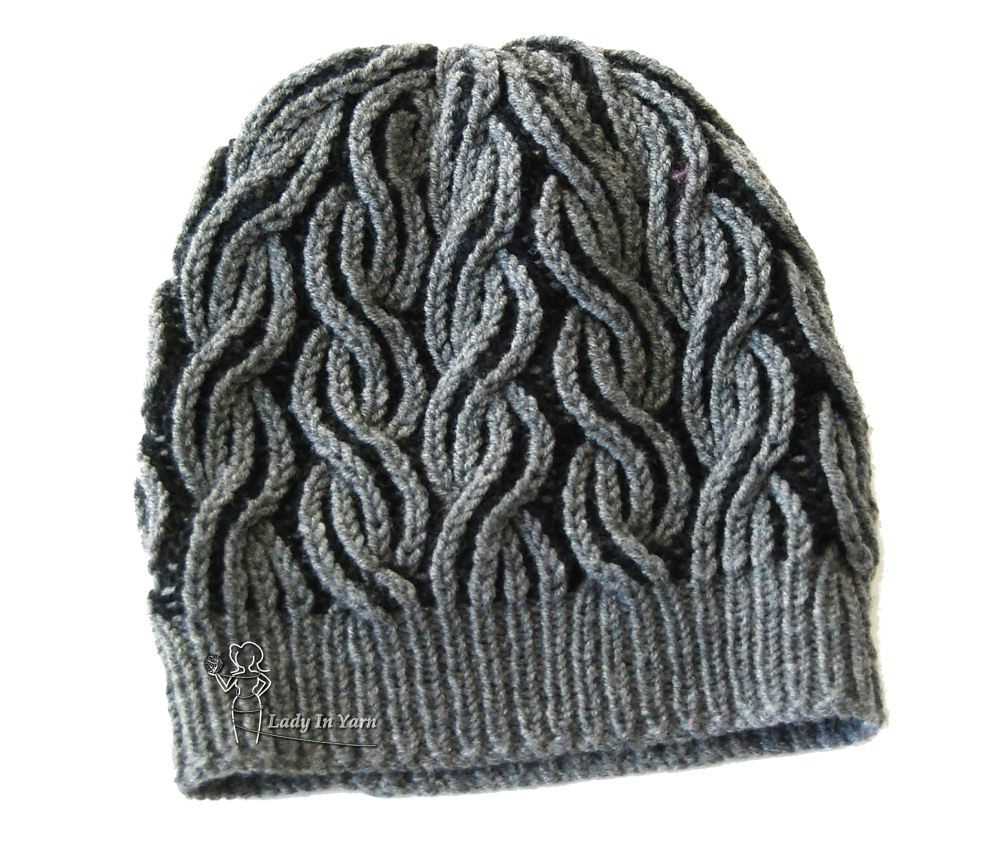
Once you have cast on the desired number of stitches for your hat, you can begin knitting the main body of the hat. This is where you’ll create the majority of the fabric that will cover your head and keep it warm.
To knit the main body of the hat, you will typically use a basic knitting stitch, such as the knit stitch or the stockinette stitch. These stitches create a smooth and even fabric that is perfect for a hat. If you want to add some texture or pattern to your hat, you can also experiment with different stitch patterns, such as ribbing or cables.
As you work on the main body of the hat, you’ll need to continue knitting in rounds until you reach the desired length. This means that you’ll be continuously knitting in a circle, rather than back and forth like you would with a scarf or a blanket. To do this, you’ll need either a set of double-pointed needles or a circular needle, depending on your preference.
Continue working on your hat until it measures the desired length from the cast-on edge. Remember to periodically check the fit of the hat by trying it on or measuring it against your head. You can also adjust the length of the hat by adding or subtracting rows as needed.
Once you’ve completed the main body of the hat, you can move on to the next step, which is often shaping the crown. This involves decreasing the number of stitches to create a tapered effect and form the top of the hat. We’ll explore this step in more detail in the next section.
Switching to the second contrast color
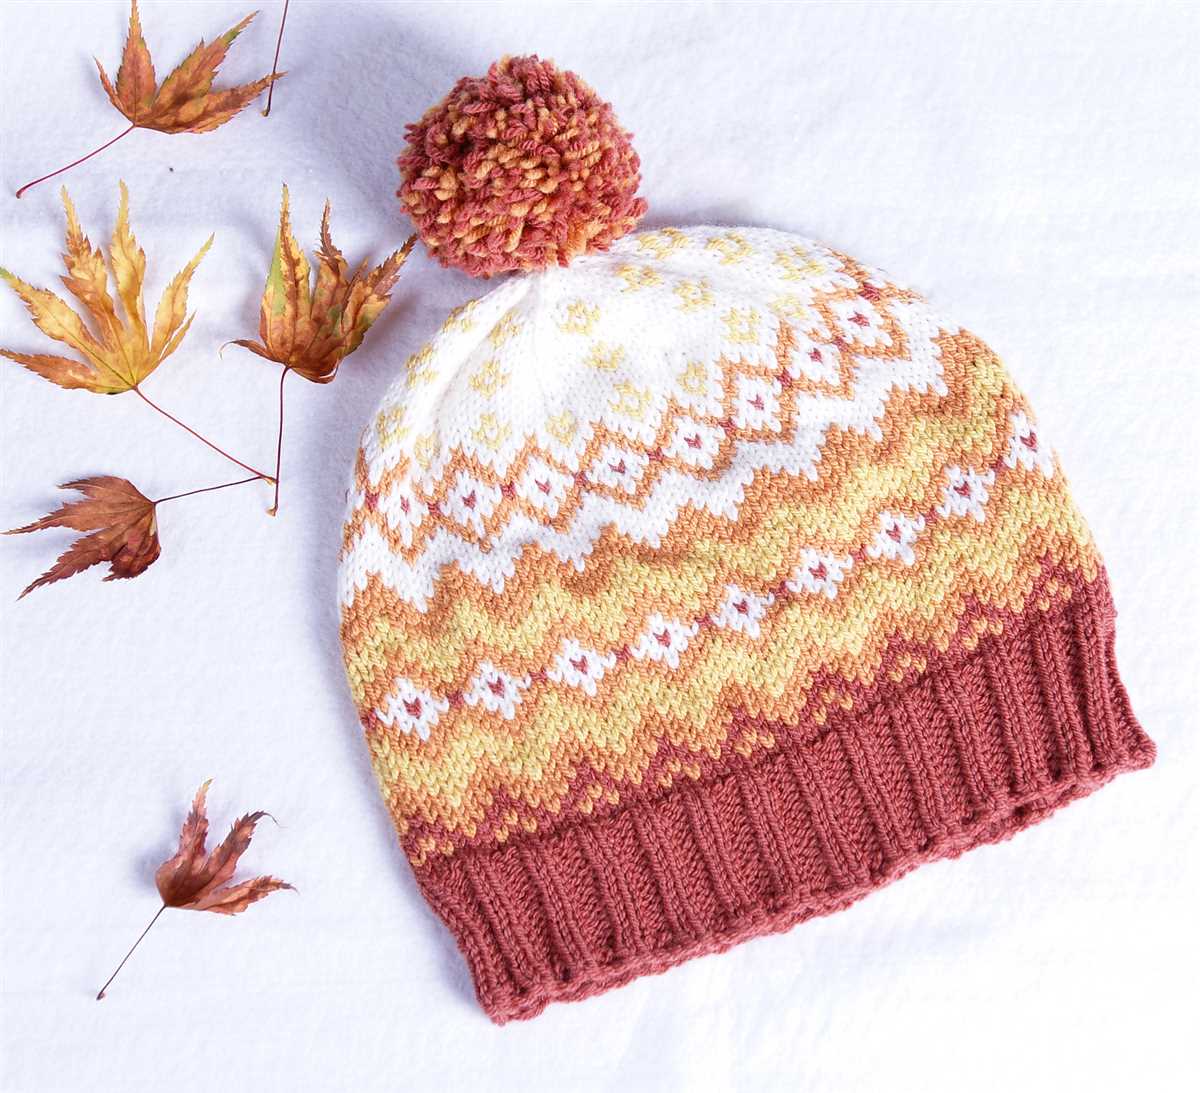
Once you have completed the desired number of rows in your main color, it’s time to switch to the second contrast color. To do this, begin by cutting the yarn of your main color, leaving a tail of about 6 inches. This tail will be used later to weave in the ends.
Take the second contrast color yarn and make a slip knot. Insert your right-hand needle into the first stitch of the next row, and using the slip knot, create the first stitch with the second contrast color. Make sure to leave a tail of about 6 inches as well.
Continue knitting using the second contrast color yarn, following the pattern instructions. Remember to keep your tension consistent to ensure an even and neat appearance of your knit hat.
If you are using a chart to guide the color changes, pay attention to the symbols and follow the chart accordingly. This will help you create beautiful colorwork patterns and achieve the desired design.
When you have finished working with the second contrast color, you can cut the yarn, leaving another 6-inch tail. This tail will also be used for weaving in the ends later.
Now you can continue knitting with the main color or switch to another contrast color, depending on your pattern instructions. Repeat the process of switching colors as necessary until you have completed the entire knit hat.
Shaping the crown of the hat
Once you have completed the main body of the hat in your desired colors, it’s time to start shaping the crown. This is the part of the hat that will sit on top of your head and give it a rounded shape. There are a few different methods you can use to shape the crown, but one of the most common is the decrease method.
To begin shaping the crown, you will need to decrease the number of stitches in each round. This will create the tapered shape of the hat. You can decrease the stitches in a variety of ways, such as knitting two stitches together, knitting three stitches together, or slipping stitches. The pattern you are following will typically specify which method to use.
Continue to decrease the stitches in each round until you have reached the desired number. This number will depend on the size of the hat and how snug or loose you want it to fit. Once you have finished decreasing, you will have a small opening at the top of the hat.
Next, you will need to close this opening by threading the yarn through the remaining stitches and pulling it tight. This will create a gathered effect and secure the crown of the hat. You can then weave in any loose ends of yarn and trim them to finish off the hat.
Finishing off the hat
Once you have completed knitting the two-color hat pattern, it’s time to finish off the hat and give it a clean and polished look. Here are some steps to help you complete the finishing touches:
-
Weave in loose ends: Start by weaving in any loose ends of yarn that may be sticking out from your work. Use a needle to thread the ends through the stitches on the wrong side of the hat, making sure to secure them tightly. Trim any excess yarn once they are securely woven in.
-
Block the hat: Blocking the hat can help to even out the stitches and give it a professional finish. To block the hat, fill a basin or sink with lukewarm water and a mild detergent. Gently submerge the hat in the water, being careful not to agitate or scrub it. Allow the hat to soak for about 10-15 minutes, then remove it from the water and squeeze out any excess moisture. Lay the hat flat on a clean towel and gently shape it to the desired size and shape. Allow the hat to air dry completely before wearing or storing.
-
Add a pom-pom: If you want to add a fun and playful touch to your hat, consider attaching a pom-pom on top. You can make a pom-pom using the leftover yarn from your project or purchase pre-made pom-poms from a craft store. Simply attach the pom-pom by threading a piece of yarn through the center of the pom-pom and tying it securely to the top of the hat.
-
Show off your finished hat: Once your hat is completely dry and any additional embellishments are added, it’s time to show off your knitting skills! Wear your hat with pride and enjoy the warmth and style it brings to your winter wardrobe. Consider making more hats in different color combinations to match all your outfits.
By following these steps, you can ensure that your two-color knit hat is finished off beautifully and ready to be worn or gifted to a loved one. Happy knitting!
Additional design options and variations

Once you have mastered the basic two color knit hat pattern, there are several ways you can customize and experiment with your design. Here are some additional options and variations to try:
1. Striped design:
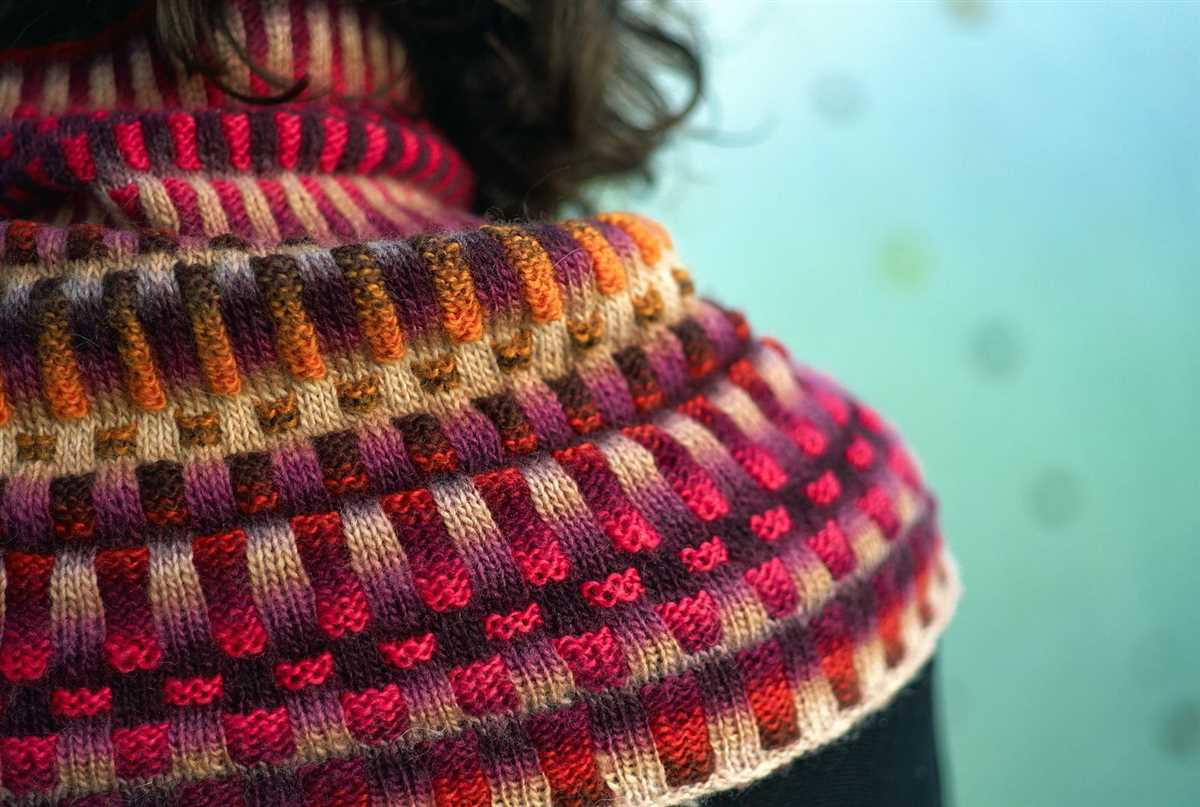
Add more color to your hat by incorporating alternating stripes. You can choose two or more colors and create stripes of equal or varying widths.
2. Fair Isle or stranded knitting:
Explore the classic Fair Isle technique by incorporating intricate stranded patterns into your hat design. This involves carrying two or more colors across the row and creating patterns using colorwork.
3. Intarsia:
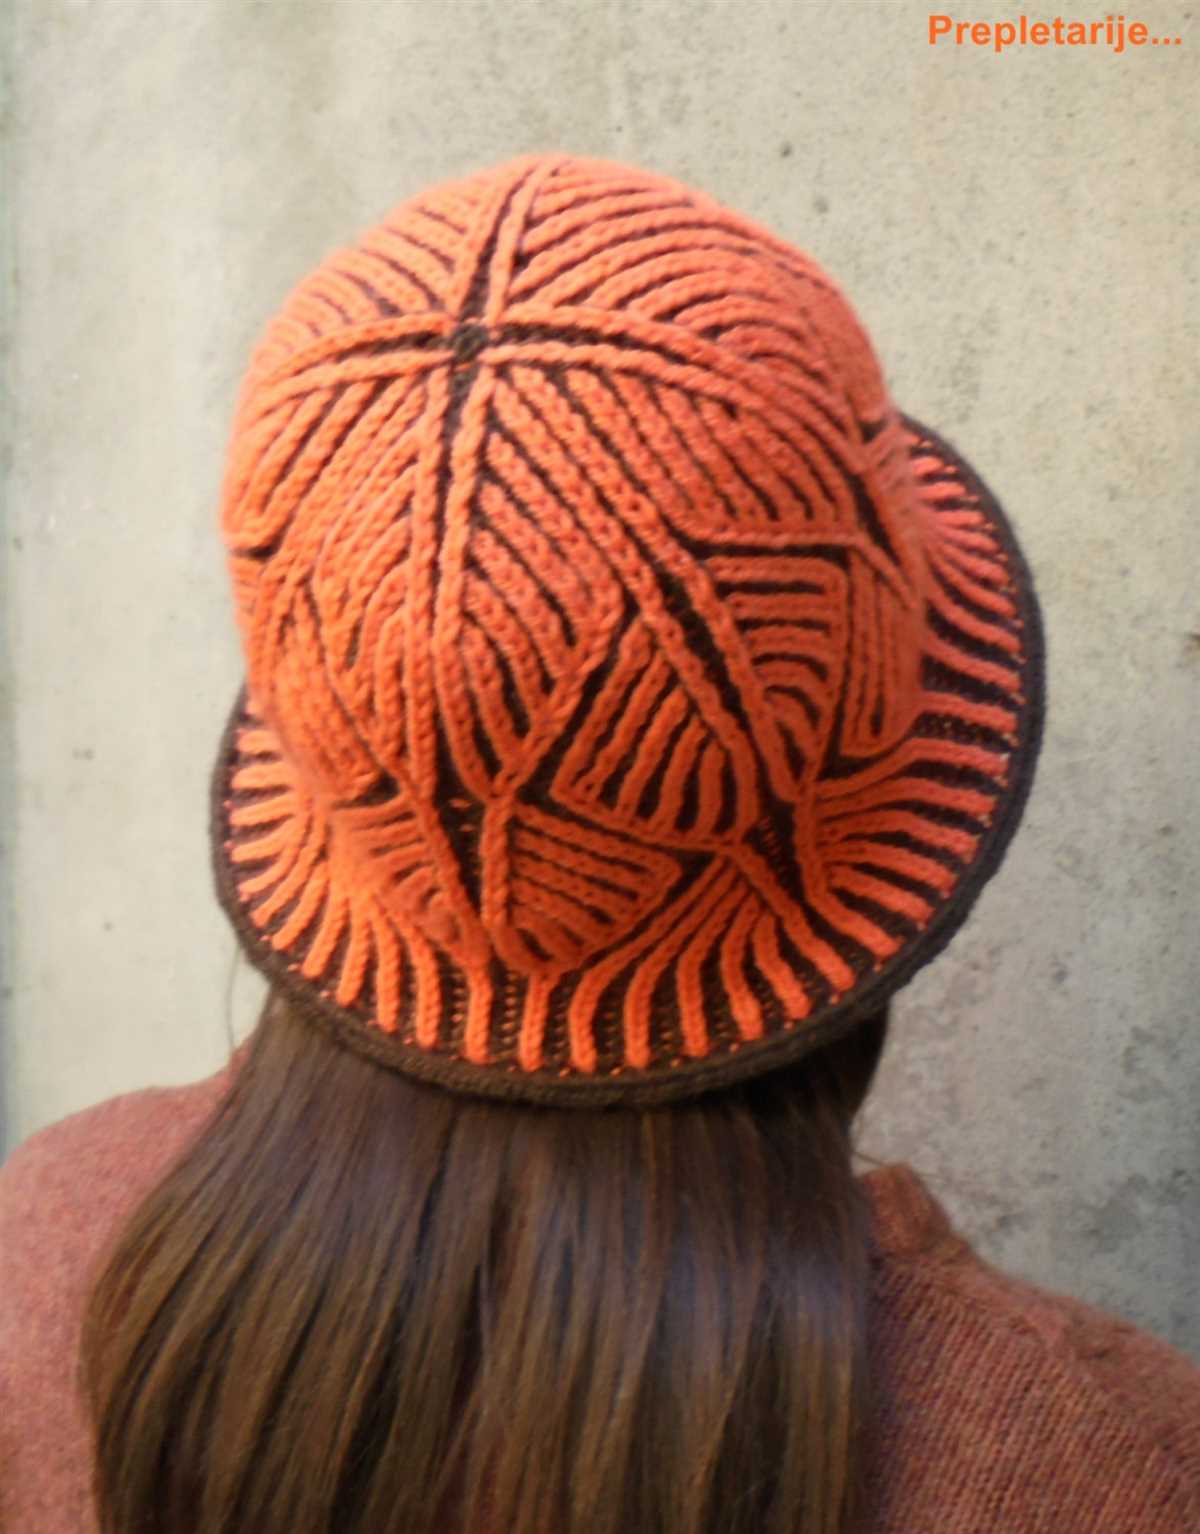
Create eye-catching motifs or logos by using the intarsia technique. This involves using different colored yarns to stitch in specific shapes or letters.
4. Embellishments:
Add buttons, pom-poms, or embroidery to your hat to personalize it further. This is a great way to add texture and visual interest to your project.
5. Reversing the colors:
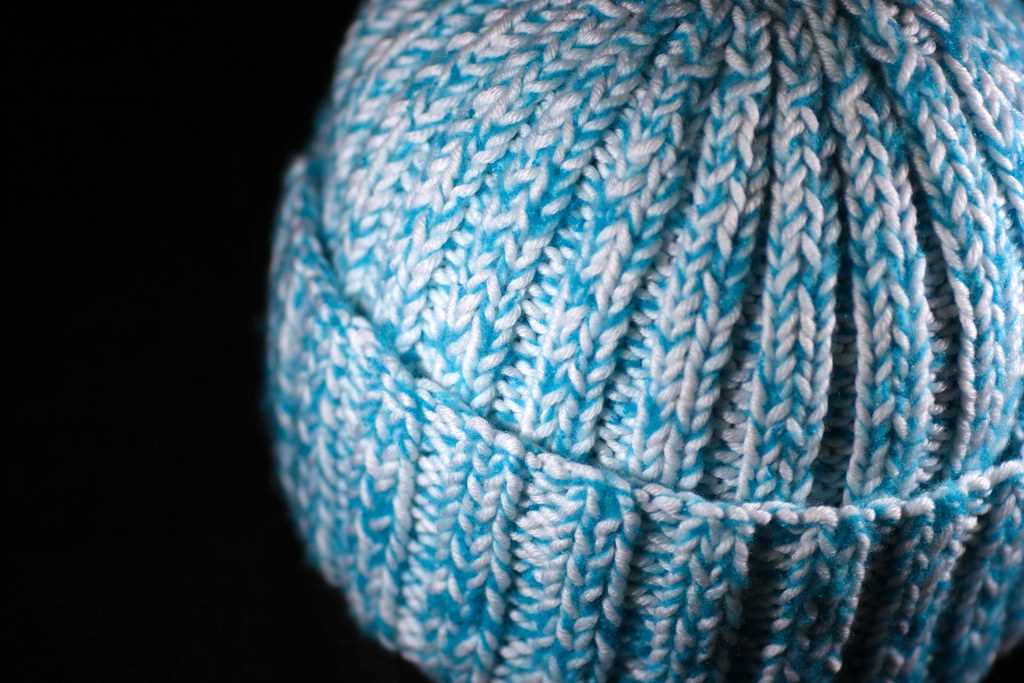
Experiment with reversing the colors used in the pattern. This can create a completely different look and feel for your hat.
By combining different design options and variations, you can create unique and personalized two color knit hats that showcase your creativity and style. Have fun experimenting and exploring different techniques to make each hat truly one-of-a-kind!
Q&A:
Where can I find a free pattern for a two-color knit hat?
You can find a free pattern for a two-color knit hat on various websites and online platforms such as Ravelry, LoveCrafts, and KnittingPatternCentral. These websites offer a wide collection of patterns, both for beginners and experienced knitters.
What materials do I need to knit a two-color hat?
To knit a two-color hat, you will need two different colors of yarn, preferably in the same weight, knitting needles that correspond to the recommended gauge on the yarn label, a tapestry needle for weaving in ends, and a stitch marker (optional).
Are there any specific techniques I need to know to knit a two-color hat?
Yes, there are a few techniques involved in knitting a two-color hat. The most common technique used is stranded colorwork or fair isle knitting, where you carry or “strand” the unused color along the back of the work while knitting with the other color. It’s also important to know how to knit in the round using circular needles or double-pointed needles, as most hat patterns are worked in the round.
Can I customize the size of the two-color knit hat?
Yes, you can customize the size of the two-color knit hat by adjusting the number of stitches and the gauge. If you want it to be larger or smaller, you can cast on more or fewer stitches, or change the size of your knitting needles. Keep in mind that altering the size may affect the overall look and fit of the hat.