
Knitting your own socks can be a rewarding and satisfying experience. It allows you to create a one-of-a-kind accessory that perfectly suits your style and keeps your feet warm and cozy. If you’re looking to start your knitting journey or if you’re an experienced knitter looking for a new project, a knit ankle socks pattern might be just the thing for you.
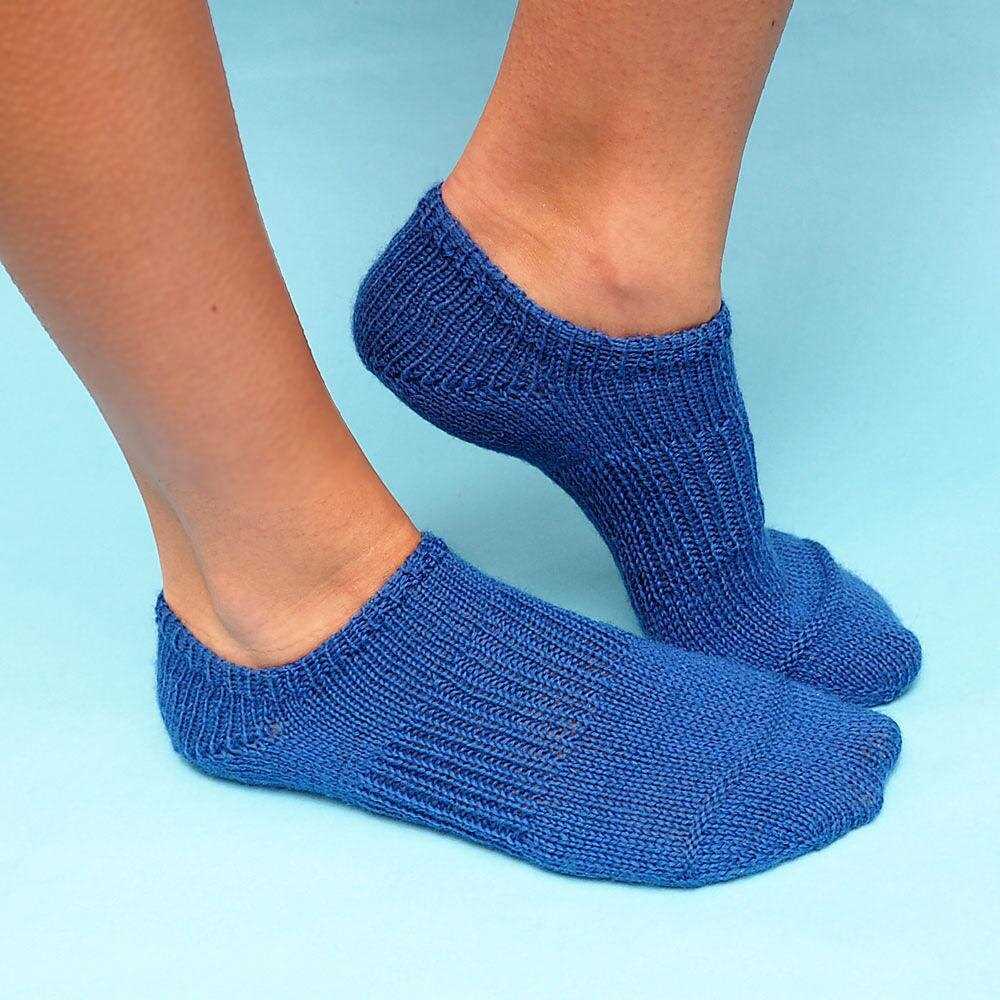
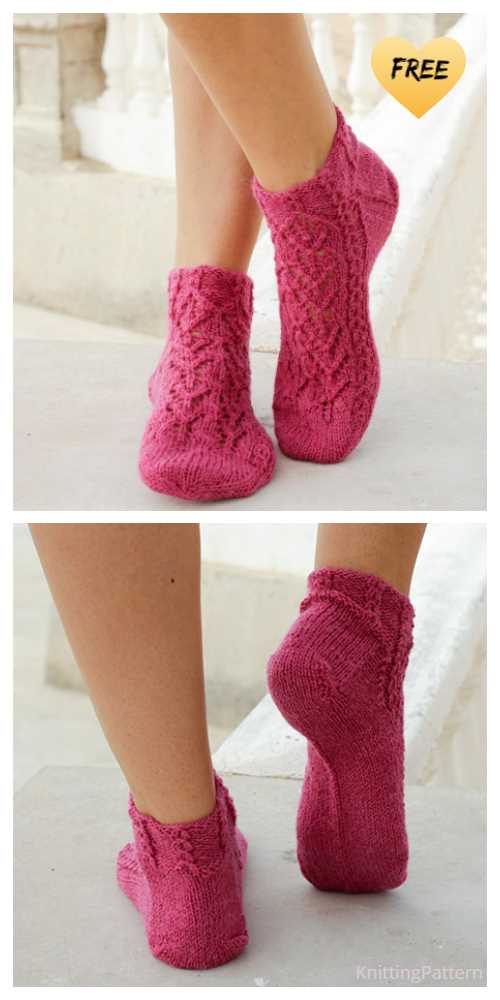
Ankle socks are a versatile option for both men and women. They can be worn with any type of shoe and provide the perfect amount of warmth and comfort. With a wide range of patterns available, you can choose a design that matches your personal taste and complements your wardrobe.
Knitting ankle socks is not only a fun and creative project, but it also allows you to improve your knitting skills. The small size of ankle socks makes them a great option for practicing new stitches and techniques. Additionally, with the right pattern and yarn, you can create a pair of socks that will be durable and long-lasting.
Choosing the Right Yarn

When it comes to knitting ankle socks, choosing the right yarn is essential for achieving the desired comfort and durability. The yarn type and weight will determine the overall feel and fit of the socks, as well as their ability to withstand regular wear and washing.
Yarn type: When selecting yarn for ankle socks, it’s important to consider the fiber content. Natural fibers such as merino wool, cotton, or bamboo offer breathability and softness, making them ideal for all seasons. Acrylic blends, on the other hand, provide more durability and can withstand frequent use. It’s important to choose a yarn that suits the recipient’s preferences and any known sensitivities they may have to certain fibers.
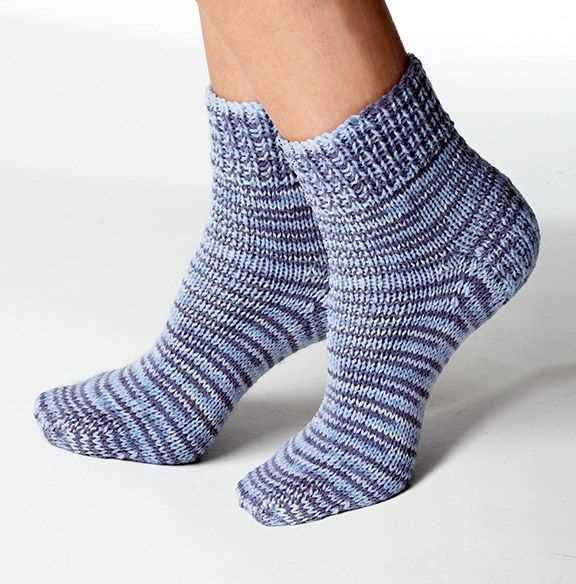
Yarn weight: The weight of the yarn will determine the thickness and warmth of the socks. For ankle socks, a light to medium weight yarn is usually suitable. Fingering or sport weight yarns are popular choices for ankle socks as they create a comfortable and lightweight fabric. It’s also worth considering the gauge of the pattern – a tighter stitch gauge may require a slightly heavier yarn to achieve the desired fit and feel.
Ultimately, the right yarn for knitting ankle socks will depend on the specific requirements of the project and the personal preferences of the wearer. Whether it’s a cozy wool blend for winter warmth or a soft cotton blend for summer comfort, selecting the perfect yarn will ensure that the finished socks are both functional and enjoyable to wear.
Getting the right gauge
When it comes to knitting ankle socks, getting the right gauge is crucial for achieving the desired fit and size. Gauge refers to the number of stitches and rows in a given measurement, usually 4 inches by 4 inches (10 cm by 10 cm) in stockinette stitch.
You can determine your gauge by knitting a swatch using the recommended yarn and needle size for your ankle socks pattern. Start by casting on a few more stitches than what is specified in the pattern, and then work in stockinette stitch for several rows. Measure the gauge by counting the number of stitches and rows within a 4-inch (10 cm) square.
You may need to adjust your needle size and yarn tension to match the gauge specified in the pattern. If your gauge is too tight, try using a larger needle size. Conversely, if your gauge is too loose, switch to a smaller needle size. Additionally, pay attention to your tension while knitting to ensure that your stitches are even and consistent.
Achieving the correct gauge is important because it directly affects the size of the ankle socks. If your gauge differs from the pattern’s gauge, the socks may turn out too small or too large. Taking the time to swatch and adjust your gauge will greatly improve the chances of obtaining the desired fit and size for your ankle socks.
Remember, don’t skip this important step and take the time to get the right gauge before starting your ankle sock knitting project.
Calculating the toe length

When knitting ankle socks, it is important to calculate the toe length accurately to ensure a perfect fit. The toe length will depend on the size of the person’s foot and the gauge of the knitting. Here are some steps to help you calculate the toe length for your socks.
Step 1: Measure the foot
Start by measuring the foot for which you are knitting the socks. Take a tape measure and measure from the tip of the longest toe to the back of the heel. Write down this measurement, as we will need it later.
Step 2: Determine the desired length

Decide how long you want the toe of your socks to be. This will depend on personal preference and the style of the socks. Some people prefer a shorter toe, while others prefer a longer one. Once you have decided on the desired length, write it down.
Step 3: Calculate the toe length
Subtract the desired length of the toe from the measured foot length. For example, if the measured foot length is 8 inches and you want a toe that is 1 inch long, the calculated toe length would be 7 inches. This calculation will give you the total length of the foot that should be covered by the toe of the sock.
Step 4: Adjust for gauge
Take into account the gauge of your knitting to determine how many stitches should be included in the toe section. If your pattern provides a gauge, use that information to calculate the number of stitches needed. If not, you may need to create a gauge swatch to determine how many stitches per inch you are knitting. Multiply the number of stitches per inch by the calculated toe length to get the total number of stitches for the toe section.
By following these steps and taking into account the foot measurement, desired toe length, and gauge of the knitting, you will be able to calculate the toe length accurately for your ankle socks. This will result in a comfortable fit and a finished product that is tailored to the recipient’s foot.
Cast on and ribbing
When starting a pair of knit ankle socks, the first step is to cast on the required number of stitches onto your knitting needles. This will depend on your desired sock size and the size of your knitting needles. You can use a long tail cast-on method, which is a versatile and commonly used method that creates a neat and flexible edge.
Once you have cast on the stitches, you will begin working the ribbing. Ribbing is a stretchy and decorative pattern that is commonly used for the cuff of socks. It creates a snug fit around the ankle and helps to keep the socks in place. Ribbing is made up of alternating knit and purl stitches, usually in a 1×1 or 2×2 pattern. For example, a 1×1 ribbing would involve knitting one stitch, then purling the next stitch, and repeating this sequence until the desired length is reached.
When working the ribbing, it is important to maintain an even tension and avoid pulling the stitches too tight, as this can create a tight and uncomfortable cuff. You can use a smaller size of knitting needles for the ribbing portion to ensure a tight and elastic edge. The length of the ribbing will depend on personal preference, but a common length is around 1-2 inches.
In summary, casting on and working the ribbing are the initial steps in knitting ankle socks. The cast-on method and number of stitches will depend on the desired sock size, and the ribbing pattern adds stretch and decoration to the cuff. Taking care to maintain even tension and using a smaller needle size for the ribbing will ensure a comfortable and snug fit around the ankle.
Knitting the foot
After successfully completing the ribbed cuff of the ankle sock, it’s time to move on to knitting the foot. This is where the sock really starts to take shape and become a functional and cozy garment to wear.
Begin by continuing to knit in the desired stitch pattern for the foot. This can be a simple stockinette stitch or a more elaborate pattern, depending on the design you’re following. Remember to refer back to the knitting instructions and make any necessary adjustments to the number of stitches or needle size if needed.
Next, carefully measure the length of your foot to determine how long to knit the foot section of the sock. If you’re making the sock for someone else, make sure to measure their foot and adjust accordingly. It’s important to have a snug-fit foot section, so the sock doesn’t slip or bunch up when worn.
As you work your way through knitting the foot, pay attention to any shaping or heel placement that may be required. Some patterns may call for decreases or increases to create a more contoured fit for the foot. Others may require you to place a waste yarn or stitch holder to create a space for the heel later on.
Continue to follow the knitting instructions, maintaining the stitch pattern and making any necessary adjustments. Take care to keep track of your progress and refer back to the pattern regularly to ensure you’re on track. Once you’ve completed knitting the foot section, you’ll be ready to move on to the heel or toe shaping, depending on the pattern you’re following.
Decreasing for the Heel
Once you have completed knitting the ribbed cuff and the foot of the ankle socks, it’s time to decrease for the heel. This is an important step in the knitting process as it gives the socks their unique shape and provides a snug fit around the heel.
To decrease for the heel, you will need to follow a specific pattern or instructions. Most knitting patterns will provide you with the number of stitches you need to decrease and the type of decrease to use. The most common decreases used for knitting socks are the slip, slip, knit (SSK) and knit two together (K2tog) techniques.
Typically, the decreases for the heel are done on every other row for a certain number of rows. This creates a gradual slope that molds the sock to the shape of the heel. It is important to pay close attention to the pattern or instructions to ensure that you decrease the correct number of stitches and maintain the stitch pattern throughout the process.
The exact method for decreasing for the heel may vary depending on the specific knitting pattern you are using. Some patterns may require you to work the decreases on one side of the sock while others may require decreases on both sides. It’s important to carefully read and understand the pattern instructions before proceeding with the heel decreases.
By following the instructions and decreasing for the heel correctly, you will be able to achieve a well-fitted and comfortable pair of knit ankle socks. The heel decreases are an essential part of the knitting process that help shape the socks and ensure a snug and secure fit for the wearer.
Turning the heel
Turning the heel is an important step in knitting ankle socks. It involves creating a cup-shaped heel by decreasing stitches. This is done to provide a comfortable fit and shape to the sock.
To turn the heel, start by knitting a certain number of stitches, usually half of the total number of stitches on the needle. Then, turn the work and purl back to the starting point. This creates a row of purl stitches on one side of the work.
Next, you’ll start the heel shaping by decreasing stitches. This is typically done using a combination of knit stitches, slip stitches, and knit-two-together stitches. The exact pattern for turning the heel may vary depending on the specific sock pattern you are working with.
As you continue knitting the heel, you’ll notice that the shape starts to form. The decreased stitches create a curve, shaping the heel of the sock. This curve is essential as it allows the sock to fit securely around the heel and provide a comfortable fit.
Once the heel shaping is complete, you’ll continue working on the rest of the sock, following the pattern instructions. Turning the heel is just one step in the process of knitting ankle socks, but it’s an important one that adds functionality and comfort to the finished product.
Shaping the gusset
When knitting ankle socks, shaping the gusset is an important step to ensure a proper fit and comfort for the foot. The gusset is the triangular section on the side of the sock that creates the space for the heel. It helps the sock conform to the shape of the foot and provides extra room for movement.
To shape the gusset, you will usually start by decreasing stitches on either side of the sock. This is typically done every other row or every few rows, depending on the pattern. The number of stitches to decrease will also vary depending on the size of the sock and the desired fit. The decreases are usually made using a decrease stitch, such as a knit two together (k2tog) or slip slip knit (ssk), to create a smooth and seamless transition.
Once the decreases are complete, the stitches that form the gusset are usually put on hold, either by transferring them to a stitch holder or by placing them on waste yarn. This allows for easy access to the heel area, which will be worked on separately. The stitches that are held will be later picked up and worked into the heel flap, which adds reinforcement to the heel area.
Shaping the gusset correctly is essential for a well-fitted and comfortable sock. It ensures that the sock hugs the foot snugly without being too tight or too loose. When knitting ankle socks, attention to detail in shaping the gusset is key to achieving a professional-looking finished product. By carefully following the pattern instructions and techniques, you can create a pair of ankle socks that are both stylish and comfortable to wear.
Knitting the leg
Once you have cast on and established the ribbing for the cuff of your ankle socks, it’s time to move on to knitting the leg. The leg is the part of the sock that extends from the cuff to the heel. This is where you can get creative with various stitch patterns and textures to add interest to your socks.
Before you begin knitting the leg, it’s important to decide on the desired length. Do you prefer shorter ankle socks or longer calf-length socks? Consider the purpose and style of the socks to determine the appropriate length. Once you have decided, you can start knitting the leg using the stitch pattern of your choice.
Choosing a stitch pattern
There are countless stitch patterns to choose from when it comes to knitting the leg of your ankle socks. Some popular options include stockinette stitch, ribbing, lace patterns, cables, and colorwork. Consider the level of difficulty, the overall look you want to achieve, and the yarn you are working with when selecting a stitch pattern.
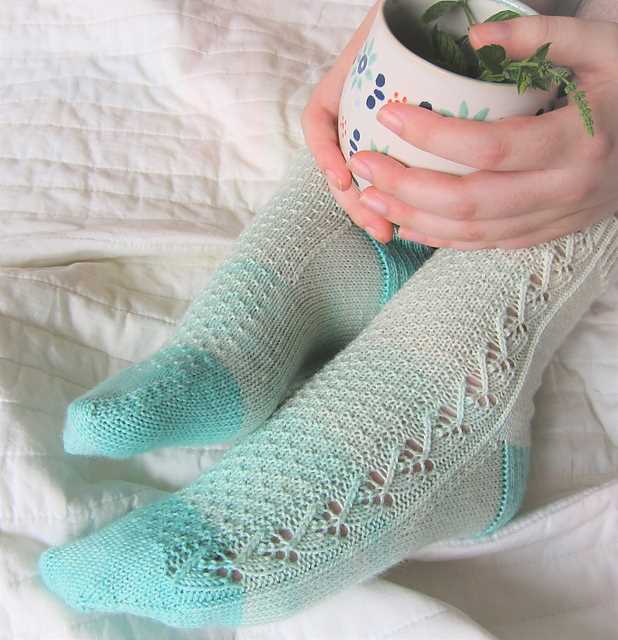
If you are new to knitting or prefer a simpler design, stockinette stitch or ribbing can create a clean and classic look. Lace patterns can add a delicate and feminine touch to your ankle socks, while cables can create a more textured and cozy look. Colorwork allows you to incorporate multiple colors into your design, adding visual interest and versatility.
When knitting the leg, it’s important to maintain a consistent tension to ensure the socks fit properly. Make sure to check your gauge before starting the leg section and adjust your needle size if necessary. Also, keep track of your rows or use stitch markers to ensure you are knitting the desired length.
Creating the cuff
When knitting ankle socks, the cuff is an important part of the design. It not only provides a finished look to the socks, but it also helps to keep them in place on the ankle.
To create the cuff, you will start by casting on the desired number of stitches. This can vary depending on the size of the sock and the desired fit. It is important to make sure the cuff is slightly smaller than the rest of the sock to ensure a snug fit.
Once you have cast on the stitches, you will begin working in the desired stitch pattern for the cuff. This can be a simple ribbing pattern, such as knit 2, purl 2, or a more intricate pattern if desired. The length of the cuff is also a personal preference, but a cuff that is approximately 1-2 inches long is common.
After completing the desired length of the cuff, you will then bind off the stitches to secure the cuff in place. It is important to bind off loosely to ensure the cuff has enough stretch to comfortably fit over the ankle.
By following these steps, you can create a beautiful and functional cuff for your knit ankle socks. The cuff adds a polished touch to the socks while also providing a secure and comfortable fit.
Bind off and Finishing Touches

Once you have completed the desired length of your knit ankle socks, it’s time to bind off. This will create a neat edge and secure your stitches in place. To bind off, knit the first two stitches as usual. Then, use your left needle to lift the first stitch over the second stitch and off the right needle. Knit one more stitch and repeat the process of lifting the first stitch over the second stitch until you reach the end of the row. Cut the yarn, leaving a long tail, and pull it through the last stitch to secure it.
To give your knit ankle socks a polished look, you can add some finishing touches. One option is to sew in any loose ends or yarn tails from the cast on and bind off. This will ensure that the socks are secure and will not unravel over time. You can also choose to add a decorative edging, such as a picot or ribbed trim, to the cuff of the socks. This can be done by picking up stitches around the cuff and knitting a few rows in your desired edging pattern. Lastly, don’t forget to block your socks to help reshape and relax the fibers for a smoother finish.
Overall, binding off and adding finishing touches to your knit ankle socks is an important step in completing your project. By following these steps, you can ensure that your socks are secure, comfortable, and visually appealing. Whether you choose to keep them for yourself or give them as a gift, your finished knit ankle socks will be a cozy and stylish addition to any wardrobe.
Pattern Variations and Tips
Now that you have learned how to knit ankle socks using a basic pattern, it’s time to explore some variations and tips to customize your socks and make them even more unique.
Variations:
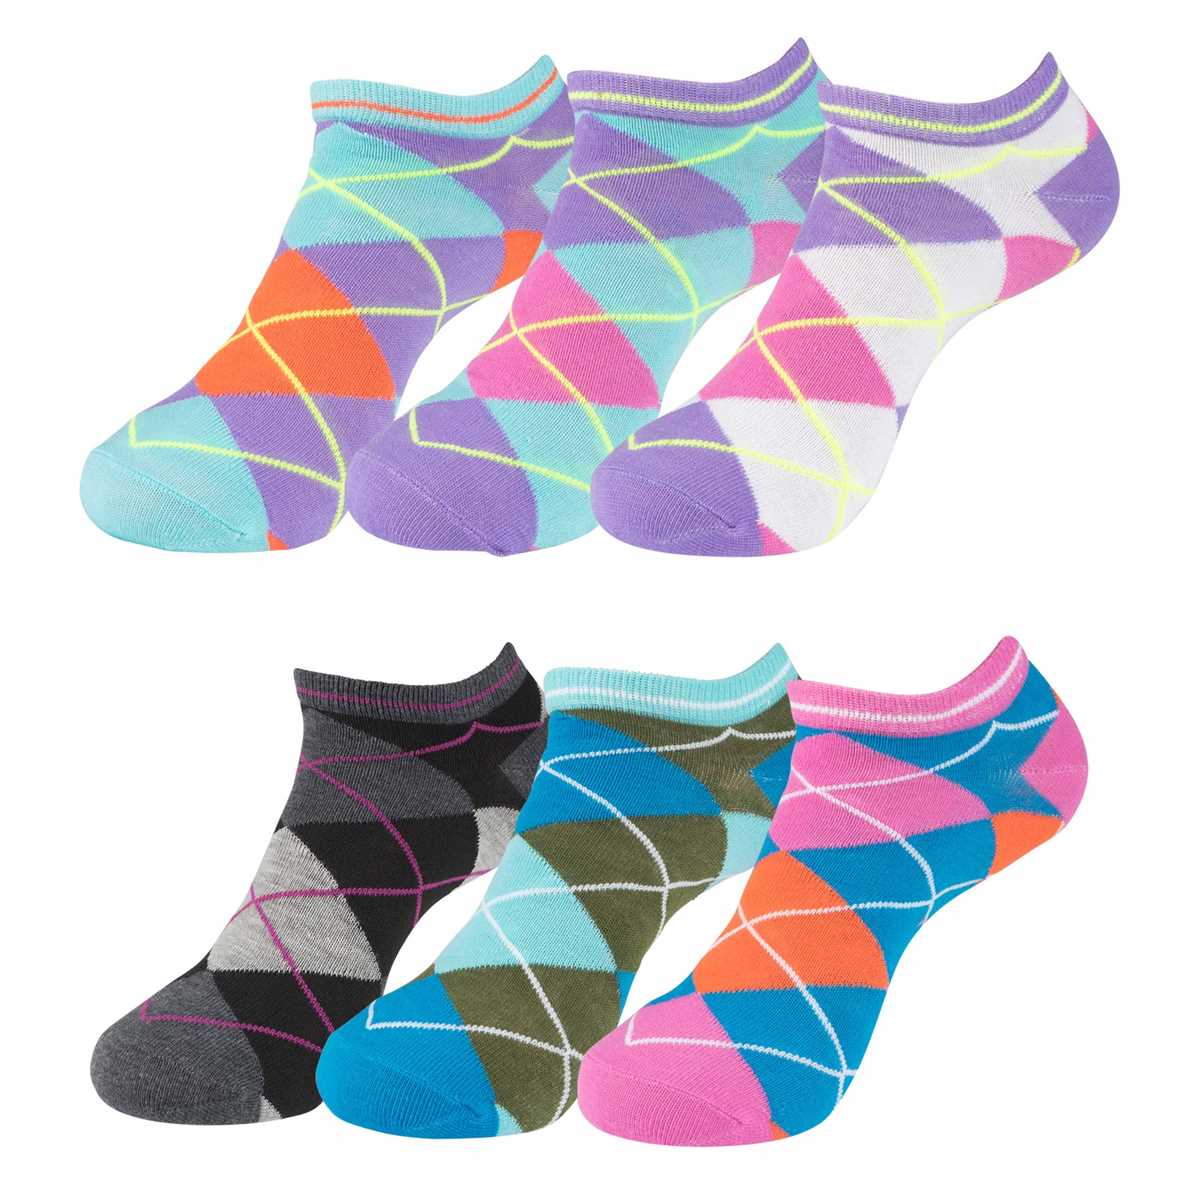
- Colorwork: Instead of using a single color for your socks, you can experiment with colorwork techniques such as stranded knitting or intarsia to create patterns or motifs.
- Lace or Cable Panels: Add a touch of elegance or texture to your ankle socks by incorporating lace or cable panels along the leg or foot.
- Ribbing Options: Play around with different ribbing patterns like 2×2 or 1×1 rib to create a different look and fit for your socks.
- Heel and Toe Variations: Explore different heel and toe constructions such as short-row heels or reinforced toes to suit your preference.
Tips:

- Gauge Matters: Always swatch and check your gauge before starting your ankle socks to ensure the right fit and size. Adjust your needle size if necessary.
- Try Different Yarns: Experiment with different yarn weights and fiber compositions to achieve different textures and results.
- Customize Length: Adjust the length of your ankle socks to your preference by either adding or subtracting rounds in the leg or foot sections.
- Weave in Ends Neatly: Take the time to weave in ends properly so that they are secure and don’t cause discomfort when wearing the socks.
- Block Your Socks: After finishing your socks, block them to give them a more polished look and to even out any uneven stitches or edges.
By experimenting with different variations and following these helpful tips, you can create a wide variety of ankle socks tailored to your personal style and preference. Don’t be afraid to get creative and make each pair of socks a unique masterpiece!