
Knitting a baby blanket is a wonderful way to welcome a new little one into the world. Not only does it provide warmth and comfort, but it also carries the love and care of the person who knit it. If you’re looking for a beautiful and unique pattern, why not try your hand at the corner to corner knit baby blanket?
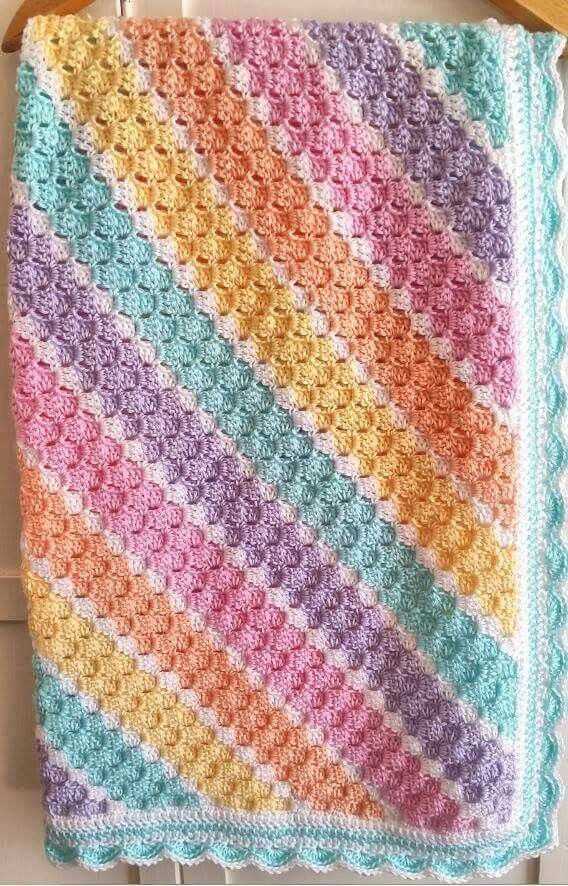
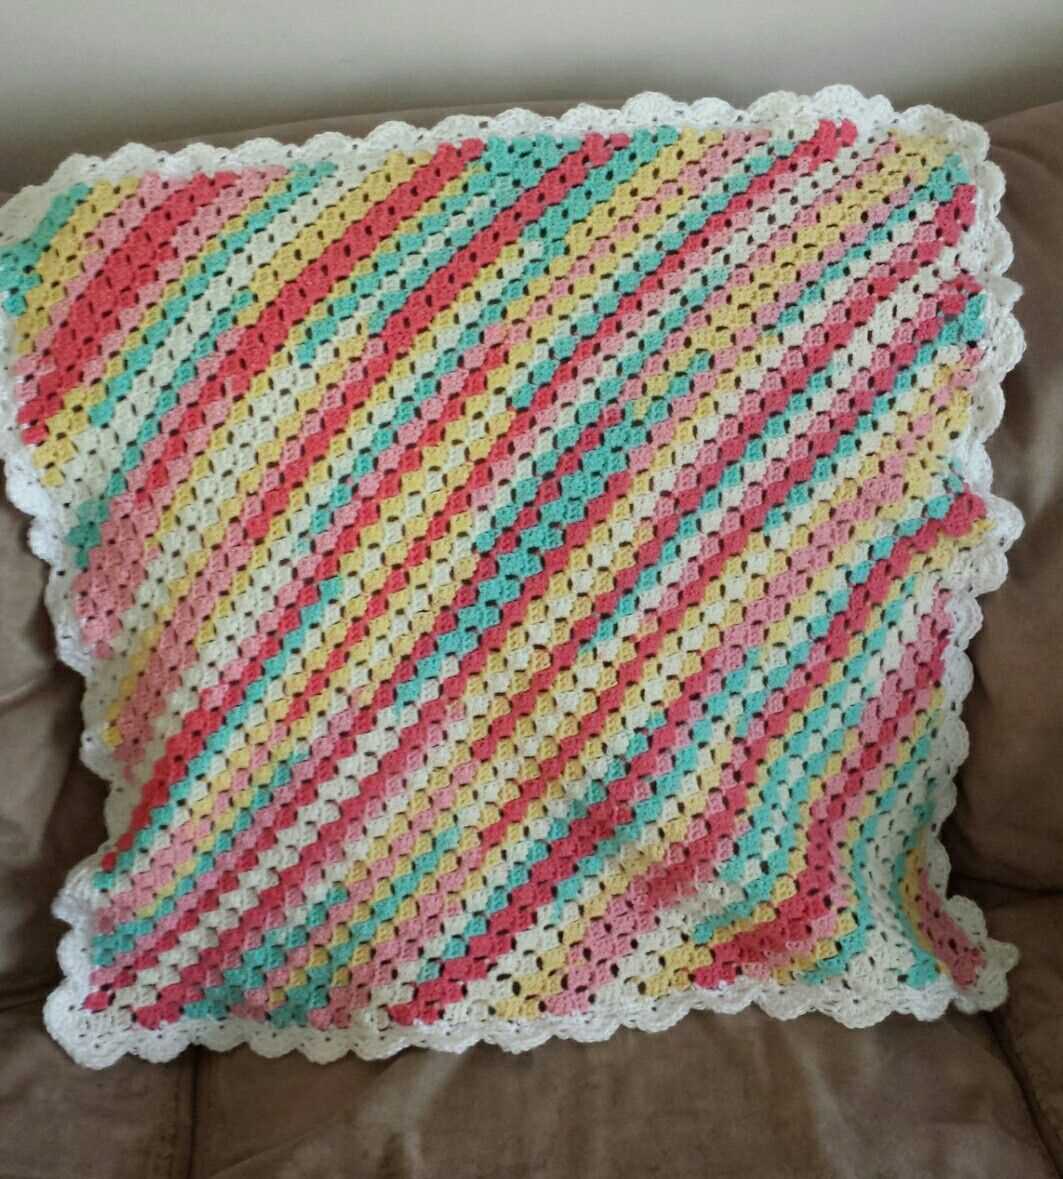
The corner to corner knit baby blanket pattern is a simple yet stunning design that creates a lovely diagonal texture. Whether you’re a beginner knitter or an experienced one, this pattern is perfect for you. It allows you to practice basic knitting techniques while creating a beautiful heirloom piece for a precious baby.
What sets this pattern apart is its versatility. You can choose to use different colors and yarns to create a personalized blanket that matches the baby’s nursery or the parent’s preferences. The corner to corner stitch pattern also allows for easy customization of the size of the blanket. You can make it smaller for a stroller or larger for a crib.
Corner to Corner Knit Baby Blanket Pattern
Making a knit baby blanket is a wonderful project for knitters of all skill levels. The corner to corner knit baby blanket pattern is a popular choice for its simplicity and versatility. This pattern involves increasing and decreasing stitches to create a diagonal design that starts from one corner and ends at the opposite corner.
To begin, you will need a soft and comfortable yarn in your preferred color. Choose a knitting needle size that complements your yarn’s thickness to ensure the desired finished size. Start by casting on three stitches. Each row will increase or decrease stitches following a specific pattern.
Row 1: Knit two stitches, increase one stitch by knitting into the front and back of the next stitch.
Row 2: Knit across all stitches.
Continue repeating these two rows until you reach the desired width for your baby blanket. Remember to increase one stitch at the beginning of each odd-numbered row and knit all stitches on the even-numbered rows. Once you achieve the desired width, you can start decreasing stitches with the following pattern:
Decrease Row: Knit two stitches together, then knit across the remaining stitches.
Continue decreasing one stitch at the beginning of each odd-numbered row until you have only three stitches left. Knit across all stitches for the final row, and then bind off.
Optional variations:
- You can add a border to your corner to corner knit baby blanket pattern by picking up stitches along the edges and knitting a few rows in a contrasting color.
- Experiment with different yarn colors and textures to create a unique and personalized baby blanket.
- Consider adding a simple lace or cable pattern to make your blanket more intricate and interesting.
With this corner to corner knit baby blanket pattern, you can create a beautiful and cozy blanket for your little one or as a thoughtful gift for friends and family. Enjoy the process of knitting and see how this simple pattern can produce stunning results.
What is Corner to Corner Knitting?
Corner to Corner (C2C) knitting is a popular technique that creates a diagonal pattern by working stitches from one corner of a piece to another. It is often used to create square or rectangular blankets, although the technique can be applied to other items as well. The C2C technique involves increasing stitches on one side and decreasing on the other, resulting in a diagonal line.
To begin a C2C project, you typically cast on a small number of stitches and increase those stitches on each row until reaching the desired width. Then, you start decreasing stitches on each row until reaching the opposite corner. This technique creates a textured diagonal pattern that is visually appealing and adds a unique touch to knitted items.
The C2C technique is versatile and can be used with different types of yarn, needle sizes, and stitch patterns. It allows knitters to create intricate designs using basic knitting techniques. Many patterns recommend using variegated or self-striping yarn to enhance the visual effect of the diagonal pattern.
Overall, corner to corner knitting is a fun and creative way to add texture and dimension to your knitting projects. Whether you’re making a cozy blanket or a stylish accessory, the C2C technique can help you achieve a unique and eye-catching result.
Advantages of Corner to Corner Knitting
Corner to corner knitting, also known as C2C knitting, is a versatile and popular technique that offers several advantages to knitters. Whether you are a beginner or an experienced knitter, learning this technique can open up a whole new world of possibilities for your projects.
1. Versatility: One of the biggest advantages of corner to corner knitting is its versatility. This technique allows you to create a wide range of items, from blankets and scarves to sweaters and hats. The diagonal construction of the fabric gives it a unique look and can be easily customized to suit your preferences.
2. Speed: Corner to corner knitting can be a faster technique compared to traditional knitting methods. Since each row increases or decreases in size, you can work up a project more quickly. This makes it an ideal option for those who want to create larger pieces in a shorter amount of time.
3. Portability: Another advantage of corner to corner knitting is its portability. Unlike some other knitting techniques that require multiple needles or complex stitch patterns, corner to corner knitting can be easily carried around in your bag or purse. This makes it an excellent choice for knitting on the go or during your travels.
4. Creativity: Corner to corner knitting allows you to unleash your creativity and experiment with different color combinations and stitch patterns. The diagonal construction of the fabric lends itself well to color blocking and gradient effects. You can create striking and unique designs by simply changing colors or adding texture to your project.
5. Texture: The corner to corner knitting technique also creates a fabulous texture on the fabric, thanks to the alternating rows of knit and purl stitches. This texture adds depth and interest to your finished pieces, making them visually appealing and cozy to touch.
In conclusion, corner to corner knitting offers several advantages that make it a popular choice among knitters. Its versatility, speed, portability, creativity, and texture make it an excellent technique to explore and incorporate into your knitting projects.
Choosing the Right Yarn and Needles
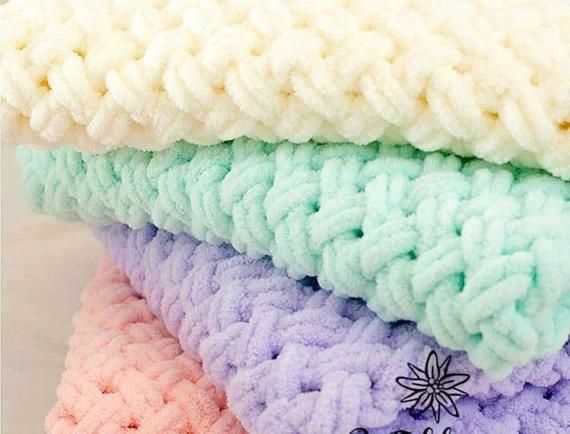
When selecting yarn and needles for your corner to corner knit baby blanket, it is important to consider the comfort and safety of the baby. Opting for a soft, hypoallergenic yarn is ideal, as it will minimize the risk of irritation or allergic reactions. Look for yarns made from natural fibers, such as cotton or bamboo, as these are gentle on delicate skin and breathable.
Another factor to consider is the durability of the yarn. Babies are notorious for their messy adventures, so you want a yarn that can withstand frequent washing. Machine-washable yarns are a great option, as they can be easily cleaned without losing their shape or softness.
When it comes to needles, choosing the right size is crucial to achieving the desired gauge and finished dimensions of your blanket. Depending on the weight of your yarn, you will need to select a needle size that complements it. A smaller needle size will result in a tighter, denser fabric, while a larger needle size will create a looser, more drapey fabric.
In addition to size, consider the material of your needles. Metal needles are known for their smoothness and durability, while bamboo needles offer a lightweight and warm feel. The choice ultimately comes down to personal preference and what feels most comfortable in your hands.
Remember, the yarn and needles you choose will greatly impact the final look and feel of your corner to corner knit baby blanket. Take the time to explore different options and experiment with swatches before diving into the full project. This way, you can ensure that your finished blanket will be both beautiful and baby-friendly.
Getting Started with Corner to Corner Knitting
If you’re looking for a fun and versatile knitting pattern, corner to corner knitting might be just what you need. This technique involves working diagonal rows from one corner of your project to the opposite corner, creating a unique and eye-catching design. Whether you’re a beginner or an experienced knitter, corner to corner knitting offers a wide range of possibilities for blankets, scarves, and other projects.
To get started with corner to corner knitting, you’ll need basic knitting supplies including yarn, knitting needles, and a tapestry needle for weaving in ends. Choose a yarn that is suitable for the project you have in mind and pair it with appropriately sized knitting needles. It’s also helpful to have a stitch marker to keep track of your progress as you work across each row.
Once you have your supplies ready, cast on a small number of stitches at one corner of your project. The exact number of stitches will depend on your desired size and gauge, but a common starting point is around three stitches. From there, you’ll begin working the corner to corner pattern, increasing or decreasing stitches at the beginning and end of each row to create a diagonal shape.
One of the great things about corner to corner knitting is that you can easily customize the size and design of your project. Whether you want a small baby blanket or a large afghan, you can simply continue working the pattern until you reach your desired dimensions. You can also experiment with different combinations of stitches, colors, and textures to create unique and personalized designs.
As you work on your corner to corner knitting project, it’s important to keep track of your stitch count and pattern. For example, if you’re creating a blanket with a specific design, you may need to refer to a chart or written instructions to ensure your increases and decreases are in the correct places. Take your time and go at your own pace, and soon you’ll have a beautiful corner to corner knitted creation to show off.
Creating the Pattern
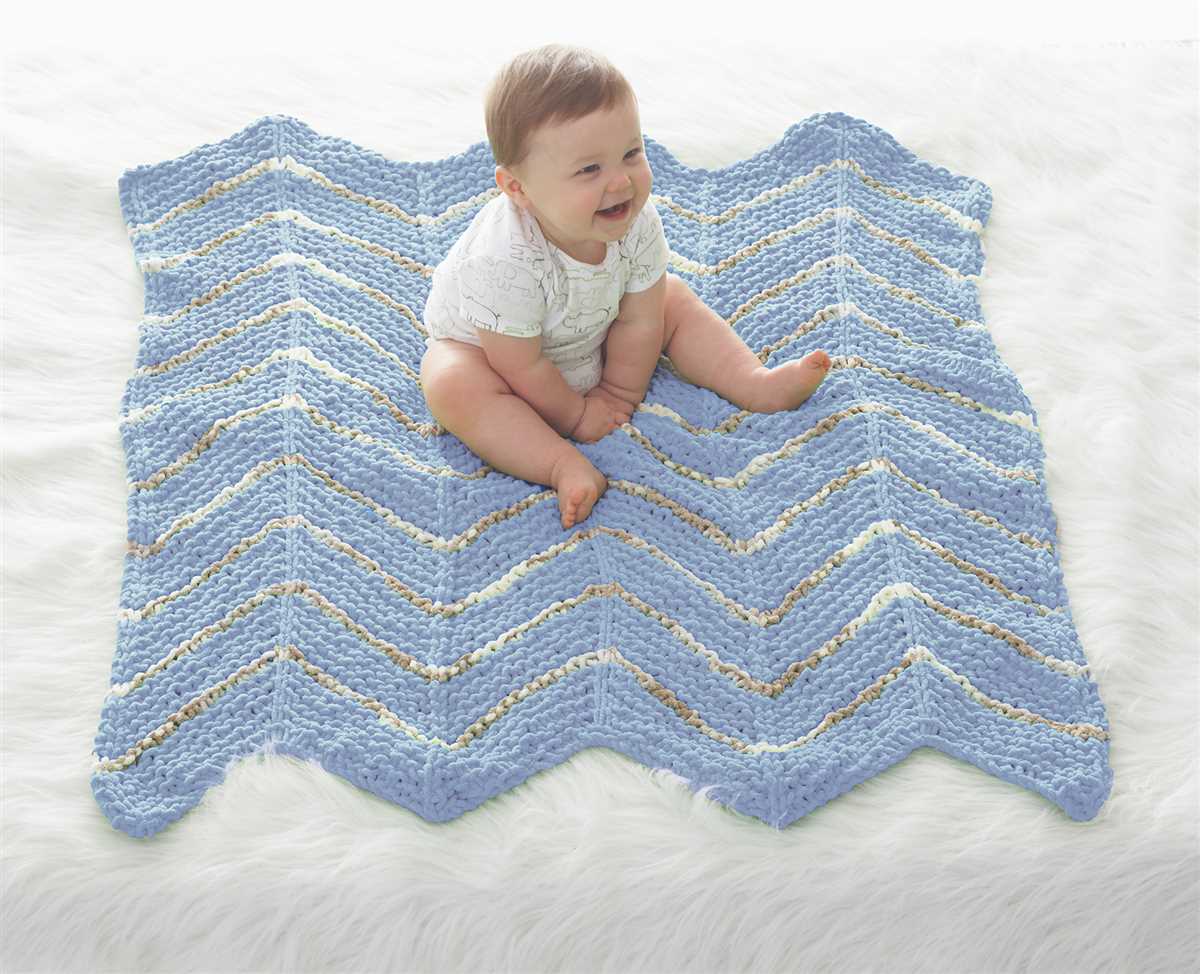
When creating a corner to corner knit baby blanket pattern, it is important to first determine the desired finished size of the blanket. This will help determine the number of stitches and rows that need to be worked. A typical size for a baby blanket is around 30 inches by 36 inches.
Next, choose the yarn and needle size that you want to use for the blanket. It is important to select a soft, washable yarn that is suitable for a baby’s sensitive skin. Worsted weight yarn is a popular choice for baby blankets. The needle size will depend on the yarn and your personal knitting tension.
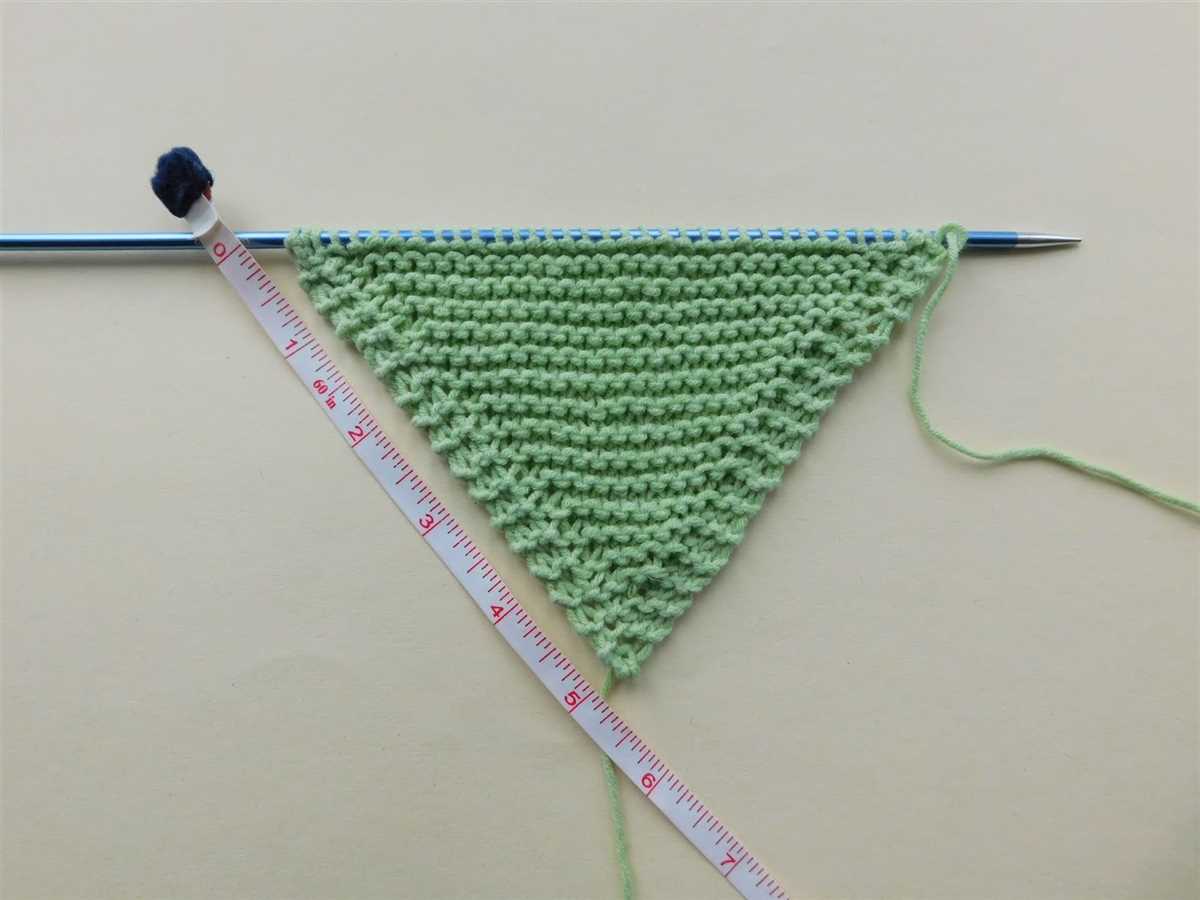
Once you have determined the size and yarn for your project, you can begin creating the pattern. For a corner to corner knit baby blanket, start by casting on three stitches. Then, work the first row by knitting each stitch. In the second row, increase one stitch at the beginning and end of the row, and knit the rest of the stitches.
Continue working in this manner, increasing one stitch at the beginning and end of each row, until you reach the desired width of the blanket. Then, begin decreasing one stitch at the beginning and end of each row to create the diagonal shape of the blanket. Repeat these rows until you reach the desired length of the blanket.
You can add different stitch patterns and color changes to make your corner to corner knit baby blanket pattern unique. Consider adding stripes, intarsia designs, or simple lace patterns to add visual interest to the blanket. Remember to always keep track of your stitch count and row count to ensure that the blanket stays symmetrical and balanced.
Once you have finished knitting the blanket, you can bind off and weave in any loose ends. Give the blanket a gentle wash and block it to shape if necessary. Your corner to corner knit baby blanket pattern is now ready to be used or given as a special handmade gift.
Working the Increase Rows
The increase rows are an important part of the corner to corner knit baby blanket pattern as they allow you to gradually increase the size of the blanket. These rows are worked in a diagonal direction from one corner of the blanket to the opposite corner.
To work the increase rows, you will need to know how to knit and purl stitches. The pattern will indicate when and how many stitches to increase on each row. Typically, the increases are made by working a yarn over (yo) or by knitting or purling into the front and back of a stitch.
When working the increase rows, it’s important to keep track of your stitches and rows. You can use stitch markers or a row counter to help you stay organized. It’s also helpful to check your work periodically to ensure that you are adding the correct number of stitches.
As you continue to work the increase rows, you will notice that the blanket begins to take shape and become larger. The diagonal pattern created by the increases gives the blanket a unique and interesting look. Once you have completed all of the increase rows, you can move on to the next section of the pattern and start working the main body of the blanket.
Working the Decrease Rows
Once you have completed the necessary number of increase rows to achieve the desired width of your baby blanket, it’s time to start working the decrease rows. Decreasing stitches helps to shape the blanket by gradually reducing the overall stitch count.
To begin the decrease rows, you will work across the row until you reach the specified number of stitches before the corner. At this point, you will begin the decrease section. The decrease section typically involves knitting two stitches together (K2tog), which combines two stitches into one and decreases the overall stitch count by one. It is important to follow the pattern instructions to determine how many stitches to knit before starting the decrease section.
After completing the decrease section, you will continue to work across the row, following the pattern instructions. Repeat this process of knitting across the row, completing the decrease section, and knitting across until you have reached the specified number of stitches before the next corner. Remember to always follow the pattern instructions for the specific number of stitches to knit before starting the decrease section.
Throughout the decrease rows, you will gradually reduce the stitch count and shape the blanket. It is important to keep an eye on your stitch count and make sure you are following the pattern correctly. Remember to take your time and carefully read the instructions for each decrease row to ensure a successful outcome.
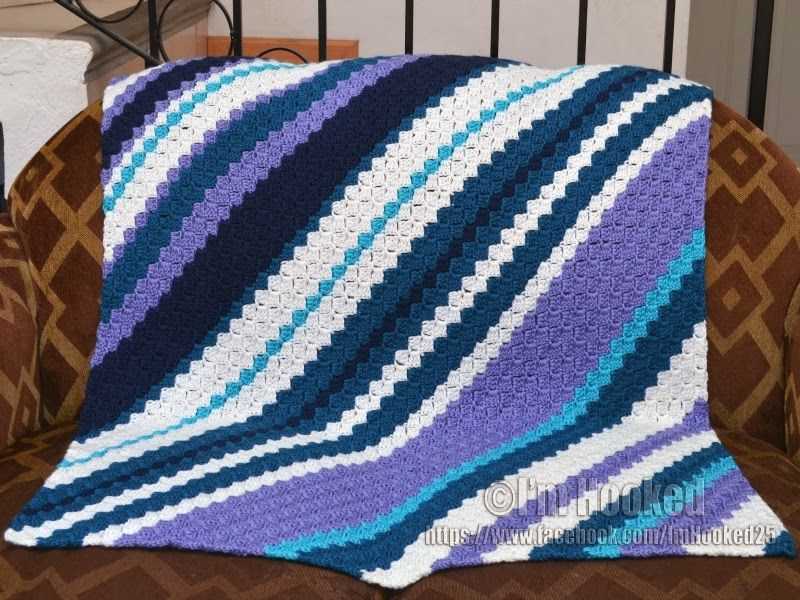
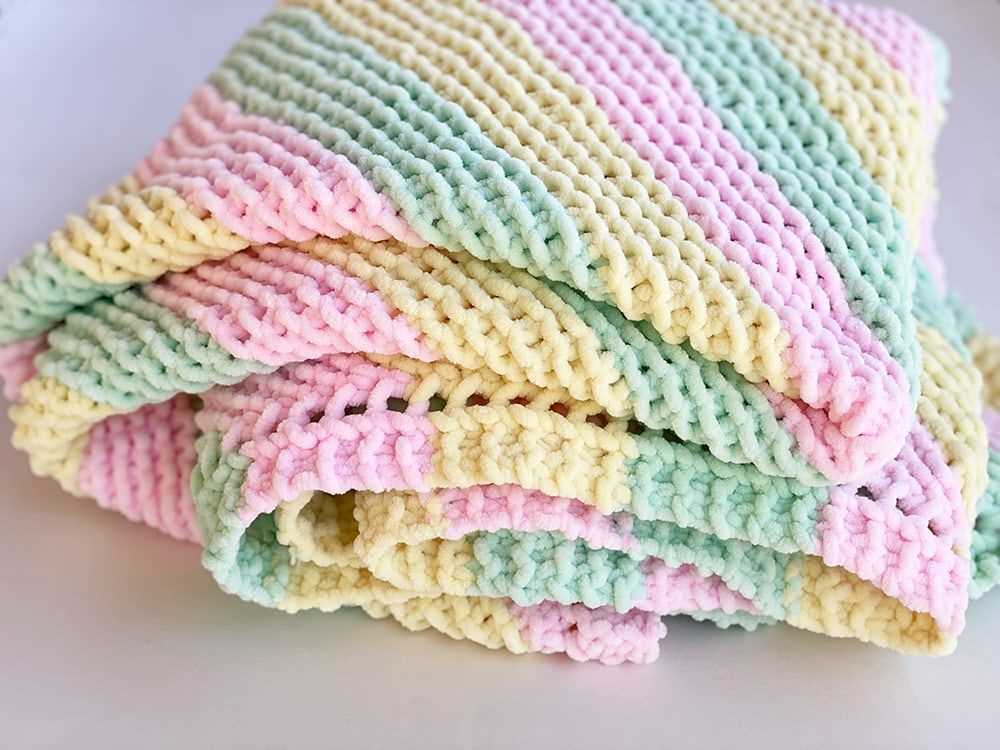
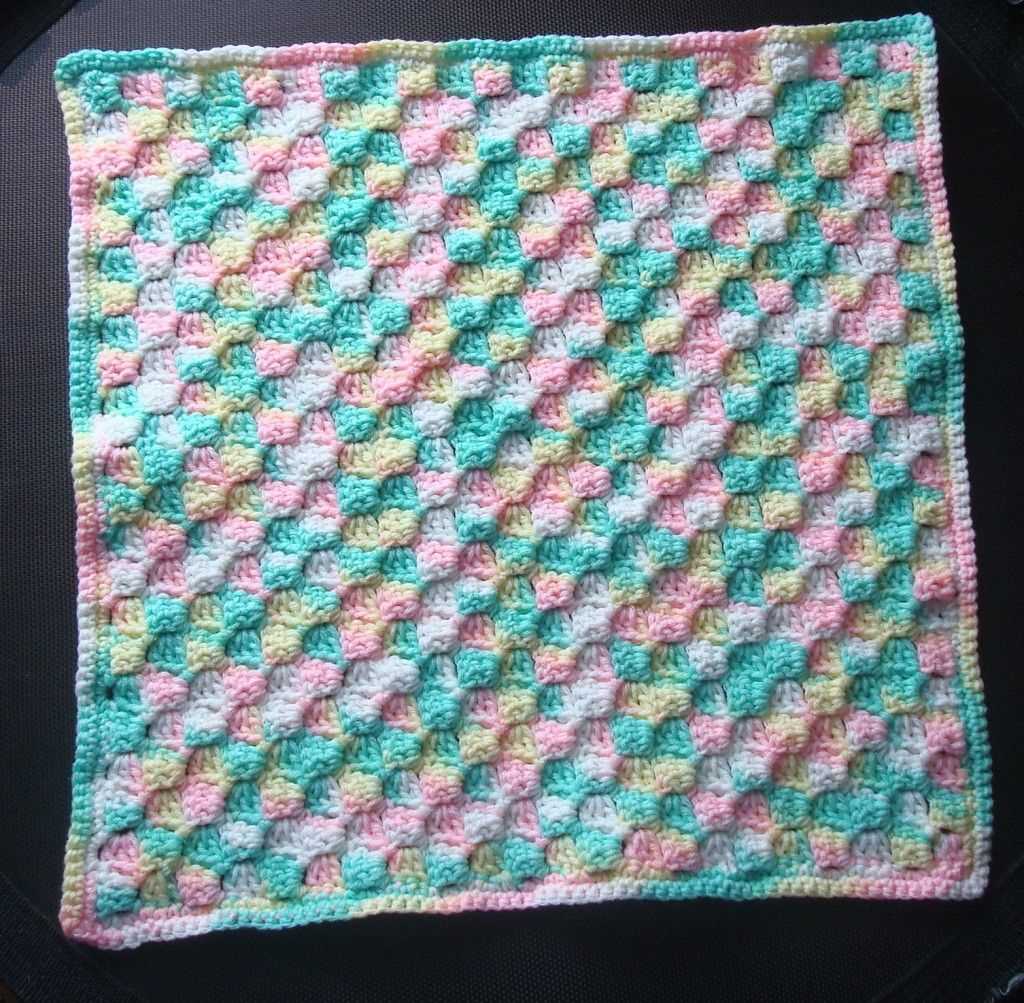
Adding Stripes or Color Blocks
If you want to add some visual interest to your corner to corner knit baby blanket, you can incorporate stripes or color blocks into the design. This can be done by simply changing the color of the yarn as you work each row, or by creating larger blocks of color by repeating the same color for multiple rows.
To create stripes, you can choose two or more different colors of yarn and alternate between them as you work each row. This can be done by carrying the unused yarn up the side of your work as you switch colors, or by cutting and weaving in the ends of each color change. Stripes can be narrow or wide, depending on how many rows you work in each color before switching.
If you prefer a more defined color blocking effect, you can work multiple rows in the same color to create larger blocks. For example, you could work four rows in one color, then switch to another color for the next four rows. This creates a bold, graphic look that can add a modern touch to your baby blanket.
When adding stripes or color blocks, it’s important to keep in mind the color palette you have chosen for your blanket. Consider using colors that coordinate and complement each other, or choose contrasting colors for a bold and vibrant look. You can also experiment with different stitch patterns or textures within each stripe or color block to add even more visual interest to your blanket.
Whether you choose to add stripes or color blocks to your corner to corner knit baby blanket, the options are endless. Get creative with your color choices and have fun experimenting with different patterns and textures to create a truly unique and personalized baby blanket.
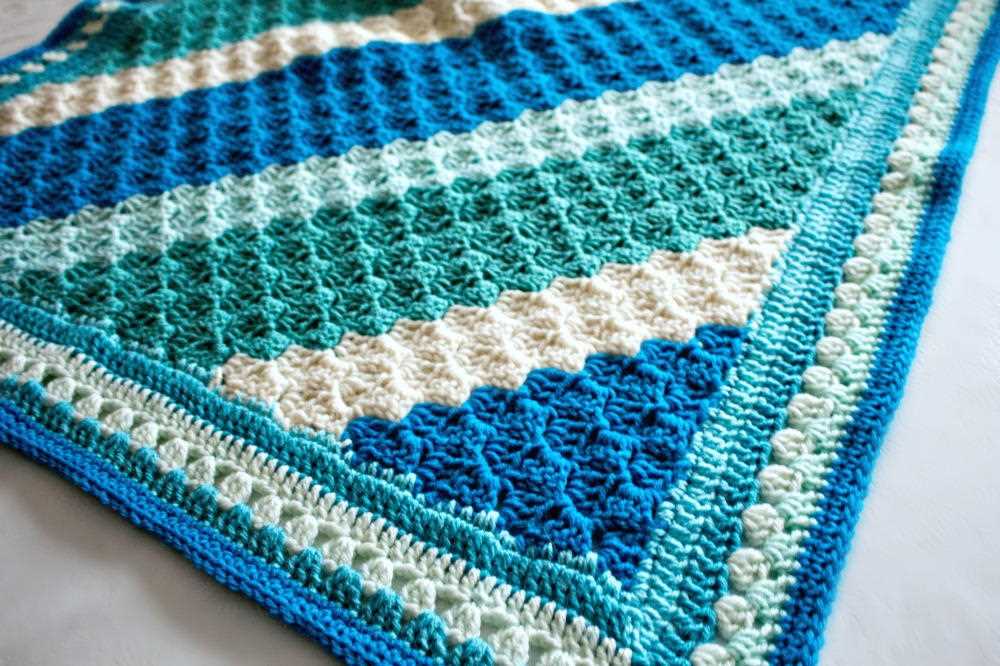
Finishing and Border Options
After completing the corner to corner knit baby blanket, there are a few finishing touches you can add to give it a polished look. One option is to block the blanket, which involves wetting it and then laying it flat to dry in the desired shape. This helps to even out the stitches and make the blanket lay flat. You can also consider adding a border to the blanket for a decorative touch and to give it a more finished look.
Blocking: To block the blanket, you will need to fill a sink or basin with lukewarm water and a small amount of mild detergent. Gently submerge the blanket in the water, making sure it is fully saturated. Let it soak for about 15 minutes, then carefully remove it from the water and press out any excess moisture. Lay the blanket flat on a clean towel, shaping it into the desired size and shape. Use rustproof pins to secure the edges and corners in place. Allow the blanket to dry completely before removing the pins.
Adding a Border: To add a border to the blanket, you can use a contrasting color yarn or stick with the same yarn that you used for the main body of the blanket. Start by picking up stitches along one edge of the blanket using a knitting needle. The number of stitches you pick up will depend on the desired width of the border. Knit the border in your chosen stitch pattern (such as garter stitch or ribbing) for the desired length, then bind off. Repeat this process for each side of the blanket, making sure to match the stitch pattern and number of stitches for each border. Once all four borders are complete, weave in any loose ends and your corner to corner knit baby blanket is complete!
Washing and Caring for the Finished Blanket
Caring for your finished corner to corner knit baby blanket is essential to keep it in good condition and maintain its softness and beauty. Follow these simple guidelines to ensure your blanket stays clean and cozy.
- Machine wash on gentle cycle: The blanket can be safely machine washed on a gentle cycle using cold or lukewarm water. Use a mild detergent that is suitable for delicate fabrics.
- Avoid harsh chemicals: Avoid using bleach or any harsh chemicals that may damage the fabric or cause discoloration.
- Reshape while damp: After washing, gently reshape the blanket while it is still damp and lay it flat to dry. This will help maintain its shape and prevent any stretching or shrinkage.
- Avoid tumble drying: It is recommended to avoid tumble drying the blanket as this can cause unnecessary wear and tear. Instead, let it air dry naturally.
- Iron with caution: If necessary, you can iron the blanket on a low heat setting. However, it’s important to use a pressing cloth to protect the fabric and avoid direct contact with the iron.
- Store in a clean and dry place: When not in use, store the blanket in a clean and dry place to protect it from dust and moisture.
By following these care instructions, your corner to corner knit baby blanket will stay soft, cozy, and beautiful, ensuring that your little one enjoys its warmth and comfort for a long time.
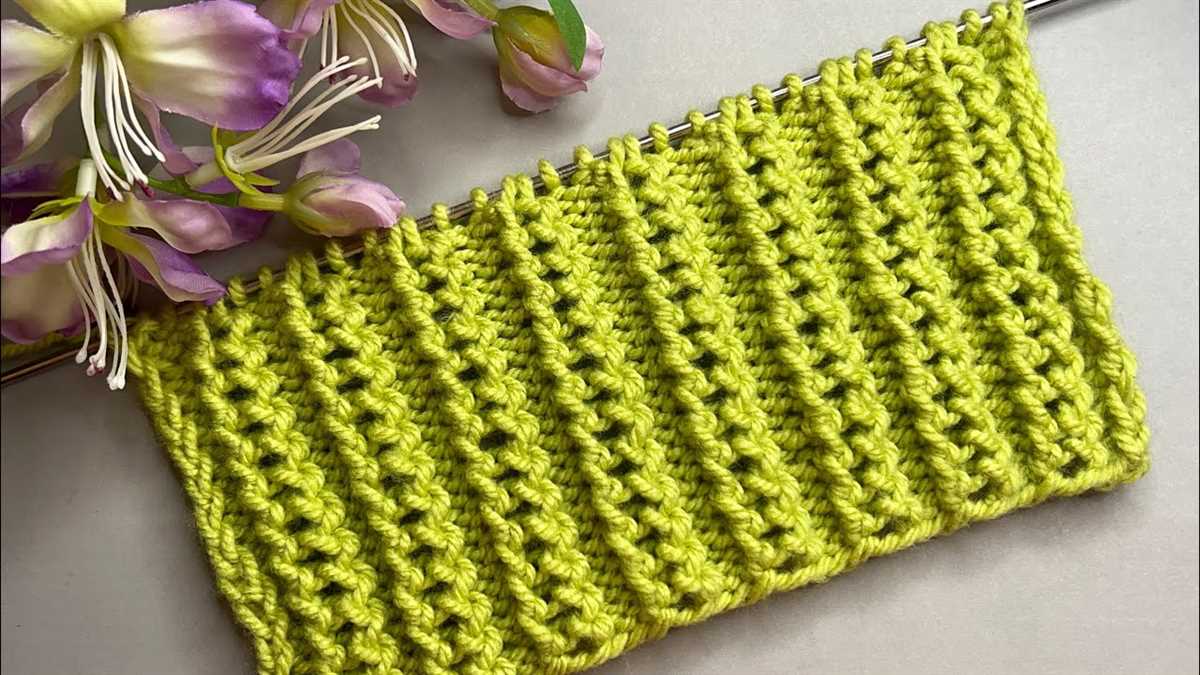
Alternative Stitch Patterns
If you’re looking to add some variety to your corner to corner knit baby blanket, there are several alternative stitch patterns you can try. These stitch patterns can create different textures and designs, making your blanket unique and interesting.
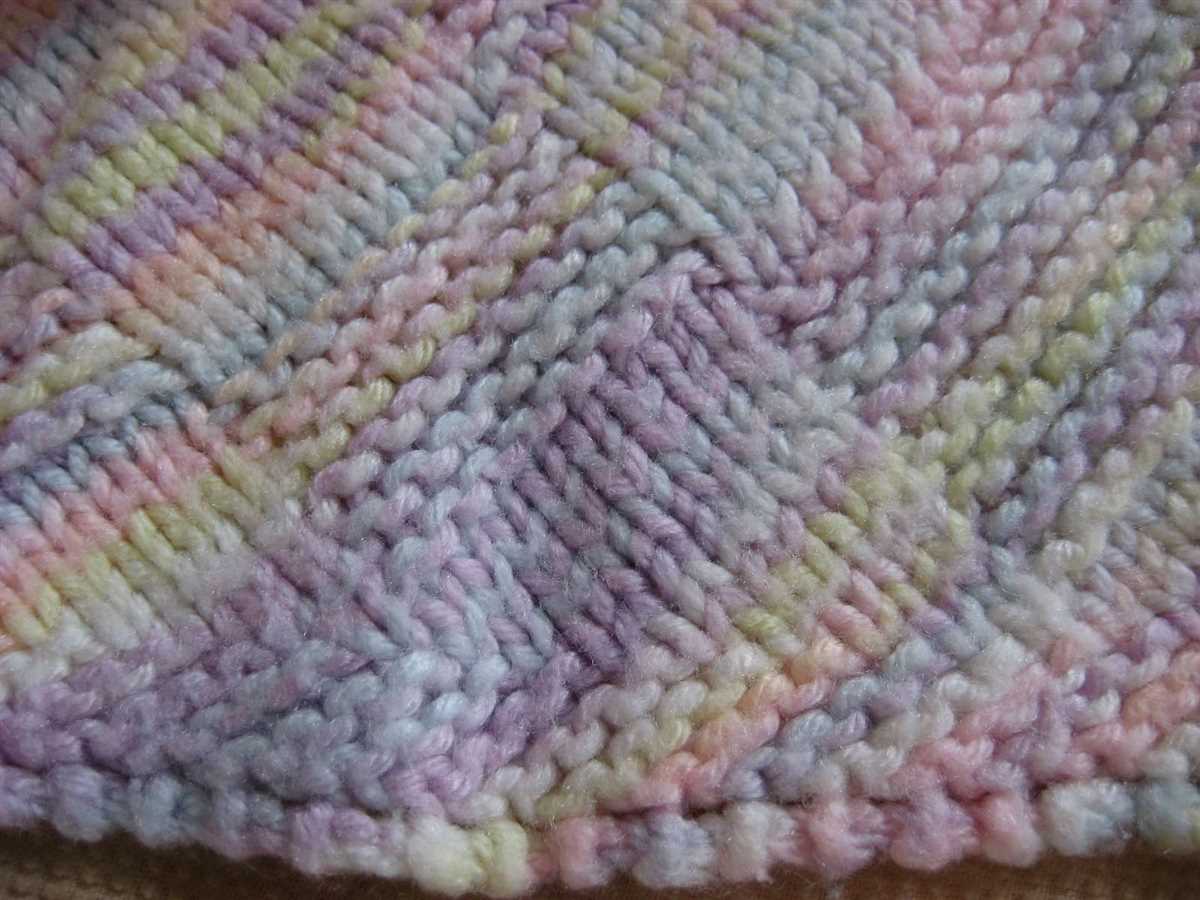
1. Seed Stitch
The seed stitch is a simple yet elegant stitch pattern that creates a textured fabric. To knit the seed stitch, alternate between knitting and purling stitches in a checkerboard pattern. This stitch pattern is great for adding a touch of sophistication to your baby blanket.
2. Cable Stitch
The cable stitch is a classic and popular stitch pattern that creates a braided effect. To knit the cable stitch, you’ll need a cable needle to hold stitches temporarily while you cross them over each other. This stitch pattern adds an element of complexity and visual interest to your baby blanket.
3. Bobble Stitch
The bobble stitch is a fun and playful stitch pattern that creates small raised bumps on the fabric. To knit the bobble stitch, you’ll need to increase and decrease stitches in a specific pattern to create the bobbles. This stitch pattern adds a whimsical and textured look to your baby blanket.
These are just a few examples of alternative stitch patterns you can try for your corner to corner knit baby blanket. Experiment with different stitch patterns and combinations to create a blanket that is uniquely yours. Whether you choose to incorporate these stitches throughout the entire blanket or as accent rows, the end result will be a beautiful and personalized baby blanket.
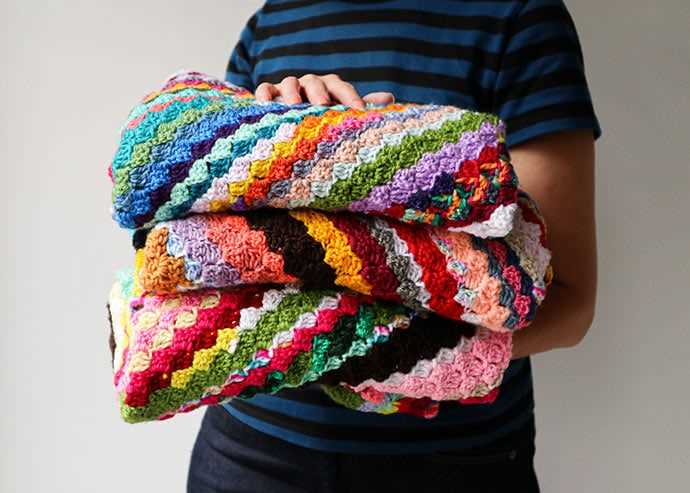
Inspiration and Ideas
Crocheting a corner to corner knit baby blanket can be a fun and rewarding project. It allows you to create a personalized and handmade gift for a special little one in your life. With endless possibilities for patterns and colors, you can customize the blanket to match any nursery decor or personal taste.
If you’re looking for inspiration, here are a few ideas to get you started:
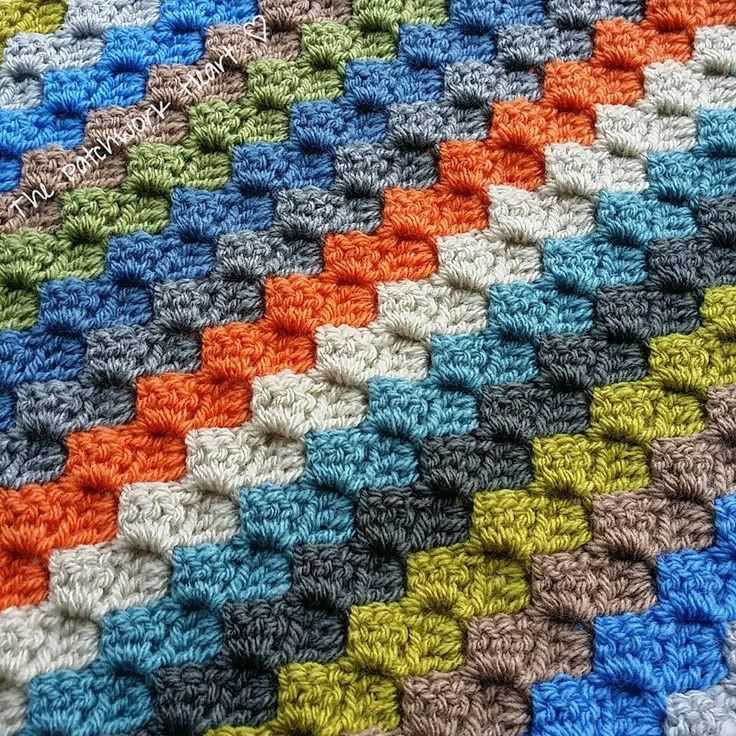
- Colorful Stripes: Choose a variety of bright and cheerful colors to create bold stripes across the blanket. This is a great option for gender-neutral or modern nursery themes.
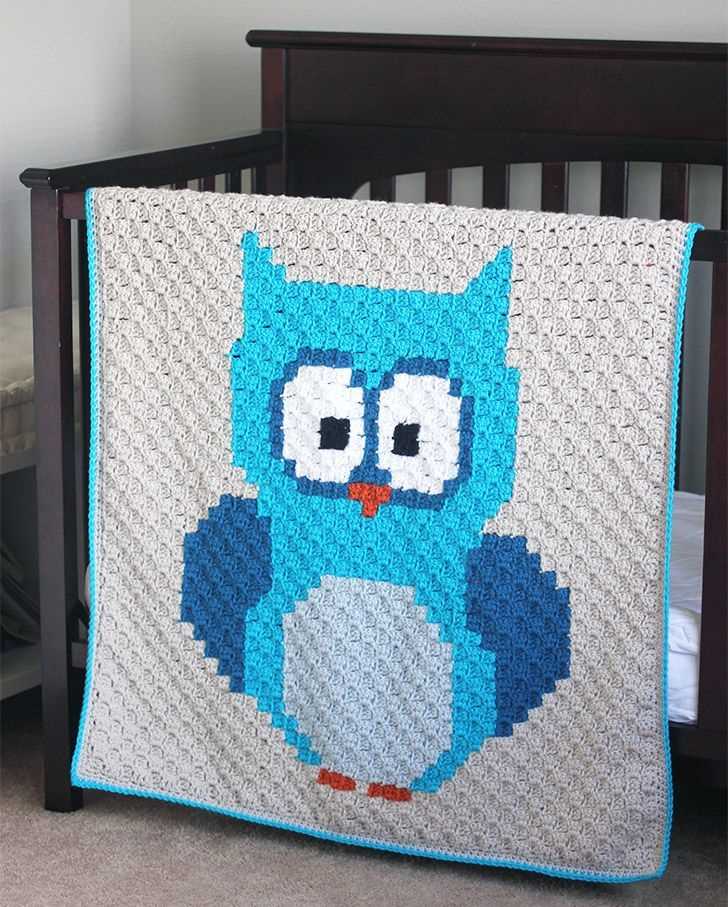
- Animal Friends: Incorporate animal motifs into your blanket design. You can add adorable appliques or use colorwork techniques to create images of animals like elephants, owls, or bears.
- Classic and Timeless: Stick with a classic color palette and traditional patterns like gingham or herringbone for a timeless look. This is a great option if you’re unsure about the nursery decor or if you want the blanket to be versatile for future babies.
- Monogrammed: Personalize the blanket with the baby’s initials or name. You can add a monogram as an applique or use colorwork techniques to incorporate the letters into the design.
Remember, the possibilities are endless when it comes to designing your corner to corner knit baby blanket. Use these ideas as a starting point, and don’t be afraid to get creative and make it your own. Whether you choose a simple and classic design or a vibrant and playful one, the result will be a cherished and handmade keepsake that will be treasured for years to come.