
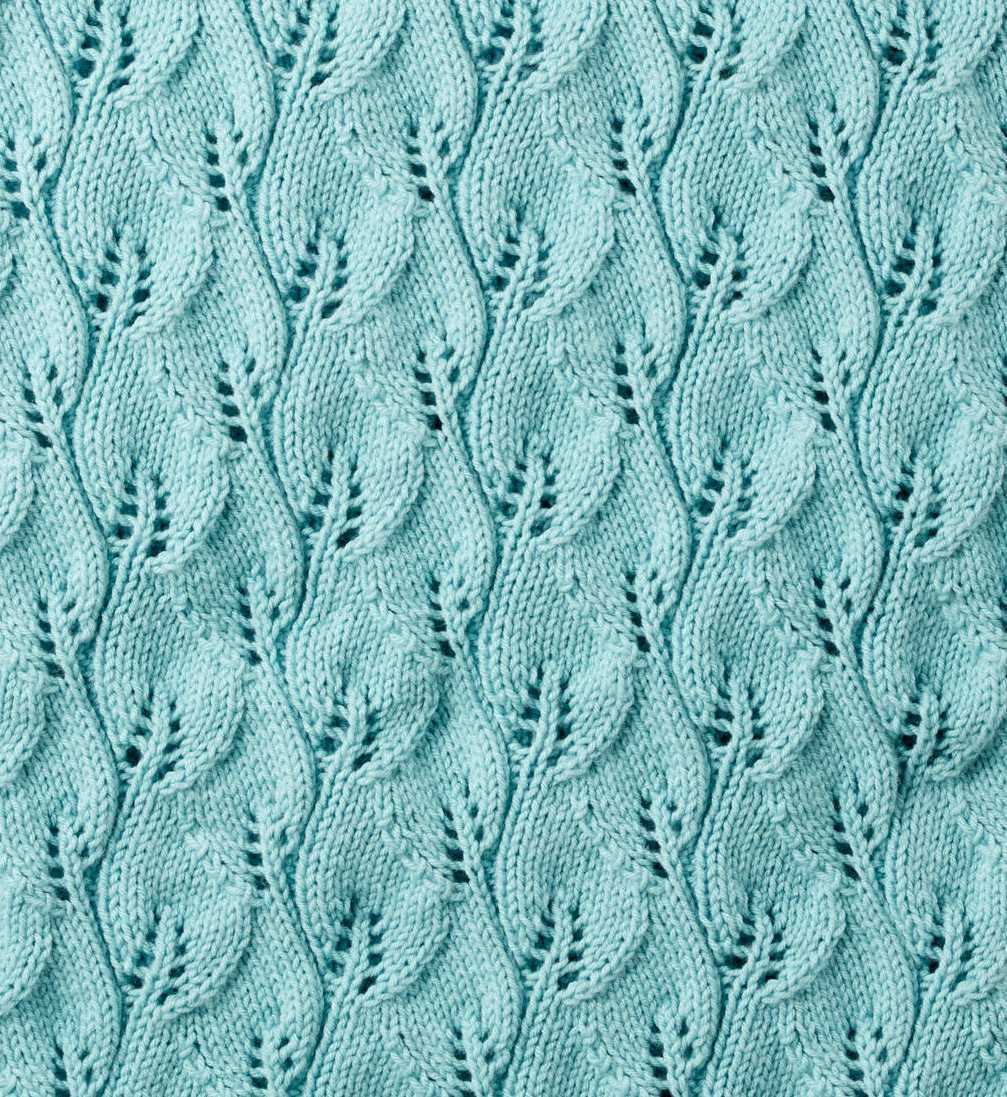
The small knit leaf pattern is a popular design used in knitting projects. It features a delicate and intricate leaf motif that adds a touch of elegance to any piece. The pattern is versatile and can be used to create various items, including scarves, hats, and even blankets.
This pattern is perfect for both beginner and experienced knitters. It is relatively easy to follow and requires only a basic knowledge of knitting stitches. The small knit leaf pattern consists of a series of knit and purl stitches that create a beautiful and detailed leaf shape.
When knitting the small knit leaf pattern, it is important to pay attention to the stitch count and pattern repeats to ensure that the leaf motif is evenly distributed across the piece. The pattern can be easily adjusted to suit different sizes and gauges, making it a versatile choice for knitters of all skill levels.
Small Knit Leaf Pattern
If you’re looking for a beautiful and intricate knitting pattern, the small knit leaf pattern might be just what you need. This pattern features delicate leaf motifs that add a touch of nature to any knitted item. Whether you want to incorporate this pattern into a scarf, a hat, or even a blanket, the small knit leaf pattern is sure to impress.
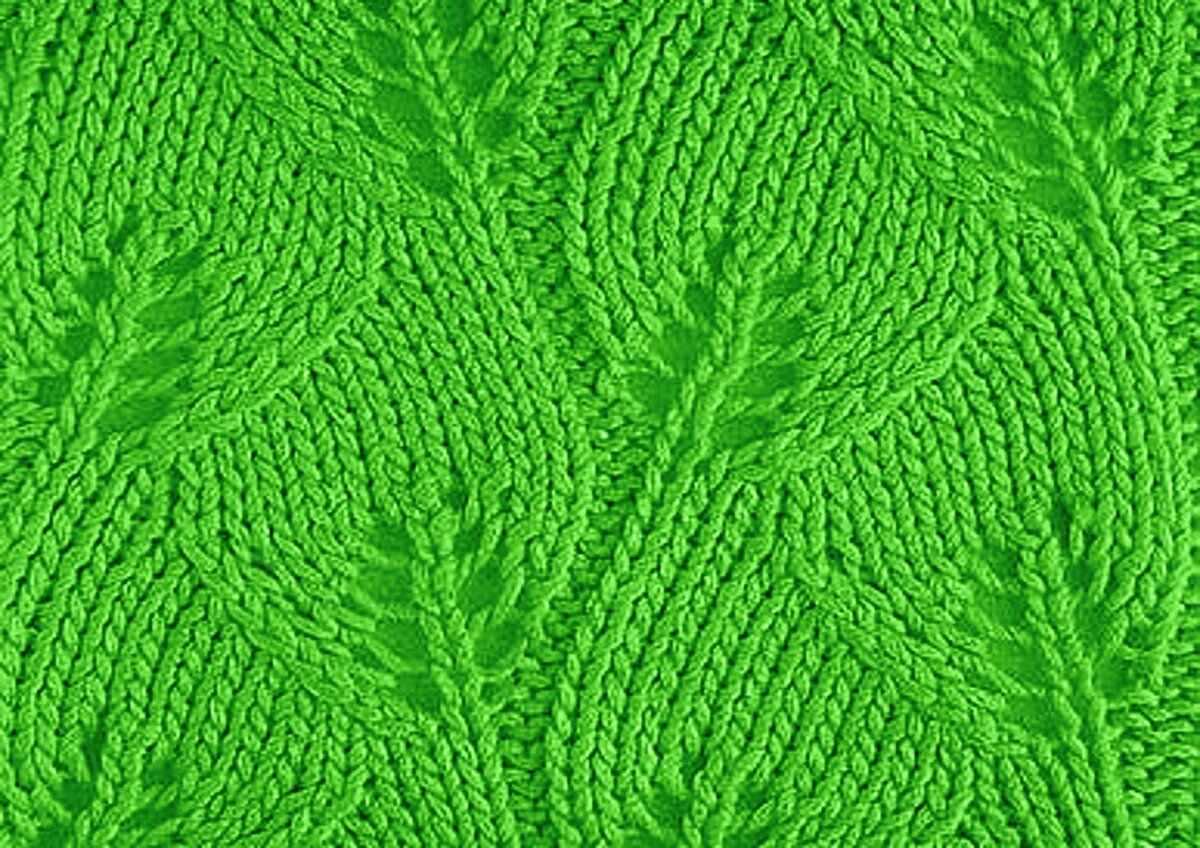
The small knit leaf pattern is made up of a series of knits, purls, and yarn overs, creating a textured and dimensional design. Each leaf is knit separately and then stitched into the main fabric, making it a fun and engaging project to work on.
To begin the small knit leaf pattern, you’ll need to cast on a multiple of 10 stitches. The leaves are formed by a combination of knit and purl stitches, with yarn overs creating the openwork sections. As you work through the pattern, pay attention to the placement of the yarn overs to ensure the leaf motifs are formed correctly.
If you’re new to lace knitting, the small knit leaf pattern is a great project to practice your skills. It’s an intermediate-level pattern that will challenge you just enough to keep things interesting, but still achievable with some patience and practice. You can find tutorials and videos online to help you master the techniques used in this pattern.
Once you’ve completed your small knit leaf pattern, you can use it to add a touch of elegance to your knitted accessories. The leaf motifs can be repeated throughout a larger project or used as a focal point on a smaller item. Regardless of how you choose to incorporate this pattern into your knitting, the small knit leaf pattern is sure to impress with its intricate design and beauty.
So why not give the small knit leaf pattern a try? With its delicate leaf motifs and textured design, it’s a pattern that’s sure to bring a touch of nature and elegance to your knitting.
Choosing the right yarn
When it comes to knitting projects, choosing the right yarn is essential. The perfect yarn can make all the difference in the final outcome of your project. There are several factors to consider when selecting the yarn for your small knit leaf pattern.
Weight: The weight of the yarn refers to its thickness. For a small knit leaf pattern, a light or medium weight yarn is generally recommended. This will help to create delicate and intricate details in the pattern. If you choose a yarn that is too heavy, the leaves may appear bulky and lose their defined shape.
Fiber: The fiber content of the yarn will also impact the final result of your small knit leaf pattern. Natural fibers, such as wool or cotton, are popular choices for knitting projects as they offer warmth, breathability, and durability. Alternatively, acrylic yarns can be a budget-friendly option that is easy to care for. Consider the characteristics you want in your finished project and choose a yarn that aligns with those requirements.
Color: The color of the yarn is another important consideration. For a small knit leaf pattern, you may want to choose a yarn color that complements the natural colors of leaves, such as shades of green or brown. Alternatively, you could opt for a more vibrant color to create a bold and eye-catching design. Consider the overall aesthetic you want to achieve and choose a yarn color that enhances your vision.
Texture: The texture of the yarn can also add interest and dimension to your small knit leaf pattern. You may want to choose a yarn with a smooth texture for a more polished and refined look, or opt for a yarn with more texture to create a unique and intricate design. Consider the effect you want to achieve and choose a yarn with the appropriate texture.
By carefully considering the weight, fiber, color, and texture of your chosen yarn, you can ensure that your small knit leaf pattern turns out beautifully. Take the time to explore different options and experiment with different yarns to find the perfect match for your project. With the right yarn, your small knit leaf pattern will come to life and be a stunning addition to your knitting repertoire.
Selecting the needles
When starting a small knit leaf pattern project, one of the first things to consider is selecting the right needles. The needle size will determine the final size and appearance of the leaves, so it’s important to make the right choice.
Needle size: The size of the needles will depend on the type of yarn you are using and the desired outcome. If you are using a thick yarn, you might want to go for larger needles to create bigger and bulkier leaves. On the other hand, if you are using a thinner yarn, smaller needles will be more suitable for creating delicate and intricate leaf patterns.
Needle material: The material of the needles can also make a difference in the overall look and feel of the finished project. Wooden or bamboo needles provide a warmer and softer touch, which can be perfect for creating a natural and organic look for the leaves. Metal needles, on the other hand, are more sleek and smooth, which can give a modern and polished look to the leaf pattern.
- Bobbins: If you plan to use multiple colors for your leaf pattern, you may want to consider using bobbins. Bobbins are small holders for yarn that help keep different colors organized and prevent tangling. They can be especially useful when working with complex leaf patterns that involve multiple color changes.
- Circular or straight needles: Depending on your knitting preferences, you can choose between circular or straight needles for your small knit leaf pattern. Circular needles are great for projects with a large number of stitches or when working in the round. On the other hand, straight needles can be more convenient for smaller projects or when working back and forth in rows.
Overall, the choice of needles for your small knit leaf pattern will depend on your personal preferences and the desired outcome of your project. Experimenting with different needle sizes and materials can help you achieve the perfect look for your leaf pattern.
Casting on stitches
When starting a small knit leaf pattern, the first step is to cast on stitches. Casting on is the process of creating the initial row of stitches on the knitting needle. There are several different methods for casting on, but for this leaf pattern, the long-tail cast on method is commonly used.
The long-tail cast on method requires a length of yarn to be pulled through a slip knot, leaving a long tail. The slip knot is then placed on one knitting needle, and the working yarn is held in the right hand. With the left hand, the yarn is looped around the thumb, creating a twist. The needle is then inserted into the loop on the thumb, and the twist is transferred onto the needle. This process is repeated until the desired number of stitches are cast on.
The long-tail cast on method is preferred for this pattern because it creates a neat and stretchy edge, which is important for the leaf motif. It also provides a good foundation for the rest of the knitting project. Once the stitches are cast on, the next step is to begin the leaf pattern by following the instructions for each row.
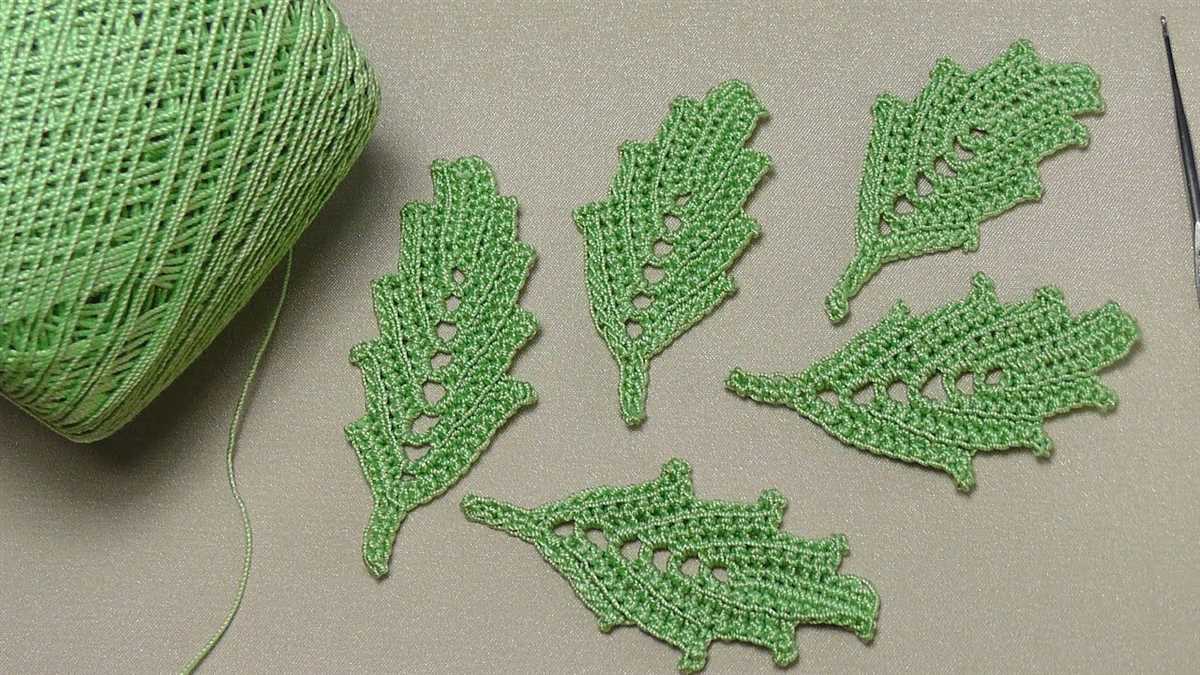
Creating the leaf motif
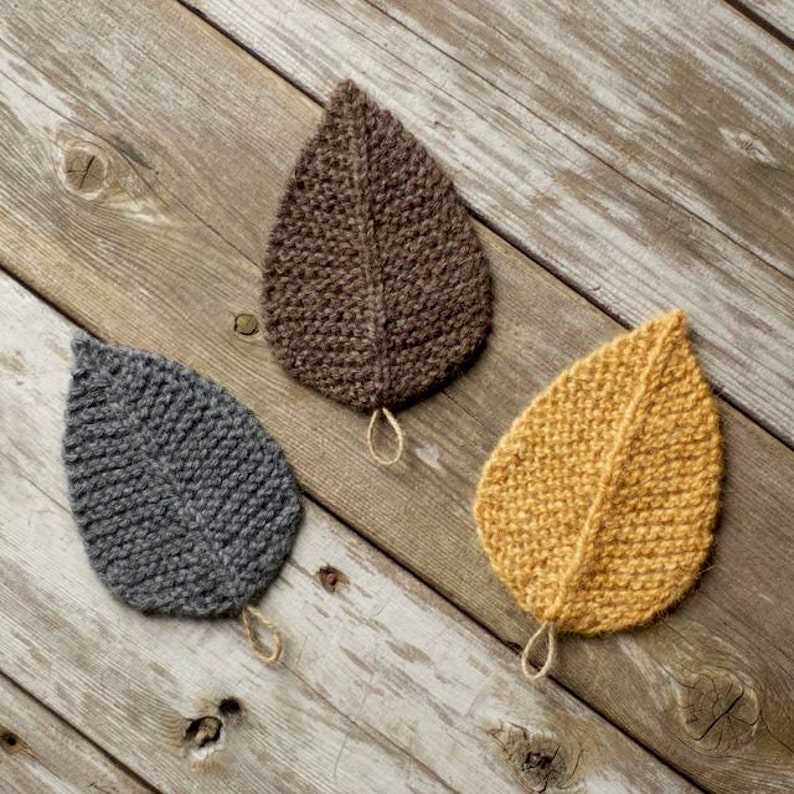
The leaf motif is a popular choice for knitters looking to add an organic touch to their projects. It can be used for a variety of items such as scarves, hats, and even blankets. The small knit leaf pattern is a versatile design that can be easily incorporated into any knitting project.
To create the leaf motif, you will need a basic understanding of knitting techniques such as casting on, knitting, purling, and decreasing. The pattern typically starts with a few rows of ribbing or stockinette stitch to create a base for the leaves. Then, using a combination of knit and purl stitches, the leaf motif is gradually formed by increasing and decreasing stitches in a specific pattern.
The key to creating a lifelike leaf motif is to pay attention to the details. The veins of the leaf can be created by using a combination of purl stitches and slip stitches. Adding some texture to the leaf by incorporating different stitch patterns such as garter stitch or seed stitch can also enhance the overall look. Additionally, using different shades of green or adding a touch of brown can make the leaf motif even more realistic.
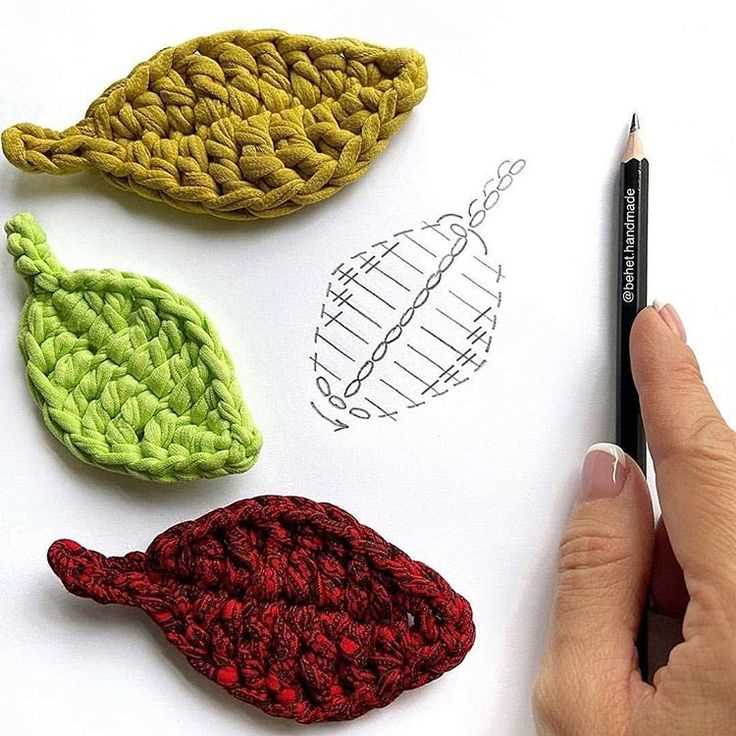
One common approach to creating the small knit leaf motif is to follow a detailed pattern. Many knitting patterns are available online and in knitting books that provide step-by-step instructions on how to create the leaf motif. These patterns often include charts and written instructions, making it easier for knitters to follow along.
However, for more experienced knitters, it is also possible to create their own leaf motif by experimenting with different stitch combinations and techniques. By adjusting the number of stitches and rows, as well as incorporating different stitch patterns, knitters can create unique and personalized leaf motifs that suit their specific knitting projects.
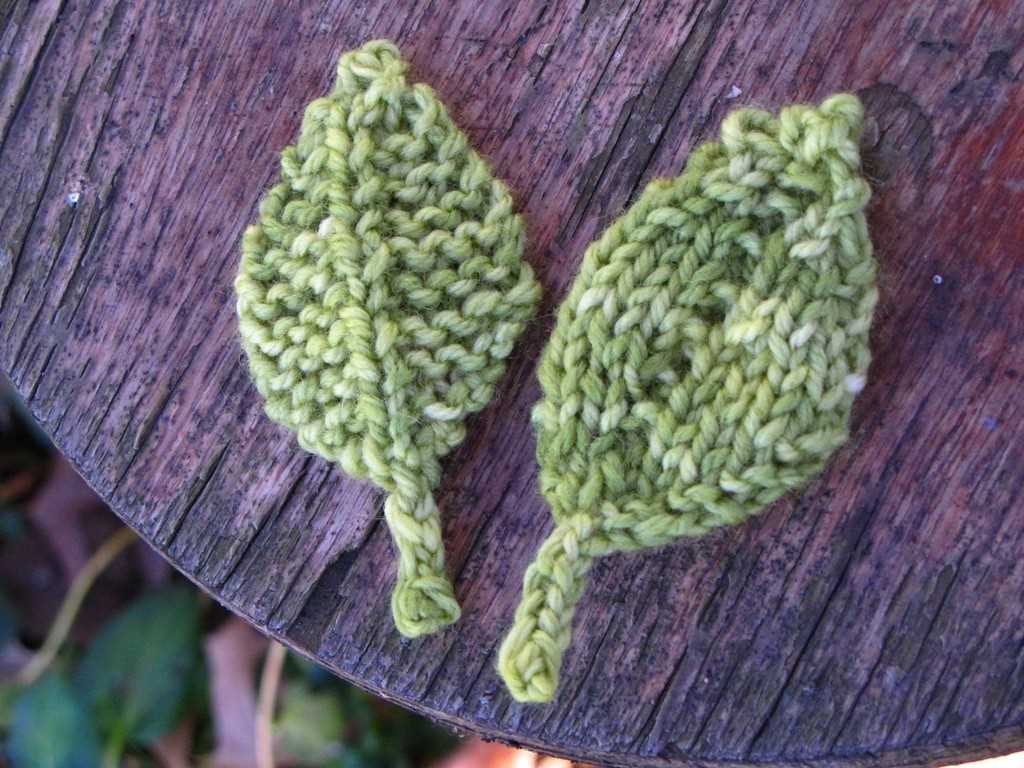
Shaping the leaf

To create the small knit leaf pattern, it is important to understand how the leaf is shaped. The leaf begins with a cast on of stitches, usually around 20-30 stitches, depending on how large you want the leaf to be. The cast on stitches are then worked in a series of increases and decreases to create the shape of the leaf.
One common way to shape the leaf is to start with a few rows of garter stitch, which is knit every row. This creates a flat base for the leaf. After the garter stitch section, the pattern may call for a series of increases, such as yarn overs or knit front and back (kfb) stitches, to add width to the leaf. These increases are typically worked on the right side (RS) rows.
Once the leaf has reached its desired width, the pattern will then instruct you to begin working decreases to shape the tip of the leaf. Common decreases used in leaf patterns include knit two together (k2tog) and slip, slip, knit (ssk). These decreases are typically worked on the wrong side (WS) rows.
To create the natural curves and ripples that are often seen in leaves, the decreases may be worked in a specific pattern, such as working a decrease on either side of a center stitch. This creates a gentle curve in the leaf. Some patterns may also incorporate short rows or additional increases and decreases to add more dimension to the leaf.
Once the leaf has been fully shaped, the pattern will typically have instructions for finishing the edges of the leaf, such as binding off or adding a picot edge. These finishing touches help give the leaf a polished and professional look.
Adding texture with purl stitches
In knitting, purl stitches are an essential technique that can be used to create texture and visual interest in your projects. By alternating between knit stitches and purl stitches, you can create a variety of patterns and designs.
One popular way to add texture with purl stitches is by incorporating them into your stitch pattern. For example, you can create a simple ribbing pattern by alternating between knit and purl stitches in a consistent pattern. This creates a stretchy and textured fabric that is commonly used for cuffs, collars, and borders.
In addition to ribbing, purl stitches can also be used to create more complex patterns such as cables and lace. In cables, purl stitches are often used to define and separate the cable twists, adding depth and texture to the design. Lace patterns often incorporate purl stitches to create openwork motifs and delicate details.
Purl stitches can also be used to create decorative borders and edgings. For example, by working a row of purl stitches followed by a row of knit stitches, you can create a neat and visually appealing garter stitch border. This technique is commonly used in scarves, blankets, and dishcloths to add a finishing touch.
Overall, purl stitches are a versatile and important element in knitting. Whether you are creating simple ribbing or intricate lace patterns, incorporating purl stitches can add texture and visual interest to your projects. Experimenting with different stitch patterns and techniques can help you unleash your creativity and take your knitting to the next level.
Incorporating increases and decreases in small knit leaf pattern
In knitting, incorporating increases and decreases is an essential skill that allows you to create various designs and shapes. When working on a small knit leaf pattern, these techniques can be used to add depth and dimension to your knitting project.
Increases:
Increases are stitches that are added to your knitting, creating more stitches and increasing the overall width of your work. In the context of a small knit leaf pattern, increases can be used to create the shape and volume of the leaf. One common increase technique is the yarn-over (YO), where the yarn is brought forward and over the right-hand needle before knitting the next stitch. This creates a new stitch and a decorative eyelet hole.
Decreases:
On the other hand, decreases are stitches that are removed from your knitting, reducing the overall width of your work. In a small knit leaf pattern, decreases can be used to create the tapering shape of the leaf. There are various decrease techniques you can use, such as knit two together (K2tog) or slip-slip-knit (SSK). These techniques bring two stitches together, either knitting them together or slipping one stitch, knitting the next, and then passing the slipped stitch over the knitted stitch.
By incorporating increases and decreases in your small knit leaf pattern, you can create a realistic and detailed leaf design. These techniques allow you to play with texture, shape, and volume, adding visual interest and complexity to your knitting project. Whether you’re creating a small leaf motif or a larger leaf design, mastering the art of increases and decreases will enhance your knitting skills and enable you to create beautiful, nature-inspired designs.
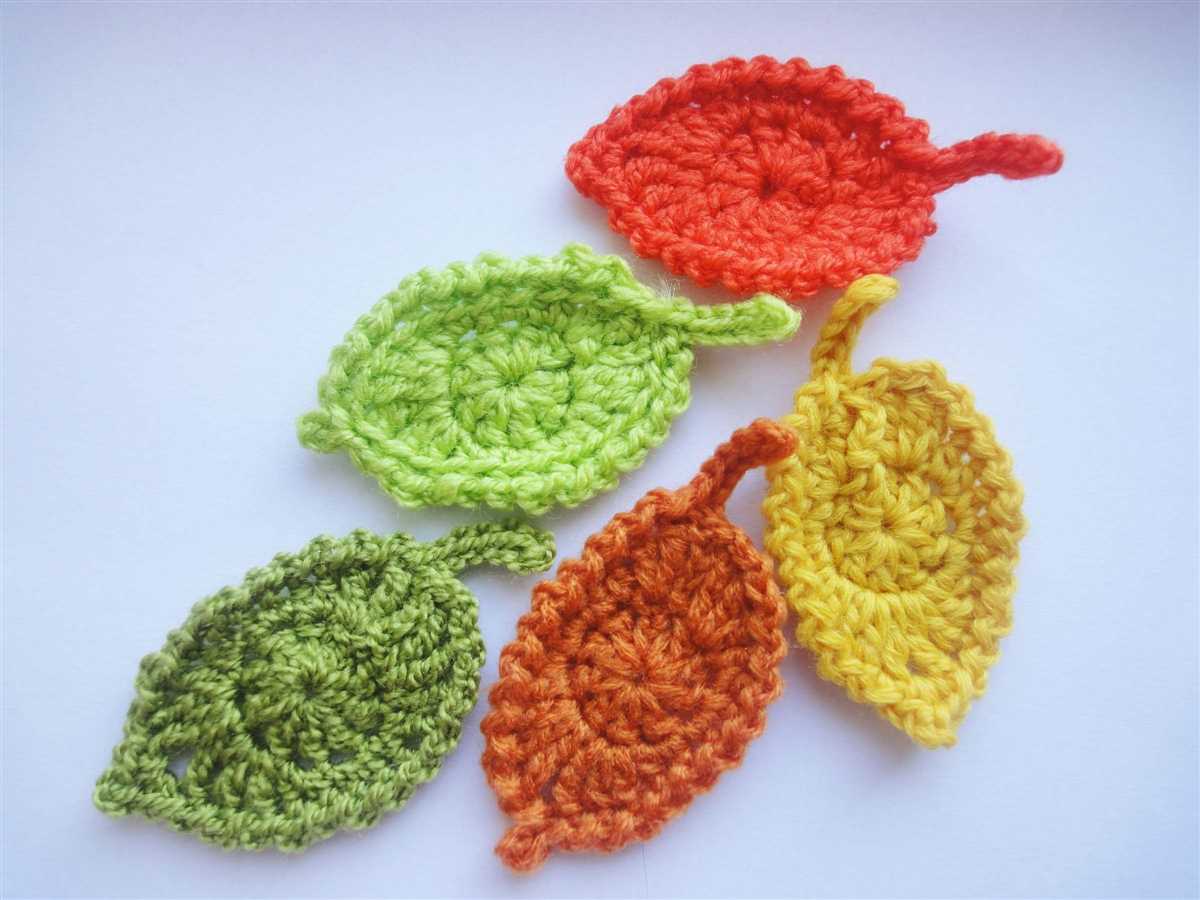
Transitioning between leaf motifs
When working on a small knit leaf pattern, one way to add visual interest and variety is to transition between different leaf motifs. This can be done by incorporating different stitch patterns, changing the size or shape of the leaves, or even by using different colors.
Variations in stitch patterns: One way to transition between leaf motifs is by using different stitch patterns for each leaf. For example, you could start with a simple garter stitch leaf, then transition to a lace leaf motif with yarn overs and decreases. This can create a beautiful contrast and add visual complexity to your knitting project.
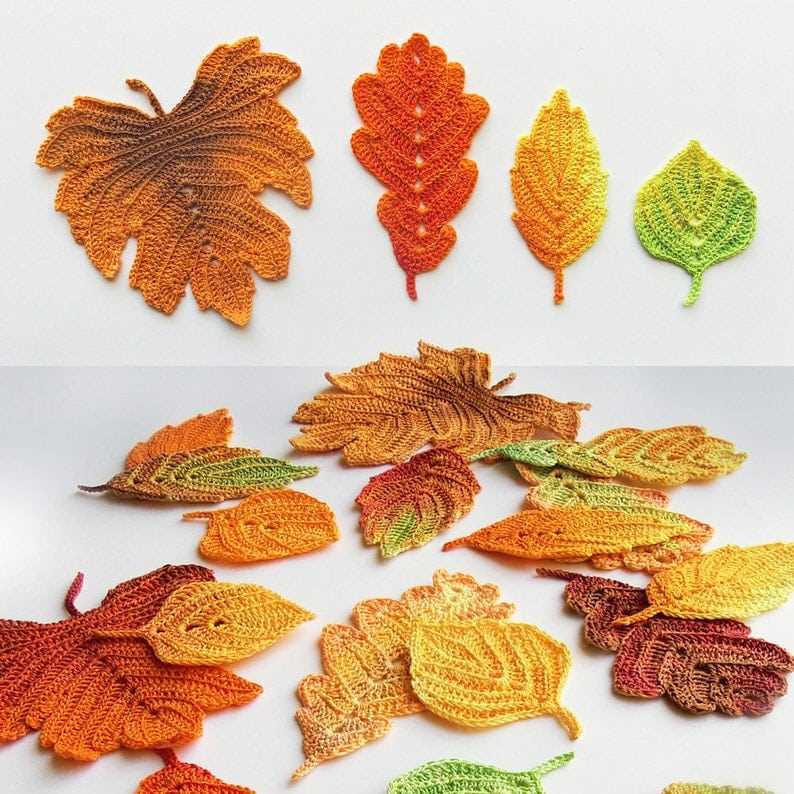
Changing the size or shape of the leaves: Another way to transition between leaf motifs is by changing the size or shape of the leaves. You could start with small, narrow leaves and gradually transition to larger, broader leaves. This can create a sense of growth and movement in your knitting project.
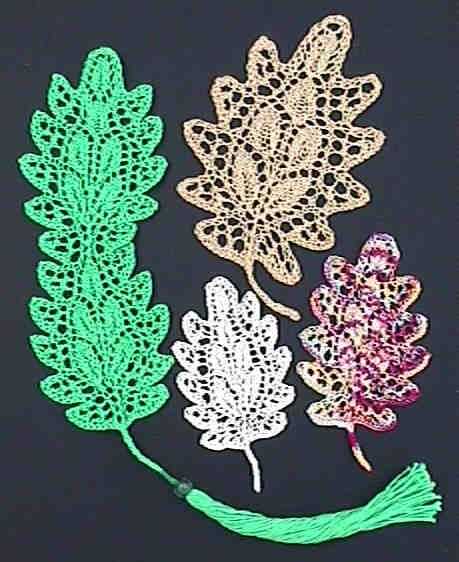
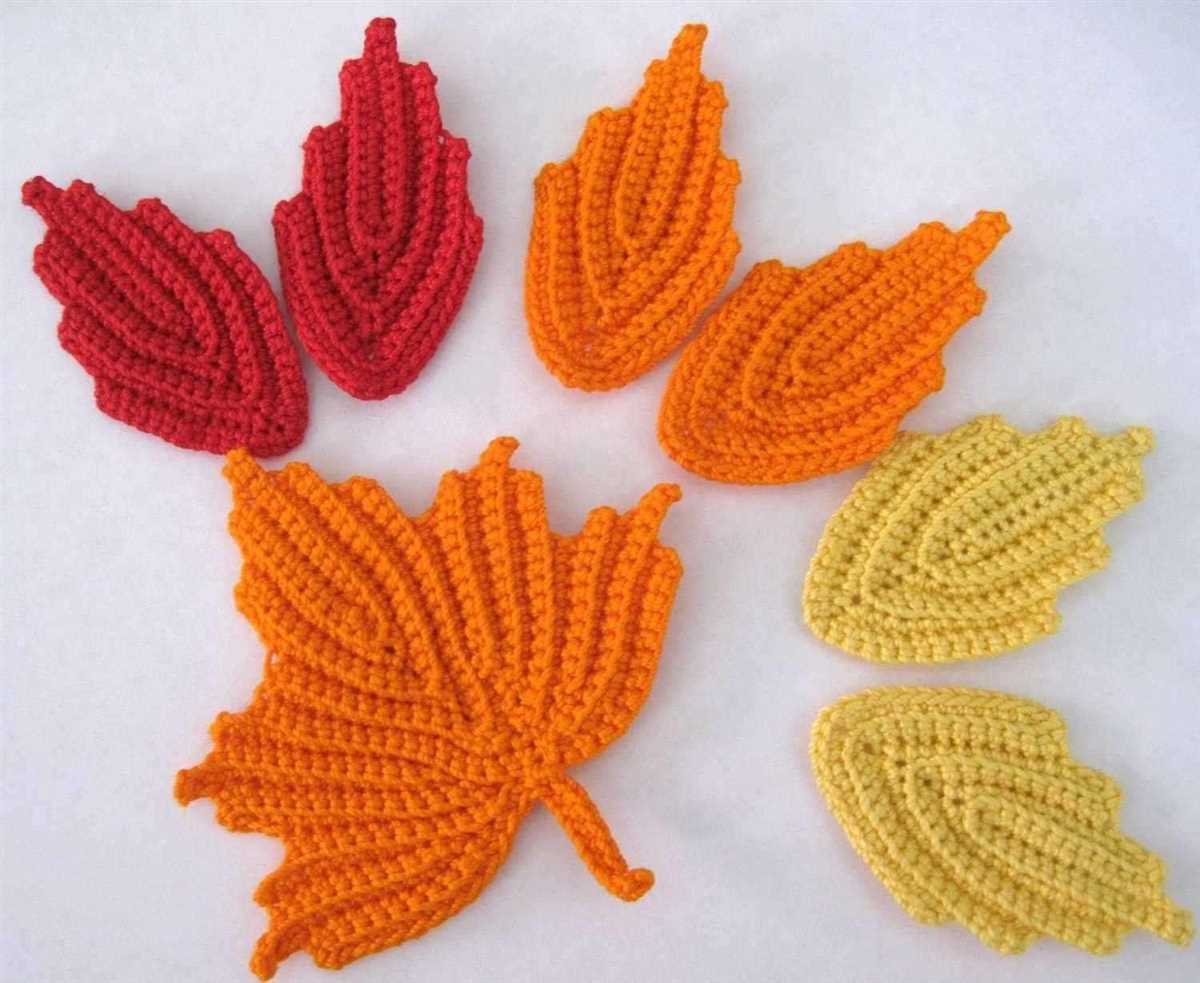
Using different colors: Finally, you can transition between leaf motifs by using different colors. For example, you could start with green leaves and then transition to autumnal colors like orange, red, and yellow. This can create a beautiful color gradient and add a seasonal touch to your knitting project.
Overall, transitioning between leaf motifs in a small knit leaf pattern allows you to experiment with different stitch patterns, sizes, shapes, and colors. This can add visual interest and variety to your knitting project, making it unique and eye-catching.
Finishing the knitted piece

Once you have completed knitting the small knit leaf pattern, it’s time to finish the piece and give it a polished look. Here are some steps you can follow to finish your knitted piece:
Blocking
First, you will need to block your knitted piece. Blocking helps to even out the stitches and gives the piece a professional finish. To block the small knit leaf pattern, soak it in lukewarm water with a mild detergent for about 15 minutes. Gently squeeze out the excess water and lay the piece flat on a towel. Shape the piece to its desired size and pin it in place. Let it dry completely before removing the pins.
Weaving in ends
Next, you will need to weave in any loose ends from the yarn. Use a tapestry needle to thread the ends through the stitches on the wrong side of the knitted piece. Make sure to weave the ends in securely, so they don’t come undone with wear. Trim any excess yarn, leaving a small tail.
Finishing touches

Once you have blocked and woven in the ends, take a look at the knitted piece for any imperfections. You can use a crochet hook or a tapestry needle to fix any loose stitches or uneven tension. Pay attention to the edges of the piece to ensure they are clean and smooth. If desired, you can also add embellishments such as buttons, beads, or embroidery to enhance the small knit leaf pattern.
After completing these finishing steps, your knitted small leaf pattern will be ready to be used or displayed. Don’t forget to take a moment to admire your hard work and enjoy the beauty of the finished piece!
Blocking and pressing
Blocking and pressing is an essential step in finishing a knitted project. It helps to shape the fabric, even out stitches, and give the final piece a professional and polished look. Whether you are working on a small knit leaf pattern or a larger garment, blocking and pressing can make a significant difference in the overall appearance of your project.
When blocking a small knit leaf pattern, it is important to follow the pattern instructions carefully. This may include wet blocking or steam blocking, depending on the fiber content of the yarn used. Wet blocking involves soaking the finished piece in water and gently shaping it to the desired dimensions. Steam blocking, on the other hand, uses steam from an iron or steamer to soften the fibers and reshape the fabric. Whichever method you choose, always make sure to let the piece dry completely before removing the pins or weights used to hold it in place.
Pressing a small knit leaf pattern can be done after blocking to further enhance the finished look. Use a pressing cloth or a damp cloth between the iron and the fabric to protect the fibers. Pressing should be done with a gentle touch, using minimal pressure and moving the iron in a gliding motion. This helps to smooth out any wrinkles or unevenness in the fabric and create a crisp and neat appearance. Remember to always check the yarn label and follow the care instructions to ensure that you do not damage the fibers during blocking and pressing.
To summarize, blocking and pressing are crucial steps in the finishing process of a small knit leaf pattern. They help to shape the fabric, even out stitches, and create a professional and polished final result. By following the pattern instructions, choosing the appropriate blocking method, and using gentle pressing techniques, you can achieve a beautifully finished project that showcases the intricate details of the leaf pattern.
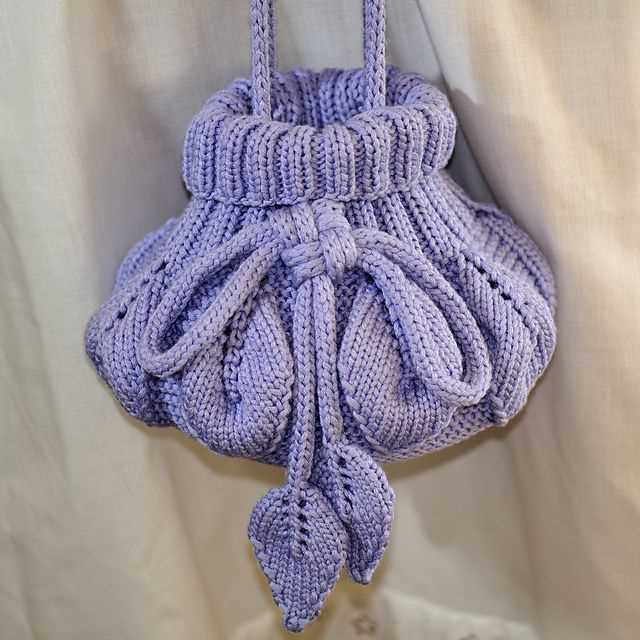
Ideas for using the small knit leaf pattern
Now that you have learned how to create the small knit leaf pattern, let’s explore some creative ways to use it in your knitting projects. Whether you want to make a statement accessory or add a subtle touch to your garments, the small knit leaf pattern can be a versatile addition to your knitting repertoire.
Here are a few ideas on how you can incorporate this pattern into your knitting projects:
- Scarf or Shawl: Knit a cozy scarf or a beautiful shawl using the small knit leaf pattern. The delicate leaf motifs will add an elegant touch to your winter wardrobe.
- Hat or Headband: Add some flair to your winter accessories by incorporating the small knit leaf pattern into your hats or headbands. Whether you choose to make a full leaf motif or scatter them across the design, it will surely make a fashionable statement.
- Sweater or Cardigan: Using the small knit leaf pattern as an accent detail, you can transform a plain sweater or cardigan into a stylish and unique piece. Experiment with different placements and arrangements of the leaf motifs to achieve the desired effect.
- Baby Blanket: Create a charming baby blanket using the small knit leaf pattern. The gentle leaf pattern will add a touch of whimsy to the blanket, making it a perfect gift for a newborn.
Remember, the small knit leaf pattern can be easily customized to fit your specific project. You can adjust the size of the leaf motifs, change the color scheme, or even combine it with other stitch patterns to create your unique design.
So, go ahead and unleash your creativity with the small knit leaf pattern. Whether you’re a beginner or an experienced knitter, this versatile pattern is sure to elevate your knitting projects to the next level.