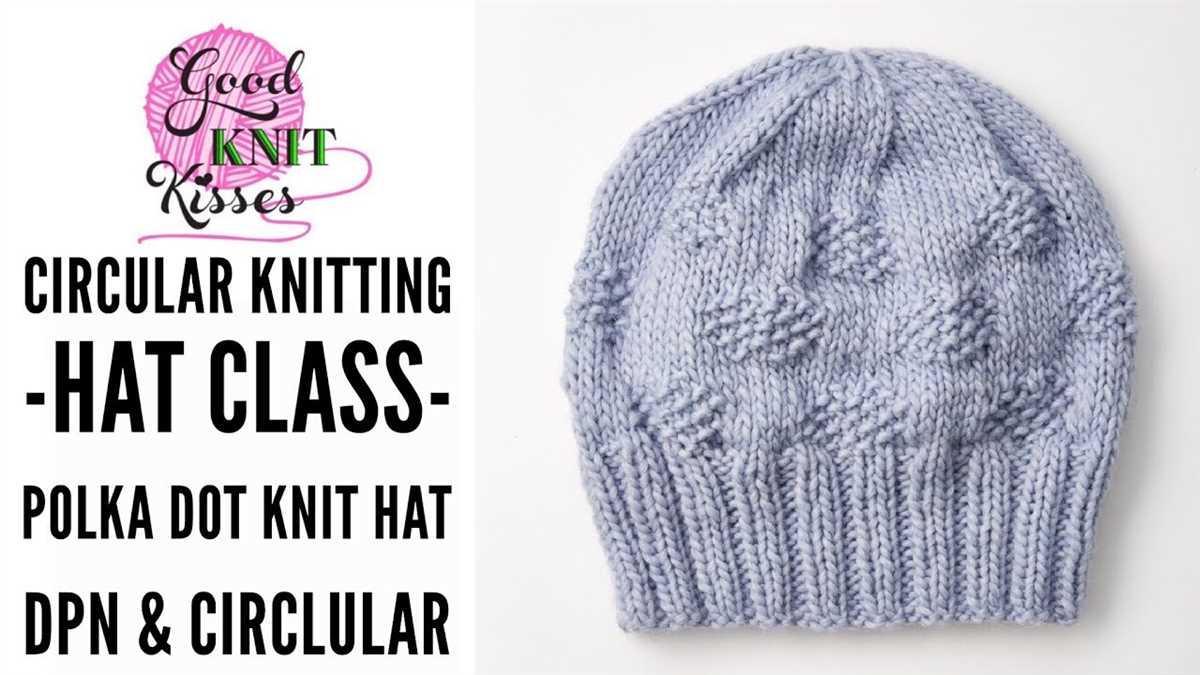
Knitting is a wonderful craft that allows you to create beautiful and functional items. One popular project for knitters of all skill levels is the knit hat. A hat is not only a practical accessory for keeping warm, but it also allows for endless design possibilities.
This article will provide a pattern for knitting a hat on two needles, also known as straight needles. This pattern is perfect for those who are new to knitting or prefer not to use circular needles. With just two needles and some yarn, you can create a cozy and stylish hat for yourself or as a gift.
To knit a hat on two needles, you’ll need to know basic knitting stitches such as knit and purl. The pattern will guide you through each step, from casting on to shaping the crown. You can choose to knit the hat in a solid color or experiment with different knitting techniques, such as colorwork or cables, to add texture and visual interest.
With this knit hat pattern, you’ll be able to create a personalized accessory that reflects your own style and keeps you warm during the colder months. So grab your needles and yarn, and let’s get started on knitting a hat on two needles!
What is a knit hat?
A knit hat, also known as a beanie or a toque, is a type of headpiece that is typically worn to provide warmth and protection in cold weather. It is made by knitting yarn, using two needles in a repetitive pattern, to create a flexible and stretchy fabric that can comfortably fit over the head.
This type of hat is characterized by its close-fitting design, which covers the entire head and often extends down to cover the ears. The snug fit helps to trap body heat and keep the wearer’s head warm in colder temperatures. Knit hats are commonly worn during winter seasons, outdoor activities, and sports events to provide insulation against the cold.
Construction:
A knit hat is typically made using a circular knitting technique, where stitches are joined in a continuous loop. This allows the hat to be seamless, avoiding any uncomfortable seams or bulky sections. The top of the hat is often shaped with a decrease pattern to create a tapered or rounded crown.
Styles and Designs:
Knit hats come in various styles and designs, ranging from simple and basic to more intricate and decorative patterns. Some common styles include ribbed knit, cable knit, and Fair Isle patterns. The choice of yarn, color, and stitch pattern can also add uniqueness and personalization to the hat.
Overall, a knit hat is a versatile accessory that not only provides warmth but also adds style and personality to any winter outfit. Its popularity and functionality make it a staple for anyone braving the chilly weather.
Why Knit a Hat on 2 Needles?
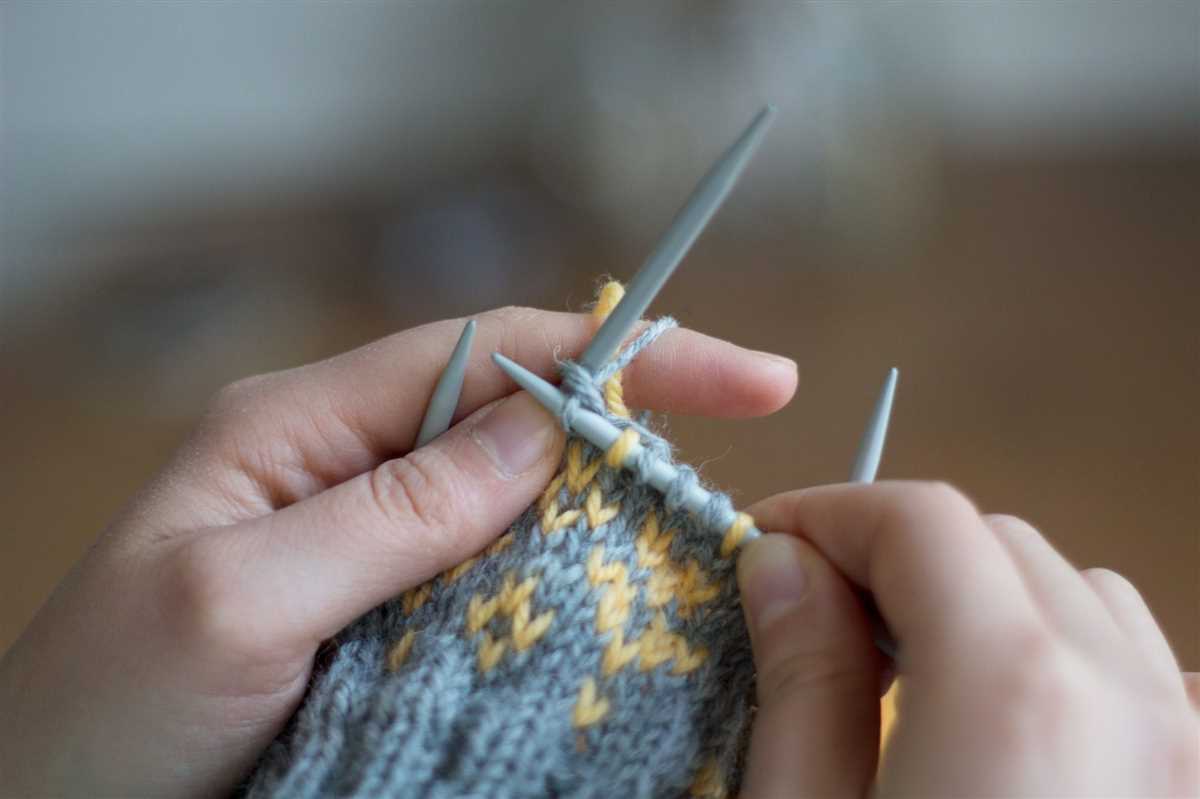
When it comes to knitting a hat, there are several options to consider. One popular choice is to knit the hat using two needles. This traditional method offers a range of benefits and advantages that make it a preferred option for many knitters.
Firstly, knitting a hat on two needles allows for greater flexibility and ease of use. With only two needles, the knitting process becomes more straightforward and easier to handle, especially for beginners. Unlike circular knitting, which requires a set of double-pointed or circular needles, knitting on two needles simplifies the process and eliminates the need for additional equipment.
Additionally, knitting a hat on two needles provides versatility in terms of stitch patterns and designs. With each row worked separately, knitters have the freedom to create intricate patterns and textures, adding a unique touch to their hats. This method also allows for easier stitch manipulation, making it ideal for incorporating cable or lace designs into the hat.
Moreover, knitting a hat on two needles allows for easier fitting and customization. Since the hat is worked in flat pieces, it is easier to adjust the size and fit as needed. This is particularly useful when knitting hats for different head sizes or if modifications are required during the knitting process. With two needles, it is also easier to try on the hat as it progresses, ensuring a perfect fit.
In conclusion, knitting a hat on two needles offers simplicity, versatility, and customization options that make it an appealing choice for knitters. Whether you’re a beginner looking for an easier method or an experienced knitter looking to explore different stitch patterns, knitting on two needles provides an enjoyable and rewarding knitting experience.
Advantages of knitting a hat on 2 needles
Knitting a hat on 2 needles, also known as knitting flat, offers several advantages for knitters. One of the main advantages is the simplicity of the technique. Knitting flat involves working back and forth in rows, which is easier for beginners or knitters who are not familiar with circular knitting.
Another advantage of knitting a hat on 2 needles is the convenience. With this technique, you only need a pair of straight needles, which are easy to find and use. Circular knitting requires circular needles or double-pointed needles, which may not be readily available or preferred by some knitters.
One of the key benefits of knitting a hat on 2 needles is that it allows for easy customization. Knitting flat allows you to easily adjust the size of the hat by simply increasing or decreasing the number of stitches. Additionally, you can easily add stitch patterns or colorwork to the flat knitting, creating unique and personalized designs.
Knitting a hat on 2 needles also provides flexibility in terms of stitch placement. With circular knitting, it can be challenging to manipulate stitches, especially when working with intricate stitch patterns. Knitting flat allows you to easily access and manipulate each individual stitch, making it easier to correct mistakes or modify the pattern as needed.
In summary, knitting a hat on 2 needles offers simplicity, convenience, customization, and flexibility for knitters. Whether you are a beginner or an experienced knitter, this technique provides a versatile and accessible way to create beautiful and personalized hats.
Choosing the right yarn for your knit hat
When it comes to knitting a hat, one of the most important decisions you will make is choosing the right yarn. The type of yarn you choose will not only affect the look and feel of your hat, but also its warmth, durability, and ease of care. Therefore, it is essential to consider a few key factors before making your selection.
Fiber Content: The first thing to consider is the fiber content of the yarn. Some popular options for knitting hats include wool, alpaca, acrylic, and cotton. Wool and alpaca are known for their warmth and softness, making them excellent choices for winter hats. Acrylic is often chosen for its durability and affordability, while cotton is a great option for lightweight and breathable hats.
- Wool: Provides excellent insulation and warmth.
- Alpaca: Luxuriously soft and incredibly warm.
- Acrylic: Durable, affordable, and comes in a wide variety of colors
- Cotton: Lightweight and breathable, perfect for warmer climates.
Weight: The weight of the yarn will also impact the finished result of your hat. Yarn weight is classified into categories such as lace, fingering, sport, worsted, and bulky. Thicker yarns, like bulky or worsted weight, will create a warmer and faster-knitting hat. Conversely, finer yarns, like lace or fingering weight, will produce a more delicate and lightweight hat.
Color and Texture: Finally, consider the color and texture of the yarn. The color of your yarn can determine the overall look and style of your hat, whether you prefer a bold and vibrant design or a more subtle and natural tone. Additionally, the texture of the yarn can add visual interest and depth to your knit hat. Options range from smooth and even yarns to those with unique textures like boucle or brushed effects.
In conclusion, choosing the right yarn for your knit hat is a crucial step in the knitting process. Consider the fiber content, weight, color, and texture to ensure your hat meets your desired look, feel, and function. By making an informed decision, you can create a hat that not only keeps you warm but also reflects your personal style and taste.
Selecting the right needle size for your knit hat
When knitting a hat, selecting the right needle size is crucial to achieving the desired fit and gauge. The size of the needle will determine the overall size and tension of the stitches, which in turn affects the finished product.
The first step in selecting the needle size is to determine the gauge of your yarn. The gauge refers to the number of stitches and rows per inch. You can find this information on the yarn label or by making a gauge swatch. Once you have determined the gauge, you can match it to the recommended needle size range provided by the yarn manufacturer.
Needle size selection tips:
- Needles on the smaller end of the recommended needle size range will create tighter stitches and a smaller finished hat. This is ideal for a snug fit or for yarns with larger gauge.
- Needles on the larger end of the recommended needle size range will create looser stitches and a larger finished hat. This is ideal for a relaxed fit or for yarns with smaller gauge.
- Consider the stitch pattern you will be using for your hat. Intricate stitch patterns may require larger needles to allow the stitches to stand out, while simple stockinette or ribbing may require smaller needles for a tighter fabric.
- Always make a gauge swatch before starting your project to ensure that you are getting the correct gauge with your chosen needle size. Adjust accordingly if necessary.
By selecting the right needle size for your knit hat, you can ensure that your finished product fits well and looks as intended. Take into consideration the yarn gauge, stitch pattern, and desired fit to make an informed decision. Happy knitting!
Understanding the gauge for your knit hat
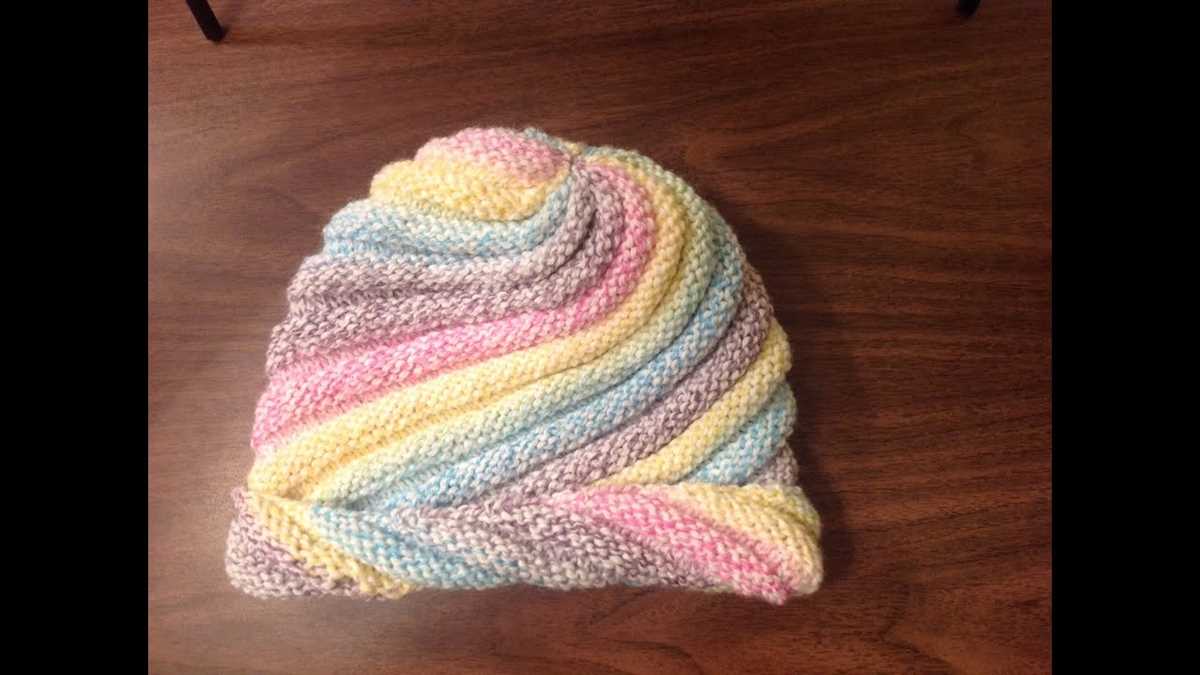
In knitting, the gauge refers to the number of stitches and rows per inch in a project. It is an important factor to consider when making a knit hat, as it determines the overall size and fit of the hat. By understanding and achieving the recommended gauge, you can ensure that your hat turns out the way you want it to.
Determining your gauge
To determine your gauge for a knit hat pattern, it is important to follow the instructions given in the pattern. Typically, the pattern will specify a certain number of stitches and rows that should be achieved in a specific measurement, such as 4 inches. To measure your gauge, you can knit a small swatch using the recommended yarn and needle size. Then, count the number of stitches and rows in your swatch within the specified measurement to determine if it matches the pattern’s gauge.
Importance of achieving gauge
Achieving the correct gauge is crucial for your knit hat because it ensures that your hat will fit properly. If your gauge is larger than what is recommended in the pattern, it means that your stitches and rows are too loose, and your hat will turn out larger than intended. On the other hand, if your gauge is smaller, it means that your stitches and rows are too tight, and your hat will turn out smaller than expected. By achieving the recommended gauge, you can create a hat that fits snugly and comfortably.
It is important to note that different knitters may have different tension when knitting, which can result in variations in gauge. That is why it is crucial to knit a gauge swatch and measure it accurately. Additionally, changing the yarn weight or needle size can also affect the gauge, so it is important to follow the pattern’s recommendations for the best results.
Adjusting your gauge
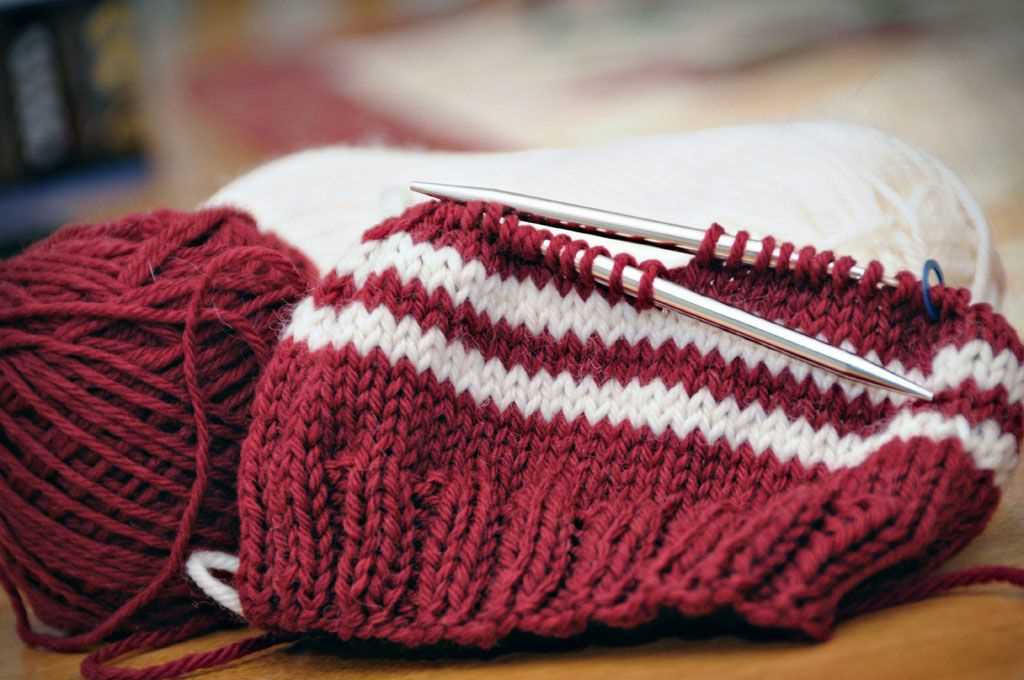
If your gauge does not match the pattern’s gauge, don’t worry! There are several ways you can adjust your gauge to achieve the desired size. One option is to change your needle size. If your gauge is too loose, try using a smaller needle size to create tighter stitches. Conversely, if your gauge is too tight, try using a larger needle size to create looser stitches.
Another option is to change the yarn weight. If your gauge is too loose, using a heavier yarn can help create denser stitches. Conversely, if your gauge is too tight, using a lighter yarn can help create looser stitches. However, it is important to keep in mind that changing the yarn weight may also affect the overall look and feel of the hat.
In conclusion, understanding and achieving the recommended gauge is crucial for creating a well-fitting knit hat. By following the pattern’s instructions, knitting a gauge swatch, and making necessary adjustments, you can ensure that your hat turns out the way you envision it.
How to Cast On Stitches for Your Knit Hat
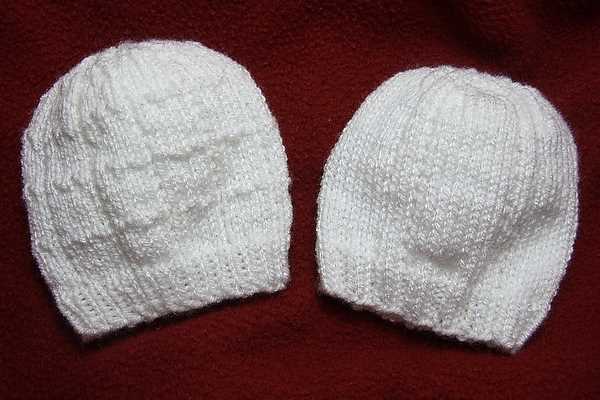
When starting your knit hat, one of the first steps is to cast on the required number of stitches on your needles. This is the foundation row of your hat and will determine its size and shape. Here’s a step-by-step guide on how to cast on stitches for your knit hat.
1. Choose your preferred cast-on method: There are several cast-on methods to choose from, including the long-tail cast-on, the knitted cast-on, and the cable cast-on. Each method has its own characteristics and can give your hat a different edge. Take some time to learn and practice different cast-on methods to find the one that works best for you.
2. Prepare your yarn and needles: Make sure you have the appropriate size of knitting needles and the yarn you want to use for your hat. The recommended needle size and yarn weight can usually be found in the pattern instructions. Ensure that your yarn is untangled and ready to use.
3. Make a slipknot: Start by making a slipknot to secure your yarn to the needle. To make a slipknot, create a loop with your yarn, crossing the end over the loop. Insert your needle through the loop, tighten the yarn, and slide the knot onto the needle.
4. Cast on the first stitch: Hold the needle with the slipknot in your right hand and the other needle in your left hand. Insert the left needle into the slipknot from left to right, behind the right needle. Wrap the yarn around the left needle counterclockwise, forming a loop. Pull the loop through the slipknot, creating a new stitch on the left needle.
5. Continue casting on: Repeat step 4 to cast on the desired number of stitches for your knit hat. Keep the stitches loose but even, ensuring they are not too tight or too loose. You can use your fingers to adjust the tension if needed.
6. Double-check your stitch count: Once you have cast on all the stitches required for your hat, count them to make sure you have the correct number. If you have made any mistakes, you can unravel the stitches and start again.
7. Proceed with your knitting pattern: Now that you have successfully cast on the stitches for your knit hat, you can begin following the rest of the pattern. Whether it’s ribbing, stockinette stitch, or any other design, you are now ready to start creating your cozy hat!
Knitting the body of the hat
Once you have cast on the required number of stitches for your hat, it’s time to start knitting the body. The body of the hat is where the main portion of the knitting takes place.
Row 1: Start by knitting every stitch across the row until you reach the end. This will create the first row of the body.
Row 2: On the second row, purl every stitch across. This will create a smooth and textured appearance on the right side of the hat.
Continue repeating rows 1 and 2 until you reach the desired length for the body of the hat. Remember to always knit the right side (odd numbered rows) and purl the wrong side (even numbered rows) to maintain the pattern and texture.
For a simple and classic look, you can choose to knit the body of the hat in a basic stockinette stitch. This stitch creates a smooth and even texture, perfect for showcasing the yarn and any additional patterns or stitches you may want to add later.
If you prefer a more decorative look, you can experiment with different stitch patterns, such as ribbing, cables, or lace. These patterns can add visual interest and texture to the body of the hat.
Remember to always keep track of your stitch count and measure your work regularly to ensure that the hat is coming out the correct size. Once you have finished knitting the body of the hat, you can move on to shaping the crown and completing your knitted hat.
Shaping the Crown of the Hat
The crown of the hat is the top part that sits on the head, and it is important to shape it properly to ensure a comfortable and well-fitting hat. There are several techniques you can use to shape the crown of your knit hat on 2 needles pattern.
To start shaping the crown, you will typically decrease the number of stitches gradually towards the center top of the hat. This can be done by knitting two stitches together (k2tog) at regular intervals. For example, you might knit two stitches, then knit the next two stitches together, repeating this pattern across the row.
You can also use other types of decreases to shape the crown of your hat, such as slip-slip knit (ssk) or knit one, slip one, pass the slipped stitch over (k1, sl1, psso). These decreases create a more slanted and decorative effect.
When shaping the crown, it is important to follow the instructions provided in your specific knit hat pattern. The pattern will guide you on how many stitches to decrease, at what interval, and how many rows to work before starting the crown shaping. Be sure to read the pattern carefully and make note of any specific instructions.
Once you have completed the crown shaping, you will typically have a smaller number of stitches remaining on your needles. You can then continue knitting these stitches in a specific pattern or in rounds to complete the body of the hat. Again, refer to your pattern for instructions on how to finish the hat after shaping the crown.
Finishing off your knit hat
After completing your knit hat on 2 needles pattern, it’s time to finish off your project. This final step will give your hat a polished and professional look. Here are some key tips to consider when finishing off your knit hat.
Weaving in the ends
Before you can fully complete your knit hat, you will need to weave in the loose ends of yarn. This is important to ensure that your hat doesn’t unravel over time. Begin by threading a tapestry needle with one of the loose yarn ends. Then, weave the needle in and out of the stitches on the inside of your hat, pulling the yarn tight as you go. Repeat this process with any remaining loose ends. Finally, trim the excess yarn close to the stitches to create a clean finish.
Blocking
Blocking your knit hat is another important step in the finishing process. Blocking helps to shape and even out your stitches, giving your hat a more professional look. To block your hat, you will need to soak it in lukewarm water for about 15 minutes. Gently squeeze out the excess water and lay your hat on a towel. Reshape the hat to your desired fit and let it air dry. Blocking will help your hat retain its shape and ensure that it fits properly.
Adding embellishments
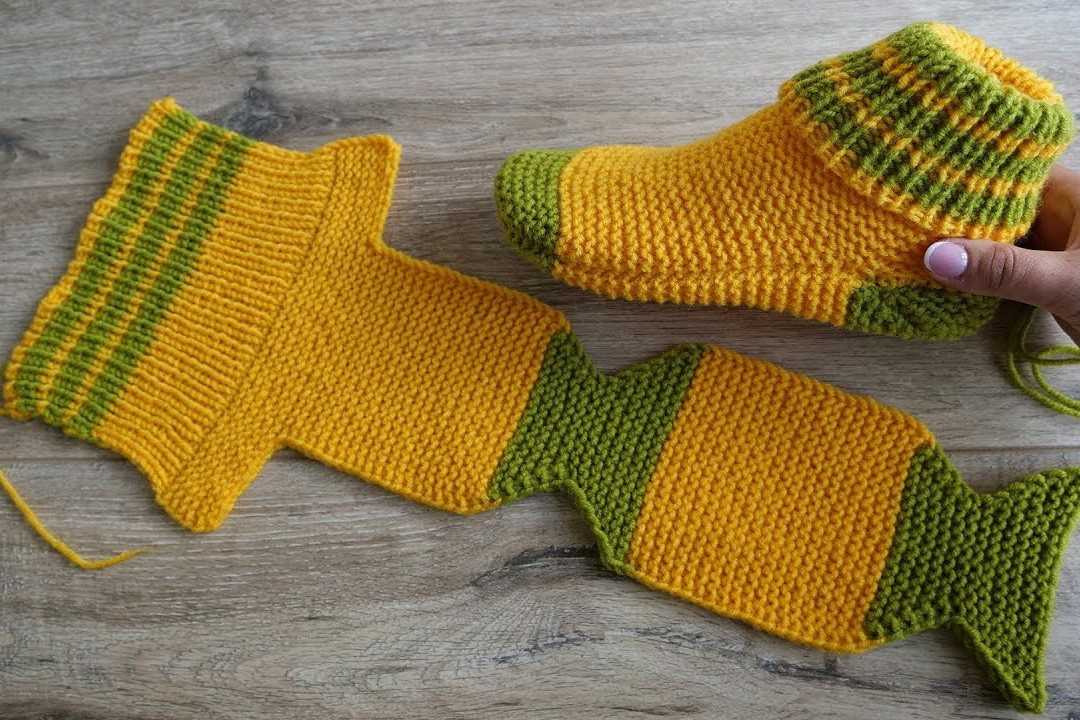
If you want to add some extra flair to your knit hat, consider adding embellishments such as a pom-pom or a decorative button. To attach a pom-pom, simply thread a tapestry needle with yarn, insert it through the top of your hat, and sew the pom-pom securely to the hat. For a decorative button, use a needle and thread to sew the button onto the brim or side of your hat. Choose embellishments that complement the style and color of your hat to enhance its overall appearance.
By following these finishing steps, you can take your knit hat to the next level and create a piece that is not only warm and functional but also stylish and well-crafted.
Customizing your knit hat with embellishments
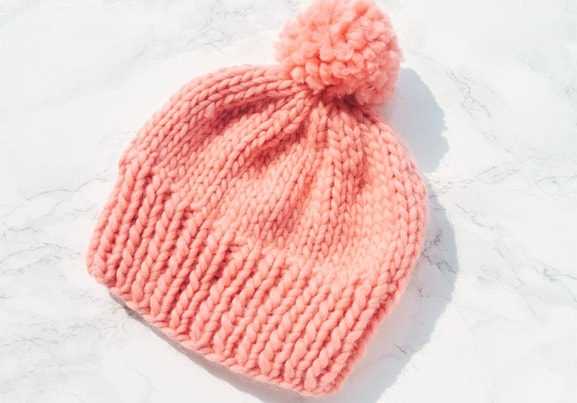
Once you’ve finished knitting your hat using the pattern on 2 needles, you can take your customization skills to the next level by adding embellishments. These small details can make your hat unique and showcase your personal style. Whether you prefer a simple, minimalistic look or want to go all out with bold designs, there are countless ways to customize your knit hat.
Here are some ideas to inspire you:
Embroidery
Embroidery is a popular technique for adding intricate designs to knitted items. You can use different colors of yarn to stitch flowers, animals, or geometric patterns onto your hat. Embroidery allows you to unleash your creativity and create a one-of-a-kind design.
Pom-poms
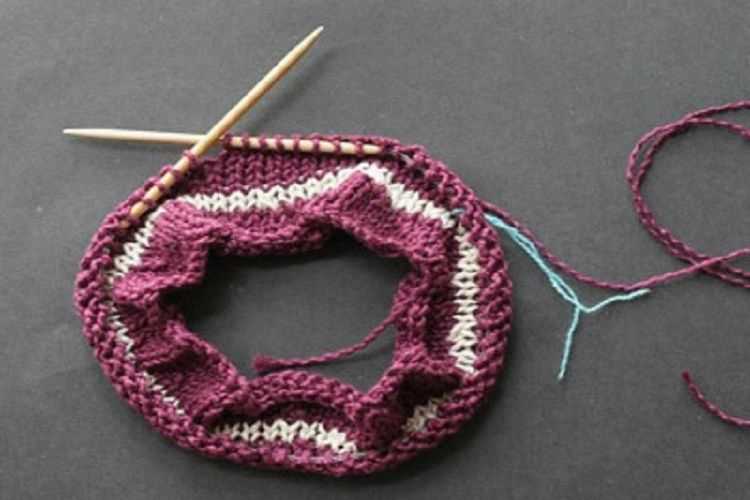
Add a playful touch to your hat by attaching a pom-pom at the top. You can make pom-poms using yarn of the same color as your hat, or mix and match different colors to create a vibrant look. Pom-poms are easy to make and instantly add charm to your knit hat.
Buttons
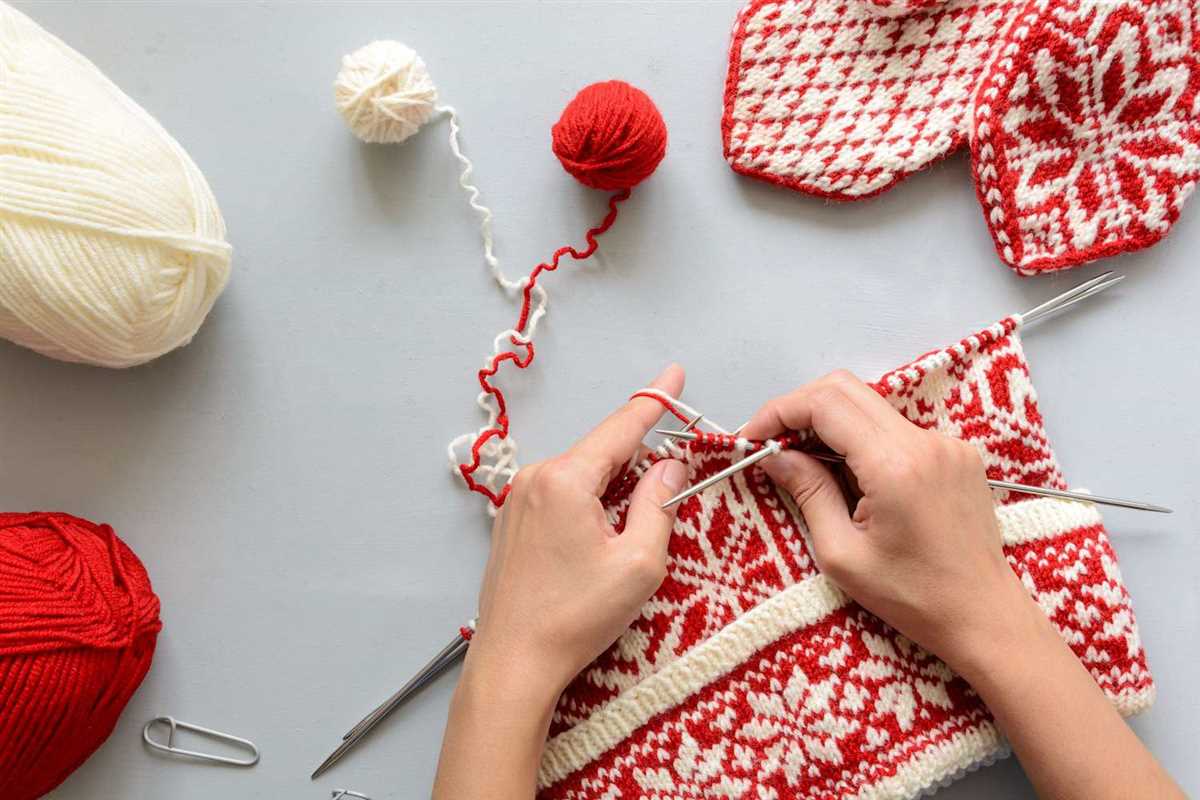
Sew buttons onto your hat to create a decorative element. You can opt for simple buttons that match the color of your hat, or choose eye-catching buttons with unique shapes or designs. Buttons can be arranged in a pattern or randomly placed, depending on the look you want to achieve.
Ribbons
Add a touch of elegance to your knit hat by attaching ribbons. You can tie a ribbon around the base of the hat or create a bow on the side. Ribbons come in various colors and patterns, allowing you to personalize your hat to your liking.
Beads
Sew beads onto your knit hat to create a subtle, yet beautiful embellishment. You can add beads around the brim or scatter them across the surface of the hat. Beads can add a bit of sparkle and interest to your hat, making it stand out.
Remember, there are no limits to the ways you can customize your knit hat. Feel free to experiment with different techniques and materials to create a hat that reflects your unique style and personality.
Summary:
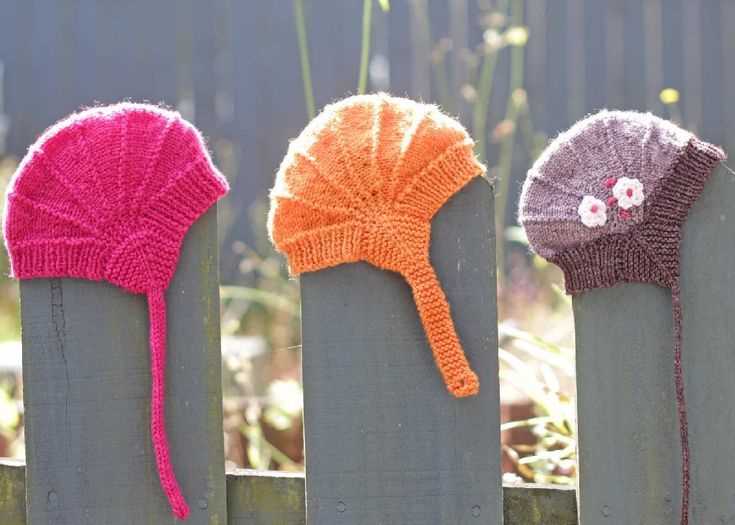
Customizing your knit hat with embellishments is a fun and creative way to make it truly one-of-a-kind. Whether you choose to embroider intricate designs, add playful pom-poms, sew on buttons, attach ribbons for elegance, or sprinkle beads for a hint of sparkle, there are multiple options to suit your personal style. Don’t be afraid to experiment and let your creativity shine through as you customize your hat.
Q&A:
What is a knit hat on 2 needles pattern?
A knit hat on 2 needles pattern is a pattern for knitting a hat using just two needles instead of circular needles or double-pointed needles. It is a great option for knitters who prefer working with straight needles or who do not have circular needles or double-pointed needles on hand.
How do you knit a hat on 2 needles?
To knit a hat on 2 needles, you will need to follow a specific pattern. Generally, the pattern will instruct you to knit the hat in separate panels, such as the front and back, and then seam the panels together once they are complete. This technique allows you to create a hat shape without using circular needles or double-pointed needles.
Can you use circular needles for a knit hat on 2 needles pattern?
No, a knit hat on 2 needles pattern is specifically designed to be knit using straight needles. However, if you prefer working with circular needles, you can easily adapt the pattern by knitting in the round instead of knitting flat panels. Simply cast on the appropriate number of stitches for the hat circumference and join in the round.
What are the advantages of knitting a hat on 2 needles?
Knitting a hat on 2 needles offers a few advantages. First, it allows knitters who are more comfortable with straight needles to create a hat without needing to use circular needles or double-pointed needles. Additionally, it can be a good option for knitters who do not have circular needles or double-pointed needles in the appropriate sizes. Lastly, knitting a hat on 2 needles can allow for easier pattern modifications or customization, as the hat is knit in separate panels.
Are there any drawbacks to knitting a hat on 2 needles?
While knitting a hat on 2 needles can have its advantages, there are also a few drawbacks. One drawback is that because the hat is knit in separate panels, there will be seams that need to be sewn together, which some knitters may not prefer. Additionally, knitting a hat on 2 needles may require additional finishing work to sew the panels together neatly. However, with practice and proper techniques, these drawbacks can be minimized or overcome.