
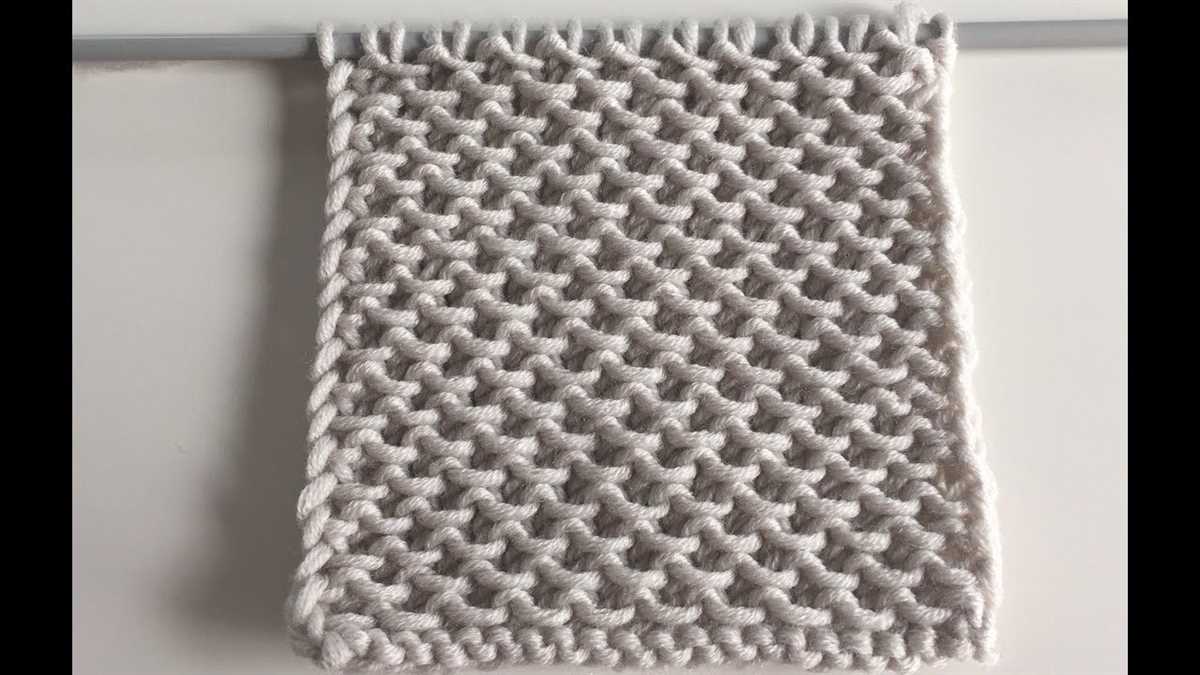
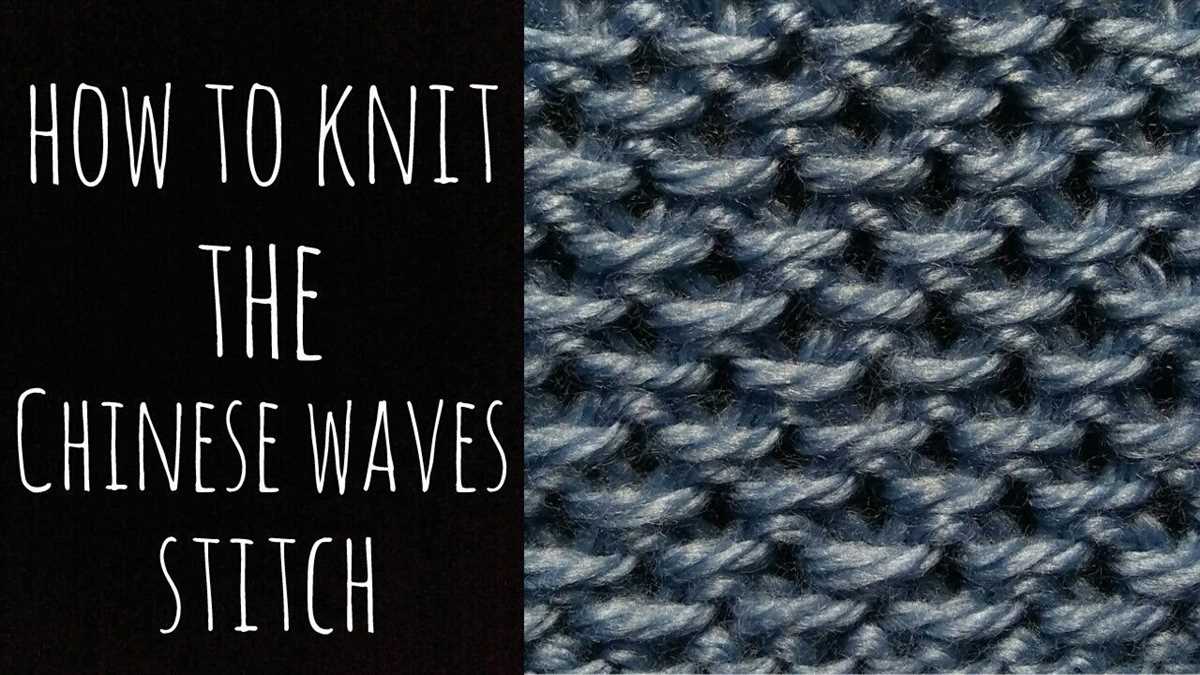
If you’re ready to take your knitting skills to the next level, why not try knitting a wave pattern? This beautiful pattern creates a ripple effect that adds a touch of elegance and movement to any project. Whether you’re working on a blanket, scarf, or even a sweater, knitting a wave pattern is a great way to add some visual interest to your work.
To get started, you’ll need some basic knitting supplies, including yarn and knitting needles. Choose a yarn in your favorite color or a combination of colors to create a unique effect. You’ll also need knitting needles suitable for the thickness of your chosen yarn. If you’re not sure which size to use, check the yarn label for recommendations.
Once you have your supplies ready, it’s time to learn how to knit the wave pattern. This pattern involves a combination of basic knitting stitches such as knit and purl, as well as increases and decreases to create the wave effect. Don’t worry if you’re unfamiliar with these techniques – we’ll walk you through each step of the process.
Preparing the materials
Before starting the wave pattern knitting, it is important to gather all the necessary materials. Here are the items you will need:
- Yarn: Choose a yarn that is suitable for the pattern you want to create. Consider the texture, color, and weight of the yarn.
- Knitting needles: Select knitting needles that match the size recommended for your chosen yarn. This ensures that your stitches will be the right size and your finished project will look as intended.
- Tape measure: A tape measure is essential for taking accurate measurements of your work as you progress.
- Stitch markers: Stitch markers can be useful for marking specific points in your pattern, such as the beginning or end of a row.
- Yarn needles: Yarn needles are used for weaving in loose ends and sewing pieces of your project together.
Once you have gathered all the materials, make sure to set up a comfortable and well-lit workspace. Having all the necessary tools within reach will make the knitting process more efficient and enjoyable.
Casting on stitches

When beginning a knitting project, the first step is to cast on stitches. This is the process of creating loops on the knitting needle to start the foundation of the project. There are several methods for casting on stitches, but one common technique is the long tail cast on.
To begin the long tail cast on, you will need a long tail of yarn and a pair of knitting needles. Start by making a slipknot in the yarn, leaving a long tail of about 6-8 inches. Insert one knitting needle into the slipknot loop, and use the other needle to hook the working yarn.
Hold both needles in your right hand, with the slipknot loop on the left needle. Using your right hand, wrap the working yarn around the thumb and index finger. Then, insert the right needle from left to right through the slipknot loop, catching the working yarn as you go.
With the right needle, pull the working yarn through the slipknot loop and transfer the loop onto the left needle. This creates one cast-on stitch. Repeat this process for each stitch desired, making sure to maintain an even tension on the working yarn as you go.
The long tail cast on creates a neat, elastic edge for your knitting project. Once all the stitches are cast on, you are ready to begin working the wave pattern or any other stitch pattern you choose.
Knitting the base rows
Before beginning the wave pattern, it is important to first establish the base rows of your knitting project. These rows will serve as the foundation for the wave pattern and will create a solid base for the design to build upon.
To knit the base rows, you will need to choose your desired yarn and knitting needles. The size of your needles will depend on the desired tension and gauge for your project. Once you have gathered your materials, you can begin casting on stitches to create the first row of the base.
Using the long-tail cast on method, make a slipknot and place it on your needle. Then, hold the needle with the slipknot in your right hand and the other needle in your left hand. Insert the left needle tip into the slipknot from front to back, and loop the yarn around the left needle tip counterclockwise.
With the yarn in your left hand, pull the loop through the slipknot and onto the left needle, creating a new stitch. Slide this new stitch onto the right needle, and continue repeating this process until you have cast on the desired number of stitches for your project. Remember to keep your tension even throughout the cast on to ensure a neat and consistent base row.
Once you have cast on all of your stitches, you can begin knitting the base rows. Using the knit stitch, insert the right needle into the first stitch on the left needle, going from front to back. Then, wrap the yarn counterclockwise around the right needle and pull it through the stitch, creating a new stitch on the right needle.
Continue knitting each stitch in the row in the same manner until you reach the end of the row. Then, turn your work and repeat the knit stitch on the next row. Continue knitting the base rows in this way until you have reached the desired length for your project.
Creating the Wave Pattern

To knit a wave pattern, you will need to have a basic understanding of knitting techniques such as casting on, knitting, and purling. Once you have mastered these skills, you can start creating the wave pattern.
To begin, choose two contrasting colors of yarn. This will help the wave pattern stand out. You will also need knitting needles that are appropriate for the weight of the yarn you are using.
Step 1: Cast On
Start by casting on the desired number of stitches for your project. The wave pattern works best with an odd number of stitches.
Step 2: Row 1
On the first row, knit the first stitch. Then, purl the next stitch. Repeat this pattern across the row.
Step 3: Row 2

On the second row, purl the first stitch. Then, knit the next stitch. Repeat this pattern across the row.
Step 4: Repeat Rows 1 and 2

Continue repeating rows 1 and 2 until you have reached the desired length for your project. This will create the wave pattern.
Remember to always knit the knits and purl the purls as you work through the rows. This will help maintain the wave pattern and keep it consistent throughout your project.
Once you have completed the desired length, you can finish off your project by binding off the stitches. Enjoy your wave pattern creation!
Changing colors

When knitting a wave pattern, changing colors can add an extra dimension and visual interest to your project. There are various ways to incorporate color changes into your knitting, depending on the effect you want to achieve.
1. Stripes: One of the simplest ways to introduce color changes is by knitting stripes. You can alternate between different colors every few rows or use a gradient yarn for a gradual color transition. Stripes can be horizontal, vertical, or diagonal, giving your knitting a bold and vibrant look.
2. Intarsia: If you want to create distinct color blocks or motifs within your wave pattern, intarsia is a great technique to try. With intarsia, you use separate strands of yarn for each color section, twisting them at the color change to prevent holes. This technique allows you to incorporate intricate designs or images into your knitting.
3. Fair Isle: Fair Isle, also known as stranded knitting, involves working with multiple colors in a single row. Traditionally used in traditional Nordic patterns, Fair Isle creates beautiful and intricate patterns by carrying the unused yarn across the back of the work. By following a colorwork chart, you can achieve stunning wave patterns with different colors.
4. Slip stitch patterns: Another way to add color to your wave pattern is by using slip stitch patterns. This technique involves working with two colors in a row, but only knitting with one color at a time. By slipping stitches from the previous row, you create a textured fabric with contrasting colors. Slip stitch patterns can create a striking visual effect with minimal effort.
Experiment with different color combinations and techniques to find the perfect way to incorporate color changes into your wave pattern. Whether you choose to knit simple stripes or tackle more advanced techniques like intarsia or Fair Isle, changing colors will add depth and visual interest to your knitting project.
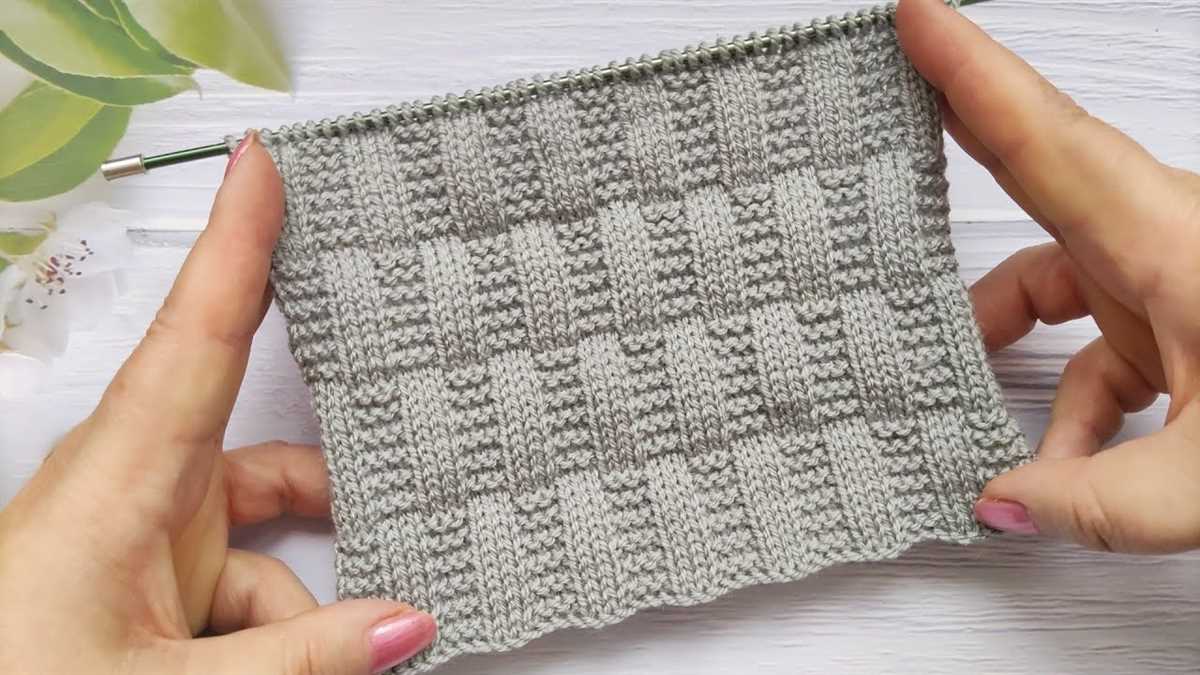
Adding Texture to the Wave Pattern
The wave pattern is already a beautiful design on its own, but adding texture to it can take it to the next level. There are several techniques that you can use to achieve different textures in your wave pattern knitting.
1. Cables
One way to add texture to the wave pattern is by incorporating cables. Cables are created by crossing stitches over each other, resulting in a raised and twisted appearance. You can add cables to certain sections of the wave pattern, such as the peaks or troughs, to create a more three-dimensional effect.
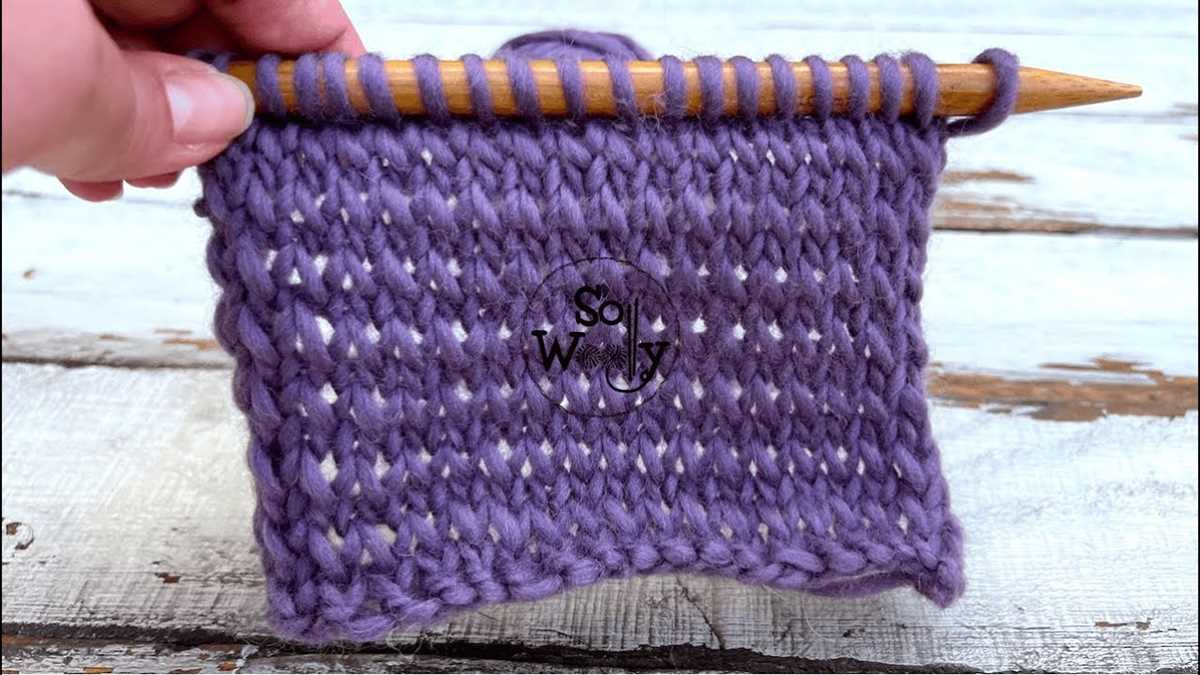
2. Lace
Another way to add texture to the wave pattern is by incorporating lace. Lace patterns create openwork designs with holes, which can add a delicate and airy texture to the overall pattern. You can use lace motifs, such as leaves or flowers, to create contrast and visual interest within the wave pattern.
3. Bobbles
Adding bobbles to the wave pattern can create a playful and tactile texture. Bobbles are small, raised bumps that are created by knitting a set of stitches into the same stitch. You can strategically place bobbles along the peaks or troughs of the wave pattern, or sprinkle them throughout the design for a more random texture.
- Try combining different textures in your wave pattern, such as cables and lace, to create a unique and intricate design.
- Experiment with different stitch sizes to create varying levels of texture within your wave pattern.
- Consider using different colors to enhance the texture and make the wave pattern even more eye-catching.
By adding texture to your wave pattern, you can elevate its visual appeal and create a truly stunning piece of knitted fabric. Explore different techniques and let your creativity flow to make your wave pattern truly unique.
Working with multiple waves in knitting can create an interesting and dynamic pattern. By alternating the direction of the waves and using different colors, you can achieve a visually appealing design.
Creating the pattern
To create a wave pattern, start by knitting a row of stitches in one color. Then, on the next row, alternate between knitting and purling stitches to create the wave shape. Repeat this pattern for a few rows, and then switch to a different color to create a contrasting wave. Continue to alternate colors and stitch patterns to create multiple waves.
Increasing and decreasing stitches
To create more intricate wave patterns, you can increase and decrease stitches within each wave. This can be done by knitting or purling multiple stitches together, or by creating yarn overs. By increasing and decreasing stitches strategically, you can create waves that overlap and intertwine.
Playing with colors

In addition to alternating the direction of the waves, you can also play with colors to enhance the pattern. Using contrasting colors for each wave can make them stand out more and create a bold effect. Alternatively, using similar shades of the same color can create a subtle and harmonious wave pattern.
Experimenting with stitch patterns

While the basic wave pattern involves alternating between knitting and purling stitches, you can also experiment with different stitch patterns within each wave. For example, you can incorporate lace or cable stitches to add texture and complexity to the waves. Don’t be afraid to try out different stitch patterns and see how they interact with the wave pattern.
Adding a border

Adding a border to your knitted wave pattern can help give it a finished and polished look. There are several different ways to add a border, depending on the desired effect and the thickness of the yarn used.
Basic garter stitch border

A simple and classic option is to add a garter stitch border to your wave pattern. This can be done by knitting a few rows of garter stitch before starting the wave pattern and then repeating those same rows at the end of the pattern. This will create a consistent border on both edges of the wave.
Seed stitch border
For a textured border, the seed stitch can be used. To create a seed stitch border, alternate between knitting and purling stitches in each row. This will create a pattern of small bumps that add interest and dimension to the border.
Ribbed border
If you want a stretchy border, a ribbed pattern can be used. This involves alternating knit and purl stitches in a specific pattern, such as knitting 2 stitches, purling 2 stitches, and repeating this pattern across the row. The ribbed pattern will create a border that has more stretch and flexibility.
Decorative edge
If you want to add a bit of flair to your wave pattern, you can incorporate a decorative edge. This can be done using lace stitches or by incorporating a different stitch pattern, such as a cable or bobble stitch. This will create a unique and eye-catching border that enhances the overall design of your knitted piece.
Binding off stitches
Binding off, also known as casting off, is the final step in completing a knitting project. It is the process of securing the stitches and creating a finished edge. Binding off is important as it ensures that the stitches do not unravel and the project maintains its shape.
To bind off stitches in a wave pattern, follow these steps:
1. Knit the first two stitches as usual.

Start by knitting the first two stitches in the row following the wave pattern. This will provide a foundation for the binding off process.
2. Insert the left needle into the first stitch.
Using the left needle, insert it into the first stitch on the right needle. Ensure that the left needle is positioned in front of the right needle.
3. Lift the first stitch over the second stitch.

With the left needle still inserted into the first stitch, lift it over the second stitch and off the right needle. This effectively binds off one stitch.
4. Knit the next stitch.

After binding off a stitch, knit the next stitch on the right needle as usual. Follow the wave pattern to maintain the desired design.
5. Repeat steps 2-4 until all stitches are bound off.
Continue to insert the left needle into the next stitch, lift the previous stitch over, and knit the following stitch. Repeat this process until all stitches are bound off and only one stitch remains on the right needle.
Once all stitches are bound off, cut the yarn, leaving a tail. Thread the tail through the last stitch and tug gently to secure. Weave in any remaining ends to complete the wave pattern.
Finishing Touches

Once you have completed knitting the wave pattern, it’s time to add the finishing touches to your project. The finishing touches include blocking, weaving in ends, and adding any desired embellishments.
Blocking
Blocking is an important step in knitting that helps to shape and even out your finished garment. To block your wave pattern, you will need to wet your knitted piece by soaking it in water or spraying it with water until it is thoroughly saturated. Gently squeeze out any excess water and lay the piece flat on a blocking board or towel. Use pins or blocking wires to stretch and shape the piece according to your desired measurements. Leave it to dry completely before removing the pins.
Weaving in Ends
When knitting, you’ll have loose ends of yarn from changing colors or joining new yarn. You’ll want to weave in these ends to secure them and prevent them from unraveling. To weave in ends, use a tapestry needle and thread the loose end through several stitches on the wrong side of your work. Trim any excess yarn, making sure not to cut any of the stitches.
Embellishments
If you want to add a personal touch to your wave pattern, consider adding embellishments such as buttons, beads, or embroidery. You can sew on buttons along the edge of your knitted piece, attach beads to create a shimmering effect, or use embroidery stitches to create patterns or designs on your project. Be creative and have fun experimenting with different embellishment ideas!
Tips and tricks for knitting a wave pattern
Knitting a wave pattern can be a fun and challenging project. Here are some tips and tricks to help you create beautiful waves in your knitting:
1. Choose the right yarn
When knitting a wave pattern, it’s important to choose a yarn that has good stitch definition. Yarns with a smooth texture and a slight sheen tend to work best for highlighting the wave design. Avoid using fuzzy or bulky yarns, as they can obscure the pattern.
2. Use stitch markers
Stitch markers can be helpful in keeping track of the wave pattern. Place a stitch marker at the beginning and end of each wave repeat to help you stay on track. This can be especially useful if you’re working on a larger project, where it’s easy to lose your place.
3. Pay attention to tension
Keeping a consistent tension is crucial when knitting a wave pattern. Tension refers to the amount of pressure you apply to your knitting yarn. Ensure that your stitches are not too tight or too loose, as this can affect the overall look of the wave design.
4. Read the pattern carefully

Wave patterns can be complex, especially if they involve different stitch patterns or stitch counts. Take the time to read the pattern carefully before you begin. Highlight any important instructions or stitch repeats, and make sure you understand how the waves are formed.
5. Block your finished piece
Blocking is the process of shaping and stretching your knitting to even out the stitches and enhance the overall appearance of the finished piece. For wave patterns, blocking can help open up the waves and make the design more pronounced. Follow the blocking instructions provided with your pattern or consult a blocking tutorial for more guidance.
By following these tips and tricks, you’ll be on your way to knitting a beautiful wave pattern. Remember to be patient and take your time, as wave patterns can be intricate and require attention to detail. Happy knitting!
Q&A:
What is a wave pattern in knitting?
A wave pattern in knitting is a design that creates a wavy or undulating pattern in the fabric. It is often created by alternating increases and decreases in a specific pattern.
How do you knit a wave pattern?
To knit a wave pattern, you will need to follow a specific sequence of stitches. Typically, this involves knitting a certain number of stitches, followed by increases and decreases to create the wave effect. The exact pattern will depend on the specific wave design you want to achieve.
What stitches are used in a wave pattern?
A wave pattern can be created using a variety of stitches, including knit, purl, yarn overs, and decreases such as knit two together (k2tog) or slip, slip, knit (ssk). The exact combination of stitches will depend on the specific wave pattern you are following.
Are there any specific knitting techniques for creating a wave pattern?
Yes, there are several knitting techniques that can help create a wave pattern more effectively. These include lace knitting techniques such as yarn overs and decreases, as well as blocking the finished piece to enhance the wavy design.
Are there any beginner-friendly wave patterns for knitting?
Yes, there are wave patterns that are suitable for beginners. These often involve simple stitches and repetitive sequences. It’s a good idea to start with a smaller project like a scarf or a dishcloth before attempting larger projects like blankets or garments.