
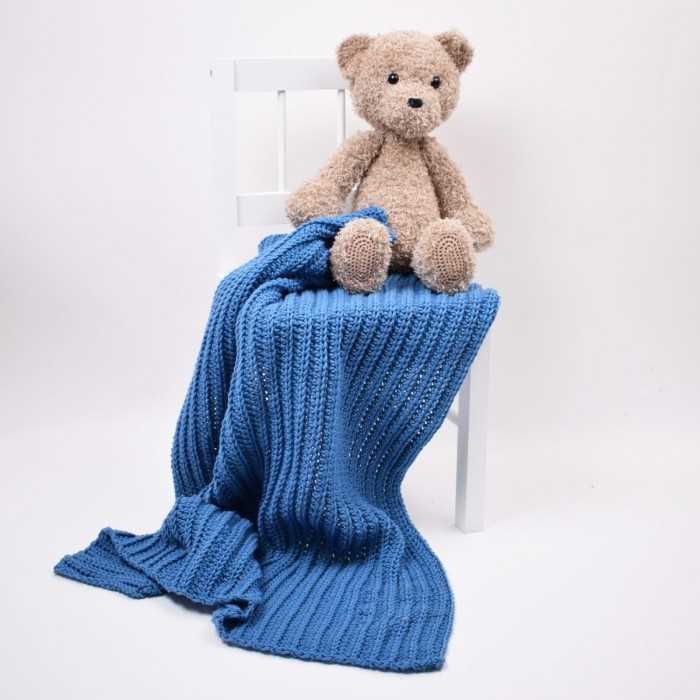
When the chilly breeze starts to blow, there’s nothing more comforting than a cozy stroller blanket to keep your little one warm and snug. The honeycomb stitch pattern adds a touch of elegance and texture to this versatile accessory, making it a perfect project for both beginner and advanced knitters.
This honeycomb stroller blanket knitting pattern is designed to be practical and stylish. The textured honeycomb stitch not only adds visual interest but also provides extra warmth and insulation. The size of the blanket can be easily adjusted to fit any stroller or car seat, making it an essential item for on-the-go families.
Knitted with soft and washable yarn, this blanket is not only beautiful but also practical. It is easy to care for, making it perfect for everyday use. Whether you’re knitting this blanket for your own little one or as a gift for a loved one, it is sure to become a cherished item for years to come.
Honeycomb Stroller Blanket Knitting Pattern

Knitting is a popular craft that allows you to create beautiful and functional items. One such item is the honeycomb stroller blanket. This pattern creates a cozy and unique blanket that is perfect for keeping a baby warm in their stroller. The honeycomb design adds texture and visual interest to the blanket, making it a stylish accessory as well.
To start knitting the honeycomb stroller blanket, you will need to gather your materials. This pattern typically calls for a medium weight yarn and size 8 knitting needles. You will also need a set of stitch markers and a yarn needle for finishing touches. Once you have all your supplies, you can begin casting on and working the honeycomb pattern.
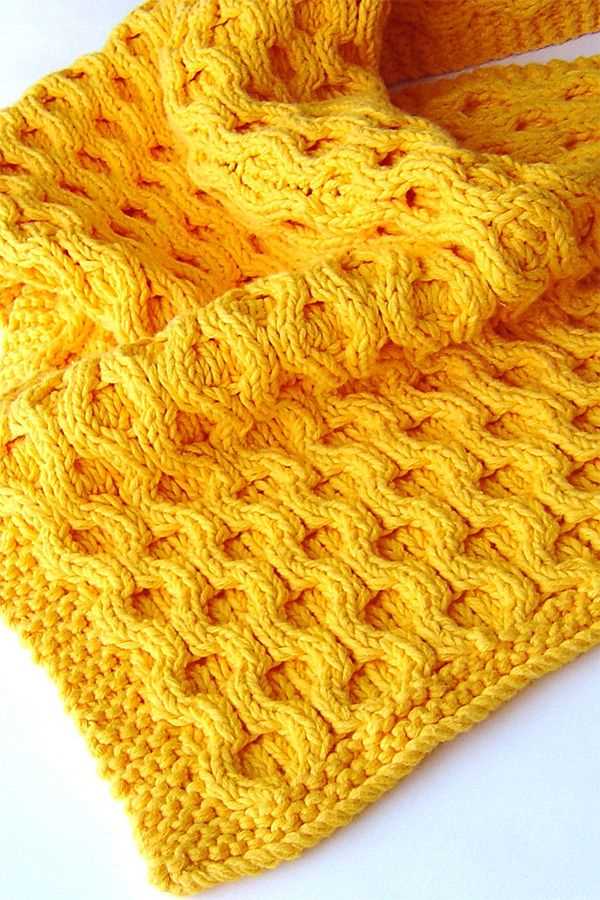
The honeycomb pattern involves a combination of knit and purl stitches arranged in a specific way to create the honeycomb effect. Each row is worked in a repeating pattern, which makes it easy to memorize and follow along as you knit. The honeycomb stitch is made up of clusters of knit stitches surrounded by purl stitches, giving it its distinctive appearance. As you work through the pattern, you will see the honeycomb design come to life.
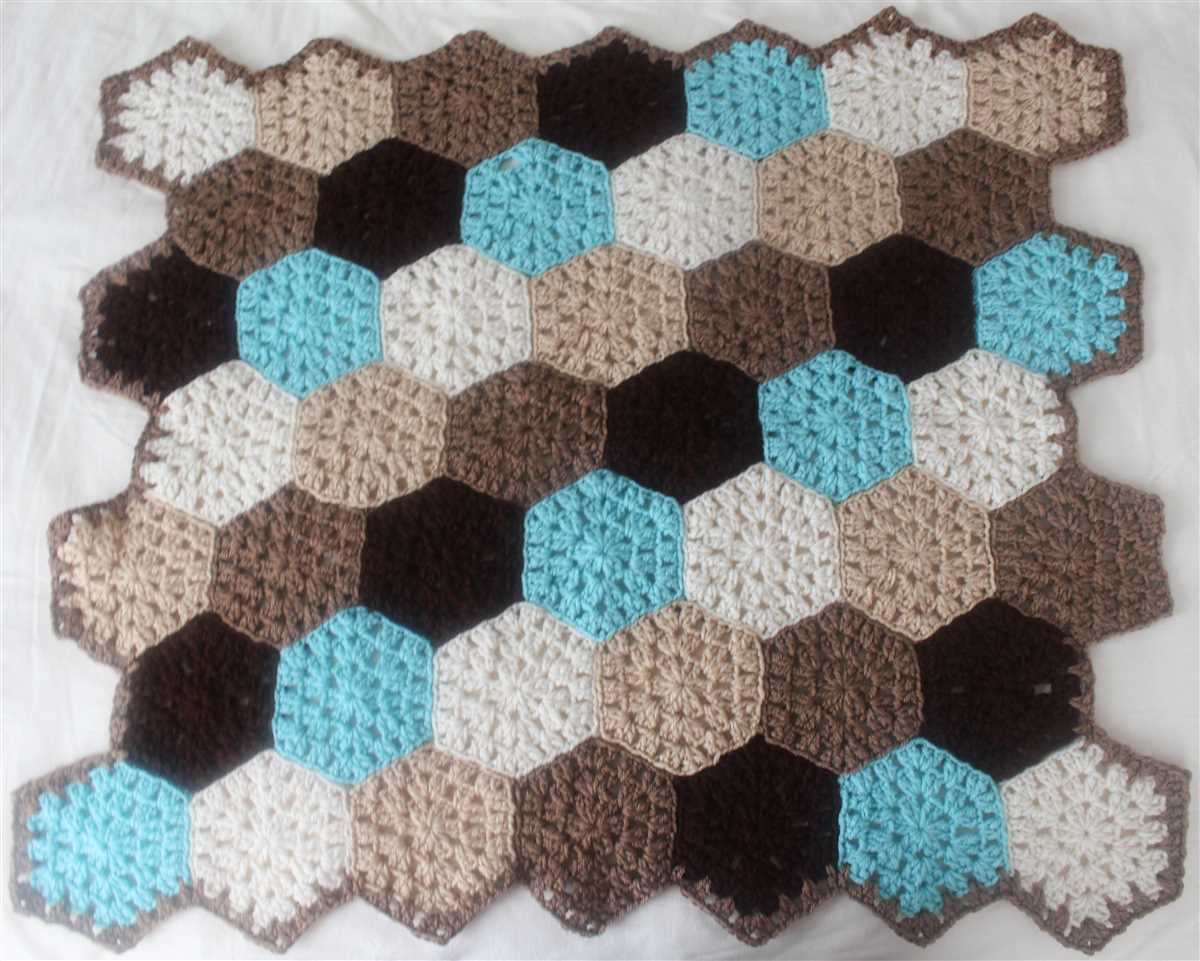
In addition to the honeycomb pattern, you can add personal touches to the stroller blanket. For example, you can incorporate different colors or stripes to make the blanket more visually appealing. You can also experiment with different yarn types and textures to achieve different effects. The possibilities are endless when it comes to customizing your honeycomb stroller blanket.
Once you have finished knitting the honeycomb stroller blanket, it is time to finish off the edges and add any desired embellishments. You can choose to crochet a border or use a simple whipstitch to secure the edges. You can also add pompoms or tassels for a fun and playful touch. Once everything is complete, your honeycomb stroller blanket is ready to be used and admired.
Materials Needed
Before you can begin knitting the honeycomb stroller blanket, you will need to gather the necessary materials. Here is a list of everything you will need:
- Yarn: You will need approximately 800 yards of worsted weight yarn. Choose a soft and durable yarn in your desired color.
- Knitting Needles: Use a pair of size US 8 (5mm) knitting needles. You can use straight or circular needles, depending on your preference.
- Tapestry Needle: A tapestry needle will be needed for weaving in ends and seaming.
- Stitch Markers: It is helpful to have stitch markers to keep track of certain sections or decreases in the pattern.
- Scissors: A pair of scissors will be needed for cutting yarn.
- Measuring Tape: A measuring tape will be useful for checking gauge and measuring the finished blanket.
In addition to these materials, you may also want to have a notebook and pen handy for keeping track of your progress and any modifications you make to the pattern. It is always a good idea to have a swatch of your chosen yarn and needles to check gauge before starting the project. Make sure you have all of these materials ready before you begin knitting the honeycomb stroller blanket.
Gauge
When knitting a honeycomb stroller blanket, the gauge is an important factor to consider. The gauge refers to the number of stitches and rows per inch that you achieve with your knitting needles and yarn. It is crucial to match the gauge mentioned in the pattern to ensure that your finished blanket will be the correct size and have the desired texture.
To determine your gauge, you will need to make a swatch. Use the recommended needles and yarn mentioned in the pattern. Cast on a few stitches and work a sample of the honeycomb stitch pattern for a few inches. Then, measure the number of stitches and rows per inch using a ruler or a gauge measuring tool.
Why is gauge important?
Gauge is important because it determines the size and drape of your knitted piece. If your gauge is too tight and you have fewer stitches and rows per inch than the pattern suggests, your blanket will turn out smaller than intended. On the other hand, if your gauge is too loose and you have more stitches and rows per inch, your blanket will be larger. Achieving the correct gauge ensures that your blanket will match the measurements provided in the pattern and have the desired texture and appearance.
Tips for achieving the correct gauge:
- Use the recommended needles and yarn mentioned in the pattern. Different yarns and needle sizes can produce different gauges, so it’s important to follow the suggestions provided.
- Make a swatch and measure it accurately. Take the time to knit a swatch and measure it with precision to ensure that your gauge is correct. Remember to wash and block your swatch as you plan to do with the finished blanket, as this can affect the gauge.
- If your gauge is not matching, try changing your needle size. If your gauge is too tight, try using larger needles to achieve fewer stitches and rows per inch. If your gauge is too loose, try using smaller needles to achieve more stitches and rows per inch.
By paying attention to your gauge, you can ensure that your honeycomb stroller blanket turns out just as you envisioned, with the perfect size and texture. Take the time to make a swatch and make any necessary adjustments in order to achieve the desired gauge.
Size
The size of the Honeycomb stroller blanket can be customized to your preference by adjusting the number of stitches and rows in the pattern. The pattern provides instructions for a standard size, but you can easily make it larger or smaller by adding or subtracting stitches and rows.
The standard size of the blanket is approximately 24 inches wide and 30 inches long. This size is great for covering a stroller or car seat and providing warmth and comfort for your little one. However, if you prefer a larger blanket, you can add more stitches and rows to make it wider and longer. Similarly, if you want a smaller blanket, you can decrease the number of stitches and rows accordingly.
When choosing the size of your blanket, consider the intended purpose and the age of the child. A larger blanket may be more suitable for an older child, while a smaller blanket may be easier to handle for a newborn or infant. Keep in mind that the finished size of the blanket may vary depending on your knitting tension, yarn weight, and needle size.
Below is a table with suggested stitch and row counts for different sizes:
| Size | Stitch Count | Row Count |
|---|---|---|
| Newborn | 80 stitches | 100 rows |
| Standard | 100 stitches | 120 rows |
| Toddler | 120 stitches | 140 rows |
| Large | 140 stitches | 160 rows |
Feel free to adjust these stitch and row counts based on your preference and desired finished size. Remember to always knit a gauge swatch before starting your project to ensure the correct size and fit.
Abbreviations
In the context of the Honeycomb stroller blanket knitting pattern, there are several abbreviations used to represent common knitting terms. It is important to familiarize yourself with these abbreviations in order to understand the pattern and successfully complete the project.
Below is a list of the abbreviations used in the pattern, along with their corresponding definitions:
- K – Knit: Insert the right-hand needle into the stitch on the left-hand needle from left to right, loop the yarn over the right-hand needle clockwise, and pull it through the stitch.
- P – Purl: Insert the right-hand needle into the stitch on the left-hand needle from right to left, loop the yarn over the right-hand needle counter-clockwise, and pull it through the stitch.
- YO – Yarn Over: Wrap the yarn around the right-hand needle from back to front, creating an extra stitch.
- K2tog – Knit Two Together: Knit the next two stitches together as if they were one stitch.
- SSK – Slip, Slip, Knit: Slip the next two stitches knitwise onto the right-hand needle, insert the left-hand needle into the front of both stitches, and knit them together.
- P2tog – Purl Two Together: Purl the next two stitches together as if they were one stitch.
- RS – Right Side: The side of the work facing you that will be the visible side of the finished piece.
- WS – Wrong Side: The side of the work facing away from you that will not be visible in the finished piece.
These abbreviations are commonly used in knitting patterns and should be referred to throughout the instructions of the Honeycomb stroller blanket pattern. By understanding and following these abbreviations, you will be able to successfully create a beautiful and cozy blanket for your stroller.
Pattern
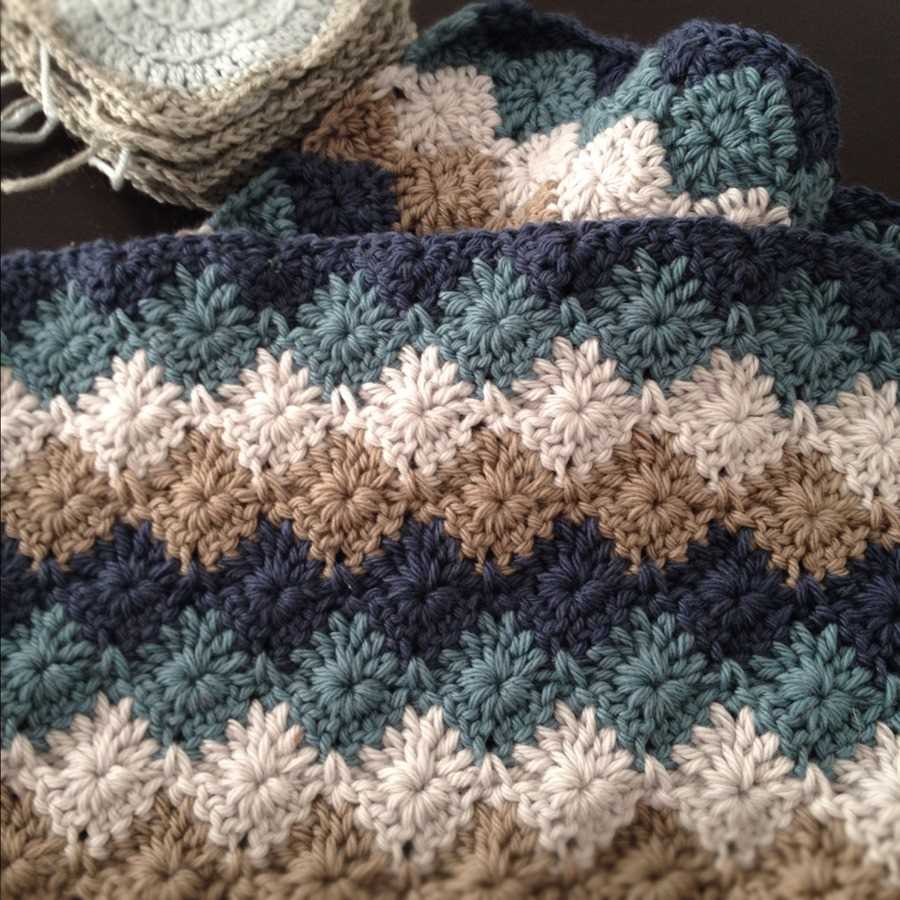
The Honeycomb stroller blanket knitting pattern is a beautiful and intricate design that creates a cozy and warm blanket for your little one. The pattern features a honeycomb stitch, which adds texture and depth to the blanket. The stitch pattern is created by alternating knit and purl stitches in a specific pattern repeat. The result is a blanket that looks like a honeycomb and feels incredibly soft and snuggly.
To create the Honeycomb stroller blanket, you will need the following materials: a set of knitting needles, a ball of yarn in your desired color, and a tapestry needle to weave in loose ends. The pattern is suitable for intermediate knitters who are comfortable with basic knit and purl stitches, as well as simple decreases and yarn overs.
To begin, cast on the desired number of stitches, which will determine the width of the blanket. The pattern provides instructions for creating a stroller-sized blanket, but you can easily adjust the size by adding or subtracting stitches. Once you have cast on, you will work the honeycomb stitch pattern in rows, following the specific pattern repeat.
The honeycomb stitch pattern consists of a series of knits and purls that create raised and recessed sections, resembling a honeycomb. The pattern repeat is worked over a set number of stitches and rows, and is easy to memorize once you get the hang of it. You will repeat the pattern until the desired length is reached, and then bind off your stitches to finish the blanket.
The Honeycomb stroller blanket knitting pattern is not only a joy to knit, but it also makes a perfect gift for a new baby or an expecting parent. The finished blanket is soft, warm, and durable, making it ideal for snuggling up with on chilly stroller rides or nap times. Whether you choose to use a traditional baby yarn in pastel colors or get creative with a bold and vibrant palette, the Honeycomb stroller blanket will be a treasured item for years to come.
Step 1: Cast On
In order to begin knitting the honeycomb stroller blanket pattern, you will first need to cast on the desired number of stitches. The cast on is the first step in starting any knitting project and is how you create the initial row of stitches on your needles.
For this particular pattern, the recommended cast on method is the long tail cast on. This method is commonly used and creates a firm and neat edge. To begin, you will need to estimate the amount of yarn you will need for your cast on and leave a long tail (approximately 3 times the width of your desired blanket) before making a slipknot.
Step 2: Honeycomb Stitch
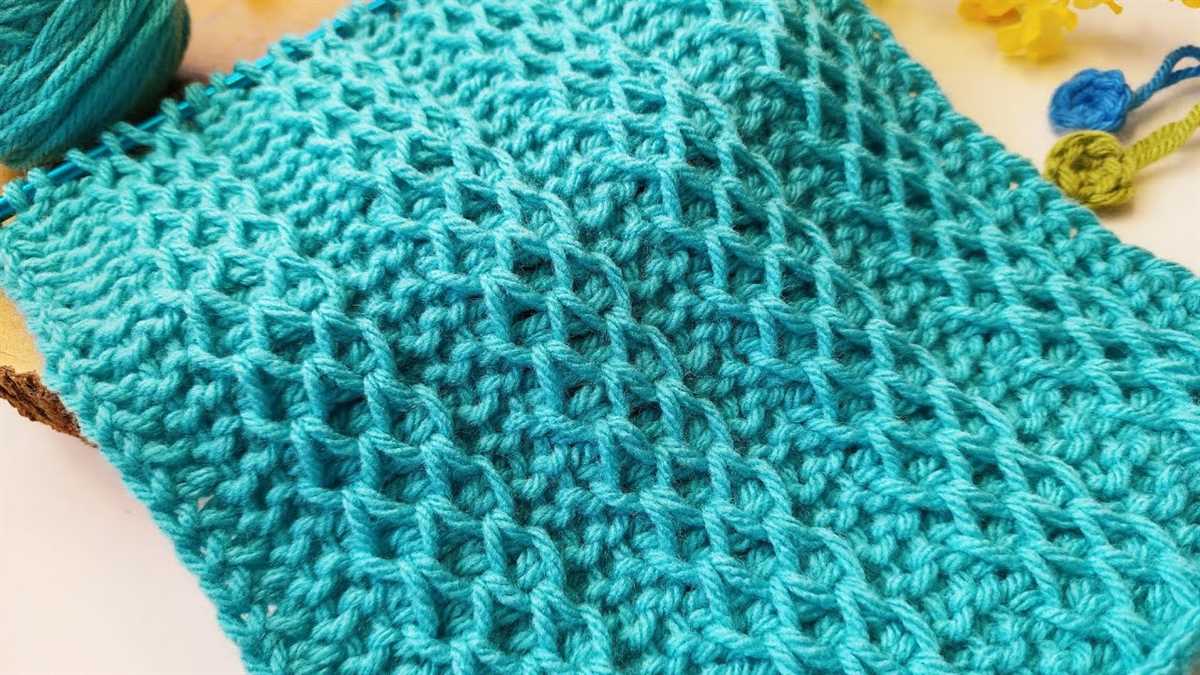
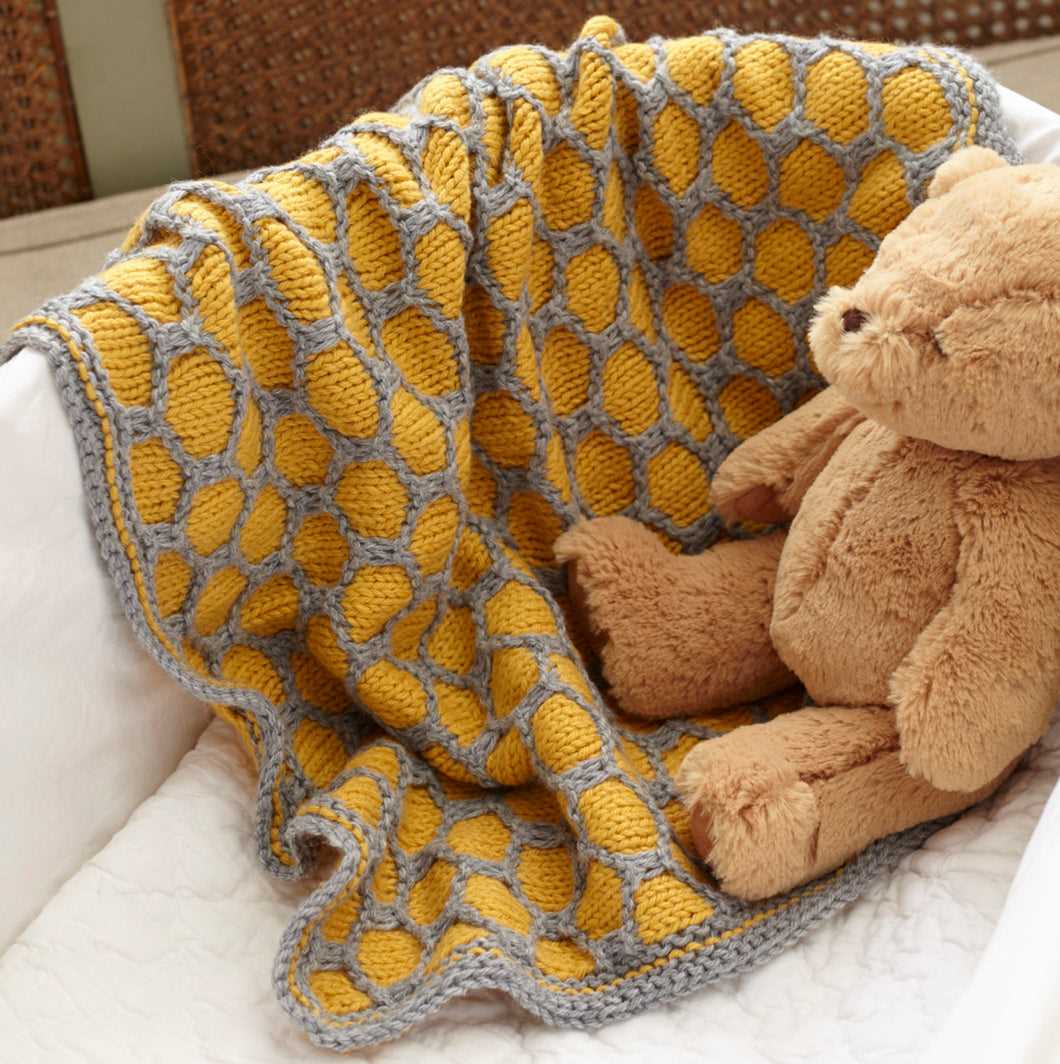
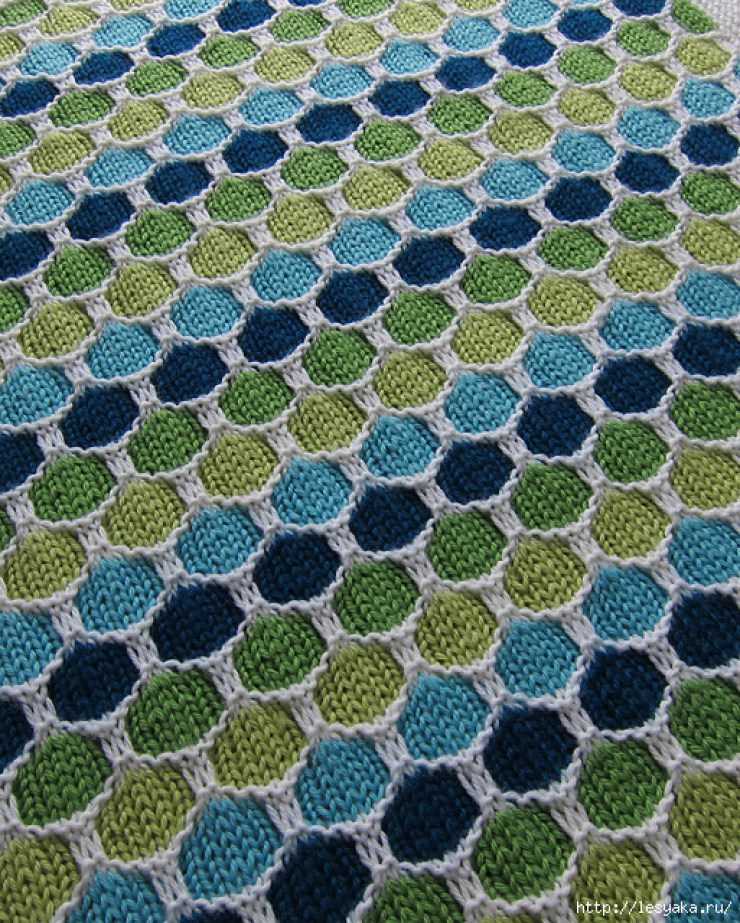
In this step, we will learn how to create the honeycomb stitch pattern for the stroller blanket. The honeycomb stitch is a textured pattern that resembles the shape of a honeycomb, with its hexagonal cells.
To create the honeycomb stitch, follow these instructions:
- Row 1: Start with a knit stitch.
- Row 2: Purl all stitches.
- Row 3: Knit 2 stitches together, then yarn over, and knit 1 stitch. Repeat this pattern across the row.
- Row 4: Purl 1 stitch, then yarn over, and purl 2 stitches together. Repeat this pattern across the row.
- Row 5: Knit all stitches.
- Row 6: Purl all stitches.
- Row 7: Repeat Row 3.
- Row 8: Repeat Row 4.
- Row 9: Repeat Row 5.
- Row 10: Repeat Row 6.
Continue repeating these 10 rows to create the honeycomb stitch pattern throughout the stroller blanket. The honeycomb stitch pattern adds depth and texture to the blanket, making it both visually appealing and cozy.
Step 3: Color Changes

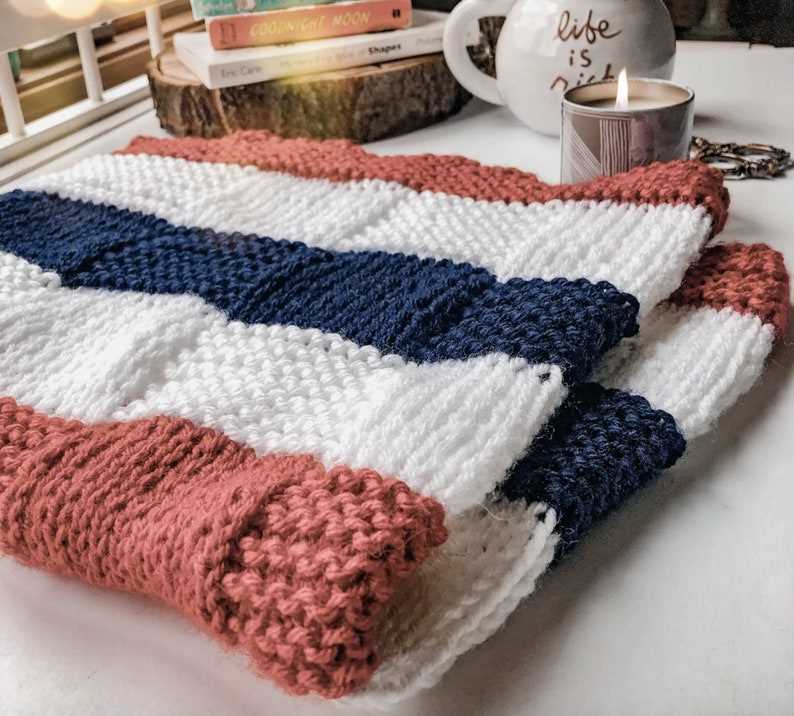
When knitting the honeycomb stroller blanket, one of the key design elements is the use of different colors to create a visually appealing pattern. In this step, you will learn how to make color changes in your knitting.
Materials needed:
- Main color yarn
- Contrasting color yarn
- Knitting needles
- Yarn needle
To start, you will be using the main color yarn for the first few rows of your blanket. Once you reach the desired length, you can switch to the contrasting color yarn for the honeycomb pattern. Make sure to leave a long enough tail when changing colors to weave in later.
Tip: When changing colors, it’s important to carry the unused yarn along the side of your work to prevent it from tangling. You can do this by simply twisting the two colors together at the beginning of each row. This will create a neat and clean color change.
Continue knitting rows in the honeycomb pattern using the contrasting color yarn. Remember to follow the pattern instructions for each row to create the honeycomb design. Once you have reached the desired length, you can switch back to the main color yarn for the final few rows.
Note: When switching back to the main color yarn, make sure to weave in the contrasting color yarn as you go. This will give your blanket a professional and polished finish.
With these tips and techniques, you will be able to create beautiful color changes in your honeycomb stroller blanket. Experiment with different color combinations to make your blanket truly unique!
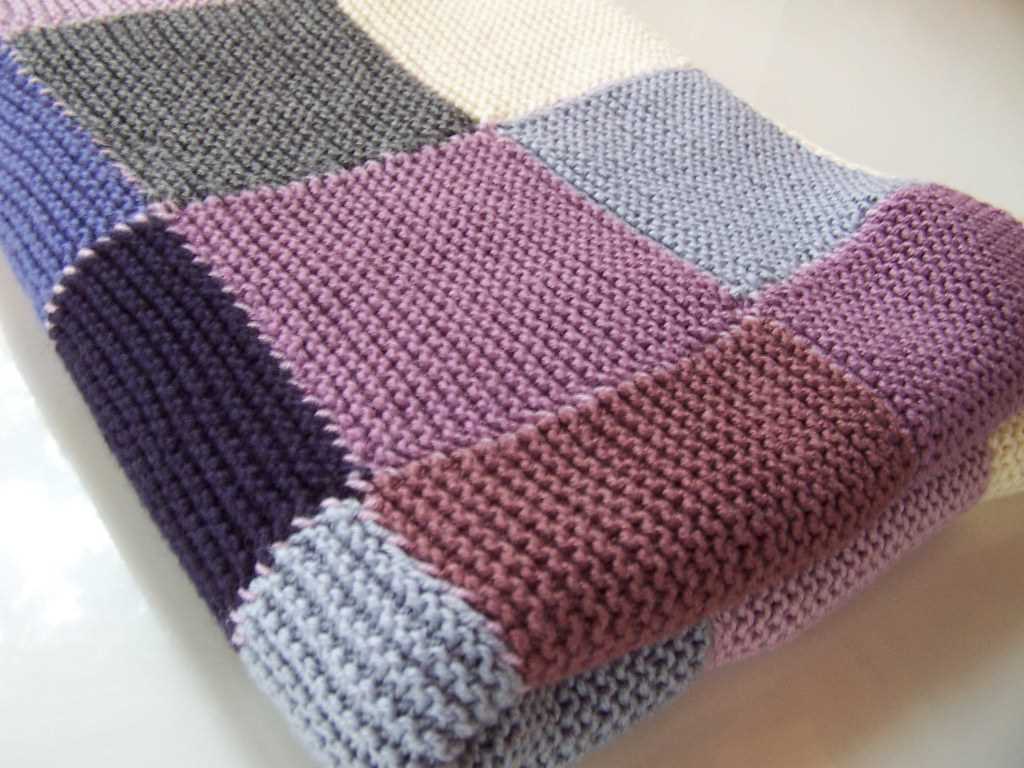
Step 4: Border

Once you have finished knitting the honeycomb pattern for the main body of the stroller blanket, it’s time to add a border to give the blanket a nice finished look. The border serves not only as a decorative element but also helps to stabilize the edges and prevent curling.
The border can be knitted in a different color for contrast or in the same color as the main body, depending on your preference. It can be as simple as a garter stitch or you can choose a more intricate stitch pattern to add some texture and interest. Here are a few options for the border:
- Garter stitch border: This is the simplest option for the border. Knit all stitches for every row to create a ridged texture.
- Ribbed border: This border is created by alternating between knit and purl stitches in a specific pattern, such as 2×2 or 1×1 ribbing. It creates a stretchy and flexible edge.
- Seed stitch border: This border is created by alternating between knit and purl stitches in a specific pattern, such as K1, P1 or K2, P2. It creates a textured and slightly bumpy edge.
Once you have decided on the type of border you want to knit, measure the length of the blanket’s sides and cast on the appropriate number of stitches. Knit the border in your chosen stitch pattern until it reaches the desired width, and then bind off all stitches. Don’t forget to weave in any loose ends and block the blanket to give it a polished and professional finish.
Step 5: Finishing Touches
Once you have finished knitting the honeycomb stroller blanket, there are a few finishing touches that will bring your project to completion. These final steps will ensure that your blanket is ready to be used and enjoyed.
1. Blocking
To give your blanket a polished and professional look, it is recommended to block it. Blocking is the process of shaping and stretching the knitted fabric to even out stitches and create a more uniform appearance. To block your honeycomb stroller blanket, follow these steps:
- Gently soak your blanket in lukewarm water with a wool wash or mild detergent.
- Remove the blanket from the water and gently squeeze out the excess moisture.
- Lay the blanket flat on a clean towel or blocking mat.
- Using rust-proof T-pins, carefully pin the edges of the blanket to the desired size and shape.
- Allow the blanket to dry completely before removing the pins.
2. Weaving in Ends
After blocking, it’s important to weave in any loose ends to give your blanket a clean and seamless finish. To weave in ends:
- Thread a tapestry needle with the yarn tail.
- Insert the needle into the nearest stitch or purl bump.
- Weave the needle under several stitches, following the direction of the yarn.
- Turn the needle and weave back in the opposite direction for added security.
- Trim any excess yarn close to the fabric.
By properly blocking your blanket and weaving in all the ends, you will ensure that your honeycomb stroller blanket not only looks beautiful but also stands the test of time.
Optional Embellishments
Once you have finished knitting the honeycomb stroller blanket, you can add optional embellishments to personalize the blanket or make it even more special. Here are a few ideas:
- Embroidery: You can use embroidery floss to add decorative stitches to the blanket. Create patterns, add names or initials, or even cute motifs like hearts or stars. Choose colors that complement the blanket or go for a contrasting look.
- Appliques: Sew on fabric or knit appliques to the blanket for a three-dimensional effect. You can find ready-made appliques in craft stores or make your own using fabric or yarn scraps. Attach them securely to ensure they stay in place.
- Ribbon or lace trim: Sew on a ribbon or lace trim around the edges of the blanket to give it a delicate and feminine touch. Choose a color that matches the blanket or go for a contrasting shade to make it stand out.
- Pom-poms or tassels: Add pom-poms or tassels to the corners of the blanket for a fun and playful touch. You can make your own using yarn or purchase them in various colors and sizes from a craft store.
Remember to consider the safety of the baby when adding embellishments. Make sure they are securely attached and won’t pose a choking hazard. Also, avoid using any materials that may irritate the baby’s sensitive skin.
By adding these optional embellishments, you can create a unique and personalized honeycomb stroller blanket that will be cherished for years to come. Have fun experimenting with different ideas and making the blanket truly your own!