
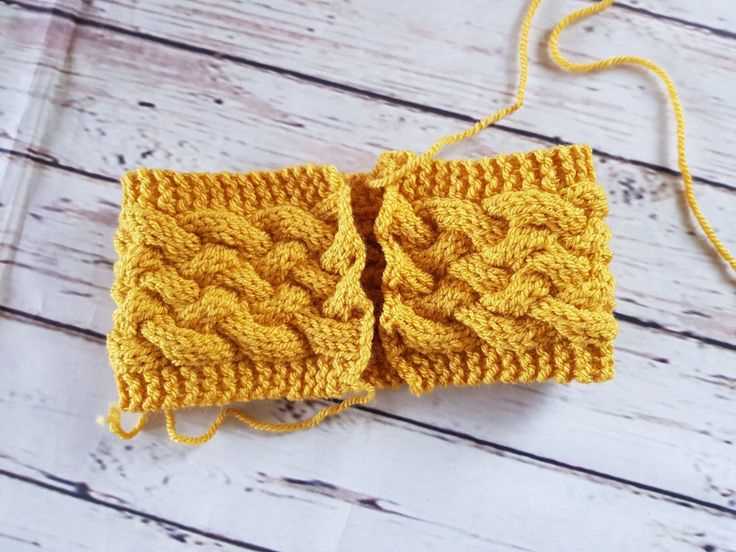
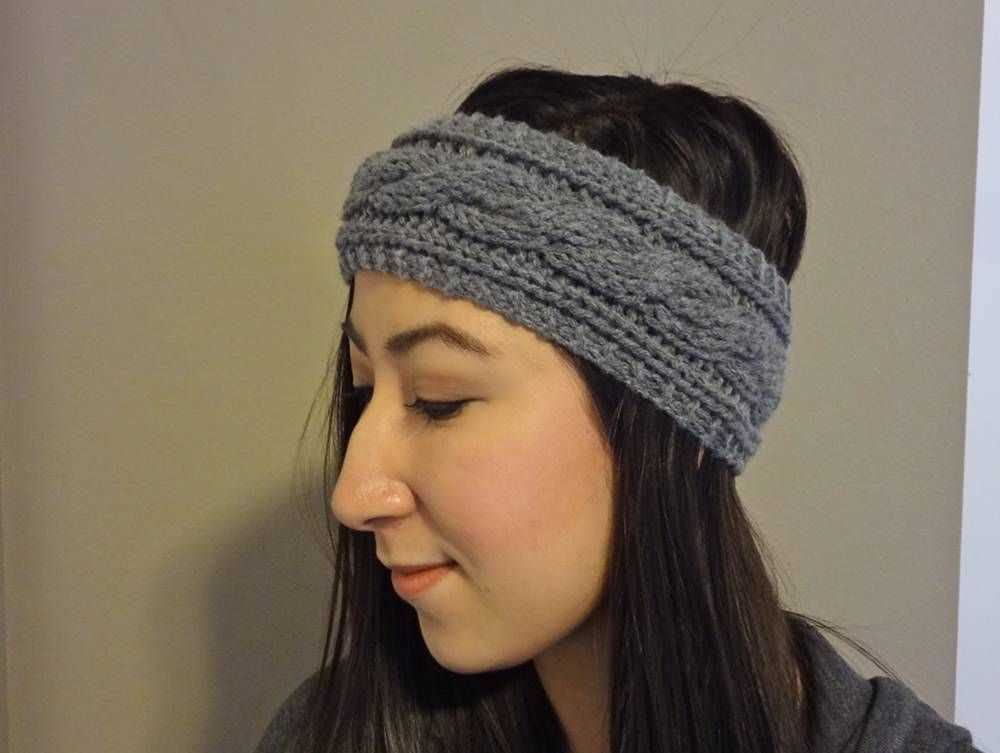
Are you looking for a stylish and cozy accessory to keep your ears warm during the colder months? Look no further than this cable headband knitting pattern. With its beautiful cable design, this headband adds a touch of elegance to any outfit.
This free knitting pattern is perfect for knitters of all skill levels. Whether you’re a beginner or an experienced knitter, you’ll love creating this versatile and fashionable accessory. Plus, the pattern is quick and easy to follow, so you can have your headband ready to wear in no time.
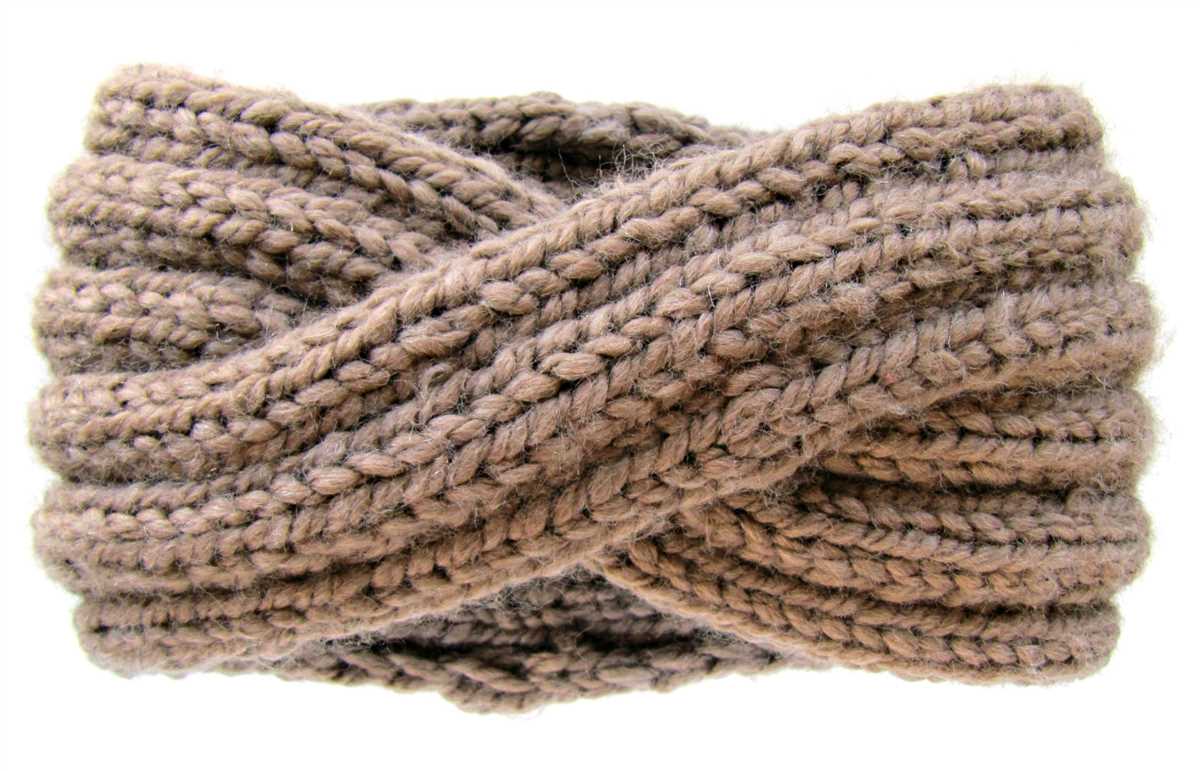
The cable design adds an extra layer of warmth and texture to the headband, making it ideal for those chilly winter days. The pattern uses a soft and cozy yarn that feels gentle against your skin. You can choose any color you like to match your wardrobe or make a statement.
Not only does this cable headband keep your ears warm, but it’s also a great way to showcase your knitting skills. With its intricate cables and neat finishing touches, this headband is sure to impress. So why wait? Grab your knitting needles and get started on your own cable headband today!
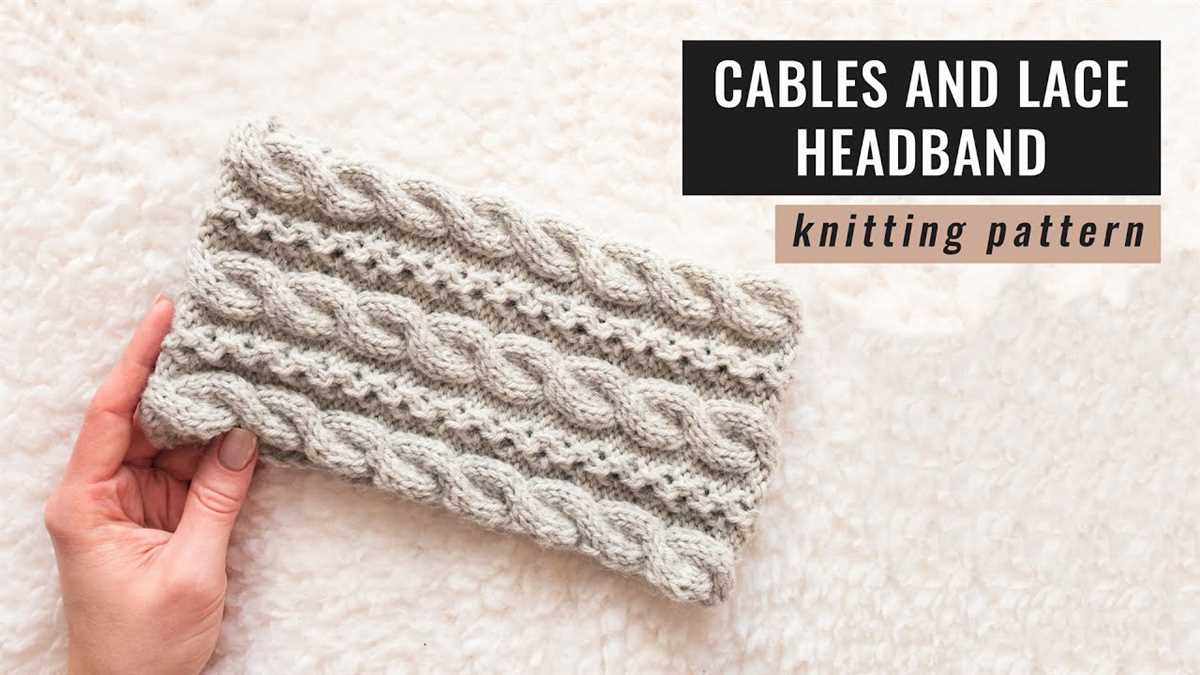
Cable Headband Free Knitting Pattern
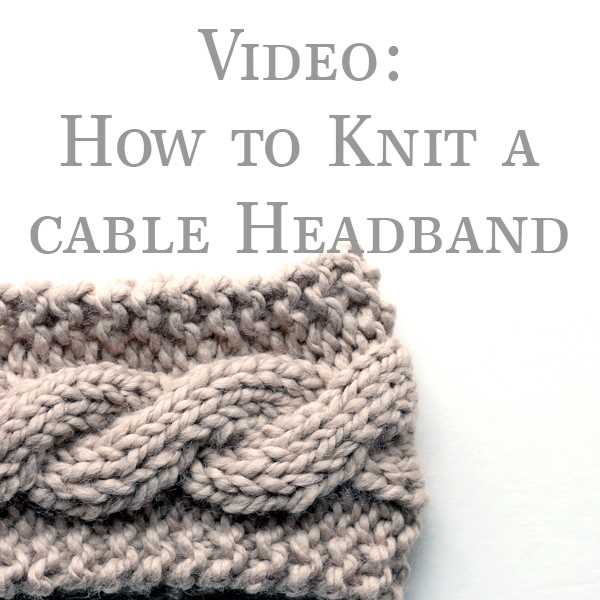
If you’re looking for a stylish and cozy accessory to keep your ears warm during the colder months, then the Cable Headband is the perfect project for you. With its intricate cable design and soft yarn, it’s both fashionable and functional.
This Cable Headband free knitting pattern is suitable for knitters of all skill levels. Whether you’re a beginner or an experienced knitter, you’ll enjoy creating this beautiful accessory. The pattern includes step-by-step instructions and a detailed chart to help you create the cable design.
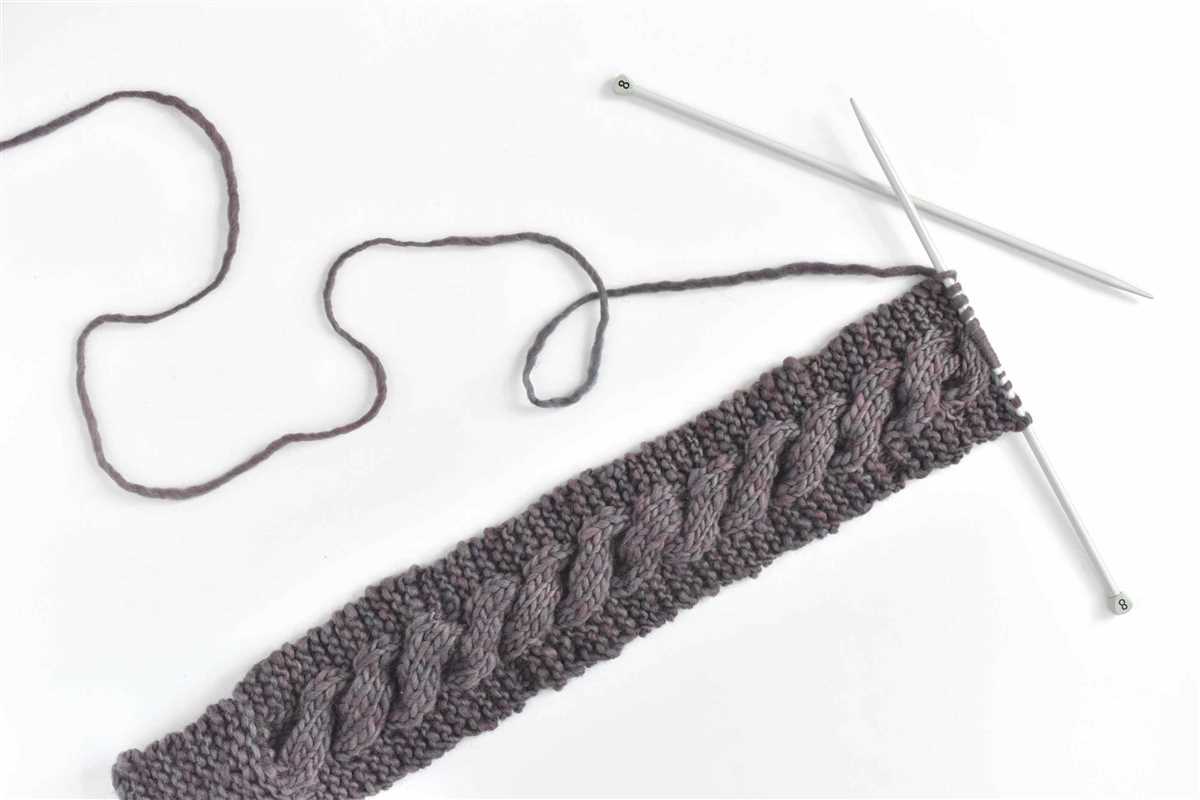
To make the Cable Headband, you’ll need a set of knitting needles and a skein of bulky-weight yarn. The pattern calls for a cable needle, but if you’re comfortable with cabling without a cable needle, you can skip this step. The headband is knit flat and then seamed together, making it a quick and easy project.
This pattern is customizable to fit any head size. You can adjust the number of stitches and rows to create a headband that fits you perfectly. Additionally, you can easily modify the width of the headband by casting on more or fewer stitches.
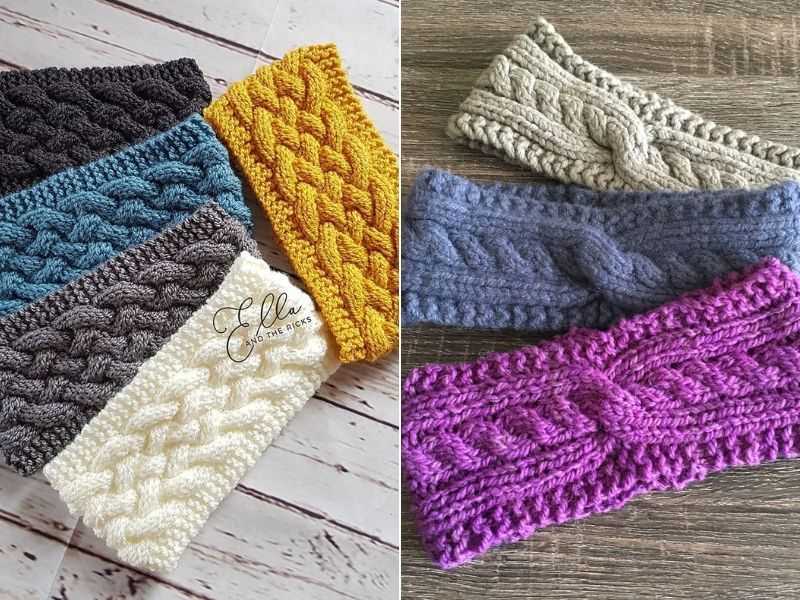
The Cable Headband is not only a practical accessory but also a fashionable one. The cable design adds a touch of elegance to any outfit, making it a versatile accessory for both casual and formal occasions. You can knit it in a neutral color for a classic look or choose a bold color to make a statement.
Materials:
- Knitting needles
- Bulky-weight yarn
- Cable needle (optional)
Instructions:

- Cast on the desired number of stitches.
- Knit a few rows in a rib stitch for the border.
- Begin the cable pattern according to the chart or written instructions.
- Continue the cable pattern for the desired length.
- Knit a few rows in a rib stitch for the border.
- Bind off and seam the ends together.
With this Cable Headband free knitting pattern, you can create a stylish and cozy accessory that will keep you warm throughout the winter months. Whether you’re a beginner or an experienced knitter, this pattern is perfect for anyone looking to add a touch of elegance to their winter wardrobe.
Materials Needed
Yarn: To make this cable headband, you will need a medium weight yarn. The pattern suggests using a superwash wool yarn, but you can use any yarn that gives you the desired gauge.
Needles: You will need a set of US size 8 (5 mm) straight knitting needles for this project. Alternatively, you can use a 16-inch (40 cm) circular needle if you prefer.
Cable needle: This pattern uses cable stitches, so you will need a cable needle to hold stitches while you twist them.
Tapestry needle: You will need a tapestry needle to weave in ends and sew the headband together.
Scissors: A pair of scissors will be handy for cutting yarn and trimming any loose ends.
Measuring tape: It’s always a good idea to have a measuring tape on hand to check your gauge and measure the headband as you go.
Stitch markers: Stitch markers can be helpful for marking the beginning of the round or any other important points in the pattern.
Blocking materials (optional): If you want to block your headband to ensure it has a neat finish, you can use blocking mats, T-pins, and a spray bottle with water.
Pattern: Lastly, don’t forget to have the cable headband knitting pattern on hand. Make sure you have a printed copy or access to the pattern on your electronic device.
Gauge
When knitting a cable headband, it is important to achieve the correct gauge in order to ensure the finished product will fit properly. Gauge refers to the number of stitches and rows per inch that you knit with your chosen yarn and needles. It acts as a guide to determine the size of your finished project.
To determine your gauge, you will need to make a gauge swatch. This involves knitting a small square using your chosen yarn and needles, following the pattern instructions. Once you have completed the swatch, you will measure the number of stitches and rows within a four-inch square. This will give you an accurate measurement of your gauge.
It is crucial to match the gauge specified in the pattern to achieve the desired size of the cable headband. If your gauge is too loose, meaning you have fewer stitches and rows per inch, the headband will be too large. Conversely, if your gauge is too tight, meaning you have more stitches and rows per inch, the headband will be too small.
Understanding and achieving the correct gauge is key to a successful knitting project.
Size
When knitting the cable headband, it is important to choose the right size to ensure a proper fit. The pattern is available in several sizes, ranging from small to large, to accommodate different head sizes.
To determine your size:
- Measure the circumference of your head, just above your ears.
- Compare your measurement to the size chart provided in the pattern.
- Select the size that is closest to your head measurement. If your measurement falls between two sizes, it is recommended to choose the larger size for a comfortable fit.
Note: It is important to check your gauge before starting the project to ensure your headband will have the correct size. Adjust your needle size if necessary to achieve the correct gauge.
Size Chart

| Size | Head Circumference |
|---|---|
| Small | 20-21 inches |
| Medium | 22-23 inches |
| Large | 24-25 inches |
By choosing the correct size and adjusting your gauge if necessary, you can ensure that the cable headband will fit comfortably and securely on your head. Enjoy knitting your new accessory!
Abbreviations

In this cable headband knitting pattern, you will come across several abbreviations that are commonly used in knitting patterns. Here is a list of the abbreviations and their meanings:
- K: Knit.
- P: Purl.
- St(s): Stitch(es).
- K2tog: Knit two stitches together.
- P2tog: Purl two stitches together.
- C6F: Cable six stitches to the front.
- C6B: Cable six stitches to the back.
- MC: Main color.
- CC: Contrast color.
It’s important to understand the abbreviations used in the pattern to be able to follow the instructions correctly. If you are new to knitting or unsure of any abbreviation, refer to this list for clarification. You can also find detailed explanations and video tutorials of these techniques online to further enhance your knitting skills.
Instructions

Follow these step-by-step instructions to create your own cable headband:
Materials Needed:
- Worsted weight yarn
- Size 8 knitting needles
- Cable needle
- Tapestry needle
- Scissors
1. Cast on stitches:
Start by casting on 20 stitches using the long-tail cast-on method.
2. Knit the first row:
Knit every stitch on the first row.
3. Begin cable pattern:
Row 1: *Slip next 3 stitches onto cable needle and hold in back of work. Knit the next 3 stitches from the left-hand needle. Knit the 3 stitches from the cable needle.* Repeat from * to * across the row.
4. Continue cable pattern:
Repeat Row 1 until the headband reaches your desired length. For a standard adult headband, you may need to repeat the cable pattern for about 20 rows.
5. Knit the last row:
After you have completed the desired number of cable pattern rows, knit every stitch on the final row.
6. Bind off stitches:
Bind off all stitches, making sure not to bind off too tightly.
7. Finishing touches:
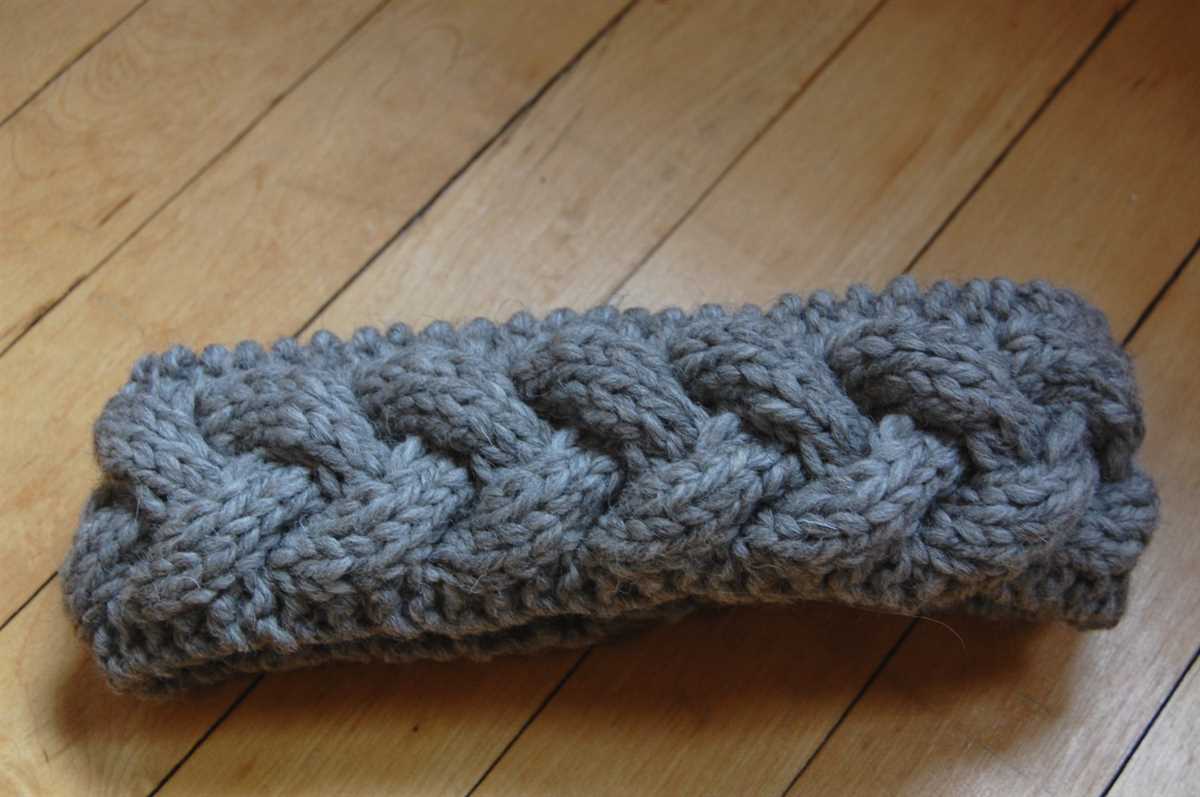
Weave in any loose ends and use the tapestry needle to sew the two ends of the headband together.
Now your cable headband is ready to wear and keep your ears warm during the cooler months!
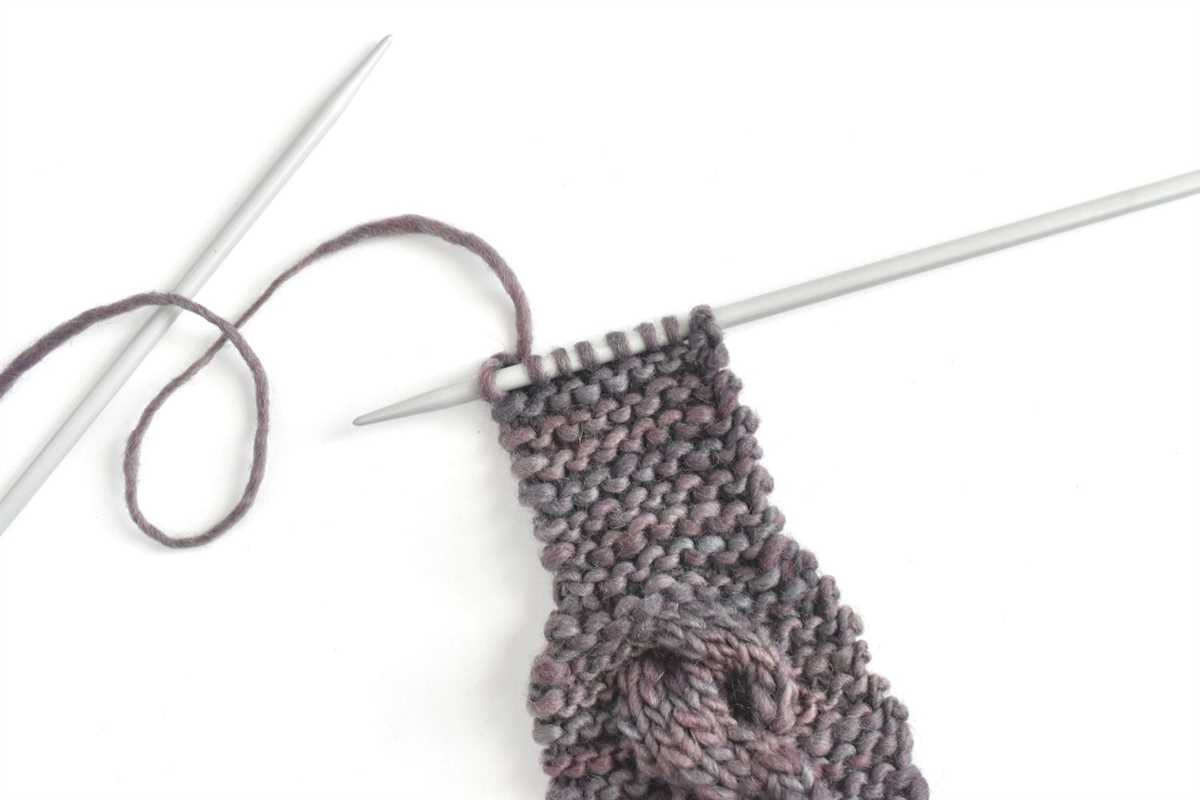
Cast On
When starting a new knitting project, the first step is always to cast on, which creates the foundation row of stitches on the knitting needle. There are several different methods for casting on, but the most common method is the long tail cast on. To do this, you will need to estimate the amount of yarn needed for the number of stitches required and leave a long tail of yarn.
To begin the long tail cast on, hold the knitting needle in your right hand and make a slipknot on the needle, leaving the long tail hanging down. Insert the point of the left knitting needle into the slipknot from front to back, then use the right needle to bring the yarn from the long tail behind the left needle and over the top of it. This creates a loop around the left needle.
Continue making loops in this way until you have the desired number of stitches on the left needle. Remember to keep the tension of the yarn even, neither too loose nor too tight. Once all the stitches are cast on, you are ready to begin knitting the first row of your project.
It is important to note that the number of stitches you cast on will depend on the pattern and the size of the item you are knitting. Be sure to carefully read the instructions and follow the recommended cast on number to ensure that your project turns out as intended.
Cable Stitch
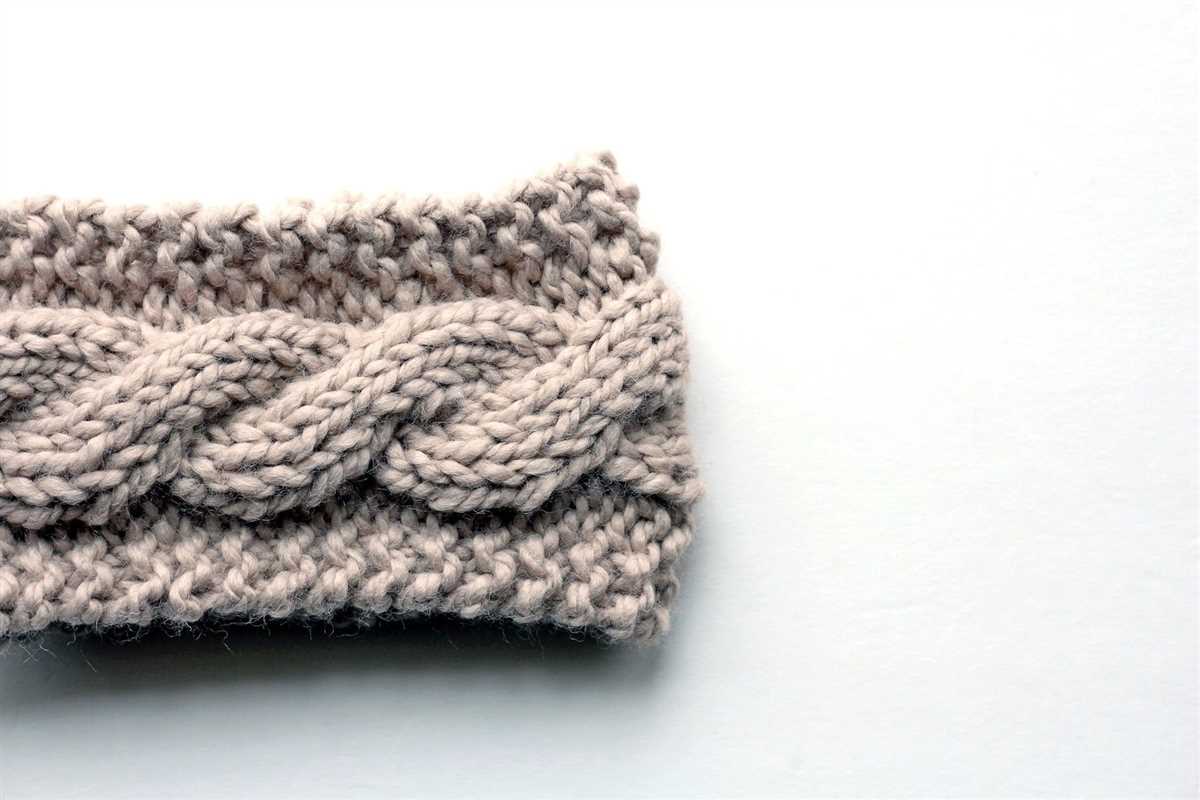
The cable stitch is a popular knitting technique that creates intricate designs and textures in knitted fabric. It is characterized by the crossing of stitches, which gives the appearance of cables running along the fabric. Cable stitches can be used to create a variety of patterns and motifs, making them a versatile and decorative element in knitted projects.
To create a cable stitch, a designated group of stitches is held aside on a cable needle or stitch holder while other stitches are worked. The held stitches are then brought back into the working area and worked in a different order, creating the characteristic twist or cable effect. Cable stitches can be simple, with just a few crosses, or more complex, with multiple crossings and intricate designs.
The cable stitch adds depth and dimension to knitted fabric, making it an ideal choice for projects such as sweaters, scarves, hats, and blankets. It can be worked with a variety of yarn weights and fiber types, allowing for endless possibilities in terms of design and texture. Cable stitches can also be combined with other stitch patterns, such as ribbing or lace, to create unique and visually interesting knitwear.
- Cable stitches require the use of a cable needle or stitch holder to hold stitches aside.
- The held stitches are typically brought forward or back of the work to create the desired cable twist.
- Cable stitches can be worked with both knit and purl stitches.
- There are many different cable stitch patterns available, ranging from simple to complex.
- Cable stitches can be used to create a wide range of projects, from garments to accessories.
- The cable stitch is a versatile and decorative technique that adds interest and texture to knitted fabric.
Whether you are an experienced knitter or new to the craft, incorporating cable stitches into your projects can take your knitting to the next level. With their intricate designs and beautiful texture, cable stitches are sure to impress and add a touch of elegance to any knitting project.
Decreases
Decreases are an essential part of knitting, especially when shaping garments or accessories. They are used to create a narrower shape by reducing the number of stitches. In the context of cable headbands, decreases are used to shape the band to fit snugly around the head.
There are several types of decreases in knitting, including knit two together (k2tog), slip slip knit (ssk), and purl two together (p2tog). These decreases can be used interchangeably depending on the desired effect and the stitch pattern.
When working decreases in a cable headband, it is important to consider the cable pattern and stitch count. The decreases should be placed in a way that maintains the integrity of the cable design while shaping the band. This may require adjusting the pattern and carefully following the instructions for each decrease.
It is also important to note that decreases can affect the stretchiness of the fabric. Some decreases, like k2tog, can create a tighter fabric, while others, like ssk, can maintain or even increase the stretchiness. This should be taken into consideration when choosing the type of decrease to use in a cable headband.
To achieve a professional finish, it is recommended to practice decreases on a swatch before starting the actual project. This will help in understanding the technique and achieving consistent results. Additionally, it is important to neatly execute each decrease to ensure a clean and polished appearance in the finished cable headband.
Finishing
Once you have finished knitting the cable headband, it’s time to add the finishing touches. Start by weaving in any loose ends or strands of yarn on the wrong side of the headband. This will give the headband a tidy and polished look.
Next, fold the headband in half lengthwise, with the wrong sides facing each other. Use a tapestry needle and matching yarn to sew the two ends together. Make sure to sew through both layers of the headband to create a secure seam.
After sewing the seam, turn the headband right side out. Use your fingers or a crochet hook to gently shape the headband and smooth out any wrinkles or bumps. This will help the cable pattern stand out and give the headband a neat appearance.
If desired, you can add a decorative button or embellishment to the front of the headband. Sew it securely in place using thread that matches the color of the headband. This will add an extra touch of style and personalize your cable headband.
Variations
If you want to add some extra flair to your cable headband, there are several variations you can try. One option is to change the size of the cable stitches. For a more delicate look, you can use smaller cable stitches, such as 2-stitch cables instead of 4-stitch cables. On the other hand, if you want a bolder, more pronounced cable, you can try using larger cable stitches, such as 6-stitch cables.
Another way to spice up your cable headband is by adding some color. You can experiment with different yarn colors to create unique and eye-catching designs. For example, you can use a variegated yarn to give your headband a striped or patterned effect. Alternatively, you can use two different colors of yarn and alternate between them for a two-tone look.
- Change the size of the cable stitches, such as using smaller or larger cables
- Experiment with different yarn colors, such as variegated or two-tone
- Add embellishments, such as buttons, bows, or flowers
- Try different stitch patterns for the band, such as ribbing or seed stitch
- Add a twist to the cable, such as making a spiral or braided design
Troubleshooting
If you encounter any issues while knitting the cable headband, here are some common problems and their solutions:
Problem: Stitches are too tight.
Solution: Make sure to keep your tension relaxed while knitting. If your stitches are still too tight, try using larger needles or adjusting your knitting technique.
Problem: Stitches are too loose.
Solution: Ensure that you’re not accidentally creating extra slack in your knitting. If your stitches are still too loose, try using smaller needles or tightening your tension.
Problem: Cable pattern is not forming correctly.
Solution: Double-check that you are correctly following the cable pattern instructions. Ensure that you are crossing the stitches in the right direction and using the correct number of stitches for each cable. If needed, practice the cable pattern on a small swatch before attempting it on the headband.
Problem: Headband is ending up too wide or narrow.
Solution: Check your gauge to ensure that you are getting the correct number of stitches per inch. Adjust your needle size accordingly to achieve the desired width of the headband.
Problem: Headband is too short or too long.
Solution: Measure your headband as you go to ensure the correct length. If it’s too short, add additional rows or repeats. If it’s too long, omit some rows or repeats.
In summary, if you encounter any issues while knitting the cable headband, take a moment to assess the problem and try the appropriate solution. Remember to relax your tension, follow the cable pattern accurately, check your gauge, and measure your headband as you go. With these troubleshooting tips, you’ll be able to overcome any obstacles and complete your cable headband successfully!