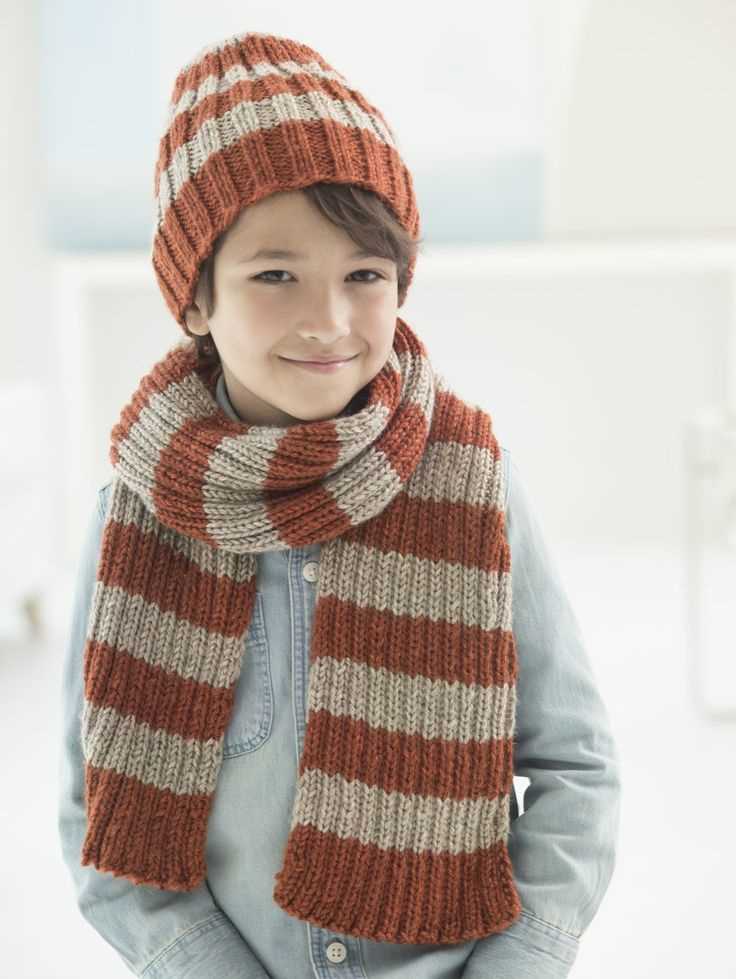
Knitting is a popular hobby that allows you to create beautiful and functional items. One of the most satisfying projects to knit is a hat, especially when it’s for a child. Knitting a hat for a child not only keeps them warm during the colder months, but it also allows you to unleash your creativity and make something unique.
If you’re new to knitting or looking for a simple project, a child’s knit hat is a great place to start. With just a few basic knitting techniques, you can create a cozy and stylish hat that will be cherished for years to come. This article will guide you through a simple child’s knit hat pattern, perfect for beginners.
The child’s knit hat pattern we will be working on is versatile and can be customized according to your child’s preferences. Whether you want to knit a hat with stripes, a pom-pom, or incorporate a favorite color, this pattern allows for endless possibilities. So grab your knitting needles, some soft yarn, and let’s get started on creating a cute and cozy hat for your little one!
Child’s Knit Hat Pattern
Are you looking for a simple and stylish hat pattern to knit for your child? Look no further! This child’s knit hat pattern is perfect for beginners and experienced knitters alike. With just a few basic stitches and some cozy yarn, you can create a beautiful and warm hat that your child will love to wear.
The pattern starts with a ribbed brim, which gives the hat a snug and comfortable fit. Then, you’ll move on to the body of the hat, using a combination of knit and purl stitches to create a textured pattern. The pattern is easily customizable, so you can choose your own colors and yarn types to make the hat unique to your child’s style.
To knit the hat, you’ll need a set of double-pointed needles and a medium weight yarn. The pattern provides detailed instructions and a size chart, so you can easily adjust the hat to fit your child’s head circumference. The hat is designed to be lightweight and breathable, making it suitable for year-round wear.
Materials:
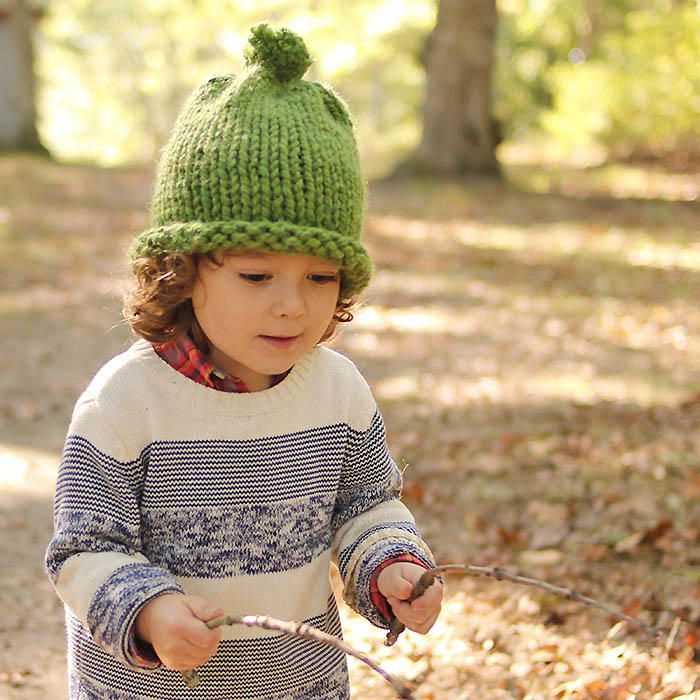
- Double-pointed needles (size US 8/5mm)
- Medium weight yarn (about 200 yards)
- Tapestry needle
- Stitch markers
Instructions:
- Cast on 80 stitches using the long tail cast on method.
- Place a stitch marker to mark the beginning of the round.
- Work in *k2, p2* ribbing for 2 inches.
- Switch to stockinette stitch and work for 4 inches.
- Begin decreasing: *k6, k2tog* around.
- Next round: Knit.
- Continue decreasing in this manner until 8 stitches remain.
- Break yarn, leaving a long tail. Thread tail through remaining stitches and pull tight to close the top of the hat.
- Weave in all loose ends and trim excess yarn.
With this child’s knit hat pattern, you can create a beautiful and personalized hat for your child that will keep them warm and stylish all season long. Happy knitting!
Choosing the Right Yarn and Needles
When it comes to knitting a child’s hat, choosing the right yarn and needles is crucial to ensuring a successful project. The type of yarn you select will determine the overall appearance, texture, and warmth of the hat, while the needles will impact the gauge and size of the finished product.
Yarn
When selecting yarn for a child’s hat, consider the season and the child’s sensitivities. For winter hats, it’s best to choose a yarn that has a high percentage of wool or other warm fibers. Wool is a great option as it is naturally insulating and keeps the head warm even in cold weather. If the child has sensitivities to wool, there are also plenty of soft and cozy acrylic yarns available that are suitable for hats.
Another important factor to consider when choosing yarn is the weight or thickness of the yarn. Different hat patterns call for different weights of yarn, such as bulky, worsted, or sport weight. Be sure to check the pattern requirements or recommendations to ensure you select the right weight of yarn for your project.
Needles
The size of the needles you use will affect the gauge and size of the finished hat. Most hat patterns will specify the recommended needle size, which should match the gauge given in the pattern. It’s important to use the correct needle size to ensure the hat turns out the right size and fits properly.
Additionally, the type of needles you choose can also impact the knitting experience. Some knitters prefer using straight needles, while others prefer circular needles or double-pointed needles for knitting in the round. Consider your own preferences and comfort when selecting the type of needles to use for your child’s hat.
- Choose a yarn that suits the season and the child’s sensitivities
- Consider the weight or thickness of the yarn
- Check the pattern requirements for the recommended needle size
- Consider your own knitting preferences when selecting needle type
Gauge and Measurements
When knitting a child’s hat, it is important to have the correct gauge and measurements to ensure a proper fit. The gauge refers to the number of stitches and rows per inch in the knitted fabric. It is crucial to match the gauge specified in the pattern to achieve the desired size and shape of the hat.
Before starting the project, it is recommended to make a gauge swatch using the recommended yarn and needle size. To make a gauge swatch, cast on the specified number of stitches and work a few rows in the pattern stitch. Measure the swatch using a ruler or gauge tool to determine the number of stitches and rows per inch. If the gauge is larger than indicated in the pattern, try again using smaller needles, and if the gauge is smaller, try larger needles.
Measurements
- Circumference: Measure around the head, just above the eyebrows, where the hat will sit.
- Height: Decide how long you want the hat to be, whether it is a beanie style or one with a folded brim.
- Ribbing Length: If the pattern includes a ribbed brim, measure how long you want the ribbing to be before starting the main body of the hat.
It is important to take accurate measurements to ensure the hat fits comfortably. Keep in mind that the hat may stretch slightly with wear, so it is better to err on the side of making a slightly smaller hat rather than a larger one.
Cast On and Ribbing
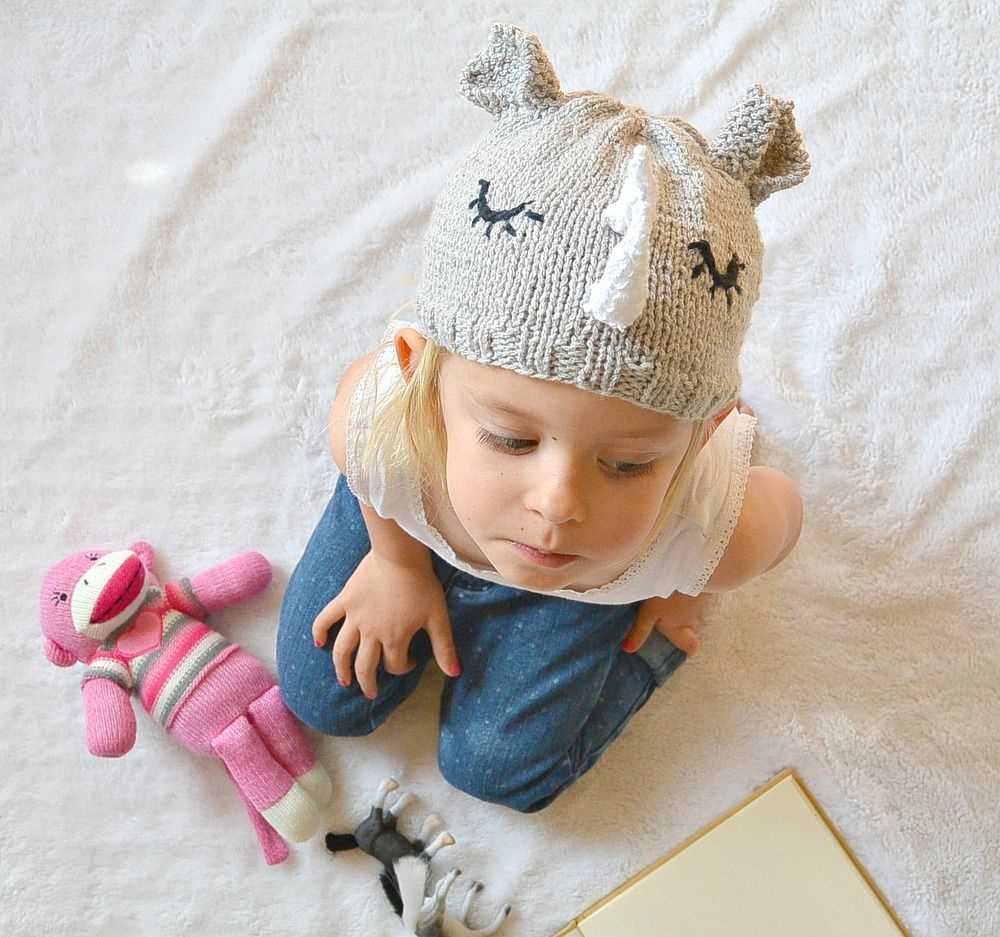
When knitting a child’s hat, one of the first steps is to cast on the desired number of stitches. The cast on method used for the hat will depend on personal preference and the desired finished look. Some common cast on methods for hats include the long tail cast on, the knitted cast on, and the cable cast on. Each method creates a different edge, so it’s important to choose the one that best suits the project.
Once the stitches are cast on, it’s time to begin the ribbing. Ribbing is a stretchy pattern often used at the brim of hats to provide a snug fit. It is created by alternating knit stitches and purl stitches. For example, a common ribbing pattern is k2, p2, which means to knit two stitches, then purl two stitches, and repeat this pattern across the row.
The ribbing section of the hat is usually worked for a certain number of rows to create the desired length. The number of rows will depend on the desired fit of the hat and the gauge of the knitter. For a child’s hat, it’s important to make sure the ribbed section has some stretch to accommodate their growing heads.
Some variations of ribbing can be used to add extra texture or interest to the child’s hat. For example, a k1, p1 ribbing creates a different look than a k2, p2 ribbing. Experimenting with different ribbing patterns can help create unique and personalized hats.
In summary, casting on and working the ribbing are important steps when knitting a child’s hat. Choosing the appropriate cast on method and creating a stretchy ribbing pattern will help ensure a comfortable and well-fitting hat for the child.
Body of the Hat
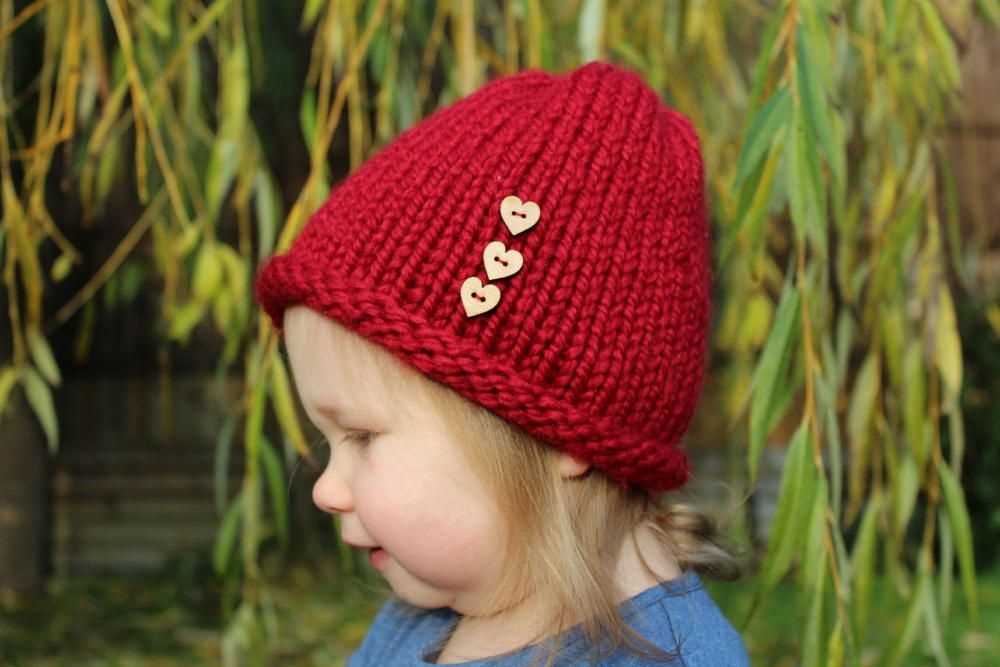
The body of the hat is the main part that covers the child’s head. It is where you will be knitting most of the stitches. Follow the instructions below to start knitting the body of the hat:
Materials Needed:
- Size US 8 (5 mm) knitting needles
- Worsted weight yarn
- Tapestry needle
Instructions:
- With the size US 8 knitting needles, cast on 80 stitches.
- Join the round, being careful not to twist the stitches.
- Place a stitch marker to mark the beginning of the round.
- Work in the round in a knit 2, purl 2 ribbing pattern for 1 inch.
- After completing the ribbing, switch to stockinette stitch.
- Continue knitting in stockinette stitch until the hat measures approximately 5 inches from the cast on edge.
- Next, you can customize the hat by adding stripes, colorwork, or any other pattern you desire.
- Once the desired length is reached, it is time to shape the crown of the hat.
- Refer to the pattern instructions for shaping the crown, which will involve decreasing stitches in a specific pattern to create the desired shape.
Remember to always follow the pattern instructions carefully and keep track of your stitch count as you knit the body of the hat. Enjoy the process and have fun creating a cozy and stylish hat for a child!
Decreasing for the Crown
When it comes to knitting a child’s hat, one of the important steps is decreasing for the crown. This process helps to shape the hat and create a snug fit on the top. There are various methods to decrease stitches, and it’s essential to choose the one that best suits the pattern and desired outcome.
The most common decrease stitches used for the crown are:
- Knit two stitches together (k2tog)
- Purl two stitches together (p2tog)
- Slip, knit, pass (skp)
- Slip, slip, knit (ssk)
Some patterns may also incorporate double decreases, such as knitting three stitches together (k3tog), to create more intricate designs. It’s important to carefully follow the instructions in the pattern to achieve the desired shape.
When decreasing for the crown, it’s crucial to maintain an even stitch count and distribute the decreases evenly around the hat. This helps prevent any distortion or unsightly gaps in the finished hat. You can achieve this by dividing the total number of stitches by the number of decrease rounds and spacing them out accordingly.
For example, if you have 60 stitches and plan to decrease over 6 rounds, you would decrease 10 stitches per round. This can be done by evenly spacing the decreases throughout the round, such as k6, k2tog, repeat.
Remember to always adjust your knitting technique based on the pattern instructions and keep track of your decreases to ensure a beautifully shaped and well-fitting crown for your child’s knit hat.
Shaping the Top
Once you have completed knitting the body of the hat, it’s time to start shaping the top. This is the part where you will gradually decrease the number of stitches to create the rounded crown of the hat.
To begin shaping the top, you will first need to determine how many stitches you have in total. This will help you determine the number of decrease rounds you will need to create a neat and symmetrical crown.
One common method for shaping the top is the “K2tog” decrease. This decrease involves knitting two stitches together as one, effectively decreasing the total stitch count by one. You can use this decrease method at regular intervals, such as every other row or every few rows, to gradually reduce the stitch count.
Ideally, you want to decrease evenly and symmetrically around the crown of the hat to ensure a balanced and polished look. One way to achieve this is by dividing the total number of stitches by the number of decrease rounds, and then spacing out the decrease rows accordingly.
Once you have completed all the decrease rounds, you will have significantly fewer stitches remaining. At this point, you can cut the yarn, leaving a long tail, and thread it through a yarn needle. Pass the needle through each of the remaining stitches and pull tight to close the top of the hat. Secure the yarn with a knot and weave in any loose ends for a finished look.
Adding a Pom Pom or Tassel
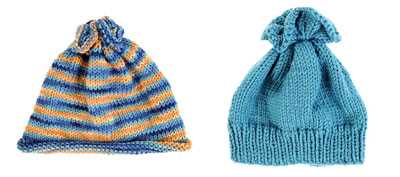
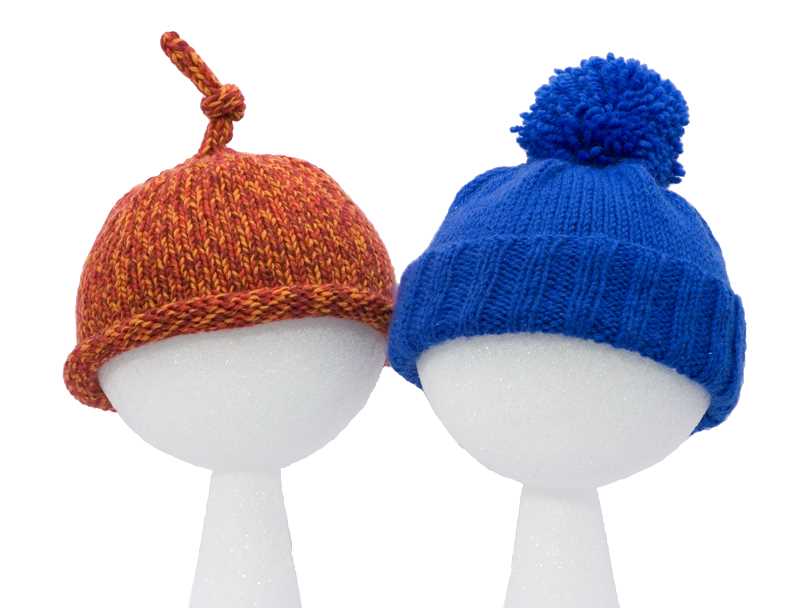
Adding a pom pom or tassel to a child’s knit hat can be a fun and playful way to add some extra charm and whimsy. Not only do they serve as adorable embellishments, but they can also provide additional warmth and texture to the hat. There are several ways to incorporate pom poms or tassels into your child’s knit hat, depending on your preference and skill level.
One option is to simply attach a pre-made pom pom or tassel to the top of the hat using a needle and thread. This is a quick and easy way to add a pop of color and fun to the hat without any additional knitting or crochet work. You can find pom poms and tassels in various sizes and materials at craft stores or online.
Creating Your Own Pom Pom
If you’re feeling crafty, you can also create your own pom pom using yarn. This allows you to customize the size, color, and texture of the pom pom to perfectly complement the hat. One popular method for making pom poms is by using a pom pom maker, which is a simple tool that helps you create beautifully round and even pom poms. Another option is to make a pom pom using cardboard circles or your fingers.
To attach the pom pom to the hat, you will need to leave a long tail of yarn when finishing off the pom pom. Thread this tail through a needle and then sew the pom pom securely to the top of the hat. Make sure to sew it on tightly so that it does not come loose during wear. Alternatively, you can also attach a small piece of yarn to the top of the hat and then tie the pom pom to it, creating more of a hanging effect.
Whether you choose a ready-made pom pom or opt for a DIY version, adding this playful accessory to your child’s knit hat will surely make it stand out and bring a smile to their face. It’s a small detail that can make a big difference in the overall look and feel of the hat, making it even more special and unique.
Finishing and Blocking
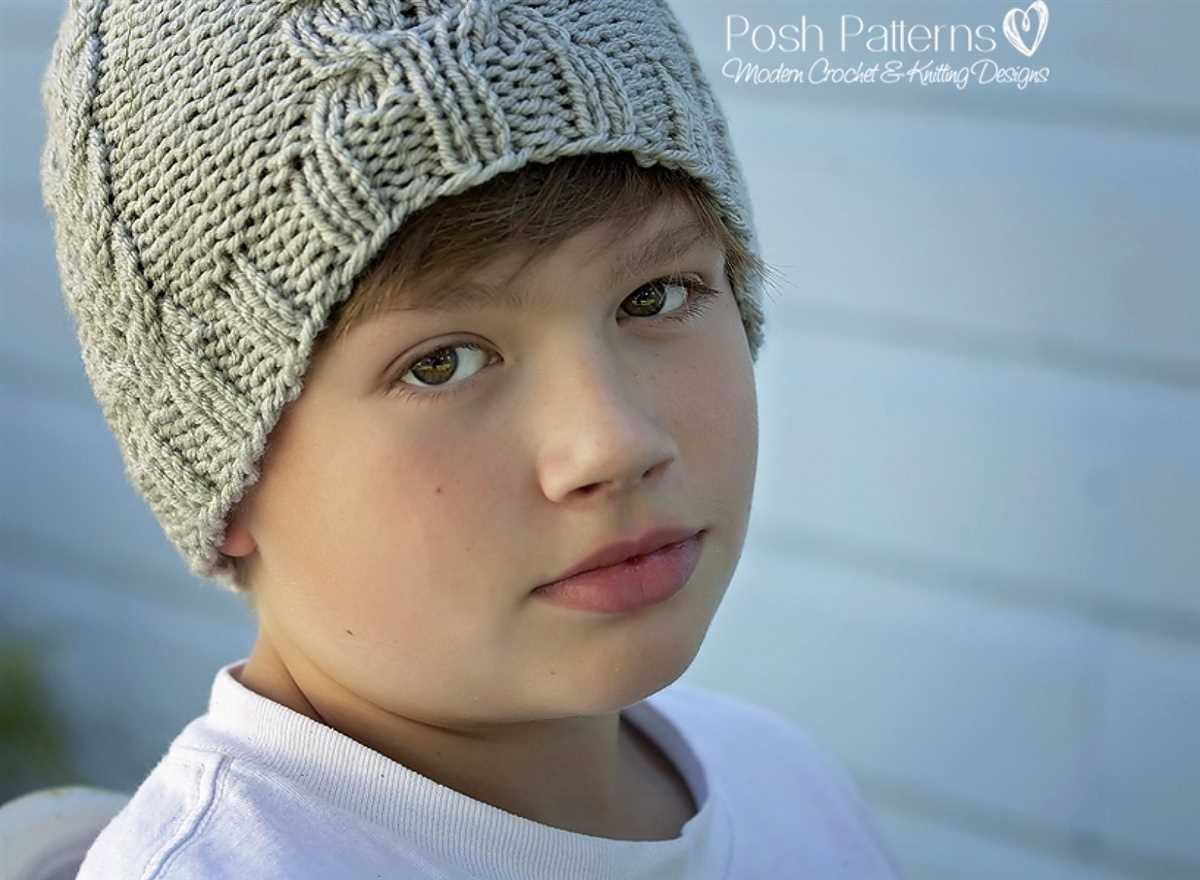
Once you have finished knitting your child’s hat, it’s time to give it a polished look by completing the finishing touches and blocking the hat. These final steps ensure that the hat will retain its shape and fit properly.
Weaving in Ends
Before blocking the hat, it’s important to weave in any loose ends that may be remaining from changing yarn colors or finishing off stitches. Use a yarn needle to carefully thread the loose ends through the stitches on the inside of the hat. Make sure to secure the ends so that they do not come undone during wear.
Blocking
Blocking is the process of shaping and stretching the hat to the desired dimensions. To block your child’s knit hat, you will need a blocking mat or towel, rust-resistant pins, and a spray bottle with water. Place the hat on the blocking mat, making sure it is laid out flat and in the desired shape. Use the pins to secure the edges of the hat, stretching it gently if needed. Mist the hat with water using the spray bottle, taking care not to saturate it. Allow the hat to dry completely before removing the pins.
Blocking not only helps the hat retain its shape, but it also smooths out any uneven stitches and gives the fabric a more polished appearance. It is especially important for lace or cable pattern hats, as blocking enhances the stitch definition and brings out the intricate details of the design. Once the hat is blocked and dried, it is ready to be worn or given as a gift!
Alternative Stitch Patterns
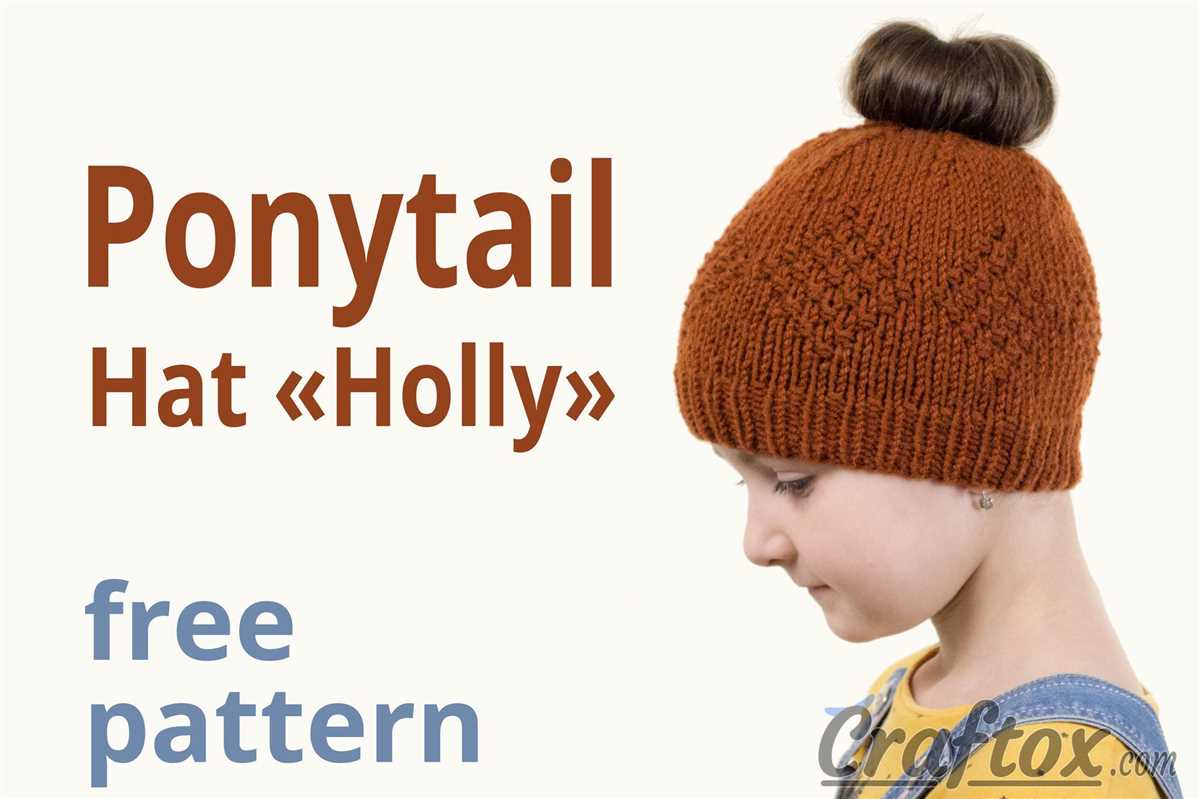
Looking for some new and exciting stitch patterns to try for your child’s knit hat? Here are a few alternative options to consider:
1. Seed Stitch
The seed stitch is a simple pattern that adds texture to any project. It is created by alternating knit and purl stitches in a checkerboard-like pattern. This stitch is perfect for adding some visual interest to a basic hat design.
2. Ribbing
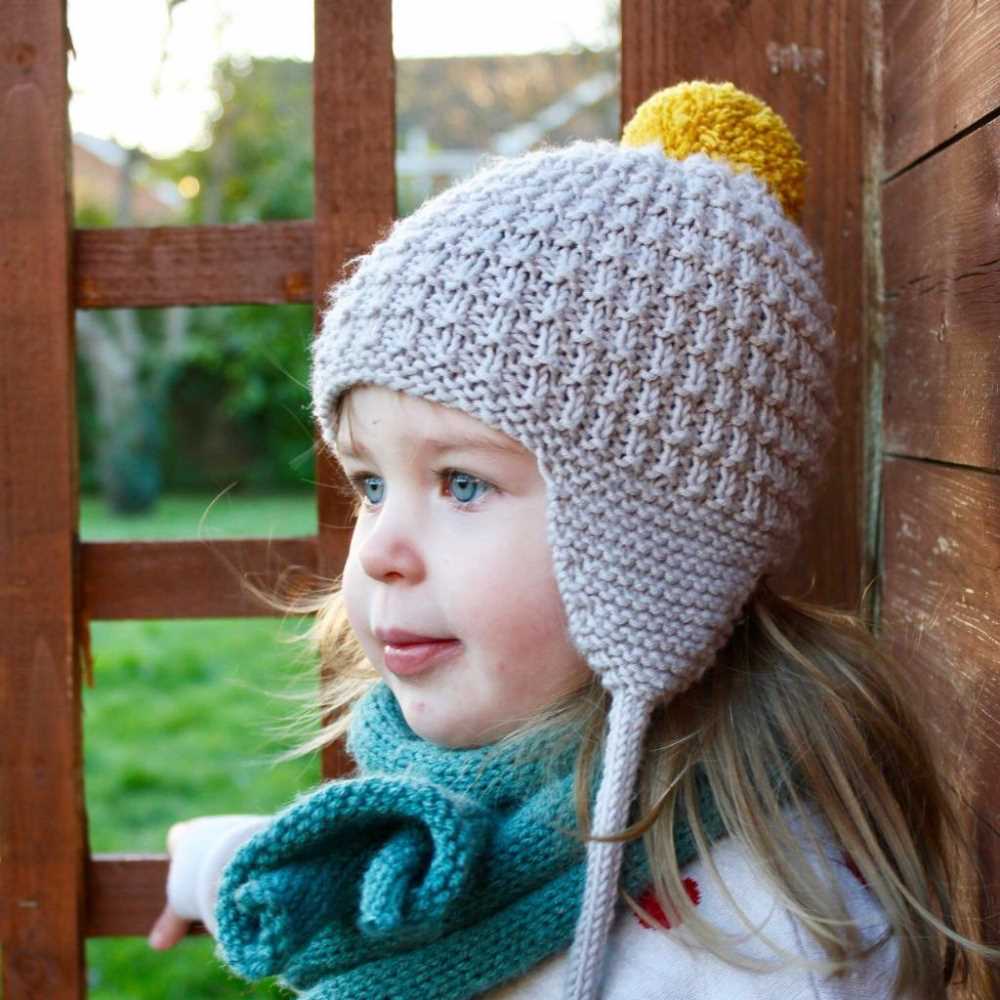
Ribbing is a classic stitch pattern often used for cuffs, collars, and hems. It is achieved by alternating knit and purl stitches in a specific pattern. Ribbing adds elasticity and stretch to your hat, making it a great choice for a snug and comfortable fit.
3. Cable Stitch
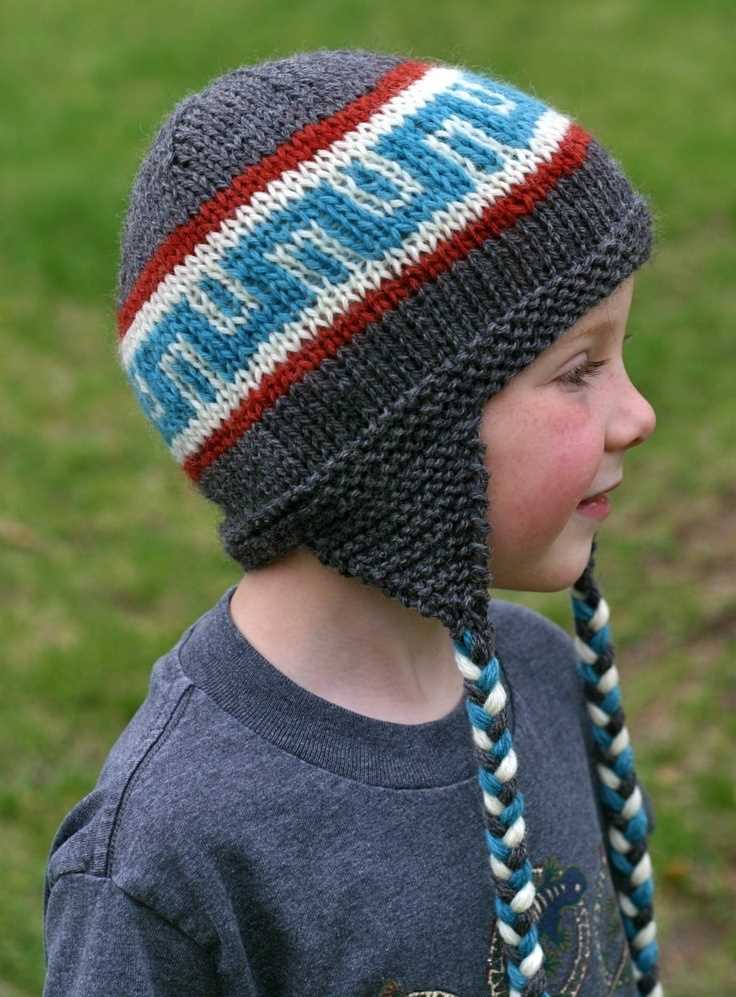
If you want to create a more intricate and decorative design, consider adding cable stitches to your hat. Cable knitting involves crossing stitches over each other to create a “cable” effect. This stitch pattern adds a touch of elegance and sophistication to your child’s hat.
4. Garter Stitch
The garter stitch is another simple yet versatile stitch pattern that can be used for a variety of projects. It is achieved by knitting every row, resulting in a bumpy texture. This stitch pattern is easy to knit and adds a unique look to your child’s hat.
By incorporating these alternative stitch patterns into your child’s knit hat, you can create a unique and personalized design. Whether you prefer a simple texture or a more intricate cable pattern, these stitches will add interest and style to your project.
Customizing the Hat

Once you have mastered the basic child’s knit hat pattern, you can start customizing it to create unique and personalized designs. Here are some ideas to get you started:
1. Color Variations
Experiment with different color combinations to create visually interesting patterns. You can choose contrasting colors for the ribbed brim and the main body of the hat or use variegated yarn for a more playful look.
2. Embellishments
Add embellishments like pom-poms, appliques, or buttons to make the hat more fun and decorative. Consider using buttons with cute shapes or characters to match the theme of the hat.
3. Stitch Patterns
Explore different stitch patterns to give your hat texture and visual interest. You can incorporate cables, lace, or simple colorwork techniques to create unique designs.
4. Custom Sizing
Modify the pattern to fit different head sizes by adjusting the number of stitches or the length of the hat. Remember to keep the proportions and measurements in mind to ensure a proper fit.
5. Personalization
Add initials, names, or custom motifs to make the hat truly one-of-a-kind. You can use embroidery or duplicate stitch techniques to add these personal touches.
By customizing the child’s knit hat pattern, you can create individualized pieces that are not only functional but also reflect the recipient’s personality and style. Let your creativity shine and have fun with your knitting projects!
