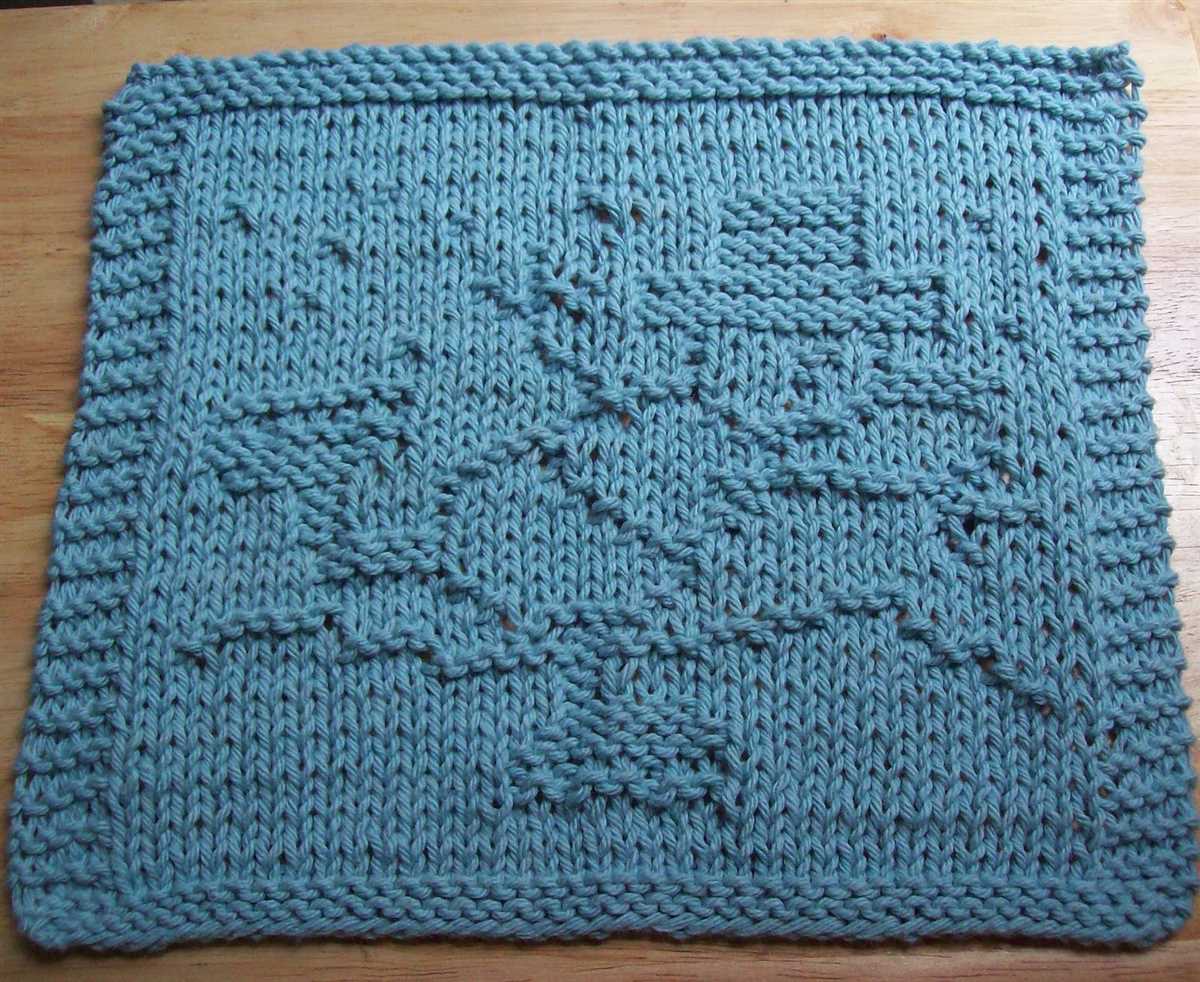
If you’re looking for a simple and fun knitting project, a dishcloth is a perfect choice. Not only are dishcloths useful in the kitchen, but they also make great gifts for friends and family. Knitting a dishcloth is a great way to practice your knitting skills and try out new stitch patterns.
This dishcloth knit pattern basic is a perfect project for beginners. It uses basic knitting stitches, such as knit and purl, and is a great way to practice your tension and stitch consistency. The dishcloth is knit in a square shape, making it easy to follow along and see your progress.
For this pattern, you’ll need a set of knitting needles and some cotton yarn. Cotton yarn is a great choice for dishcloths, as it is durable and absorbent. You can choose any color you like or even mix and match different colors for a fun and colorful dishcloth collection.
Dishcloth Knit Pattern Basic
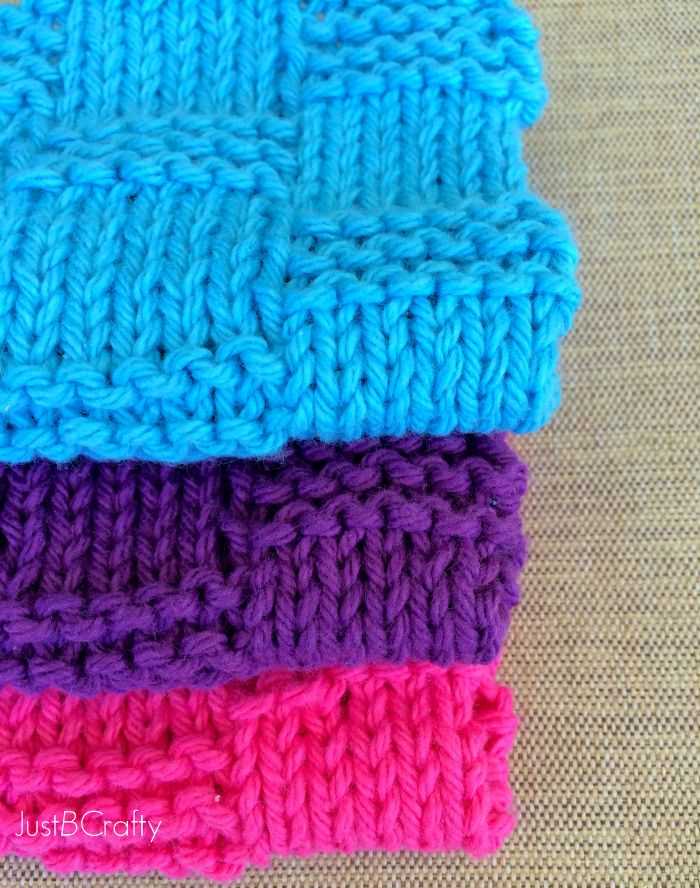
A dishcloth is a useful item to have in the kitchen, and knitting your own dishcloth can be a fun and rewarding project. The basic dishcloth knit pattern is a great place to start for beginner knitters or those looking for a quick and easy project.
To begin knitting a dishcloth, you will need a few basic supplies. These include knitting needles, cotton yarn, and scissors. Choose a pair of knitting needles that are the appropriate size for your yarn, usually around size 7 or 8. Cotton yarn is ideal for dishcloths because it is durable and absorbent. Once you have your supplies ready, you are ready to start knitting.
The basic dishcloth knit pattern is simple and easy to follow. Begin by casting on the desired number of stitches. A common size for a dishcloth is around 40 stitches, but you can adjust this depending on how large or small you want your dishcloth to be. Once you have cast on your stitches, begin knitting in the garter stitch, which means knitting every row. Continue knitting in the garter stitch until your dishcloth reaches the desired length.
Once you have finished knitting your dishcloth, it’s time to bind off. To bind off, knit the first two stitches as usual. Then, using your left hand needle, lift the first stitch over the second stitch and off the needle. Continue knitting one stitch and lifting the previous stitch over until you have only one stitch left. Cut the yarn, leaving a long tail, and thread it through the last stitch to secure it. Finally, weave in any loose ends and your dishcloth is complete.
Now that you have mastered the basic dishcloth knit pattern, you can experiment with different stitch patterns, stripes, or color combinations to create unique and personalized dishcloths. These dishcloths also make great gifts for friends and family. So grab your knitting needles, some cotton yarn, and start knitting your own dishcloth today!
What Is a Dishcloth Knit?
A dishcloth knit is a small square or rectangular piece of fabric that is used for cleaning dishes in the kitchen. It is typically made by knitting with cotton yarn, which is absorbent and easy to clean. Dishcloths knits are a popular project for knitters of all skill levels, as they are quick to make and can be customized with various patterns and colors.
The primary purpose of a dishcloth knit is to assist in washing and drying dishes. The tight stitches and absorbent nature of the cotton yarn allow for effective scrubbing and wiping of dishes, while also being gentle enough to avoid scratching delicate surfaces. Additionally, dishcloth knits can also be used for cleaning other surfaces in the kitchen, such as countertops or stovetops.
- Dishcloth knits can be easily washed and reused, making them an eco-friendly alternative to disposable sponges or paper towels.
- They are also a cost-effective option, as they can be made from leftover yarn or scraps.
- Dishcloth knits can be a creative way to experiment with different knitting techniques and stitch patterns.
- They also make great gifts for friends and family, as they are practical and can be personalized with the recipient’s favorite colors or patterns.
Overall, a dishcloth knit is a versatile and functional item that combines the art of knitting with the practicality of everyday tasks in the kitchen. Whether you are a beginner knitter looking for a quick project or an experienced knitter wanting to try out new patterns, a dishcloth knit is a great option to consider.
Materials Needed:
To knit a basic dishcloth, you will need the following materials:
- A pair of knitting needles – size 8 or 9 is recommended
- Approximately 100 yards of cotton yarn
- Tapestry needle for weaving in ends
- Scissors for cutting yarn
The knitting needles should be the appropriate size for your chosen yarn. Size 8 or 9 is a good starting point, but you can adjust based on your personal preference and the desired finished size of your dishcloth. Cotton yarn is a popular choice for dishcloths because it is absorbent and easy to clean. Make sure you have enough yarn to complete your project, as you don’t want to run out in the middle of knitting. A tapestry needle is needed for weaving in any loose ends, and scissors will be used to cut the yarn when necessary.
Choosing the Right Yarn and Needles
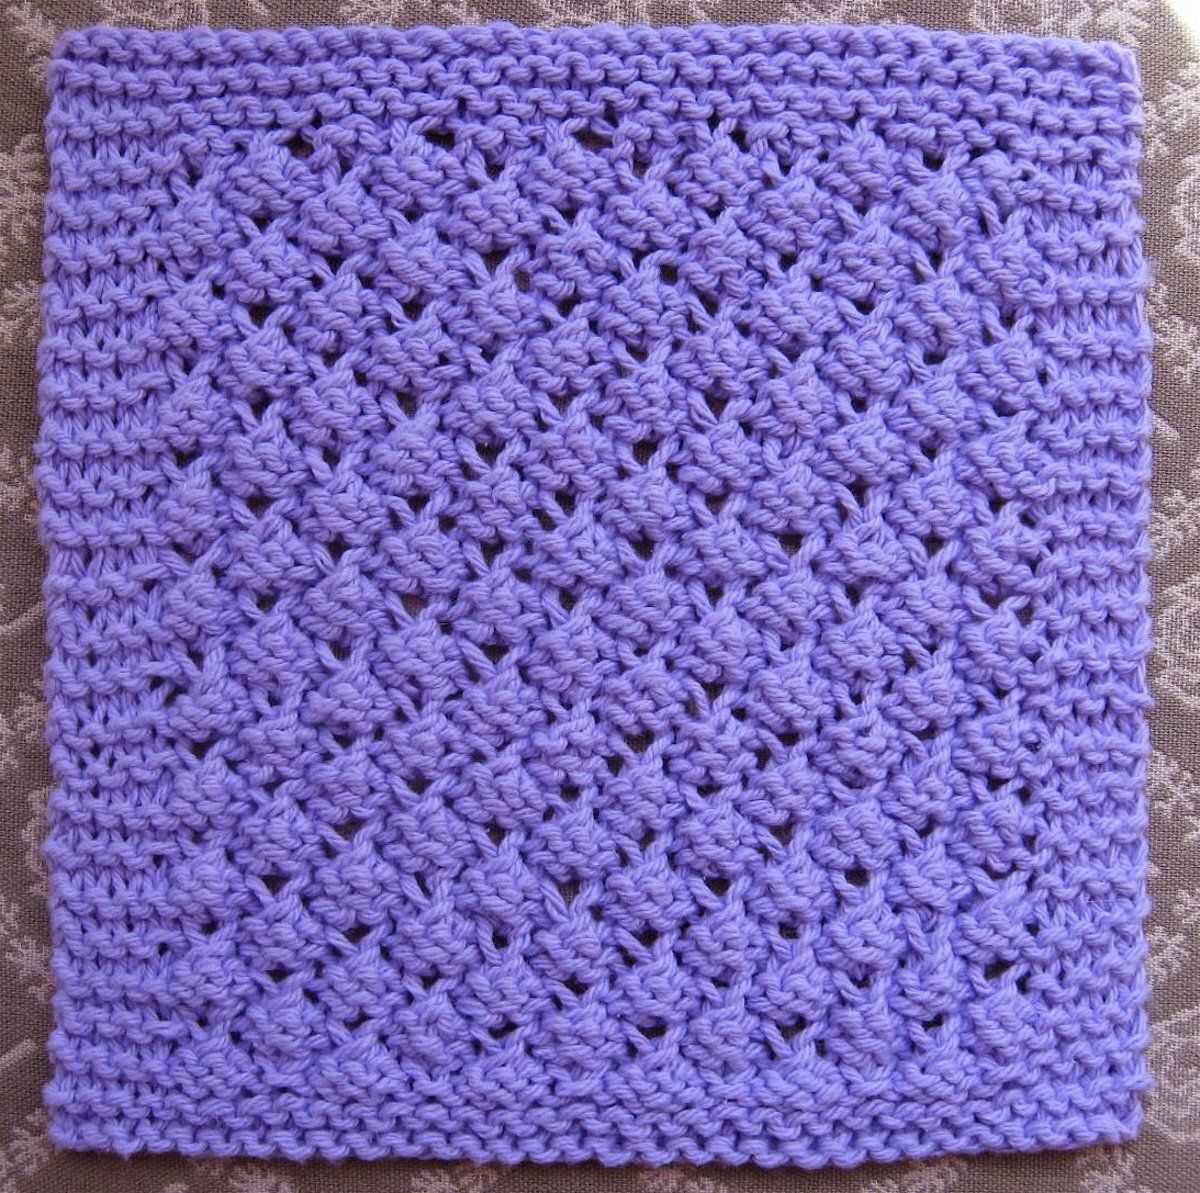
When it comes to knitting dishcloths, choosing the right yarn and needles is essential to ensure the best results. The type of yarn you select will impact the texture and durability of the finished dishcloth, while the needles you use will determine the size and tightness of the stitches.
When selecting yarn for a dishcloth, it is important to consider its absorbency and durability. Cotton yarn is a popular choice for dishcloths as it is highly absorbent and machine washable. Look for cotton yarns that are labeled as “dishcloth cotton” or “kitchen cotton” as they are specifically designed for this purpose. Avoid using yarns that are too slippery or stretchy, as they may not hold up well to repeated use and washing.
Choosing the Right Needles
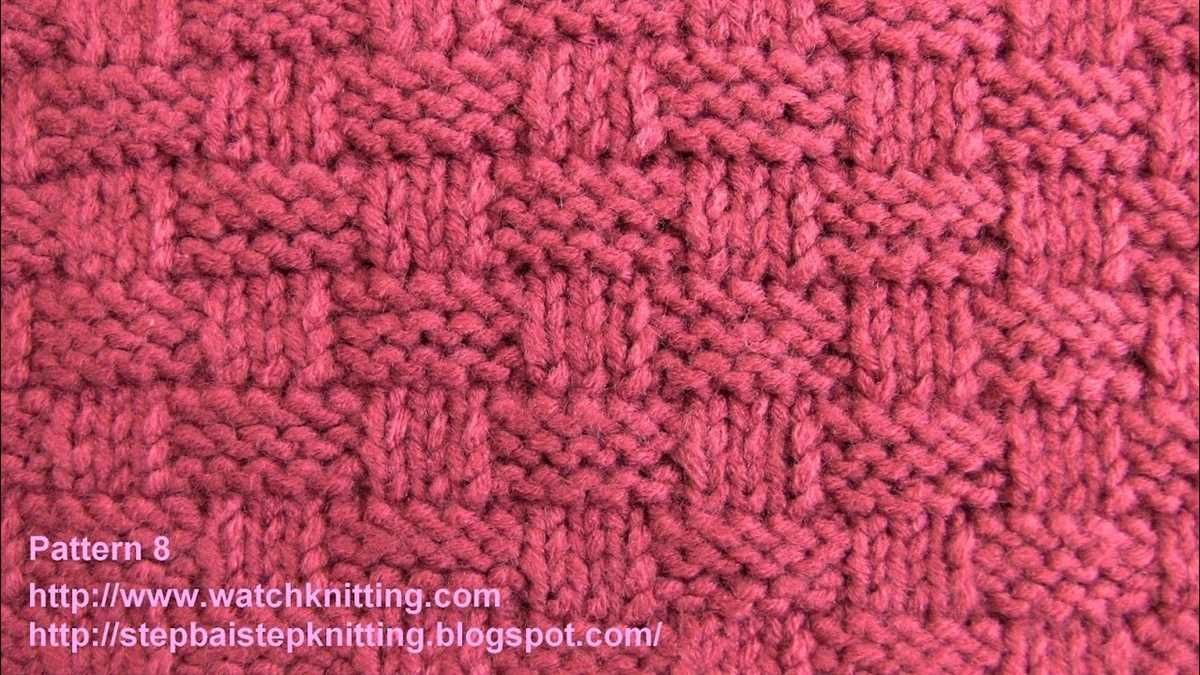
When it comes to choosing needles for dishcloth knitting, the size of the needles will determine the gauge of your stitches. For a dishcloth with tight stitches, opt for smaller needles such as US size 6 (4mm) or US size 7 (4.5mm). These smaller needles will create a denser fabric that is perfect for scrubbing and cleaning. If you prefer a looser and more open texture, you can use larger needles such as US size 8 (5mm) or US size 9 (5.5mm).
Another factor to consider when selecting needles is the material they are made of. Aluminum and stainless steel needles are popular options for dishcloth knitting as they are durable and slide smoothly on the yarn. If you prefer a warmer feel in your hands, consider using wooden or bamboo needles, which have a natural warmth and grip.
Overall, choosing the right yarn and needles for your dishcloth project can make a significant difference in the final outcome. By selecting a suitable cotton yarn and the appropriate needle size, you can create a dishcloth that is both functional and beautiful.
Cast On Stitches
The cast on is the first step in any knitting project, and it determines the number of stitches you will have to work with. A dishcloth is a beginner-friendly project, and there are several methods of casting on stitches that you can use.
Long-Tail Cast On: This is a popular method for casting on stitches. It creates a neat and elastic edge. To do the long-tail cast on, measure a length of yarn approximately three times the width of your dishcloth. Make a slip knot, leaving a tail that is long enough to cast on all your stitches. Hold the slip knot on your needle with your thumb and index finger. Insert the needle under the loop of yarn on your thumb, then over the loop on your index finger. Pull the yarn through the space between the two loops, creating a new loop on your thumb. Repeat this process until you have cast on the desired number of stitches.
Knitted Cast On: This method is simple and easy to learn. To start, make a slip knot and put it on your needle. Insert the needle into the slip knot from the front to the back, then knit a stitch as you normally would. Instead of dropping the stitch off the left needle, just leave it there. You now have two stitches on your right needle. Repeat this process until you have cast on the desired number of stitches.
These are just two of the many methods you can use to cast on stitches for your dishcloth. Experiment with different techniques to find the one that works best for you. Once you have cast on your stitches, you can move on to the next step in your knitting project.
Knitting the Rows
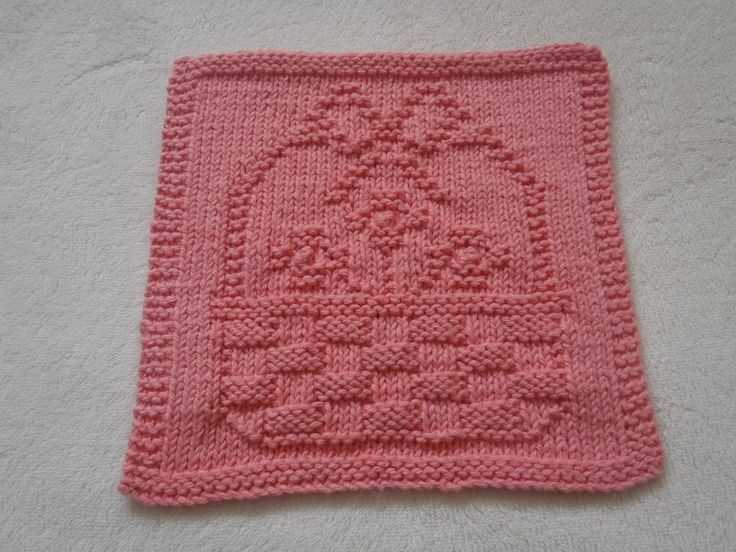
Once you have cast on the desired number of stitches, you are ready to start knitting the rows. The basic dishcloth pattern typically involves knitting every row, also known as the garter stitch. This creates a textured fabric that is great for washing dishes.
To knit a row, insert the right-hand needle into the first stitch on the left-hand needle, from left to right. Then, use the yarn attached to the ball to wrap around the right-hand needle counterclockwise. This creates a loop around the needle. Pull the loop through the stitch, sliding the stitch off the left-hand needle. Repeat this process for each stitch on the left-hand needle until all stitches have been transferred to the right-hand needle.
Continue knitting each row in this manner until you have reached the desired length for the dishcloth. You can use a tape measure to check the length as you go, or simply eyeball it if you prefer. Remember to keep your tension consistent throughout to ensure an even fabric.
Once you have finished knitting the rows, it’s time to bind off. This means securing the stitches so they don’t unravel. To bind off, knit the first two stitches as usual. Then, insert the left-hand needle into the first stitch on the right-hand needle and lift it over the second stitch and off the needle. Repeat this process for the remaining stitches until only one stitch remains. Cut the yarn, leaving a tail, and pull it through the last stitch to secure it. You can then weave in any loose ends to finish your dishcloth.
Adding Stripes or Patterns
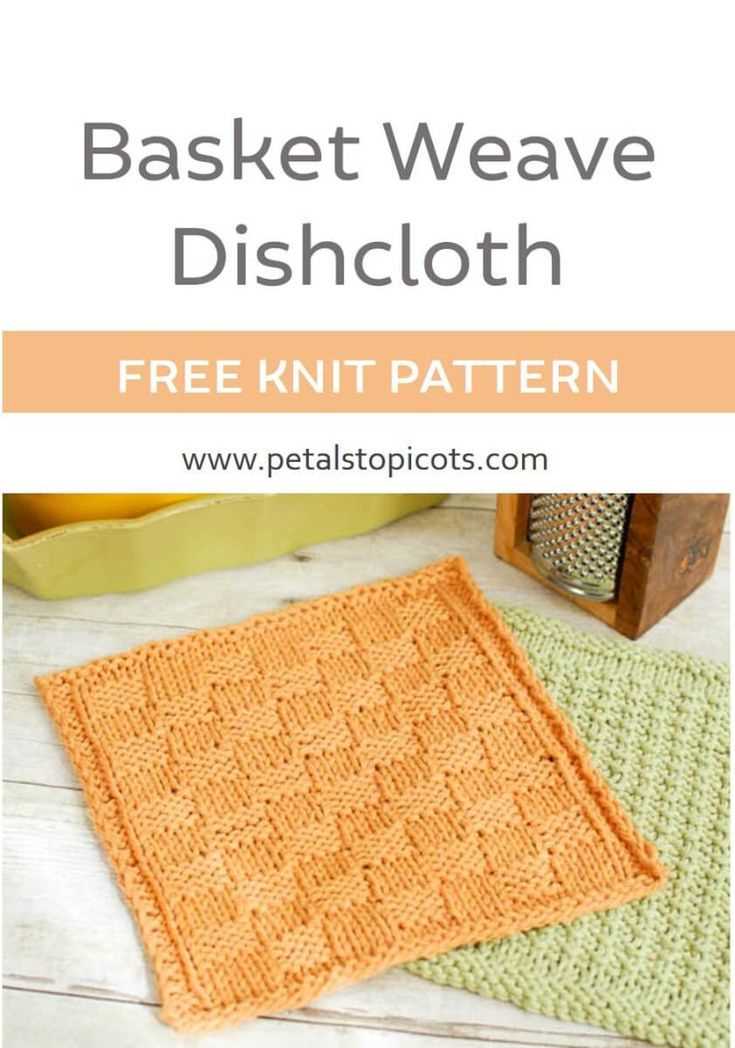
Want to add some visual interest to your dishcloth? Consider adding stripes or patterns to make it more unique and personalized. Adding stripes is a simple way to create a bold and graphic look. You can use different colors to create stripes of varying widths, or stick to one color and create a subtle striped effect by using a different stitch pattern for each stripe. Consider using a contrasting color for the stripes to make them stand out even more.
If you want to take it a step further, you can try adding a pattern to your dishcloth. There are countless stitch patterns available, ranging from simple to complex, that you can incorporate into your design. Some popular options include chevrons, diamonds, cables, and lace. You can choose a pattern that complements your kitchen decor or matches your personal style. Just make sure to follow the pattern instructions carefully and keep track of your rows and stitches to ensure an even and consistent design.
When adding stripes or patterns, it’s important to consider the overall size and shape of your dishcloth. Keep in mind that complex patterns may require more stitches and rows, which could result in a larger dishcloth. If you’re using the dishcloth for practical purposes, such as cleaning or drying dishes, you may want to keep the design simple to ensure functionality.
To help you stay organized and keep track of your stitches and rows, consider using a stitch marker or row counter. These tools can be especially helpful when working on more intricate patterns. Additionally, don’t forget to block your dishcloth once you’ve finished knitting it. Blocking will help improve the overall appearance and shape of your dishcloth, making it look even more professional and polished.
Creating Texture with Different Stitches
When it comes to knitting dishcloths, one way to add interest and depth to your project is by using different stitches to create texture. The type of stitch you choose can completely transform the look and feel of your dishcloth. Here are a few stitches you can incorporate into your pattern to create texture.
Seed Stitch

The seed stitch is a simple yet effective way to create texture. It involves alternating between knit and purl stitches in a consistent pattern. This stitch creates a bumpy texture that is great for scrubbing. To achieve this stitch, simply alternate between knit and purl stitches, either row by row or within the same row.
Moss Stitch
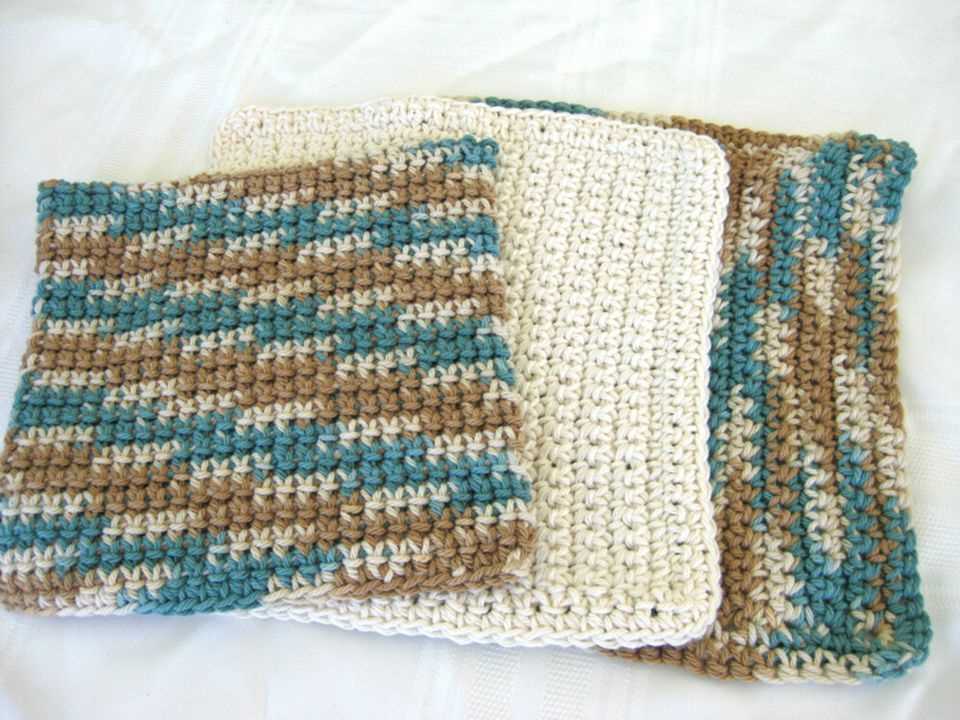
The moss stitch is similar to the seed stitch in that it creates a bumpy texture, but with a slightly different pattern. Instead of alternating knit and purl stitches, the moss stitch alternates knit stitches with purl stitches, creating a more pronounced texture. This stitch is perfect for adding extra scrubbing power to your dishcloth.
Cable Stitch
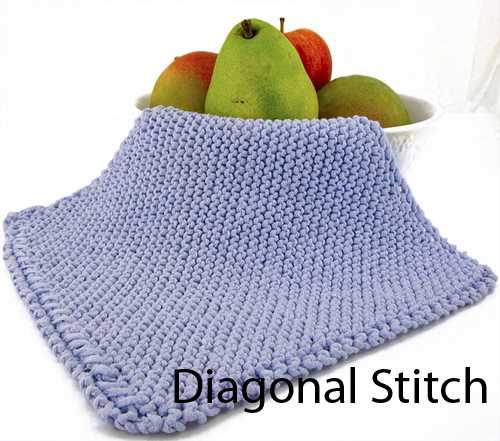
If you’re looking for a more intricate texture, try incorporating cable stitches into your pattern. Cable stitches involve crossing stitches over each other, creating a raised pattern. This stitch adds a beautiful and sophisticated texture to your dishcloth. There are many different cable stitch patterns to choose from, so you can customize your dishcloth to your liking.
- Popcorn Stitch: The popcorn stitch is a fun way to add texture and dimension to your dishcloth. It involves making a group of stitches into a small ball or “popcorn” by working multiple stitches into the same stitch and then binding them together.
- Rib Stitch: The rib stitch is a classic texture that is great for dishcloths. It involves alternating between knit and purl stitches in a consistent pattern, creating vertical ridges. This stitch is not only visually interesting but also provides extra absorbency.
- Garter Stitch: The garter stitch is a simple yet effective way to create texture. It involves knitting every stitch on every row, which creates a bumpy texture. This stitch is great for beginners and adds a classic look to your dishcloth.
By incorporating different stitches into your dishcloth pattern, you can create texture that not only looks beautiful but also adds functionality. Experiment with different stitch combinations to find the perfect texture for your needs.
Binding Off Stitches
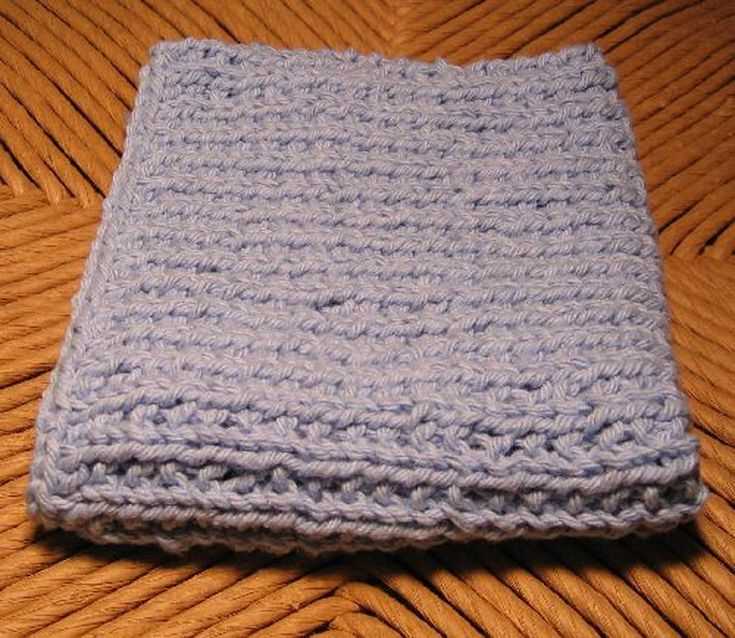
When you finish knitting your dishcloth, you will need to bind off your stitches to secure the edges and prevent unraveling. Binding off is a simple process that involves transferring the live stitches from your knitting needles to another form of securing them.
To bind off, start by knitting two stitches. Then, using your left-hand needle, lift the first stitch over the second stitch and off the right-hand needle. This will bind off one stitch. Continue this process, knitting one stitch, lifting the previous stitch over, until you have bound off all of the stitches on your right-hand needle.
Once you have bound off all of the stitches, cut your working yarn, leaving a tail that is long enough to weave in later. Take the tail and pull it through the last stitch, creating a secure knot. You can then use a yarn needle to weave the tail ends into the back of your dishcloth to hide them and ensure they do not come undone.
Blocking and Finishing
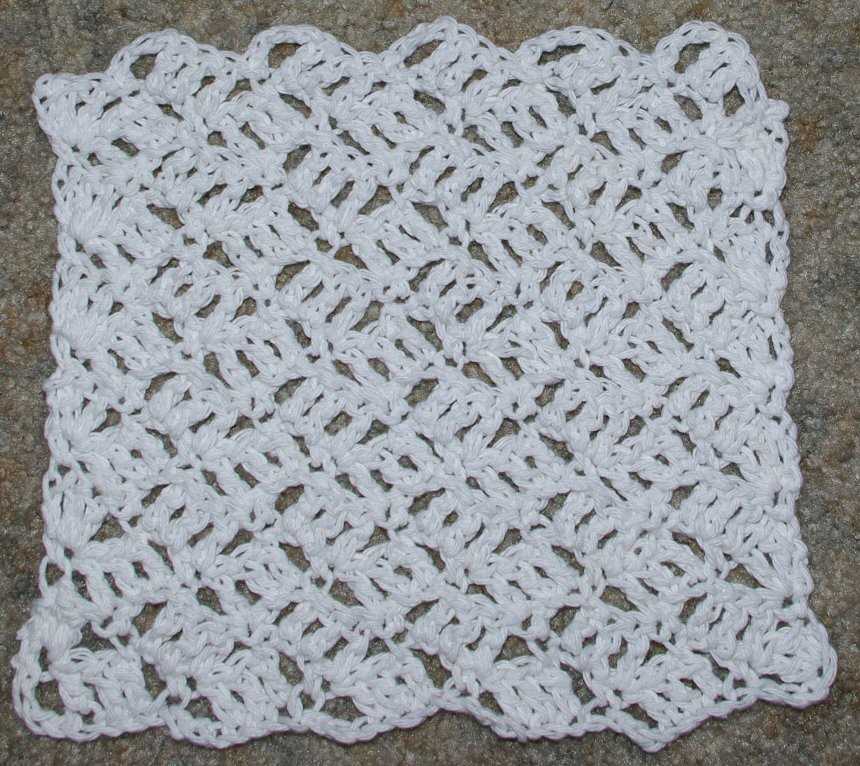
Blocking is an important step in finishing your knitted dishcloth. It helps to shape the cloth and even out any irregularities in the stitches. To begin, you will need to soak your dishcloth in lukewarm water. Gently squeeze out the excess water, being careful not to wring or twist the cloth. Lay the damp dishcloth flat on a clean towel and gently pat it into shape. You can use pins to help secure the edges and corners if needed. Allow the dishcloth to air dry completely before removing the pins and using it.
Once your dishcloth is dry, you can add any finishing touches that you like. This could include weaving in any loose ends of yarn, sewing on buttons or other embellishments, or adding a border or edging to the cloth. Take your time and make sure that the finishing is neat and tidy. When all the finishing touches are complete, your dishcloth is ready to be used or given as a gift. Enjoy the satisfaction of a beautifully finished hand-knit dishcloth!
Using Your Dishcloth Knit
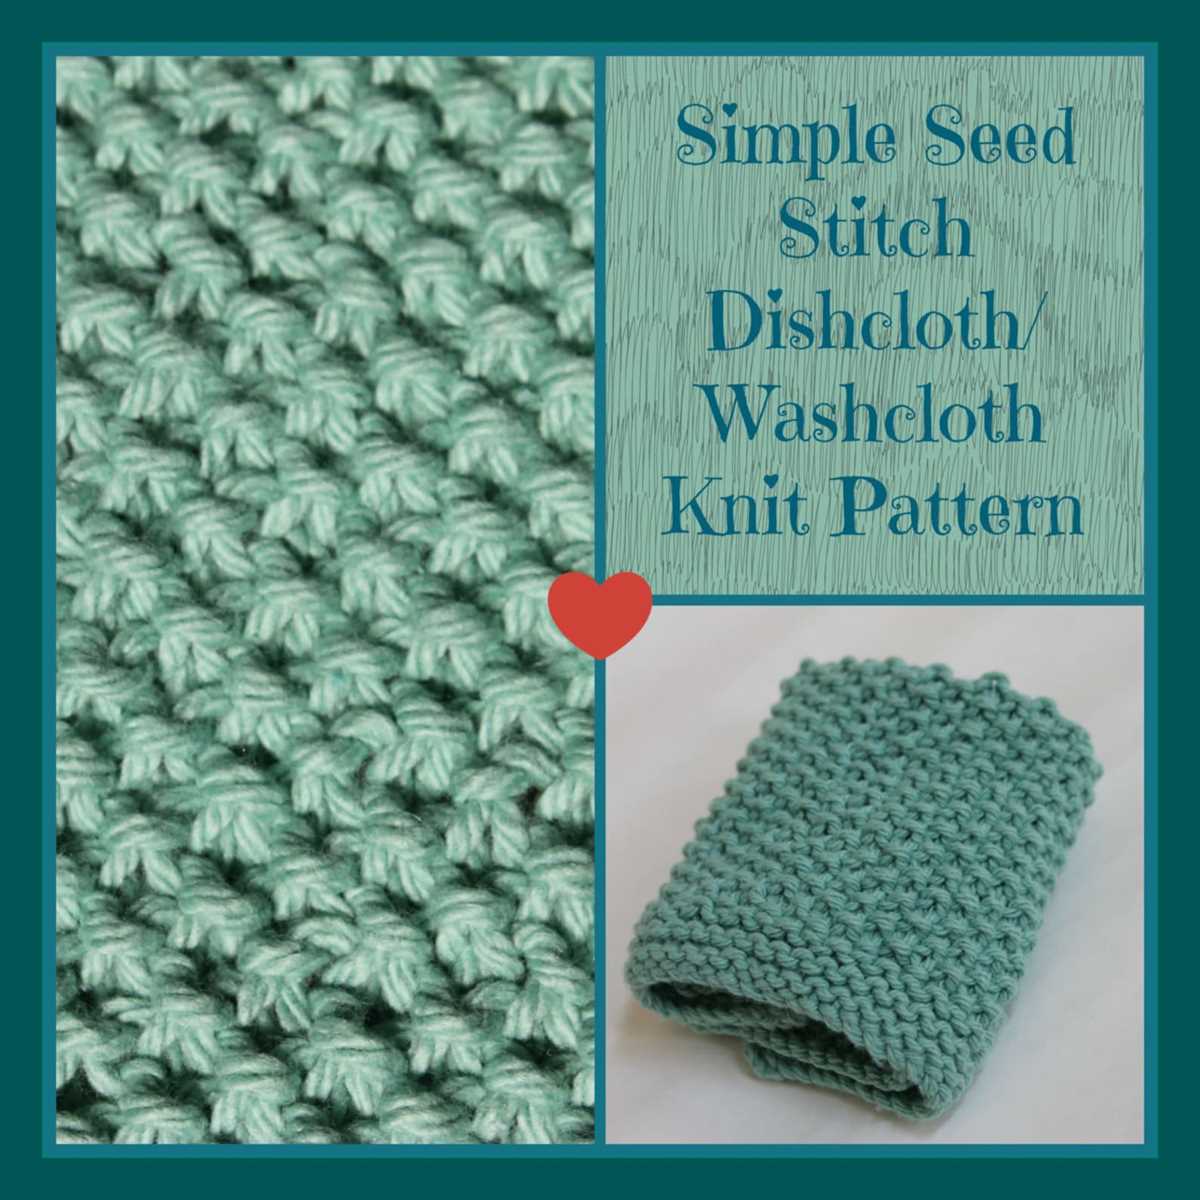
Once you have finished knitting your dishcloth, you can start using it right away. Dishcloths are versatile and can be used for various purposes in your kitchen. Here are some ideas on how to use your dishcloth:
- Dishwashing: Use your dishcloth to wash dishes and clean countertops. The textured surface of the knitted cloth helps to remove dried-on food and grime more easily than a regular sponge or towel.
- Scrubbing: The tight stitches of the dishcloth can be used to scrub stubborn stains on pots, pans, and other kitchen utensils.
- Drying: After washing dishes, use your dishcloth to dry them. The absorbent nature of the knitted fabric helps to soak up excess water and leave your dishes clean and dry.
- General cleaning: Your dishcloth is not limited to the kitchen. It can be used for general cleaning tasks around the house, such as wiping down surfaces, dusting, and polishing.
- Gifts: Dishcloths make great handmade gifts. You can knit a set of dishcloths in different colors and patterns and give them as a thoughtful and practical present for housewarmings, weddings, or holidays.
Remember to wash your dishcloth regularly to keep it clean and hygienic. You can machine wash it with your regular laundry using mild detergent. Avoid using fabric softeners as they can reduce the absorbency of the cloth. Hang or lay flat to dry.
With your new dishcloth, you can add a touch of handmade beauty to your kitchen while enjoying the practicality and versatility it offers.