
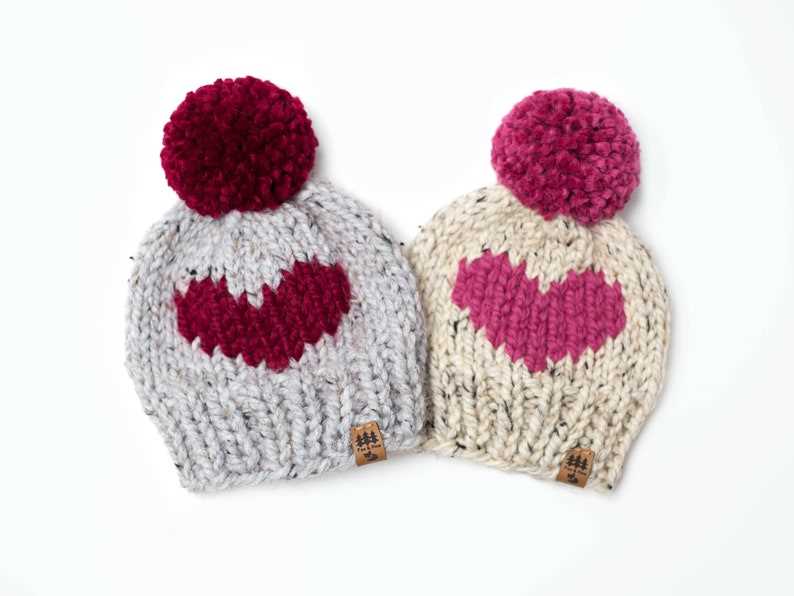
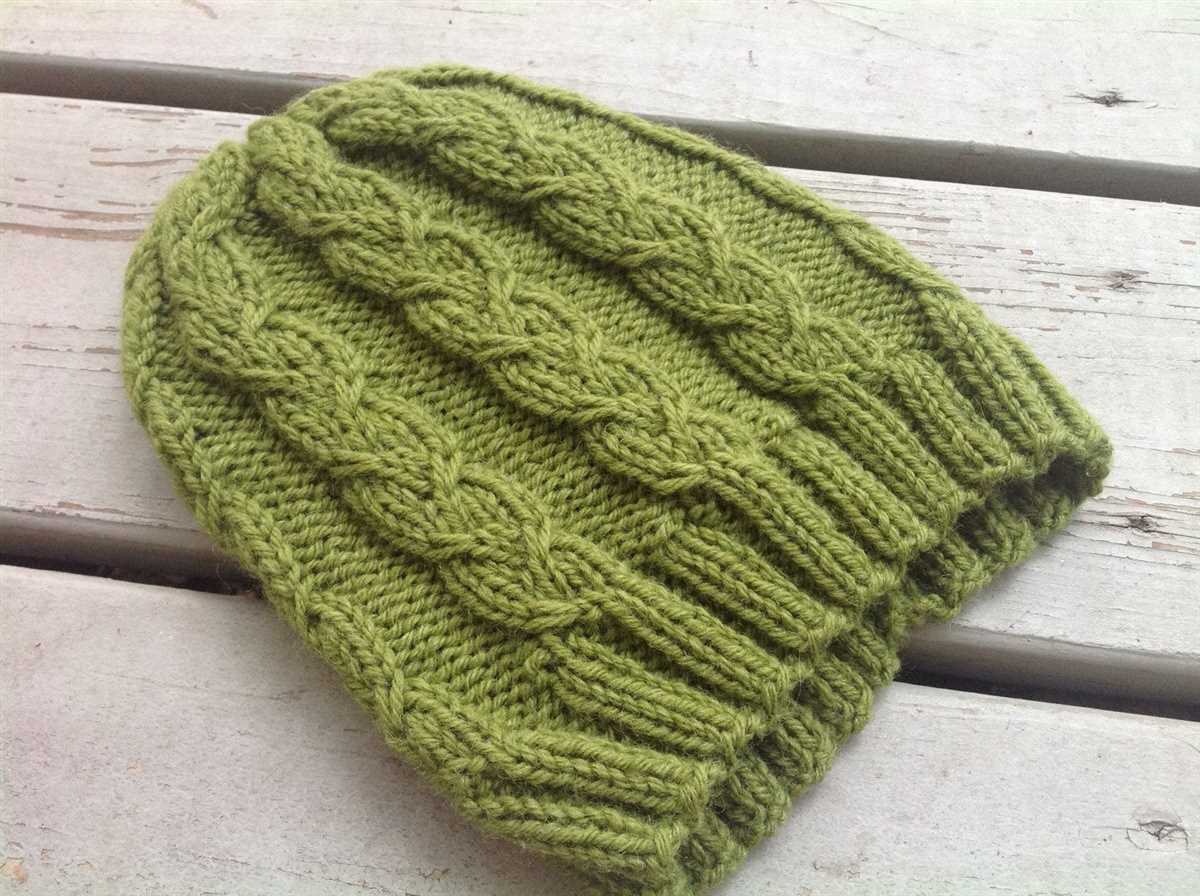
If you’re looking for a fun and simple knitting project, look no further than this easy knit toque pattern. Whether you’re a beginner or an experienced knitter, this pattern is sure to be a hit. With its basic stitch pattern and straightforward instructions, you’ll have a warm and stylish toque in no time.
Made with soft and cozy yarn, this toque is perfect for staying warm during the cold winter months. The ribbed brim provides a comfortable fit, while the body of the toque can be customized to your desired length. Whether you prefer a slouchy fit or a snug beanie style, this pattern can easily be adjusted to suit your personal preference.
Even if you’re new to knitting, don’t be intimidated by this pattern. The easy-to-follow instructions will guide you through each step, from casting on to binding off. And with just basic knit and purl stitches, you’ll quickly get the hang of it. Before you know it, you’ll have a beautiful hand-knit toque that you can be proud of.
So grab your knitting needles, pick out your favorite yarn, and get ready to create your own cozy toque. Whether you’re making it for yourself or as a gift for a loved one, this easy knit toque pattern is sure to be a hit.
Easy Knit Toque Pattern: Step-by-Step Guide
Looking to knit a cozy toque for the upcoming winter season? We’ve got you covered with this easy-to-follow knit toque pattern. Whether you’re a beginner or an experienced knitter, this pattern will guide you through the process effortlessly.
Materials Needed:
- Yarn (worsted weight)
- Knitting needles (size 8)
- Tapestry needle
Step 1: Cast On
Start by casting on 80 stitches onto your knitting needles using the long-tail cast-on method. Make sure the stitches are not too tight, as this will affect the fit of the toque.
Step 2: Knit in the Round
Join the round by knitting the first stitch from the left needle onto the right needle. Continue knitting in the round using the stockinette stitch (knit every round) until the toque measures approximately 8 inches from the cast-on edge.
Step 3: Decrease Rounds
Once the desired length is reached, it’s time to decrease the stitches to shape the top of the toque. To do this, knit 8 stitches, then knit 2 stitches together. Repeat this pattern until the end of the round.
Step 4: Finishing
Cut the yarn, leaving a long tail. Thread the tail through a tapestry needle and slide the needle through the remaining stitches, removing them from the knitting needles. Pull the tail tight to close the top of the toque. Weave in any loose ends and your knit toque is complete!
That’s it! With just a few simple steps, you’ve created a warm and stylish toque to keep you cozy during the colder months. Feel free to get creative with different yarn colors or add embellishments to personalize your toque. Happy knitting!
Gather Materials and Tools

Before starting your knitting project, it’s important to gather all the necessary materials and tools. Here’s a list of what you’ll need:
Yarn:
- Consider using a medium-weight yarn, such as worsted or aran weight, for this knit toque pattern. Choose a yarn color that you love and matches your style.
Knitting Needles:
- Choose a pair of knitting needles that are the appropriate size for the yarn you’ve chosen. Look at the yarn label for needle size recommendations.
Stitch Markers:
- Stitch markers are helpful for keeping track of stitch patterns and placing markers where necessary. You may need them for this knit toque pattern.
Scissors:
- Keep a pair of scissors handy for cutting yarn and trimming any loose ends.
Tape Measure:
- A tape measure will be useful for taking measurements and ensuring your toque fits properly.
Yarn Needle:
- A yarn needle, also known as a darning needle, is essential for weaving in loose ends and finishing your project.
With these materials and tools at hand, you’ll be ready to start knitting your easy toque!
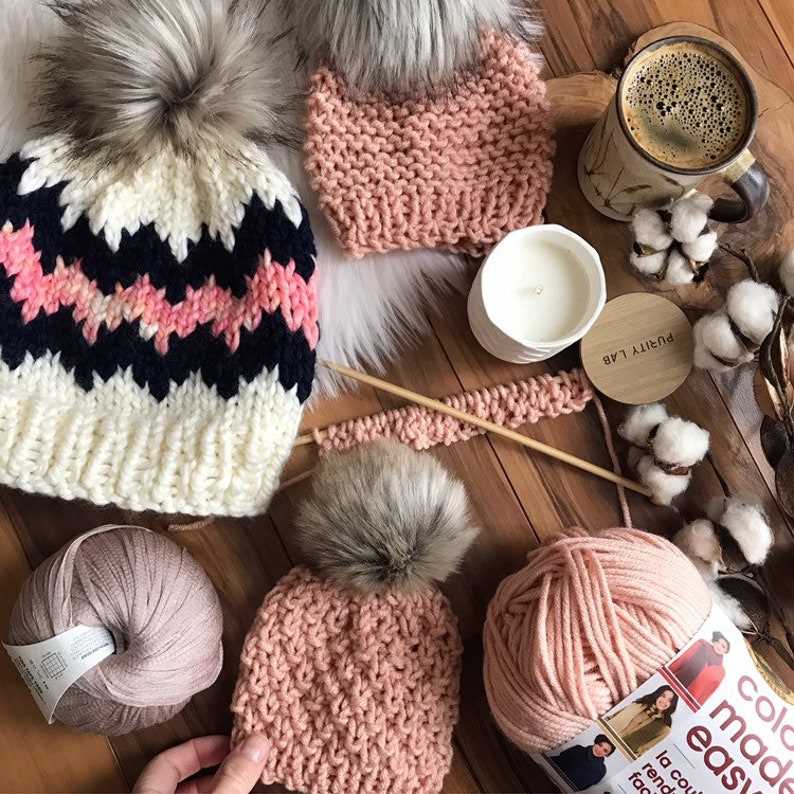
Choosing the Right Yarn
When knitting a toque, it is essential to choose the right yarn for the project. The yarn you select will not only affect the overall look and feel of the finished product but also its durability and warmth. Here are a few factors to consider when choosing the perfect yarn for your easy knit toque:
Fiber Content:
The fiber content of the yarn is an important factor to consider. Different fibers have different properties, which can impact the toque’s warmth, breathability, and softness. Wool, for example, is an excellent choice for winter hats as it is naturally insulating and moisture-wicking. Acrylic yarns, on the other hand, are often more affordable and can be a good option for those with wool allergies.
Weight:
The weight of the yarn refers to its thickness or how thin or thick the individual strands are. The weight of the yarn you choose will affect the overall size and drape of the toque. Bulky or chunky weight yarns will result in a thicker and warmer hat, while lighter weight yarns, such as fingering or sport weight, will create a more lightweight and breathable toque.
Color and Texture:
The color and texture of the yarn can add visual interest and personality to your toque. Consider the color palette you prefer and choose a yarn that complements your personal style. Additionally, textured yarns, such as those with a boucle or variegated appearance, can add depth and dimension to your finished project.
By considering these factors when choosing your yarn, you can ensure that your easy knit toque turns out just as you envisioned. Whether you prioritize warmth, style, or comfort, there is a yarn out there that is perfect for your project.
Selecting the Proper Needles
When starting a knitting project, one of the most important decisions you’ll need to make is selecting the proper needles. The type and size of needles you choose can greatly affect the outcome of your project, so it’s essential to make an informed decision.
Needle Types: There are several types of knitting needles available, including straight needles, circular needles, and double-pointed needles. Straight needles are the most common choice for beginners and are used for flat knitting projects like scarves and blankets. Circular needles are used for both flat and circular knitting projects and are a versatile option. Double-pointed needles are used for knitting in the round and are commonly used for projects like socks and hats.
Needle Sizes: Needle sizes range from very small to very large, with the size indicating the diameter of the needle shaft. The size of needle you choose will depend on the yarn weight and the desired outcome of your project. Yarn labels often provide a suggested needle size, but it’s important to note that personal tension and gauge can also influence needle size selection. Experimenting with different needle sizes may be necessary to achieve the desired result.
Selecting the Right Needle: When choosing needles, consider the characteristics of your project. If you’re knitting a delicate lace shawl, you may want to choose a pair of small, lightweight needles to create fine details. On the other hand, if you’re knitting a cozy winter hat, you may opt for larger, bulkier needles to create a warmer fabric. It’s also important to consider the material of the needles. Bamboo and wood needles provide a more tactile knitting experience, while metal needles can be slicker and faster.
- Consider the type of project you’re working on when selecting needles.
- Pay attention to the suggested needle size on the yarn label.
- Experiment with different needle sizes to achieve the desired result.
- Choose needles based on the characteristics of your project.
- Consider the material of the needles for a more comfortable knitting experience.
Casting On
When starting a knitting project, the first step is to cast on. Casting on is the process of creating the foundation row of stitches on the knitting needle. There are several methods for casting on, but one commonly used method is the long-tail cast on.
The long-tail cast on is a versatile method that creates a neat and stretchy edge. To cast on using this method, you will need to estimate the length of yarn needed to cast on the desired number of stitches. This is done by holding the yarn tail and the working yarn together and measuring a length of yarn approximately three times the width of the project.
Next, make a slipknot near the end of the yarn and place it on the knitting needle. Hold the needle in your right hand and the yarn in your left hand. Insert the needle into the slipknot from front to back and then bring the yarn over the needle, forming a loop. With your right hand, pull the loop through the slipknot, creating a new stitch. Repeat this process to cast on the desired number of stitches.
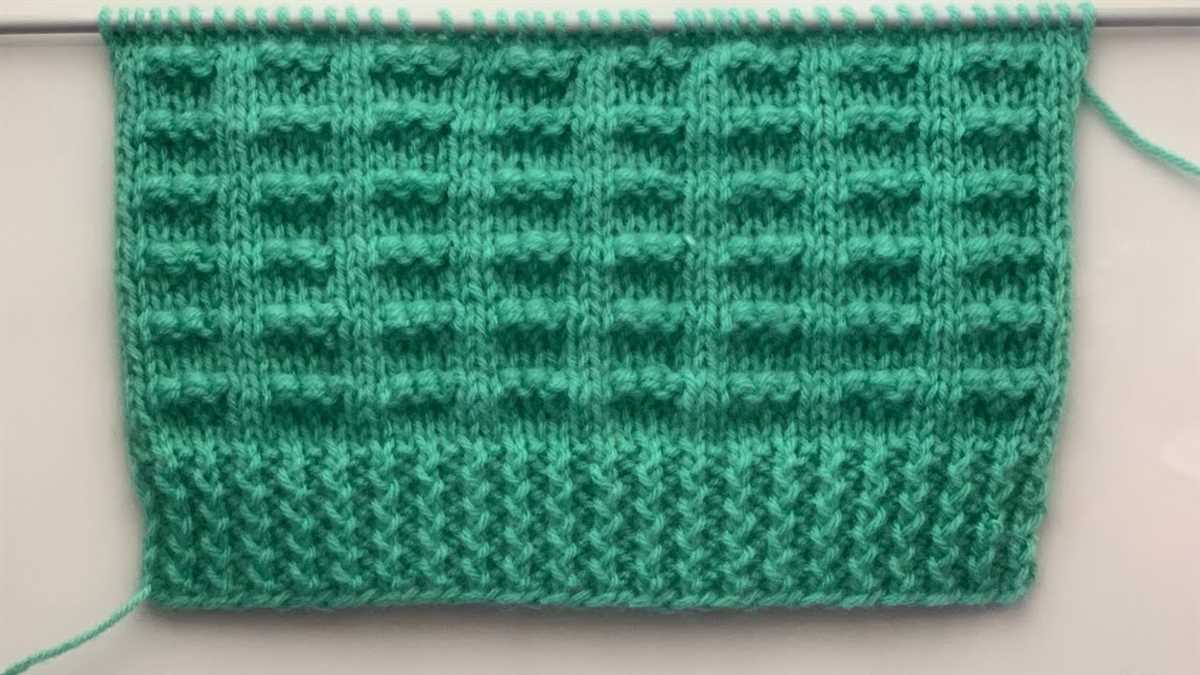
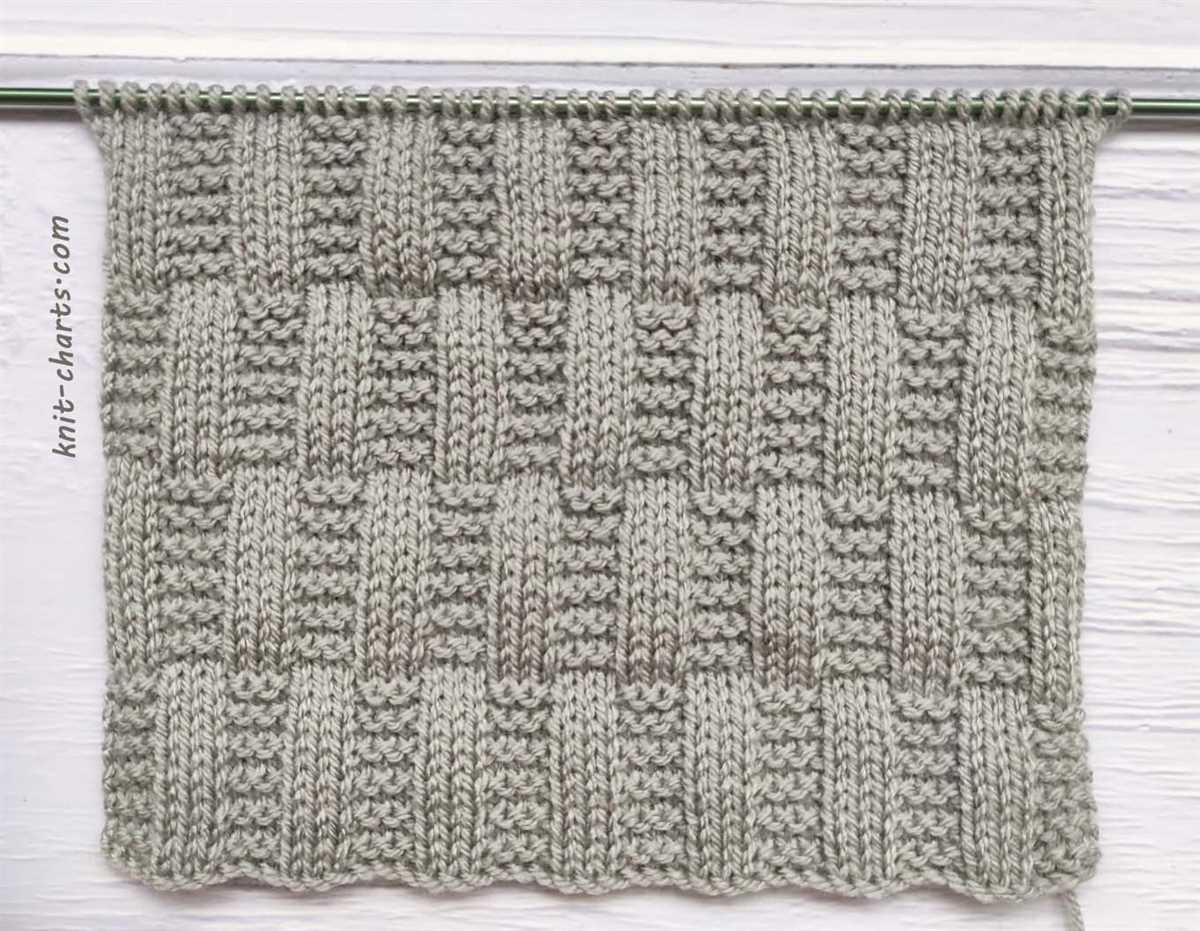
Knitting the Ribbing
Before you begin knitting the main body of the toque, it’s important to start with the ribbing. The ribbing is the part of the toque that sits at the bottom and helps create a snug fit. It’s typically done in a different stitch pattern, often a combination of knit and purl stitches, to create a stretchy and flexible fabric.
To knit the ribbing, you’ll need to cast on the required number of stitches using your preferred method. This can be done using a long-tail cast-on, a cable cast-on, or any other method you’re comfortable with. Make sure to cast on an even number of stitches, as the ribbing will consist of alternating knit and purl stitches.
Once you’ve cast on the stitches, you’ll start working the ribbing pattern. This can be a simple knit 1, purl 1 (K1, P1) ribbing, or you can choose a different ribbing pattern depending on your preference. The important thing is to maintain the pattern consistently throughout the ribbing section.
Continue knitting the ribbing until you’ve reached the desired length. This could be anywhere from 1 inch to several inches, depending on the style and fit you’re going for. Keep in mind that the ribbing will naturally contract, so it’s better to make it slightly longer than necessary to ensure a snug fit.
Once you’re satisfied with the length of the ribbing, you can then switch to the main stitch pattern for the body of the toque. This could be a simple stockinette stitch, a textured pattern, or any other pattern you prefer. Knitting the ribbing first helps create a neat and professional finish to your toque, so take your time and enjoy the process!
Transitioning to the Main Body
Once you have completed the ribbing section, it’s time to transition to the main body of the knit toque. This is where the hat really starts to take shape and you’ll see the pattern emerge.
Now that you are ready to move on, you will begin by switching to your main color yarn. This could be a contrasting color, or simply a different shade of the same color, depending on the look you want to achieve. Make sure to secure the end of the ribbing section before starting the main body.
To start the main body, you will need to follow the pattern instructions for the specific pattern you are using. This will typically involve knitting or purling a certain number of rounds or rows in the main color, often in a specific stitch pattern.
For example:
- Row 1: Knit all stitches.
- Row 2: Purl all stitches.
- Repeat these two rows until the main body measures approximately 6 inches from the ribbing.
Remember to keep track of your stitch count and pattern repeats as you work through the main body. This will ensure that your toque turns out the right size and shape.
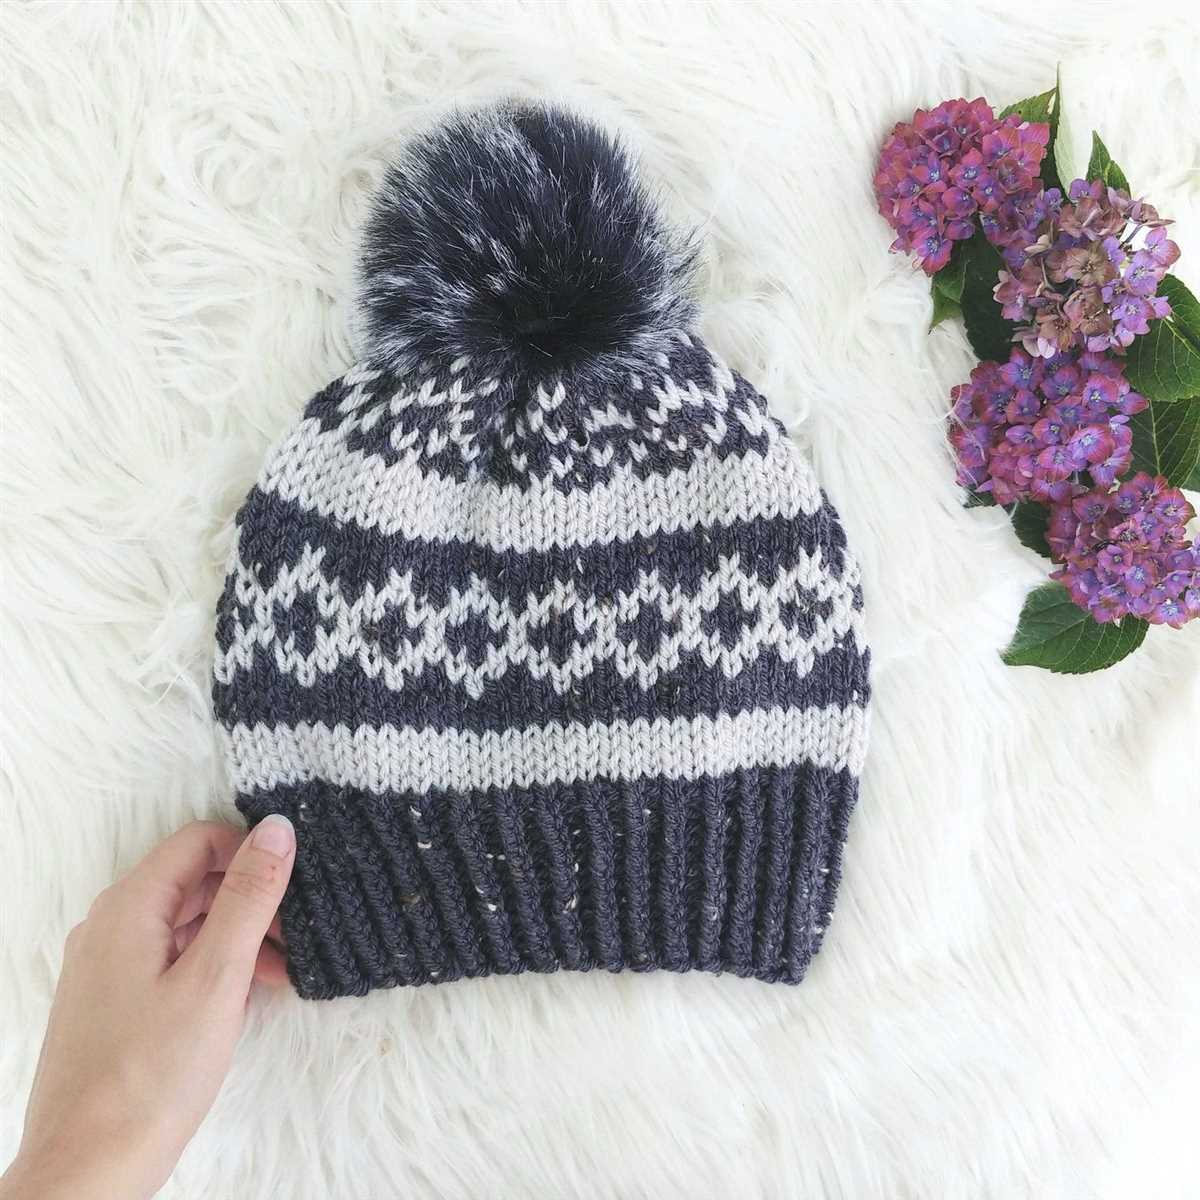
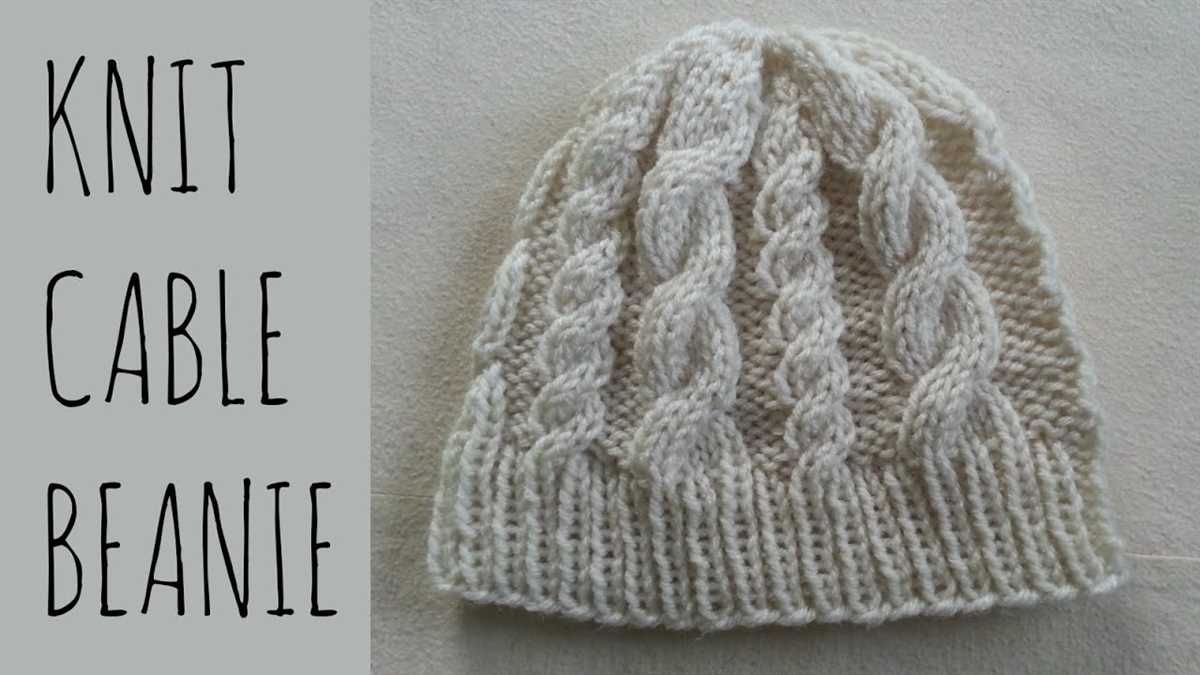
As you knit through the main body, you may also want to consider adding any additional design elements, such as color changes or texture stitches. This is a great way to personalize your knit toque and make it truly unique.
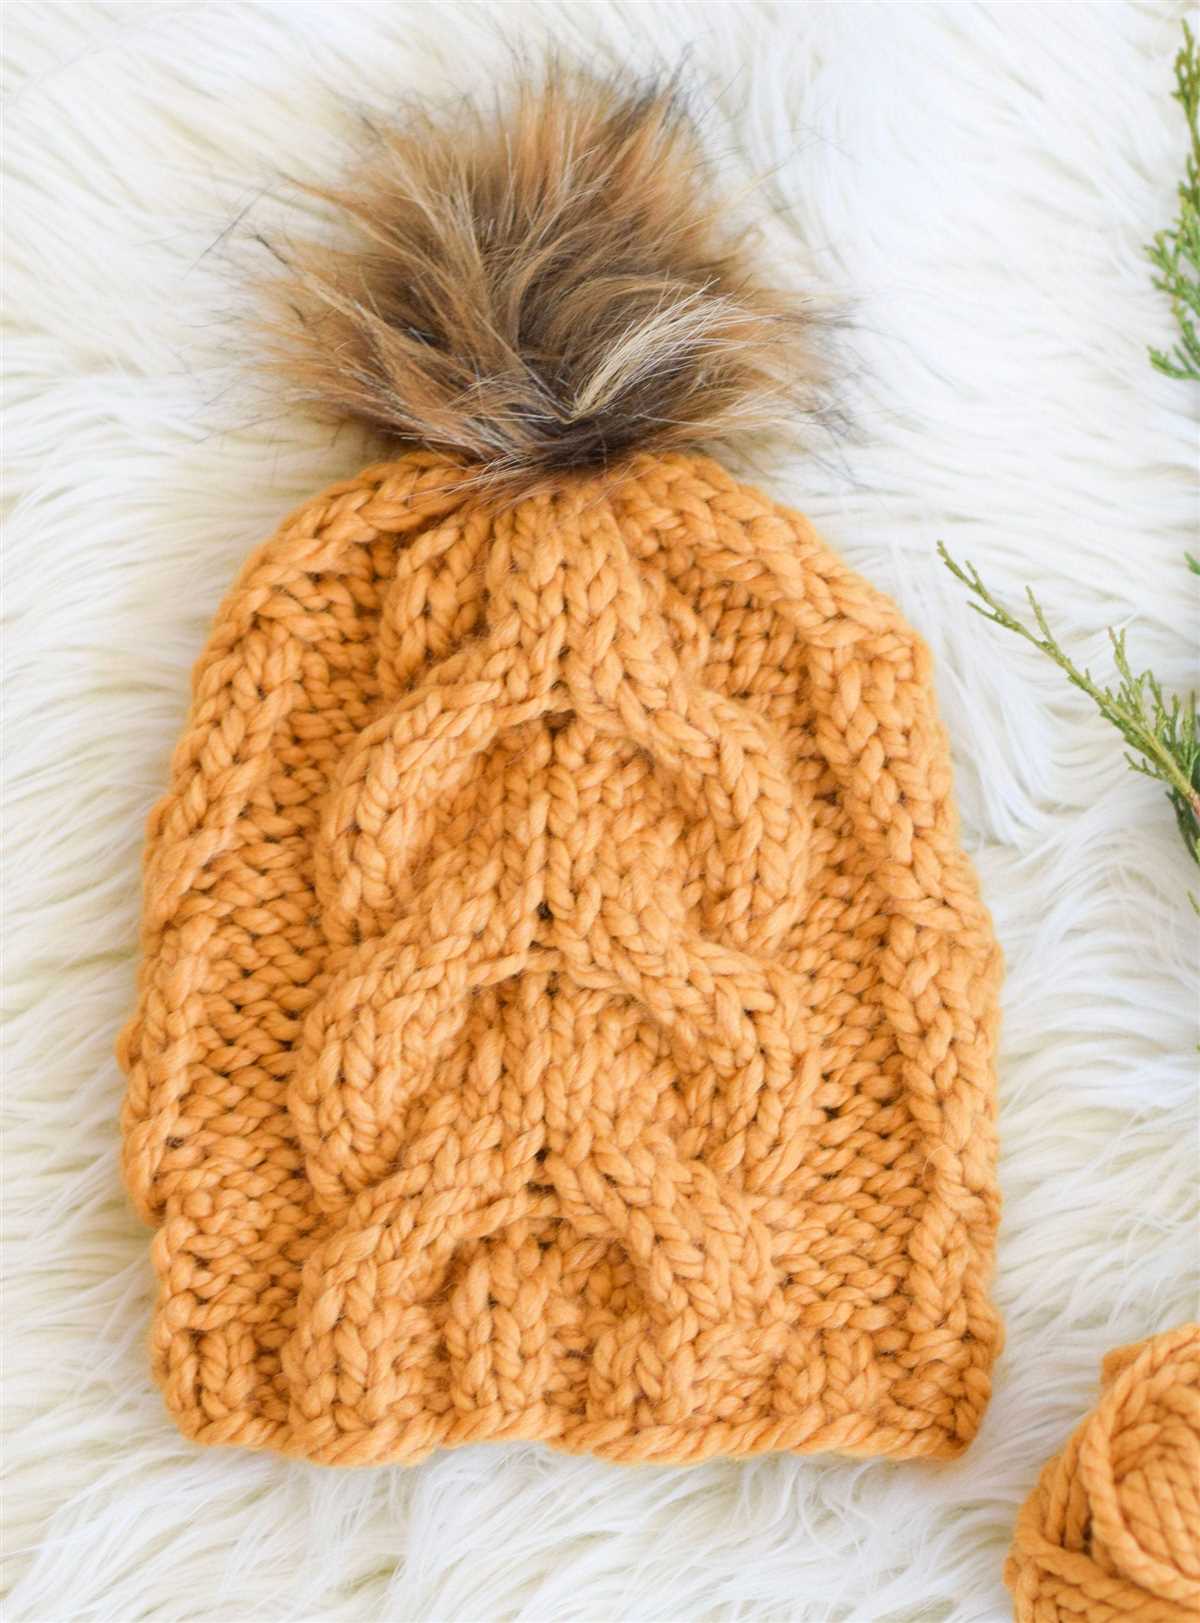
Creating the Crown Shaping
Once you have completed the ribbing and the body of the toque, it’s time to start shaping the crown. This is the part where the toque starts to take shape and become a cozy hat to keep you warm during the colder months.
Decrease Rows
To create the crown shaping, you will need to work decrease rows. These rows will gradually reduce the number of stitches and create a tapered effect towards the top of the hat. The specific decrease pattern will depend on the pattern you are using, but commonly used decreases include knit two together (k2tog) and slip slip knit (ssk).
Following the decrease pattern instructions, work the specified number of decrease rows at regular intervals. This will vary depending on the desired height of the crown and the size of the toque. Make sure to follow the instructions carefully to ensure the proper shaping.
Finishing the Crown
Once you have completed the decrease rows, you will be left with a small number of stitches on your needles. To finish the crown, you will need to close these stitches and secure them in place.
One common method is to cut the yarn, leaving a long tail. Thread the tail through a yarn needle and slide the needle through the remaining stitches, removing them from the knitting needles. Pull the yarn tight to cinch the crown closed, and then sew the end of the yarn securely to the inside of the hat to prevent it from unraveling.
With the crown shaping complete, your easy knit toque is finished and ready to be worn! Enjoy the cozy warmth and style of your handmade hat throughout the winter season.
Knitting in the Round
Knitting in the round is a technique used to create seamless tubes of fabric, such as hats, cowls, and socks. Instead of using straight needles and working back and forth, knitters use circular needles or double-pointed needles to create a continuous loop of stitches. This allows the knitter to work in a spiral, with each round connecting to the previous round to create a seamless and uninterrupted piece of fabric.
One of the benefits of knitting in the round is that it eliminates the need to seam pieces together. This makes it an ideal technique for projects where seamless construction is desired, as it creates a professional and polished finished result. Additionally, knitting in the round can be faster than working back and forth since there are no purl rows.
There are several methods for knitting in the round, including using circular needles, double-pointed needles, or magic loop. Circular needles are the most common choice, as they allow for knitting in the round with a large number of stitches. Double-pointed needles are typically used for smaller projects or when decreasing to a small number of stitches, while magic loop is a technique that can be used with circular needles to knit smaller projects with a longer cable length. Regardless of the method chosen, knitting in the round allows for endless possibilities and creativity in knitting projects.
Benefits of Knitting in the Round
- Creates seamless tubes of fabric
- Eliminates the need for seaming
- Creates a professional and polished finished result
- Faster than working back and forth
- Allows for endless possibilities and creativity in knitting projects
Switching to Double-Pointed Needles
If you’ve been knitting with straight needles and want to try your hand at working with double-pointed needles, it’s easier than you might think. Double-pointed needles are a great tool for knitting in the round, and they can make it much easier to create seamless projects like hats, socks, and mittens. Here are a few tips to help you make the switch to double-pointed needles.
1. Choose the Right Size Needles
When switching to double-pointed needles, you’ll need to choose the right size for your project. Check your pattern for the recommended needle size, and make sure to use the same size for your double-pointed needles. This will help ensure that your stitches are the correct size and that your finished project will turn out as expected.
2. Divide Your Stitches
Before you start knitting with double-pointed needles, you’ll need to divide your stitches evenly among the needles. For example, if your pattern calls for 60 stitches, you would divide them evenly among four needles, with 15 stitches on each needle. This will make it easier to work with the needles and prevent any gaps or uneven tension in your knitting.
3. Work with a Needle at a Time
When knitting with double-pointed needles, you’ll only be working with one needle at a time while the other needles hold the remaining stitches. This can take a bit of getting used to, but it’s really just a matter of keeping your stitches organized. As you work, make sure to keep the unused needles out of the way and focus on the needle that you’re knitting with.
4. Use Stitch Markers

Stitch markers can be a great tool for keeping track of your rounds when knitting with double-pointed needles. Place a marker at the beginning of each round to help you keep track of where you are in your pattern. This can be especially helpful if you need to count rows or stitches and can help prevent mistakes.
Finishing the Toque
After completing the knitting portion of the toque, it’s time to finish off the hat to give it a polished look. The finishing steps involve weaving in any loose ends and blocking the toque to shape it properly.
Weaving in Ends: Start by turning the toque inside out and threading the loose yarn end onto a tapestry needle. Carefully weave the needle in and out of the knitted stitches, following the direction of the yarn. Make sure to secure the end by weaving it back through a few stitches before trimming off any excess yarn.
Blocking the Toque: To shape the toque, fill a basin or sink with lukewarm water and add a small amount of gentle detergent. Submerge the toque in the water and gently agitate it to ensure it is fully soaked. Remove the toque and squeeze out any excess water, being careful not to twist or wring it. Place the damp toque on a clean towel and roll it up, pressing gently to remove more water. Unroll the towel and lay the toque flat on a blocking mat or another clean towel in the desired shape. Stretch the toque gently to reshape it if needed. Allow the toque to air dry completely before wearing or storing.
By following these finishing steps, your easy knit toque will be ready to wear and showcase your knitting skills. Enjoy the warmth and comfort of your handmade creation!
Blocking the Toque
Blocking is an important step in finishing your knit toque. It helps to shape the hat and give it a polished look. Here are some steps to follow when blocking your toque:
1. Wet Blocking:
- Fill a sink or basin with lukewarm water and add a small amount of wool wash or mild shampoo.
- Submerge the toque in the water and gently squeeze to wet it thoroughly. Avoid wringing or twisting the fabric.
- Let the toque soak in the water for about 15-20 minutes. This will allow the fibers to relax and absorb the moisture.
- Remove the toque from the water and gently squeeze out the excess water. Do not rinse.
2. Shaping:
- Place a clean towel on a flat surface and lay the wet toque on top.
- Gently shape the toque to the desired size and style, smoothing out any wrinkles or uneven areas.
- Use pins or blocking wires to secure the edges and shape of the toque. Stretch the fabric slightly if needed.
3. Drying:
- Leave the toque to air dry on the towel for 24-48 hours, or until completely dry.
- Avoid hanging the toque to dry, as it may stretch or lose its shape.
- Once dry, remove the pins or blocking wires and your toque will be beautifully blocked and ready to wear.
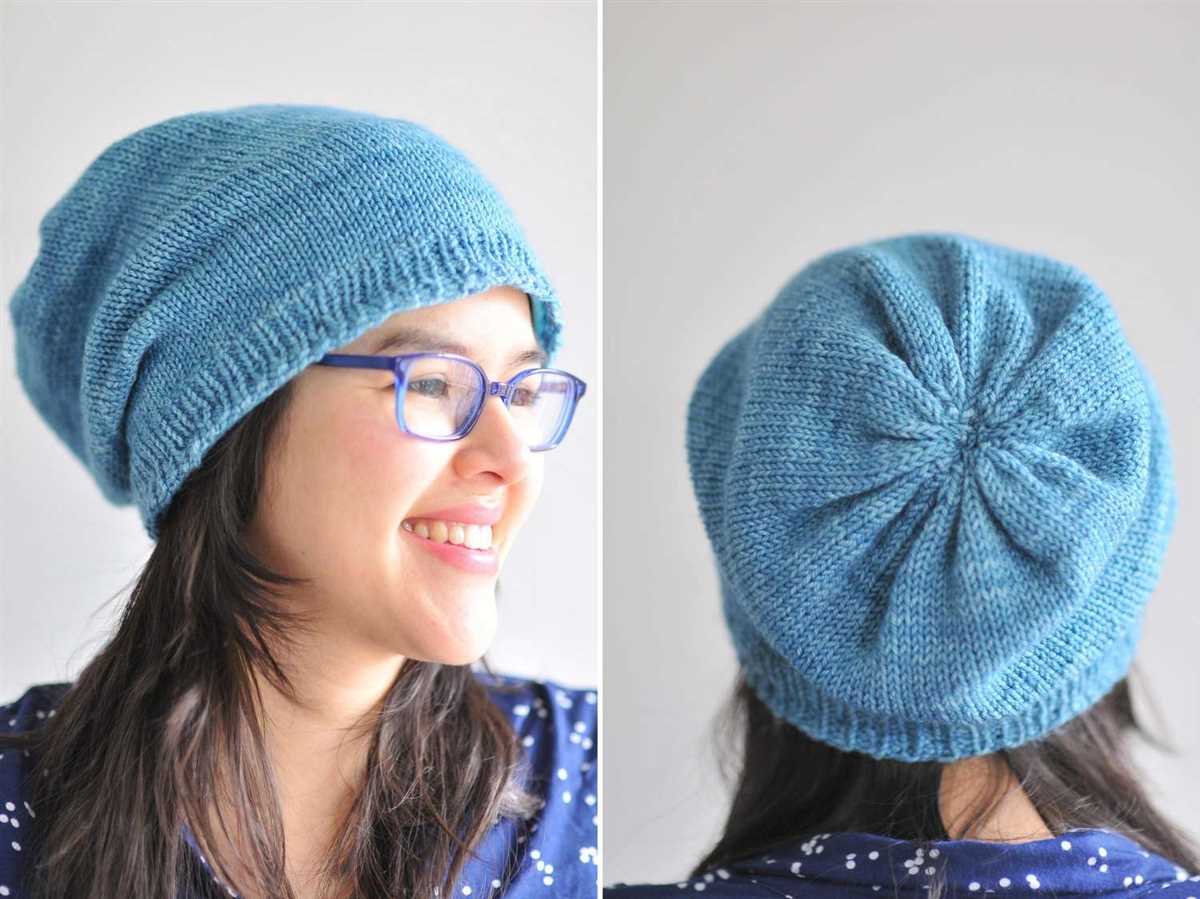
Styling and Wearing the Finished Toque
Once you’ve completed knitting the toque using the easy knit toque pattern, you can style and wear it in various ways to suit your personal style and preferences. Here are some suggestions on how to best showcase your new accessory:
1. Classic Folded Style: One of the most common and timeless ways to wear a toque is by folding the brim up, creating a clean and polished look. This style works well with any outfit and is suitable for both casual and more formal occasions.
2. Slouchy Style: For a more relaxed and laid-back look, you can wear the toque loosely on your head, allowing it to slouch down behind your ears. This style adds a cool and effortless vibe to your outfit and is great for those days when you want to add a touch of casual chicness to your ensemble.
3. Cuffed Style: Another stylish way to wear the toque is by folding the brim halfway up, creating a small cuff. This style adds a bit of structure to the hat while still maintaining a casual and comfortable look. It works well with both jeans and dresses and is a versatile option for various occasions.
4. Side-Swept Style: If you want to add a touch of elegance to your outfit, you can style the toque by sweeping it to one side of your head. This asymmetrical look adds a unique and fashionable twist to the traditional toque. Pair it with a sleek ponytail or loose waves to complete the sophisticated vibe.
5. Layered Look: To add visual interest and warmth to your outfit, you can layer the toque over a headband or earmuffs. This creates a cozy and stylish look while keeping you extra warm during the colder months. Opt for a contrasting color or pattern for the headband or earmuffs to create a fun and playful ensemble.
Conclusion: With the easy knit toque pattern, you can create a versatile and stylish accessory for the winter season. Experiment with different styles and techniques to find the one that best suits your personal style and preferences. Whether you choose a classic folded style or a trendy side-swept look, your finished toque is sure to keep you warm and fashionable throughout the season.