
Knitting is a rewarding and relaxing hobby that allows you to create beautiful, handmade items for yourself and your loved ones. If you’re a beginner knitter looking for a simple project to start with, baby hat patterns are a great choice. Baby hats are small and quick to knit, making them perfect for practicing basic knitting techniques and creating adorable accessories for the little ones in your life.
When it comes to knitting baby hats, there are countless patterns available, ranging from simple and classic designs to more intricate and decorative styles. However, if you’re just getting started, it’s best to begin with easy knitting patterns that will help you build your skills and confidence as you go.
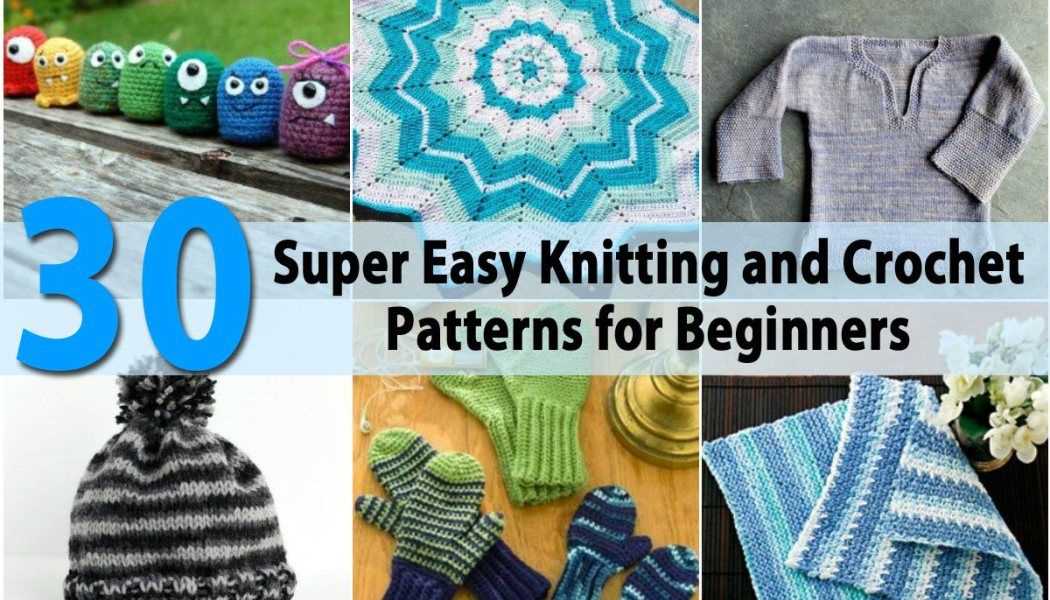
In this article, we’ll explore a selection of easy knitting baby hat patterns that are perfect for beginners. These patterns typically use basic knitting stitches, such as knit and purl, and require minimal shaping and finishing techniques. With a little practice, you’ll be able to create adorable and cozy hats that will keep the little ones warm and stylish.
Basic Baby Hat Pattern
In the world of knitting, there’s nothing quite as adorable as a baby hat. If you’re a beginner knitter looking for a simple and easy project, a basic baby hat pattern is a great place to start. With just a few basic stitches and techniques, you can create a cozy and stylish hat for the little one in your life.
Materials:
- Size 8 knitting needles
- Worsted weight yarn (about 100 yards)
- Tapestry needle
Instructions:
- Start by casting on 60 stitches using the long-tail cast-on method.
- Knit every stitch for the first row to create the brim of the hat.
- Continue knitting every stitch for the next few rows until the brim measures about 2 inches.
- Switch to stockinette stitch by knitting one row and purling the next row. Repeat this pattern until the hat measures about 4 inches from the brim.
- To shape the crown of the hat, start decreasing stitches. Knit 2 stitches together at the beginning and end of every knit row until you have 20 stitches left.
- Thread the yarn through the tapestry needle and sew it through the remaining stitches, pulling it tight to close the top of the hat.
- Weave in any loose ends and trim off excess yarn.
And there you have it, a basic baby hat! Feel free to get creative and experiment with different yarn colors or stitch patterns to personalize your hat. With this simple pattern, you’ll be able to create adorable and handmade hats for all the little ones in your life.
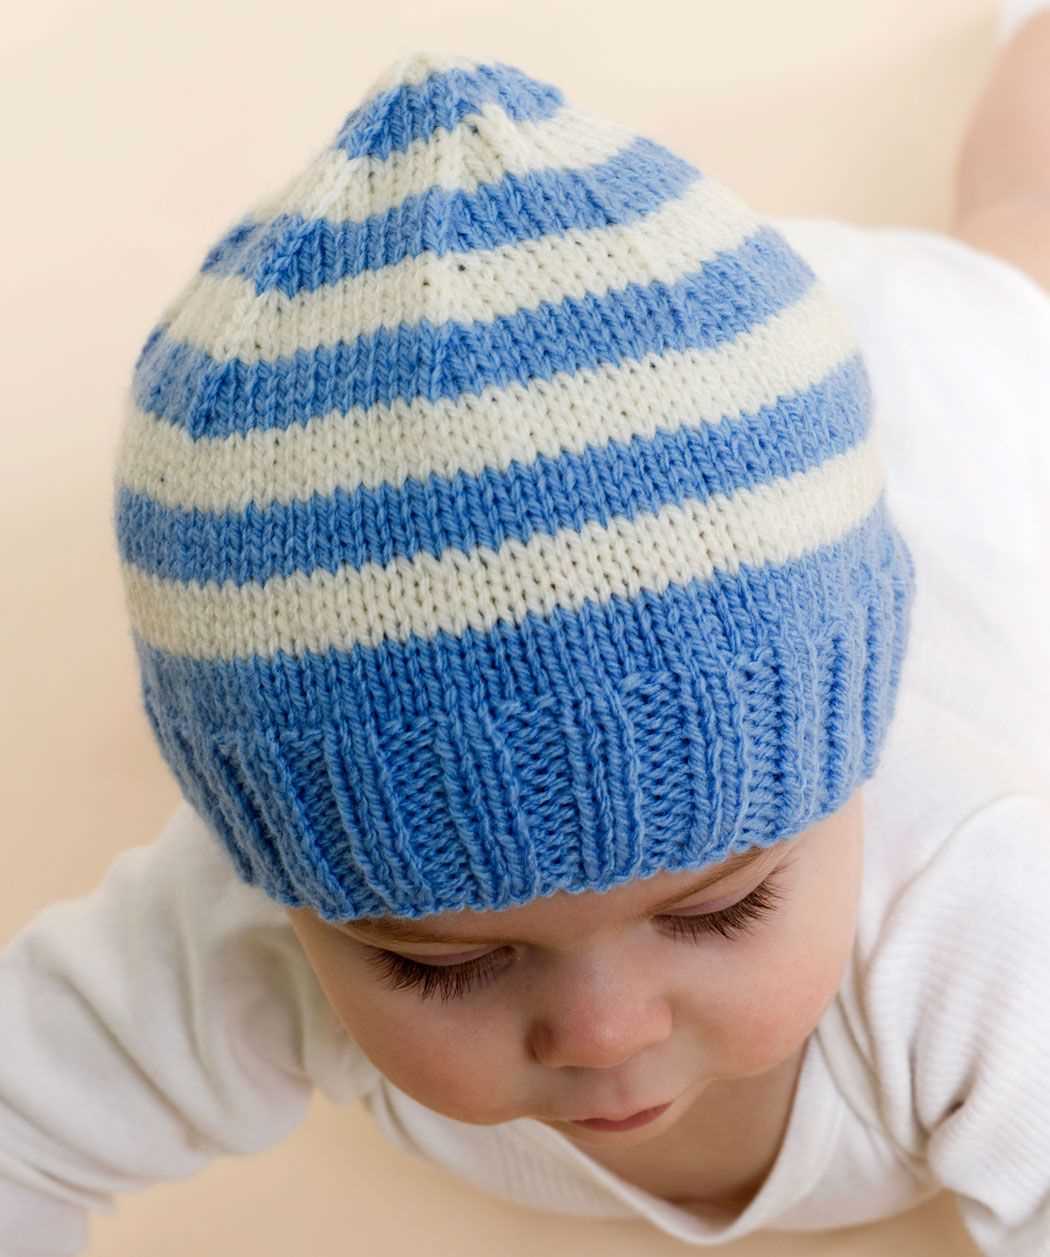
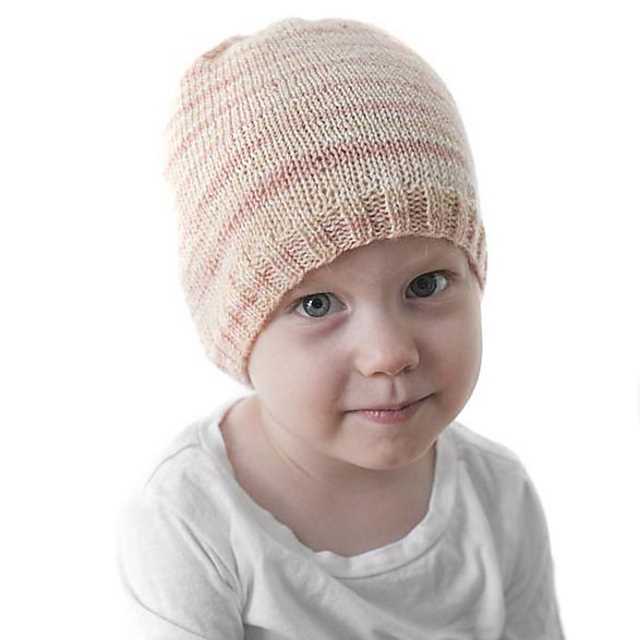
Simple Striped Baby Hat
Knitting a simple striped baby hat is a great project for beginner knitters. It’s a quick and easy way to practice working with different colors and create a cute and functional accessory for a newborn. With just a few basic knitting techniques, you can create a beautiful and personalized hat for your little one.
To start, you will need two colors of yarn, one for the main body of the hat and another for the stripes. Choose soft and baby-friendly yarns that are easy to work with and gentle on sensitive skin. Using a circular knitting needle in the appropriate size for your chosen yarn, cast on the required number of stitches to fit the baby’s head circumference.
Step 1: Begin by knitting a few rows in the main color to create the base of the hat. This will provide a solid foundation for the stripes and ensure the hat fits snugly. You can use the garter stitch, knitting every row, or the stockinette stitch, alternating between knitting and purling rows, for the main body.
Step 2: Once the base is complete, it’s time to add the stripes. To do this, simply switch to the contrasting color of yarn and knit a few rows in this color. You can choose the width and spacing of the stripes based on your preference, alternating colors every few rows or creating thicker or thinner stripes.
Step 3: Continue alternating between the main color and the contrasting color, knitting rows to create the stripes, until you reach the desired length for the hat. Remember to keep track of the number of rows you knit in each color to maintain consistency throughout the hat.
Once you have reached the desired length, finish the hat by knitting a few more rows in the main color to create a ribbed brim. This will add a nice stretch to the hat and help it stay in place on the baby’s head. Finally, bind off the stitches and weave in any loose ends.
A simple striped baby hat is a versatile and adorable accessory that can be personalized in many ways. You can experiment with different color combinations and stitch patterns to create unique designs. It’s an enjoyable and rewarding project that will keep your little one warm and stylish. Happy knitting!
Ribbed Baby Hat Pattern
If you are a beginner knitter looking for an easy and quick project, a ribbed baby hat is a great option to start with. This pattern is perfect for keeping your little one warm and cozy during the chilly winter months.
Materials needed:
- Worsted weight yarn
- Size 8 (5mm) circular needles
- Size 8 (5mm) double-pointed needles
- Stitch marker
- Tapestry needle
Instructions:
- Cast on 64 stitches using the circular needles.
- Join in the round, being careful not to twist the stitches, and place a marker to indicate the beginning of the round.
- Knit 2, purl 2 in a ribbing pattern for 5 inches.
- Switch to the double-pointed needles when necessary.
- Decrease round: *Knit 6, knit 2 together; repeat from * to the end of the round. (56 stitches)
- Continue knitting in a ribbing pattern for another 2 inches.
- Decrease round: *Knit 5, knit 2 together; repeat from * to the end of the round. (48 stitches)
- Continue knitting in a ribbing pattern for another 2 inches.
- Decrease round: *Knit 4, knit 2 together; repeat from * to the end of the round. (40 stitches)
- Continue knitting in a ribbing pattern for another 2 inches.
- Decrease round: *Knit 3, knit 2 together; repeat from * to the end of the round. (32 stitches)
- Continue knitting in a ribbing pattern for another 2 inches.
- Decrease round: *Knit 2, knit 2 together; repeat from * to the end of the round. (24 stitches)
- Continue knitting in a ribbing pattern for another 2 inches.
- Decrease round: *Knit 1, knit 2 together; repeat from * to the end of the round. (16 stitches)
- Continue knitting in a ribbing pattern for another 2 inches.
- Decrease round: *Knit 2 together; repeat from * to the end of the round. (8 stitches)
- Cut the yarn, leaving a long tail. Thread the tail through the remaining stitches and pull tight to close the top of the hat.
- Weave in any loose ends and your ribbed baby hat is complete!
Lacy Baby Hat Pattern
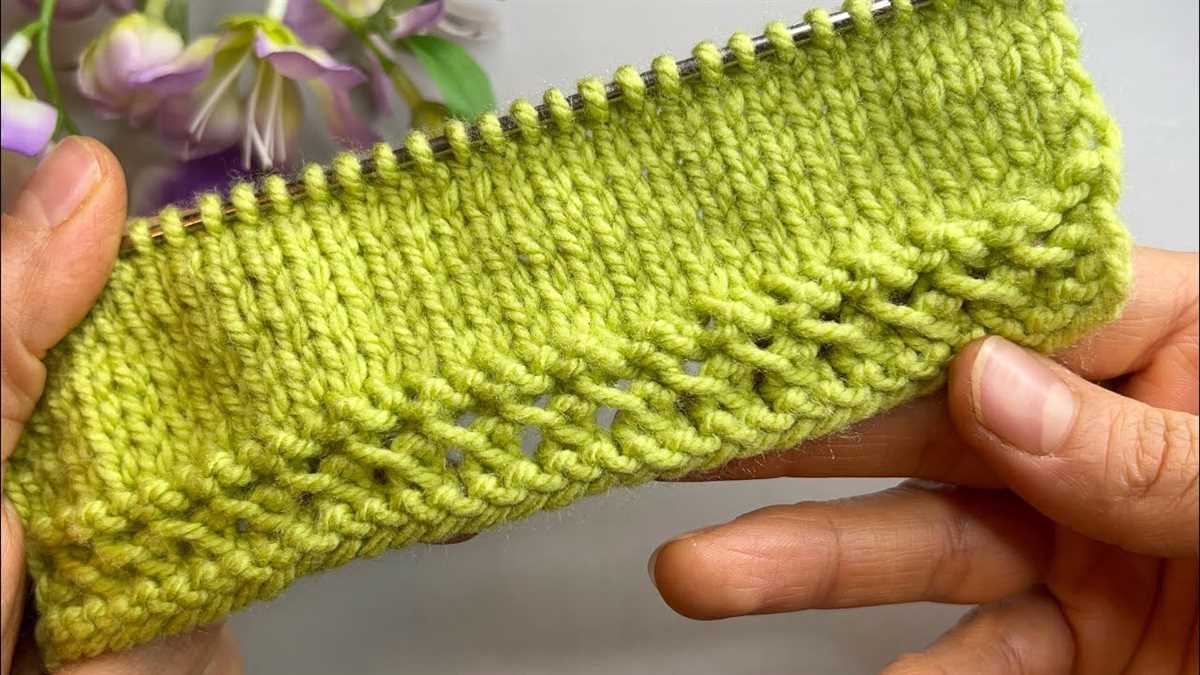
Knitting a lacy baby hat is a great project for beginners who want to practice their knitting skills while creating a beautiful and delicate accessory for a little one. This pattern combines basic stitches with lace details, resulting in a soft and airy hat that will keep the baby comfortable and stylish.
To start, you will need a soft and lightweight yarn, preferably in a pastel color. Using circular knitting needles in a size appropriate for the yarn will make the process easier. Begin by casting on the required number of stitches, usually around 80-90 stitches, and join them in a circle by knitting the last stitch together with the first stitch.
Row 1: Knit all stitches.
Row 2: Purl all stitches.
Row 3: *Knit 2 stitches together, yarn over, repeat from * to the end of the row.
Row 4: Purl all stitches.
Repeat rows 3 and 4 until the desired length is reached, usually about 5-6 inches. Make sure to end on row 4. This will create the lacy pattern that gives the hat its delicate look.
To finish the hat, cut the yarn, leaving a long tail. Thread the tail through a tapestry needle, and slide the needle through all the stitches. Pull tight to close the top of the hat. Sew the seam using the mattress stitch method to create a smooth and invisible join.
This lacy baby hat pattern is a versatile and customizable project that can be adapted to different yarns, colors, and sizes. Add ribbons, bows, or embellishments to personalize the hat and make it truly special. Whether knitting for your own baby or as a gift for a loved one, this pattern is sure to create a cherished heirloom that will be treasured for years to come.
Cable Knit Baby Hat Pattern
If you’re a beginner knitter looking for a new project to try, a cable knit baby hat is a great choice. Cable knitting adds texture and interest to any project, and this hat pattern is no exception. With just a few basic knitting techniques, you can create a beautiful and cozy hat that will keep any little one warm and stylish.
To begin, you’ll need a set of double-pointed knitting needles and some soft, worsted weight yarn in the color of your choice. Cast on the required number of stitches, making sure to distribute them evenly across your needles. Then, join in the round and place a marker to keep track of your progress.
Once you’ve established your foundation, it’s time to start the cable pattern. This pattern utilizes a simple four-stitch cable, so it’s perfect for beginners. Knit the first few rounds in a basic ribbing pattern, then follow the cable chart or instructions to create the cable twists. Don’t be intimidated by the cables – they’re easier than they look!
Continue knitting in the cable pattern for the specified number of rounds, then switch to stockinette stitch for the top of the hat. Decrease stitches gradually to shape the crown, following the pattern instructions or chart. Finally, when you have only a few stitches left, cut the yarn and thread it through the remaining stitches to secure.
To finish off your cable knit baby hat, weave in any loose ends and give it a gentle block to ensure the stitches are even and the hat retains its shape. Then, it’s ready to be worn or gifted to a lucky little one. This pattern is not only easy but also versatile – you can customize it with different yarn colors or by adding embellishments like a pom-pom or button.
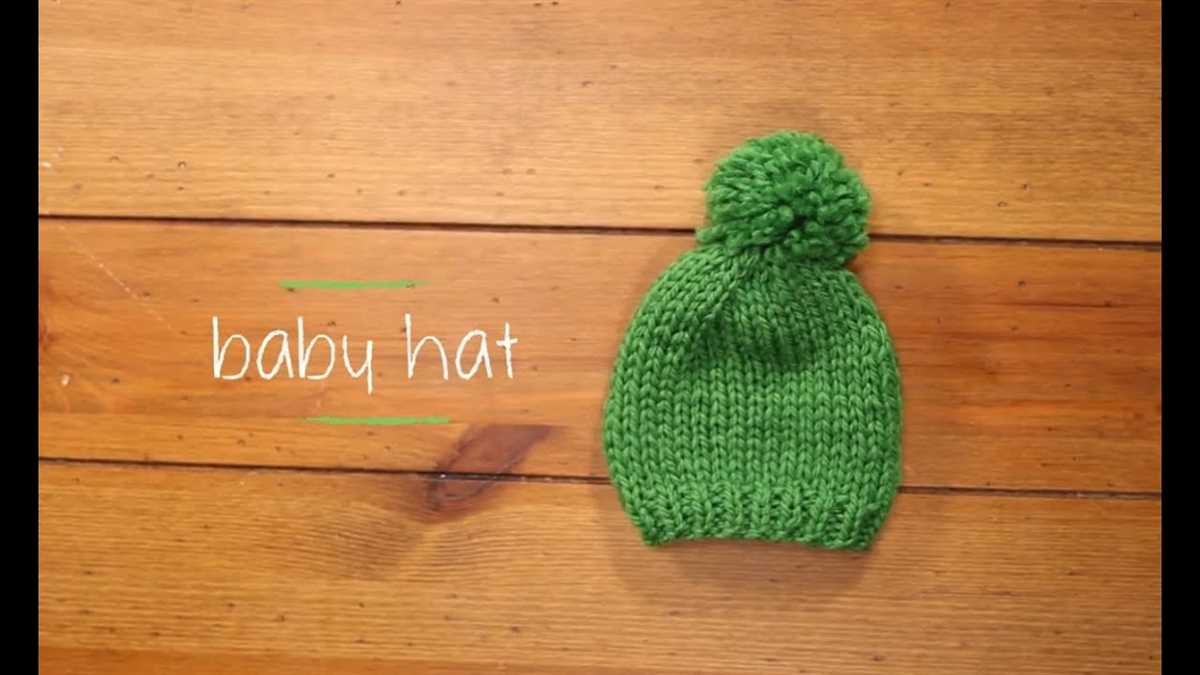
Pom Pom Baby Hat Pattern
If you’re a beginner knitter looking for an adorable project to practice your skills, this pom pom baby hat pattern is perfect for you! Not only is it easy to make, but it also results in a cute and cozy hat that any baby will love.
Materials you will need:
- Size 8 knitting needles
- Worsted weight yarn in your choice of color
- Tapestry needle
- Pom pom maker or cardboard circle
To begin, cast on 64 stitches using the long tail cast on method. This will create the brim of the hat. Knit in a K2, P2 ribbing pattern for about 1 inch.
Next, switch to stockinette stitch by knitting every row. Continue knitting in stockinette stitch until the hat measures approximately 4 inches from the cast on edge.
For the crown shaping, you will need to decrease stitches. Begin by knitting 6 stitches, then knit 2 together to decrease. Repeat this pattern until the end of the row. Continue decreasing in this manner on every row until you have a small number of stitches left, around 8-10.
Once you have completed the crown shaping, cut the yarn leaving a long tail. Thread the tail through a tapestry needle and slip the remaining stitches onto the needle. Pull tight to close the top of the hat.
To finish, make a pom pom using a pom pom maker or by cutting two cardboard circles and wrapping yarn around them. Attach the pom pom to the top of the hat securely, and weave in any loose ends.
And there you have it, a cute and cozy pom pom baby hat that’s perfect for beginners! This pattern is great for practicing basic knitting techniques and makes a great gift for any little one.
Earflap baby hat pattern
Knitting earflap baby hats is a great project for beginners who are looking to practice their knitting skills while creating an adorable and functional accessory for a baby. Earflap hats are perfect for keeping a baby’s ears warm and protected during the colder months.
To make an earflap baby hat, you will need a set of knitting needles, yarn in your choice of color, and a basic understanding of knitting stitches such as knit and purl. Here is a simple pattern to get you started:
- Step 1: Cast on stitches to create the desired size of the hat. This will depend on the age of the baby or the circumference of their head.
- Step 2: Knit several rows in a basic stockinette stitch to create the body of the hat.
- Step 3: Begin working on the earflaps by knitting a few rows, then decreasing stitches to create a triangular shape. Repeat this on both sides of the hat.
- Step 4: Continue knitting the body of the hat until it reaches the desired length.
- Step 5: Finish off the hat by binding off all stitches and weaving in any loose ends.
This is just a basic pattern to get you started on knitting earflap baby hats. Feel free to get creative and add your own personal touch by incorporating different colors, patterns, or embellishments. Knitting baby hats can be a fun and rewarding project, and the end result will make a perfect gift for a new baby or a cherished heirloom to pass down through the generations. Happy knitting!
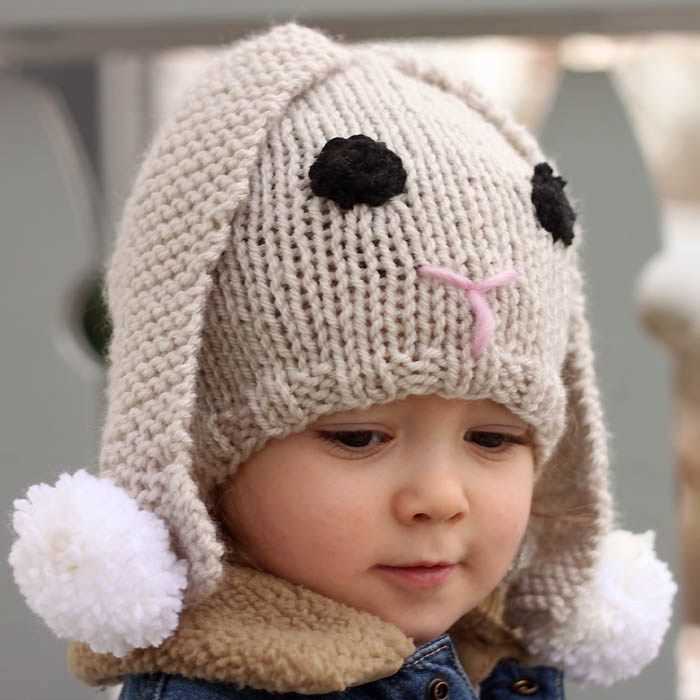
Animal-themed baby hat pattern
When it comes to baby hats, an animal-themed design can be irresistibly cute. Whether you’re a beginner knitter or an experienced one looking for a fun project, an animal-themed baby hat pattern is a great choice. Not only will it keep your little one warm and cozy, but it will also add a charming touch to their outfit.
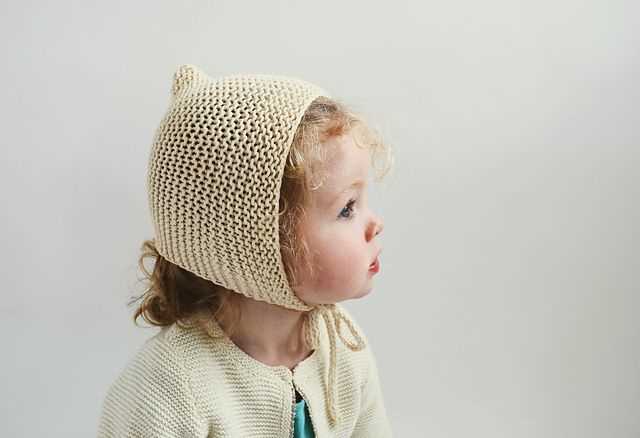
One popular animal-themed baby hat pattern is the “bear ears” hat. This adorable design features two small ears on top of the hat, resembling a bear’s ears. You can choose a neutral color such as gray or brown to make it more realistic, or go for a vibrant color to make it stand out. To add an extra cute factor, you can sew on some tiny black buttons for the bear’s eyes and a small black nose.
Another animal-themed baby hat pattern that’s perfect for beginners is the “bunny ears” hat. This design is similar to the bear ears hat but features long bunny ears instead. You can knit the ears separately and sew them onto the hat, or you can knit them directly onto the hat using the intarsia technique. To make it even more adorable, you can embroider a little pink nose and stitch on some whiskers.
If you’re looking for something different, you can try the “cat ears” baby hat pattern. This design has two pointy ears on top of the hat and can be made in various colors. To make it more playful, you can incorporate stripes or polka dots into the design. You can also add some felt or fabric in contrasting colors to create the cat’s eyes and nose. This hat is sure to make your little one look like an adorable feline friend.
Buttoned baby hat pattern
If you are a beginner knitter looking for a simple and adorable baby hat pattern, then the buttoned baby hat pattern is perfect for you. This pattern is easy to follow and requires basic knitting stitches, making it great for beginners.
To create the buttoned baby hat, you will need knitting needles, soft baby yarn, a tapestry needle, and two small buttons. Start by casting on the required number of stitches, usually around 60-70 stitches, depending on the size of the hat you want to make.
Once you have cast on the stitches, work in a rib stitch pattern, alternating between knit and purl stitches. This rib stitch pattern creates a stretchy and cozy hat that will keep the baby’s head warm.
Continue knitting in the rib stitch pattern until the hat reaches the desired length, usually around 4-5 inches. Make sure to keep track of your rows, so the hat has an even and symmetrical appearance.
When you have reached the desired length, bind off your stitches and cut the yarn, leaving a long tail. Thread your tapestry needle with the tail of the yarn and sew up the back seam of the hat using a mattress stitch or any other method you prefer.
To finish off the buttoned baby hat, sew two small buttons on either side of the front brim of the hat. These buttons not only add a cute and decorative touch but also serve the practical purpose of securing the hat in place on the baby’s head.
Once you have completed the buttoned baby hat, you can try experimenting with different colors, yarn weights, or stitch patterns to create unique variations. Knitting baby hats is a rewarding and enjoyable project, and with this pattern, you will have a beautiful hat that any baby would love to wear.
Flower Embellished Baby Hat Pattern
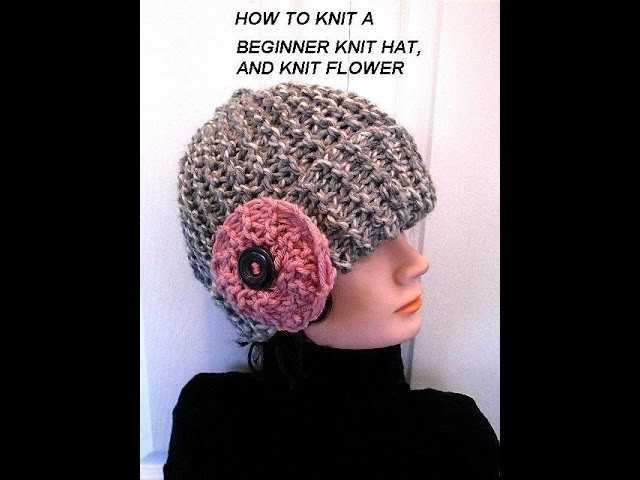
If you are looking for a cute and adorable baby hat pattern, look no further than the flower embellished baby hat pattern. This pattern is perfect for beginners who are just starting out with knitting. The hat is not only functional and warm, but it also features a beautiful flower design that adds a touch of elegance and charm.
To make this flower embellished baby hat, you will need basic knitting supplies such as yarn, knitting needles, and a crochet hook. The pattern uses a simple stitch pattern, making it easy for beginners to follow along. The flower embellishment is created using the crochet hook and adds a beautiful finishing touch to the hat.
To begin, cast on the required number of stitches and work in the round until the hat reaches the desired length. The pattern provides detailed instructions for increasing and decreasing stitches to create the perfect fit. Once the main part of the hat is complete, it’s time to add the flower embellishment.
The flower embellishment is made using a combination of chains, single crochet stitches, and double crochet stitches. It is worked in the round and attached to the hat using a needle and thread. The pattern includes step-by-step instructions and a diagram to help you create the flower design.
This flower embellished baby hat pattern is a great way to practice your knitting skills while creating a beautiful and functional item for a baby. Whether you are knitting for your own little one or gifting it to someone special, this hat is sure to be a hit. With its adorable flower design, it will make any baby look even more precious.
Preemie Baby Hat Pattern
When it comes to knitting baby hats, it is important to have a pattern that is suitable for all sizes, including preemies. Preemie babies need extra care, and a custom-made hat can provide warmth and comfort during their delicate stage of development. Here is an easy preemie baby hat pattern that is perfect for beginners.
Materials Needed:

- Size 6 US (4 mm) knitting needles
- DK weight yarn
- Tapestry needle
- Scissors
Instructions:
- Cast on 52 stitches.
- Row 1: *Knit 2, purl 2* across the row. Repeat this row for a total of 10 rows.
- Row 11: Knit all stitches.
- Row 12: Purl all stitches.
- Repeat rows 11 and 12 for a total of 20 rows.
- Decrease rows:
- Row 1: *Knit 2 together, purl 2 together* across the row.
- Row 2: Knit all stitches.
- Row 3: *Knit 1, purl 1* across the row.
- Row 4: Knit all stitches.
- Repeat rows 3 and 4 for a total of 10 rows.
- Finish off by cutting the yarn, leaving a long tail. Thread the tail through the tapestry needle and weave it through the remaining stitches. Pull tight to close the top of the hat.
- Using the tapestry needle, sew up the side seam of the hat.
With just a few simple steps, you can create a cozy and adorable preemie baby hat. This pattern is perfect for beginners as it uses basic knitting stitches and minimal shaping. Remember to use soft yarn to ensure the hat is gentle on the baby’s sensitive skin. Knitting a preemie baby hat is a thoughtful and heartwarming gift for a preemie baby and their family.
Striped brim baby hat pattern
Knitting a striped brim baby hat is a fun and colorful project that will keep your little one warm and stylish. This pattern is perfect for beginners who want to practice knitting in the round and creating stripes.
To knit a striped brim baby hat, you will need:
- Worsted weight yarn in two contrasting colors
- Size 8 (5mm) circular knitting needles, 16 inches long
- Set of size 8 (5mm) double-pointed knitting needles
- Stitch marker
- Tapestry needle
Follow these steps to create your striped brim baby hat:
- Cast on 80 stitches with the first color using the circular needles.
- Join in the round, placing a stitch marker to mark the beginning of the round.
- Knit in a 2×2 ribbing pattern (knit 2 stitches, purl 2 stitches) for 1 inch.
- Switch to the second color and knit in stockinette stitch (knit all stitches) until the hat measures 4 inches from the cast-on edge.
- Switch back to the first color and knit in stockinette stitch for another 2 inches.
- Change to the second color and knit 2 rounds.
- Decrease rounds:
- Round 1: Knit 8, knit 2 together. Repeat to the end of the round.
- Round 2: Knit all stitches.
- Round 3: Knit 7, knit 2 together. Repeat to the end of the round.
- Round 4: Knit all stitches.
- Continue decreasing in this pattern, knitting 1 fewer stitch before each decrease, until there are 8 stitches remaining.
- Cut the yarn, leaving a long tail. Thread the tail through the tapestry needle, slip the remaining stitches onto the needle, and pull tight to close the top of the hat. Weave in any loose ends.
This striped brim baby hat pattern is versatile and can be customized with different color combinations. Have fun experimenting with different stripes and create a unique hat for your little one.
Happy knitting!
Q&A:
What are some easy knitting baby hat patterns for beginners?
Some easy knitting baby hat patterns for beginners include the garter stitch baby hat, the ribbed baby hat, the seed stitch baby hat, the stockinette stitch baby hat, and the rolled brim baby hat.
What materials do I need for knitting a baby hat?
To knit a baby hat, you will need yarn (preferably a soft and washable yarn), knitting needles (size appropriate for your yarn), a yarn needle for finishing, and optional embellishments like buttons or pom-poms.
Can I knit a baby hat without using circular needles?
Yes, you can knit a baby hat without using circular needles. You can use double-pointed needles or a long straight needle and seam up the back when finished.
How long does it typically take to knit a baby hat?
The time it takes to knit a baby hat will vary depending on your knitting speed and experience. However, for a beginner, it may take a few hours to a couple of days to complete a baby hat.
Are there any specific techniques I need to know to knit a baby hat?
Basic knitting techniques such as casting on, knitting, purling, and binding off are typically used in knitting baby hats. Some patterns may include additional techniques, such as decreases or increasing stitches, but these can be easily learned with practice.