
If you’re new to knitting and want to create something adorable and practical for your little one, this easy toddler sweater knitting pattern is perfect for you. With simple stitches and basic construction, this pattern is beginner-friendly and can be completed in just a few evenings.
The best part is that this pattern is completely free, so you can start knitting your toddler’s new favorite sweater without breaking the bank. The pattern includes instructions for sizes ranging from 12 months to 4T, so you can customize the fit for your little one.
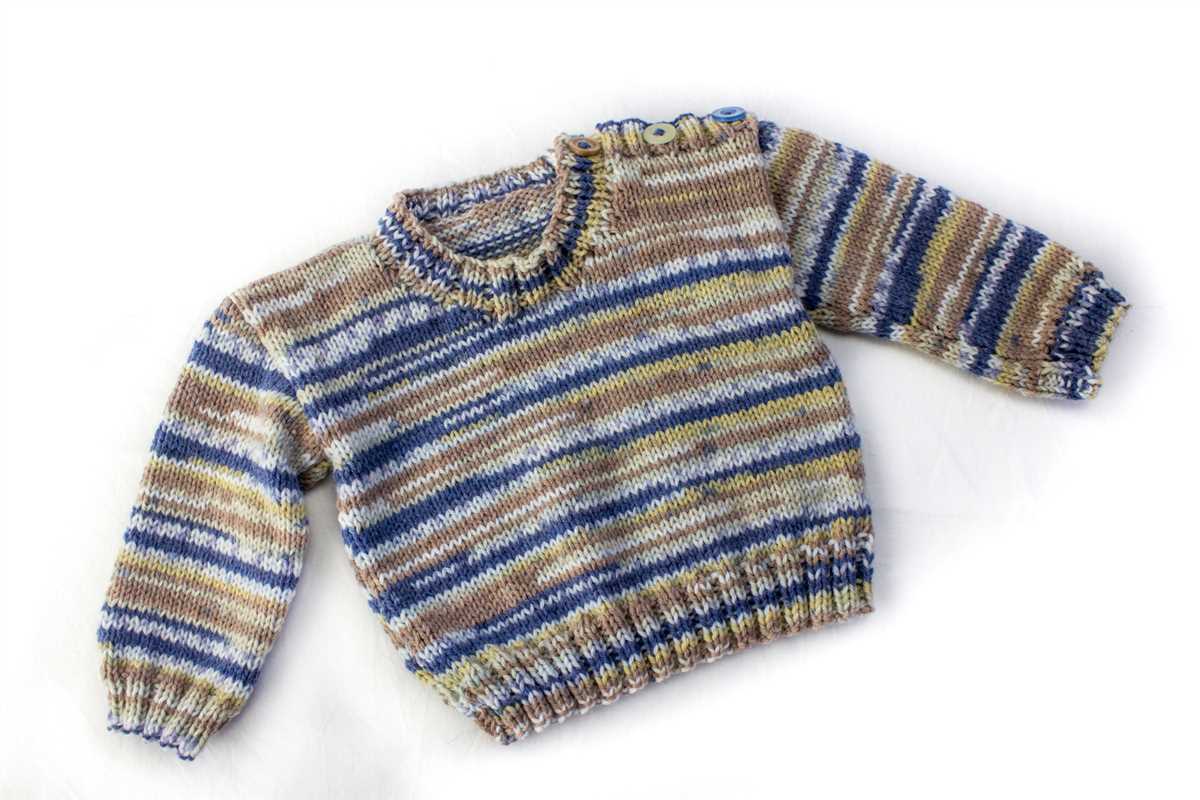
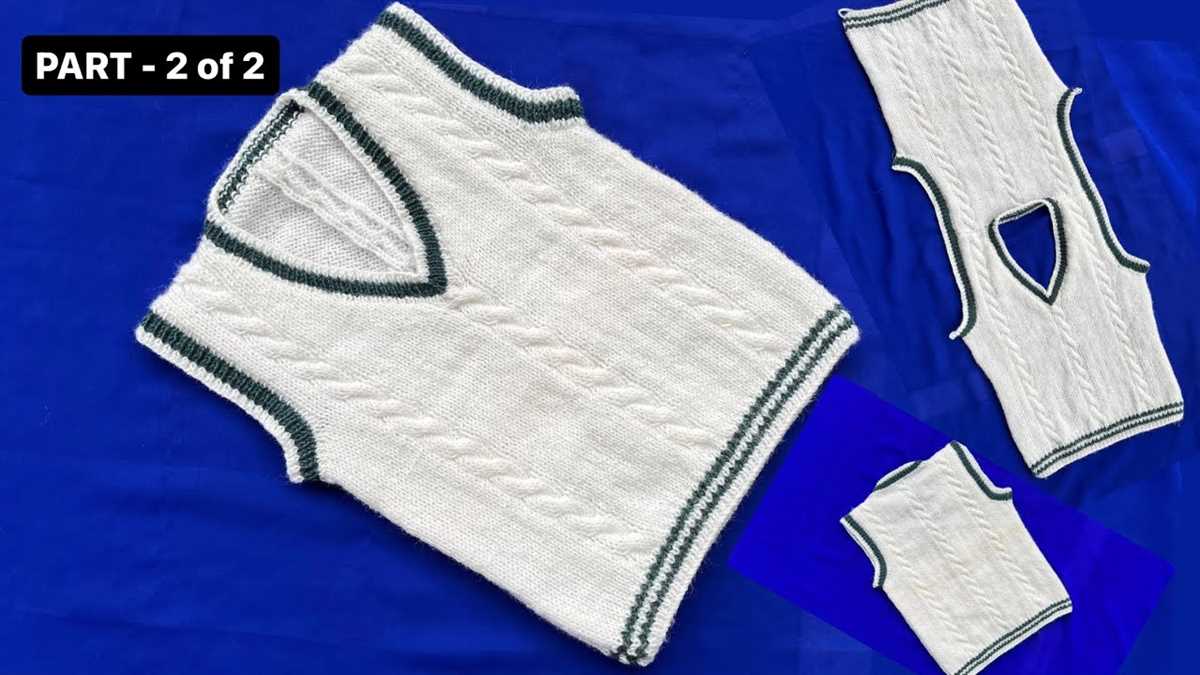
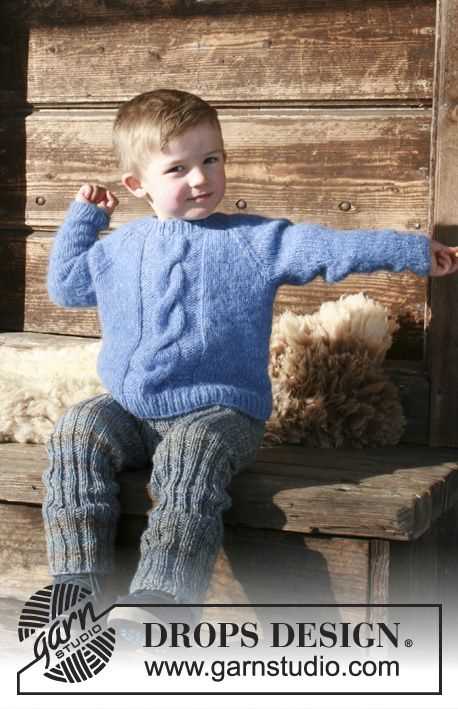
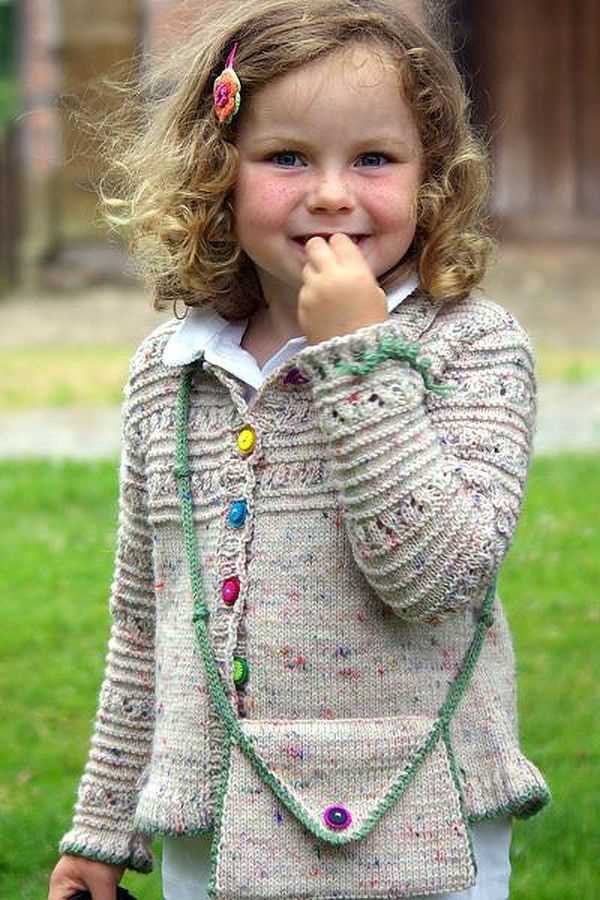
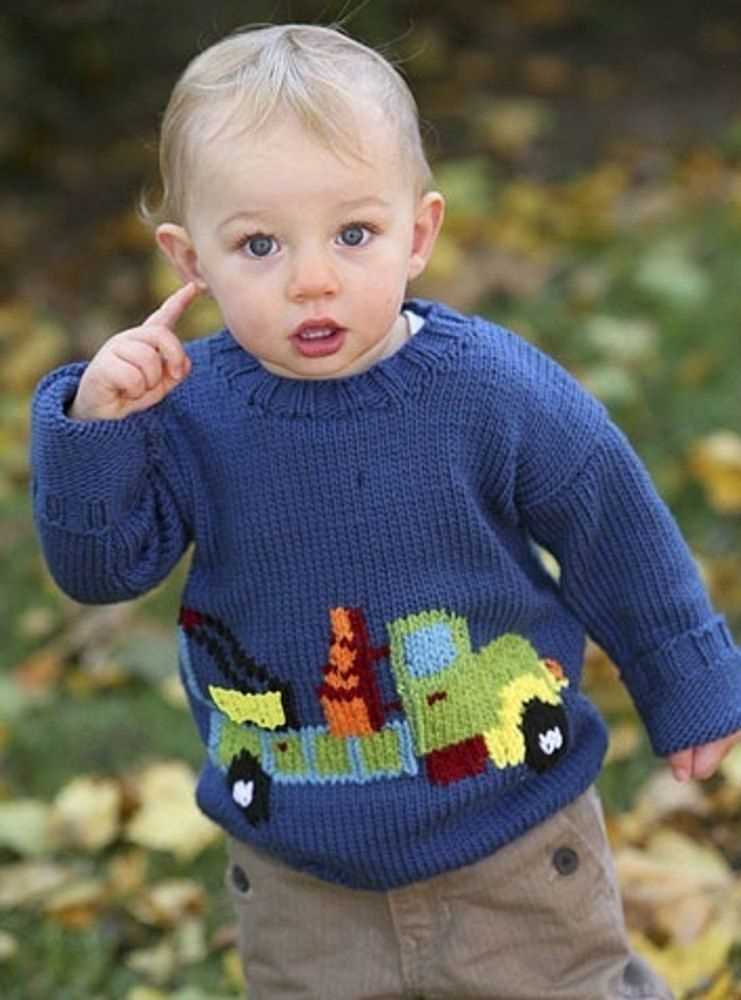
Whether you’re knitting for your own child or making a handmade gift, this toddler sweater pattern is sure to be a hit. The pattern features a classic pullover style with a round neck and long sleeves, making it a versatile addition to any toddler’s wardrobe. Plus, the simple design allows for endless customization options – add stripes, color blocks, or even a few appliques to make it truly unique.
Don’t let the thought of knitting a sweater intimidate you. This easy toddler sweater knitting pattern will guide you through each step, from casting on to binding off. With clear instructions and helpful tips, even beginners can create a beautiful and cozy sweater for their little one.
Easy Toddler Sweater Knitting Pattern for Beginners Free
If you’re a beginner knitter and want to try your hand at making a sweater for your toddler, this easy knitting pattern is perfect for you. With simple instructions and minimal shaping, you’ll be able to create a cute and cozy sweater in no time. Best of all, this pattern is available for free, so you can start knitting right away.
To begin, you’ll need to gather your supplies. Make sure you have the correct size needles and yarn for the pattern. Worsted weight yarn is a good choice for this project, as it knits up quickly and is easy to work with. You’ll also need a set of double-pointed needles or a circular needle, depending on your knitting preference.
The pattern itself is straightforward and easy to follow. It starts with the ribbing for the collar, which gives the sweater a nice finished look. From there, you’ll move on to the body of the sweater, which is knit in simple stockinette stitch. The sleeves are then added, and the sweater is finished off with ribbing at the cuffs and hem.
If you’re new to knitting, don’t be intimidated by the thought of making a sweater. This pattern is designed with beginners in mind, and the step-by-step instructions will guide you through each stage of the process. Take your time and practice each stitch before moving on to the next, and soon you’ll have a beautiful handmade sweater for your toddler to wear.
Not only is knitting a sweater a rewarding and enjoyable hobby, but it also allows you to create unique and personalized clothing for your little one. With this easy toddler sweater knitting pattern, you’ll be able to make something special that will be cherished for years to come.
Choosing the Right Yarn and Needles
When it comes to knitting a toddler sweater, it’s important to choose the right yarn and needles for the project. The yarn you choose should be soft and gentle on your child’s skin. Look for yarns that are specifically labeled as “baby” or “toddler” yarns, as these are usually made from soft and comfortable materials like cotton or acrylic.
Another factor to consider when choosing yarn is the thickness or weight. For a toddler sweater, you’ll want to use a medium weight yarn, often labeled as “worsted” or “aran” weight. This weight is easy to work with and provides good insulation without being too heavy.
As for needles, the size you choose will depend on the yarn you’ve selected and the gauge you want to achieve. The pattern you’re using will typically recommend a specific needle size, so be sure to check the gauge and follow the instructions. If you’re a beginner, it’s best to start with a pair of straight or circular needles in a size recommended by the pattern.
If you’re unsure of which yarn and needles to choose, don’t hesitate to ask for help at your local yarn store or seek advice from experienced knitters. They can provide valuable guidance and recommendations based on their expertise. With the right yarn and needles, you’ll be on your way to creating a beautiful toddler sweater that your little one will love.
Taking Measurements
Before starting to knit a toddler sweater, it’s important to take accurate measurements of the child’s chest, arm length, and overall length. This will ensure that the sweater fits properly and is comfortable for the child to wear.
First, measure the child’s chest by wrapping a measuring tape around the fullest part of their chest. Make sure the tape is snug but not too tight. This measurement will determine the width of the sweater.
Measuring the Arm Length

To measure the arm length, have the child extend their arm out to the side and measure from the shoulder down to the wrist. This measurement will determine the length of the sleeves.
Measuring the Overall Length

To measure the overall length of the sweater, have the child stand straight and measure from the base of their neck down to the desired hemline. This measurement will determine how long the sweater should be.
Once you have taken all of these measurements, refer to the knitting pattern’s size guide to determine the appropriate size to knit for the child. It’s always a good idea to have some ease in the sweater, so if the child is between sizes, it’s recommended to choose the larger size for a comfortable fit.
With accurate measurements in hand, you can now confidently begin knitting the toddler sweater, knowing that it will be the perfect size for the child. Enjoy the process and have fun creating a cozy garment!
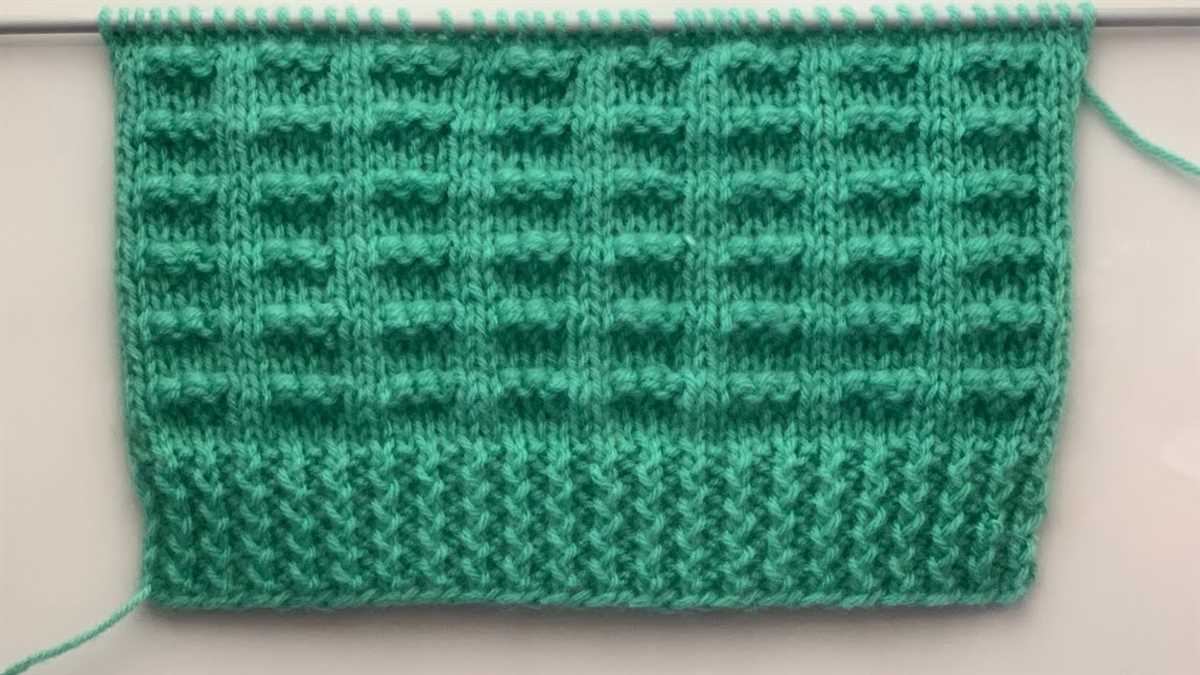
Understanding the Basic Stitch Patterns
When it comes to knitting, understanding the basic stitch patterns is essential for beginners. These stitch patterns serve as the building blocks for more complex patterns and allow you to create a wide variety of textures and designs in your knitted projects. By mastering these basic stitch patterns, you will gain the skills and confidence to tackle more advanced knitting projects.
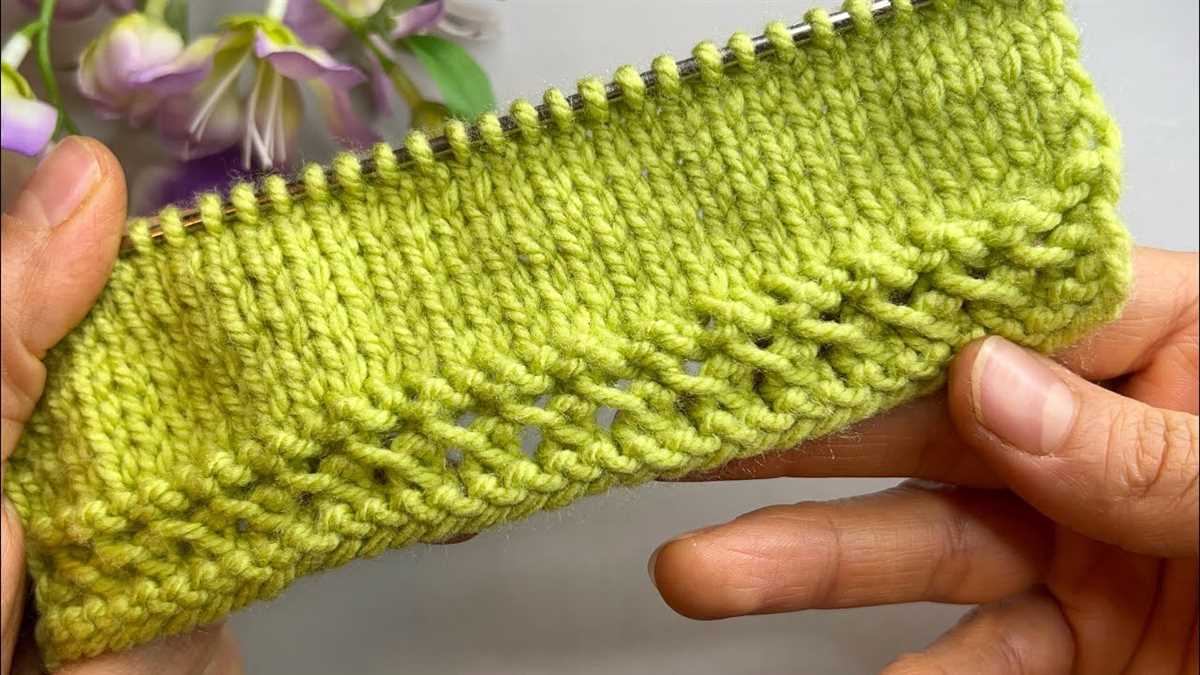
Stockinette Stitch: One of the most common and simple stitch patterns, stockinette stitch creates a smooth fabric with a distinct “v” pattern on the right side and a bumpy texture on the wrong side. To create stockinette stitch, alternate between knitting one row and purling the next row.
Garter Stitch: Another basic stitch pattern, garter stitch is characterized by ridges on both sides of the fabric. This stitch pattern is achieved by knitting every row. Garter stitch is great for beginners as it helps in practicing tension control and creating a cozy, textured fabric.
Once you have mastered these basic stitch patterns, you can explore more complex patterns such as ribs, cables, lace, and colorwork. Remember to take it one step at a time and practice regularly to improve your knitting skills. Happy knitting!
Casting On
When starting a knitting project, one of the first steps is to cast on. Casting on is the process of creating the first row of stitches on your knitting needle. It forms the foundation of your project and determines the size and shape of the finished piece. There are different methods of casting on, and the one you choose may depend on the pattern or personal preference.
Long-Tail Cast On: The long-tail cast on is a popular method for beginners as it is relatively easy to learn. To begin, start with a slipknot and place it on your needle. Hold the tail end of the yarn in your right hand and the working yarn in your left hand. Use your thumb and index finger to create a sling, with the working yarn over your thumb and the tail end over your index finger. Pass the needle between your fingers and under the working yarn, then over the tail end. Pull the loop onto the needle and repeat until you have the desired number of stitches.
Knitted Cast On: The knitted cast on is another commonly used method. To begin, make a slipknot and place it on your needle. Insert your right needle into the slipknot from front to back, wrapping the working yarn around the needle as if to knit. Pull the yarn through the slipknot to create a new stitch. Place this new stitch on the left needle and repeat until you have the desired number of stitches.
These are just two examples of casting on methods, and there are many others to explore. Each method has its own advantages and may be better suited for different projects. As a beginner, it’s recommended to start with the long-tail or knitted cast on, as they are relatively easy to learn and provide a solid foundation for your knitting journey.
To start knitting the body of the toddler sweater, you will need to continue working from where you left off after completing the sleeves. Using the same size needles, join the yarn at the underarm of one of the sleeves, ensuring that the right side of the work is facing you. Then, pick up the stitches along the armhole edge (using a crochet hook if necessary) and place them onto the needle.
Now that you have all the stitches on the needle, you can begin knitting the body of the sweater. You will need to work in rounds, so make sure that you have a circular needle long enough to accommodate all the stitches comfortably. Start by knitting one round in your main stitch pattern, whether that be stockinette stitch, garter stitch, or any other pattern you have chosen.
Increase Rounds
After completing the first round, you will need to start increasing the number of stitches to shape the body of the sweater. The exact instructions for the increases will depend on the specific pattern you are following, but common methods include knitting front and back (kfb) of a stitch, making yarn overs (yo), or working a make one (M1) increase.
Follow the pattern instructions for the placement and frequency of the increases, as this will vary depending on the size and design of the sweater. Continue knitting in rounds, incorporating the increases as directed, until you reach the desired length for the body of the sweater.
Creating the Sleeves
Now that we have completed the body of the toddler sweater, it’s time to move on to the sleeves. The sleeves can be one of the trickier parts of knitting a sweater, but with this easy pattern, even beginners should have no trouble.
Start by picking up stitches along the armhole edge. Use your preferred method of picking up stitches, ensuring that you have the correct number specified in the pattern. Once you have the stitches picked up, it’s time to start knitting the sleeves.
Row 1: Begin by knitting the first row of the pattern as specified. This may involve knit stitches, purl stitches, or a combination of both. Follow the pattern instructions carefully to ensure you are creating the correct stitch pattern.
Rows 2-4: Continue knitting the next few rows as specified in the pattern. Again, pay close attention to the pattern instructions to ensure you are creating the correct stitch pattern.
Repeat these rows, alternating between knitting and purling, until you have reached the desired length for the sleeves. Keep in mind that the pattern may specify a certain number of rows or a specific measurement for the sleeves. Adjust as needed to fit your toddler.
Once you have completed the desired length, bind off the stitches as instructed in the pattern. Repeat the process for the second sleeve, ensuring that both sleeves match in length and stitch pattern.
With the sleeves completed, your toddler sweater is starting to take shape. Next, we will move on to finishing touches such as knitting the collar and adding any necessary embellishments.
Shaping the Neckline
When knitting a sweater for a toddler, one of the important steps is shaping the neckline. The neckline is where the sweater sits around the child’s neck and shoulders, so it’s important to get it just right for a comfortable fit. Here’s how you can shape the neckline on your toddler sweater:
1. Marking the Neckline
Start by marking the center point of the front and back of your sweater. This will be the center of the neckline. Then, measure the desired depth of the neckline from the shoulder down to this center point and mark it. This will be the lowest point of the neckline.
2. Decreasing Stitches
Next, you’ll need to decrease stitches to shape the neckline. To do this, you can use a technique called “k2tog,” which stands for “knit two stitches together.” This stitch decreases two stitches into one. You’ll want to evenly space these decrease stitches along the neckline, starting a few stitches in from the edge.
Continue knitting the sweater according to your pattern, shaping the neckline as indicated. Once you’ve completed shaping the neckline, you can continue knitting the rest of the sweater, following the pattern instructions until you reach the desired length.
Remember to always refer to your specific pattern for any shaping instructions or guidance. With these steps, you’ll be able to shape the neckline of your toddler sweater and create a comfortable and well-fitting garment for your little one.
Adding the Final Details
Once you have finished knitting the main body of the toddler sweater, there are a few final details that you can add to give it a finished look. These details not only enhance the overall appearance of the sweater but also add functionality to the garment.
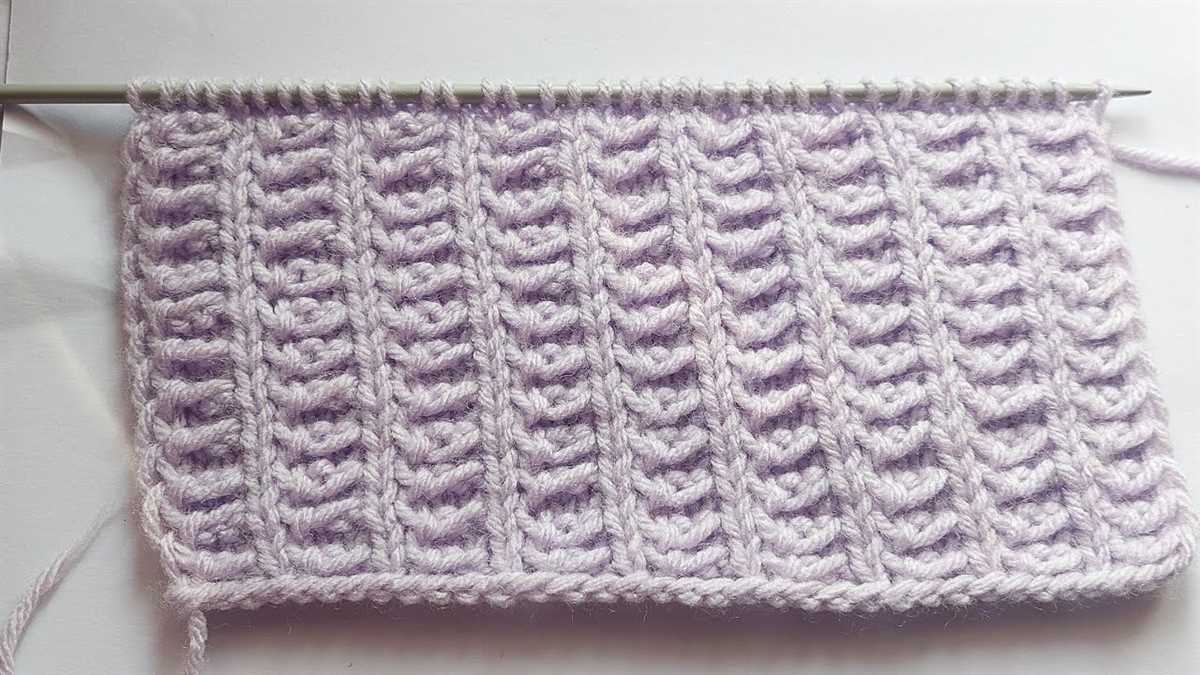
1. Ribbed Edges: To create a neat and professional finish, you can add ribbed edges to the cuffs, hem, and neckline of the sweater. This is done by switching to a smaller needle size and knitting a few rows of ribbing. Ribbing not only provides stretch and flexibility to these areas but also prevents them from rolling or stretching out of shape.
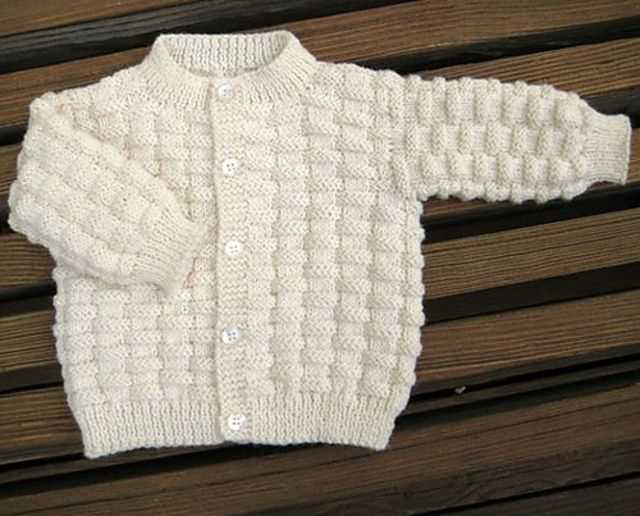
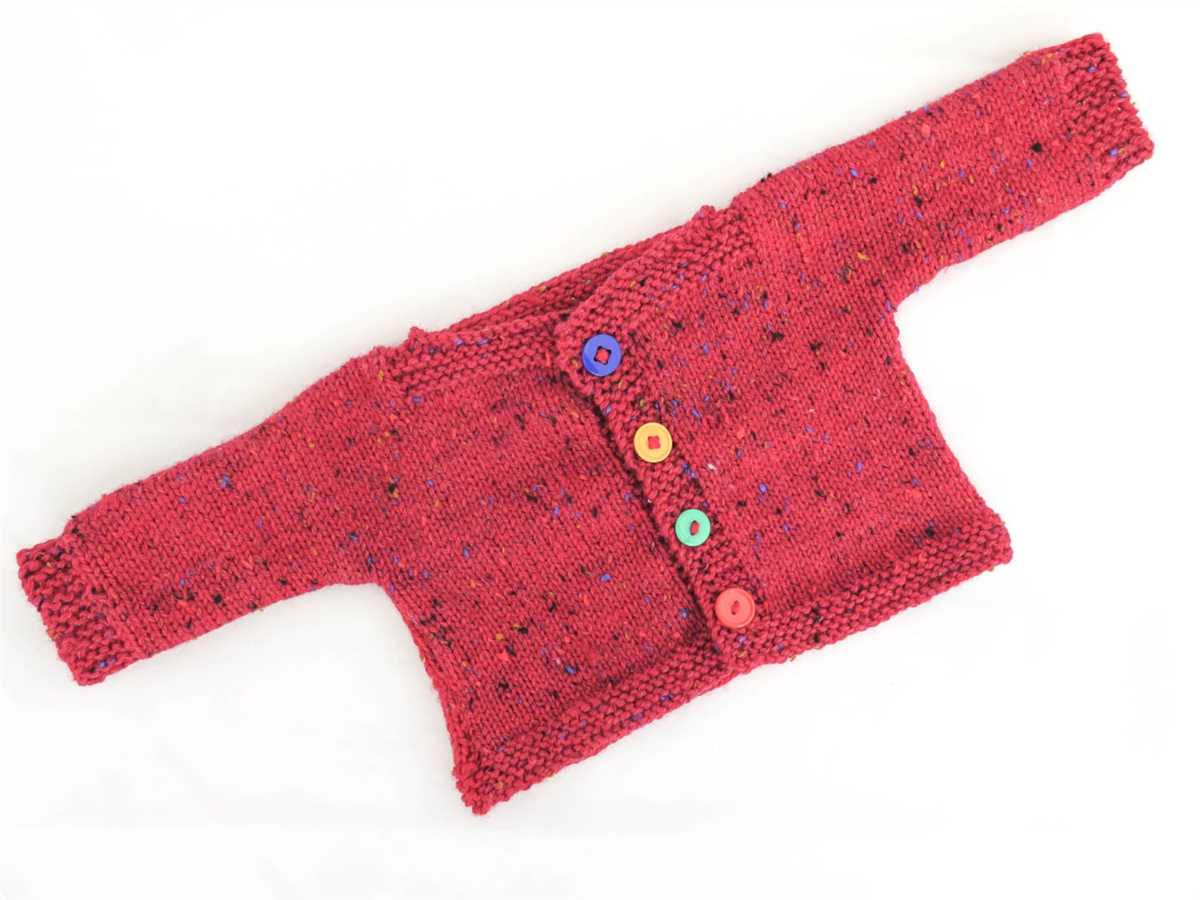
2. Button Band: If you prefer a cardigan-style sweater, you can add a button band to the front opening of the sweater. This allows for easy dressing and undressing of your toddler. To create a button band, you will need to pick up stitches along the front edges of the sweater and knit a few rows in ribbing. You can then sew on buttons and add corresponding buttonholes to secure the front of the sweater.
Other optional details that you can add include:
- Contrasting Trim: If you want to add a pop of color or a decorative touch, you can knit a contrasting trim along the edges of the sweater.
- Embroidery: You can personalize the sweater by adding embroidery designs or the child’s initials.
- Pockets: If you want to make the sweater more practical, you can add pockets to the front or sides of the garment.
By adding these final details, you can transform a simple toddler sweater into a beautiful and functional garment that your little one will love to wear. Don’t be afraid to get creative and customize the sweater to your liking!
Finishing and Blocking
After completing the knitting portion of the toddler sweater, it is important to properly finish and block the garment to ensure a polished and professional look.
First, carefully weave in all loose ends using a tapestry needle. It is essential to secure these ends tightly to prevent the sweater from unravelling or coming apart with use. Take care to weave the ends discreetly, ensuring that they are hidden within the stitches of the sweater.
Blocking
Blocking is the process of shaping and smoothing a knitted garment to achieve the desired fit and appearance. Before blocking, it is advisable to moisten the sweater by either wetting it thoroughly or lightly spraying it with water. This will help the fibers relax and make the blocking process easier.
Next, lay the sweater flat on a clean towel or blocking mat, making sure it is in the correct shape and size. Pin the edges of the sweater to the towel or mat, gently stretching it as needed to achieve the desired measurements and shape. Use rustproof pins to prevent any potential staining or damage to the garment.
Leave the sweater to dry completely in this position, preferably in a well-ventilated area. This process may take 24-48 hours, depending on the thickness of the yarn and the humidity in the environment. It is crucial not to disturb the sweater during the drying process to avoid altering its shape.
Once the sweater is thoroughly dry, carefully remove the pins and inspect the garment. The blocking process should have helped the sweater retain its shape and fit, giving it a professional and finished appearance. It is now ready to be worn or gifted with pride.
Tips and Tricks for a Perfect Fit
Knitting a sweater for your toddler can be a rewarding and enjoyable experience. However, getting the perfect fit can sometimes be challenging, especially for beginners. Here are some tips and tricks to help you achieve a perfect fit for your toddler’s sweater:
- Measurements: Before you start knitting, take accurate measurements of your toddler. Measure the chest, length, and arm circumference to ensure the sweater will fit properly.
- Swatch: Always make a swatch before starting your sweater. This will help you determine the gauge and ensure that your stitches match the pattern. Adjust your needle size if needed to achieve the correct gauge.
- Understanding the Pattern: Read the pattern carefully and make sure you understand all the instructions before you begin. Familiarize yourself with any new stitches or techniques that may be used in the pattern.
- Tailor to Fit: If your toddler’s measurements don’t match the pattern exactly, don’t worry. You can easily customize the sweater to fit by adjusting the length, width, or sleeve length. Just remember to make any necessary calculations and modifications to the pattern.
- Try-Ons: Regularly have your toddler try on the sweater as you go. This will help you ensure the fit is correct and make any necessary adjustments along the way. It’s better to catch and fix any fitting issues sooner rather than later.
- Blocking: After completing the sweater, block it according to the yarn’s care instructions. Blocking will help even out the stitches and give the sweater its final shape and size.
- Embellishments: Consider adding buttons, embroidery, or other embellishments to the sweater to make it unique. However, be mindful of their placement and ensure that they won’t cause any discomfort to your toddler.
In conclusion, achieving a perfect fit for your toddler’s sweater is possible with careful measurements, understanding the pattern, customization, and regular try-ons. Remember to enjoy the process and have fun knitting a cozy and stylish sweater for your little one.