
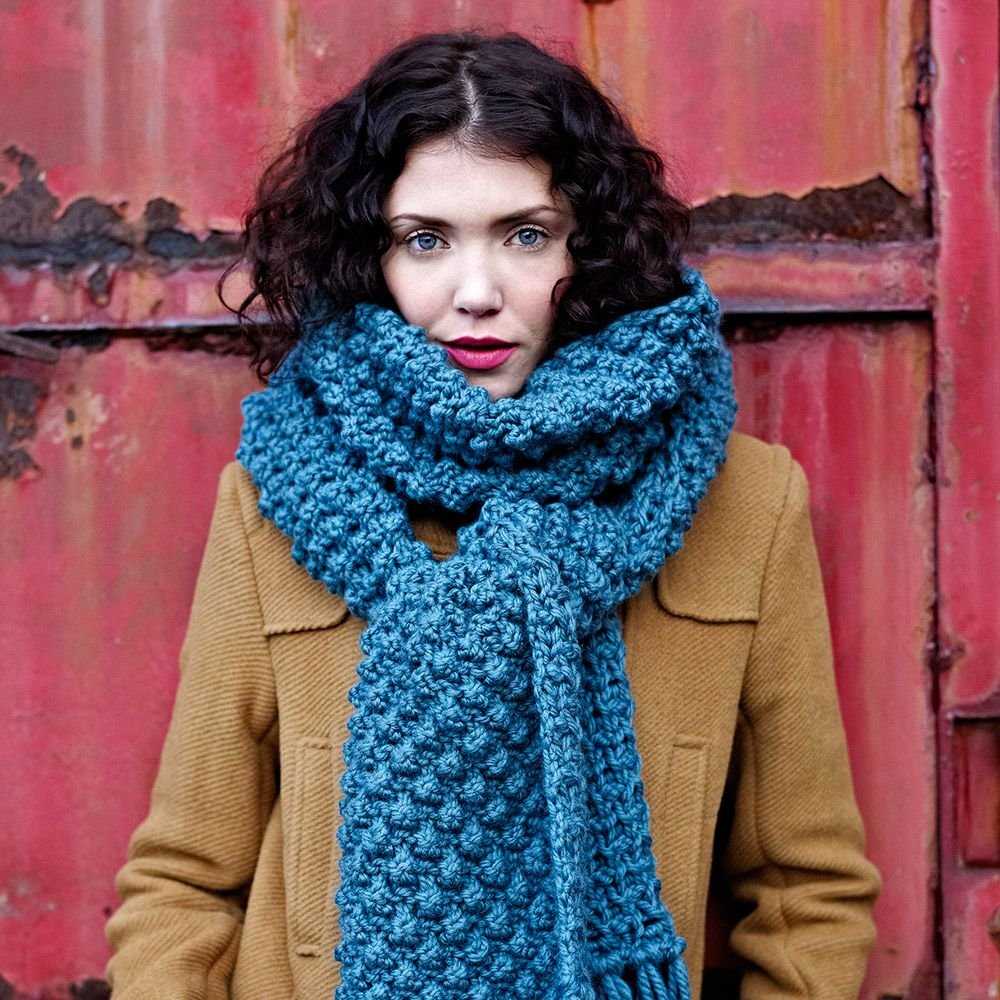
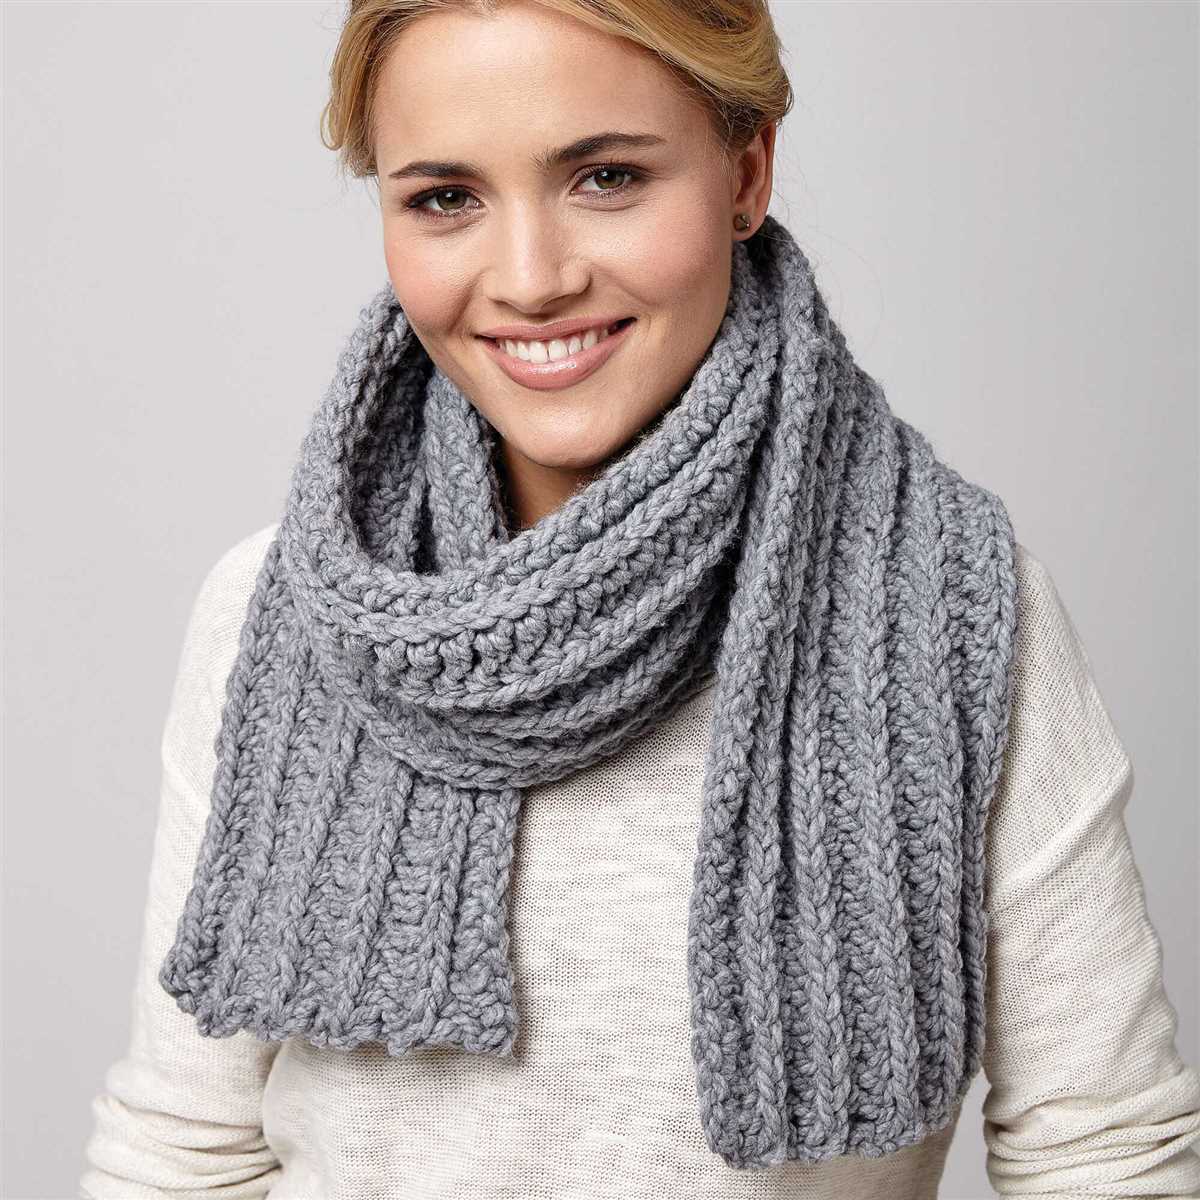
When the winter chill sets in, there’s nothing cozier than wrapping yourself up in a warm and stylish scarf. If you’re an avid knitter looking for your next project, then this extra long scarf knitting pattern is just for you. With its simple yet eye-catching design, this scarf is sure to keep you warm and fashionable all season long.
What sets this knitting pattern apart is its length. Most scarves are around 60 inches in length, but this extra long scarf measures in at a whopping 90 inches. This means that you can wrap it around your neck multiple times for added warmth or wear it as a stylish accessory draped over your shoulders. The possibilities are endless!
Designed with intermediate knitters in mind, this pattern features a combination of basic knit and purl stitches, as well as a simple lace panel. The lace panel adds a touch of elegance to the scarf and gives it a unique texture. Don’t worry if you’ve never knitted lace before – the pattern includes detailed instructions and a chart to guide you through the process.
How to Knit an Extra Long Scarf: A Step-by-Step Guide for Beginners
If you’re a beginner knitter looking to create a stylish and cozy accessory, an extra long scarf is a great project to start with. Not only will it keep you warm during the colder months, but it also allows you to practice basic knitting techniques and experiment with different stitches.
Materials Needed:
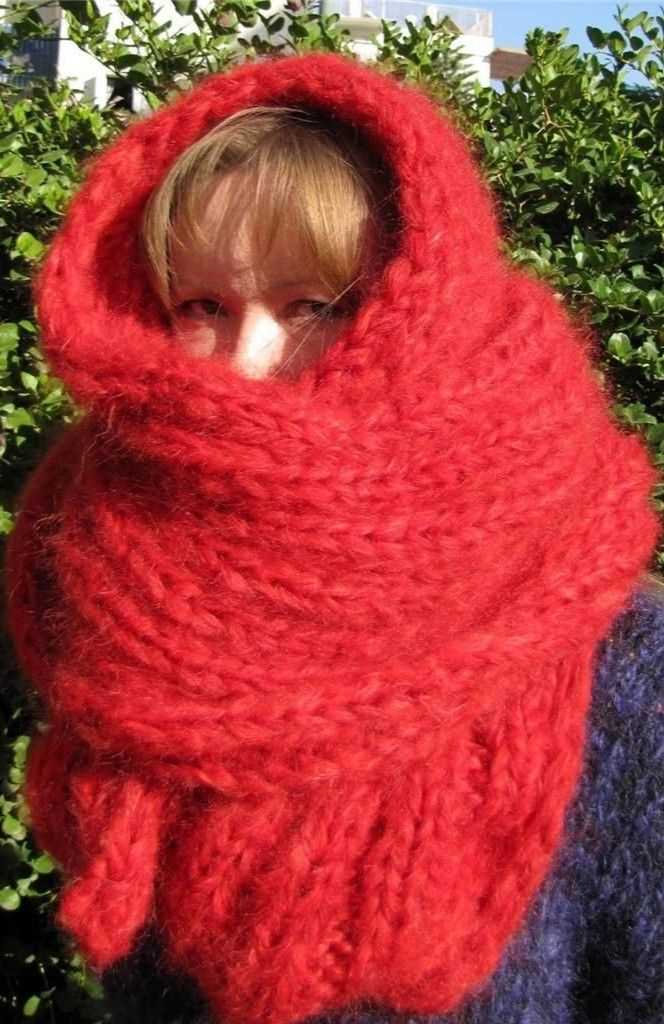
- Yarn: Choose a soft and chunky yarn in the color of your choice. Opting for a bulky yarn will help you achieve a thicker and warmer scarf.
- Knitting needles: Select a pair of large knitting needles, such as size 10 or 11, to accommodate the thickness of the yarn.
- Tapestry needle: This will be used to weave in loose ends and finish your scarf.
- Scissors: You’ll need a pair of sharp scissors to cut the yarn.
Step 1: Cast On
The first step to knitting an extra long scarf is to cast on. This is the process of creating the foundation row of stitches on your knitting needle. To cast on, you can use the long tail cast on method, which is a simple and versatile technique. Make sure to leave a long tail of yarn, as you’ll need it later to weave in the ends.
Step 2: Knit the Rows
Once you’ve cast on, it’s time to start knitting the rows of your extra long scarf. The basic stitch you’ll use is the knit stitch, which creates a smooth and even texture. Hold the knitting needle with the cast on stitches in your right hand and insert the other knitting needle into the first stitch from left to right. Take the working yarn in your right hand and wrap it around the right needle counterclockwise. Pull the right needle through the loop, creating a new stitch on the right needle. Repeat this process for each stitch until you reach the end of the row.
Step 3: Repeat Until Desired Length
Continue knitting row after row using the knit stitch until your scarf reaches the desired length. You can measure your progress by laying the scarf flat and stretching it out. Remember to periodically check the width of the scarf to ensure it remains consistent throughout.
Step 4: Bind Off
When you’re satisfied with the length of your extra long scarf, it’s time to bind off. This is the process of securing the stitches and finishing the edge of your project. To bind off, knit the first two stitches of the row as usual. Then pass the first stitch over the second stitch and off the knitting needle. Continue knitting one stitch and binding off one stitch until you reach the end of the row.
Step 5: Weave in Ends
Lastly, use a tapestry needle to weave in any loose ends and secure them. Thread the loose end of the yarn onto the tapestry needle and carefully weave it through the stitches on the wrong side of the scarf. Once you’ve woven in the end for a few inches, cut the excess yarn with scissors.
And there you have it – a beautiful and stylish extra long scarf created through your knitting skills. Wrap it around your neck, and enjoy the warmth and comfort it provides during the chilly seasons!
Choosing the Right Yarn and Needles for Your Extra Long Scarf
When knitting an extra long scarf, it’s crucial to select the right yarn and needles to ensure that the final product turns out as desired. The choice of yarn can greatly impact the texture, warmth, and overall look of the scarf, while the choice of needles affects the stitch definition and gauge. Here are some factors to consider when choosing the perfect yarn and needles for your extra long scarf knitting project.
Yarn Weight and Fiber Content
The yarn weight plays a significant role in determining the thickness and heaviness of the scarf. For an extra long scarf, it’s generally recommended to choose a medium to bulky weight yarn, as it provides more warmth and coverage. Consider the fiber content as well, as it affects the drape and texture of the scarf. Wool and wool-blend yarns are popular choices for their excellent insulating properties, while acrylic and cotton yarns offer lighter options with different aesthetics.
Needle Size and Material
When it comes to needle size, it’s essential to check the recommended gauge for your chosen yarn. Larger needle sizes are typically used with bulkier yarns to achieve a looser, open stitch pattern. However, it’s crucial to maintain a balanced tension, so the stitches aren’t too loose or too tight. Wooden or bamboo needles can offer more friction, helping to control tension, while metal needles provide smoother, faster knitting. Circular needles are often preferred for extra long scarves, as they can accommodate a larger number of stitches.
In conclusion, selecting the right yarn weight, fiber content, needle size, and material is crucial when knitting an extra long scarf. Consider the desired warmth, drape, and overall aesthetic of the finished scarf when making your choices. Properly matching the yarn and needles ensures a satisfying knitting experience and a beautiful, cozy extra long scarf.
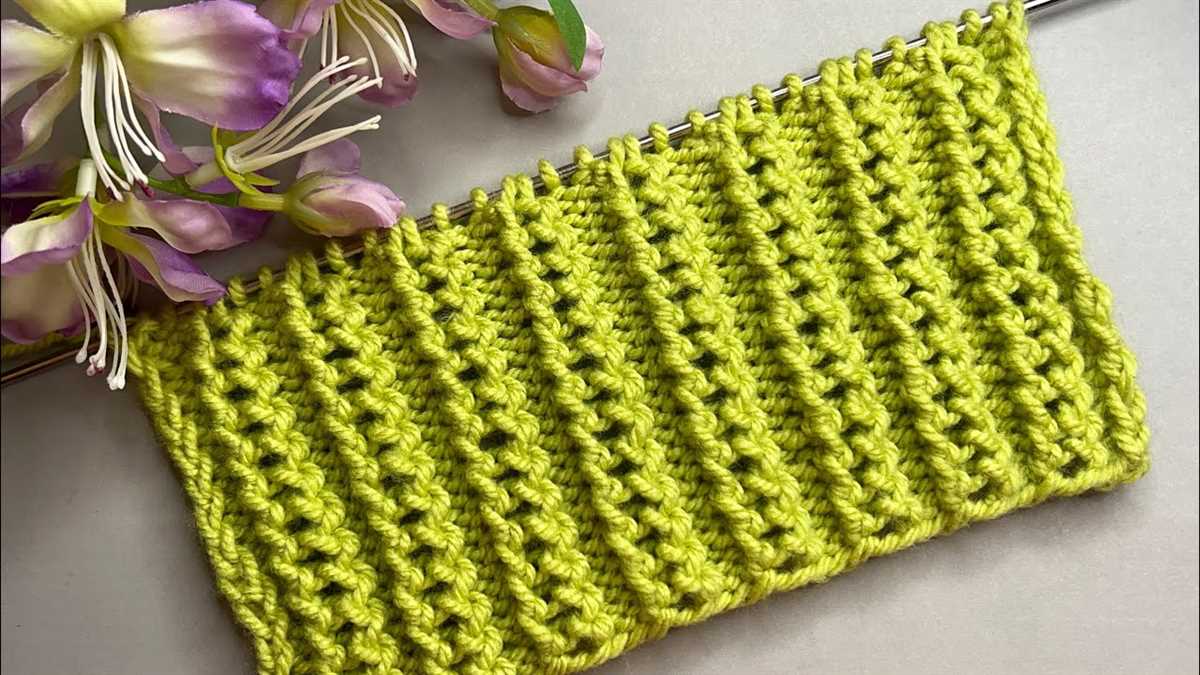
Basic Knitting Stitches You’ll Need for Your Extra Long Scarf
When making an extra long scarf, it’s essential to have a strong foundation in basic knitting stitches. These stitches form the building blocks of your project and determine the overall look and feel of your scarf. Here are some of the key stitches you’ll need:
1. Cast On:
The cast on is the first step in any knitting project. It involves creating a row of loops on your knitting needle to provide the starting point for your stitches. There are several methods to cast on, such as the long-tail cast on or the knitted cast on. Choose the method that suits you best and ensures a secure and even cast on.
2. Knit Stitch:
The knit stitch is the most basic and fundamental stitch in knitting. It creates a smooth and flat texture that is perfect for scarves. To knit, simply insert the needle into the first stitch from left to right, wrap the working yarn around the needle, and pull it through the stitch. Repeat this process for the remaining stitches on your needle.
3. Purl Stitch:
The purl stitch is the opposite of the knit stitch and results in a bumpy texture on the right side of the fabric. To purl, insert the needle from right to left into the first stitch, bring the yarn to the front of the work, wrap it around the needle, and pull it through the stitch. Repeat for the remaining stitches.
4. Stockinette Stitch:
The stockinette stitch is created by alternating rows of knit and purl stitches. This stitch pattern gives your scarf a smooth and uniform appearance on one side, while the other side has a textured look. Simply knit one row and purl one row to create the stockinette stitch.
5. Ribbing:
Ribbing is a commonly used stitch pattern for the edges of scarves. It creates a stretchy and decorative border. Ribbing is formed by alternating knit and purl stitches in the same row. The most popular ribbing pattern is the 1×1 rib, which consists of one knit stitch followed by one purl stitch.
These basic knitting stitches will provide a solid foundation for your extra long scarf project. Experiment with different stitch patterns and combinations to create a unique and personalized scarf that fits your style and keeps you warm during the cold winter months.
Getting Started: Casting On for Your Extra Long Scarf
Casting on is the first step in knitting your extra long scarf. This is the process of setting up the initial row of stitches on your knitting needles. There are various methods for casting on, but in this pattern, we will use the long tail cast on method.
Step 1: To begin, measure out a long tail of yarn, approximately four times the desired width of your scarf. This will be used to create the initial row of stitches.
Step-by-Step Instructions
- Make a slipknot: Begin by making a slipknot at the end of your yarn. To do this, create a loop with the yarn and insert the working end of the yarn through the loop. Pull the working end to tighten the knot around the loop.
- Hold the needles: Hold one knitting needle in your dominant hand and the other in your non-dominant hand. The slipknot should be on your non-dominant hand needle.
- Create the first stitch: With your dominant hand needle, insert it into the slipknot from front to back, making sure the slipknot stays on the non-dominant hand needle. This will create your first stitch.
- Make subsequent stitches: With your non-dominant hand needle, insert it into the loop on your dominant hand needle from left to right. Wrap the working end of the yarn around the non-dominant hand needle counterclockwise.
- Pull through: Use the non-dominant hand needle to pull the loop through the original stitch on the dominant hand needle, creating a new stitch on the non-dominant hand needle.
- Repeat steps 4 and 5: Continue making stitches by repeating steps 4 and 5 until you have cast on the desired number of stitches for your extra long scarf.
Once you have completed casting on, you are ready to begin knitting your extra long scarf. The long tail cast on method provides a neat and stretchy edge, which is perfect for scarves. Enjoy the process as you create a cozy accessory to keep you warm during the colder months!
Knitting the Body of Your Extra Long Scarf
After casting on the desired number of stitches, you are ready to start knitting the body of your extra long scarf. This is where you will spend most of your time and where the scarf really takes shape.
1. Choose your stitch pattern: Before you begin knitting, decide on the stitch pattern you want to use for your scarf. You can choose a simple garter stitch for a classic look, or experiment with more complex patterns like cables or lace for added texture and visual interest.
2. Work in rows: Knitting a scarf involves working in rows, rather than rounds. This means that you will be turning your work at the end of each row and knitting back in the opposite direction. Make sure to keep track of your row count to ensure that your scarf has a consistent length.
3. Repeat the pattern: Once you have chosen your stitch pattern, you will need to repeat it throughout the body of your scarf. Follow the pattern instructions for the number of stitches and rows to repeat. This will create a cohesive design across the entire length of your scarf.
4. Maintain consistent tension: To achieve an even and professional-looking scarf, it is important to maintain consistent tension with your knitting. Make sure that your stitches are not too tight or too loose, as this can affect the overall appearance of your scarf.
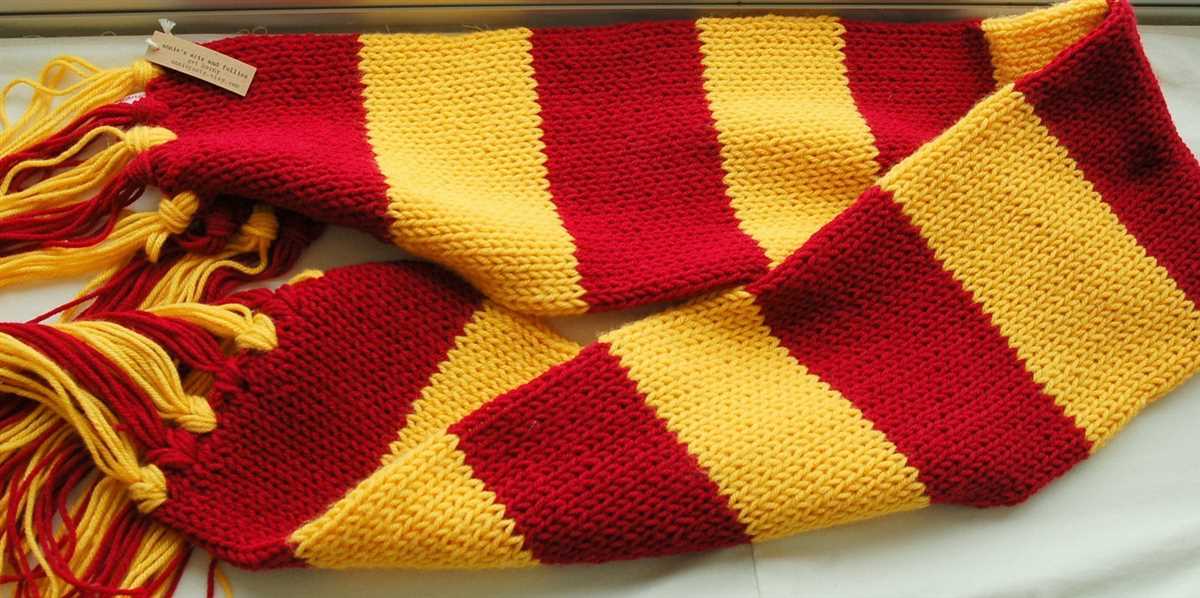
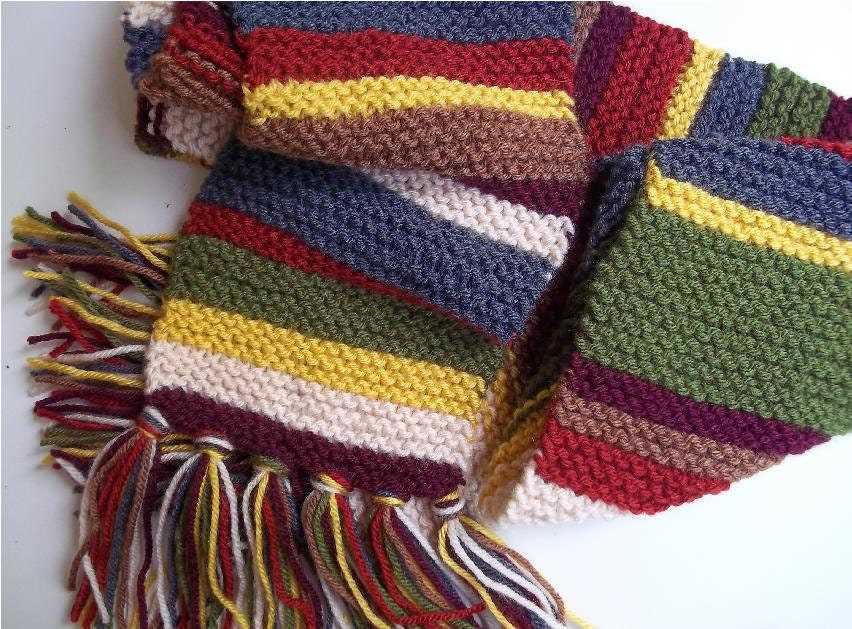
5. Add stripes or color changes: If you want to add some visual interest to your extra long scarf, consider incorporating stripes or color changes. You can do this by simply changing yarn colors at the beginning of a new row or by following a specific stripe pattern.
6. Block your scarf: Once you have finished knitting the body of your extra long scarf, it is recommended to block it. Blocking helps to even out the stitches and give your scarf a more polished look. Follow the blocking instructions provided with your yarn or use a steam iron to gently steam your scarf into shape.
By following these steps, you will be able to create a beautiful and cozy extra long scarf that is perfect for keeping you warm during the colder months. Enjoy the process of knitting and take pride in your finished project!
Adding Stylish Patterns and Designs to Your Extra Long Scarf
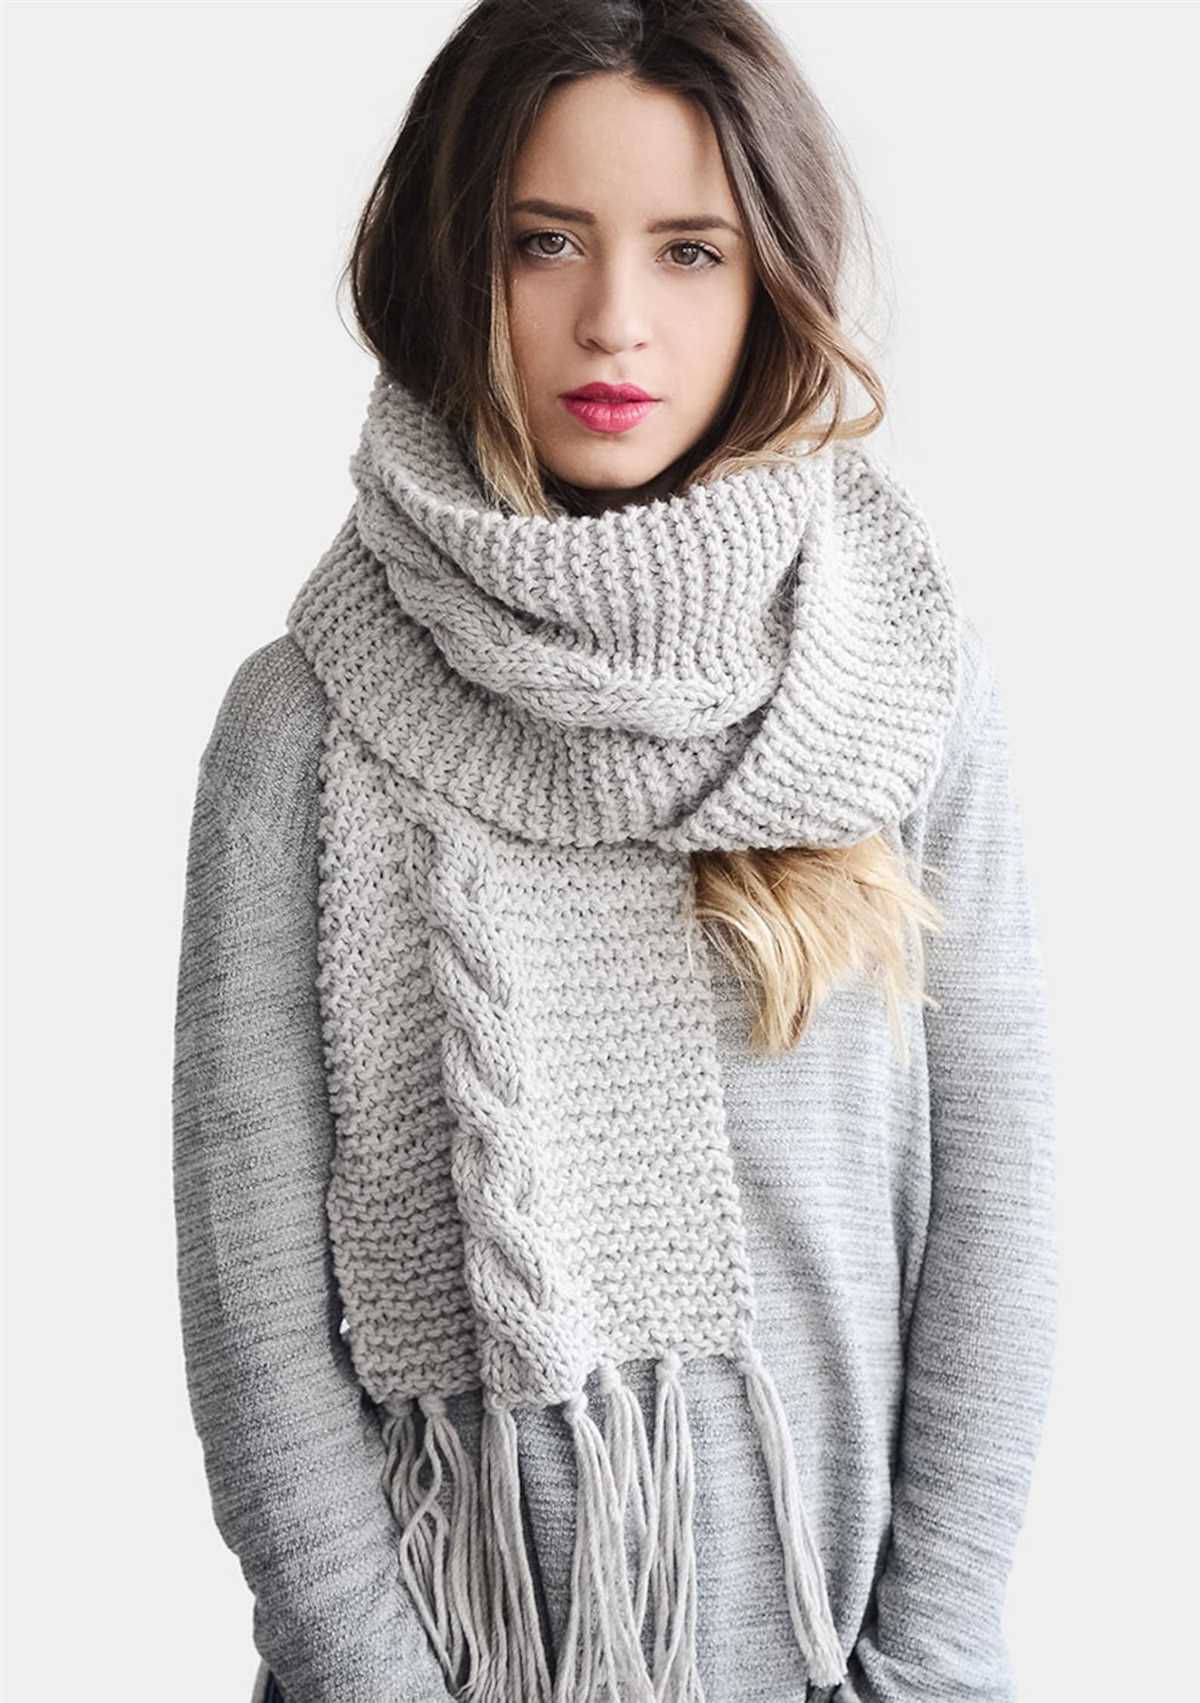
When it comes to knitting an extra long scarf, the possibilities for adding stylish patterns and designs are virtually endless. Whether you prefer a classic cable knit, a trendy color block pattern, or a delicate lace design, there are plenty of options to choose from. By incorporating these unique patterns and designs into your knitting project, you can create a scarf that not only keeps you warm but also makes a fashion statement.
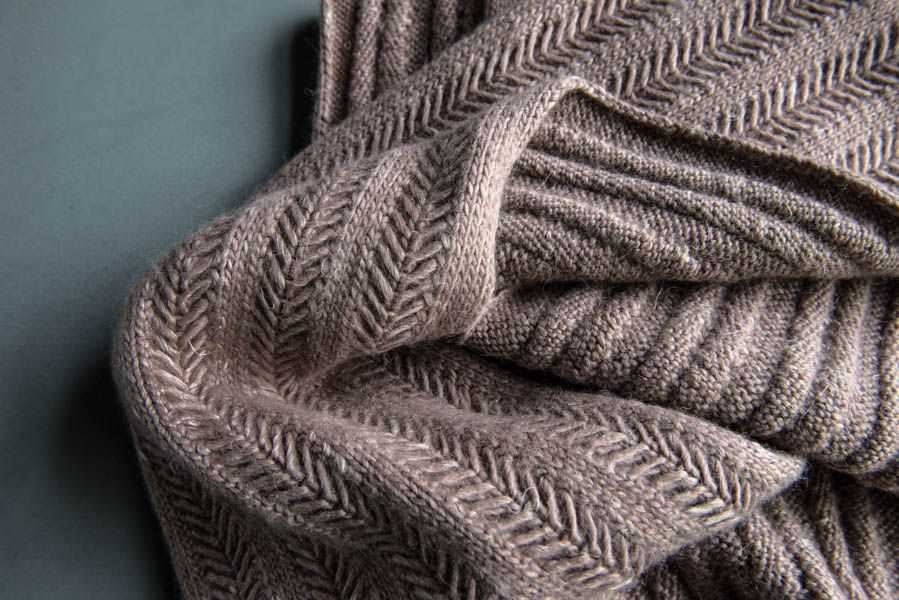
One popular pattern for an extra long scarf is the cable knit. This design features intertwining columns of stitches that resemble twisted ropes. It adds texture and visual interest to the scarf, making it a timeless and classic choice. To achieve the cable knit pattern, you’ll need to learn a few cable knitting techniques, such as crossing stitches over each other. Once you master these techniques, you’ll be able to create a beautifully textured scarf that stands out from the rest.
If you prefer a more modern and bold look, consider incorporating a color block pattern into your extra long scarf. This design involves using different colors of yarn to create bold stripes or geometric shapes. You can choose contrasting colors for a striking effect or opt for more subtle shades for a softer look. With the color block pattern, you can customize your scarf to match your personal style and add a unique touch to your winter wardrobe.
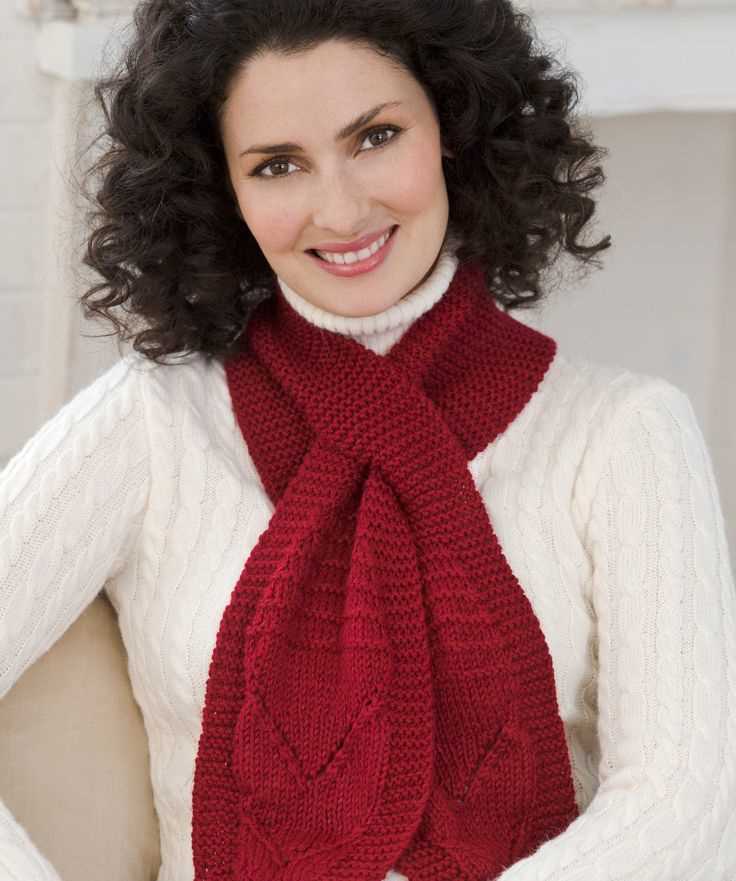
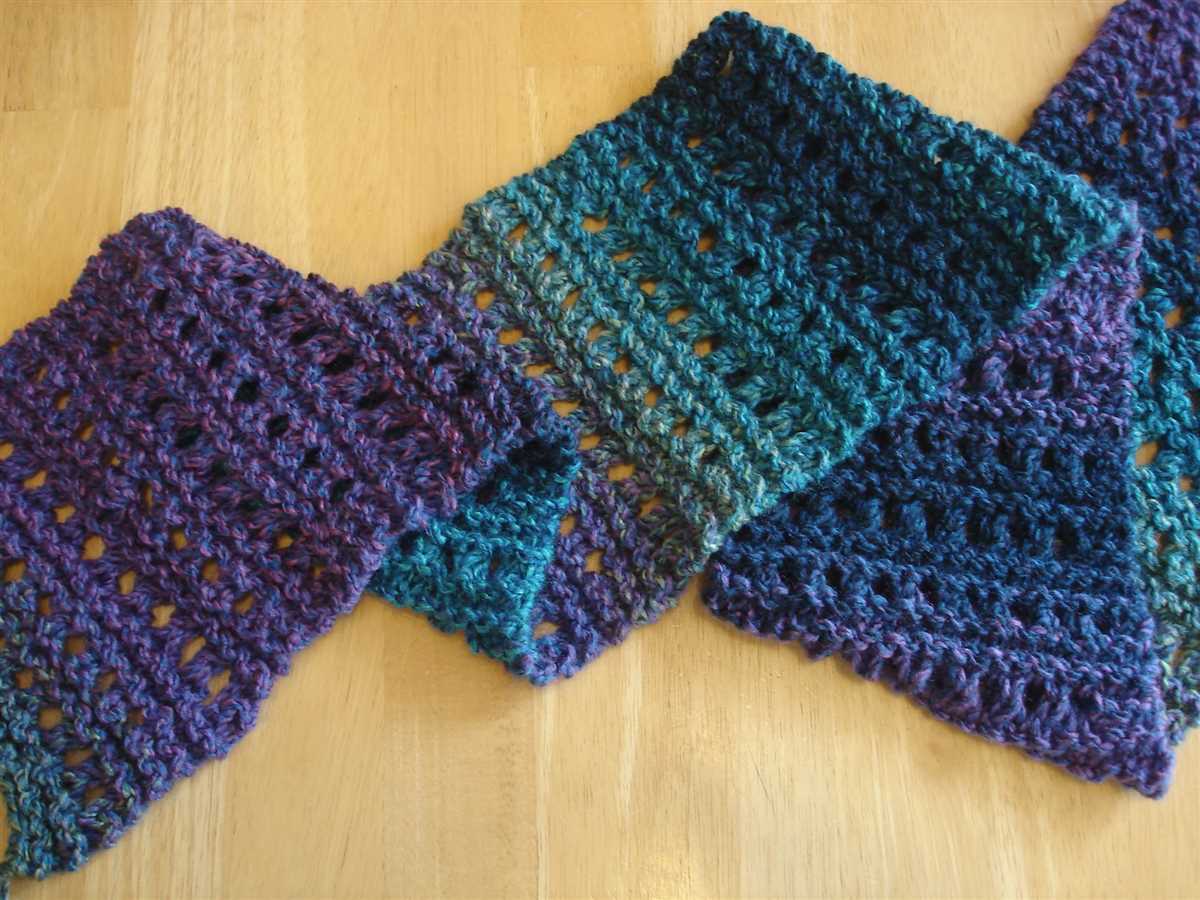
For those who prefer a more delicate and feminine aesthetic, a lace design is the perfect choice. Lace patterns often feature intricate stitches and openwork, creating a lightweight and airy scarf. These designs are versatile and can be customized to fit any length or width. By incorporating lace into your extra long scarf, you can add a touch of elegance and sophistication to your winter outfit.
Creating a Fringe: Finishing Touch for Your Extra Long Scarf
Adding a Fringe to Your Extra Long Scarf
One way to add a finishing touch to your extra long scarf is by creating a fringe. A fringe not only adds a stylish detail to your scarf but also adds weight, helping to keep the scarf in place when wrapped around your neck.
To create a fringe, you will need extra yarn in the same color as your scarf. It’s best to use yarn that matches or complements your original yarn choice to ensure a cohesive look. You will also need a crochet hook or a tapestry needle to attach the fringe to your scarf.
Step 1: Measuring and Cutting
First, decide how long you want your fringe to be. Measure a few strands of yarn to this desired length, and then cut multiple strands to create a bundle. The number of strands you cut will depend on how thick you want your fringe to be. It’s recommended to cut around 10-20 strands per fringe section.
Next, place your scarf flat on a table and fold it in half lengthwise to find the center. This will be your starting point for adding the fringe.
Step 2: Attaching the Fringe
Using your crochet hook or tapestry needle, insert it through a stitch along the bottom edge of your scarf. Fold the bundle of yarn strands in half, forming a loop with the midpoint of the strands. Insert this loop through the stitch and pull the loose ends through the loop, securing the fringe in place.
Continue attaching the fringe to the bottom edge of your scarf, evenly spacing each fringe section along the entire length. You can choose to attach fringe only to the ends of the scarf or along the entire bottom edge, depending on your preference.
Step 3: Trimming and Styling
Once all the fringe is attached, use scissors to trim the ends to your desired length. You can opt for a straight cut or a more tapered look by cutting the ends at an angle. After trimming, shake the scarf gently to let the fringe separate and create a relaxed, playful effect.
And there you have it – a beautiful extra long scarf with a stylish fringe, perfect for adding an extra touch of warmth and fashion to your winter outfits.
Blocking and Finishing Your Extra Long Scarf
Once you have completed knitting your extra long scarf, the next step is to block and finish it. Blocking is an important process that helps to shape and even out your scarf, ensuring that it looks polished and professional. It also helps to open up the stitches and make the scarf more drapey and comfortable to wear.
To begin blocking your scarf, you will need a flat surface, such as a table or blocking board, and some rust-proof pins. Start by soaking your scarf in lukewarm water with a gentle wool wash or mild detergent. Avoid agitating or wringing the scarf, as this could cause it to stretch or lose its shape. Gently squeeze out the excess water and lay the scarf flat on your blocking surface.
Next, use your rust-proof pins to pin down the edges and corners of the scarf, making sure to maintain an even tension. This will help to stretch the scarf slightly and give it a straight and polished edge. You can also use the pins to shape any specific areas of the scarf, such as the ends or the middle. Allow the scarf to dry completely, which may take a day or two depending on the climate.
Once the scarf is dry, you can remove the pins and start finishing the ends. You can choose to leave the ends as they are for a more casual look, or you can add some decorative finishing touches. One option is to add fringe by cutting strands of yarn and attaching them to the ends of the scarf with a crochet hook. Another option is to create a twisted fringe by twisting the strands of yarn before attaching them.
If you prefer a more polished look, you can also sew a fabric lining to the back of the scarf. This will not only add extra warmth and softness, but it will also give the scarf a professional finish. Cut a piece of fabric that is slightly smaller than the width and length of the scarf, and then sew it to the back using a whipstitch or invisible stitching.
After you have finished blocking and adding any desired finishing touches, your extra long scarf is ready to be worn or given as a gift. Enjoy the warmth and style of your handmade creation!
Troubleshooting: Common Mistakes to Avoid While Knitting an Extra Long Scarf
Knitting an extra long scarf can be a fun and rewarding project, but it’s important to avoid common mistakes that can lead to frustration and disappointment. By understanding some of these potential pitfalls and how to overcome them, you can ensure that your knitting experience is enjoyable and successful.
Not Checking Gauge
One of the most common mistakes when knitting an extra long scarf is failing to check your gauge before starting the project. Gauge refers to the number of stitches and rows per inch that you should aim for in order to ensure that your finished scarf ends up the desired size. If you skip this step and your gauge is off, your scarf might turn out too long or too short. Taking the time to swatch and measure your gauge can save you from having to start over or from ending up with a scarf that doesn’t meet your expectations.
Tangled Yarn or Uneven Tension
Another mistake to watch out for when knitting an extra long scarf is getting your yarn tangled or having uneven tension throughout your project. Tangled yarn can slow down your progress and be frustrating to work with, so make sure to keep your skein or ball of yarn organized and untangled. Uneven tension can result in visible differences in stitch size and an overall sloppy appearance to your scarf. To avoid this, try to maintain a consistent tension as you knit and periodically check your work to ensure that your stitches are even and uniform.
Not Using Lifelines
Lifelines are an important tool in knitting, especially when working on a large project like an extra long scarf. A lifeline is a thread that is inserted into your work at a particular point, usually at the end of a row or a section, to serve as a safety net. If you make a mistake or need to unravel your knitting, the lifeline will prevent your stitches from unraveling beyond that point. By using lifelines regularly, you can protect your progress and make it easier to fix any mistakes without having to start over completely.
Rushing or Not Taking Breaks
Knitting an extra long scarf can be a time-consuming project, and it’s important to pace yourself and take breaks as needed. Rushing through the knitting process can lead to mistakes, sloppy stitches, and ultimately a finished scarf that doesn’t meet your expectations. Set realistic goals for yourself and take breaks to rest your hands and avoid fatigue. Remember that knitting should be a relaxing and enjoyable activity, so don’t be afraid to slow down and take your time to create a beautiful, high-quality scarf.
Not Blocking Your Finished Scarf
Once you’ve completed knitting your extra long scarf, don’t forget the final step of blocking. Blocking is the process of shaping and setting your finished knitted piece to ensure that it looks its best. For a long scarf, it’s especially important to block it to straighten any uneven edges and even out the stitches. Blocking can also help the fibers of the yarn relax and blend together, resulting in a softer and more cohesive finished product. Follow the recommended blocking instructions for your yarn to give your scarf the professional finishing touch it deserves.
Avoiding these common mistakes while knitting an extra long scarf can help ensure that your project is successful and enjoyable. By taking the time to check your gauge, maintain even tension, use lifelines, take breaks, and block your finished scarf, you’ll be well on your way to creating a beautiful and cozy accessory to keep you warm during the colder months.
Wrap It Up: Styling and Wearing Your Extra Long Scarf
Now that you’ve completed your extra long scarf, it’s time to think about how to style and wear it in different ways. The versatility of an extra long scarf allows you to experiment with various looks and keep yourself warm and stylish throughout the colder months. Here are some ideas to get you started:
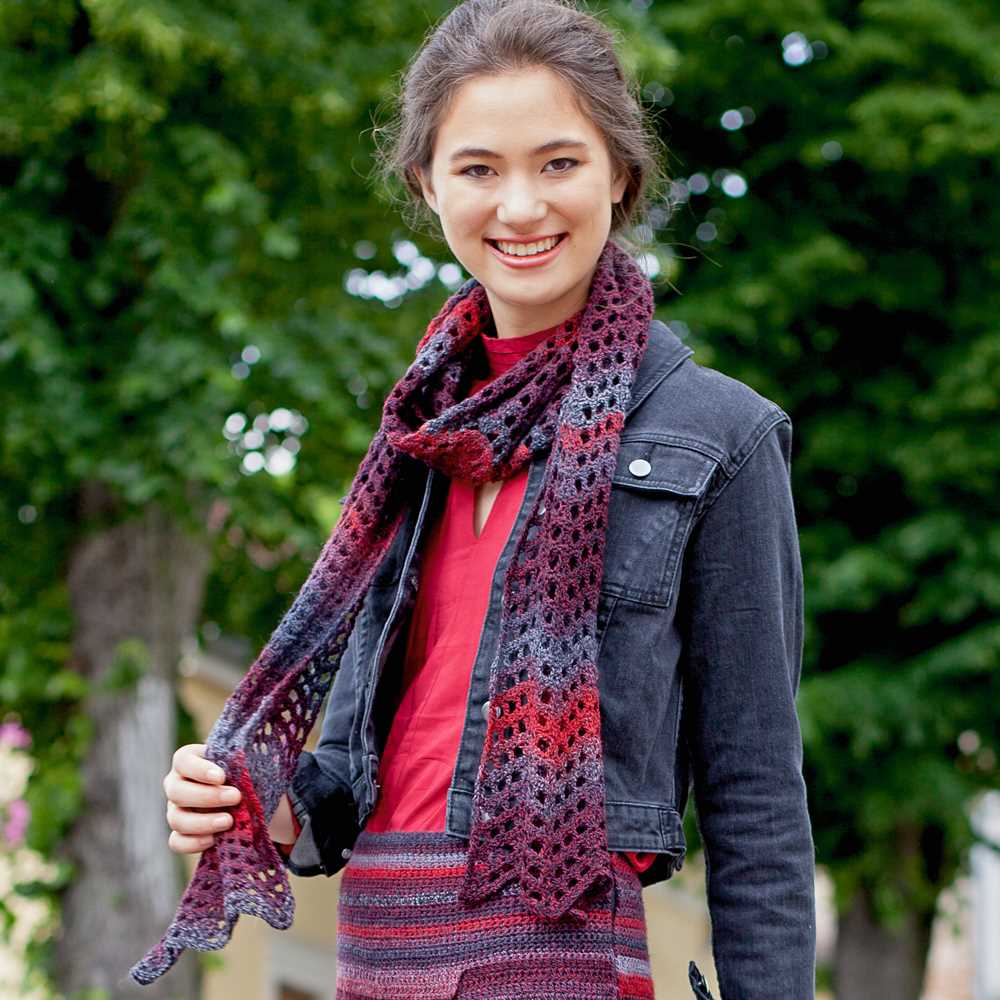
1. Classic Drape
The most traditional way to wear a scarf is by simply draping it around your neck, with both ends hanging down in front. This classic style is timeless and can be worn with any outfit, adding a touch of coziness and elegance.
2. The Loop
For a more modern and stylish look, loop your scarf around your neck once or twice. This style is not only practical but also adds an interesting visual element to your outfit. It works well with both casual and dressier ensembles.
3. The Belt
Take your extra long scarf to the next level by using it as a belt. Simply wrap it around your waist, knotting it at the front or back. This unconventional style adds a unique and eye-catching accessory to any outfit, making it a great option for jazzing up a plain dress or tunic.
4. The Head Wrap
Don’t limit your scarf to just your neck – experiment with wearing it as a head wrap. Fold the scarf in half and wrap it around your head, tying it securely under your hair at the nape of your neck. This style not only keeps your head warm, but also adds a bohemian and playful touch to your look.
5. The Shawl
Stretch the versatility of your extra long scarf by wearing it as a shawl. Drape it over your shoulders and let it hang down like a shawl, adding a layer of warmth and elegance to your outfit. This style works particularly well with sleeveless dresses or tops, allowing you to enjoy your scarf even in more formal settings.
Remember, these are just a few ideas to get you started. Feel free to experiment with different styles and have fun with your extra long scarf. Whether you’re wearing it with jeans and a sweater or dressing it up for a special occasion, your scarf is sure to become a staple accessory in your wardrobe.
So, grab your extra long scarf, try out these different styles, and embrace the warmth and style it brings to your winter outfits!