
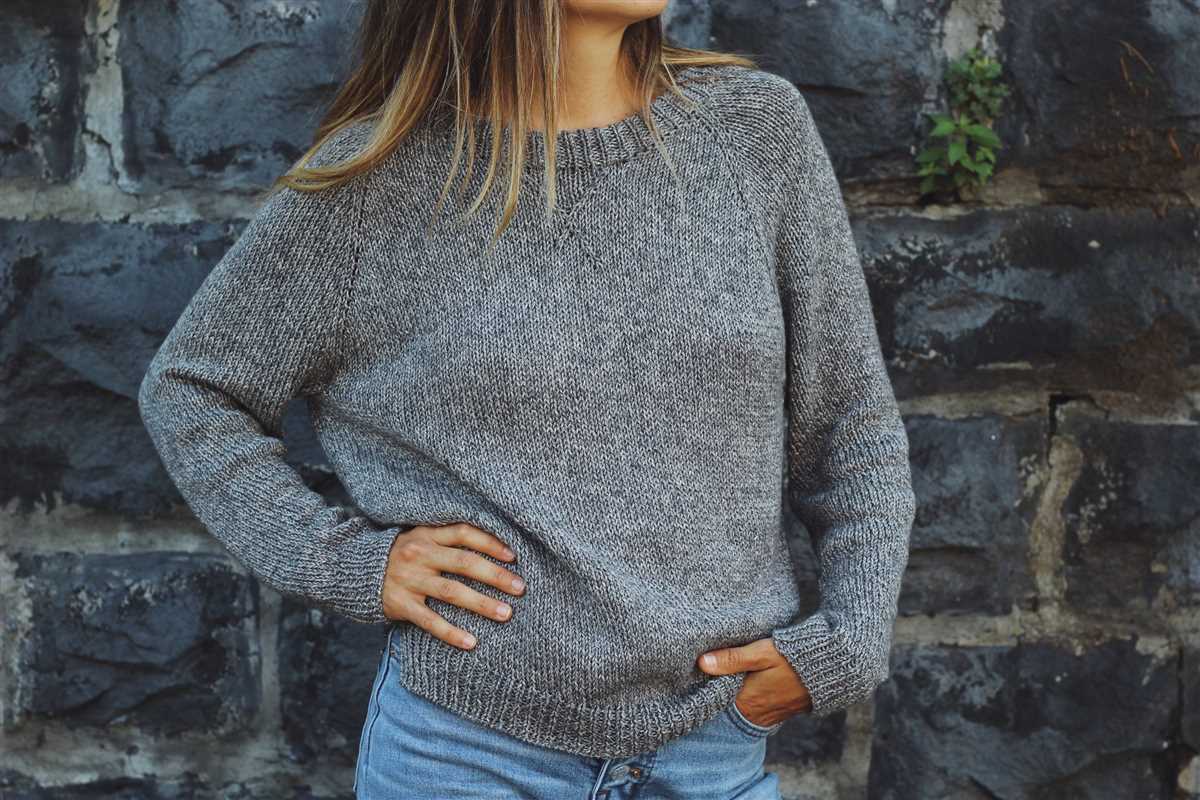
Fall is the perfect time to cozy up in a warm and stylish sweater. What better way to welcome the changing season than by knitting your own fall sweater? Knitting is not only a relaxing and enjoyable hobby, but it also allows you to create your own unique and personalized pieces.
When it comes to fall sweaters, there are endless possibilities to choose from. Whether you prefer a chunky cable knit, a sleek and classic design, or something more intricate, there is a knitting pattern out there that will suit your style and skill level. Knitting your own sweater also gives you the freedom to choose the type, color, and texture of yarn that you love the most.
If you are new to knitting or just looking for a simple project, there are beginner-friendly fall sweater knitting patterns available. These patterns often use basic stitches and techniques, making it easy for anyone to pick up knitting and create their own cozy fall sweater. As you gain more experience and confidence, you can challenge yourself with more advanced patterns and designs.
So, why not get started on your fall sweater knitting project today? Gather your knitting needles, choose your favorite yarn, and begin the journey of creating a beautiful and warm sweater that you will love to wear all season long.
Fall Sweater Knitting Pattern
As the leaves begin to change and the air becomes crisp, it’s time to break out the knitting needles and start working on your fall sweater. Knitting a sweater is a rewarding project that allows you to showcase your creativity and stay warm during the cooler months.
Materials:
- Size 8 knitting needles
- Worsted weight yarn in your choice of color
- Tapestry needle
- Stitch markers
Pattern:
- Begin by casting on 100 stitches.
- Knit in a rib stitch (knit one, purl one) for 2 inches.
- Switch to stockinette stitch and knit every row for 10 inches.
- Next, divide your stitches evenly onto four double-pointed needles.
- Begin the raglan shaping by decreasing two stitches at each marker every other row until you have decreased a total of 8 stitches.
- Continue knitting in stockinette stitch until the sweater measures 18 inches from the cast-on edge.
- Switch back to the rib stitch and knit for 2 inches.
- Bind off all stitches and weave in any loose ends.
Finishing:
Once you have finished knitting your sweater, be sure to block it to give it a polished and professional look. Blocking your sweater involves wetting it, gently shaping it, and allowing it to dry flat. This process will help even out your stitches and ensure that your sweater fits properly.
With your new fall sweater complete, you’ll be ready to cozy up by the fire or take a stroll through the colorful autumn scenery. The versatility and warmth of a handmade sweater make it a must-have for the fall season.
Choosing the Right Yarn and Needles
When it comes to knitting a fall sweater, choosing the right yarn and needles is crucial. The yarn you choose will greatly impact the final look, feel, and durability of your sweater. Additionally, the size and type of needles you use will affect the gauge of your stitches and the overall fit of the garment.
Yarn: Consider the fiber content, weight, and texture of the yarn. For a cozy fall sweater, you may want to choose a yarn that is warm and soft, such as alpaca or merino wool. Keep in mind the weight of the yarn, as a heavier weight yarn will result in a bulkier sweater, while a lighter weight yarn will create a more delicate and lightweight garment. Texture is also important, as it can add visual interest to your sweater. Think about whether you want a smooth, uniform texture or a yarn with a little bit of texture, such as a tweed or boucle yarn.
Needles: The size and type of needles you use will depend on the gauge you want to achieve and the type of yarn you are using. Thicker yarns usually require larger needles, while thinner yarns will require smaller needles. The type of needles can also affect the drape and stitch definition of your sweater. Metal or bamboo needles are popular choices, as they provide a smooth surface for knitting. Circular needles are often used for larger projects like sweaters, as they can hold a large number of stitches and distribute the weight of the project evenly.
- Choose a yarn that complements the style and design of your fall sweater.
- Consider the fiber content, weight, and texture of the yarn.
- Choose needles that match the gauge and type of yarn you are using.
- Thicker yarns require larger needles, while thinner yarns require smaller needles.
- Circular needles are often preferred for larger projects like sweaters.
Reading and Understanding the Pattern
When starting a new knitting project, it is important to carefully read and understand the knitting pattern before getting started. By familiarizing yourself with the pattern, you can avoid mistakes and ensure that your finished sweater turns out just as you envisioned.
1. Review the Materials List: The first step in understanding the pattern is to review the materials list. Take note of the recommended yarn type and weight, as well as the suggested needle size. It is crucial to use the specified materials to achieve the desired gauge and ensure that your sweater fits correctly.
2. Read the Instructions: Next, carefully read through the pattern instructions. Pay attention to any abbreviations or special stitches that may be used. If you come across any unfamiliar terms, refer to the pattern key or a knitting glossary for clarification.
3. Determine the Size: Many knitting patterns offer multiple sizes, so it is important to determine which size is right for you. Look for measurements or a sizing chart within the pattern, and choose the size that aligns with your own body measurements. Keep in mind that different yarns and needles can affect the gauge, so it may be necessary to adjust your knitting tension to achieve the correct size.
4. Follow the Pattern Stitch by Stitch: Once you have a clear understanding of the pattern and have gathered your materials, it’s time to start knitting! Follow the pattern instructions step by step, double-checking each row and stitch count as you go. Take your time and refer back to the pattern as needed to ensure accuracy.
5. Take Notes: Throughout the knitting process, it can be helpful to take notes on any modifications or changes you make. This can be especially useful if you plan to create the same sweater in the future or if you encounter any issues along the way.
By taking the time to thoroughly read and understand the knitting pattern, you can set yourself up for success and enjoy the process of creating a cozy fall sweater. Happy knitting!
Casting on and Knitting the Ribbing

Before you start knitting the ribbing for your fall sweater, you’ll need to cast on the required number of stitches. The pattern should specify the cast on method to use, whether it’s a basic long-tail cast on or a tubular cast on for a more polished look. Make sure you have the appropriate size needles for your yarn and knitting tension, as this will affect the final size and stretchiness of the ribbing.
Once your stitches are cast on, it’s time to begin the ribbing. Ribbing is a common technique used in sweaters to create a stretchy and snug band at the bottom, cuffs, and sometimes the neckline. It typically alternates between knit and purl stitches, creating a textured pattern that allows the ribbing to retain its shape.
For the ribbing, you’ll follow the pattern’s instructions on the stitch pattern (e.g., K1, P1 or K2, P2) and repeat this sequence across the row. The number of stitches and rows for the ribbing will also be specified in the pattern, so make sure to keep track of your progress and check your gauge to ensure accuracy.
Remember to maintain a consistent tension as you knit the ribbing to ensure a professional finish. It’s common for the ribbing to be knit on smaller needles than the main body of the sweater, which helps create a tighter fabric. Once the ribbing is complete, you’ll be ready to move on to the main body of the sweater, following the pattern’s instructions for the next section.
Creating the Body of the Sweater

Once you have finished knitting the ribbed hem, it’s time to start working on the body of the sweater. The body is typically knit in the round, using circular needles. This allows you to create a seamless and comfortable fit for the sweater.
To begin, you will need to join your stitches in the round, making sure not to twist them. Place a stitch marker to indicate the beginning of the round. Then, you can start knitting the body of the sweater in your chosen stitch pattern. This could be a simple stockinette stitch, a textured pattern, or even a cable pattern to add some interest to your sweater.
When knitting the body, it’s important to keep an eye on your gauge to ensure that the sweater will fit properly. Measure your gauge swatch and compare it to the pattern instructions to make any necessary adjustments. Additionally, you might want to consider trying the sweater on periodically as you knit to check the fit and make any alterations if needed.
As you work on the body, you will also need to shape the sweater to create a flattering fit. This can be done by increasing or decreasing stitches at certain points to create shaping for the waist or hips. The pattern instructions will provide guidance on when and how to do this.
Continue knitting the body of the sweater until it reaches the desired length. This will vary depending on your own preferences and the style of the sweater. Remember to periodically try the sweater on to ensure the length is to your liking.
Once you have finished knitting the body, you may need to bind off stitches or place them on hold for the sleeves. This will depend on the specific design of the sweater pattern you are following. Take your time and carefully follow the instructions to ensure that you are creating the body of the sweater correctly.
Shaping the Neckline
When knitting a fall sweater, one of the key design elements to consider is the shaping of the neckline. The neckline can greatly impact the overall look and fit of the garment, so choosing the right shaping method is important.
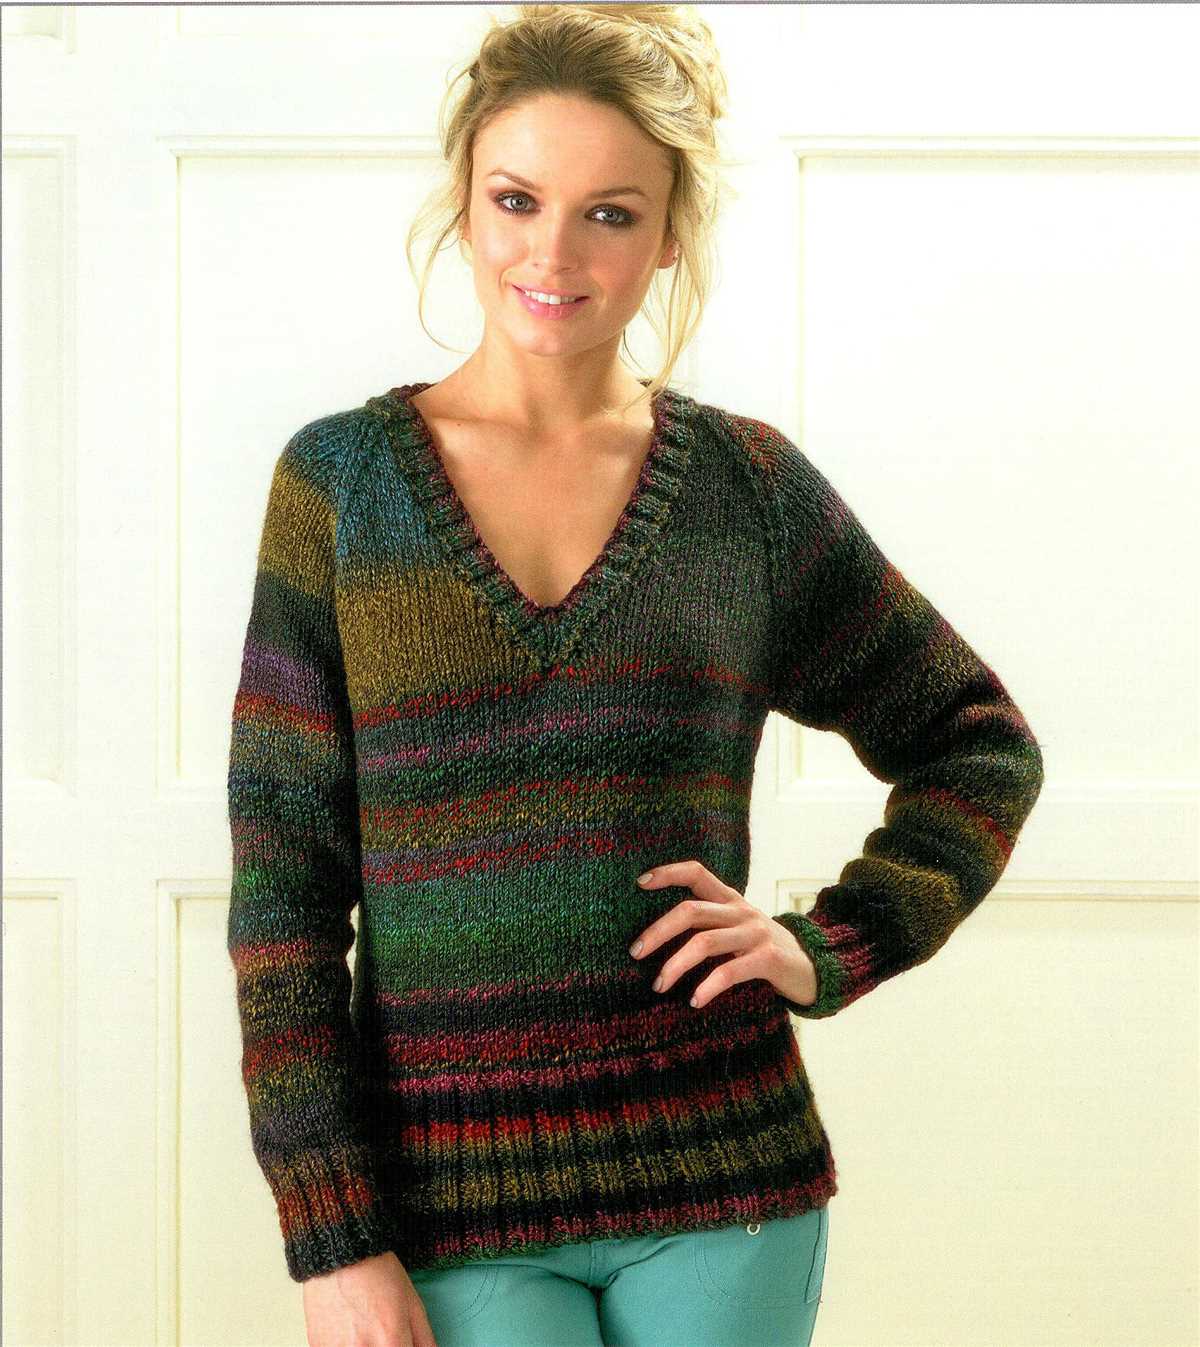
1. V-Neck
One popular option is to create a V-neckline. This style creates a flattering and elegant look, perfect for both casual and dressy occasions. To achieve a clean and crisp V-neck shape, it is recommended to use short rows. Short rows allow you to shape the neckline gradually, giving it a smooth and natural curve.
2. Crew Neck
Another classic choice is the crew neck. This style features a rounded neckline that sits close to the base of the neck. To create a crew neck, you can simply continue knitting in the round without any shaping. This neckline is versatile and works well with various sweater designs, from simple to intricate patterns.
3. Boat Neck
For a feminine and sophisticated look, consider a boat neckline. This style is characterized by a wide and shallow neckline that sits slightly off the shoulders. To achieve a boat neckline, you will need to bind off a certain number of stitches at the center front and back of the sweater. This will create the desired width and shape.
When shaping the neckline of your fall sweater, it’s important to consider the overall design and your personal preferences. Experiment with different shaping methods and techniques to find the perfect neckline for your project.
Knitting the Sleeves
When it comes to knitting a fall sweater, one of the most important parts to tackle is the sleeves. The sleeves not only contribute to the overall look of the sweater but also play a crucial role in ensuring the wearer’s comfort. Therefore, it’s essential to pay attention to the details and follow the knitting pattern carefully.
Choosing the Right Yarn and Needles
Before starting to knit the sleeves, it’s essential to select the right yarn and needles. The yarn should match the weight and texture specified in the knitting pattern, as this will ensure that the sleeves have the desired drape and feel. Additionally, the needles should be chosen based on the gauge specified in the pattern to ensure a proper fit. Using the wrong yarn and needle combination could result in sleeves that are either too loose or too tight.
Following the Knitting Pattern
Once the materials are chosen, it’s time to start knitting the sleeves. Following the knitting pattern is crucial for achieving the desired results. Carefully read and understand the instructions before starting and make sure to check your gauge periodically to ensure you are on track. The pattern will provide guidance on the number of stitches, increases or decreases, and any specific stitch patterns to follow. Pay attention to these instructions to ensure the sleeves turn out as intended.
Knitting Techniques for Sleeves
Knitting sleeves often involve a mix of techniques, such as knitting in the round or using double-pointed needles. It’s important to be familiar with these techniques and practice them if necessary before starting the sleeves. Knitting in the round, for example, requires using circular needles or double-pointed needles and working in a continuous spiral without turning the work. By mastering these techniques, you can knit the sleeves seamlessly and achieve a professional-looking finish.
Finishing Touches
Once the sleeves are knitted, it’s time to add any finishing touches. This may include blocking the sleeves to ensure they have the correct shape and size, and weaving in any loose ends to give the sweater a neat and polished appearance. Taking the time to complete these final steps will elevate the overall quality of the sweater and make it even more enjoyable to wear during the fall season.
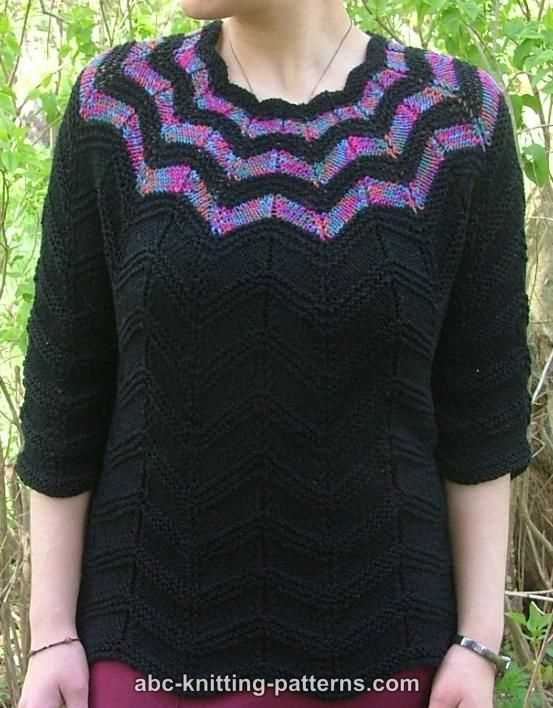
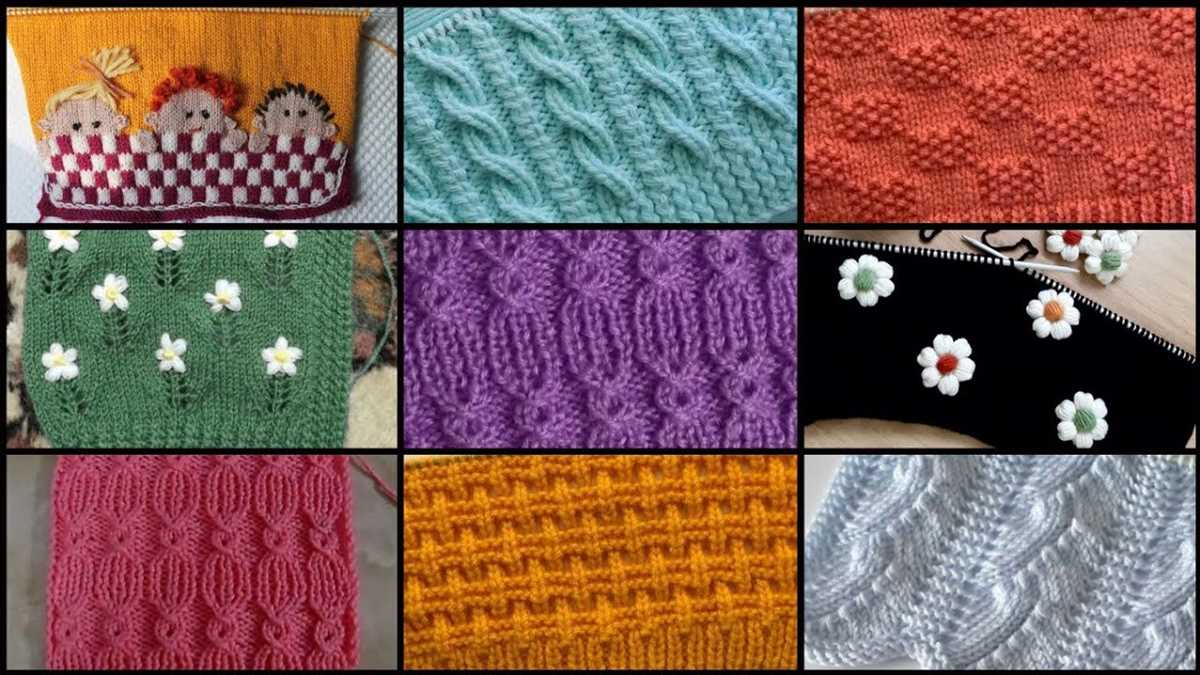
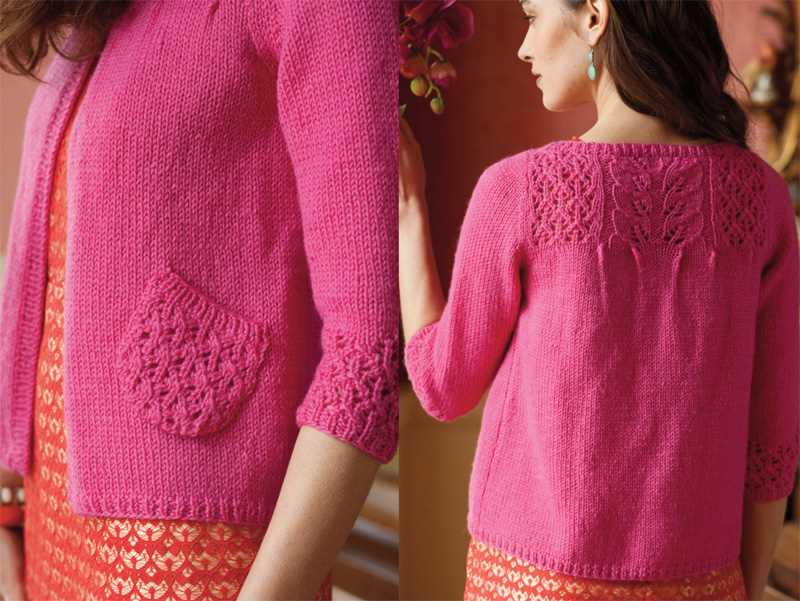
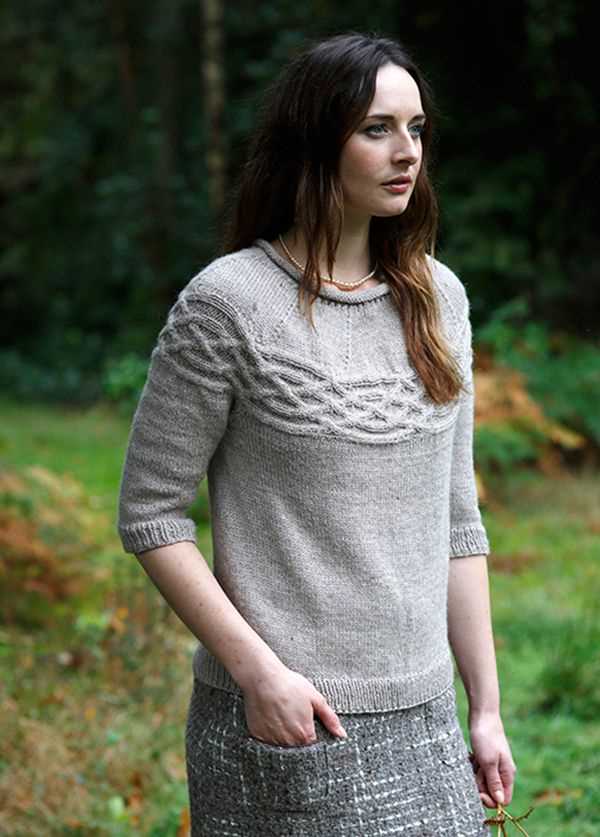
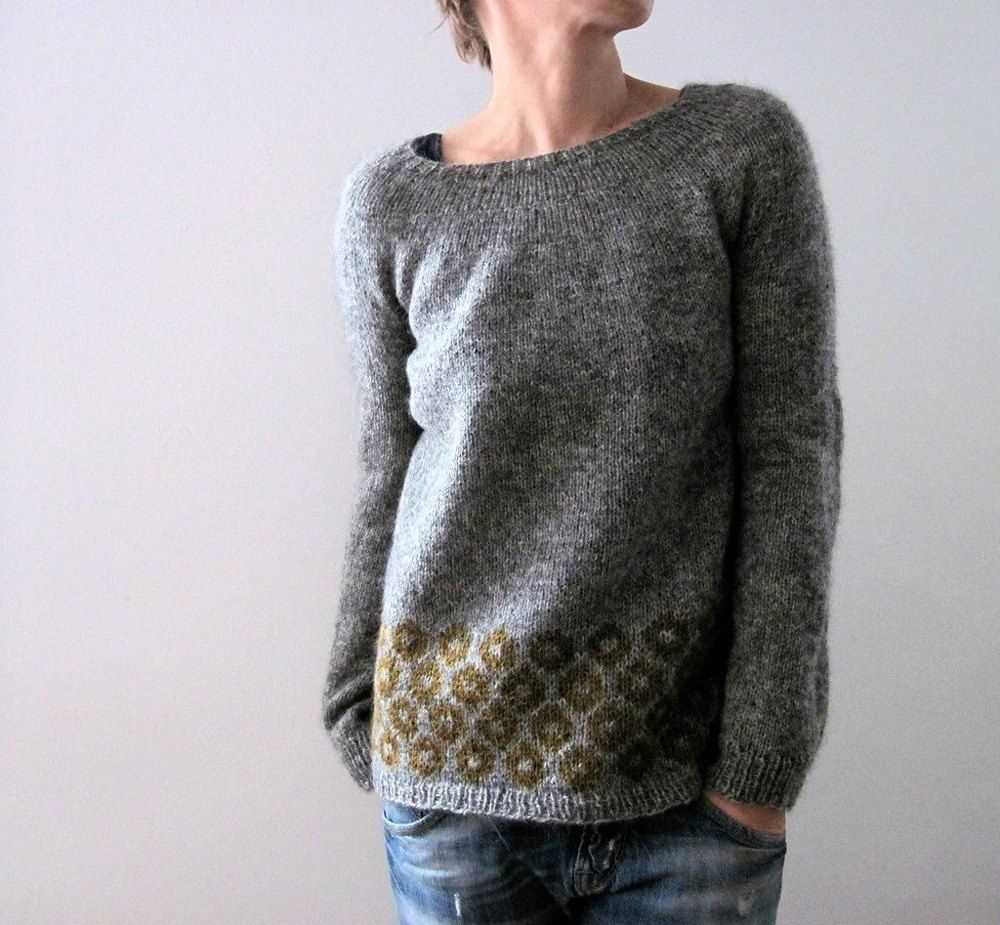
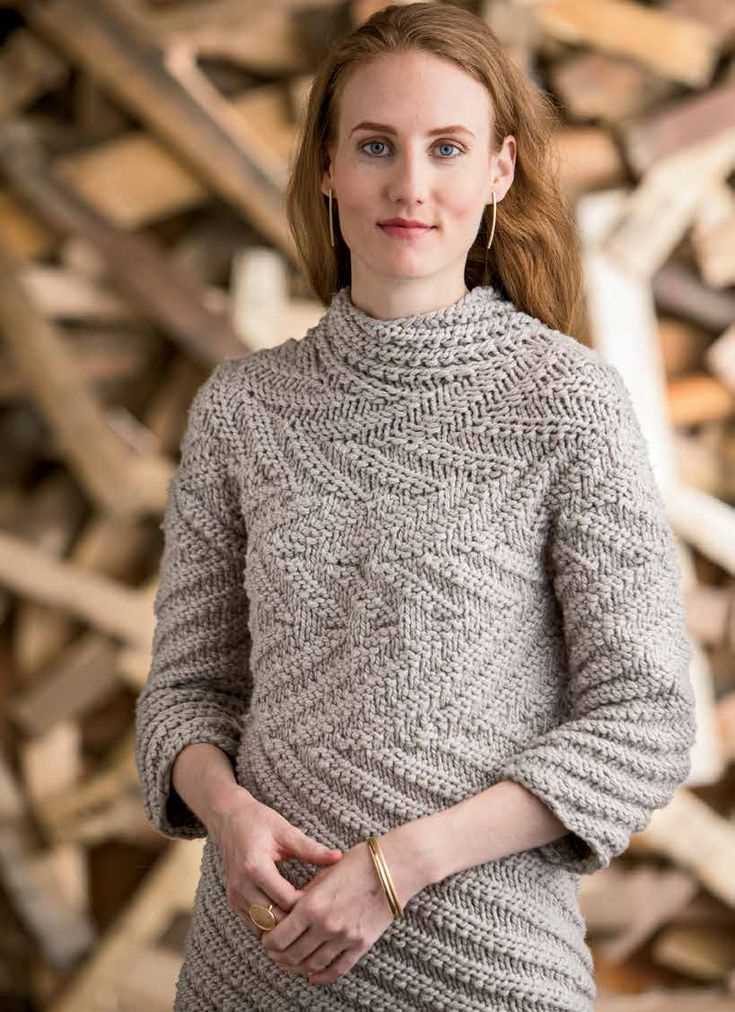
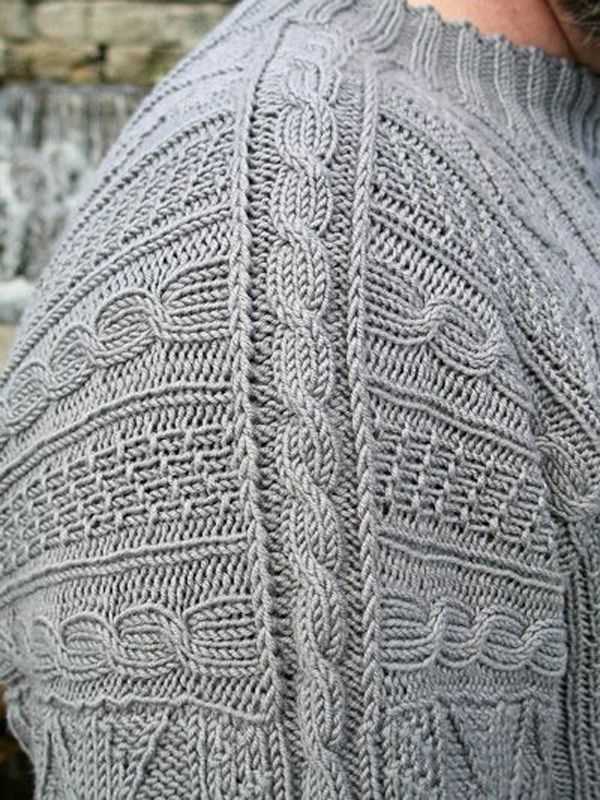
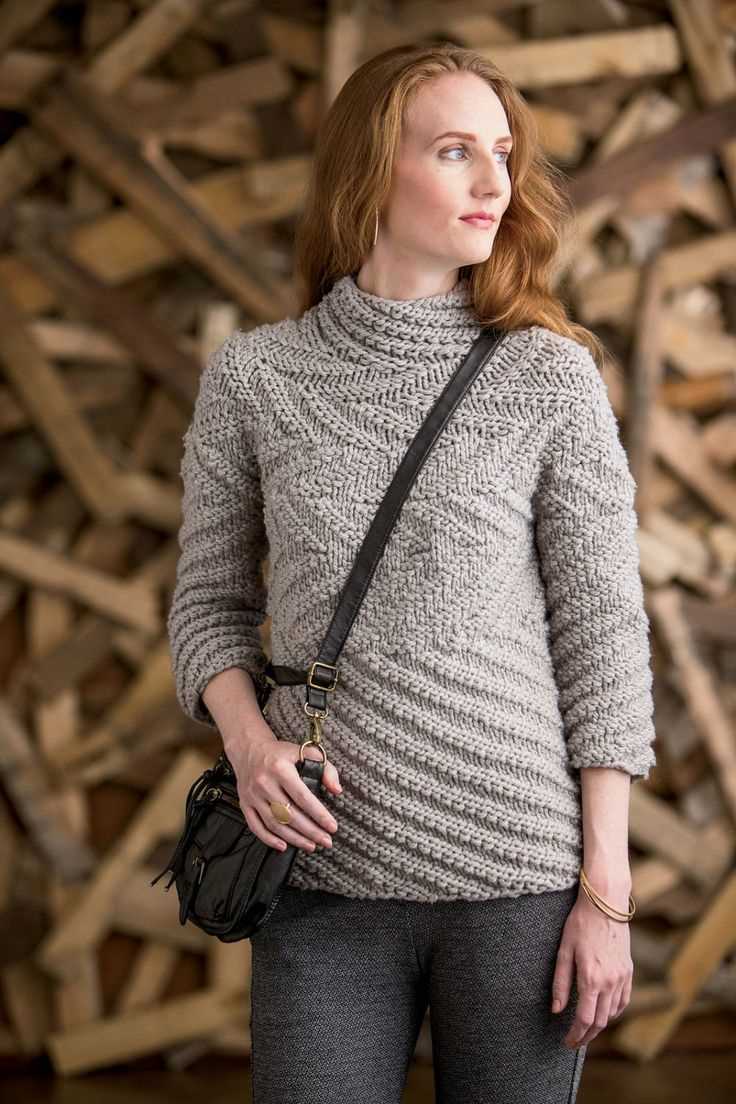
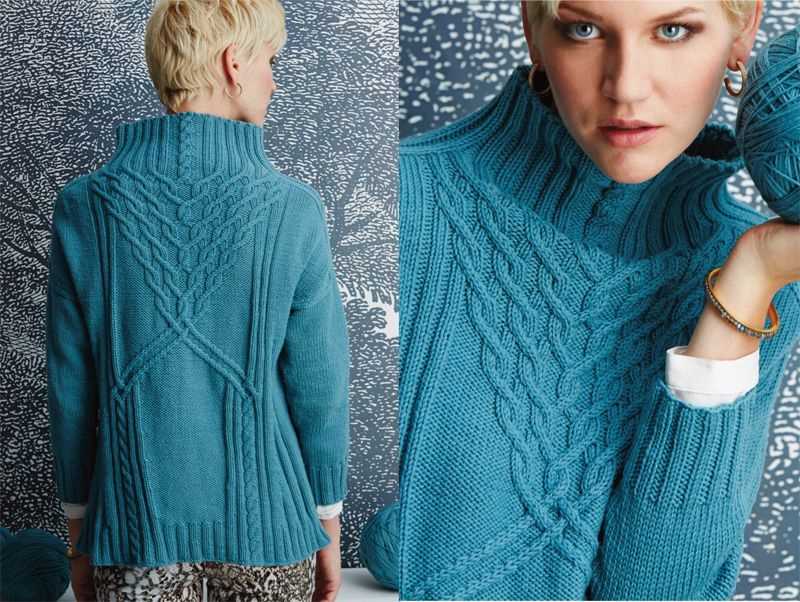
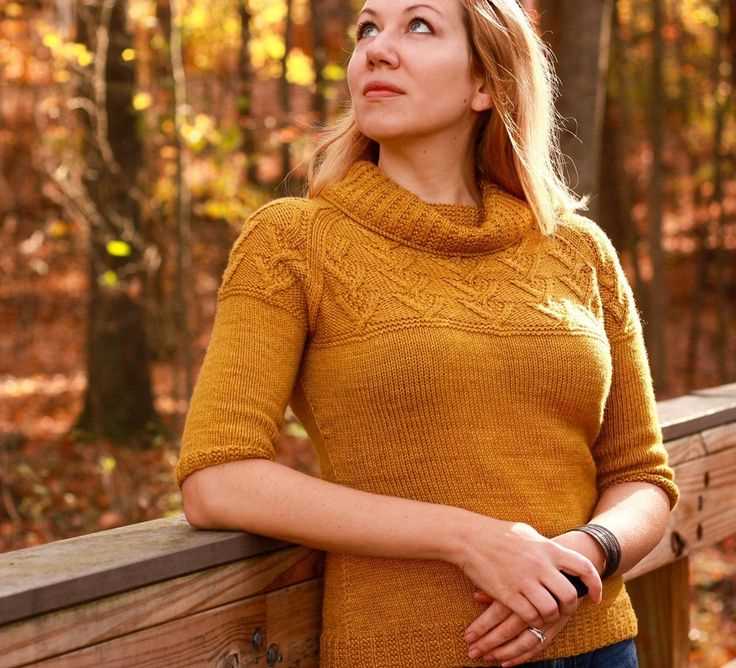
Adding Colorwork or Texture
If you’re looking to add some visual interest to your fall sweater knitting pattern, consider incorporating colorwork or texture into your design. Colorwork involves using multiple colors to create patterns or designs within your sweater. This can be done through techniques such as stranded knitting or intarsia, where you alternate between different colors of yarn to create a specific pattern or picture. You can choose colors that complement each other or create a bold contrast, depending on the look you’re going for.
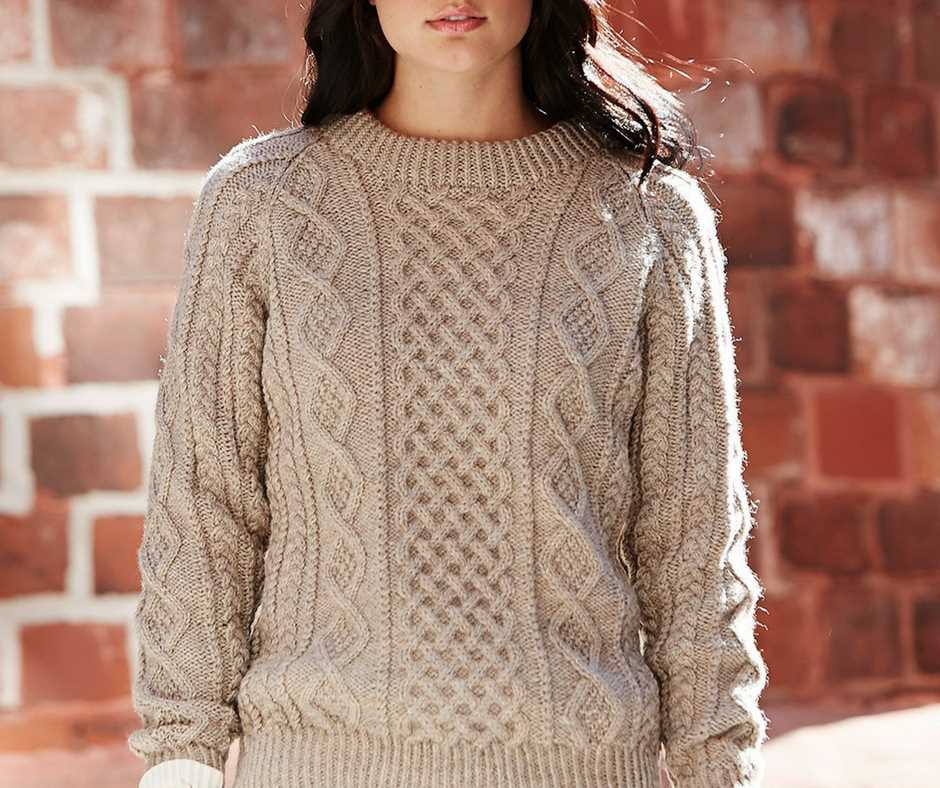
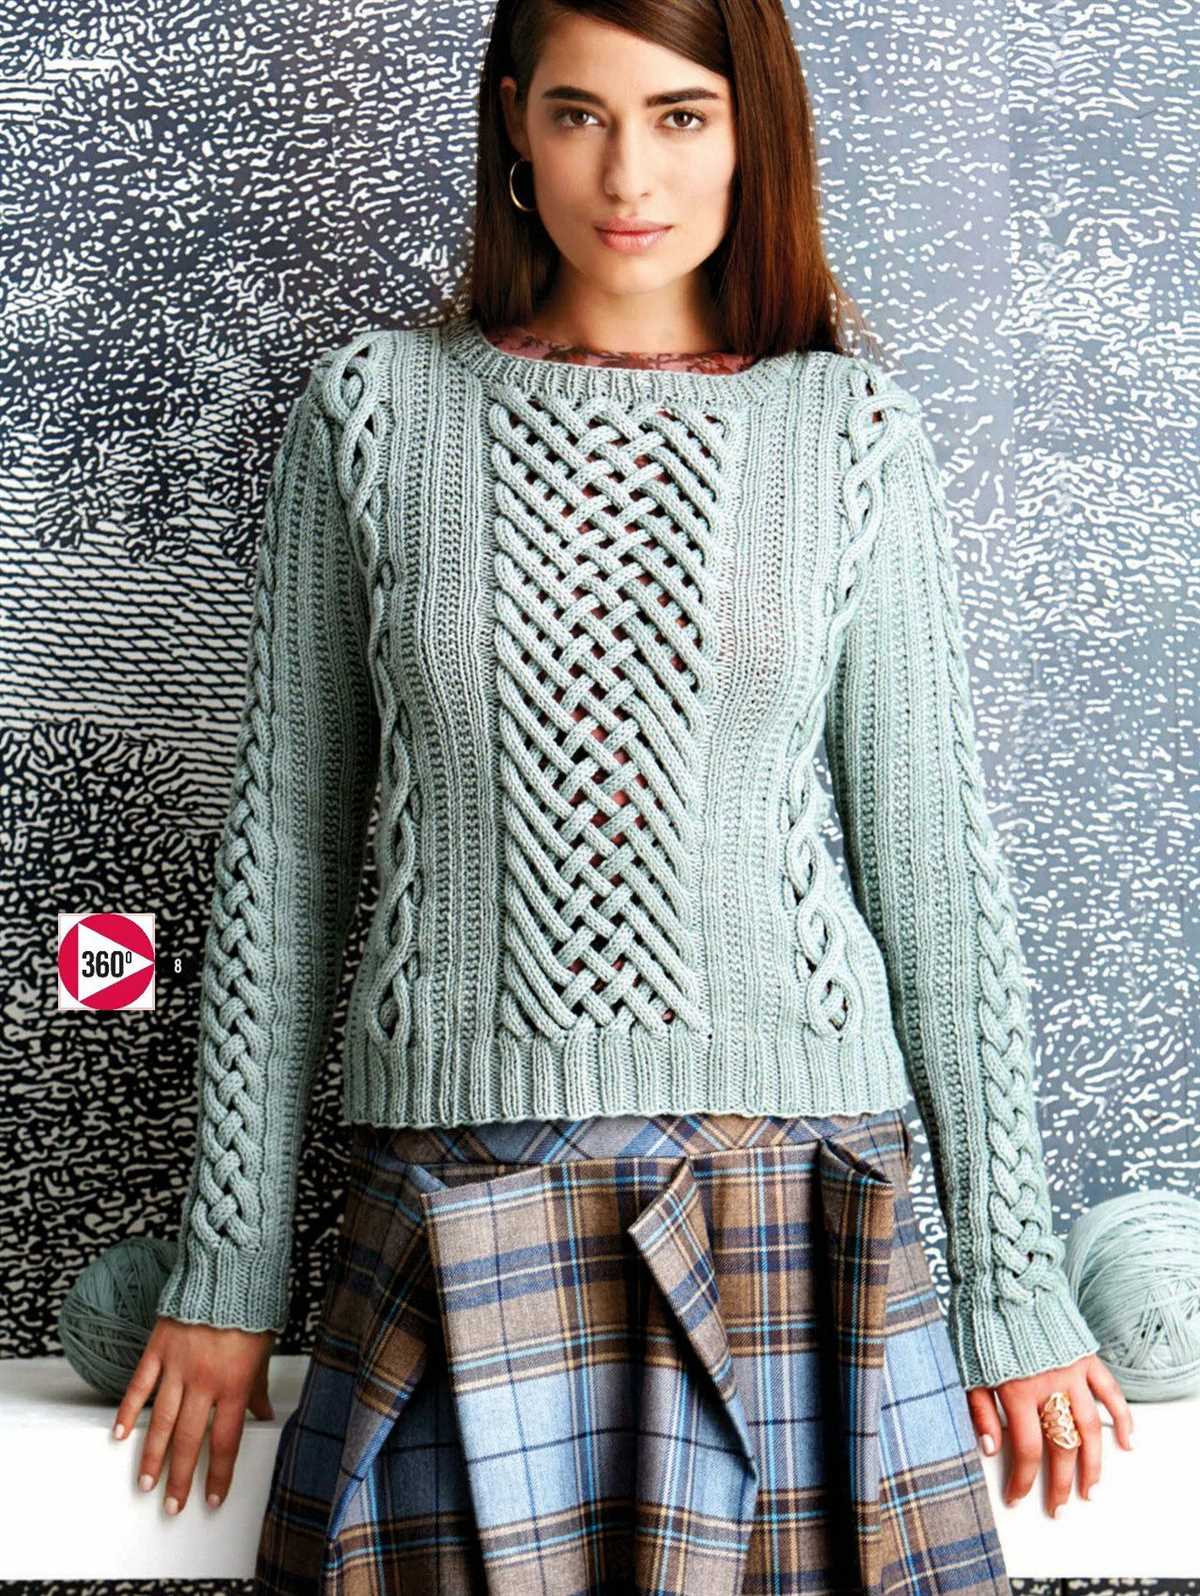
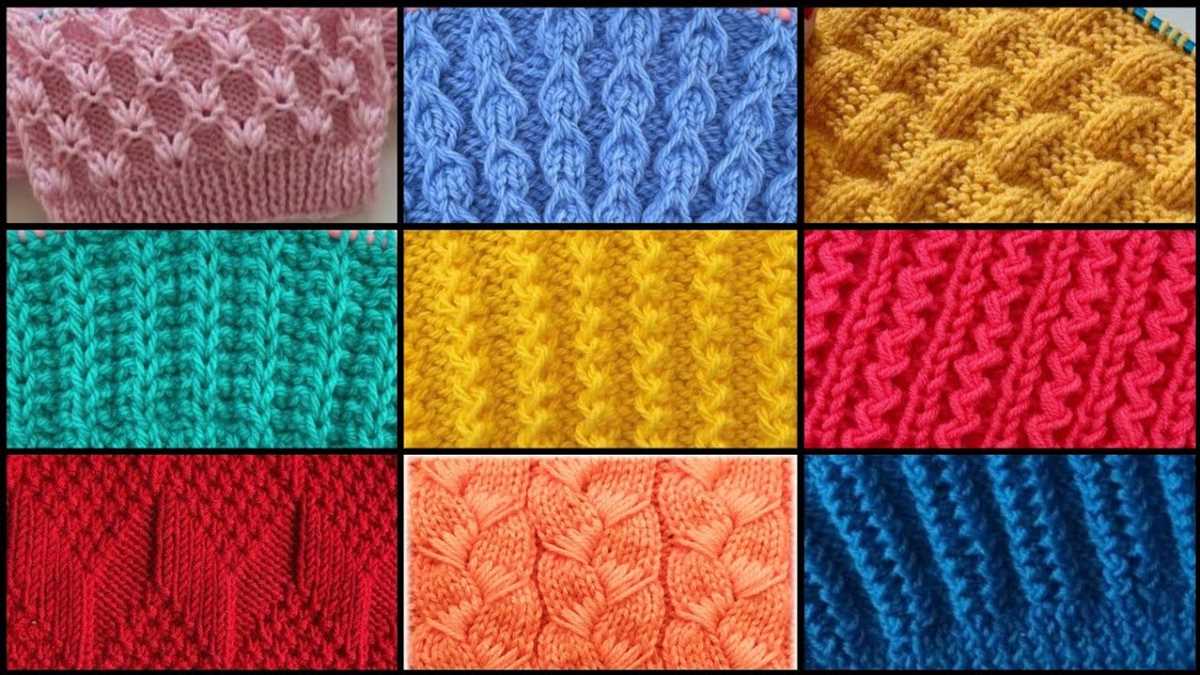
Texture, on the other hand, refers to the use of different stitches or techniques to create variation and depth in your sweater. This can be done through techniques such as cables, lace, or ribbing. Cables are created by crossing stitches over each other, creating twists and braids that add a three-dimensional element to your sweater. Lace involves creating patterned holes within the fabric, often using yarn overs and decreases. Ribbing, on the other hand, creates a stretchy and textured fabric by alternating knit and purl stitches.
If you’re new to colorwork or texture, it’s best to start with a simple pattern and gradually work your way up to more complex designs. There are many resources available online and in knitting books that can guide you through the process and teach you the necessary techniques. Once you feel comfortable, you can experiment with different color combinations and stitch patterns to create your own unique fall sweater.
Colorwork Tips:
- Choose colors that complement each other or create a bold contrast.
- Practice tension control to ensure even stitches.
- Use stitch markers to keep track of pattern repeats.
- Don’t be afraid to experiment and try different color combinations.
Texture Tips:
- Start with a simple texture pattern, such as a basic cable or ribbing.
- Practice your tension to create even and consistent stitches.
- Use stitch markers to keep track of pattern repeats.
- Experiment with different stitch patterns to create unique textures.
Finishing and Sewing the Sweater Pieces
Once you have completed knitting all the pieces of your fall sweater, it is time to move on to the finishing and sewing stage. This is an important step in creating a polished and professional-looking garment.
1. Blocking: Before you start sewing the pieces together, it is recommended to block them. Blocking involves wetting the pieces, shaping them to the correct measurements, and allowing them to dry flat. This will help even out any uneven stitches and ensure that the final garment has a consistent look.
2. Sewing the Shoulder and Side Seams: Begin by sewing the shoulder seams together. Place the front and back pieces with the right sides facing each other and use a mattress stitch or any other preferred seaming method to sew them together. Repeat this process for the side seams, starting from the bottom of the sweater and working your way up to the underarm.
3. Attaching the Sleeves: With the right sides facing each other, pin the sleeves to the armholes. Make sure to align the shoulder seams and distribute the stitches evenly. Sew the sleeves to the body of the sweater using the same seaming method. Once attached, check that the sleeves are symmetrical and adjust if necessary.
4. Finishing Touches: Lastly, finish off the sweater by adding any desired details, such as ribbed cuffs, a collar, or buttons. These finishing touches can elevate the overall look of the sweater and make it unique to your style. Take your time to carefully sew on any buttons or embellishments, ensuring they are securely attached.
By following these steps, you will be able to successfully finish and sew all the pieces of your fall sweater. Remember to take your time and pay attention to detail to achieve a high-quality final product that you can proudly wear during the colder months.
Blocking and Wetting the Finished Sweater
Blocking and wetting the finished sweater is an important step in the knitting process. It helps to give the sweater its final shape and ensure that the stitches are even and well-defined. Blocking also helps to relax the fibers and remove any kinks or creases that may have formed during the knitting process.
Before wetting the sweater, it is important to read the care instructions for the yarn and follow them accordingly. Some yarns may require special treatment, such as hand washing or laying flat to dry. It is also recommended to use lukewarm water and a gentle wool wash or mild detergent to avoid damaging the fibers.
Once you have determined the appropriate care instructions for your sweater, fill a clean basin or sink with lukewarm water and add a small amount of wool wash or mild detergent. Gently place the sweater into the water, making sure it is fully submerged, and let it soak for about 15-20 minutes.
After the soaking period, carefully remove the sweater from the water and gently squeeze out the excess water. Do not wring or twist the sweater, as this may cause it to lose its shape. Instead, roll the sweater in a clean towel and press down to absorb more water.
Next, lay the sweater flat on a clean, dry towel or blocking mat and gently reshape it to its desired size and dimensions. Use rustproof pins or blocking wires to secure the edges and maintain the shape of the sweater. Make sure to measure the sweater as you go to ensure that it is blocking to the correct measurements.
Leave the sweater to dry completely in a cool, well-ventilated area. Avoid exposing it to direct sunlight or heat sources, as this may cause the fibers to become brittle or fade in color. Once the sweater is dry, remove the pins or blocking wires and it is ready to be worn and enjoyed!
Attaching Buttons or Zippers
When it comes to finishing a fall sweater, attaching buttons or zippers is an important step. This will not only add functionality to your sweater but also enhance its overall design. Whether you choose buttons or zippers, proper attachment is key to ensuring durability and a polished look.
Attaching Buttons:
When attaching buttons, it’s important to consider the size and style of the buttons. Choose buttons that complement the design of your sweater and ensure they are the appropriate size for the buttonholes. Before sewing the buttons in place, mark the desired placement using a fabric pen or chalk.
Using a needle and thread that matches the color of your yarn, begin sewing the buttons from the inside of the sweater. Secure the thread by creating a small knot, then bring the needle through the buttonhole and back into the fabric. Repeat this process multiple times to ensure the button is firmly attached. Finish by creating a knot on the inside of the sweater and trimming any excess thread.
Attaching Zippers:
If you prefer a zipper closure for your sweater, it’s important to choose a zipper that matches the length of the opening. You can either opt for a traditional sew-in zipper or a more convenient option like a pre-made zipper tape.
Start by placing the zipper on the inside of the sweater, aligning it with the opening. Use pins or clips to hold it in place. If using a sew-in zipper, sew along the edges of the zipper tape, ensuring that the stitches are neat and secure. Trim any excess zipper tape if necessary. For a pre-made zipper tape, follow the manufacturer’s instructions to attach it to your sweater.
After attaching the zipper, test its functionality by zipping and unzipping it a few times. Make any necessary adjustments to the placement or stitching to ensure a smooth closure. Finally, give your sweater a final press to ensure everything is in place and the finished garment looks its best.
Styling and Wearing Your Fall Sweater
When it comes to fall fashion, a cozy sweater is a must-have. Not only does it keep you warm during the chilly autumn days, but it can also be a stylish addition to your wardrobe. Whether you’ve spent hours knitting your own fall sweater or bought one from a store, here are some tips on how to style and wear it.
1. Layer it with a button-down shirt
Add some sophistication to your fall sweater by layering it with a button-down shirt. Choose a shirt in a contrasting color or pattern to make your outfit stand out. Leave the collar and cuffs peeking out for an effortless, yet polished look. This combination works well with jeans or trousers and is perfect for both casual and office settings.
2. Pair it with a skirt
If you’re looking to dress up your fall sweater, why not try pairing it with a skirt? Whether it’s a midi, mini, or maxi skirt, the sweater will add a cozy touch to your outfit. Opt for a fitted sweater if you’re wearing a flowy skirt, and vice versa. Complete the look with a pair of boots or loafers for a chic and feminine ensemble.
3. Style it with high-waisted jeans
For a more casual and laid-back look, style your fall sweater with a pair of high-waisted jeans. This combination is effortless yet trendy and can be easily dressed up or down depending on the occasion. Tuck in the front of the sweater or add a belt to define your waist and create a more polished silhouette. Finish off the look with ankle boots or sneakers for a comfortable and stylish outfit.
4. Accessorize with a scarf
As the temperatures drop, adding a scarf to your fall sweater outfit is not only practical but also adds an extra layer of style. Choose a scarf in a complementary color or pattern to your sweater and wrap it around your neck for added warmth and sophistication. You can also experiment with different ways of tying the scarf, such as a loop or a knot, to create different looks.
With these styling tips, you’ll be able to make the most of your fall sweater and create various fashionable looks for the season. Whether you’re dressing up for a special occasion or keeping it casual for a day of running errands, your fall sweater will surely become one of your favorite wardrobe staples.
Troubleshooting and Frequently Asked Questions

Knitting sweaters can sometimes be a challenging task, but with a little troubleshooting and the answers to frequently asked questions, you’ll be able to overcome any obstacles you encounter. Here are some common issues and solutions:
1. My sweater is too small. What should I do?
If your sweater is coming out too small, the most common issue is with your gauge. Make sure you are using the correct yarn weight and needle size specified in the pattern. You may need to switch to a larger needle size or use a different yarn weight to achieve the correct gauge. If the sweater is already finished and too small, you can try blocking it to stretch the fabric slightly. If all else fails, you may need to frog your project and start over with the correct gauge.
2. My sweater is too big. How can I fix it?
If your sweater is turning out too big, the issue is likely with your gauge as well. Check that you are using the correct yarn weight and needle size, and make sure your tension is consistent throughout your knitting. If your gauge is correct but the sweater is still too big, you can try blocking it to shrink the fabric slightly. If the sweater is already finished and still too large, you may need to consider taking apart some sections and re-knitting them with a tighter tension.
3. I made a mistake in the pattern. What can I do?
Mistakes happen, and luckily most knitting mistakes can be fixed. If you catch the mistake early on, you can simply un-knit or “tink” back to the mistake and re-knit the section correctly. If the mistake is further along in the project, you may need to “frog” or rip back to the mistake and re-knit. If the mistake is in a small section, you can try using a crochet hook to fix the error. If you’re unsure how to fix the mistake, don’t hesitate to seek help from fellow knitters or online knitting communities.
4. How do I weave in the ends of my sweater?
When you’re finished knitting your sweater, you will have several loose ends of yarn to weave in. To do this, simply thread the loose end onto a yarn needle and weave it through the stitches on the wrong side of the fabric. Weave it in a zigzag or back-and-forth motion to secure it in place. Trim any excess yarn once the end is weaved in. This will give your sweater a neat and finished appearance.
5. Can I modify the pattern to fit my size?
Yes, you can modify the pattern to fit your size. If the pattern doesn’t include your specific size, you can adjust it by either changing the number of stitches or the measurements in the pattern. Make sure to swatch and check your gauge to ensure that your modifications will result in a sweater that fits properly. You can also use the shaping instructions in the pattern as a guide to make adjustments to the length or width of the sweater.
With these troubleshooting tips and answers to frequently asked questions, you’ll be well-equipped to tackle any challenges that come your way while knitting your fall sweater. Remember to take your time, have patience, and enjoy the process of creating a cozy and stylish garment.