
Looking for a fun and festive knitting project? Look no further! This free knitted elf hat pattern is perfect for adding some whimsy and holiday cheer to your winter wardrobe. Whether you’re making it for yourself or as a gift for a loved one, this pattern is sure to delight.
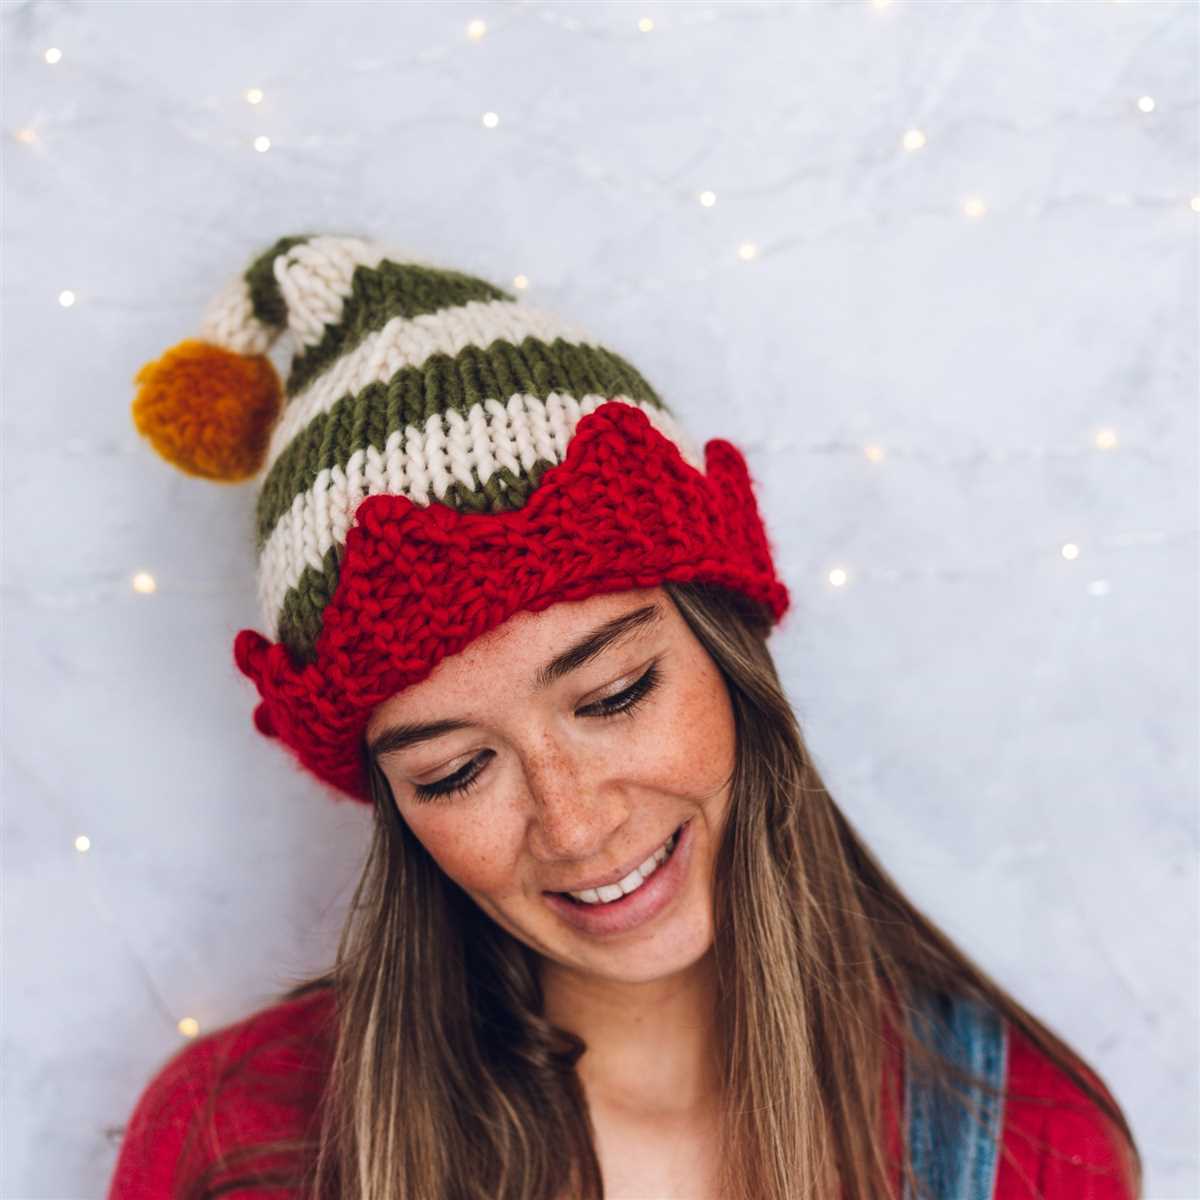
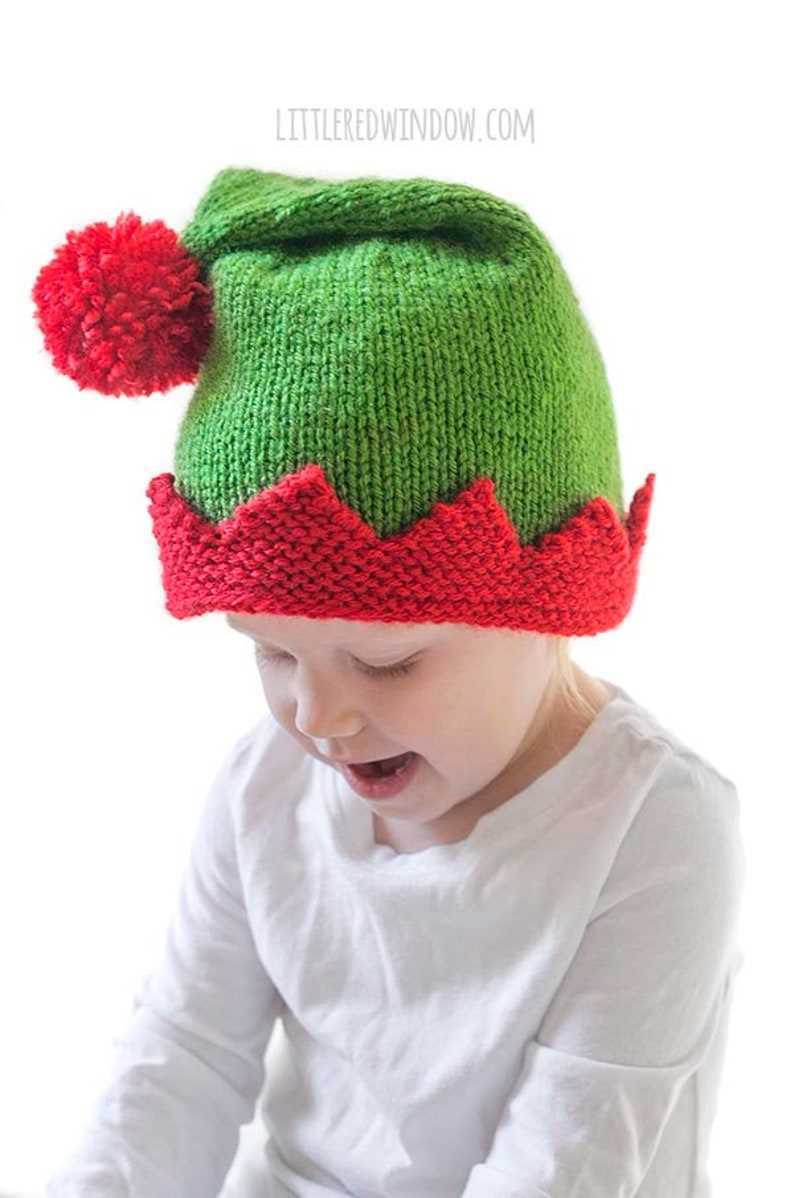
The pattern features a classic elf hat design, complete with a pointy top and bright, colorful stripes. It’s easy to customize the colors to match your own personal style or to coordinate with your favorite holiday outfits. Plus, the stretchy ribbed brim ensures a comfortable and snug fit for everyone.
With this free pattern, you’ll be able to create a one-of-a-kind accessory that’s both practical and stylish. Whether you’re wearing it to a holiday party or just out and about on a chilly day, this knitted elf hat is sure to turn heads and spread some holiday cheer. So grab your knitting needles and get ready to bring some festive flair to your winter wardrobe!
Free Knitted Elf Hat Pattern
If you’re looking for a fun and festive knitting project, look no further than this free knitted elf hat pattern. With its adorable pointed top and colorful stripes, this hat is sure to bring some holiday cheer. Whether you’re knitting it for yourself or as a gift, this pattern is perfect for knitters of all skill levels.
To get started, you’ll need a few basic supplies. Gather your favorite color of worsted weight yarn, a pair of size 8 knitting needles, and a tapestry needle for weaving in loose ends. You can also add any additional embellishments, like bells or pom-poms, to make your hat even more festive.
Instructions:
- Begin by casting on 80 stitches using the long-tail cast on method.
- Knit 2×2 ribbing for the brim of the hat, working *k2, p2* across each row for a total of 5 inches.
- Switch to your first stripe color and knit in stockinette stitch for 2 inches.
- Change to your second stripe color and knit in stockinette stitch for another 2 inches.
- Continue alternating stripe colors and knitting in stockinette stitch for 5 more inches, or until the hat measures approximately 9 inches from the brim.
- Next, begin decreasing for the crown of the hat. Knit 8 stitches, then knit two stitches together. Repeat this decrease pattern across the entire row.
- Continue decreasing in this manner on every row until there are only 8 stitches left.
- Cut the yarn, leaving a long tail, and thread it through the tapestry needle. Slip the needle through the remaining 8 stitches and pull tight to gather the crown of the hat.
- Weave in any loose ends and trim if necessary.
Once you’ve finished knitting and assembling your elf hat, you’ll have a festive accessory that’s perfect for holiday parties or simply spreading some holiday cheer. Whether you’re making it for yourself or as a gift, this free knitted elf hat pattern is sure to be a hit.
Overview
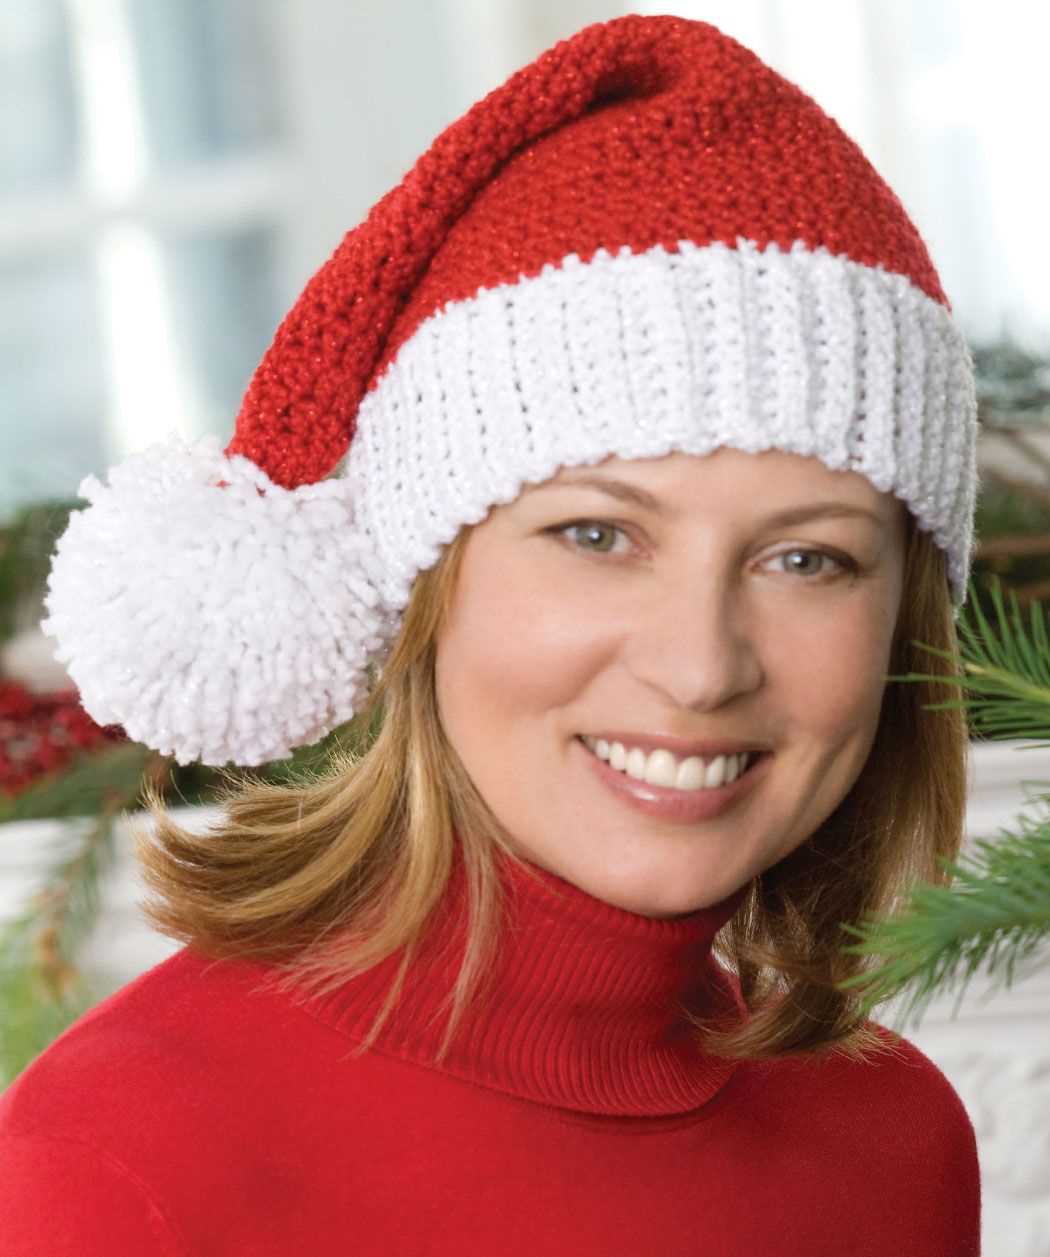
Are you looking for a cute and festive hat to wear during the holiday season? Look no further than this free knitted elf hat pattern! This pattern is perfect for both children and adults, and it’s a fun and easy project for knitters of all skill levels. Whether you’re making it for yourself or as a gift, this hat is sure to spread holiday cheer.
The pattern includes detailed instructions and step-by-step photos to guide you through each stage of the knitting process. It uses basic knitting techniques, such as knitting in the round, decreasing, and basic colorwork. If you’re new to these techniques, don’t worry! The pattern also includes links to helpful tutorials to assist you along the way.
To complete this project, you’ll need the following materials:
- Worsted weight yarn in red, green, and white
- Size US 7 (4.5mm) circular knitting needles
- Size US 7 (4.5mm) double-pointed knitting needles
- Tapestry needle
- Stitch markers
- Pom-pom maker
The finished hat features a classic elf design, complete with a long pointed top and a festive striped pattern. You can customize the colors to match your personal style or the recipient’s preferences. It’s a great accessory for holiday parties, Christmas photos, or just for keeping warm during the winter months. So grab your knitting needles and get ready to create your very own knitted elf hat!
Materials
In order to create your own knitted elf hat, you will need a few materials. Make sure you have the following items before you begin:
- Yarn: Choose a soft and warm yarn that is suitable for knitting. You can pick any color you like, but traditional elf hats are often made in green, red, or white.
- Knitting Needles: Use a pair of knitting needles that are appropriate for the thickness of your yarn. Check the yarn label for the recommended needle size.
- Tapestry Needle: This needle will be used for sewing the hat together and weaving in any loose ends. Make sure it has a large enough eye to fit your yarn.
- Scissors: A pair of sharp scissors will be necessary for cutting the yarn.
- Stitch Markers: These small plastic rings or safety pins can be placed on your knitting needles to mark certain points in your pattern.
- Measuring Tape: A measuring tape or ruler will be useful for checking your gauge and measuring the length of your hat.
Once you have gathered all of these materials, you will be ready to start knitting your own elf hat. Make sure you have a comfortable and well-lit workspace where you can work on your project. Now let’s move on to the next step: casting on!
Step 1: Cast On

Before you start knitting your elf hat, you need to cast on your stitches. Casting on is the first step in any knitting project and sets the foundation for your work. In this pattern, we will be using the long tail cast on method.
Here’s how to do the long tail cast on:
- Hold the yarn in your right hand and make a slip knot, leaving a long tail (approximately 6 inches) for your cast on.
- Insert the needle into the slip knot loop from left to right.
- With your thumb and index finger, hold the needle and yarn together.
- Using your other hand, bring the needle under and then over the yarn, forming a loop around the needle.
- Slide the loop onto the needle, creating your first cast on stitch.
- Repeat steps 3 to 5 until you have cast on the required number of stitches for your elf hat.
Once you have completed the long tail cast on, you are ready to begin knitting your elf hat. The cast on stitches will form the brim of the hat, so make sure to cast on the appropriate number of stitches indicated in the pattern.
Step 2: Ribbing
After completing the initial setup of the elf hat, it’s time to move on to the ribbing. The ribbing is a decorative and functional element of the hat that adds texture and helps keep the hat snug on the head. Follow these instructions to create the ribbing for your knitted elf hat.
1. Choose your ribbing stitch pattern:

There are various stitch patterns you can use for the ribbing, such as 1×1 ribbing (alternating knit and purl stitches), 2×2 ribbing (alternating two knit stitches with two purl stitches), or any other ribbing pattern of your choice. Select a ribbing pattern that you like and will complement the overall design of the elf hat.
2. Determine the number of stitches:
To calculate the number of stitches you need for the ribbing, measure the circumference of the head or use the size guide provided in the pattern. Multiply the head circumference by the stitches per inch to determine the total number of stitches needed for the ribbing.
3. Start the ribbing:
Begin the ribbing by casting on the required number of stitches using the long-tail cast-on method or any other cast-on method you prefer. Make sure to use a smaller needle size than the one used for the main body of the hat. This will help create a tighter and stretchier ribbing.
4. Work the ribbing stitch pattern:
Continue knitting in your chosen ribbing stitch pattern for the desired length. Make sure to keep the tension consistent and neat throughout. You can use stitch markers to help keep track of the pattern if needed.
5. End the ribbing:
Once you have reached the desired length for the ribbing, it’s time to transition to the main body of the hat. This is usually where the pattern instructs you to switch to a larger needle size and start knitting the main part of the hat in a different stitch pattern.
Following these steps will help you create a beautiful ribbing for your knitted elf hat. Take your time and enjoy the process of adding this decorative and functional element to your project.
Step 3: Body of the Hat

After completing the brim, it’s time to start working on the body of the hat. This is where the elf hat really starts to take shape!
To begin, continue knitting in the round. At this point, you will need to switch to the main color of yarn for the hat. Take your main color yarn and join it to the last stitch of the previous round. You can do this by simply knitting the first stitch with the new color, leaving a tail of yarn to weave in later.
Tip: If you prefer a striped effect, you can alternate between the main color and a contrasting color every few rows.
Now that you’re using the main color, continue knitting in the round until the hat reaches your desired length. The length will depend on the size of the hat and the intended fit. Remember to check your gauge to ensure the correct fit.
Note: If you want the hat to have a slouchy look, you can add a few extra inches to the length.
Once the body of the hat is complete, it’s time to move on to the final step: the pointy top! Stay tuned for the next section of the pattern to learn how to finish off your elf hat.
Step 4: Decreases
Once you’ve completed the ribbing and the main body of the hat, it’s time to start decreasing. This step will help shape the hat and give it a more fitted look.
To begin the decreases, you’ll need to switch to double-pointed needles once the stitches no longer comfortably fit on the circular needle. This will allow you to work in smaller, more manageable sections.
Decrease Round 1:
Start by knitting two stitches together. This decrease will help reduce the overall stitch count. Repeat this decrease all the way around the hat until you reach the end of the round.
Decrease Round 2:
In this round, you’ll continue the decrease pattern by knitting two stitches together again. Repeat this decrease all the way around the hat until you reach the end of the round.
Repeat Decrease Rounds:
Continue working these two decrease rounds, alternating between knitting two stitches together, until you have a few stitches left on each needle. Then, continue decreasing until you have just a few stitches remaining.
Once you’ve completed the decreases, you can finish off the hat by cutting the yarn and weaving it through the remaining stitches to secure them. Then, simply sew in any loose ends and your knitted elf hat is complete!
Step 5: Finishing the Hat
After completing all the previous steps, you are now ready to finish your knitted elf hat. Here are the final steps to complete your project:
1. Cast off
First, loosen your tension a bit by knitting your stitches a little looser than usual. Then, knit two stitches together through the back loops to create a decrease. Continue knitting stitches together until you only have one stitch left on your right-hand needle. Cut the yarn, leaving a tail that is approximately 6 inches long. Thread the tail through the last stitch and pull it tight to secure.
2. Weave in the ends
Using a yarn needle, weave in all the loose ends of yarn. Start by threading the needle with the tail left from casting off. Weave the needle in and out of the stitches on the wrong side of the hat, following the path of the yarn. Continue weaving until the tail is completely hidden. Repeat this process with any other loose ends of yarn.
3. Block the hat
To give your hat a more polished look, consider blocking it. Fill a basin or sink with lukewarm water and add a small amount of gentle detergent. Gently immerse the hat in the soapy water and let it soak for about 10 minutes. Rinse the hat thoroughly with cool water and gently squeeze out the excess moisture. Place the hat on a clean towel and reshape it to the desired size and shape. Let it dry completely before wearing or storing.
Once you have completed these final steps, your knitted elf hat is ready to be worn or gifted. Enjoy the festive spirit and warmth that this cozy accessory provides!
Tips and Tricks
When knitting a free elf hat pattern, there are a few tips and tricks that can help make the process easier and produce a high-quality finished product.
Choose the Right Yarn
When selecting yarn for your elf hat, it’s important to choose a yarn that is suitable for the pattern and desired finished look. Look for yarns that have a good amount of stretch and elasticity, as this will help the hat fit snugly and comfortably on the wearer’s head. Also, consider the weight of the yarn and the desired level of warmth – a thicker yarn will create a warmer hat, while a thinner yarn will create a lighter-weight hat.
Use the Proper Gauge

Gauge refers to the number of stitches and rows per inch that you achieve when knitting with a particular yarn and needle size. It’s crucial to knit a gauge swatch before starting your hat to ensure that your stitches are the correct size. This will help you achieve the proper fit and shape of the hat. If your gauge doesn’t match the pattern, try adjusting your needle size until you achieve the correct gauge.
Follow the Pattern Carefully
When knitting a free elf hat pattern, it’s important to carefully read and follow the instructions provided. Pay attention to any specific stitch patterns, increases, or decreases that are required. Taking the time to understand the pattern before you begin will help you avoid mistakes and ensure that your finished hat matches the intended design. If you’re unsure about any part of the pattern, don’t hesitate to reach out to the designer or seek clarification from an experienced knitter.
Finishing Touches
Once you’ve completed knitting the main part of the elf hat, take the time to add any finishing touches that will enhance the overall look of the hat. This may include adding pom-poms or tassels to the top or braids to the sides. Be sure to securely attach these embellishments to prevent them from coming loose during wear. Additionally, blocking your hat can help even out the stitches and give it a polished appearance. Follow the blocking instructions for the specific yarn you’re using to ensure the best results.
- Choose the Right Yarn
- Use the Proper Gauge
- Follow the Pattern Carefully
- Finishing Touches
Alternative Colors and Styles
If you’re looking to put a unique twist on your knitted elf hat, there are plenty of alternative colors and styles to choose from. While the traditional red and green combination is classic, don’t be afraid to experiment with other color combinations that suit your personal style.
Color Options:
-
Neutral Tones: For a more subtle and versatile look, consider using neutral tones such as beige, gray, or cream. These colors can easily pair with any outfit and give your elf hat a sophisticated touch.
-
Bright and Bold: If you prefer to make a statement with your hat, opt for vibrant colors like pink, purple, or electric blue. These bold hues will surely make your elf hat stand out in a crowd.
-
Metallic Accents: Add a touch of glamour to your hat by incorporating metallic yarns. Gold, silver, or copper threads can be incorporated into the design to give your hat a shimmery and luxurious appearance.
Style Variations:
-
Pom-Pom Embellishments: Instead of a simple pointed elf hat, you can add a fun and playful touch by attaching a large pom-pom to the top. This will add some extra flair and make your hat even more festive.
-
Cabled Design: If you’re an experienced knitter looking for a challenge, consider adding intricate cable patterns to your elf hat. These textured designs can give your hat a more intricate and sophisticated look.
-
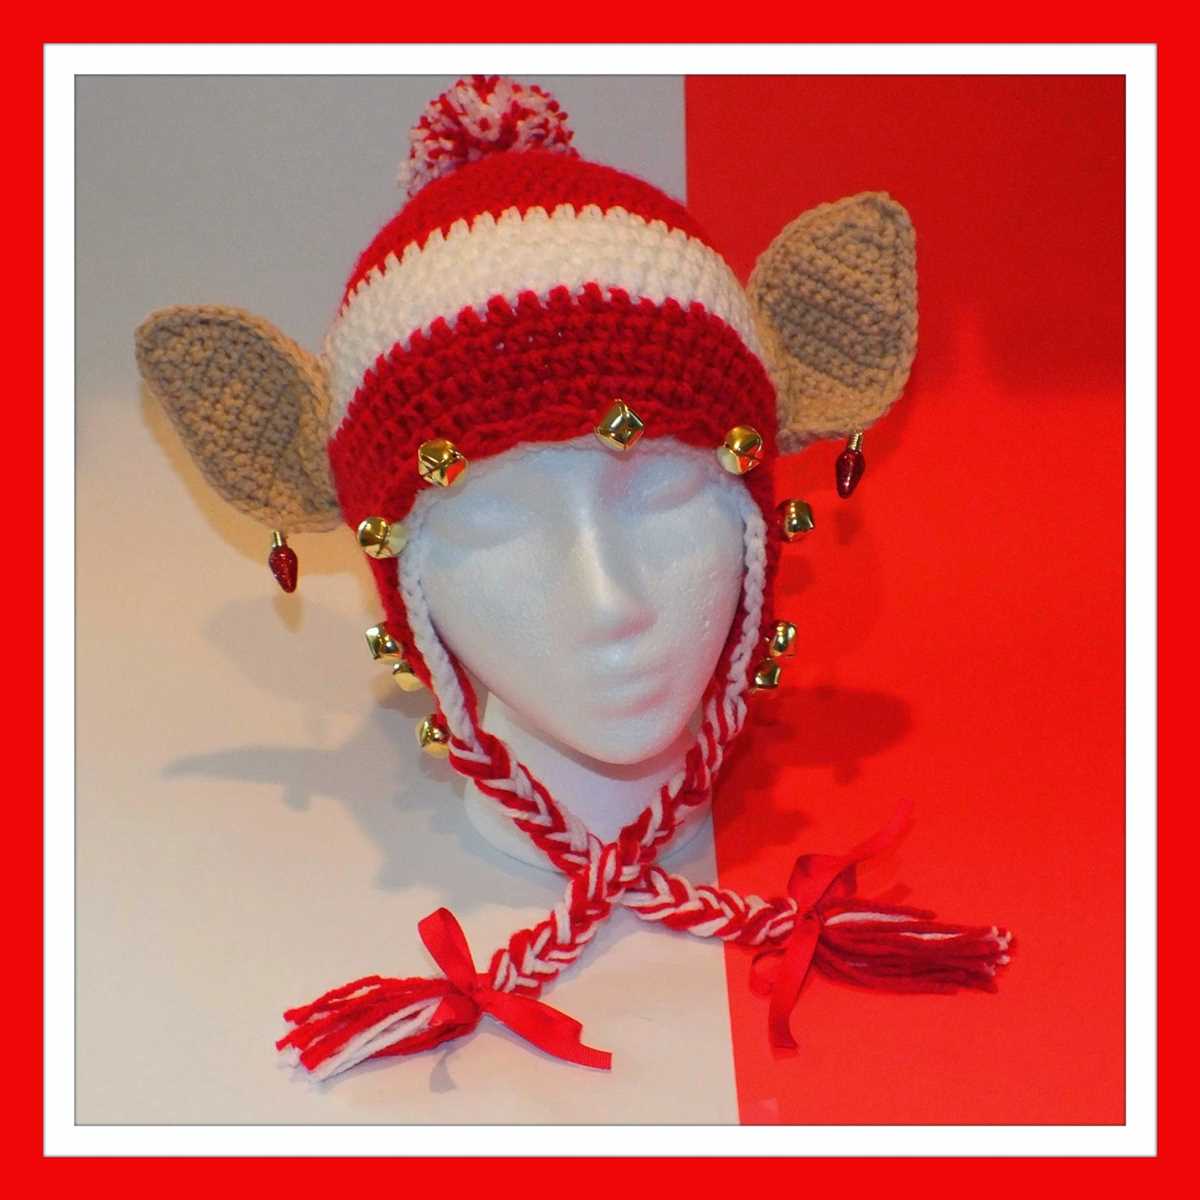
Earflap Style: For added warmth and coziness, you can modify the standard elf hat pattern by adding earflaps. This style is perfect for colder climates or for those who prefer more coverage.
Elf Hat Variations

In addition to the classic elf hat, there are many variations that you can try. These variations allow you to customize the hat to your liking and add your personal touch. Here are a few ideas to get you started:
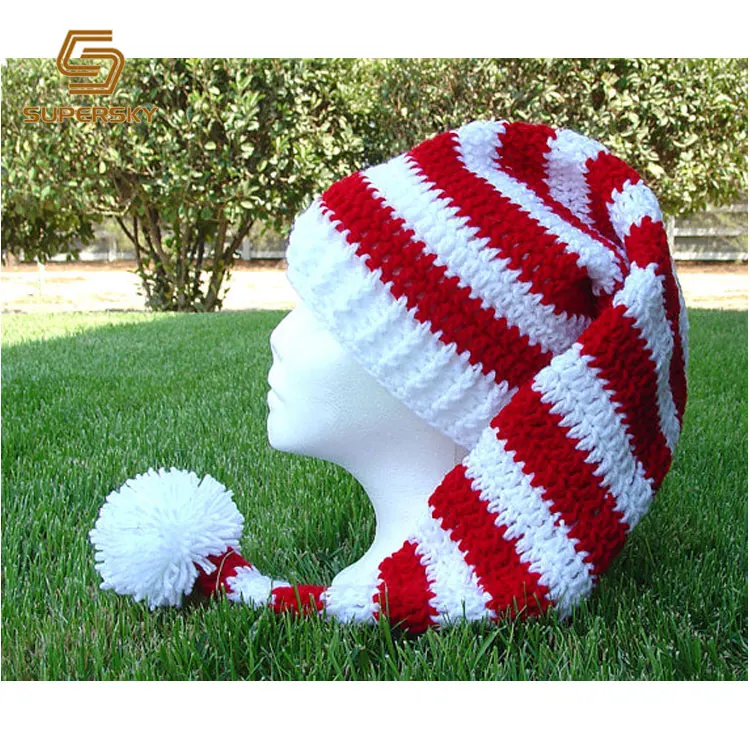
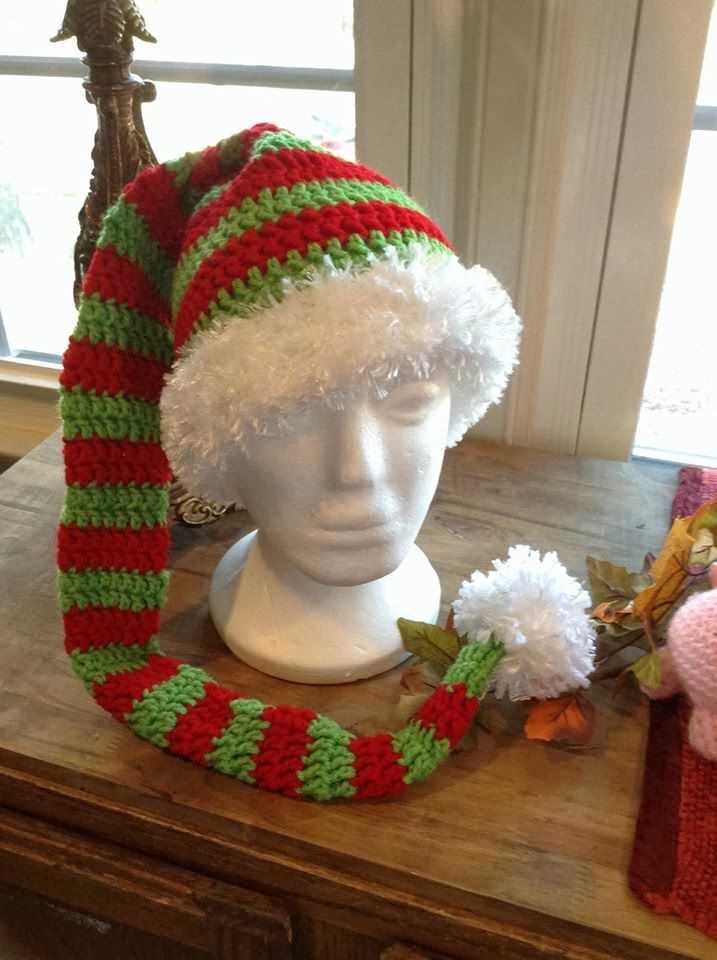
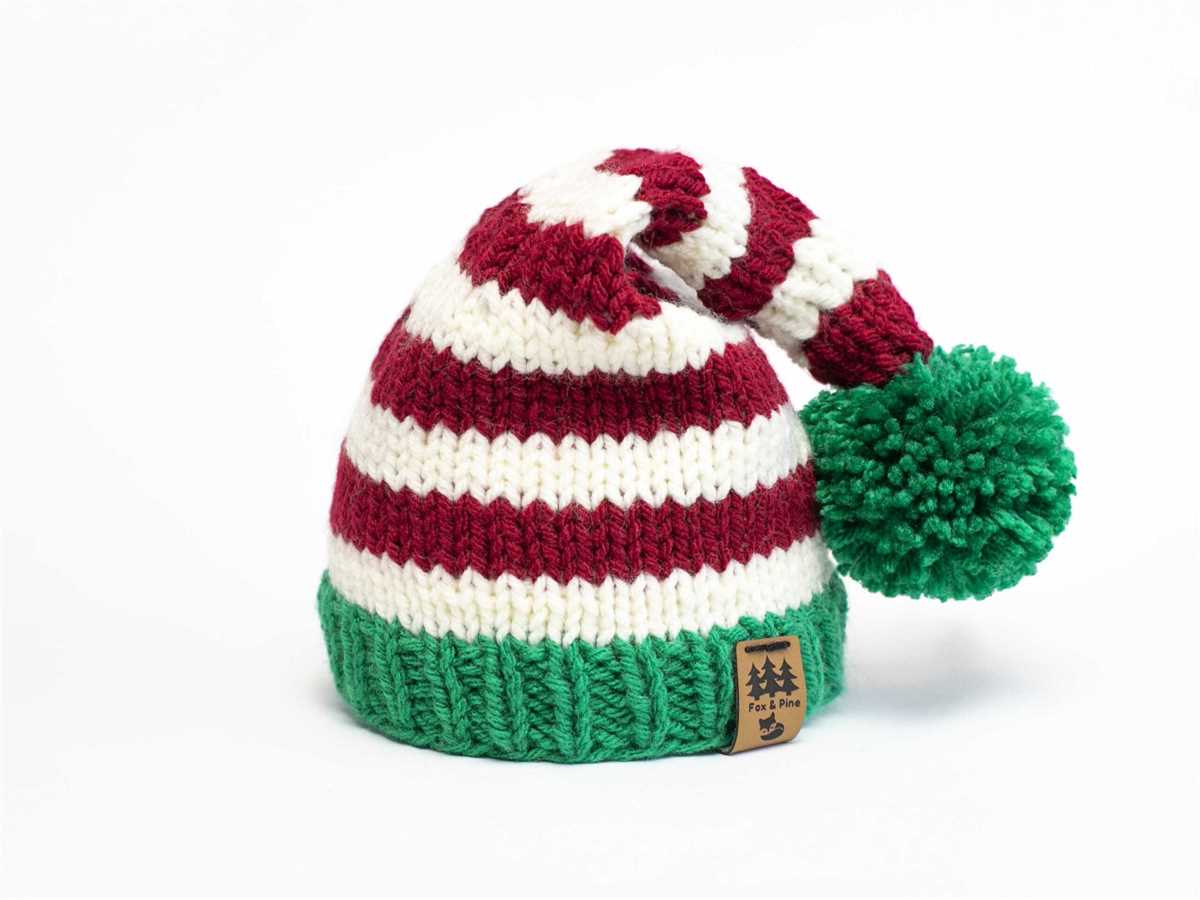
- Stripes: Add colorful stripes to your elf hat by changing colors every few rows. You can create a bold, contrasting look or opt for more subtle, complementary colors.
- Pom-pom: Attach a fluffy pom-pom on top of your elf hat for a playful and whimsical touch. You can use a matching yarn color or go for a contrasting color for added visual interest.
- Ear flaps: Add ear flaps to your elf hat to keep your ears extra warm. Simply extend the sides of the hat and create two flaps that can be tied under the chin.
- Embroidery: Personalize your elf hat by adding embroidery designs or initials. You can use colorful yarn to create eye-catching patterns or stick to a more subtle tone-on-tone look.
- Flower or bow: Attach a small knitted flower or bow to the side of your elf hat for a feminine touch. You can also use a crocheted flower or a fabric bow for a different texture.
These are just a few ideas to inspire your creativity. Feel free to experiment and come up with your own unique variations. The beauty of knitting is that you can customize your projects to suit your style and preferences. Have fun and happy knitting!