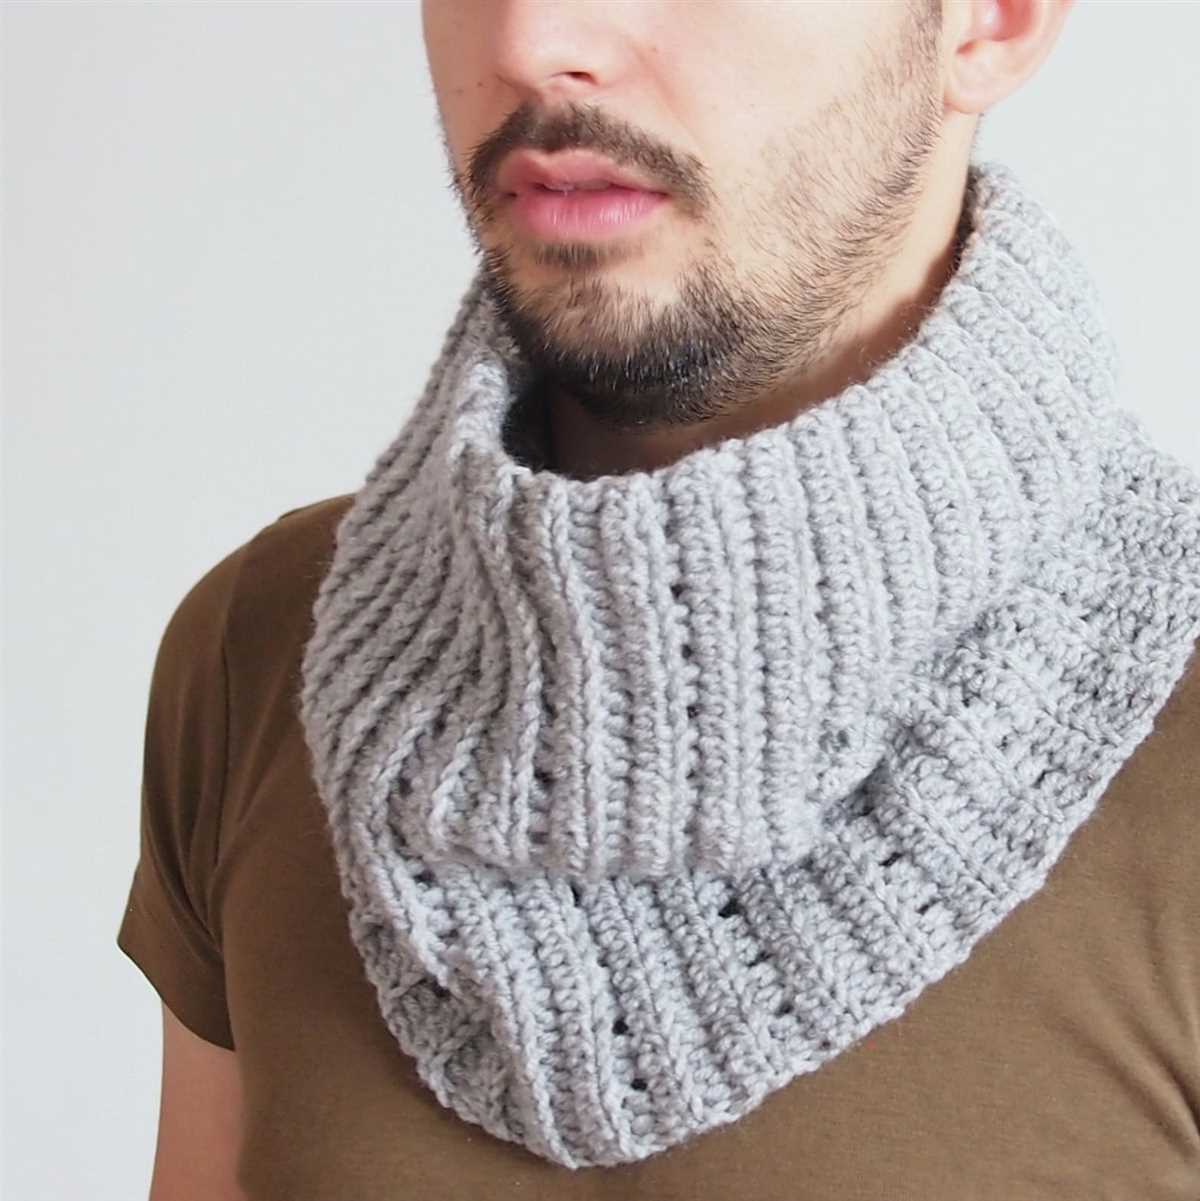
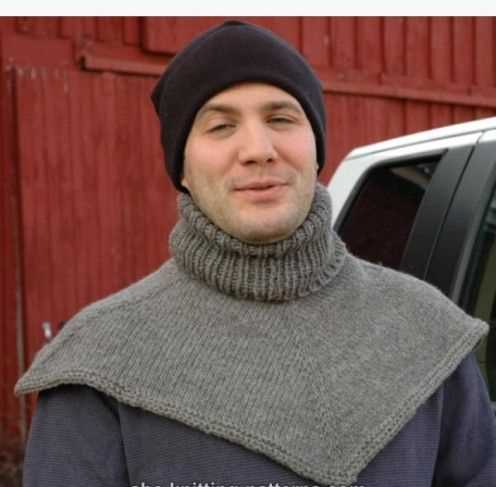
Looking for a stylish and warm accessory to add to your winter wardrobe? Look no further than this free men’s cowl knitting pattern. A cowl is a versatile and trendy accessory that can be worn in many different ways, making it the perfect addition to any outfit. Whether you’re hitting the slopes or simply want to stay cozy on a chilly day, this cowl will keep you warm and stylish.
This knitting pattern is perfect for beginners and experienced knitters alike. With just a few basic stitches and some yarn, you can create a beautiful and functional cowl in no time. The pattern provides clear instructions and helpful tips, making it easy to follow along. Plus, with a variety of yarn options available, you can customize your cowl to match your personal style.
This men’s cowl knitting pattern is ideal for gift-giving or for treating yourself. Knitted accessories are always appreciated, and this cowl is no exception. Whether you’re knitting for a friend, family member, or yourself, this cowl is sure to be a hit. The pattern allows you to easily adjust the size to fit any adult, so you can create a custom-fitting cowl every time.
Why choose a cowl
A cowl is a versatile and practical accessory that can be a stylish addition to any outfit. Whether you are braving the cold weather or looking to add a touch of fashionable flair, here are a few reasons why you should choose a cowl.
1. Protection from the elements
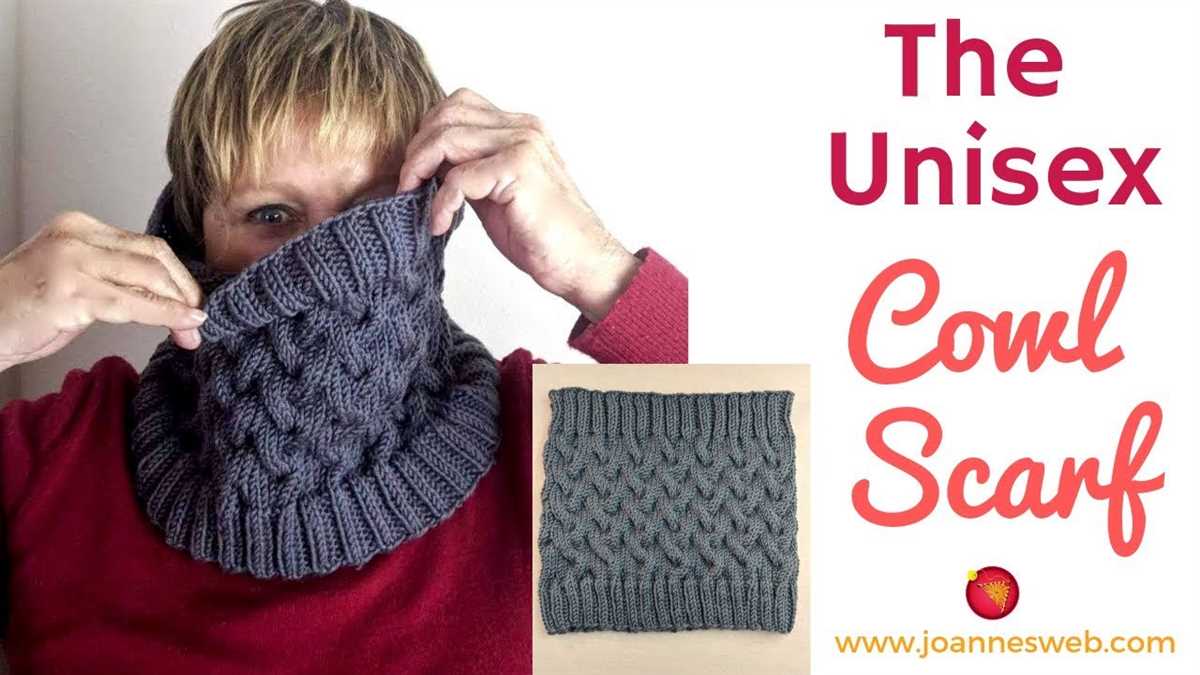
A cowl provides warmth and protection to your neck and face, keeping you cozy during chilly winter months. It acts as a barrier against cold winds and can help prevent heat from escaping from your body. This makes it an ideal choice for outdoor activities like hiking, skiing, or simply walking around town on a cold day.
2. Fashion statement
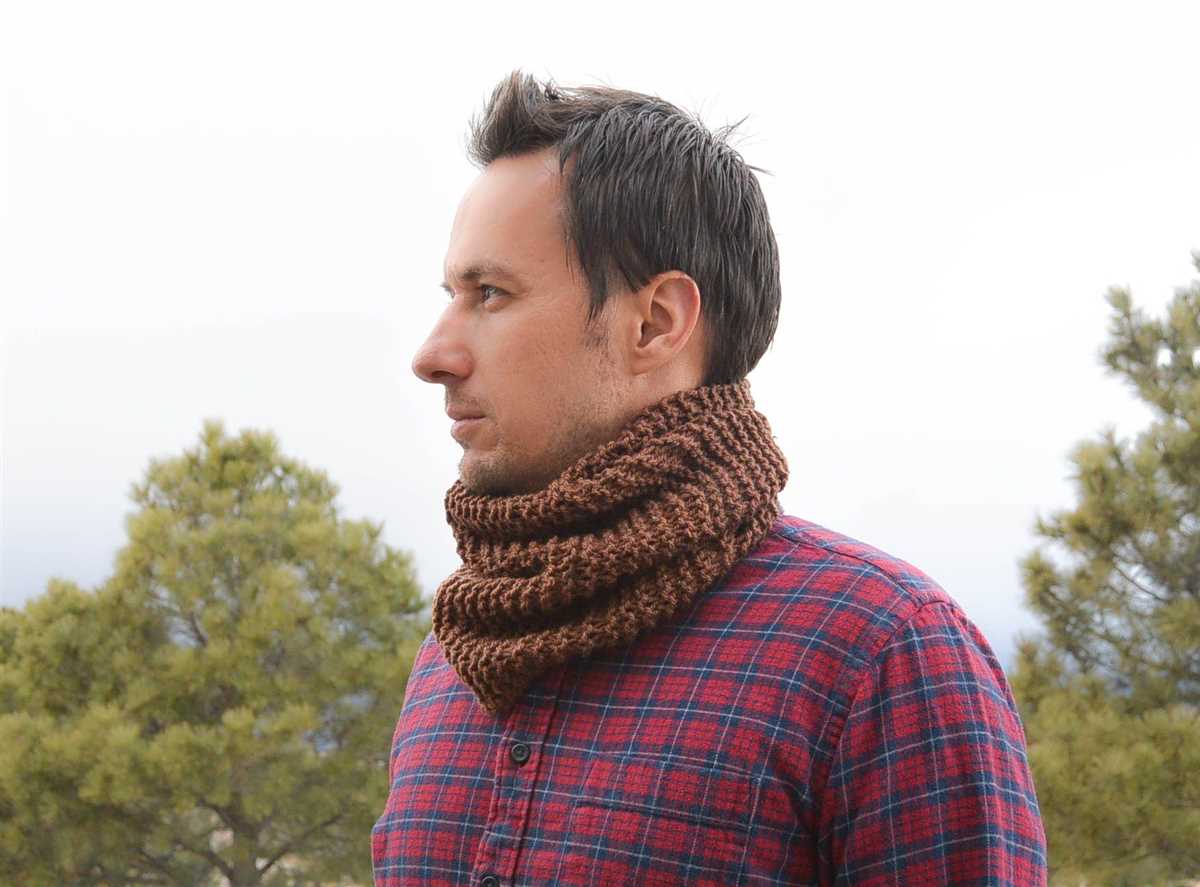
Cowls come in a variety of designs, colors, and patterns, making them a fashionable accessory that can complement any outfit. Whether you prefer a chunky knit cowl for a cozy and casual look or a sleek and stylish cowl for a more sophisticated appearance, there are endless options to choose from. You can easily find a cowl that matches your personal style and adds a fashionable touch to your overall look.
3. Versatility
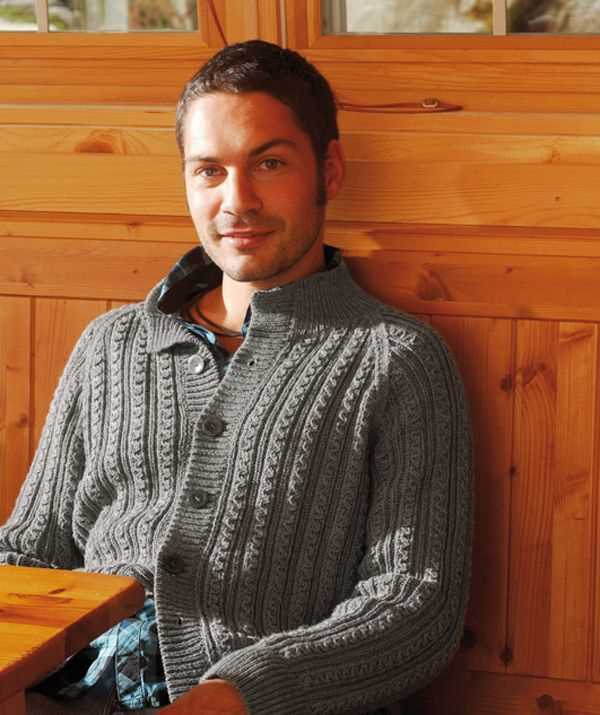
A cowl can be worn in multiple ways, offering versatility and adaptability to different styles and occasions. You can wear it loosely draped around your neck for a relaxed and casual look, or you can double it up to create a snug and cozy fit. You can also pull it up over your head and use it as a hood or a face covering when the weather gets harsh. The ability to experiment with different wearing options makes a cowl a valuable addition to your wardrobe.
4. DIY option
If you enjoy knitting or crocheting, making your own cowl can be a rewarding and fulfilling project. There are numerous free cowl knitting patterns available online, allowing you to customize your cowl according to your preferences. You can choose the type of yarn, stitch pattern, and size to create a unique and personalized cowl that reflects your creativity and craftsmanship.
In conclusion, a cowl is a practical, fashionable, and versatile accessory that offers protection from the elements while adding a touch of style to your outfit. Whether you choose to purchase a cowl or make one yourself, it is a worthy investment that can enhance your winter wardrobe and keep you cozy and chic all season long.
Materials needed
Before you start knitting your mens cowl, make sure you have all the necessary materials. Here is a list of items you will need:
- Yarn: You will need approximately 200-250 grams of bulky or super bulky weight yarn. Choose a yarn that is soft and warm, such as merino wool or alpaca.
- Knitting needles: Use a pair of US size 10 (6 mm) circular knitting needles with a 24-inch cable. Circular needles are recommended as they allow you to easily knit in the round.
- Cable needle: You will need a cable needle to create the cable stitch pattern in the cowl. Choose a cable needle in a size that is comfortable for you to work with.
- Tapestry needle: A tapestry needle will be used to weave in the loose ends of the yarn once you have finished knitting the cowl.
- Stitch markers: Stitch markers are optional but can be helpful to mark the beginning of the round or the cable pattern repeats.
Make sure to gather all these materials before you begin knitting your mens cowl. Having everything ready will make the knitting process smoother and more enjoyable. Once you have everything, you can proceed to casting on and start creating your cozy and stylish mens cowl.
Choosing the Right Yarn
When it comes to knitting a cowl, choosing the right yarn is essential to achieving the desired look and feel of the finished product. The yarn you select can greatly impact the texture, drape, and warmth of the cowl, so it’s important to consider several factors before making a decision.
Fiber Content: The fiber content of the yarn will determine its characteristics and performance. For a warm and cozy cowl, natural fibers like wool, alpaca, or cashmere are excellent choices. These fibers have excellent insulation properties and offer superior softness and warmth. If you prefer a lighter, breathable cowl, consider using cotton or linen yarns.
Weight: The weight of the yarn refers to its thickness and is typically labeled as a number from 0 (lace weight) to 7 (super bulky). The weight you choose will depend on the desired drape and thickness of your cowl. For a delicate cowl with a lacy pattern, opt for a lighter weight yarn. On the other hand, if you want a chunky and cozy cowl, go for a heavier weight yarn.
Texture: The texture of the yarn also plays a role in the overall look of the cowl. Smooth, uniform yarns create a polished and sleek appearance, while fuzzy or textured yarns can add depth and interest to the design. Consider the stitch pattern you’ll be using and how it will interact with the yarn’s texture.
Color: Finally, consider the color of the yarn and how it will complement your personal style and wardrobe. Solid, neutral colors are versatile and timeless, while variegated or self-striping yarns can create an eye-catching and unique look. Experiment with different color combinations to find the perfect yarn for your cowl.
Conclusion
In conclusion, choosing the right yarn is an important step in knitting a cowl. Consider the fiber content, weight, texture, and color to achieve the desired look and feel of the finished product. Remember to experiment and have fun with different yarn options to create a cowl that reflects your personal style and keeps you cozy and stylish all winter long.
Getting started
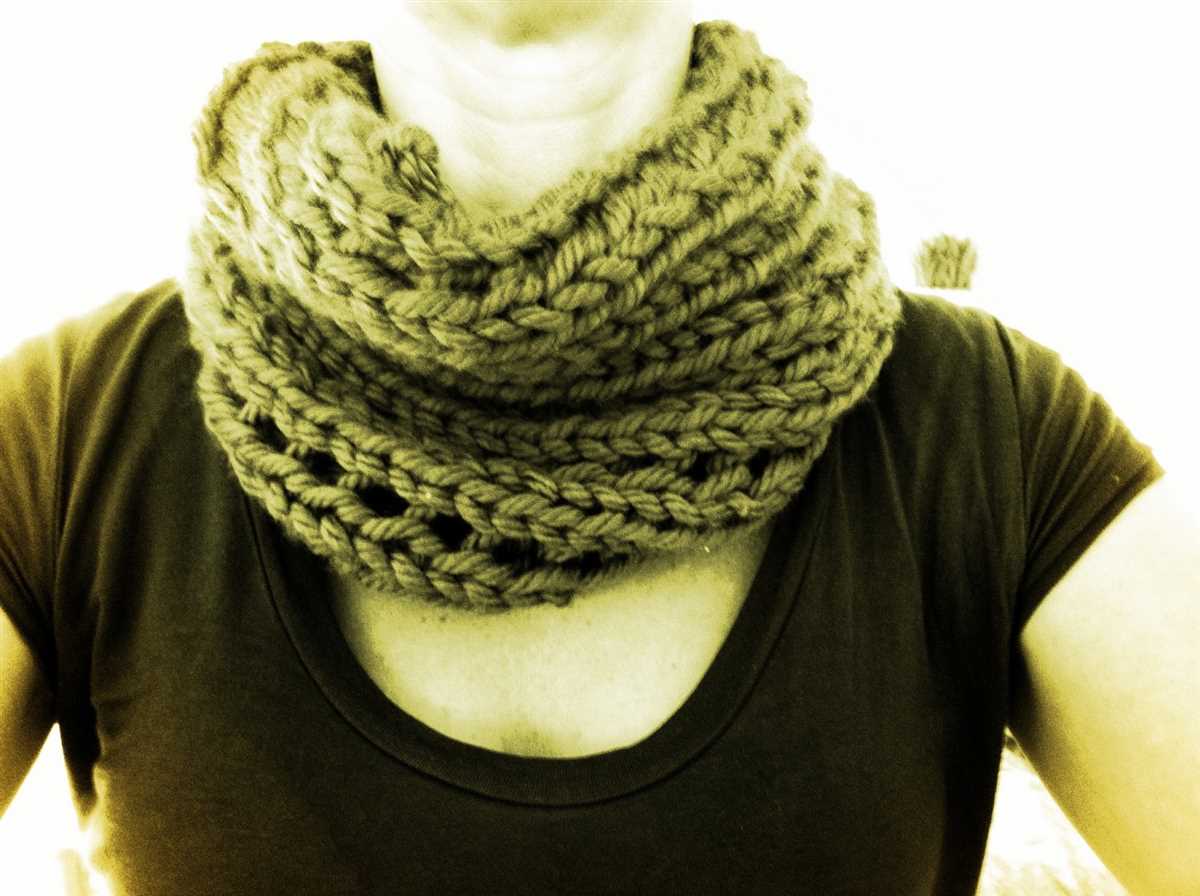
Before you begin knitting your mens cowl, it’s important to gather all the necessary materials and familiarize yourself with the pattern. This free mens cowl knitting pattern requires the following:
- Yarn: Choose a wool or acrylic yarn in the color and weight specified in the pattern. Make sure you have enough yarn to complete the project.
- Knitting needles: Use the size needles recommended in the pattern. It’s always a good idea to check your gauge before starting to ensure your cowl turns out the correct size.
- Stitch markers: These will be helpful for keeping track of your stitches and any pattern repeats.
- Tapestry needle: You’ll need this for weaving in ends and seaming your cowl.
- Scissors: A pair of sharp scissors is essential for cutting yarn.
Once you have all your materials ready, read through the pattern instructions carefully to understand the steps involved. Take note of any abbreviations or special stitches used in the pattern. It may be helpful to make a list of these for reference as you work.
If you’re new to knitting or need a refresher, there are many resources available online with tutorials and videos demonstrating different knitting techniques. Take some time to familiarize yourself with any techniques mentioned in the pattern that you’re not familiar with.
Casting on
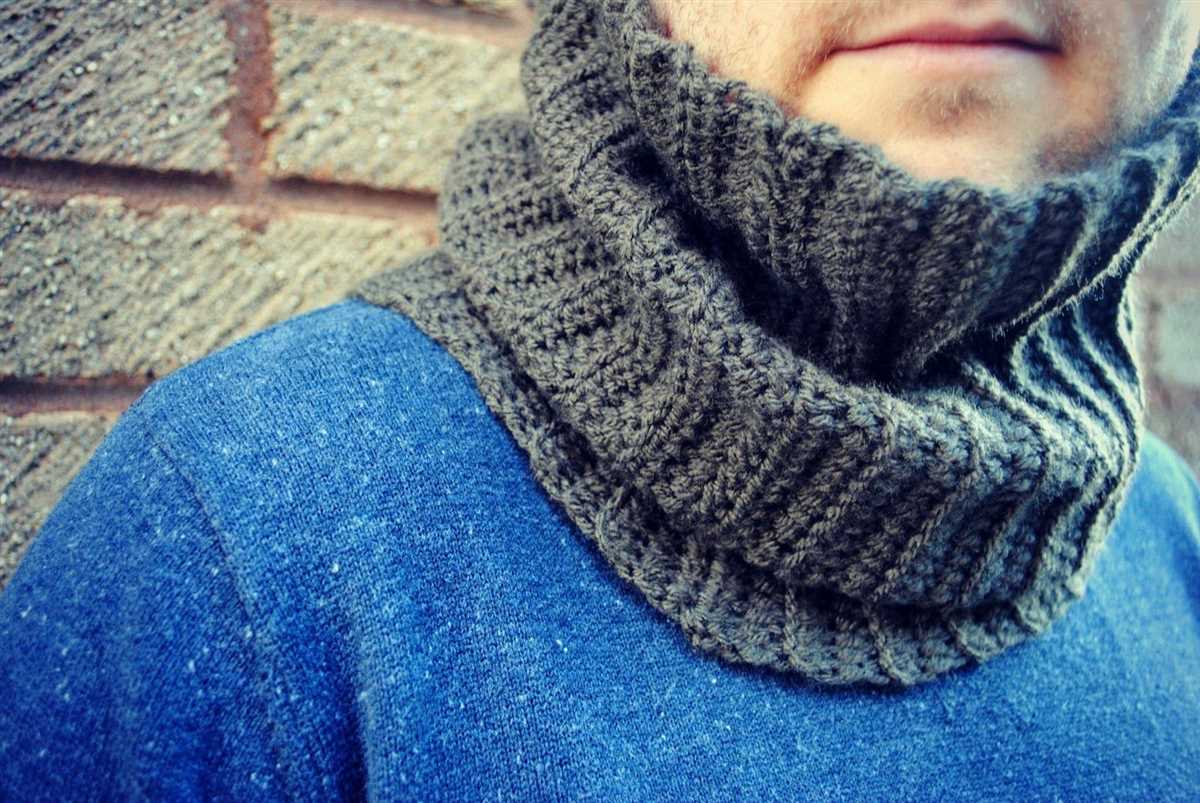
When starting a knitting project, the first step is to cast on. This is the process of creating the first row of stitches on the knitting needle. There are several different methods for casting on, each with its own advantages and uses.
Long-tail cast on
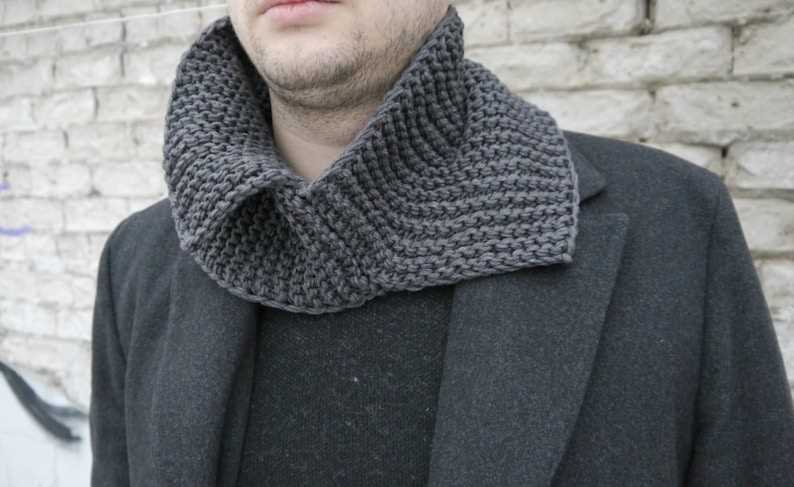
The long-tail cast on is one of the most commonly used methods. To begin, estimate the amount of yarn needed to cast on the desired number of stitches. Leave a tail that is about three times the width of the finished project. Next, make a slipknot and place it on the knitting needle. Hold the needle in your right hand and the tail end of the yarn in your left hand. Use your thumb and index finger to create a loop with the working yarn, and then pull a stitch through the loop. Repeat this process until the desired number of stitches is cast on.
Cable cast on
The cable cast on method creates a neat and firm edge. Begin by making a slipknot and placing it on the knitting needle. Insert the right-hand needle into the slipknot from left to right, as if to knit. Wrap the working yarn around the right-hand needle, and then pull a stitch through the slipknot. Place the new stitch on the left-hand needle, and repeat the process until the desired number of stitches is cast on.
Knitted cast on
The knitted cast on is similar to the cable cast on method, but it creates a looser and more elastic edge. Start by making a slipknot and placing it on the knitting needle. Insert the right-hand needle into the slipknot from left to right, as if to knit. Wrap the working yarn around the right-hand needle, and then pull a stitch through the slipknot. Place the new stitch on the left-hand needle, and repeat the process until the desired number of stitches is cast on.
These are just a few of the many casting on methods available. Each method has its own unique characteristics and can create different effects in the finished project. Experiment with different methods to find the one that works best for your project.
Knitting the body of the cowl
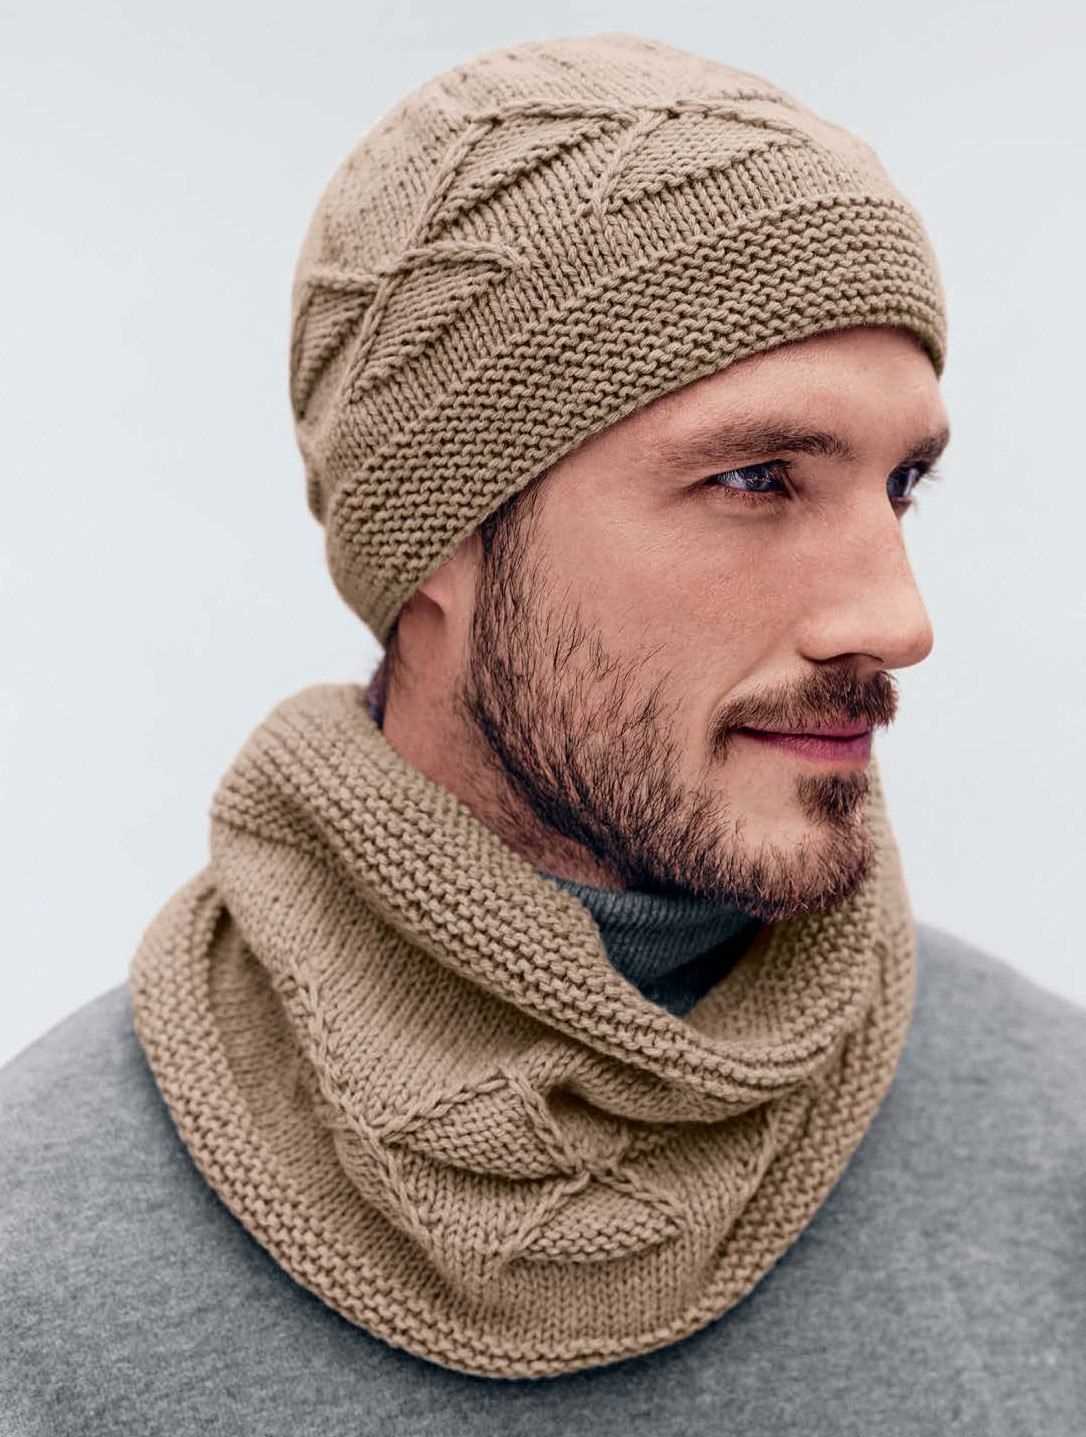
After completing the ribbed edging, it’s time to move on to knitting the body of the cowl. This is where you’ll really start to see your project come together.
To begin, you’ll continue working in the round, just as you did for the edging. You’ll need to follow the pattern instructions for the stitch pattern that you’ve chosen. This could be a simple stockinette stitch, a textured pattern, or even a cable design. Whatever you choose, make sure to reference the pattern for any specific stitch instructions.
As you work your way around the cowl, you’ll need to pay attention to your stitch count to ensure that you’re on track. If you’re working with a multiple of stitches, make sure to adjust your markers accordingly so you can easily keep track of your progress.
If you’re new to knitting or using a more complex stitch pattern, it’s a good idea to double-check your work occasionally to make sure you haven’t made any mistakes. This can save time and frustration later on when it’s more difficult to correct any errors.
As you continue knitting the body of the cowl, you’ll start to see the fabric take shape and the stitches build upon each other. This is the exciting part where you can see your hard work paying off. Take your time and enjoy the process as you create a beautiful and cozy cowl.
Once you’ve completed the desired number of rounds for the body of the cowl, you’ll be ready to move on to the next step, whether it’s the final edging or any additional finishing touches. Follow the pattern instructions to ensure that you’re completing each step correctly and creating the desired finished look for your cowl.
Adding Ribbing
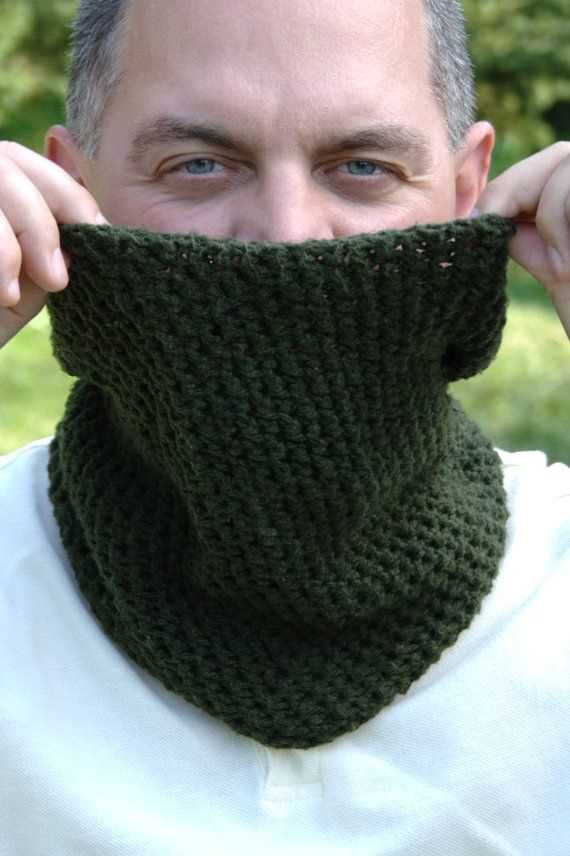
Adding ribbing to a cowl is a great way to add texture and stretch to your knitting project. Ribbing is created by alternating knit and purl stitches in a specific pattern. It is commonly used along the edges of garments to create a finished look and add flexibility.
To add ribbing to your mens cowl knitting pattern, you can start by casting on the desired number of stitches. Then, work a few rows in a basic knit stitch to create a foundation for the ribbing.
Next, you can start the ribbing pattern by working a few rows of knit and purl stitches in a specific sequence. For example, you can create a classic 1×1 ribbing by alternating one knit stitch and one purl stitch for each row. This pattern will create a stretchy ribbing that is commonly used for cuffs, collars, and hems.
If you prefer a wider ribbing, you can try a 2×2 ribbing pattern, which involves alternating two knit stitches and two purl stitches for each row. This pattern will create a more pronounced ribbed texture and can add extra stretch to your cowl.
Once you have completed the desired number of ribbing rows, you can then continue with the rest of your cowl pattern. The ribbing can also be used to create a neat bind off edge for your project.
Experimenting with different ribbing patterns and stitch combinations can add visual interest to your mens cowl and make it truly unique. Whether you choose a classic 1×1 ribbing or a more elaborate ribbing pattern, adding ribbing is a great way to elevate your knitting project to the next level.
Binding off
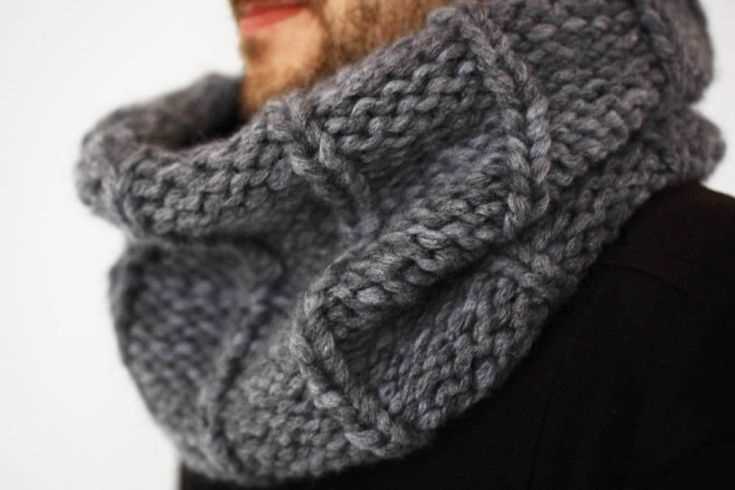
When you have finished knitting your cowl and you are ready to take it off the needles, you will need to bind off. Binding off is the process of closing off your stitches so that they do not unravel. It is important to bind off properly to ensure that your project stays intact.
To bind off, start by knitting the first two stitches as normal. Then, use your left-hand needle to lift the first stitch over the second stitch and off the right-hand needle. This creates a bind off stitch. Repeat this process, knitting the next stitch and then lifting the previous stitch over it, until you have bound off all of your stitches.
There are different variations of binding off that you can use depending on the desired result. If you want a looser bind off, you can use a larger needle size to bind off, or you can bind off using the yarn over (YO) method. This method creates a slightly stretchier bind off.
If you want a decorative edge, you can also use a picot bind off. This bind off method creates small loops along the edge of your project, giving it a lacy appearance. To do a picot bind off, you will knit two stitches, then bind off three stitches by lifting the first stitch over the second and third stitches. Then, cast on two stitches using the backward loop method. Repeat this process until all stitches are bound off.
Finishing touches
When it comes to finishing touches on your mens cowl, there are a few key details to pay attention to. These small touches can make a big difference in the final look and feel of your project.
Blocking: Blocking is an important step in making sure your cowl lays flat and looks polished. After completing the knitting, wet blocking can help even out any uneven stitches and give the cowl a professional finish. Simply soak the cowl in lukewarm water, gently squeeze out the excess water, and then spread it out on a towel to dry. You can shape it how you want it while it dries, ensuring it will retain its shape.
Seaming: If your cowl is worked in multiple pieces that need to be seamed together, carefully sewing the pieces together is crucial for a seamless look. Use a tapestry needle and the same yarn you used for knitting to weave in and out of the stitches, making sure to match up the pattern and avoid any gaps or puckering.
Edging: Adding a decorative edging can be a nice finishing touch to your cowl. You could use a contrasting color or a different stitch pattern to create a border. This not only adds visual interest, but it can also help prevent the edges from rolling or curling up.
Labels and tags: If you plan on giving your cowl as a gift or selling it, consider attaching a label or tag with your name or brand. This adds a professional touch and allows the recipient or buyer to easily identify the maker of the cowl.
By paying attention to these finishing touches, you can elevate your mens cowl from a basic knitting project to a professional-looking accessory that is sure to impress.
Blocking the cowl
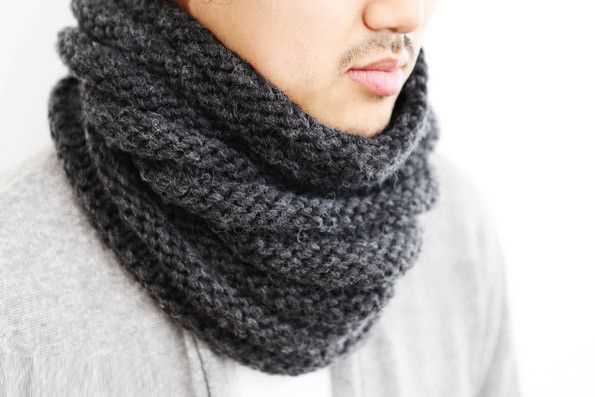
The final step in completing your cowl is blocking. Blocking is an essential process in knitting that helps to shape your finished piece and give it a professional look. It involves wetting the cowl, stretching it to the desired size and shape, and then allowing it to dry in that stretched state. This helps to even out stitches, open up lacework, and give your cowl a polished finish.
To begin blocking your cowl, fill a basin or sink with lukewarm water and add a small amount of wool wash or mild detergent. Gently submerge the cowl in the water and let it soak for about 15 minutes. Avoid agitating or twisting the cowl, as this can cause the fibers to become misshapen or felted.
Next, carefully remove the cowl from the water and gently squeeze out the excess moisture. Lay out a clean towel or blocking mat and lay the cowl flat on top. Use your hands to gently stretch the cowl to the desired size and shape. You can use blocking pins or T-pins to help secure the edges and keep them in place while drying.
Allow the cowl to dry completely in its stretched state. This can take anywhere from several hours to overnight, depending on the humidity and airflow in your home. Once the cowl is dry, carefully remove the pins and give it a final inspection to ensure it has maintained its shape.
Blocking is an important step in finishing your cowl and can make a significant difference in the final result. It may seem like an extra step, but the time and effort you put into blocking will be well worth it when you see the beautifully finished cowl that you have created.
Tips and Tricks for Knitting a Mens Cowl
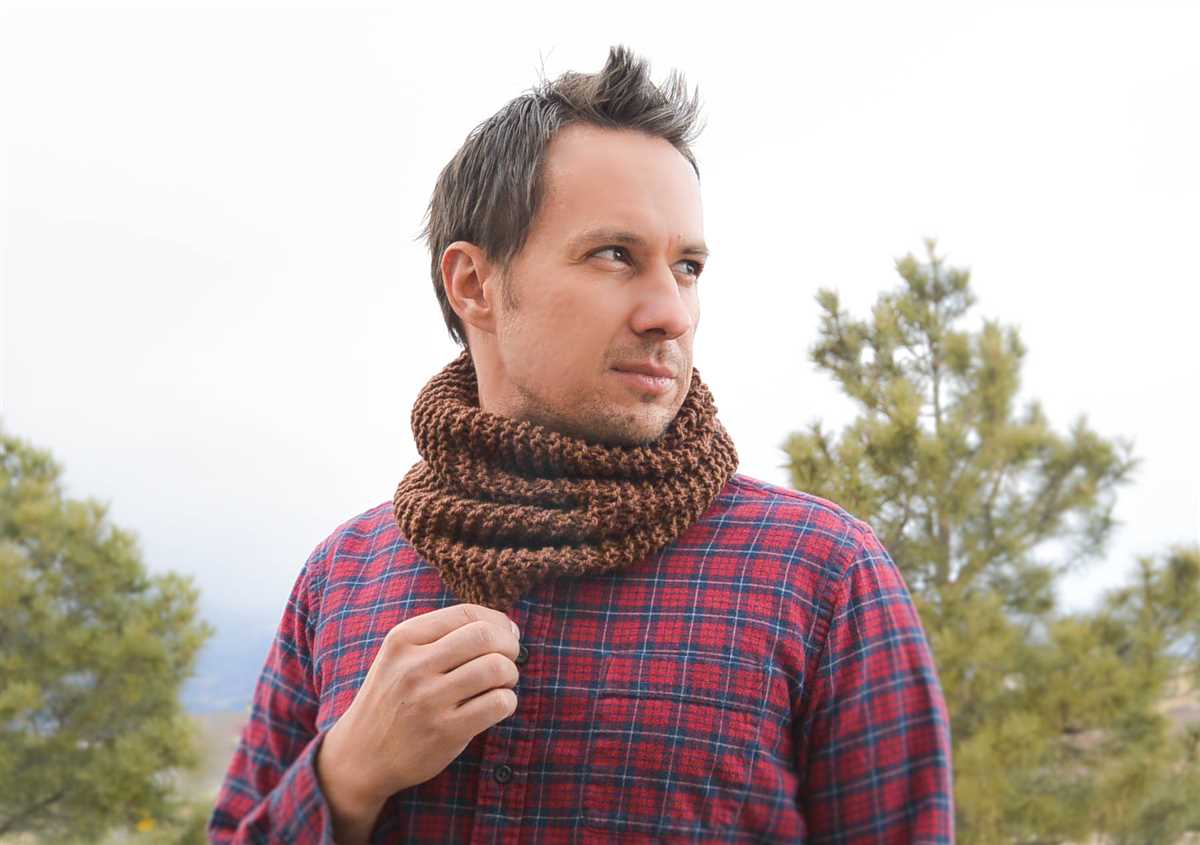
When it comes to knitting a mens cowl, there are a few tips and tricks that can help you achieve the best results. Whether you’re a beginner or an experienced knitter, these tips will come in handy.
1. Choose the Right Yarn
When selecting yarn for your mens cowl, it’s important to consider the texture, weight, and warmth of the yarn. Opt for a thicker, bulkier yarn that will provide extra warmth during the colder months. Look for yarns that have a high-quality texture, such as merino wool or alpaca, as they will be soft and comfortable to wear.
2. Use the Right Needles
The right needles can make a big difference in the outcome of your mens cowl. For a chunky and cozy cowl, use larger-sized needles. Circular needles are a great choice as they allow you to easily work in the round. Additionally, using interchangeable needles can give you the flexibility to adjust the length of your cowl if needed.
3. Follow the Pattern Carefully
When knitting a mens cowl using a free pattern, it’s important to carefully read and follow the instructions provided. Make sure to check your gauge before starting the project to ensure the correct sizing. Pay attention to any special stitch patterns or techniques mentioned in the pattern, as they can add unique details to your cowl.
4. Practice Proper Tension
Proper tension is essential for achieving an even and professional-looking mens cowl. Make sure to knit with a relaxed hand and avoid pulling the yarn too tightly. If you find that your stitches are too tight, try using larger needles or adjust your knitting technique. Regularly check your tension as you work on your cowl to ensure consistency.
5. Add Personal Touches
Don’t be afraid to customize your mens cowl to make it unique and special. Consider adding a decorative border, such as a ribbed or garter stitch edge, to give your cowl a polished look. You can also experiment with different colors or yarn textures to create a stylish and personalized accessory.
By keeping these tips and tricks in mind, you’ll be well-equipped to knit a mens cowl that is cozy, stylish, and perfect for the colder season. Happy knitting!
Variations of the Pattern

While the free men’s cowl knitting pattern provided above is a great starting point, there are several ways you can modify it to create your own unique design:
- Yarn Choice: Experiment with different types of yarn to achieve different textures and looks. A chunky weight yarn will create a thicker, cozier cowl, while a lighter weight yarn will result in a more delicate and drapey finished product.
- Stitch Patterns: Feel free to play around with different stitch patterns to add visual interest to your cowl. You can try cables, lace, or even colorwork to create a one-of-a-kind design.
- Length and Width: Customize the size of your cowl by adjusting the number of cast-on stitches and the length of your knitting. A longer cowl can be worn looped around the neck multiple times, while a wider cowl can be folded over for extra warmth.
- Button or Closure: Instead of knitting the cowl in the round, you can opt for knitting it flat and adding buttons or a closure for a different look. This allows for easier on and off and adds a stylish touch.
With these variations in mind, you can create a men’s cowl that perfectly suits your style and preferences. Have fun experimenting and don’t be afraid to make it your own!
Q&A:
What is a mens cowl?
A mens cowl is a type of knitted accessory that is designed to be worn around the neck. It is similar to a scarf but shorter and typically wider, providing warmth and protection from the cold weather.
Where can I find free mens cowl knitting patterns?
There are several websites and online platforms that offer free mens cowl knitting patterns. Some popular options include Ravelry, LoveKnitting, and AllFreeKnitting. These platforms have a wide selection of patterns to choose from, ranging from simple designs to more intricate ones.
What materials do I need to knit a mens cowl?
To knit a mens cowl, you will need a pair of knitting needles, yarn of your choice, and a tapestry needle for weaving in the ends. The specific size of needles and weight of yarn will depend on the pattern you choose. Make sure to check the pattern for any additional materials or tools that may be required.
Are mens cowls difficult to knit?
The difficulty level of knitting a mens cowl will depend on the specific pattern and your knitting skills. Some patterns may be more advanced and require knowledge of certain stitches or techniques, while others may be suitable for beginners. It is important to choose a pattern that matches your skill level and to take your time with each step.
Can I customize a mens cowl pattern?
Yes, you can definitely customize a mens cowl pattern to fit your preferences. You can modify the dimensions of the cowl, change the stitch pattern, or add embellishments such as buttons or a decorative edging. When customizing a pattern, it is important to make a gauge swatch to ensure that your modifications will yield the desired size and fit.