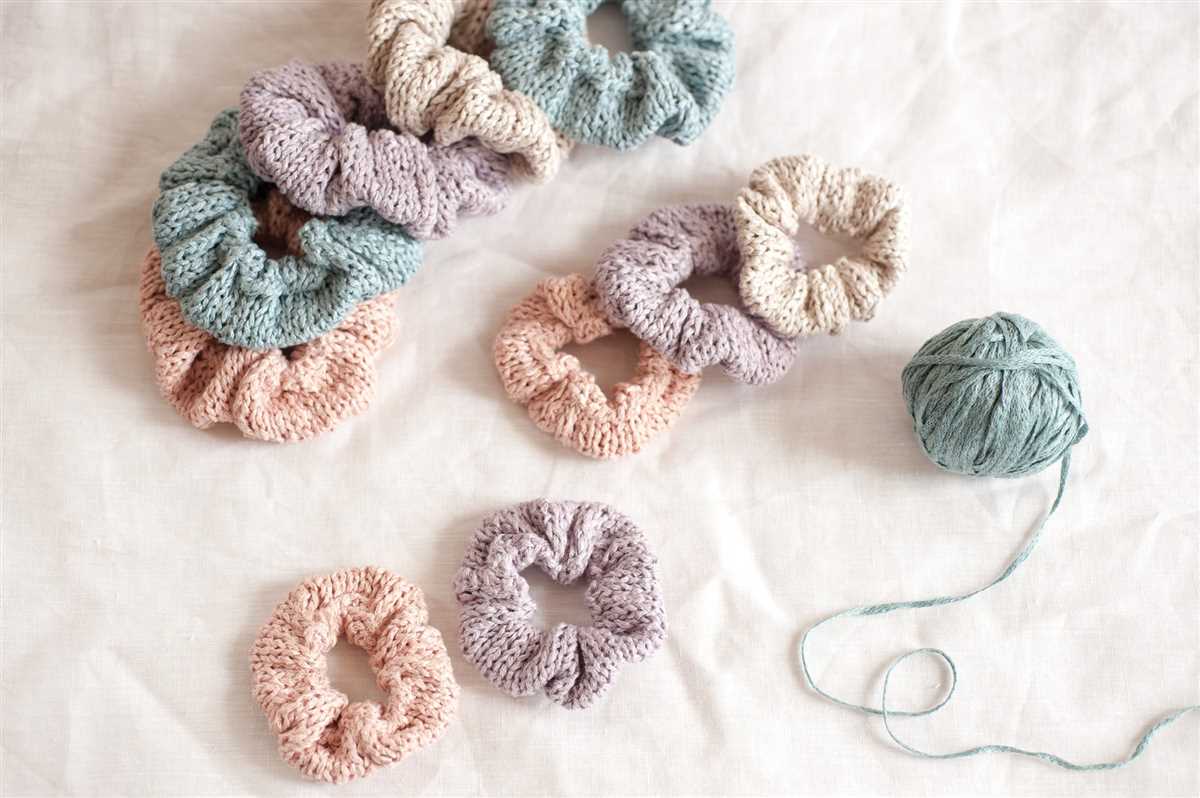
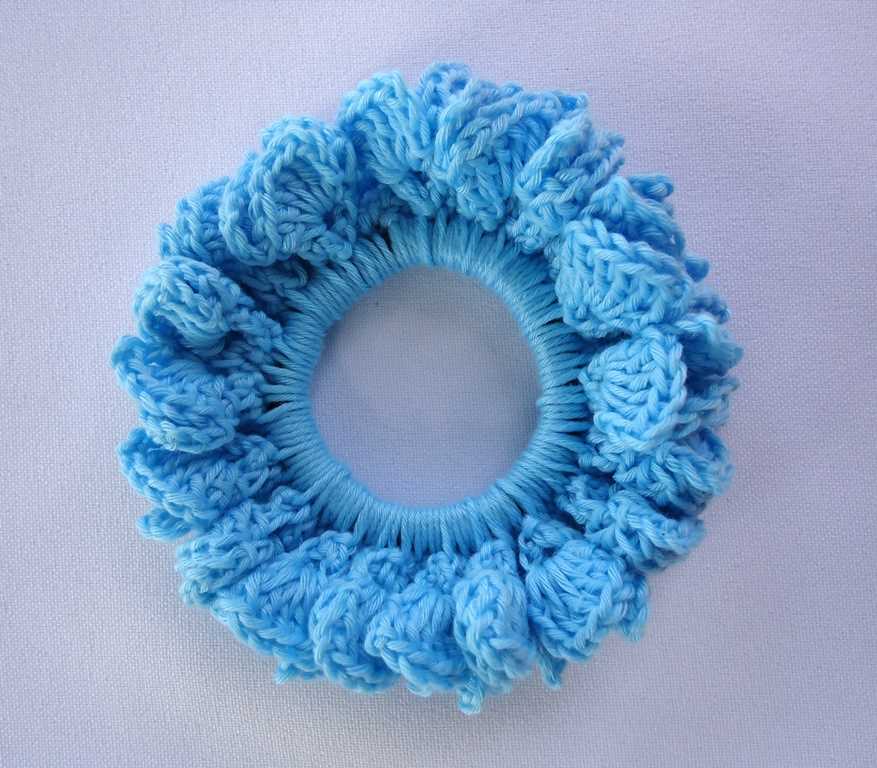
Ever since scrunchies made a comeback, they have become a must-have accessory for many fashion-forward individuals. And what better way to add a personal touch to your outfit than by knitting your own scrunchies?
In this article, we will provide you with a free scrunchie knitting pattern that is perfect for beginners and experienced knitters alike. Whether you’re looking for a unique gift or want to add a pop of color to your own hair, this pattern is sure to please.
Knitting your own scrunchies allows you to choose the yarn, color, and texture that best match your style. Plus, knitting is a relaxing and enjoyable activity that can be done in your spare time. By following our step-by-step instructions, you’ll have a beautiful handmade scrunchie in no time.
Materials

Before you start knitting your own scrunchie, you’ll need a few materials. Here’s a list of everything you’ll need:
- Yarn: Choose a soft and stretchy yarn for your scrunchie. A cotton blend or acrylic yarn will work well.
- Knitting needles: You’ll need a pair of knitting needles in the size recommended for your yarn. Circular or double-pointed needles work best.
- Elastic band: To give your scrunchie its signature stretch, you’ll need a small elastic band. Make sure it’s the right size for your wrist.
- Tapestry needle: This needle will come in handy for sewing up your scrunchie and weaving in any loose ends.
- Scissors: You’ll need a pair of sharp scissors for cutting the yarn and elastic.
- Stitch markers: Optional, but helpful for keeping track of your stitches.
Once you have all of these materials gathered, you’ll be ready to start knitting your scrunchie. Make sure to choose colors and materials that you love, as this will be a fun accessory to wear or gift to a friend!
Gauge
Gauge is an important aspect of knitting that determines the size of your finished project. It refers to the number of stitches and rows per inch that you achieve when working with a particular yarn and needle size. Each knitting pattern will specify a suggested gauge, which you should follow to ensure that your project turns out the correct size.
When starting a new project, it is essential to make a gauge swatch to test your tension. A gauge swatch is a small sample of knitting worked in the specified pattern using the recommended needles. By measuring the gauge swatch, you can determine if your knitting matches the pattern’s gauge. If your gauge is too loose, you may need to use smaller needles to achieve the correct tension, whereas if your gauge is too tight, larger needles may be necessary.
The gauge is crucial because it affects the overall fit and size of your knitted item. For example, if you are making a sweater and your gauge is off, the sweater may end up too big or too small. By taking the time to knit a gauge swatch and adjust your needle size if necessary, you can ensure that your finished project matches the measurements provided in the pattern.
Remember that individual tension can vary, so even if you are using the same yarn and needle size as specified in the pattern, your gauge may still differ. Therefore, it’s crucial to knit a gauge swatch and compare it to the pattern’s suggested gauge. This step will help you achieve the best results and ensure that your finished project turns out as intended.
Abbreviations
In knitting patterns, abbreviations are commonly used to make the instructions more concise and easier to read. Understanding these abbreviations is essential for successfully completing a pattern. Here are some common abbreviations you may come across when knitting scrunchies:
- K: Knit
- P: Purl
- YO: Yarn over
- K2tog: Knit two stitches together
- P2tog: Purl two stitches together
- RS: Right side
- WS: Wrong side
- St(s): Stitch(es)
- Rep: Repeat
These abbreviations will be found within the pattern’s instructions and indicate specific actions or techniques to be used. For example, if a pattern says “K2, P2, rep to end,” it means to knit two stitches, purl two stitches, and repeat this sequence until you reach the end of the row.
It can be helpful to keep a knitting abbreviations reference guide handy while working on a pattern, especially if you are new to knitting or unfamiliar with certain abbreviations. This way, you can quickly look up any abbreviations you are unsure about and ensure that you are following the pattern correctly. Over time, you will become more familiar with these common abbreviations and be able to recognize them without needing to refer to a guide.
Instructions
Here is a basic knitting pattern to create your own scrunchie. This pattern is suitable for beginners and uses simple knitting stitches.
Materials Needed:
- Worsted weight yarn in your preferred color
- Size US 8 (5mm) knitting needles
- Elastic hair tie
- Tapestry needle
Step 1: Cast On
Start by casting on 60 stitches using the long tail cast on method. Make sure to leave a long tail for later sewing.
Step 2: Knit Rows
Row 1: Knit all stitches.
Row 2: Purl all stitches.
Repeat these two rows until your work measures about 1.5 inches.
Step 3: Knit Ribbing

Switch to a ribbing pattern by alternating knit and purl stitches. The ribbing pattern can be as simple as knit 2, purl 2, or you can create your own desired pattern.
Continue knitting in the ribbing pattern until your work measures about 4 inches.
Step 4: Bind Off

Bind off all stitches using a basic bind off method. Cut the yarn, leaving a long tail for sewing.
Step 5: Sewing
Use the tapestry needle to sew the two short edges of your knitted piece together, creating a tube. Make sure to sew tightly and secure the ends.
Insert the elastic hair tie into the tube and sew the ends of the tube together, securing the hair tie in place.
Weave in any loose ends and trim off excess yarn.
Your scrunchie is now ready to use! Feel free to experiment with different yarn colors and patterns to create a variety of stylish scrunchies.
Step 1: Cast on stitches
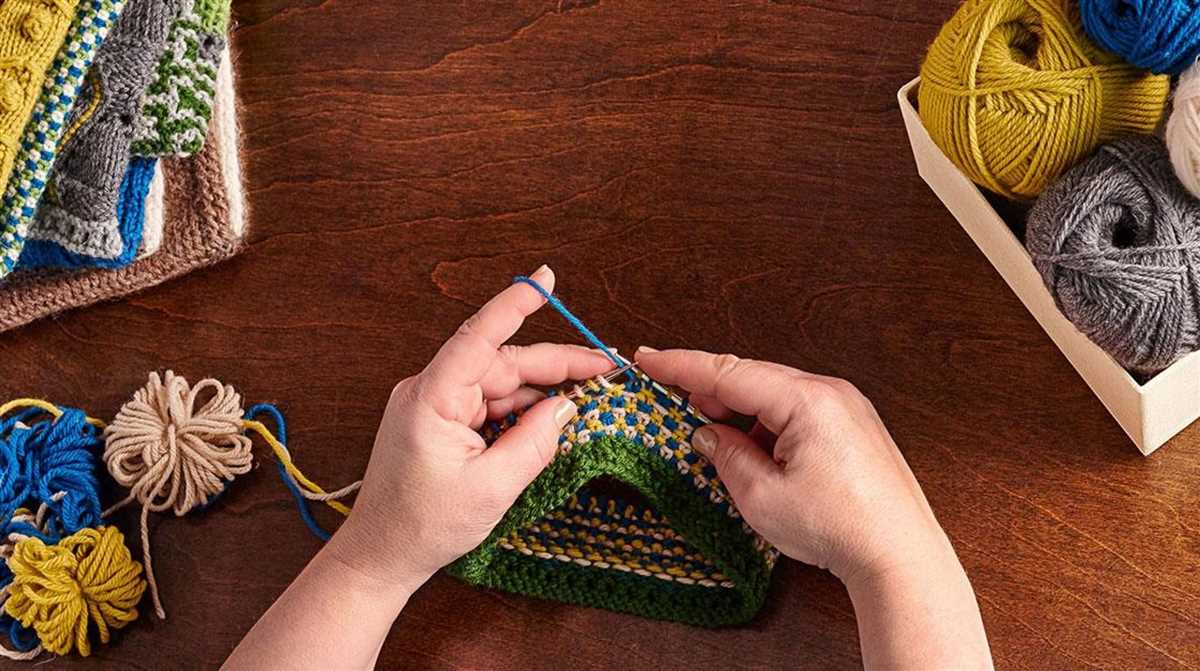
Before you can start knitting your scrunchie, you’ll need to cast on the required number of stitches. Casting on is the process of creating the foundation row of stitches that will be used to create your project.
To cast on stitches for your scrunchie, you can use any method you prefer. One common method is the long-tail cast on, which provides a neat and flexible edge. To use this method, you’ll need to estimate how much yarn you’ll need for your cast on and then leave a long tail. Holding the tail and working yarn in your hands, create a slipknot and place it on one of your knitting needles.
Once you have the slipknot on your needle, you can begin casting on stitches. Insert the needle with the slipknot into your dominant hand, and hold the working yarn in your non-dominant hand. Using your non-dominant hand, wrap the working yarn around your thumb and forefinger, creating a loop. Then, using the needle in your dominant hand, insert it through the loop and pull the working yarn through to create a new stitch. Repeat this process until you have cast on the required number of stitches for your scrunchie pattern.
Make sure to keep your tension even as you cast on stitches, as it will affect the overall look and fit of your scrunchie. Once you have cast on all the stitches, you can continue on to the next step of your knitting pattern.
Step 2: Knit the first row
Now that you have cast on the required number of stitches for your scrunchie, it’s time to start knitting the first row. Before we begin, make sure you have your knitting needles and yarn ready.
To knit the first row, hold the knitting needle with your cast-on stitches in your right hand. Insert the tip of the left needle into the first stitch from left to right.
Using your right hand, bring the working yarn over the tip of the right needle and to the back. The working yarn should be behind both needles.
Next, with your right hand, bring the tip of the right needle under the left needle and through the first stitch, creating a loop on the right needle.
Gently pull the right needle and the loop through the first stitch, sliding it off the left needle. Now the first stitch is on the right needle, and the second stitch is ready to be worked.
Continue this process for the remaining stitches, inserting the right needle into each stitch, bringing the yarn over, and pulling the loop through. Make sure to keep the tension of the yarn consistent to create even stitches.
Once you have knitted all the stitches in the row, you have completed the first row of your scrunchie. Congratulations! Now you can move on to the next step in the pattern.
Step 3: Repeat pattern rows

Now that you have completed the setup rows and the initial pattern row, it’s time to repeat these pattern rows until your scrunchie reaches the desired length. Follow these instructions:
Repeat Rows 2-7
You will continue repeating the same set of rows: rows 2, 3, 4, 5, 6, and 7.
- Row 2: Purl all stitches.
- Row 3: Knit 1, *purl 1, knit 1; repeat from * to the end of the row.
- Row 4: Purl all stitches.
- Row 5: *Knit 1, purl 1; repeat from * to the end of the row.
- Row 6: *Purl 1, knit 1; repeat from * to the end of the row.
- Row 7: Purl all stitches.
Continue repeating these rows until your scrunchie has reached the desired length. You can measure the length by wrapping it around your wrist or the item you intend to wear it with. Keep in mind that the scrunchie will stretch slightly when worn, so you may want to make it slightly shorter than the final desired length.
Step 4: Increase stitches

In order to create a larger and fuller scrunchie, you will need to increase the number of stitches in your knitting pattern. This step is important for achieving the desired size and shape of your scrunchie. Here’s how you can do it:
1. Choose the appropriate method
There are several methods you can use to increase stitches in knitting, including yarn overs, knitting into the front and back of a stitch, or making a knitwise or purlwise increase. Choose the method that works best for your pattern and the look you want to achieve.
2. Identify the stitch to increase
Take a look at your knitting pattern and identify the stitch or stitches that you need to increase. This could be indicated by an increase symbol or specific instructions in the pattern.
3. Perform the increase

Once you have determined which stitch to increase, follow the instructions for the chosen method and incorporate the increase into your knitting. This may involve creating a new stitch or making changes to an existing stitch.
By increasing the number of stitches, you will create a wider and more voluminous scrunchie. Remember to keep track of your stitches and follow the pattern instructions carefully to ensure your scrunchie turns out just the way you want it.
Step 5: Decrease Stitches
Once you have worked several rows of the scrunchie pattern and have reached the desired width, it’s time to start decreasing the stitches. Decreasing the stitches will create a tapered shape at the ends of the scrunchie, allowing it to gather the fabric when worn.
To decrease stitches, you will need to knit or purl two stitches together. This is also known as a k2tog or p2tog decrease. To perform a knit two together (k2tog) decrease, insert the right needle through the next two stitches on the left needle from left to right, and knit them together as if they were a single stitch. To perform a purl two together (p2tog) decrease, insert the right needle into the next two stitches on the left needle from right to left, bring the yarn to the front, and purl them together.
Continue knitting or purling two stitches together at regular intervals across the row until you reach the other end of the scrunchie. This will slowly reduce the number of stitches and create a tapered shape. Make sure to maintain the pattern stitch as you decrease the stitches.
Once you have completed the decrease rows, you can continue knitting or purling in the pattern stitch until the scrunchie is the desired length. Remember to always end with a row that matches the stitch pattern, so that your scrunchie looks neat and finished.
Step 6: Bind off
After finishing the last row of your scrunchie, it’s time to bind off the stitches. Binding off is the process of closing the live stitches at the end of your knitting, preventing them from unraveling. Follow these steps to bind off:
- Knit the first two stitches of the row.
- Using the left needle, lift the first stitch over the second stitch and off the right needle. This creates one bound off stitch.
- Knit the next stitch on the left needle.
- Repeat steps 2 and 3 until you have one stitch remaining on your right needle.
Note: Make sure that you bind off loosely to ensure that your scrunchie has enough stretch.
Once you have bound off all the stitches, cut the yarn, leaving a tail approximately 6 inches long. Thread the tail through the last stitch and pull tight to secure. Now your knitting is complete and you have successfully bound off your scrunchie!
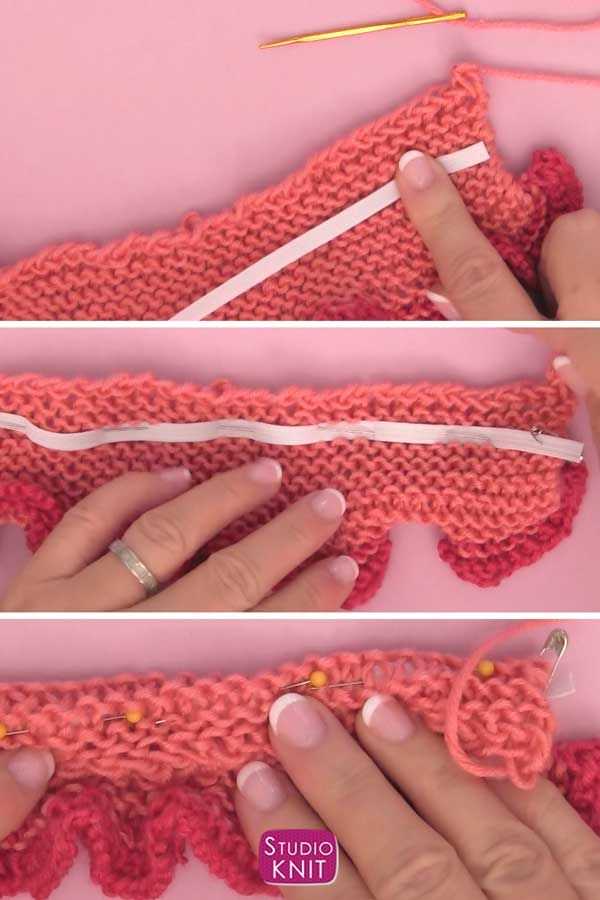
Step 7: Attach elastic

After finishing the knitting part of your scrunchie, it’s time to attach the elastic. The elastic will help the scrunchie to stretch and hold your hair securely in place.
To attach the elastic, start by folding your knitted piece in half with the wrong sides facing each other. This will create a loop shape. Place the elastic inside the loop and align its ends with the raw edges of your knitting.
Tip: You can use a safety pin or clip to hold the ends of the elastic together, making it easier to insert into the loop.
Next, use a needle and thread to sew the ends of the elastic to the knitted piece. Make sure to stitch securely to ensure that the elastic won’t come loose with use. You can use a matching thread color or contrasting color for a fun and decorative touch.
Optional: If you prefer, you can also use a sewing machine with a zigzag stitch to attach the elastic. This will create a more secure and professional-looking finish. Just be careful when sewing through the elastic to avoid breaking your needle.
Once the elastic is securely attached, your scrunchie is ready to use! Put it in your hair and enjoy the comfort and style it adds to your hairstyle. You can make multiple scrunchies in different colors to match your outfits or give them as gifts to your friends and loved ones.
Finishing touches
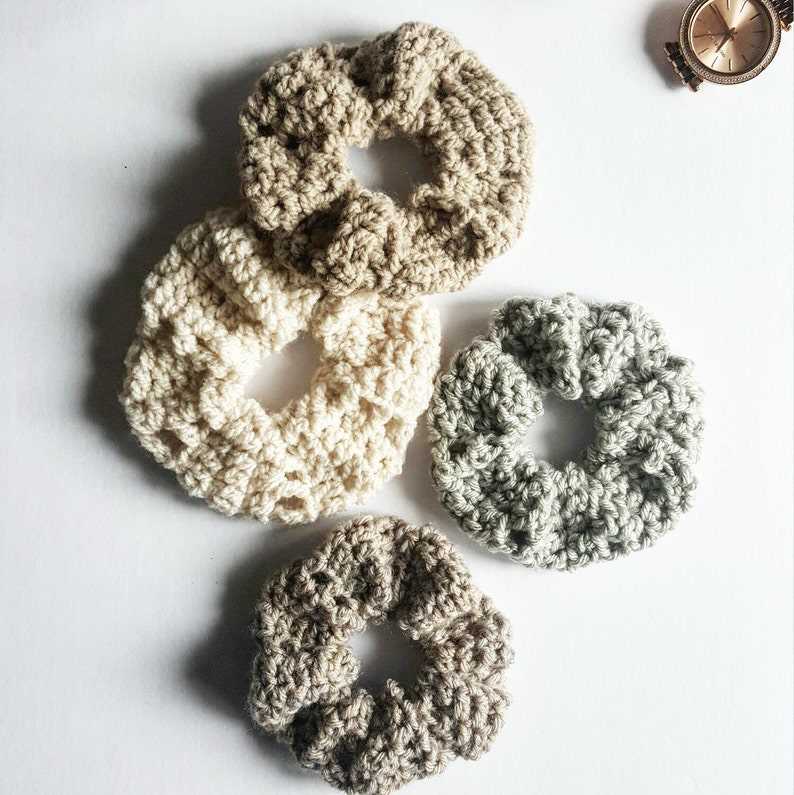
Once you have completed knitting your scrunchie, it’s time to add the finishing touches to make it look perfect. Follow these steps to complete the final stage of your knitting project.
Weaving in the ends
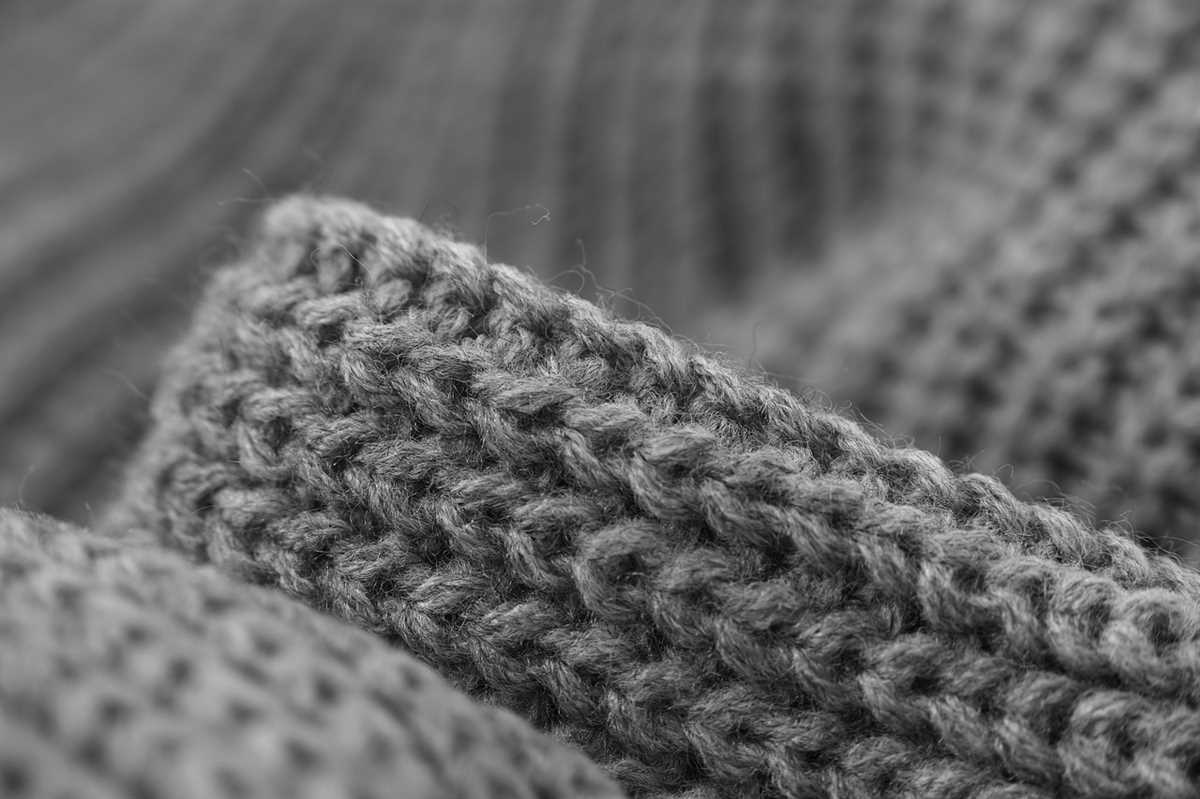
Before you can start using your scrunchie, you need to weave in the loose ends of yarn. This will give your scrunchie a neat and polished look.
- Thread a tapestry needle with one of the loose ends of yarn.
- Slowly weave the needle through the stitches on the wrong side of the scrunchie, going back and forth to secure the yarn.
- Cut off any excess yarn once you have finished weaving in the ends.
Blocking and shaping

To give your scrunchie a professional finish, you may want to block and shape it. This step is optional but can help your scrunchie maintain its shape and structure over time.
- Fill a bowl with lukewarm water and add a small amount of wool wash or gentle detergent.
- Place the scrunchie in the water and let it soak for about 10 minutes.
- Gently squeeze out the excess water and reshape the scrunchie by stretching it slightly.
- Place the scrunchie on a towel and roll it up to absorb any remaining moisture.
- Allow the scrunchie to air dry completely.
Congratulations! You have successfully completed your scrunchie knitting project. You can now enjoy your handmade scrunchie or give it as a thoughtful gift to someone special. Have fun accessorizing and experimenting with different colors and yarns to create unique and stylish scrunchies!