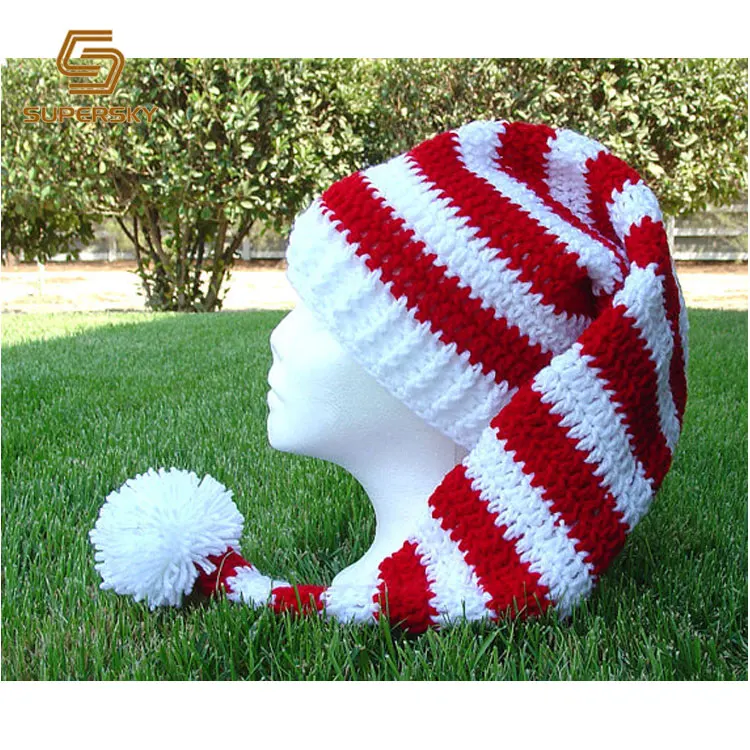
Are you looking for a cozy and stylish hat to keep you warm during the colder months? Look no further than this free stocking hat knitting pattern! Whether you’re a seasoned knitter or just starting out, this pattern is perfect for all skill levels.
With this pattern, you’ll be able to create a classic stocking hat that will not only keep you warm, but also add a touch of style to any outfit. The pattern calls for a bulky weight yarn, making it a quick and enjoyable knit. You can choose from a wide variety of colors to match your personal style and preferences.
Knitting your own hat not only allows you to customize it to your liking, but it also gives you the satisfaction of creating something by hand. Plus, it makes for a great gift for friends and loved ones! The pattern includes detailed instructions and a stitch guide to help you every step of the way.
Selecting the right yarn for your stocking hat

When it comes to knitting a stocking hat, one of the most important decisions you’ll make is selecting the right yarn. The yarn you choose will not only affect the look and feel of the final product, but also how warm and durable it is. Here are some factors to consider when choosing yarn for your knitting project:
Weight
The weight of the yarn refers to its thickness or thinness. For a stocking hat, it’s important to choose a yarn with the right weight so that the hat is not too bulky or too light. Bulky yarns will create a hat that is thicker and warmer, while lighter weight yarns will create a more lightweight and breathable hat. Consider the season and climate in which the hat will be worn when selecting the weight of the yarn.
Fiber Content
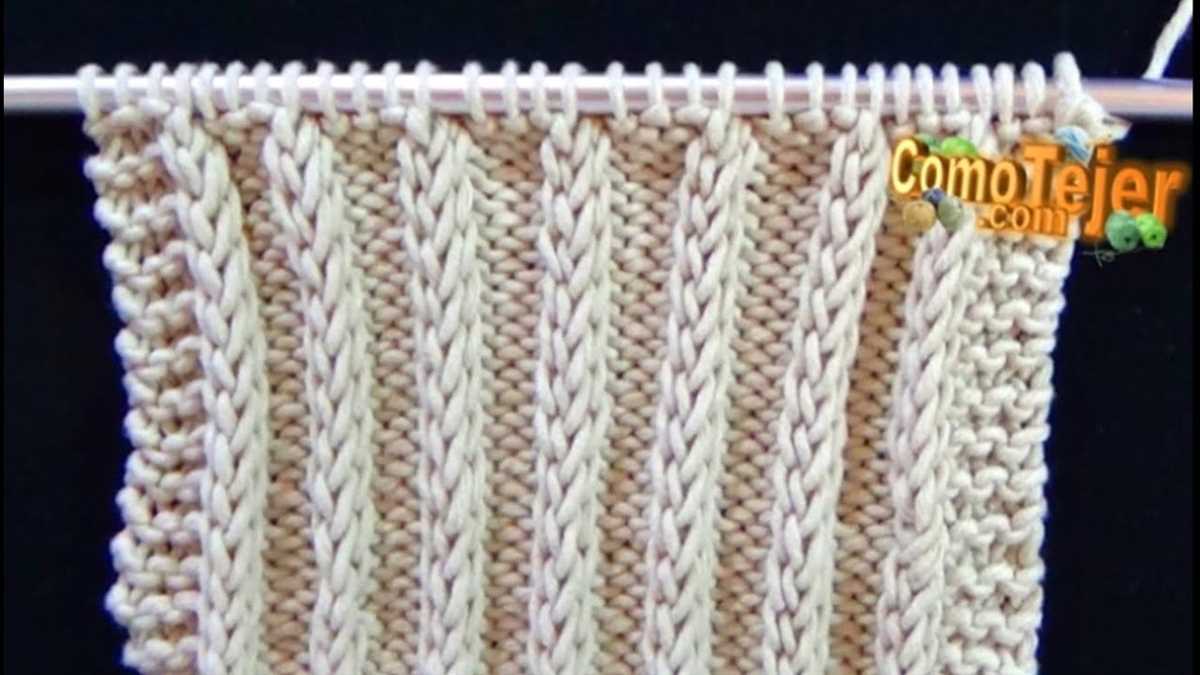
The fiber content of the yarn will determine not only the look and feel of the hat, but also its warmth and durability. Wool is a popular choice for stocking hats as it is warm, breathable, and has the ability to retain its shape well. Polyester and acrylic blends are also commonly used as they are easy to care for and come in a wide range of colors and textures. Consider your personal preferences and the intended use of the hat when selecting the fiber content of the yarn.
Color and Texture

The color and texture of the yarn will play a big role in the overall appearance of the stocking hat. If you prefer a classic and timeless look, opt for solid colored yarns. If you want to add some visual interest and dimension to your hat, consider yarns with variegated or self-striping patterns. Additionally, the texture of the yarn can add depth and character to the hat. Smooth yarns will create a more polished and sleek look, while textured yarns like boucle or mohair can add a cozy and rustic feel to the hat.
Quantity

Lastly, make sure to consider the quantity of yarn you’ll need for your stocking hat project. This will depend on the weight and length of the yarn as well as the size of the hat you’re knitting. Most knitting patterns will provide guidance on the amount of yarn required, so be sure to check the recommended yardage before making a purchase. It’s always better to have a bit more yarn than necessary to avoid running out in the middle of your project.
By considering these factors and taking your personal preferences into account, you’ll be able to select the right yarn for your stocking hat and create a beautiful and functional finished product. Happy knitting!
Choosing the Correct Needle Size
When knitting a stocking hat, choosing the correct needle size is important to ensure that the finished product fits properly. The needle size you choose will determine the gauge or tension of your knitting, which in turn affects the size and fit of the hat.
Needles come in different sizes, typically measured in millimeters or US sizes. The size of the needles you use will depend on the yarn weight you are working with and the desired outcome of your project.
Gauge and Tension:
The gauge refers to the number of stitches and rows per inch in your knitting. The tension is the tightness or looseness of your stitches. Both gauge and tension play a role in determining the size of the final product.
When making a stocking hat, it is essential to knit a swatch using the chosen yarn and needle size. The swatch should be at least 4 inches by 4 inches and follow the stitch pattern you plan to use for the hat. Measure the gauge by counting the number of stitches and rows within the 4-inch square.
Choosing the Correct Needle Size:
The recommended needle size for a stocking hat pattern is usually provided by the designer. It is important to follow this recommendation to achieve the desired size and fit. However, individual tension and the unique characteristics of the yarn can influence the outcome.
If you find that your gauge is too loose and the stitches are too large, try using a smaller needle size. Conversely, if your gauge is too tight and the stitches are too small, switch to a larger needle size. Knitting a new swatch with the adjusted needle size will help you achieve the desired gauge and ensure a properly fitted stocking hat.
Getting started: casting on
If you’re new to knitting, casting on is the first step in starting your project. It is the process of creating the first row of stitches on your knitting needles. To begin, you will need a set of knitting needles and your chosen yarn.
Step 1: Hold one knitting needle in your right hand and the other in your left. Leave a long tail of yarn (approximately 6-8 inches) and make a slipknot by creating a loop with the yarn. Place the loop on the right-hand needle.
Step 2: With the right-hand needle, insert it through the loop on the left-hand needle, going from front to back. This creates a new stitch.
Step 3: While still holding the new stitch on the right-hand needle, bring the yarn over the right-hand needle (from back to front) and wrap it around the left-hand needle, going in a counterclockwise direction.
Step 4: Use the right-hand needle to pull the new stitch through the loop on the left-hand needle, creating a new stitch. Now you have two stitches on the right-hand needle.
Step 5: Repeat steps 2-4 until you have cast on the desired number of stitches for your project. This will vary depending on the specific free stocking hat knitting pattern you are following.
Once you have completed the casting on process, you are ready to begin knitting the first row of your stocking hat. Make sure to follow the pattern instructions carefully and continue with the next steps to create your cozy hat.
The rib stitch: creating a stretchy brim
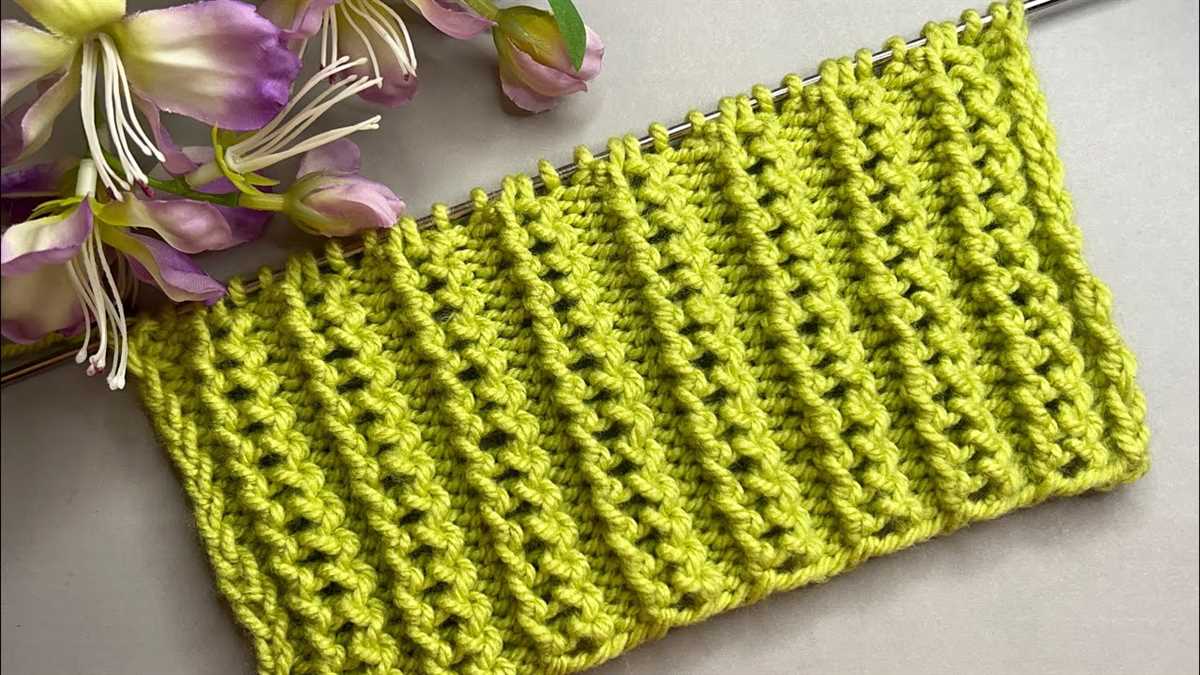
When knitting a stocking hat, one of the most important elements is the brim. The brim should be stretchy enough to comfortably fit around the head, while still maintaining its shape. One of the best ways to achieve this stretchy brim is by using the rib stitch.
The rib stitch is created by alternating knit stitches and purl stitches in a specific pattern. This alternating pattern creates a stretchy and elastic fabric that is perfect for the brim of a stocking hat. The rib stitch is commonly used in various knitting projects, including scarves, socks, and of course, hats.
When knitting a stocking hat, you can use different variations of the rib stitch to create different textures and designs. For example, the 1×1 rib stitch is created by alternating one knit stitch and one purl stitch. This creates an even and uniform ribbing pattern. Another popular variation is the 2×2 rib stitch, where two knit stitches are alternated with two purl stitches. This creates a wider and more pronounced ribbing effect.
Overall, the rib stitch is a versatile and essential stitch for creating a stretchy brim on a stocking hat. Whether you choose the 1×1 rib stitch or the 2×2 rib stitch, this technique will ensure that your hat is not only stylish but also comfortable to wear. So grab your knitting needles and give the rib stitch a try for your next hat project!
Knitting the body of the hat
Once you have cast on the desired number of stitches, it’s time to start knitting the body of the hat. This is where the hat will really take shape and you can start to see how it will fit on your head.
Using a circular needle or double-pointed needles, begin by knitting every stitch in the first round. This will create the brim of the hat and give it a nice, stretchy edge. You can choose to knit the brim in a different color or pattern if you want to add some visual interest to your hat. After the brim, you will continue knitting in the round until the hat reaches the desired length.
If you want a snug-fitting hat, you can choose to knit the body in a ribbed pattern, such as a 2×2 rib or a 1×1 rib. This will give the hat some extra stretch and ensure it stays securely on your head. Alternatively, you can knit the body in a simple stockinette stitch for a smooth and classic look.
As you knit the body of the hat, make sure to periodically try it on to ensure it is the right size and length. Remember that the hat will stretch slightly when worn, so it’s better to err on the side of a slightly smaller fit. Once you reach the desired length, you can move on to shaping the crown of the hat.
Adding colorwork or stripes
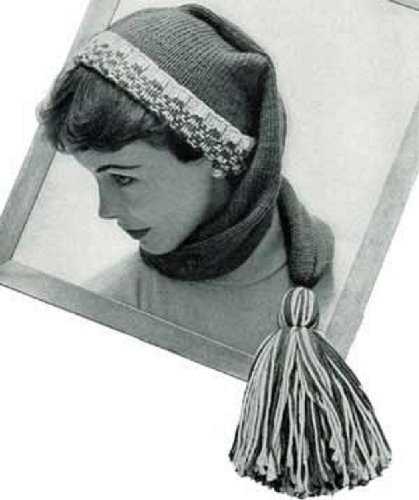
One way to make your stocking hat more interesting and unique is to add colorwork or stripes. This technique allows you to incorporate different colors into your design, creating a visually appealing pattern.
Colorwork involves working with multiple strands of yarn in different colors, usually by carrying the unused colors along the back of your work. This can be done using various techniques such as fair isle or intarsia. By charting out your desired pattern or design, you can create intricate colorwork motifs on your hat.
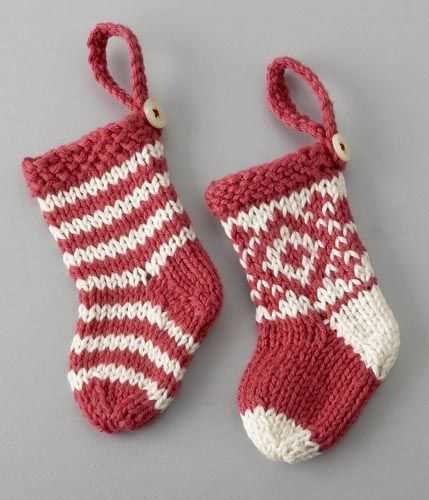
If you prefer a simpler approach, adding stripes is another option. Stripes can be created by alternating between two or more colors, either in a regular pattern or randomly. You can experiment with different widths and color combinations to achieve the desired effect.
When adding colorwork or stripes to your hat, it’s important to consider the gauge and tension of your stitches. This ensures that your colorwork is even and doesn’t distort the shape of your hat. Additionally, choosing high contrasting colors can make the pattern more distinct and eye-catching.
Colorwork and stripes can be a fun and creative way to personalize your stocking hat. Whether you opt for intricate colorwork motifs or simple stripes, this technique allows you to showcase your skills and add a touch of uniqueness to your knitting projects.
Shaping the crown: decreasing stitches
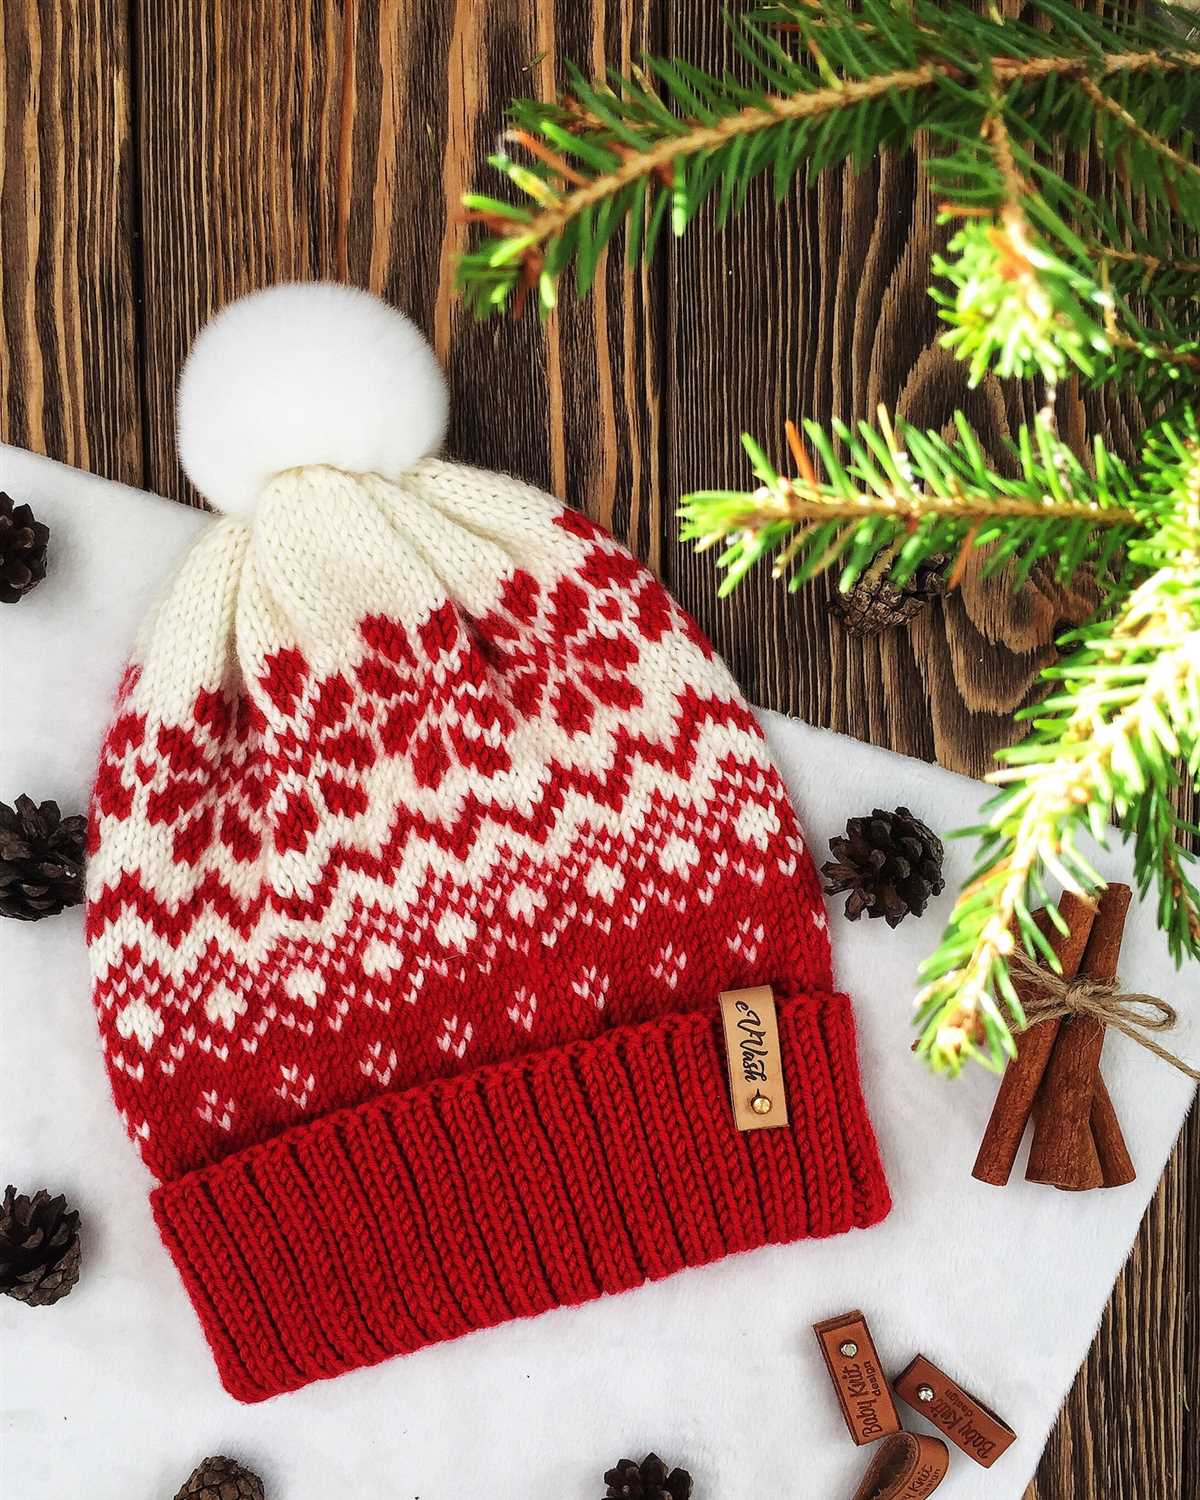
When knitting a stocking hat, shaping the crown is an important step to ensure a proper fit. Decreasing stitches gradually narrows the opening of the hat, creating a rounded shape at the top.
To begin shaping the crown, you will need to decrease stitches evenly across each row. The most common method is to knit two stitches together (k2tog) at regular intervals. This reduces the total number of stitches on the needle and creates a smooth decrease.
Here’s how to decrease stitches using the k2tog method:
- Knit the first two stitches together as if they were one stitch.
- Repeat this process across the entire row.
- Continue knitting subsequent rows without decreasing until you reach the desired number of stitches.
Another method commonly used for decreasing stitches is the slip, slip, knit (ssk) technique. This creates a left-leaning decrease that complements the k2tog decrease. By alternating between k2tog and ssk decreases, you can create a symmetrical crown shaping.
Here’s how to decrease stitches using the ssk method:
- Slip the next stitch knitwise.
- Slip the following stitch knitwise.
- Insert the left needle into the front of both slipped stitches from left to right.
- Knit the two stitches together through the back loops.
- Repeat this process across the entire row.
By following these methods for decreasing stitches, you can shape the crown of your stocking hat to fit snugly and comfortably on your head. Experiment with different decrease techniques and intervals to achieve the desired look and fit for your hat.
Finishing off: binding off
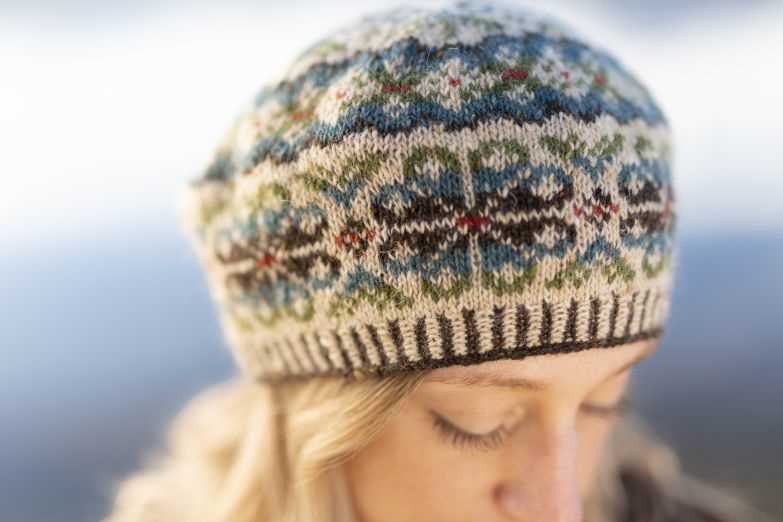
Once you have completed all the rows of your free stocking hat knitting pattern, it’s time to finish off the project by binding off. This is the process of securing the stitches and creating a nice finished edge.
To bind off, you will need a pair of knitting needles and a yarn needle. Begin by knitting the first two stitches as usual.
Now, take the left-hand needle and pass it through the first stitch on the right-hand needle. Lift this stitch up and over the second stitch and off the right-hand needle. You will be left with one stitch on the right-hand needle.
Repeat this process of passing the first stitch over the second stitch until you have bound off all the stitches. Cut the yarn, leaving a long tail, and thread it through the yarn needle.
Thread the yarn needle through the last stitch on the right-hand needle, and gently pull the yarn through. This will secure the last stitch and prevent it from unraveling. Weave in any remaining yarn tails on the inside of the stocking hat to finish off the project.
Congratulations! You have successfully finished your free stocking hat knitting pattern. Now you can enjoy wearing your cozy and stylish hat!
Seaming the Hat

Once you have finished knitting the main body of the hat and casting off, it’s time to seam the hat together. This step is important to ensure that the hat has a clean and finished look.
To seam the hat, you will need a yarn needle and the yarn you used to knit the hat. Start by folding the hat in half, with the wrong side facing out. Line up the edges of the hat and thread your yarn needle with a long piece of yarn.
Using the mattress stitch: Insert your needle into the first stitch on one side of the hat, from the inside to the outside. Then, insert the needle into the corresponding stitch on the opposite side, going from the outside to the inside. Continue this process, alternating sides, until you have sewn all the way to the top of the hat. Make sure to pull the yarn tight after each stitch to create a seamless seam.
Using the whip stitch: Insert your needle into the first stitch on one side of the hat, from the inside to the outside. Then, insert the needle into the corresponding stitch on the opposite side, going from the outside to the inside. Pull the yarn tight to secure the first stitch. Continue this process, stitching in a diagonal direction, until you have sewn all the way to the top of the hat.
Once you have finished seaming the hat, weave in any loose ends and trim the excess yarn. Turn the hat right side out and you now have a finished stocking hat ready to wear or gift to someone special.
Adding embellishments: pom-poms or tassels
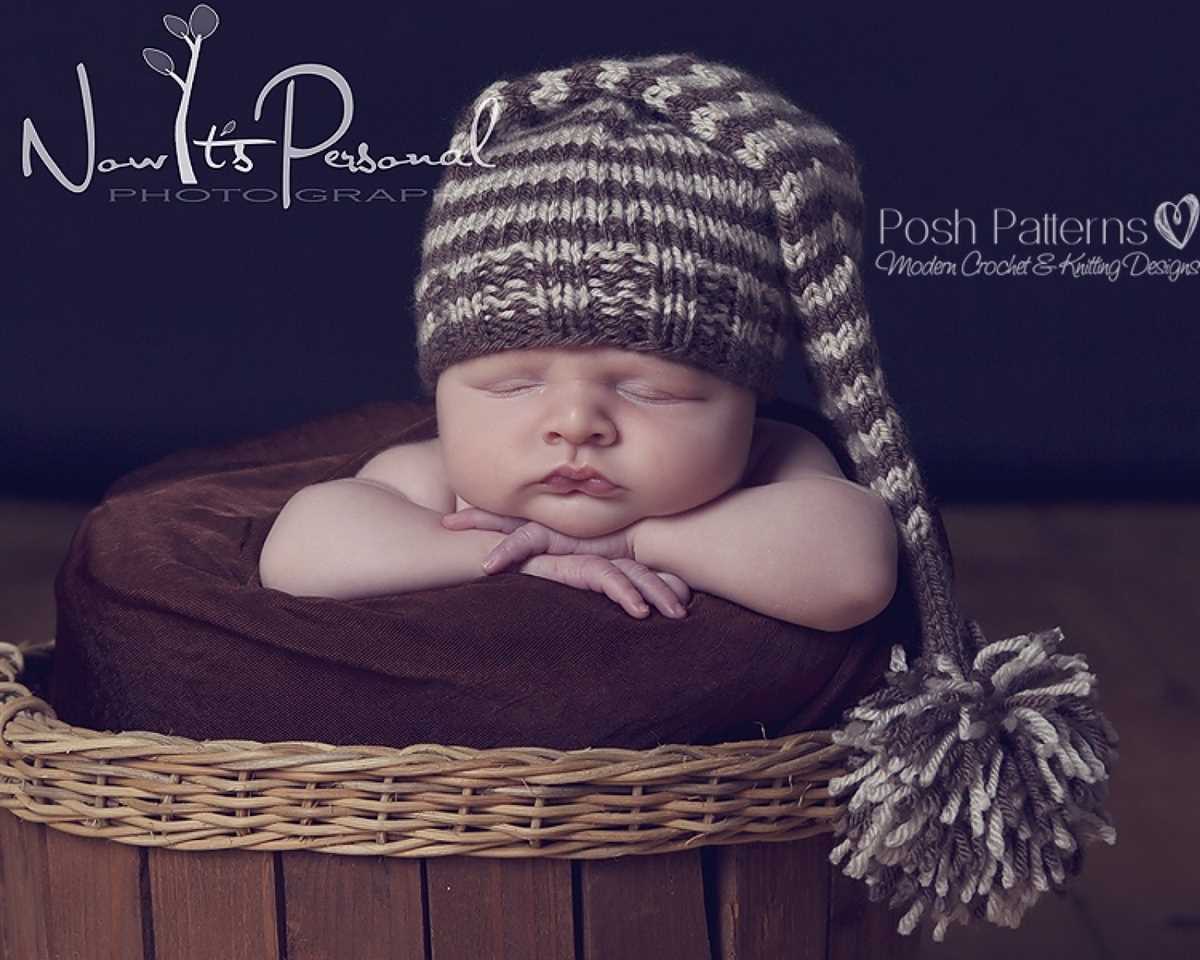
Once you have completed knitting your stocking hat, you can add some fun and decorative embellishments to make it even more stylish. Two popular options are pom-poms and tassels. Here, we will discuss how to make and attach these embellishments to your hat.
Pom-poms:
Creating pom-poms is a simple and enjoyable process that can be done using yarn and a pom-pom maker. Follow these steps to make your own pom-poms:
- Select a pom-pom maker of your desired size.
- Take your chosen yarn and wrap it around the arms of the pom-pom maker until it is thick and full enough.
- Carefully cut the yarn along the outside edge of the pom-pom maker, ensuring that all the strands are cut.
- Take a separate piece of yarn, thread it between the pom-pom maker arms, and tie it tightly around the middle of the yarn bundle.
- Open the pom-pom maker and remove the pom-pom.
- Trim the pom-pom to your desired shape and size, making sure all the strands are evenly cut.
- Attach the pom-pom to the top of your stocking hat by sewing or tying it securely.
Tassels:
Tassels are another fun and trendy embellishment for stocking hats. To make tassels, follow these steps:
- Cut a piece of cardboard or use your hand to create a template for the size of tassel you want. The length of the template should be the desired length of the tassel plus a little extra for attaching it to the hat.
- Take your chosen yarn and wrap it around the cardboard or your hand several times until it’s thick enough.
- Carefully remove the wrapped yarn from the cardboard or your hand, keeping the loops intact.
- Cut a separate piece of yarn and slide it through the loops, tying it tightly around the middle.
- Trim the loops at the opposite end of the tied yarn to create the tassel shape.
- Attach the tassel to the corner or edge of your stocking hat by sewing or tying it securely.
Adding pom-poms or tassels to your stocking hat is a wonderful way to add a touch of personality and playfulness to your finished creation. Whether you choose pom-poms or tassels, or even both, have fun experimenting and creating unique designs!
Q&A:
Where can I find a free stocking hat knitting pattern?
You can find a free stocking hat knitting pattern on various websites and knitting blogs. Some popular websites for free knitting patterns include Ravelry, Knitty, and AllFreeKnitting.
Are there different styles of stocking hat knitting patterns available?
Yes, there are different styles of stocking hat knitting patterns available. Some common styles include basic ribbed hats, Fair Isle patterned hats, and slouchy beanie hats. You can choose a style that suits your preference and knitting skill level.
Can I customize a stocking hat knitting pattern to fit my head size?
Yes, you can customize a stocking hat knitting pattern to fit your head size. Most knitting patterns provide instructions on how to adjust the size of the hat. You can follow these instructions or make your own modifications to ensure a perfect fit.
What type of yarn should I use for knitting a stocking hat?
The type of yarn you should use for knitting a stocking hat depends on your personal preference and the desired outcome. Worsted weight yarn is commonly used for stocking hats as it is versatile and easy to work with. However, you can experiment with different yarn weights and fiber types to achieve different textures and designs.
Can I add embellishments to a stocking hat knitting pattern?
Yes, you can add embellishments to a stocking hat knitting pattern to personalize it. Common embellishments include pom poms, buttons, and embroidered designs. Adding embellishments can add a unique touch to your hat and make it stand out.
How can I find a free stocking hat knitting pattern?
You can find free stocking hat knitting patterns on various websites and platforms dedicated to knitting. Some popular websites for finding knitting patterns include Ravelry, AllFreeKnitting, and LoveKnitting. You can use the search function and filter the results to find specifically stocking hat patterns that are available for free.
Are there any websites that offer free stocking hat knitting patterns?
Yes, there are many websites that offer free stocking hat knitting patterns. Some popular websites include Ravelry, AllFreeKnitting, and LoveKnitting. These websites have a wide range of patterns for all skill levels, and you can easily find stocking hat patterns that are available for free.