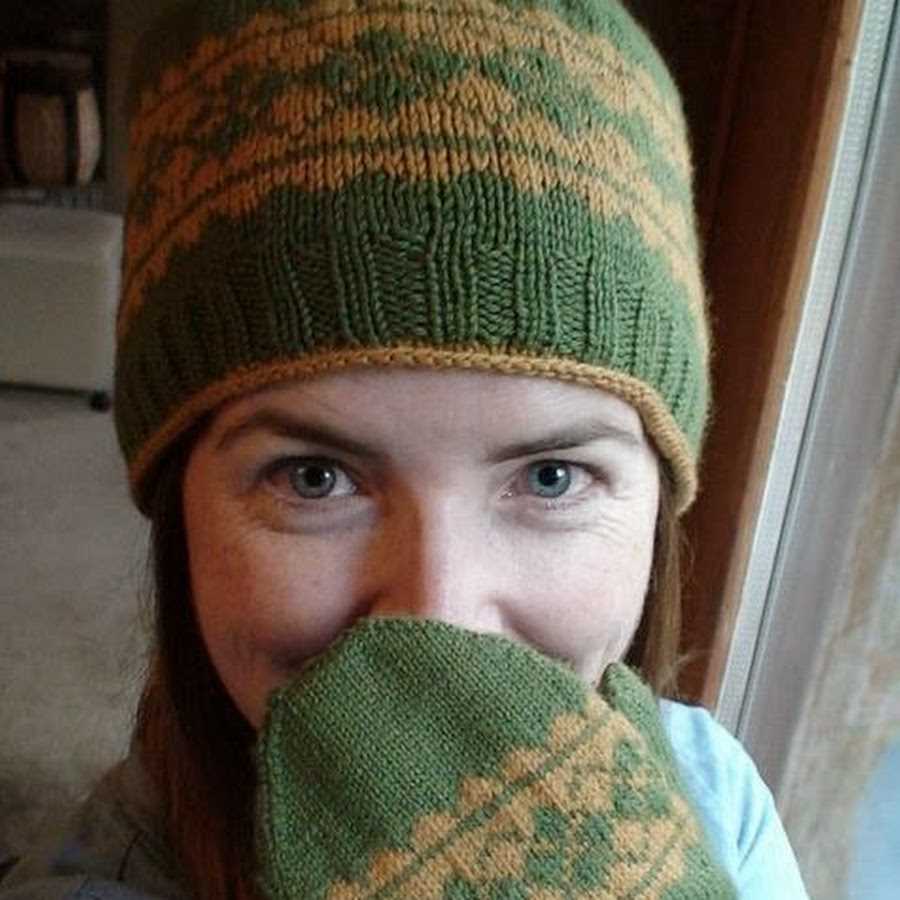
Knitting your own watch cap is a cozy and satisfying project for any knitter, whether you’re a beginner or an expert. Knitted watch caps are not only stylish but also provide warmth and comfort during the colder months. Plus, they make a wonderful homemade gift for friends and family.
If you’re looking for a free watch cap knitting pattern, you’ve come to the right place. This article will guide you through a simple and easy-to-follow pattern that will result in a beautiful and functional watch cap. With just a few basic knitting skills and some yarn, you’ll have your own customized watch cap in no time.
Before we dive into the pattern, let’s gather our materials. You’ll need a set of knitting needles, preferably in a size that matches the yarn you’ve chosen. You’ll also need a skein of yarn in your preferred color, as well as a pair of scissors and a yarn needle for finishing touches. Once you have all your materials ready, let’s get started on our watch cap!
How to Knit a Free Watch Cap: Step-by-Step Guide

If you’re looking for a cozy and stylish winter accessory, knitting a watch cap is a great option. A watch cap is a close-fitting hat that covers your head and ears, providing warmth and protection from the cold. With this step-by-step guide, you can knit your own watch cap for free.
Materials Needed:
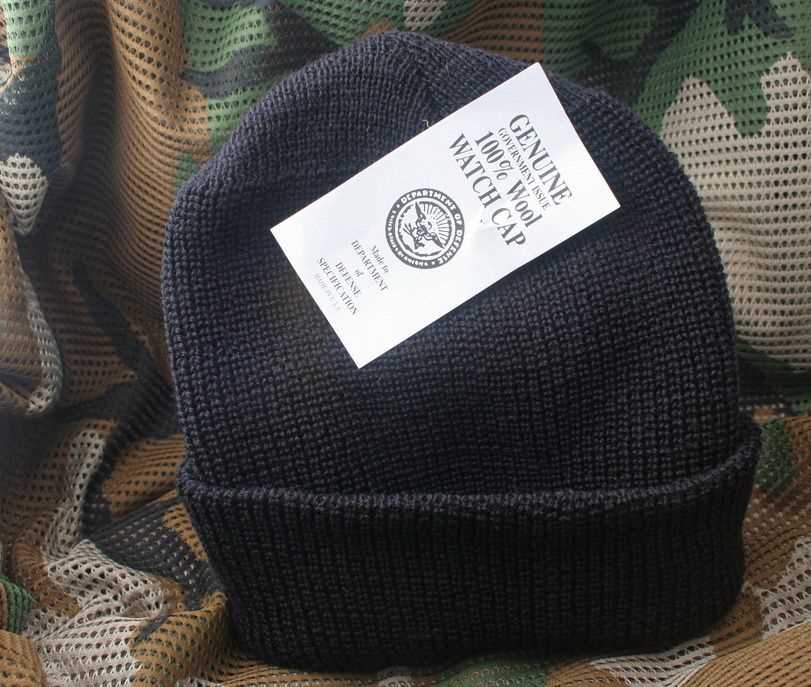
- 1 pair of size 8 knitting needles
- 1 skein of medium-weight yarn
- Tape measure
- Scissors
- Tapestry needle
Step 1: Cast on Stitches

To start your watch cap, cast on 88 stitches using the long-tail cast-on method. This will create the brim of the cap. Make sure to leave a long tail of yarn to weave in later.
Step 2: Knit the Brim

Next, knit the brim of the watch cap by working in a 2×2 rib stitch pattern. This means knitting two stitches, then purling two stitches, and repeating this pattern until the brim measures approximately 2 inches in length. This ribbing will give the cap a stretchy and snug fit.
Step 3: Knit the Body of the Cap
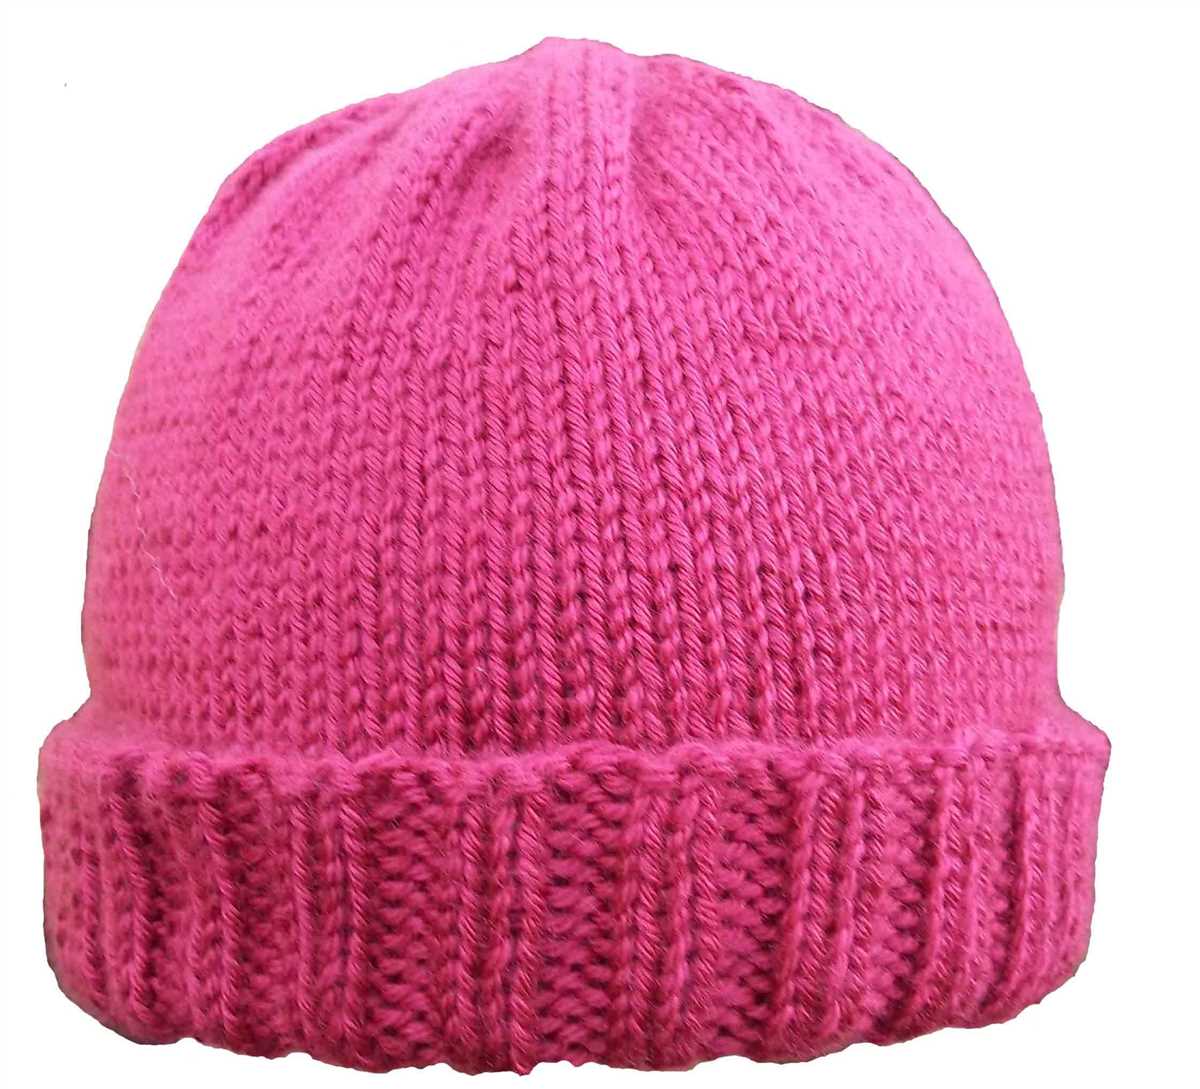
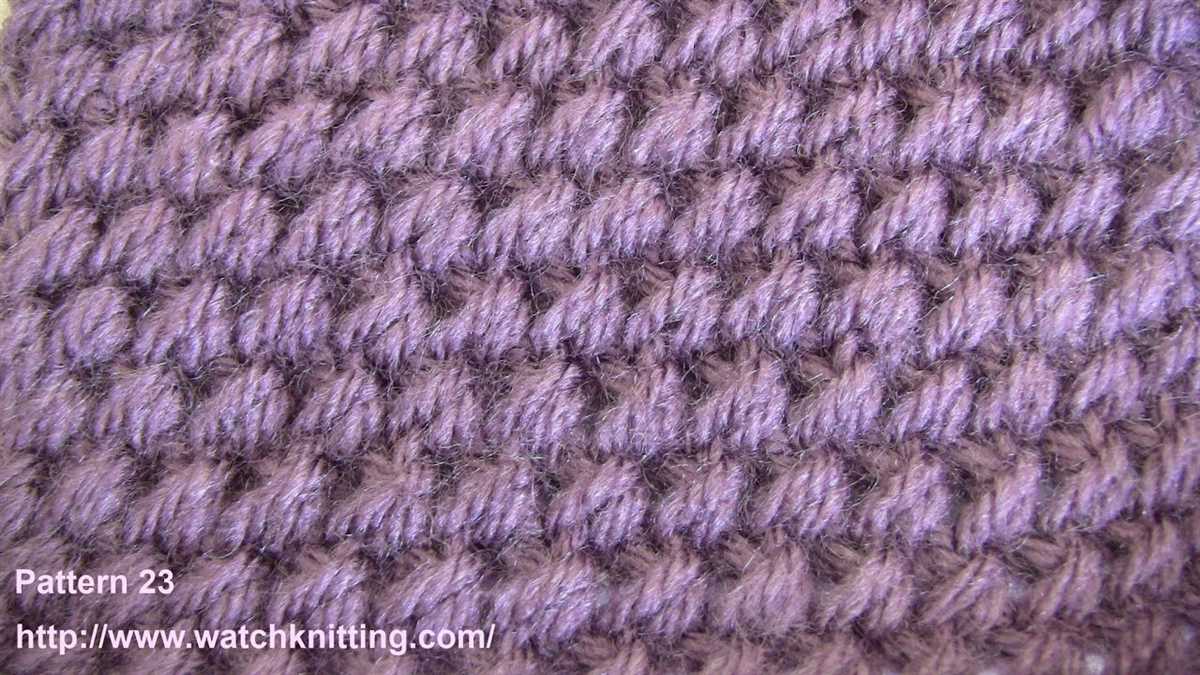
Once the brim is complete, switch to knitting in stockinette stitch for the body of the cap. Continue knitting in this pattern until the cap measures about 7 inches from the cast-on edge. You can adjust the length to fit your preference by measuring the cap against your head as you go.
Step 4: Decrease Stitches
To shape the crown of the cap, you’ll need to decrease stitches. Knit two stitches together (k2tog) across the entire row, cutting the stitch count in half. This will create a snugger fit at the top of the cap. Repeat this decrease row every other row until you have only a few stitches left.
Step 5: Finish and Secure

Once you have a small number of stitches remaining, cut the yarn, leaving a long tail. Thread the tail through a tapestry needle, then slide the needle through the remaining stitches to remove them from the knitting needles. Pull tight to secure the top of the cap. Finally, weave in any loose ends on the inside of the cap using the tapestry needle.
There you have it–a free watch cap that you knitted yourself! Put it on and enjoy the warmth and style it brings to your winter wardrobe. Feel free to experiment with different yarn colors and patterns to make each watch cap unique.
Materials Needed for Knitting a Watch Cap

To knit a watch cap, you will need the following materials:
- Yarn: Choose a soft, bulky or chunky weight yarn that is suitable for knitting with larger needles. Look for yarns labeled “bulky” or “super bulky” for best results.
- Knitting Needles: You will need a set of double-pointed needles (DPNs) or a circular needle, depending on your preferred knitting method. Choose needles in the appropriate size for your yarn, usually around US 10 or 11.
- Tapestry Needle: This needle will be used to weave in yarn ends and sew up any seams if necessary.
- Stitch Markers: These small rings or clips are used to mark specific stitches or sections of the pattern. They can be helpful in keeping track of increases, decreases, or any specific instructions in the pattern.
- Measuring Tape: A measuring tape will come in handy for ensuring the correct fit of your watch cap. You can use it to measure the circumference of your head or the length of the hat as you go.
- Scissors: A pair of scissors will be needed to cut the yarn when you finish knitting your watch cap.
With these materials on hand, you’ll be ready to start knitting your very own watch cap. Whether you’re knitting for yourself or as a gift, it’s a rewarding and practical project that will keep your head warm and stylish. Gather your materials and get started on knitting your watch cap today!
Choosing the Right Yarn for Your Watch Cap
When it comes to knitting your own watch cap, one of the most important decisions you’ll make is choosing the right yarn. The yarn you select will not only affect the final look and feel of your cap but also its durability and warmth. Here are some factors to consider when picking the perfect yarn for your project:
1. Fiber Content: The fiber content of the yarn will determine how soft, warm, and breathable your watch cap will be. Natural fibers like wool or alpaca provide excellent insulation and breathability, making them ideal for winter caps. However, if you’re looking for a lighter option, you can consider using cotton or bamboo yarns.
2. Weight: Different yarn weights will create different textures and warmth levels in your watch cap. Bulky yarns will result in a thicker, warmer cap, while lighter yarns will create a more lightweight cap suitable for transitional seasons. Consider the climate and intended use of your cap when selecting the weight of your yarn.
3. Color: The color of your yarn can greatly impact the overall look of your watch cap. Neutral colors like black, gray, or cream are versatile and go well with any outfit. On the other hand, if you’re feeling bold, you can choose vibrant colors or even create a striped or multicolored cap.
4. Durability: Since a watch cap is meant to be worn frequently, it’s essential to choose a yarn that can withstand regular use and washing. Look for yarns that have good stitch definition and are easy to care for. Superwash wool or acrylic blends are often a popular choice for their durability and low maintenance.
- Consider fiber content, weight, color, and durability when choosing yarn for your watch cap.
- Natural fibers like wool or alpaca provide excellent insulation and breathability.
- Bulky yarns create thicker, warmer caps, while lighter yarns are more suitable for transitional seasons.
- Select a color that complements your style or opt for bold, vibrant hues.
- Choose yarns that have good stitch definition and are easy to care for, such as superwash wool or acrylic blends.
Selecting the Proper Knitting Needles

When it comes to knitting, selecting the proper knitting needles is essential to achieving the desired results. Knitting needles come in a variety of materials, sizes, and types, each suited for different projects and preferences.
Size: Knitting needles are available in different sizes, typically indicated by numbers or measurements. The needle size you choose will depend on the thickness of the yarn you’re working with and the desired tension. Thicker yarns generally require larger needles, while thinner yarns require smaller needles. It’s important to refer to the recommended needle size mentioned in the knitting pattern you’re using to ensure the correct gauge.
Material: Knitting needles can be made from various materials, including metal, wood, bamboo, plastic, and more. Each material has its own unique properties that can affect your knitting experience. Metal needles, such as aluminum or stainless steel, are known for their sturdiness and smoothness, making them ideal for fast knitting. Wooden and bamboo needles offer a warmer touch and are often favored for their comfortable grip. Plastic needles can be lightweight and affordable, making them a popular choice for beginners.
Type: Knitting needles are available in different types, including straight needles, circular needles, and double-pointed needles. Straight needles are the most traditional and commonly used type. They are straight and come in pairs, allowing you to knit flat pieces. Circular needles have a flexible cable that connects two needle tips, allowing you to knit in the round or create larger pieces. Double-pointed needles are shorter needles with pointed tips on both ends, used for knitting small circumference items like socks or hats.
In conclusion, selecting the proper knitting needles involves considering factors such as size, material, and type. By choosing the right needles for your project, you can ensure a more enjoyable and successful knitting experience.
Casting On Stitches for Your Watch Cap

When starting to knit a watch cap, one of the first steps is to cast on stitches onto your knitting needle. The casting on process determines the size and stretchiness of the brim of your cap, so it is important to choose a method that suits your preferences. There are several different techniques you can use to cast on stitches, depending on your skill level and the desired outcome.
Long-Tail Cast On: This is a popular method that creates a neat and flexible edge. To use this technique, you will need to estimate the length of yarn you need for your cast on stitches. Measure a length of yarn about three times the width of your desired brim, and then make a slipknot at one end. Place the slipknot onto the needle and hold it in your right hand. Using your left hand, drape the yarn over your thumb and hold it with your other fingers. Insert the needle into the loop on your thumb from left to right, then bring the needle under and over the yarn on your index finger. Finally, slip your thumb out of the loop and pull the yarn tight to create the first stitch. Repeat this process until you have cast on the desired number of stitches.
Cable Cast On:
This is a sturdy method that is great for creating a firm edge. To use this technique, start with a slipknot on your needle and hold it in your right hand. Insert the tip of your left-hand needle between the first and second stitches on your right-hand needle, going from front to back. Wrap the working yarn around the tip of your left-hand needle counterclockwise, and then pull it through the loop created by your right-hand needle. Slip the new stitch onto your right-hand needle and tighten the yarn. Repeat this process until you have cast on the desired number of stitches.
Knitted Cast On: The knitted cast on creates a tidy edge that blends well with the rest of the knitting. Start with a slipknot on your needle and hold it in your right hand. Insert your right-hand needle into the slipknot as if you were going to knit. Wrap the working yarn counter-clockwise around the tip of your right-hand needle, and then pull it through the slipknot. Slip the new stitch onto your left-hand needle and tighten the yarn. Repeat this process until you have cast on the desired number of stitches.
These are just a few of the casting on techniques you can use for your watch cap. Experiment with different methods to find the one that works best for you and gives you the result you desire. Remember to keep track of the number of stitches you cast on and double-check that the count matches your pattern before moving on to the next steps in your cap-knitting journey.
Knitting the Body of the Watch Cap
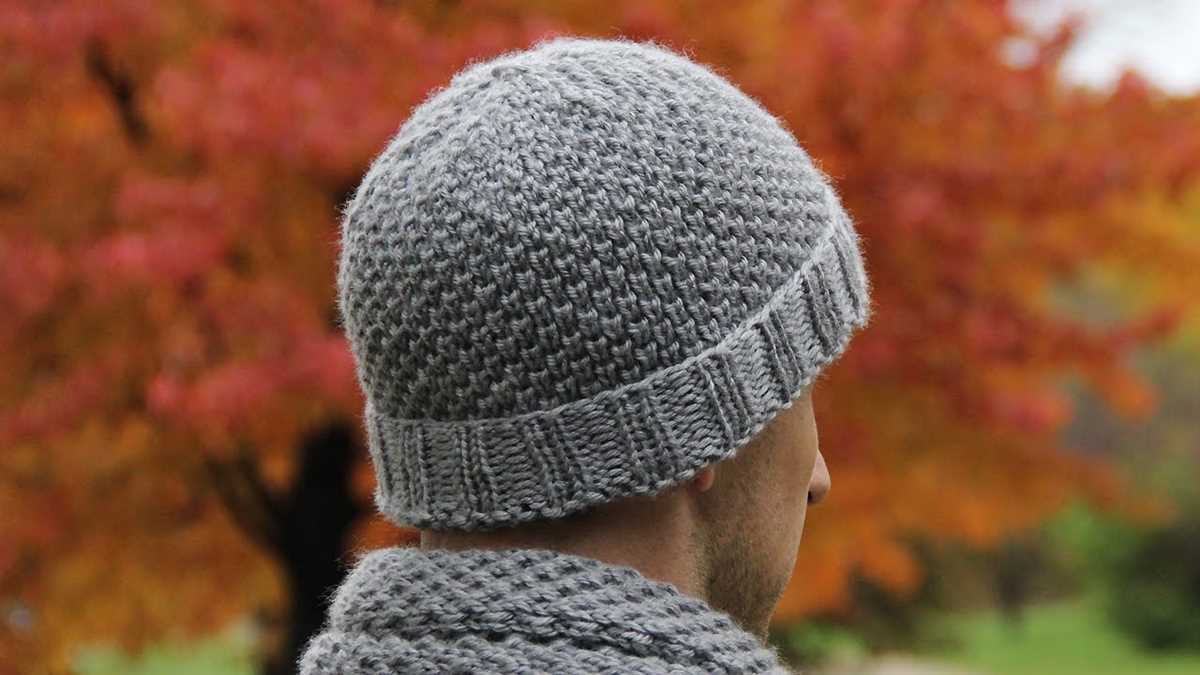
After completing the ribbing, it’s time to start knitting the body of the watch cap. This section of the hat will determine its overall length and provide the desired warmth and coverage.
To begin, you will continue using the same needle size and yarn as in the previous section. Begin knitting in the round, making sure to join your work in a circle and place a stitch marker to indicate the start of each round.
At this point, you have the option to incorporate any desired patterns or textures into the body of the watch cap. You can experiment with different types of stitches, such as cables or lace, to add visual interest and make your cap unique. Alternatively, you can choose to keep it simple and continue with a basic stockinette stitch for a classic look.
Continue knitting in the round, following your chosen stitch pattern or maintaining the stockinette stitch, until the body of the cap measures your desired length. Keep in mind that the cap will slightly stretch when worn, so you may want to make it slightly shorter than the intended final length.
Once you have reached the desired length, you can begin the decreasing rounds to shape the crown of the cap. This will give the cap its characteristic tapered shape. The decreasing rounds will be discussed in the next section.
Overall, knitting the body of the watch cap allows for creative expression and customization. Whether you choose to keep it simple or experiment with different stitch patterns, this section of the knitting process is where the cap truly takes shape and becomes a unique accessory. Enjoy the process and have fun making your watch cap!
Creating Ribbing for the Watch Cap
When knitting a watch cap, adding ribbing to the brim can provide a stretchy and snug fit. Ribbing is created by alternating knit and purl stitches in a specific pattern. This adds elasticity to the fabric, allowing the cap to comfortably stretch to fit various head sizes.
To create ribbing for your watch cap, you will first need to cast on your desired number of stitches. The number of stitches will depend on the size of the cap and the desired width of the ribbing. For a standard adult-sized watch cap, casting on around 80 stitches is a good starting point.
The most common ribbing pattern used for watch caps is the 1×1 ribbing, which alternates between one knit stitch and one purl stitch. This creates a nice textured pattern that is both visually appealing and functional. To start the 1×1 ribbing, knit the first stitch, then purl the next stitch. Repeat this pattern across the entire row. When you reach the end of the row, knit the last stitch.
To continue the ribbing pattern, you will need to knit the purl stitches and purl the knit stitches. This means that on the next row, you will begin with a purl stitch instead of a knit stitch. Repeat the 1×1 ribbing pattern for as many rows as desired to achieve the desired length of the ribbing.
Remember to always take accurate measurements and check your gauge to ensure the ribbing fits properly on the watch cap. Adjusting the number of stitches or needle size may be necessary to achieve the desired fit. With a well-executed ribbing, your watch cap will not only be stylish but also comfortable and functional, keeping you warm in cold weather.
Shaping the Crown of the Watch Cap

The crown of a watch cap refers to the top part of the hat that covers the head. Shaping the crown is an important step in creating a well-fitted and stylish watch cap. There are several ways to shape the crown, including decreasing stitches gradually or using a central decrease. The method you choose will depend on the pattern you are using and the desired look of the finished cap.
One common method for shaping the crown is to use a central decrease. This involves knitting two stitches together at regular intervals across each round. The number of stitches knit together will depend on the number of stitches used to start the hat. This method creates a neat and symmetrical shape at the top of the hat.
If you prefer a more gradual decrease, you can choose to decrease stitches gradually across each round. This can be done by knitting two stitches together at regular intervals, or by using a k2tog decrease followed by knitting a few rounds even. This method creates a smoother transition from the body of the hat to the crown.
Another option for shaping the crown is to create a slouchy or gathered effect. This can be achieved by gradually increasing stitches as you shape the crown, creating a looser and more relaxed fit. This style is particularly popular for casual and relaxed watch caps.
When shaping the crown, it’s important to follow the instructions provided in the pattern you are using. Each pattern may have specific instructions for shaping the crown, including the number of stitches to decrease or increase and the desired shape. By following these instructions, you can ensure that your watch cap has a well-fitted and professional finish.
Finishing the Watch Cap

Once you have completed knitting the watch cap, it’s time to finish it off and make it ready for wearing. Here are the steps to follow:
Weaving in the loose ends

Start by weaving in all the loose ends of yarn that are left from changing colors or joining new skeins. This will ensure that your watch cap looks neat and tidy.
Blocking the cap

Blocking is an important step in finishing any knitted item, including a watch cap. It helps to even out the stitches and give the cap its final shape and size. To block the cap, first, wet it thoroughly and gently squeeze out the excess water. Then, lay it flat on a clean towel, shaping it into the desired size and style. Allow it to dry completely before continuing with the next step.
Adding a pom-pom (optional)

If you want to add a fun and playful touch to your watch cap, you can attach a pom-pom on top. To make a pom-pom, wrap yarn around a piece of cardboard, then cut the loops and trim it to the desired size. Attach the pom-pom securely to the top of the cap using a needle and thread.
Finishing touches

Inspect the cap for any remaining loose threads or imperfections and fix them as necessary. Take the time to carefully check the seams and edges to ensure they are secure and neat. Once you are satisfied with the final result, your watch cap is ready to be worn and enjoyed!
By following these steps, you can properly finish your watch cap and ensure it looks professional and well-made. Whether you are keeping it for yourself or giving it as a gift, the finished watch cap will be a cozy and stylish accessory for the colder months.
Adding Embellishments to Your Watch Cap

If you’ve just finished knitting a basic watch cap and want to add some personal flair to it, there are many different embellishment options to consider. Adding embellishments can turn a simple cap into a unique and stylish accessory.
1. Pom Pom: One of the most popular ways to embellish a watch cap is by adding a pom pom on top. You can easily make a pom pom using yarn in a contrasting color. Simply wrap the yarn around your fingers, tie it in the middle, and then cut the loops to create a fluffy pom pom. Sew it securely to the top of your cap, and you’ll have a playful and eye-catching accent.
2. Cables or Texture Patterns: If you want to add some visual interest to your watch cap, consider incorporating cables or texture patterns. Cables are created by crossing stitches over each other, creating a twisted design. Texture patterns, such as seed stitch or moss stitch, add depth and dimension to the fabric. These techniques can be easily added to the main body of your cap to give it a more intricate and complex look.
3. Colorwork: Another way to make your watch cap more exciting is by adding colorwork. This can be done with stranded knitting or fair isle technique, where you use multiple colors of yarn to create patterns or designs. You can choose to add a simple stripe, geometric shapes, or even a picture or motif. Colorwork adds a pop of color and allows you to personalize your cap further.
4. Embroidery: Embroidery is a great option if you want to add intricate details to your watch cap. You can embroider names, initials, or small motifs using a contrasting color of yarn or embroidery thread. There are many different stitches to choose from, including satin stitch, chain stitch, or French knots. With embroidery, you can create a truly unique and personalized design on your cap.
When adding embellishments, it’s important to consider the overall look and feel you want to achieve. Experiment with different techniques and colors to find the perfect combination that reflects your style. Don’t be afraid to get creative and have fun with your watch cap!
Wearing and Caring for Your Hand-Knit Watch Cap

Now that you’ve completed knitting your own watch cap using the free pattern, it’s time to learn how to wear and care for it to ensure its longevity. Here are some tips:
1. Wear it with pride:
Put on your hand-knit watch cap with confidence! Style it in different ways by folding up the brim or wearing it slouchy. Experiment with different outfits and accessories to make it your own unique fashion statement.
2. Handle with care:
Since your watch cap was made with love and patience, it deserves to be treated gently. Avoid pulling or stretching the fabric, especially around the brim, as it may cause the stitches to loosen or distort. Instead, handle it delicately by holding onto the body of the cap.
3. Washing instructions:
To keep your watch cap clean and fresh, follow these washing instructions:
- Fill a basin with lukewarm water and add a small amount of mild detergent.
- Gently swirl the cap in the soapy water, avoiding any vigorous rubbing or twisting.
- Rinse the cap thoroughly with cool water until all the soap is removed.
- Press out the excess water gently by rolling the cap in a clean towel.
- Reshape the cap and lay it flat to dry on a towel or blocking mat.
4. Storage:
When you’re not wearing your watch cap, it’s important to store it properly to prevent any damage. Avoid hanging it on hooks or hangers, as this can stretch the fibers. Instead, fold it neatly and store it in a drawer or a dedicated hat box to protect it from dust and potential snags.
By following these tips, your hand-knit watch cap will keep you warm and stylish for many seasons to come. Enjoy showing off your knitting skills and treasure the cozy accessory you’ve created!
Q&A:
What is a watch cap?
A watch cap is a knitted cap that fits tightly to the head and does not have a brim. It is typically made of wool or other warm materials and is worn to provide warmth and insulation in cold weather.
Where can I find a free watch cap knitting pattern?
You can find free watch cap knitting patterns online on various knitting websites and blogs. Websites such as Ravelry, Knitting Patterns Galore, and AllFreeKnitting offer a wide range of free patterns to choose from.
What materials do I need to knit a watch cap?
To knit a watch cap, you will need a set of knitting needles, typically in a size US 7 or 8, and a skein or two of yarn. The recommended yarn for a watch cap is usually a worsted weight or chunky yarn, as these will provide the desired warmth and thickness.
Are watch caps suitable for beginners?
Yes, watch caps can be a great knitting project for beginners. The basic construction of a watch cap involves knitting and purling stitches in a ribbed pattern, which is relatively simple to learn. There are also many beginner-friendly watch cap patterns available that provide step-by-step instructions.
Can I customize a watch cap pattern?
Yes, you can definitely customize a watch cap pattern to suit your preferences. You can adjust the length and width of the cap, add decorative elements like cables or colorwork, or even experiment with different stitch patterns. Knitting is a versatile craft that allows for creative customization.
What is a watch cap?
A watch cap is a knitted hat that is typically worn for warmth in cold weather. It is usually made of wool or acrylic yarn and fits snugly on the head, covering the ears.