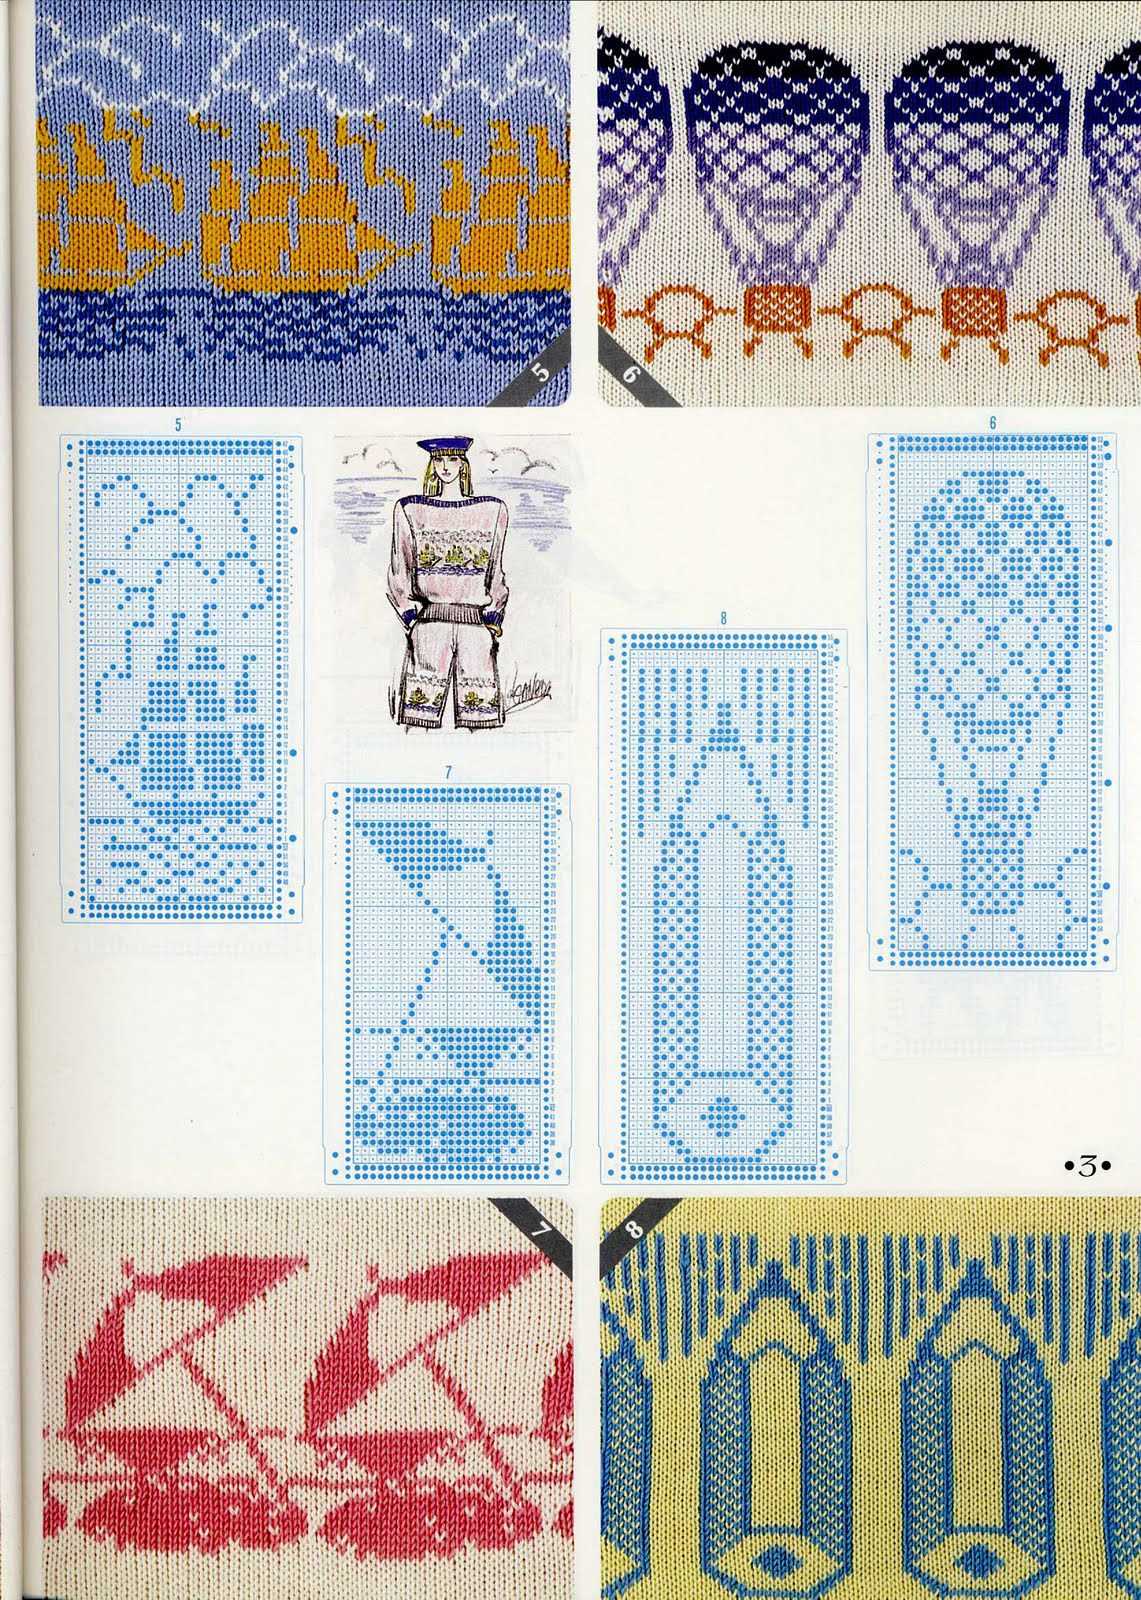
If you’re looking for a unique knitting project that will transport you to the clouds, then a hot air balloon knitting pattern might just be what you need. Hot air balloons have long captured the imagination of people around the world, with their vibrant colors and whimsical designs. Knitting your very own hot air balloon allows you to bring a touch of this enchanting world into your home.
There are many different hot air balloon knitting patterns available, ranging from beginner-friendly designs to more intricate creations. Whether you’re a seasoned knitter or just starting out, there’s sure to be a pattern that suits your skills and interests. Knitting a hot air balloon is a great way to challenge yourself and explore new techniques, such as colorwork and shaping.
One of the most exciting aspects of knitting a hot air balloon is choosing the colors and materials for your project. You can opt for a traditional color scheme, with bright primary colors and geometric patterns, or get creative and experiment with different shades and textures. The possibilities are endless, and you can truly make your hot air balloon unique to your own style and preferences.
Once you’ve finished knitting your hot air balloon, you can use it as a decorative piece in your home or give it as a thoughtful handmade gift. Hang it from the ceiling or display it on a shelf to add a whimsical touch to any room. With its cheerful colors and charming design, a knitted hot air balloon is sure to bring a smile to your face and inspire a sense of adventure.
Materials Needed

Before you get started on your hot air balloon knitting project, make sure you have all the necessary materials. Here is a list of what you will need:
- Yarn: Choose a soft and colorful yarn to give your hot air balloon a lively appearance. You will need a bulky-weight yarn in at least two different colors.
- Knitting Needles: Use a pair of size 10 knitting needles to create your hot air balloon. Make sure your needles are long enough to accommodate the number of stitches required for the pattern.
- Tapestry Needle: You will need a tapestry needle to weave in the loose ends of your yarn and sew any seams.
- Stuffing: To give your hot air balloon its full shape, you will need some polyester stuffing. Make sure you have enough to fill the entire balloon.
- Stitch Markers: These small, plastic rings will help you keep track of your stitches and make it easier to identify certain sections of your knitting.
- Scissors: A pair of sharp scissors will be necessary for cutting your yarn and trimming any excess.
- Safety Pins: Safety pins can come in handy for marking specific spots on your knitting or holding pieces together while you sew.
Once you have gathered all of these materials, you will be ready to start knitting your hot air balloon. Make sure to read through the pattern instructions thoroughly before beginning to ensure you understand each step.
Casting on and knitting the basket
When starting to knit the hot air balloon basket, the first step is to cast on the desired number of stitches. The pattern will typically specify the number of stitches needed to create the desired width of the basket. It’s important to use the recommended needle size for the yarn being used to ensure the correct gauge.
Casting on: To cast on, hold the knitting needle with the slipknot in your dominant hand. Insert the needle into the slipknot from left to right, making sure the tail of the yarn is at the back. With your non-dominant hand, wrap the working yarn around your thumb and hold it in place with your other fingers. Use the needle to catch the yarn and bring it through the slipknot, creating a new loop on the needle. Repeat this process for the desired number of stitches.
Once the stitches are cast on, the basket can be knitted using the appropriate stitch pattern. The pattern may call for a specific stitch pattern, such as garter stitch or stockinette stitch. Following the pattern instructions, continue knitting the specified number of rows or rounds until the desired height of the basket is reached. It’s important to keep track of the number of rows or rounds knitted to ensure consistency and symmetry.
Finishing: When the basket reaches the desired height, it’s time to finish off the knitting. To do this, cut the yarn, leaving a tail of a few inches. Thread the tail through the last loop on the knitting needle and pull it tight. This will secure the stitches and prevent them from unraveling. Weave in any loose ends using a tapestry needle to create a clean finish.
Creating the Balloon Shape
When knitting a hot air balloon, one of the key elements is to create the balloon shape. This is done by increasing or decreasing stitches in a strategic manner to achieve the desired shape. The pattern usually provides instructions on how many stitches to increase or decrease in each row or round.
One common method to create the balloon shape is by using increases. The most common increase stitch in knitting is the knit front and back (kfb) stitch. This stitch involves knitting into the front and back of the same stitch, effectively increasing the number of stitches by one. By using increases at specific intervals, the knitter can gradually form the round shape of the balloon.
On the other hand, if the pattern requires decreasing stitches to create the balloon shape, the most common decrease stitch is the knit two together (k2tog) stitch. This stitch involves knitting two stitches together as if they were one stitch, effectively decreasing the number of stitches by one. The knitter can follow the pattern’s instructions to determine where and how many stitches to decrease in each row or round.
It is important to carefully follow the pattern instructions for shaping the balloon to ensure an even and symmetrical shape. The number and placement of increases or decreases will vary depending on the pattern and the desired size and shape of the balloon. By paying attention to these shaping details, the knitter can create a beautiful and realistic hot air balloon.
Adding color and pattern to the balloon
When knitting a hot air balloon, adding color and pattern can make your project visually appealing and unique. There are various ways to incorporate color and pattern into your balloon, from using different colored yarns to implementing different knitting techniques.
1. Using different colored yarns

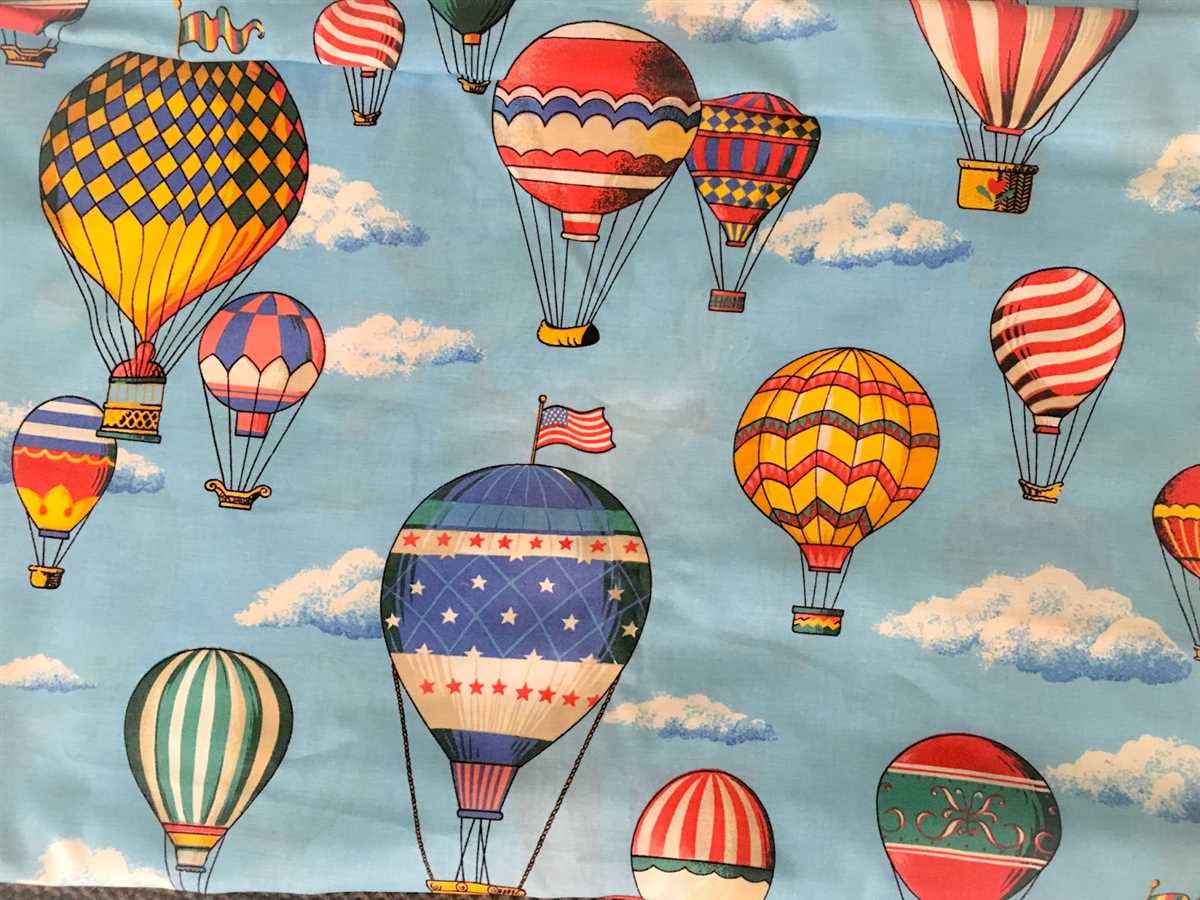
One simple way to add color to your hot air balloon is by using different colored yarns. You can choose a main color for the body of the balloon and use contrasting or complementary colors for the stripes or patterns. This will create an eye-catching design and make your balloon stand out.
2. Implementing different knitting techniques
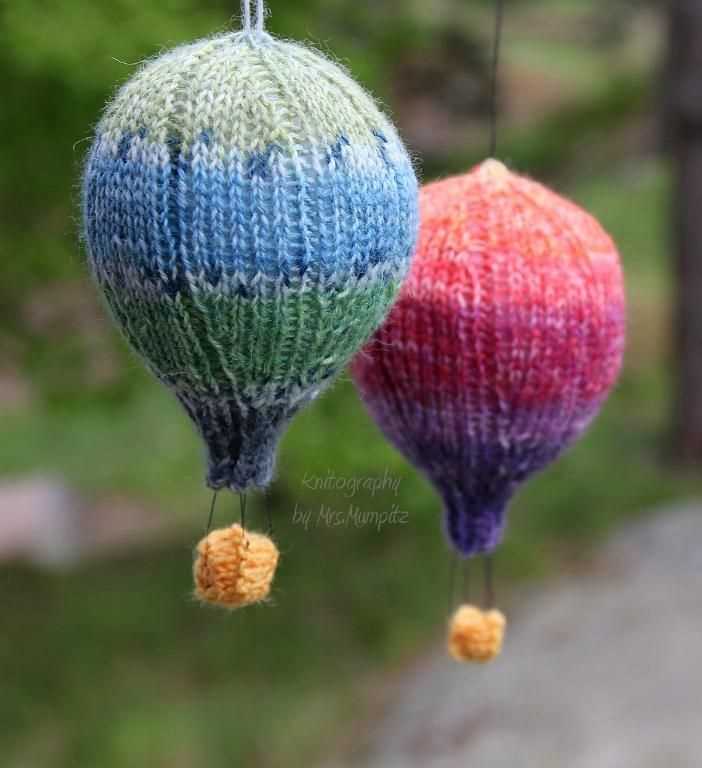
To add more depth and texture to your hot air balloon, you can experiment with different knitting techniques. For example, you can use Fair Isle knitting to create intricate colorwork patterns or cables to add more dimension. These techniques will not only make your balloon visually interesting but also showcase your knitting skills.
Additionally, you can incorporate other design elements such as intarsia, lace, or stranded knitting to further enhance the overall look of your hot air balloon. These techniques allow you to create unique patterns and motifs, making your project truly one-of-a-kind.
Remember that adding color and pattern to your hot air balloon is an opportunity to express your creativity and personal style. Whether you prefer bold and vibrant colors or subtle and delicate patterns, the choice is yours. Have fun experimenting with different color combinations and knitting techniques to create a balloon that reflects your unique vision.
Knitting the Gondola
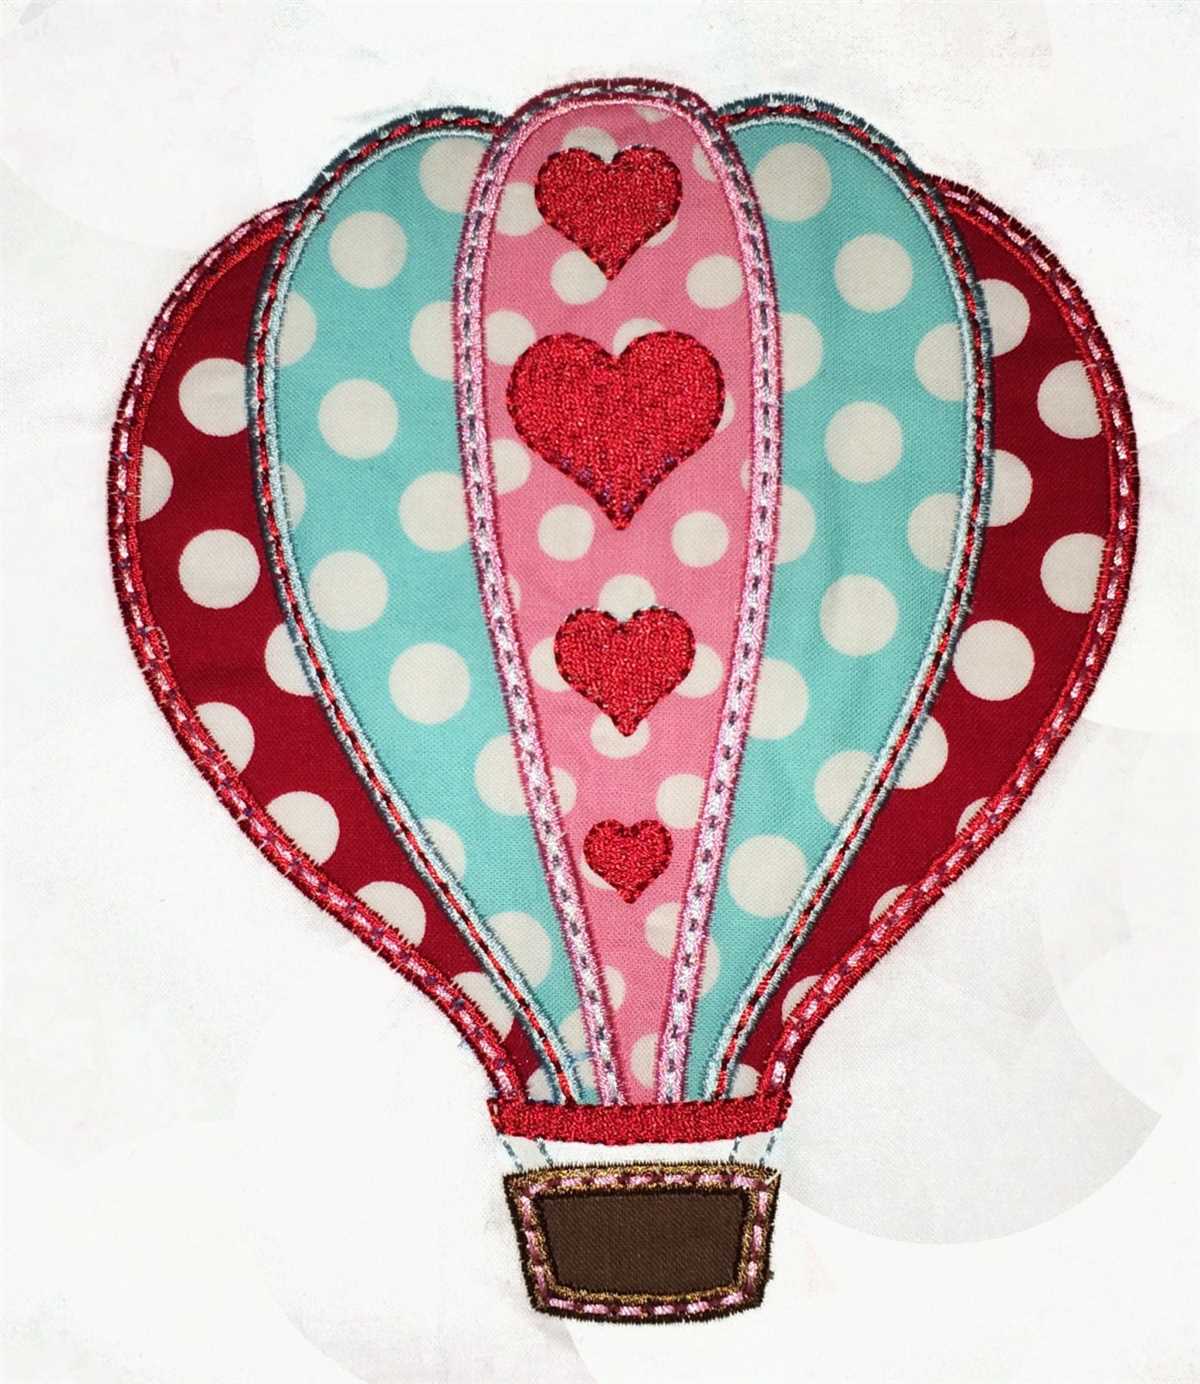
When it comes to knitting a hot air balloon, the gondola is an essential part that provides both functionality and style. The gondola is the basket-like structure that hangs underneath the balloon and carries passengers. Knitting the gondola requires attention to detail and a good understanding of different knitting techniques.
Materials: To knit the gondola, you will need a set of knitting needles in your preferred size, yarn of your choice, stitch markers, a tapestry needle for weaving in ends, and optional embellishments like buttons or ribbons.
Pattern: Start by casting on the desired number of stitches to create the base of the gondola. You can use any stitch pattern you prefer, such as garter stitch or a simple ribbing for added texture. Knit in the round or flat, depending on your preference.
Note: It’s important to adjust the stitch count to match the size of your hot air balloon. This will ensure that the gondola fits snugly under the balloon and provides enough room for the passengers.
Work on the gondola’s sides by continuing to knit in the chosen stitch pattern. If you prefer a more intricate design, you can incorporate different stitch patterns, cables, or colorwork to add visual interest to the gondola.
Handles and Straps: To create the handles and straps of the gondola, you can either knit them separately and sew them onto the gondola or knit them directly as part of the structure. This depends on your preferred knitting technique and the desired look of the gondola. Consider using a sturdy stitch pattern or reinforcing the handles and straps with an additional strand of yarn to ensure durability.
Finishing: Once you have completed knitting the gondola, securely weave in the ends and attach any optional embellishments. You can add buttons or ribbons as decorative elements or practical features to secure the gondola to the hot air balloon.
Note: Remember to take safety precautions when using embellishments, ensuring they are securely attached and won’t snag on any objects during the balloon’s flight.
By following these steps, you can knit a beautiful and functional gondola for your hot air balloon. Get creative with your choice of stitches and colors to make your hot air balloon truly unique!
Attaching the gondola to the balloon
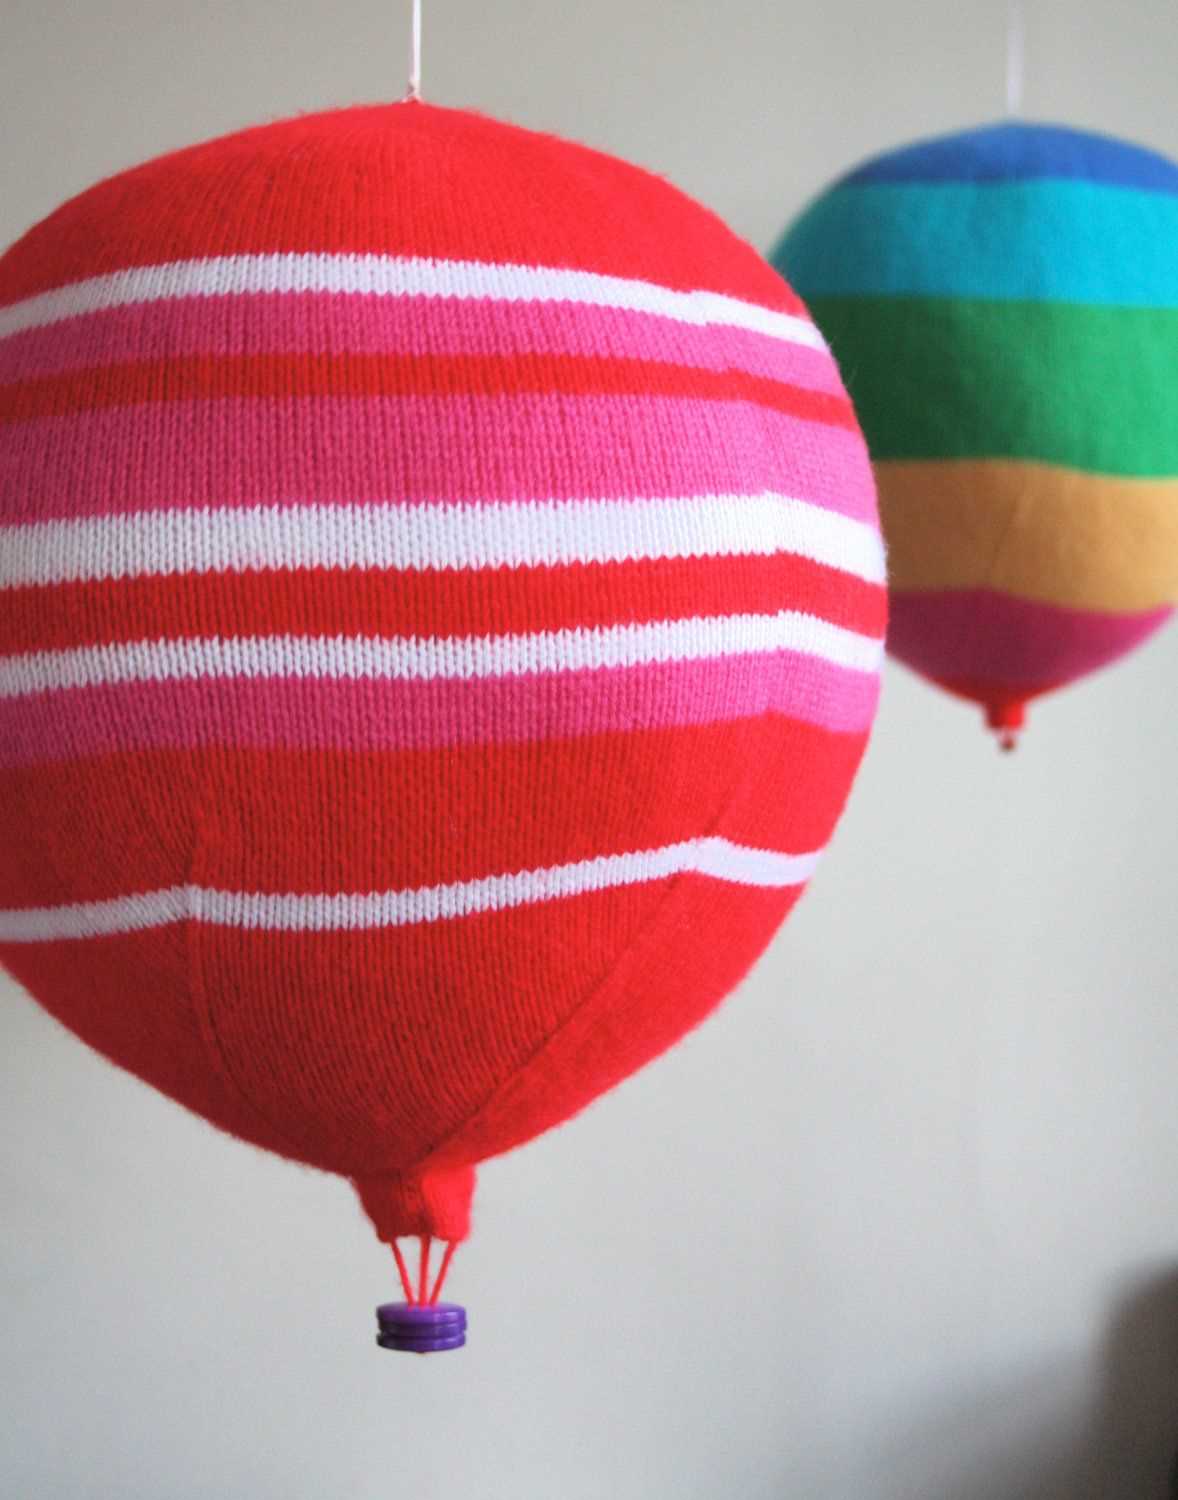
Knitting a hot air balloon gondola is the next step in creating your own hot air balloon knitting pattern. The gondola is the part of the balloon where the passengers and pilot sit, so it is essential to attach it securely to the balloon.
To attach the gondola, you will need to carefully sew it to the bottom of the hot air balloon. Start by positioning the gondola in the desired location on the balloon. Use a strong yarn or thread to stitch the gondola to the body of the balloon. Make sure to sew through both the gondola and the balloon fabric to ensure a secure attachment.
It is important to evenly distribute the weight of the gondola across the bottom of the balloon to maintain stability. This can be achieved by sewing multiple stitches around the base of the gondola and spacing them evenly. Alternatively, you can create a small pocket within the balloon fabric and insert the gondola into it, securing it with stitches or ties.
Once the gondola is securely attached, it is a good idea to reinforce the stitches or ties with some extra yarn or thread. This will provide extra support and ensure that the gondola stays in place during use and display.
Remember to take your time and sew carefully to ensure a strong and secure attachment. The gondola is an important part of the hot air balloon knitting pattern and should be secured properly for both aesthetics and functionality.
Finishing touches
Once you have completed knitting the hot air balloon pattern, it’s time to add the finishing touches to make it truly stand out. Here are some suggestions on how to make your hot air balloon look extra special:
1. Add decorative elements:

Enhance the overall look of your hot air balloon by adding decorative elements such as pompoms, tassels, or ribbons. You can attach these to the basket or the bottom edges of the balloon to give it a playful and whimsical touch.
2. Embroider details:

To add more depth and texture to your hot air balloon, consider embroidering details onto the knitted fabric. You can create intricate patterns or stitch on small motifs like clouds or birds. Use contrasting colors of yarn to make the embroidery pop.
3. Attach a basket:
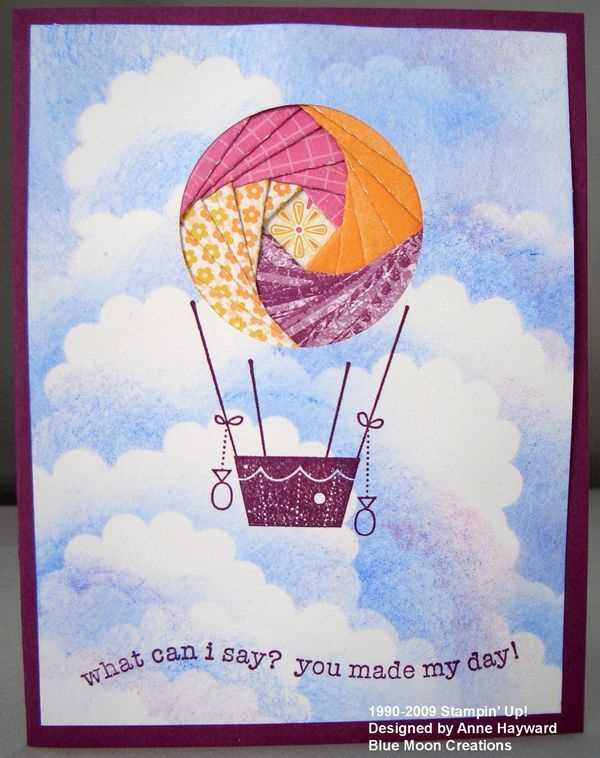
A hot air balloon isn’t complete without a basket. Knit a small basket using a different color of yarn and attach it securely to the bottom of the balloon. You can even fill the basket with miniature stuffed animals or faux flowers for an added touch of whimsy.
4. Hang it up:
Show off your knitted hot air balloon by hanging it up as a decorative piece. Attach a string or ribbon to the top of the balloon and hang it from a ceiling, curtain rod, or hook. This way, you can admire your handiwork and add a touch of charm to any room.
5. Display it with other knitted items:

If you have other knitted objects or toys, consider displaying your hot air balloon alongside them. Create a charming vignette by arranging them on a shelf or mantelpiece. This will create a cozy and inviting atmosphere with your hand-knit creations.
Remember to personalize your hot air balloon with your own creative touches. These finishing details will make your knitted hot air balloon truly unique and a joy to display or give as a gift.
Blocking and Shaping the Completed Balloon
Once you have finished knitting your hot air balloon, it is important to block and shape it to give it the desired appearance. Blocking helps even out the stitches and creates a more polished look.
To begin the blocking process, you will need a water-resistant surface such as a blocking board or a towel covered with plastic wrap. Lay the balloon flat on the surface and gently shape it into the desired shape, making sure the bottom is flat and the sides are evenly curved.
Next, use rust-resistant pins to secure the balloon in place. Start by pinning down the edges, placing pins every few inches to hold them in place. Then, work your way towards the center, adding more pins as needed to maintain the shape.
Now it’s time to mist the balloon with water. Fill a spray bottle with lukewarm water and lightly spray the balloon until it is evenly damp. Avoid saturating the knitting, as this can cause the colors to bleed or the yarn to stretch.
Leave the balloon to dry completely. This may take anywhere from a few hours to a day, depending on the humidity and air circulation in the room. Once the balloon is dry, carefully remove the pins and admire your beautifully blocked and shaped creation.
If necessary, you can also add additional embellishments to your hot air balloon, such as attaching strings or ribbon for a more decorative touch. These can be secured with a yarn needle and matching yarn, or using small safety pins.
Adding a hanging loop
When knitting a hot air balloon, it can be a nice addition to include a hanging loop so that it can be easily displayed or hung up. Adding a hanging loop is a simple step that can be done towards the end of the knitting process.
To create a hanging loop, you will need a sturdy yarn or ribbon that matches or complements the colors of your balloon. Choose a length that is suitable for your desired hanging height. Take the yarn or ribbon and fold it in half, creating a loop. Position the loop at the top center of the balloon, making sure it is centered and aligned with the stitches.
Next, using a darning needle or crochet hook, thread the two loose ends of the yarn or ribbon through the stitches at the top of the balloon. Make sure to secure the loop tightly by weaving the ends through several stitches. This will ensure that the hanging loop is securely attached and won’t come loose when the balloon is hung up.
Optional: If you prefer a more decorative hanging loop, you can embellish it by adding beads or charms before securing it to the balloon. This will add an extra touch of whimsy to your hot air balloon knitting project.
Once the hanging loop is securely attached, you can finish off any remaining knitting or sewing and then your hot air balloon is ready to be displayed! Hang it up in your home, give it as a gift, or use it as a charming decoration for a special occasion. The hanging loop adds versatility to your hot air balloon knitting pattern and allows you to showcase your finished project with pride.
Personalizing your hot air balloon
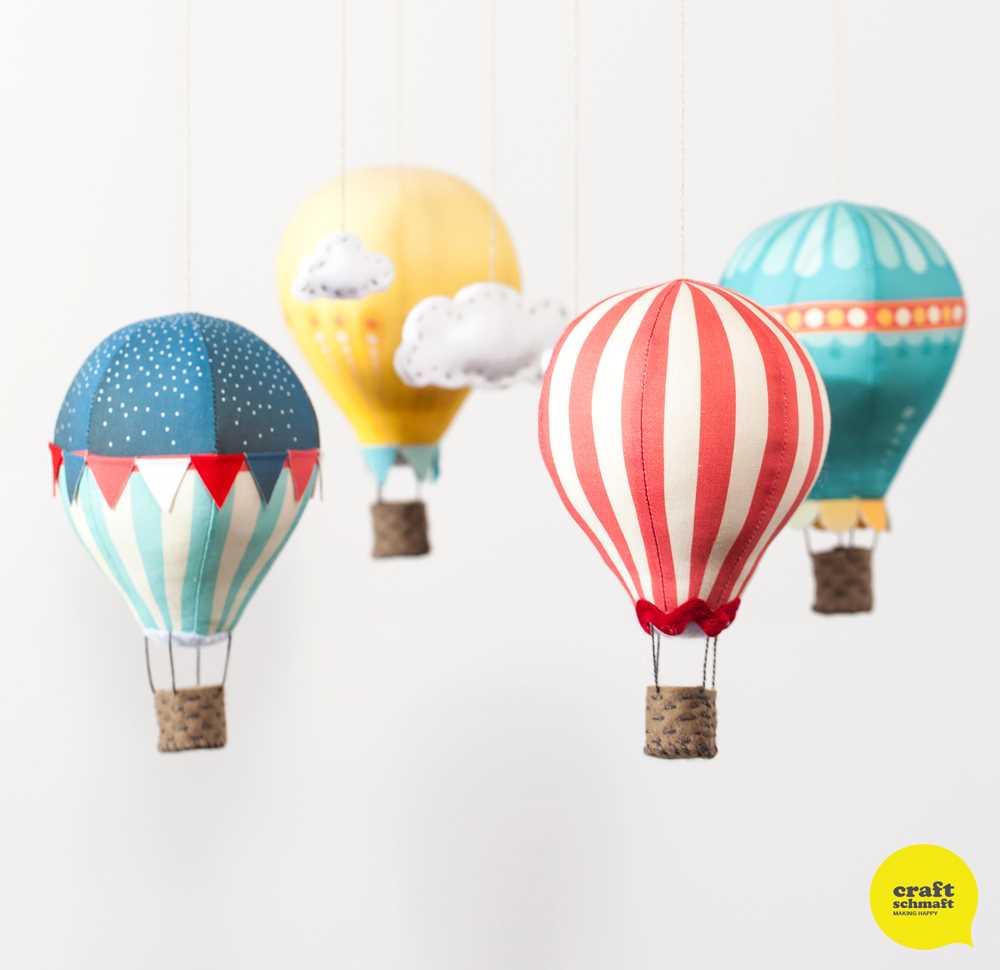
When it comes to knitting a hot air balloon, one of the most exciting aspects is the opportunity to personalize it and make it unique to your own style and preferences. Whether you’re knitting it for yourself or as a gift for someone else, there are several ways you can add a personal touch to your hot air balloon.
Choose your colors: The first step in personalizing your hot air balloon is selecting the colors you want to use for the body and basket. You can opt for a traditional color scheme like red and white, or you can get creative and choose colors that reflect your personality or the occasion you’re knitting the balloon for. Consider using variegated yarns for a more colorful and whimsical look, or experiment with different shades and textures for added visual interest.
Add embellishments: To make your hot air balloon truly one-of-a-kind, consider adding some decorative elements. You can attach small buttons or charms to the balloon’s body, or embroider intricate designs using contrasting yarns. Another option is to sew on sequins or beads for a touch of sparkle and shine. These embellishments can help to highlight certain details or make your hot air balloon stand out even more.
Personalize with initials or names: Another idea for personalizing your hot air balloon is to incorporate initials or names into the design. You can knit or embroider the initials of the recipient onto the basket, or spell out their name using intarsia knitting technique on the balloon itself. This adds a special touch and makes the hot air balloon feel more customized and meaningful.
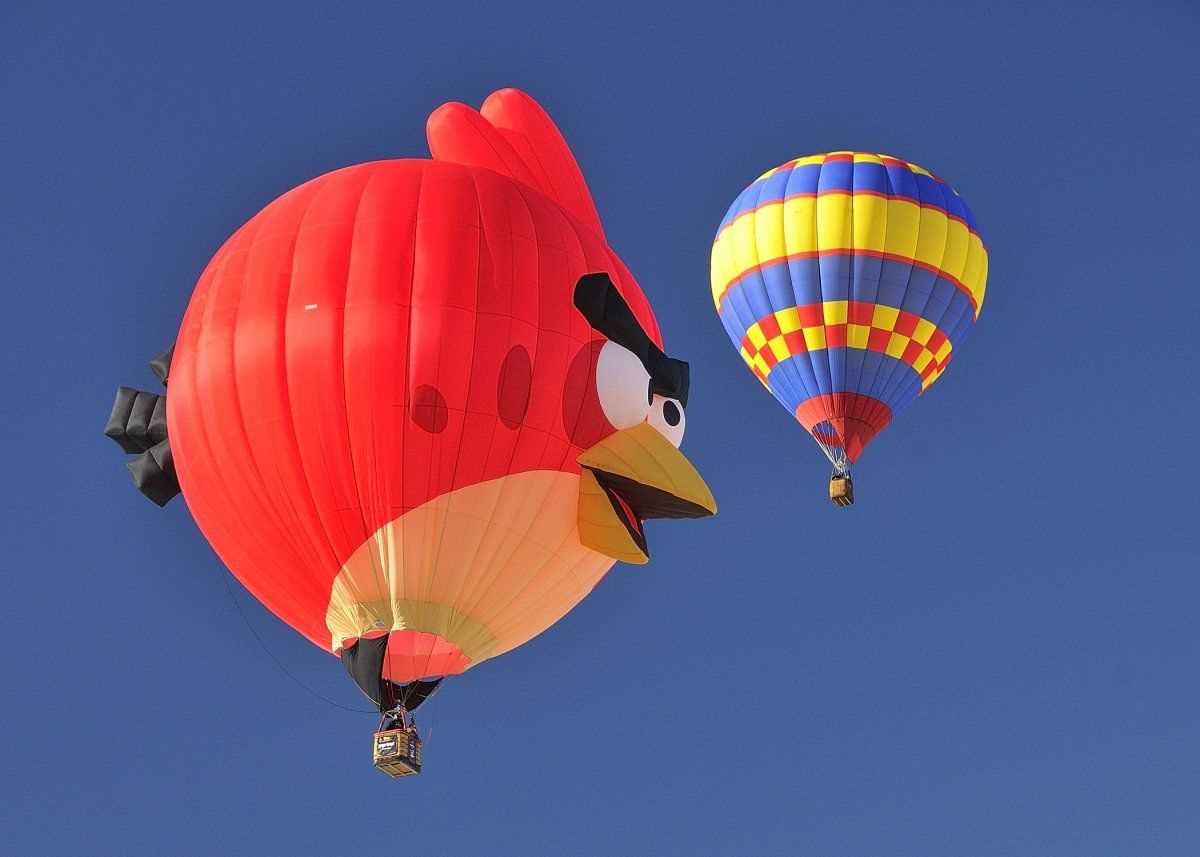
Create a themed balloon: If you’re knitting a hot air balloon for a specific occasion or themed event, you can tailor the design to match. For example, if it’s for a baby shower, you can knit a hot air balloon with pastel colors and add baby-related embellishments like pacifiers or rattles. For a wedding gift, you can use the couple’s wedding colors and add lace or ribbon details. The possibilities are endless, and by customizing the balloon to fit a particular theme, you can really make it stand out.
Write a personal message: Finally, you can add a personal message to your hot air balloon by attaching a small tag or card. This can be a heartfelt note, a meaningful quote, or even just the recipient’s name and the date the balloon was knitted. It adds a personal touch and makes the hot air balloon more than just a decorative item, but also a keepsake that the recipient can cherish for years to come.
Tips and Tricks for Successful Knitting
Knitting can be a relaxing and enjoyable hobby, but it can also be frustrating at times. Whether you’re a beginner or an experienced knitter, here are some tips and tricks to help you achieve successful results with your projects.
1. Choose the Right Yarn and Needles
One of the most important factors in successful knitting is using the right yarn and needles for your project. Make sure to check the recommended yarn weight and needle size in your knitting pattern, and choose materials that match those specifications. Using the wrong yarn or needle size can result in a project that is too loose or too tight.
2. Take Time to Swatch
Swatching is an important step in knitting that is often overlooked. By knitting a small test swatch before you start your project, you can check your gauge and make any necessary adjustments. This will help ensure that your finished project turns out the right size and fits correctly.
3. Read the Pattern Carefully

Before you start knitting, take the time to read through the entire pattern from start to finish. Pay attention to any special instructions, stitch patterns, or shaping techniques that may be involved. Familiarizing yourself with the pattern beforehand will help prevent any surprises or mistakes along the way.
4. Use Stitch Markers
Stitch markers are a handy tool that can help you keep track of your stitches and where you are in the pattern. They can be especially useful when working on complex stitch patterns or when shaping a garment. Place a stitch marker after a certain number of stitches, or whenever the pattern instructs you to do so.
5. Take Breaks and Practice Patience
Knitting can be a time-consuming craft, so it’s important to take breaks and not rush through your projects. If you find yourself getting frustrated or tired, step away from your work and give yourself a break. Knitting should be enjoyable and relaxing, so practice patience and take your time.
6. Don’t Be Afraid to Make Mistakes
Remember that knitting is a learning process, and making mistakes is part of that process. Don’t be afraid to make mistakes and learn from them. If you discover a mistake in your project, take the time to fix it or start over if necessary. Embrace the learning experience and use it to improve your knitting skills.
By following these tips and tricks, you can set yourself up for successful knitting projects. Remember to choose the right materials, take time to swatch, read the pattern carefully, use stitch markers, practice patience, and embrace mistakes as learning opportunities. Happy knitting!
Enjoying your finished hot air balloon
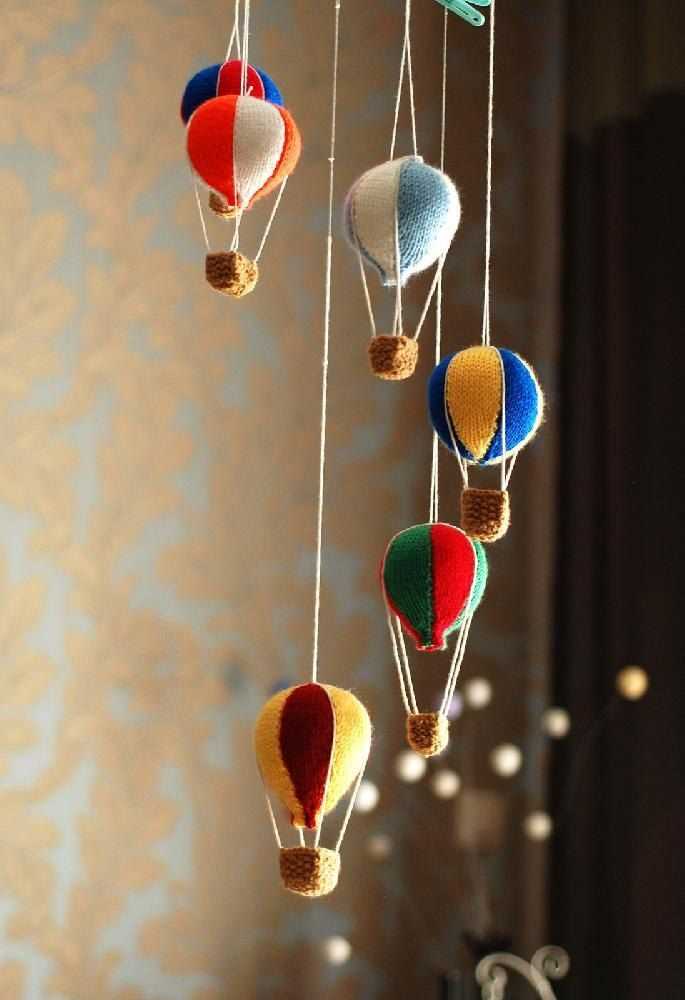
After all the hard work you put into knitting your hot air balloon, it’s time to sit back and enjoy the final product. Whether you choose to display it as a decorative piece in your home or gift it to someone special, your finished hot air balloon is sure to bring joy and whimsy wherever it goes.
Here are a few suggestions on how to fully appreciate your hot air balloon:
- Display it proudly: Find the perfect spot in your home to showcase your hot air balloon. It can add a touch of charm and creativity to any room.
- Take photos: Capture the beauty of your hot air balloon from different angles and in various settings. Share these photos with friends and family or on social media to inspire others to try knitting their own hot air balloon.
- Create a hot air balloon-themed display: Combine your hot air balloon with other items or decorations that complement its whimsical nature. It could be mini knitted clouds, hanging paper lanterns, or even a wooden basket to complete the look.
- Gift it with love: If you decide to give your hot air balloon away, consider presenting it in a special way. Wrap it in colorful tissue paper, attach a handwritten note, or place it in a decorative box to make the gift even more extraordinary.
Remember, knitting a hot air balloon is not just about the end result; it’s also about the joy and satisfaction that comes from the process. Be proud of your knitting skills and the unique piece of art you’ve created. Take a moment to appreciate the time and effort you invested in making something truly special.
So, sit back, relax, and enjoy your hot air balloon as it becomes a delightful addition to your life or the life of someone you care about.