
If you’re a fan of knitting, or are just getting started, you may be interested in trying your hand at creating a knit hat. Knitted hats are not only stylish and cozy, but they also make for great gifts. One popular method of knitting a hat is using a circular needle and knitting in the round. This allows you to create a seamless hat, with no need for seaming or sewing. In this article, we’ll explore a simple knit hat pattern that can be knit in the round.
When knitting a hat in the round, you’ll need a circular needle with a length that is appropriate for the circumference of the hat. This will typically be around 16 inches for an adult-sized hat. You’ll also need a set of double-pointed needles for the decreases at the crown of the hat.
To begin, you’ll cast on the required number of stitches onto the circular needle. This will depend on the size of the hat and the gauge of your knitting. It’s important to check your gauge before starting to ensure the hat will fit properly. Once the stitches are cast on, join in the round, being careful not to twist the stitches. You can place a stitch marker to mark the beginning of the round if desired.
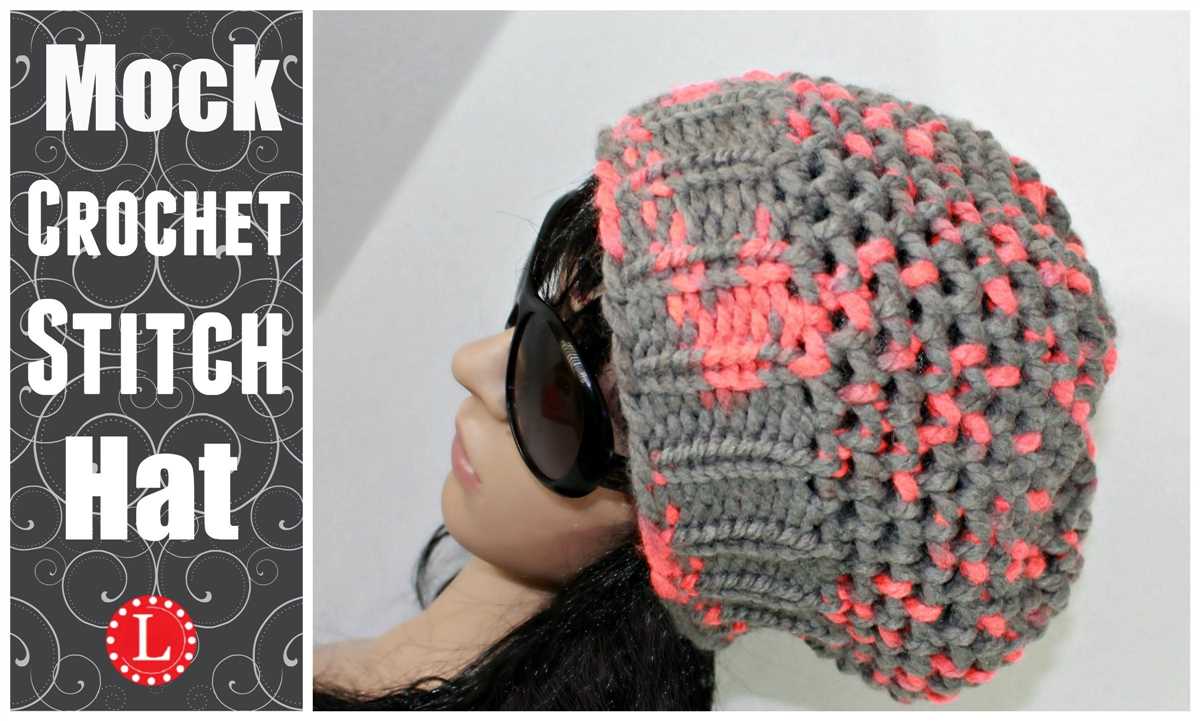
From there, you’ll knit in the round until the hat reaches the desired length. You can experiment with different stitch patterns, such as ribbing, garter stitch, or even cables, to add texture and interest to your hat. Once the hat is long enough, you’ll begin the decreases to shape the crown. This is where the double-pointed needles come in handy. You’ll distribute the stitches onto the double-pointed needles and work the decreases according to the pattern instructions. Finally, you’ll close the top of the hat and weave in any loose ends.
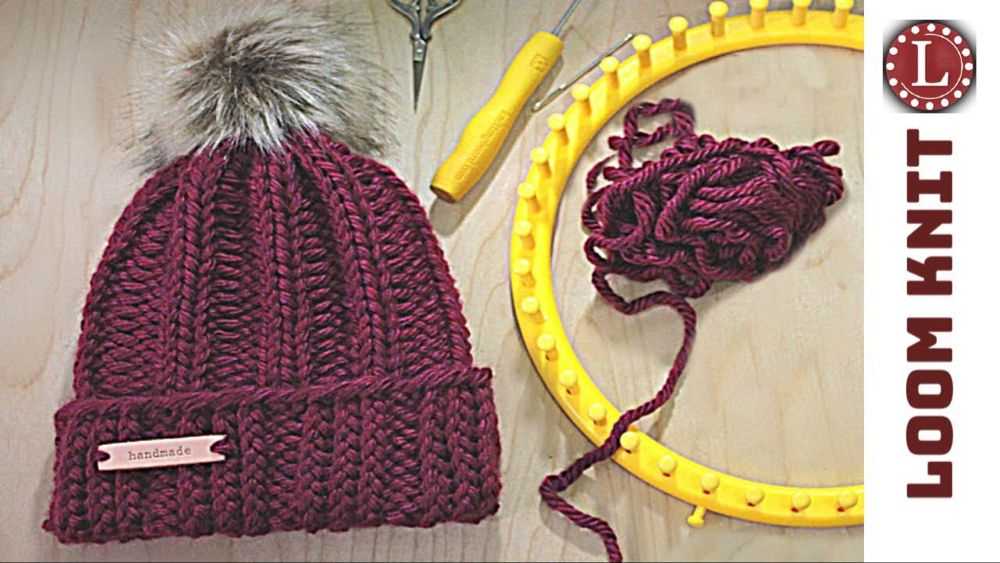
With a bit of practice, knitting a hat in the round can become a fun and rewarding project. You can customize the pattern to suit your style, using different colors or adding embellishments like pom-poms or tassels. Whether you’re new to knitting or an experienced knitter, a knit hat pattern in the round is a versatile and enjoyable project to take on.
Learn How to Knit a Hat in the Round
Knitting a hat in the round is a fun and satisfying project that allows you to create a seamless and beautifully finished hat. Whether you’re a beginner or an experienced knitter, learning how to knit a hat in the round will expand your knitting skills and give you a sense of accomplishment.
Materials Needed:
- Yarn: Choose a soft and warm yarn in a weight suitable for your desired hat.
- Needles: Use circular or double-pointed needles, depending on your preference and the pattern specifications.
- Stitch markers: These will help you keep track of your stitches and rounds.
- Tapestry needle: For weaving in ends and finishing touches.
Knitting in the Round:
Knitting in the round eliminates the need to seam your hat later on. To begin, cast on the required number of stitches onto your circular or double-pointed needles. Place a stitch marker to indicate the beginning of the round.
Basic Hat Pattern:
Once you have cast on and placed your stitch marker, you can begin knitting your hat in the round. Follow the pattern instructions for the specific hat you are making, but generally, you will need to knit every round until your hat reaches the desired length. At this point, you may need to switch to double-pointed needles if the circumference becomes too small for your circular needles.
Decreasing and Finishing:
When your hat is the desired length, you will need to decrease your stitches to shape the crown. The pattern you are following will provide instructions on how many stitches to decrease and when to do so. Once you have completed the decreases, you can cut the yarn, leaving a tail to weave in later. Use a tapestry needle to thread the tail through the remaining stitches and pull tight to close the top of the hat. Weave in any remaining ends, and your knitted hat in the round is complete!
Now that you know the basics of knitting a hat in the round, you can experiment with different stitch patterns, colorwork, and embellishments to customize your hats. Whether you’re knitting for yourself or as a gift, a hand-knit hat is a cozy and stylish accessory for the colder months.
Choose your knitting needles and yarn
When it comes to knitting a hat in the round, selecting the right knitting needles and yarn is essential. The knitting needles you choose will determine the size and shape of your stitches, while the yarn will determine the overall look and feel of your finished hat. Here are some factors to consider when making your selections:
Knitting Needles
- Material: Knitting needles are available in various materials, such as metal, wood, and plastic. Each material has its own advantages and disadvantages. Metal needles are durable and smooth, allowing stitches to glide easily. Wood needles provide a warmer, softer feel and are less slippery, making them ideal for beginners. Plastic needles are lightweight and affordable.
- Size: The size of your knitting needles will determine the gauge of your knitting. Be sure to check the pattern for the recommended needle size. If your gauge differs from the pattern, your hat may turn out too large or too small. You can adjust the needle size to achieve the desired gauge.
- Length: When knitting a hat in the round, you have the option to use either circular needles or double-pointed needles. Circular needles are more versatile and can be used for a variety of projects. They come in different lengths, ranging from 16 to 40 inches. For a hat, it’s best to use circular needles with a length of 16 or 20 inches, as they are most suitable for knitting small circumferences.
Yarn
- Weight: Yarn weight refers to the thickness or thinness of the yarn. The weight of yarn you choose will depend on the desired warmth and drape of your hat. For a thicker and warmer hat, consider using bulky or chunky weight yarn. For a lighter and more breathable hat, opt for fingering or sport weight yarn.
- Fiber: Yarn can be made from various types of fibers, such as wool, acrylic, cotton, or a blend of different fibers. Each type of fiber has its own characteristics, such as warmth, softness, and durability. Consider the desired qualities of your hat and choose a fiber that suits your needs.
- Color: The color of your yarn is a personal preference. You can choose a solid color for a classic look or experiment with variegated or self-striping yarns for a more unique and colorful hat. Consider the recipient’s style and preferences when selecting the yarn color.
By considering these factors and making informed choices, you can ensure that your knitting needles and yarn are perfectly suited for your knit hat project. Experiment with different materials, sizes, and fibers to find the combination that works best for you. Happy knitting!
Gather necessary materials
Before you start knitting a hat in the round, it’s important to gather all the necessary materials. Here is a list of items you will need:
- Yarn: Choose a soft and warm yarn suitable for hats. Worsted weight yarn is commonly used, but you can also experiment with different weights.
- Knitting needles: You will need a set of circular knitting needles in the appropriate size for your yarn. The length of the needles will depend on the circumference of your hat.
- Stitch markers: These are used to mark the beginning of the round and any other important sections in your pattern.
- Tape measure: A tape measure will help you accurately measure the circumference of your head, ensuring the hat fits perfectly.
- Yarn needle: This is used for weaving in ends and finishing the hat.
- Scissors: A pair of scissors is essential for cutting the yarn.
- Pattern: Find a knit hat pattern in the round that suits your skill level and desired style.
Having all these materials ready before you begin will make the knitting process smoother and more enjoyable. Make sure to have enough yarn to complete your project, and check the label for any specific care instructions for your chosen yarn. Once you have everything prepared, you’ll be ready to cast on and start knitting your hat in the round.
Cast on stitches
When beginning a knit hat pattern in the round, the first step is to cast on stitches. Casting on is the process of creating the foundation row of stitches on your knitting needle. There are several different methods for casting on, including the long-tail cast on, the knit cast on, and the cable cast on.
One commonly used method is the long-tail cast on. To begin, you will need to estimate how much yarn you will need to cast on the desired number of stitches. This can be done by wrapping the yarn around the needle the number of times equal to the number of stitches needed and then multiplying that length by the average length of each wrap. Once you have determined the length of yarn needed, make a slipknot and place it on the needle. Hold the needle with the slipknot in your right hand and the working yarn in your left hand. Using both hands, insert the right-hand needle into the slipknot from left to right, going under the left-hand needle. Loop the working yarn over the end of the right-hand needle and pull it through the slipknot, creating a new stitch on the right-hand needle. Continue this process, pulling the yarn snugly but not too tight, until you have cast on the desired number of stitches.
The cast on is an important step in starting any knitting project. It sets the foundation for your work and determines the size and stretch of the finished piece. Take your time with the cast on and make sure your stitches are even and not too tight. Practice different casting on methods to find the one that works best for you and gives you the desired result. Once you have cast on the stitches for your knit hat pattern, you are ready to move on to the next step in the knitting process.
Join the round
After casting on the desired number of stitches, you’re ready to join the round and start knitting in the round. To join the round, simply slip the last stitch you cast on onto the left needle, making sure not to twist the stitches. This will create a continuous loop of stitches.
Once you’ve joined the round, you can begin knitting in the round using your preferred method, whether it’s magic loop, double-pointed needles, or a circular needle. Make sure to place a stitch marker at the beginning of the round to keep track of where each round starts.
It’s important to ensure that your stitches are not twisted when joining the round, as this can lead to an uneven or misshapen hat. Take a moment to double-check that all of your stitches are facing the same direction, with the smooth side of the stitches facing outwards.
If you’re new to knitting in the round, it may take a few rounds to get used to working with the circular needles or double-pointed needles. Take your time and practice the necessary techniques, such as knitting and purling in the round and using the correct tension, to create a beautifully knit hat.
As you knit each round, be mindful of any stitch pattern or shaping instructions in your hat pattern. Follow the pattern instructions carefully to ensure that you achieve the desired finished look for your knit hat.
Knit the body of the hat
After casting on the desired number of stitches, join the round by knitting the first stitch of the cast-on row together with the last stitch to create a continuous loop. This will ensure that the hat is worked in the round, without a visible seam.
Continue knitting in the round, following the knit stitch pattern specified in the hat pattern. If the pattern calls for a specific number of stitches per repeat, make sure to evenly distribute these repeats around the circumference of the hat. This will help maintain the overall shape and sizing of the hat.
Tip: You can use stitch markers to help keep track of your progress and mark important sections, such as the beginning of a round or the midpoint of the hat.
As you work, keep referring to the pattern instructions for any shaping or stitch pattern changes. This may include decreasing stitches to shape the crown of the hat or adding additional stitch patterns for visual interest.
Add decorative stitches or patterns
Knitting a hat in the round allows for endless possibilities when it comes to adding decorative stitches or patterns. Whether you want to create a simple ribbed design or a more intricate lace pattern, the round construction of the hat provides the perfect canvas for showcasing your creativity.
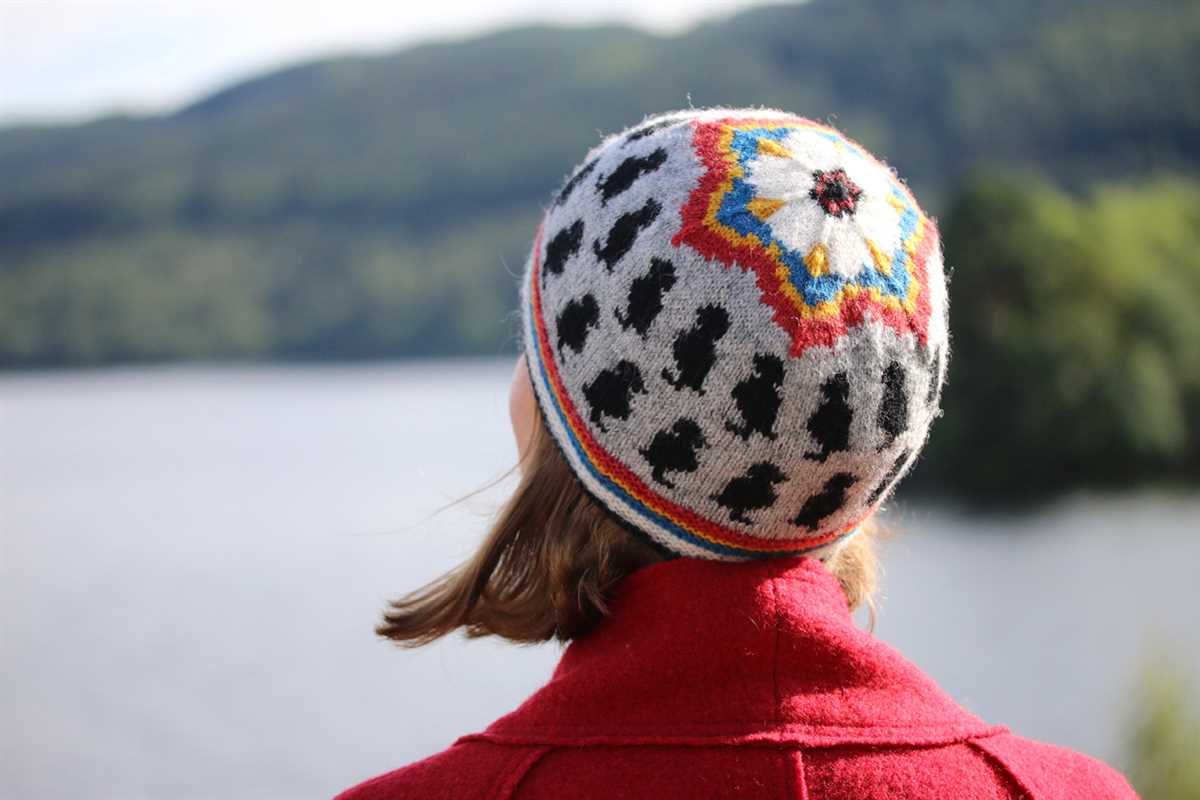
One popular option for adding decorative stitches is to incorporate colorwork techniques such as Fair Isle or stranded knitting. This involves using multiple colors of yarn to create intricate patterns and designs. Whether you choose to create a traditional Scandinavian motif or a more modern geometric pattern, colorwork can add depth and visual interest to your knit hat.
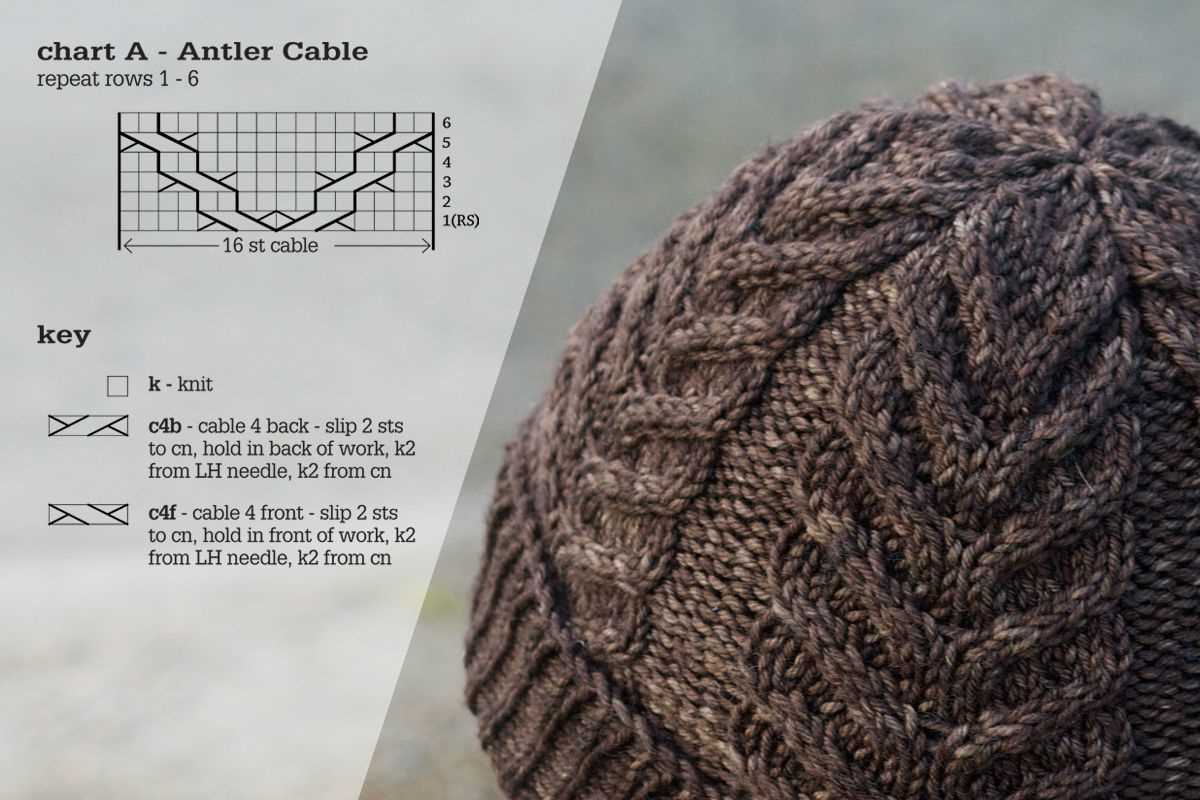
If you prefer a more textured look, you can experiment with different stitch patterns. For example, you could add a cable pattern to your hat, which involves twisting stitches to create beautiful rope-like designs. Alternatively, you could try a stitch pattern such as seed stitch or moss stitch, which create a bumpy texture that adds visual interest to your hat.
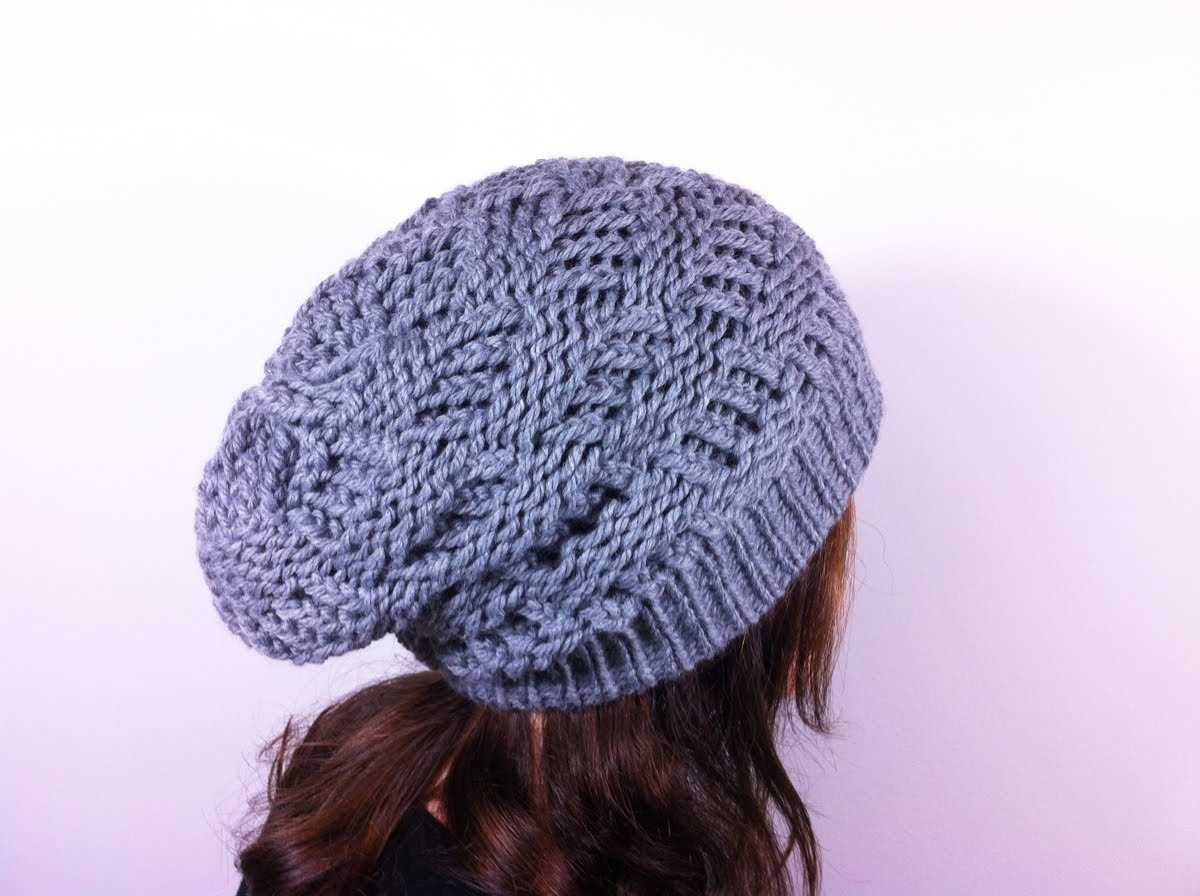
Another option is to incorporate lace patterns into your hat design. Lace stitches create beautiful openwork patterns that can add a delicate and feminine touch to your hat. Whether you opt for a simple eyelet pattern or a more complex lace motif, lace knitting can elevate your hat from ordinary to extraordinary.
- Try incorporating colorwork techniques such as Fair Isle or stranded knitting.
- Experiment with different stitch patterns, such as cables or seed stitch.
- Add delicate lace patterns for a feminine touch.
Decrease Stitches to Shape the Crown
To shape the crown of your knit hat, you will need to decrease stitches. Decreases are typically done in a symmetrical manner around the hat to maintain a balanced shape.
There are various ways to decrease stitches, but the most common methods used in knitting hats are the knit two together (k2tog) and slip, slip, knit (ssk) decreases. These decreases are simple and create a neat, tapered crown.
Knit Two Together (k2tog)
The knit two together decrease is performed by inserting the right-hand needle into the next two stitches on the left-hand needle, as if to knit. Then, knit these two stitches together as one stitch. This decrease slants to the right and is often used on the right side of the fabric.
Slip, Slip, Knit (ssk)
The slip, slip, knit decrease is achieved by slipping the next two stitches knitwise, one at a time, onto the right-hand needle. Then, insert the left-hand needle into the front loops of these two slipped stitches and knit them together. This decrease slants to the left and is often used on the left side of the fabric.
When shaping the crown of a knit hat, it is common to evenly distribute the decreases. For example, if you have 80 stitches in total, you may choose to decrease by 8 stitches every round until you reach the desired number of stitches. This creates a gradual decrease and helps shape the crown smoothly.
Remember to continue knitting in the round as directed by your pattern after each decrease round until you have achieved the desired number of stitches for the crown of your hat.
Finish the top of the hat
Once you have completed the desired length of your hat, it’s time to finish the top. There are several options you can choose from, depending on the style you prefer and the pattern you are following.
If you want a simple and seamless finish, you can use the Kitchener stitch to graft the live stitches together. This technique creates a smooth and invisible join, giving your hat a professional look. Alternatively, you can also bind off the stitches using a stretchy bind-off method, such as the suspended bind-off or the tubular bind-off. These methods are great if you want to ensure a comfortable and flexible fit at the top of the hat.
Another option is to decrease the stitches gradually to close the top of the hat. This is commonly done by knitting two stitches together (k2tog) at regular intervals across a round. You can also use other decrease techniques, such as the slip-slip-knit (ssk) or the centered double decrease (cdd), depending on the pattern and the desired effect. This method creates a tapered or pointed top, giving your hat a unique shape.
When finishing the top of the hat, make sure to weave in any remaining yarn ends and secure them tightly. This will prevent the hat from unraveling and ensure a neat and polished appearance. After completing the finishing touches, your hat is ready to be worn and enjoyed!
Bind off stitches
When knitting a hat pattern in the round, it is important to know how to bind off stitches to finish off your project. Binding off, also known as casting off, is the process of securing the live stitches and creating a neat edge. There are different methods for binding off stitches, and the one you choose will depend on the desired finish and the type of project you are working on.
One common method for binding off stitches in the round is the basic bind off. To do this, knit the first stitch as usual, then knit the second stitch. Insert the left needle into the first stitch on the right needle, passing it over the second stitch and off the needle. Continue this process, knitting one stitch and passing the previous stitch over, until you have bound off all the stitches. Finally, cut the yarn and pull it through the last stitch to secure.
If you want a stretchier edge, you can try the stretchy bind off method. This method is ideal for projects like hats or socks, where a snug fit is desired. To do the stretchy bind off, knit the first two stitches together, then insert the left needle into the front of the stitch just worked and knit it together with the next stitch on the left needle. Repeat this process until all stitches are bound off.
Another option is the picot bind off, which creates a decorative edge. To do the picot bind off, knit two stitches together, then slip the resulting stitch back onto the left needle. Cast on two stitches using the cable cast on method. Repeat this process until all stitches are bound off. This creates a series of little loops along the edge of your project.
These are just a few examples of the different methods you can use to bind off stitches when knitting a hat pattern in the round. Experiment with different techniques to find the one that best suits your project and desired finish.
Conclusion
The knit hat pattern in the round is a versatile and popular knitting project that can be customized to suit your style and preferences. By following the steps outlined in this article, you can create a cozy and stylish hat that will keep you warm during the colder months.
Remember to choose a suitable yarn and needle size, and to check your gauge before starting the project. The pattern provided here is a basic one, but you can easily modify it by adding different stitch patterns or embellishments to make your hat unique.
Weave in Loose Ends
Once you have finished knitting the hat, it’s important to weave in any loose ends to ensure a neat and finished look. Use a tapestry needle to thread the loose strands of yarn through the stitches on the wrong side of the hat. Be careful not to pull too tightly or it may distort the shape of the hat.
Block the Hat
Blocking is the process of shaping and setting the finished knitted piece. To block your hat, you can follow these steps:
- Fill a sink or basin with lukewarm water and add a small amount of gentle detergent.
- Place the hat in the water and gently squeeze it to submerge it completely.
- Let the hat soak for about 15 minutes.
- Drain the water and gently squeeze out the excess moisture.
- Place a towel on a flat surface and lay the hat on top.
- Gently reshape the hat to the desired size and shape.
- Leave the hat to dry completely, preferably in a well-ventilated area or near a fan.
Blocking the hat will help to even out the stitches and improve the drape and fit. It is especially beneficial if you have used a yarn that has a tendency to stretch or lose its shape.
Once your hat is dry, it is ready to be worn or gifted to someone special. Enjoy the satisfaction of completing a beautiful handmade accessory!